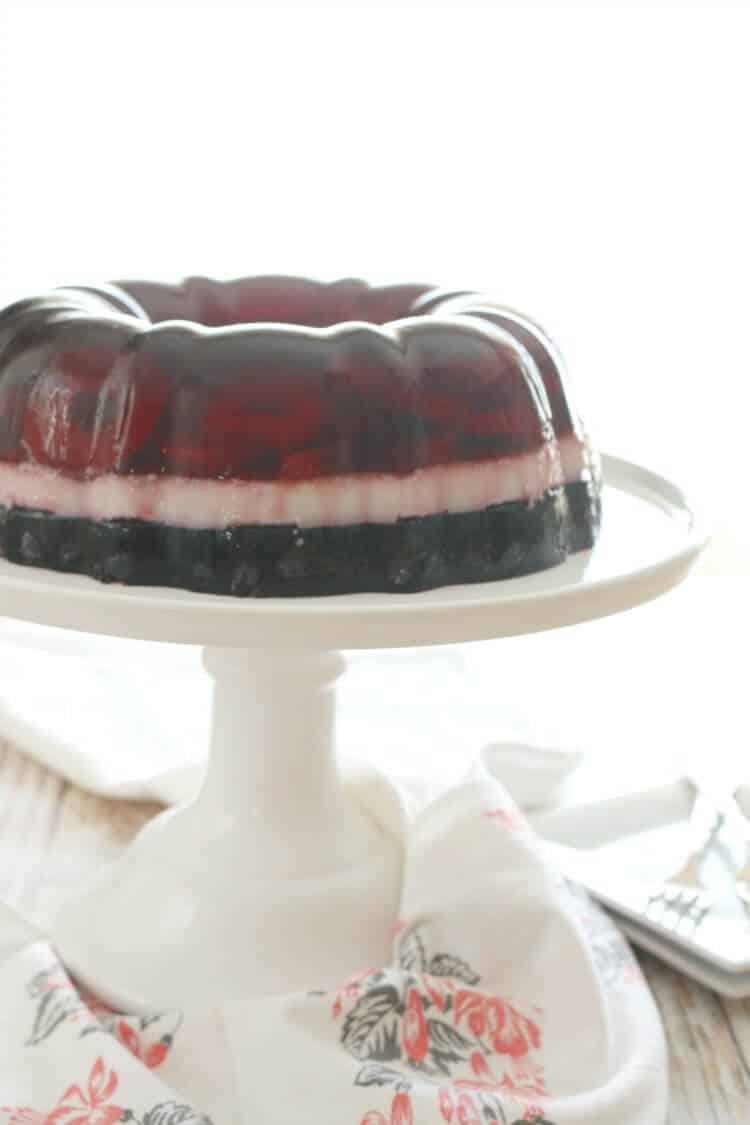
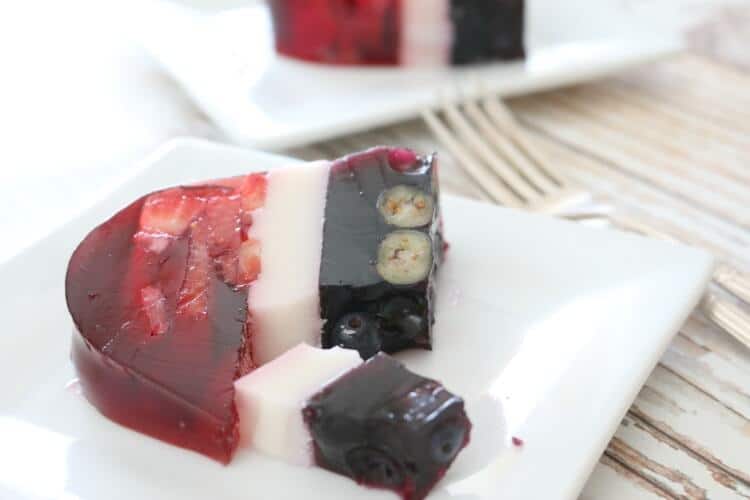
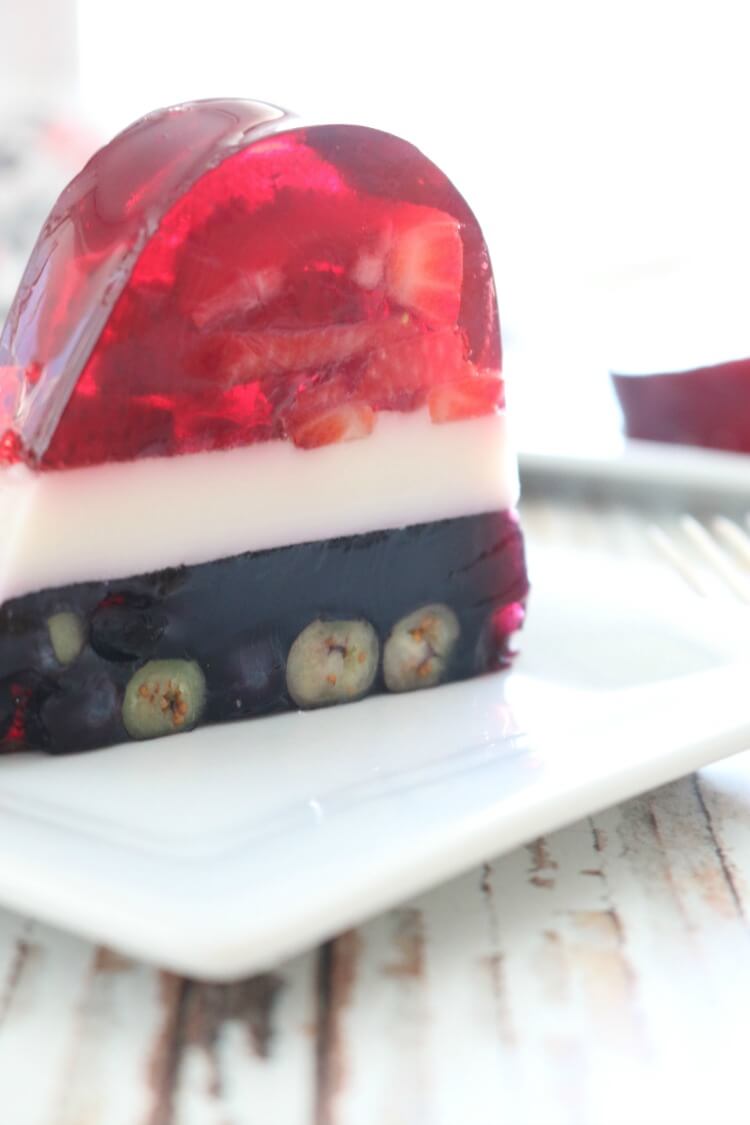
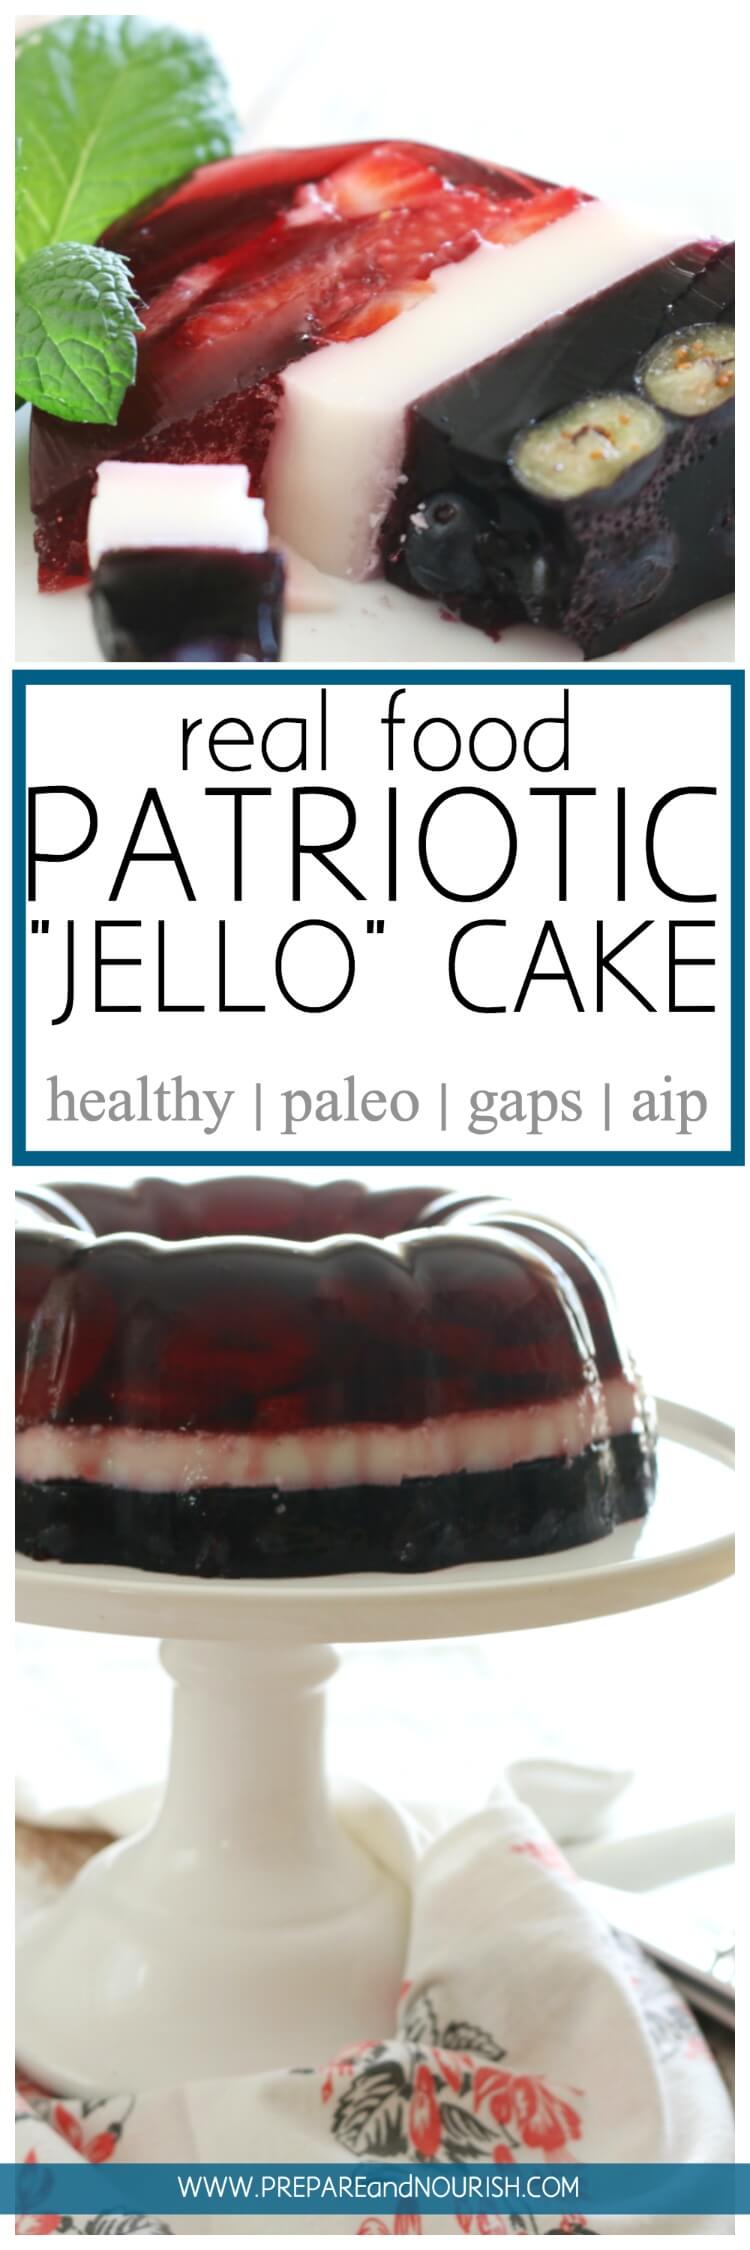
This Real Food Patriotic "Jello" Cake is perfectly layered with seasonal berries and grass-fed gelatin. It's a healthy summer dessert that makes a great party treat. Dairy free and naturally sweetened, this jello cake is perfect for your Red, White & Blue celebrations.
This post may contain affiliate links for your convenience. Thank you for supporting this site with purchases made through these links. See full DISCLOSURE for details.
If it weren't for all the fun festivities like camping, pool parties and barbeques, summer would be my least favorite season. I don't do well in scorching weather - I would much rather observe from the comforts of my air conditioned home. But there's always one thing that lures me out - food.
We don't say no to food. 😉 Especially this kind.
Summer Treats
Just like we have comforting soups in cooler months, we have healthy and refreshing dishes in warmer months. And this Jello Cake is no exception. It's made with healthy, real food ingredients that you will feel good serving your family. No food dyes. No boxed ingredients (not naming names). This doesn't even call for sugar. Okay, just a bit of maple syrup for the white layer but at least it has natural minerals.
Related: Alternative Natural Sweeteners
Party Food
The colors red, white and blue deem this cake appropriate for all those patriotic holidays such as Memorial Day, Independence Day and Labor Day. And since those holidays are usually spent with friends and family, the ingredients in the recipe card makes for a generous amount. Enough to comfortably feed 20-24 people for dessert. It fills the entire bundt pan nearly to the brim. Feel free to split the ingredients for a smaller cake. You can even use any choice of pan (loaf pans would work great!).
Real Food Patriotic "Jello" Cake
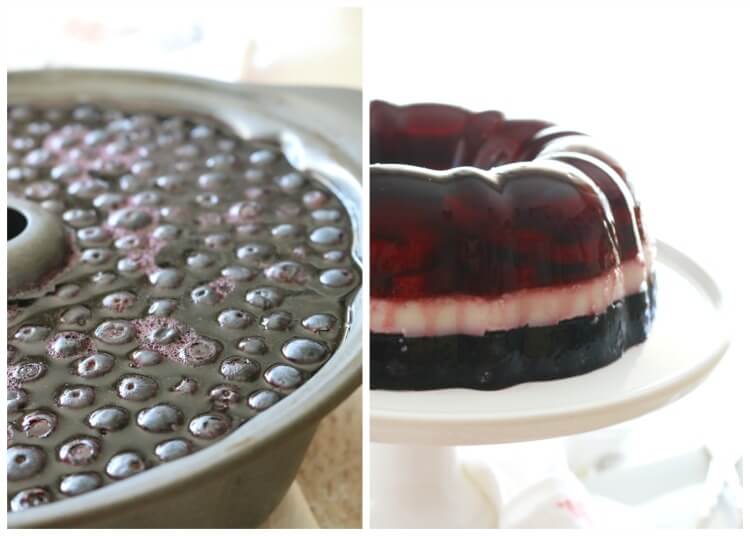
This cake does take a bit of time as the layers have to be individually set before the next layer is poured. I did the first layer in the evening, then the coconut layer in the morning and finally the blueberry layer in the early afternoon and it was ready by dinner time that day. Gelatin takes about 2 hours to set so technically this can be made in 6 hours.
It can be stored in the refrigerator in an airtight container for up to a week. The berries do release some liquid so you don't want to keep it much longer than that.
Key Players
A truly nourishing dish, whether it be entree or dessert, truly starts with nourishing ingredients. Starting with the juices. I used 100% Cherry Juice and 100% Blueberry Juice, both from Trader Joe's and do not have added sugar. I'm sure pomegranate juice would work just as well for the red layer and perhaps grape juice for the blue layer. Just be sure to check the ingredients for added sweeteners.
I love coconut milk from the same place (TJ's) but you can also purchase this brand. Again, check the ingredient list for added gums and other junk. If using a standard 13.5 oz can of coconut milk, feel free to use it all or save a few tablespoons for a smoothie or another use (this recipe calls for 12 oz. or 1 ½ cups of coconut milk).
Finally the gelatin. This cake would not be possible were in not for the gut-healing gelatin. Gone are the days when there was only one brand of grass-fed gelatin on the market. I have used Great Lakes for many years and love it - just make sure you get the red can. Perfect Supplements also makes great gelatin. Just make sure you get gelatin not collagen for this recipe. Sidenote: I love Perfect Supplements' Collagen and put a scoop in my morning coffee daily. Another Sidenote: Knox is not grass-fed gelatin. A little goes a long way and gelatin has a long shelf life so buy good quality.
Printable Recipe
Real Food Patriotic "Jello" Cake
Ingredients
Red Layer
- 2 ½ cups 100% cherry juice divided
- 3 tablespoons grass-fed gelatin
- ½ cup hot water
- 2 cups fresh strawberries, washed, dried & sliced
White Layer
- 1 ½ cup full fat coconut milk* divided
- 2 tablespoons grass-fed gelatin
- ½ cup hot water
- 3 tablespoons real maple syrup or honey**
Blue Layer
- 1 ½ cup 100% blueberry juice divided
- 2 tablespoons grass-fed gelatin
- ½ cup hot water
- 1 cup fresh blueberries, washed & dried
Instructions
Red Layer
- Pour ½ cup cherry juice in a medium size bowl and sprinkle gelatin over the entire surface. Allow the gelatin to "bloom" for 5 minutes. This mixture should turn thick.
- Wash, dry and slice strawberries. Spread them on the bottom of the bundt pan.
- Pour hot water into the gelatin/juice mixture (it should be very stiff) and combine well to dissolve the gelatin.
- Add remaining juice and mix well. Gently pour over the strawberries (they will rise to the top, that's okay). Carefully place the pan in the refrigerator for a few hours to set.
White Layer
- Shake the coconut can or carton to break up the cream parts.
- Pour ½ cup coconut milk in a small bowl and sprinkle gelatin over the entire surface to allow the gelatin to bloom for 5 minutes.
- When gelatin blooms, pour hot water over this mixture and combine well to fully dissolve the gelatin.
- Add maple syrup or honey, remaining coconut milk and stir to combine.
- Gently pour over the strawberry layer and place in the refrigerator to set for a few hours.
Blue Layer
- Pour ½ cup blueberry juice in a small bowl and sprinkle gelatin over the entire surface to allow it to bloom for 5 minutes.
- Meanwhile, wash and dry blueberries. Spread them evenly on top of the coconut layer in the pan.
- Pour hot water over the the now bloomed gelatin/juice mixture and stir well to dissolve the gelatin.
- Add remaining juice to the gelatin mixture and combine well. Gently pour over the blueberries and place in the refrigerator for a few hours or until fully set and firm.
Inverting the Cake
- To release the cake, fill your sink or a large bowl with warm water. The water should cover the majority of the bundt pan but not come all the way to the top.
- Gently place the mold in the warm water for about 10-15 seconds (be sure to count!). You should see the edges liquefy slightly. This means the gelatin has separated from the mold.
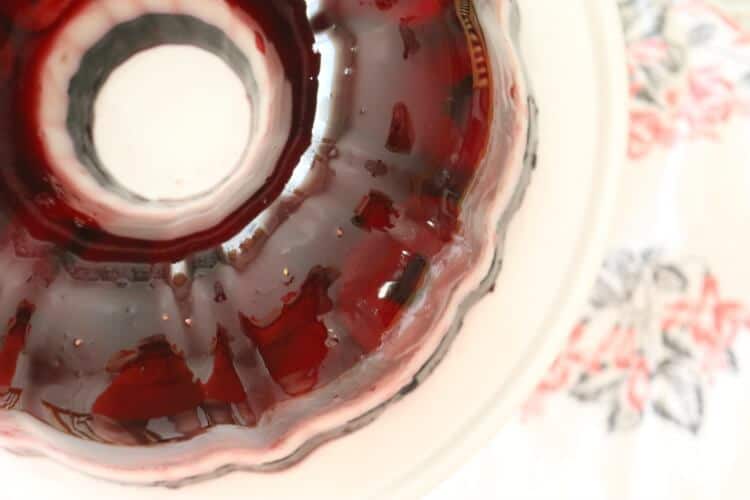
- Remove the pan from the warm water. Cover with a large serving plate and with a good grip on the mold and the plate, quickly flip the plate and mold over. Slowly lift the pan and the jello should release easily. You should almost feel the cake invert onto the plate. If any juice runs over the plate, simply wipe dry with a paper towel.
Notes
The information shown is an estimate provided for your convenience by an online calculator. It should not be considered as a substitute for a professional nutritionist's advice. See our complete Nutritional Information Disclaimer.
©Prepare and Nourish • Content and photographs are copyright protected. Sharing of this recipe is encouraged and appreciated but please do NOT screenshot or copy/paste complete recipes to websites or social media.

Raia Todd says
This looks fun! My kiddos would love it. 🙂
Anya says
Thanks Raia.
Emily @ Recipes to Nourish says
This is such a cool idea!!! I've never made anything like this before, and I know my Tiny Love would devour this. I would too 😉
Rachel says
I have never seen a recipe like this, it looks utterly amazing! 4th of July, here we come. 🙂
Anya says
Ha! Glad to be the first, Rachel. 🙂