Bone broth has been the number one healing food for my family. It's so convenient to use and I incorporate it into our daily meals as much as I can.
{This post may contain affiliate links. The cost remains the same for you. }
When I first learned about Weston A. Price's research on other culture's diets and subsequently discovered Nourishing Traditions cookbook, bone broth was the one constant that I always defaulted to. Not surprisingly as most traditional cultures consume some type of broth regularly. Growing up, we had soup using made with bone broth at least every other day and I do the same for my family.
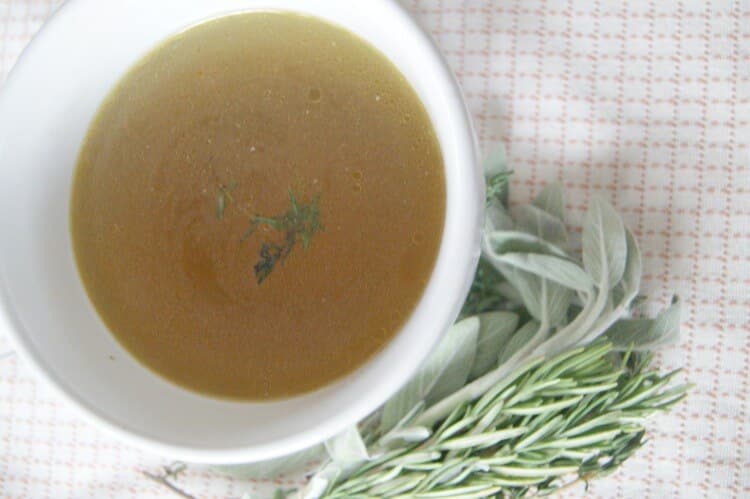
Broth is so healing and comforting. True and healing bone broth is traditionally made from roasted bones and is simmered for long periods of time to extract all the minerals and nutrients. Most broth sold in supermarkets is not nutrient-dense and doesn't qualify as a healing food. Having said that, it's always exciting to see more and more small companies emerge that practice traditional methods of making bone broth and I am always happy to support them for times when I am not stocked on broth.
Thankfully, those times are few and far apart since making bone broth is quite simple, even for the novice cook. Now that you'll have these three methods in your arsenal, there really is no excuse for not making broth at home.
Steps For ALL Methods:
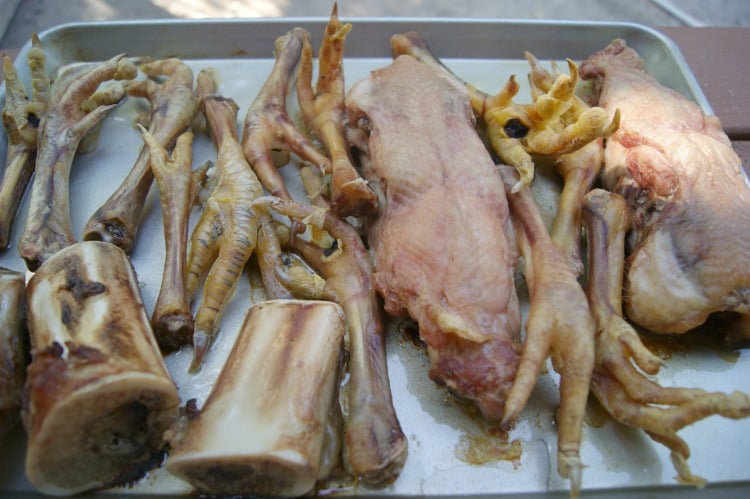
Type of Bones: I like using knuckle bones, marrow bones, and chicken feet are especially great at creating that gelatinous broth. I have a baggie in our freezer for when I toss bones from roast chicken and other bones that haven't cooked down yet. Basically, any bones that have not been cooked to death can extract more minerals and nutrients. Your cooking method can also depend on the size of the bones since large bones will not fit in a standard 6-qt. pressure cooker or crock pot.
Quality of Bones: As with everything else that you prepare to set on your kitchen table, take care to know where these animals came from. I love purchasing bones from my local cattle farmer. I know these animals were not given any hormones or antibiotics and were grass fed and finished.
Instructions: Spread all bones on a baking pan and roast at 350 F degrees for 40 minutes, this enhances the flavor. Remove from pan and toss them into either stock pot, slow cooker or pressure cooker per instructions below. Add favorite vegetables like celery, carrots, and onions. Bay leaves and peppercorns are also great addition to make bone broth flavorful. Add a splash of apple cider vinegar to pull more minerals out. I like to add fresh herbs towards the last hour of cooking but if I'm short on fresh, I love using dried herbs. In a pinch, I'll throw a few tablespoons of Italian seasoning directly into the pot at start of cooking. It makes a very rich, flavorful broth. Because liquid evaporates as it cooks for prolonged amount of time, I prefer to add salt when I strain the broth at the very end so I don't inadvertedly waste it as it cooks down.
If you plan to give all the broth scraps to your pet, avoid adding any peppers, onions, or garlic to the broth as that could potentially be harmful for them. You can always season broth with later.
The Makings of Bone Broth - 3 Methods
Traditional Stock Pot Method
This was the method I grew up with and most likely the method that most people are familiar with. You want to invest in a large, stainless steel stock pot similar to this one. My stock pot holds a whopping 20 quarts. Yes, we take our broth-making skills seriously.
Instructions for making bone broth in the STOCK POT:
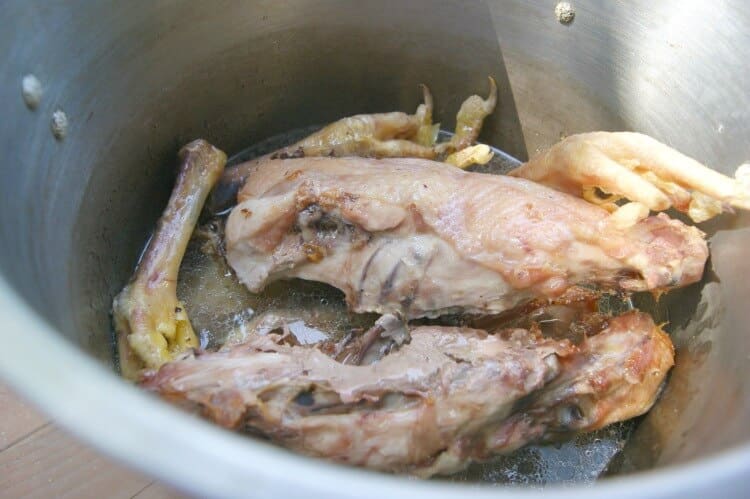
Toss roasted bones, vegetable scraps and bay leaves, peppercorns and other favorite spices along with a splash of apple cider vinegar to pull more minerals from the bones. Set pot on high heat and bring to a boil. When broth comes to a boil, reduce heat to barely a simmer and allow to simmer on low heat for 12-24 hours. I turn the heat off at night but if you're comfortable keeping it on low all night, particularly if your stove is electric, then feel free to do so.
It's up to you how much time you want to cook the bone broth but aim for at least 12 hours. The more time you give, the more minerals and vitamins the bones will extract into the broth. After 24 hours cooking time, you can literally crush those marrow bones between your fingers. Nothing left in them. In fact, it's always a gamble whether or not my dog will even take come near the remnants of a bone broth since it's so void of nutrition. But I suppose, that's a sign that all the nutrition is in my mason jars.
Throw in a bunch of parsley during the last hour of cooking for more nutrition.
Stove top method produces the most amount of bone broth at any given time.
Perpetual Slow Cooker Method
After learning that I can make bone broth in my slow cooker, I didn't bat an eye and graduated from the stock pot to the slow cooker. The biggest advantage to using the slow cooker over stock pot was that you get a perpetual flow of bone broth. What that means, in short, is bone broth all.the.days.of.your.happy.life.
Instructions for making bone broth in the SLOW COOKER:
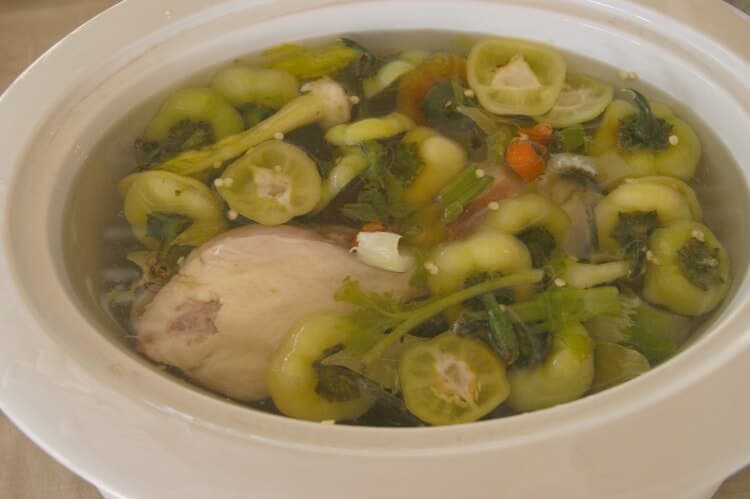
Simply add roasted bones, kitchen scraps, seasonings, and a splash of apple cider vinegar to the slow cooker, cover completely with filtered water, turn it on low and walk away. After at least 24 hours, you may begin using the broth. Using a ladle or glass measuring cup, remove the amount of broth needed and pour it through a fine-mesh sieve to catch all debris and herbs. Replace that broth with an equivalent amount of water and continue to cook on lowest setting. Repeat the technique when you need broth again. If you're concerned this will make more broth than you can consume, be sure to check out THIS post for various ways to enjoy homemade bone broth.
Perpetual Slow Cooker method produces more broth during extended period of time.
Pressure Cooker Method
Making bone broth in my Instant Pot is by far the best method for me currently. My pressure cooker has come to my rescue on numerous occasions. This is a great method to employ when you have soup on the menu but no broth to work with. The downside to this is you're limited to slightly more than a gallon. For me, the convenience of Instant Pot bone broth outweighs this minor disadvantage because I can simply make another batch later in the week.
Instructions for making bone broth in the PRESSURE COOKER:
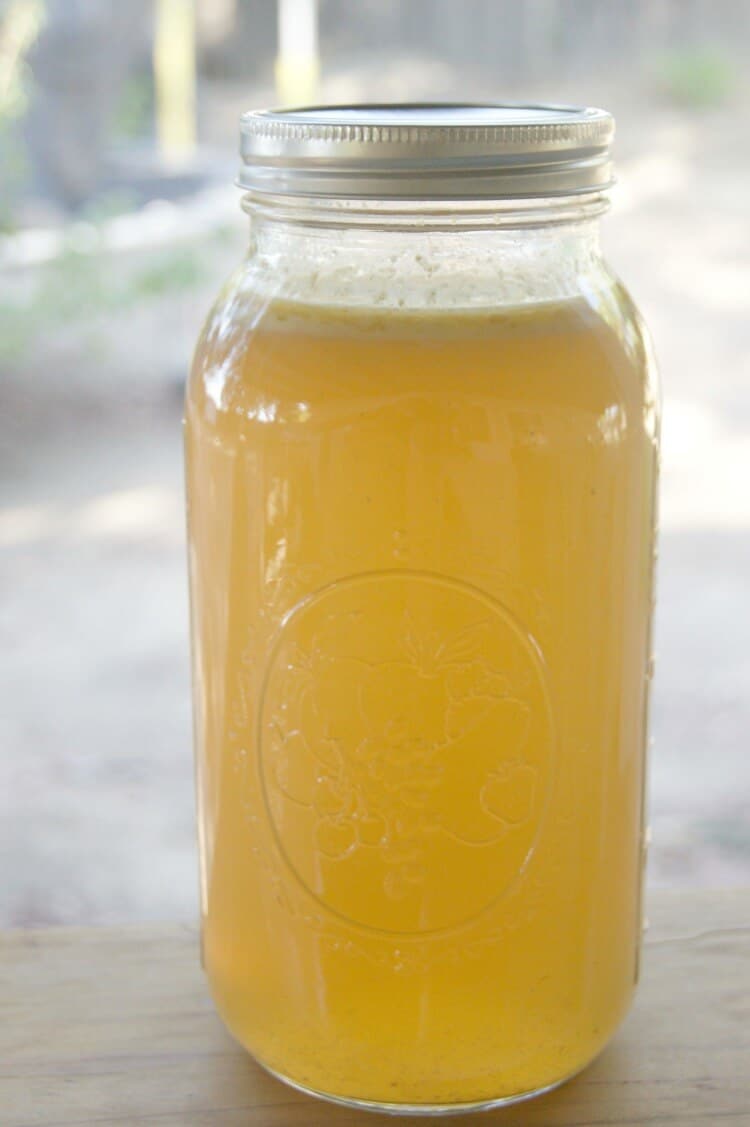
Place the roasted bones, vegetable scraps, seasonings and a splash of apple cider vinegar into the Instant Pot. Fill the pot with filtered water until it reaches about an inch below the max fill line. Place the lid on and seal, keeping the valve to slow release. Select SOUP, then LOW pressure for 90 minutes. Allow to naturally release pressure. When the broth has been cooked and it's safe to open the Instant Pot, remove the large pieces of bones and vegetables and strain the broth through a fine mesh sieve to catch all debris and herbs. Enjoy immediately or pour the strained broth into glass jars for storage. Remember to allow 2-inches of headspace for expansion if you're planning to freeze broth.
Pressure Cooker method makes about 1 gallon of broth in the least amount of time.
And there you have it. Three different ways to prepare healing and nourishing bone broth at home. Make sure you brush up on different ways to incorporate bone broth into your daily routine by checking out THIS post.
What is your favorite way to prepare bone broth?
::: Save this post for later :::
::: You might like these recipes calling for Bone Broth :::






Mila says
I love bone broth. Do you normally add filtered water just to cover all bones and veggies or as much as pot can hold? I am always afraid to add too much water thinking that broth will be not as nutritional? Also, in slow cooker, when you take some broth out and add water, how long can you go on using this method reusing same bones? Won't it eventually run out of nutritions? Maybe I misunderstood it. Thanks.
Anya says
Hi Mila,
Bone broth is so forgiving - you really can't go wrong with it. I've made it with enough water that my pot will hold and I've also made broth with 1:1 ratio (bones to water) that produced a very thick, rich consistency. And sometimes, that rich broth had to be diluted with more water as it was too fattening for our taste (and we love fat!). As far as nutrition goes, even weak broth will have nutritional value but I tend to reserve the weak broth for cooking grains. When making perpetual broth in the slow cooker, you may replace some bones with new ones (I'll usually toss some from a roast chicken or ribs that we had for dinner from that week). I'll do perpetual broth for 3-4 days and pour off cooked broth every morning and add more filtered water, veggies, seasonings, and bones. I'm sorry I realize my instructions were not clear - I'll edit them now. 🙂 Hope that helps, Mila.