

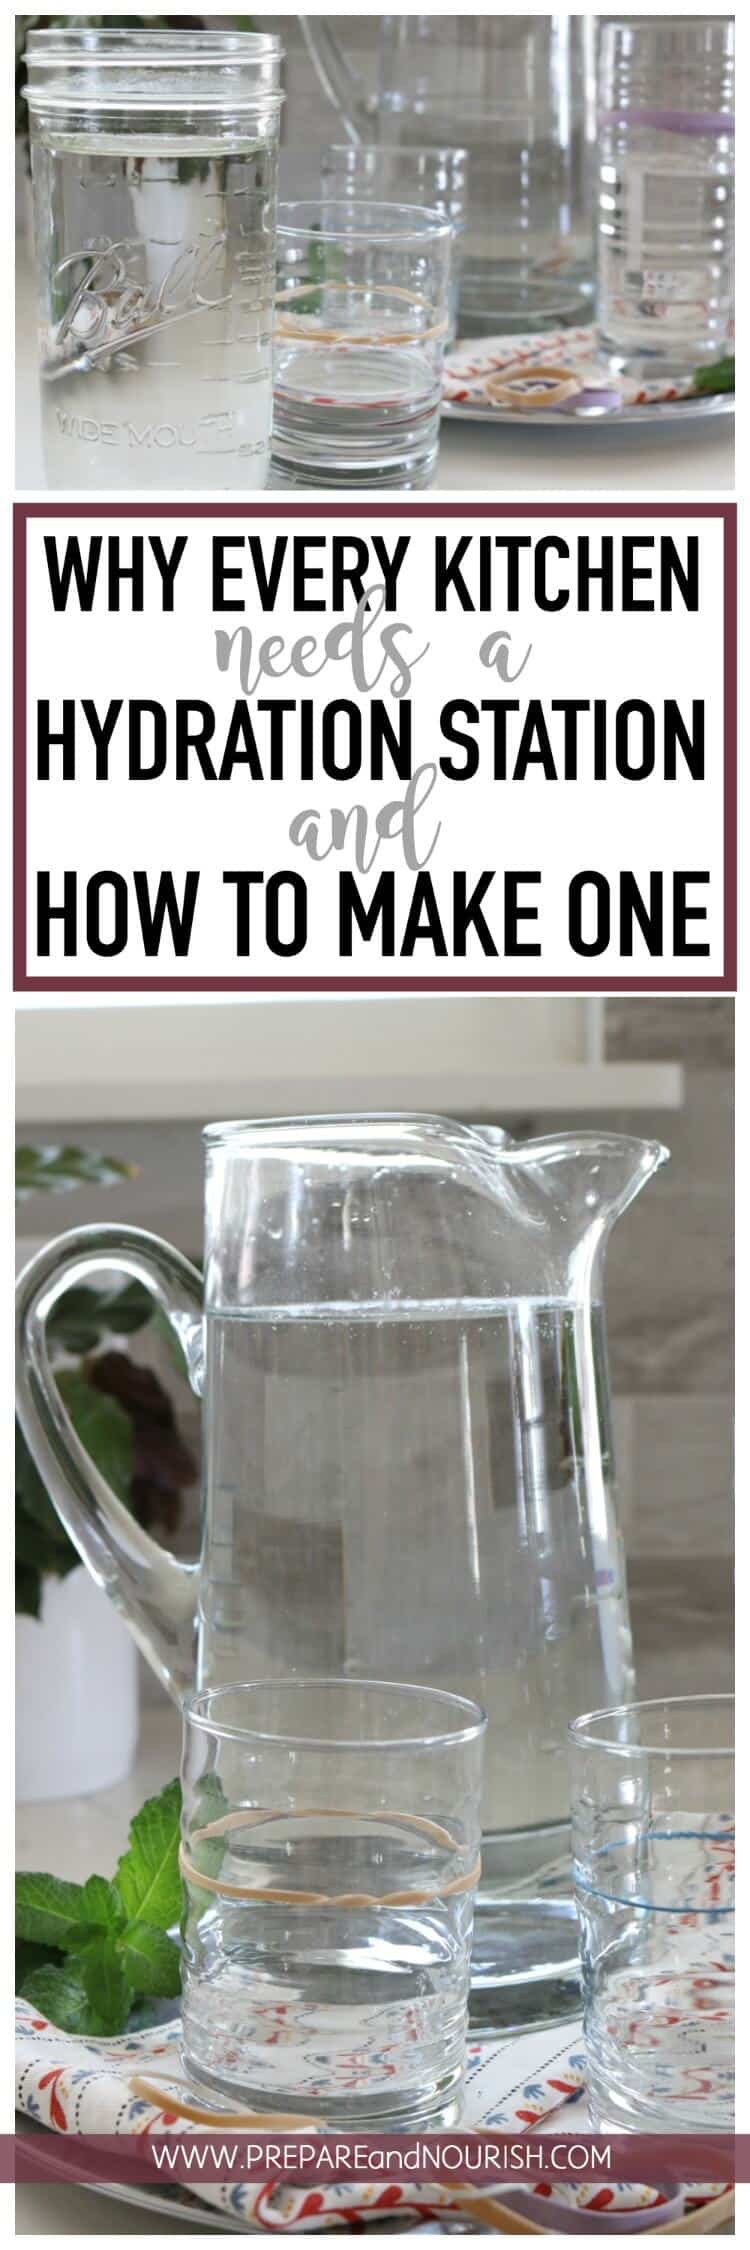
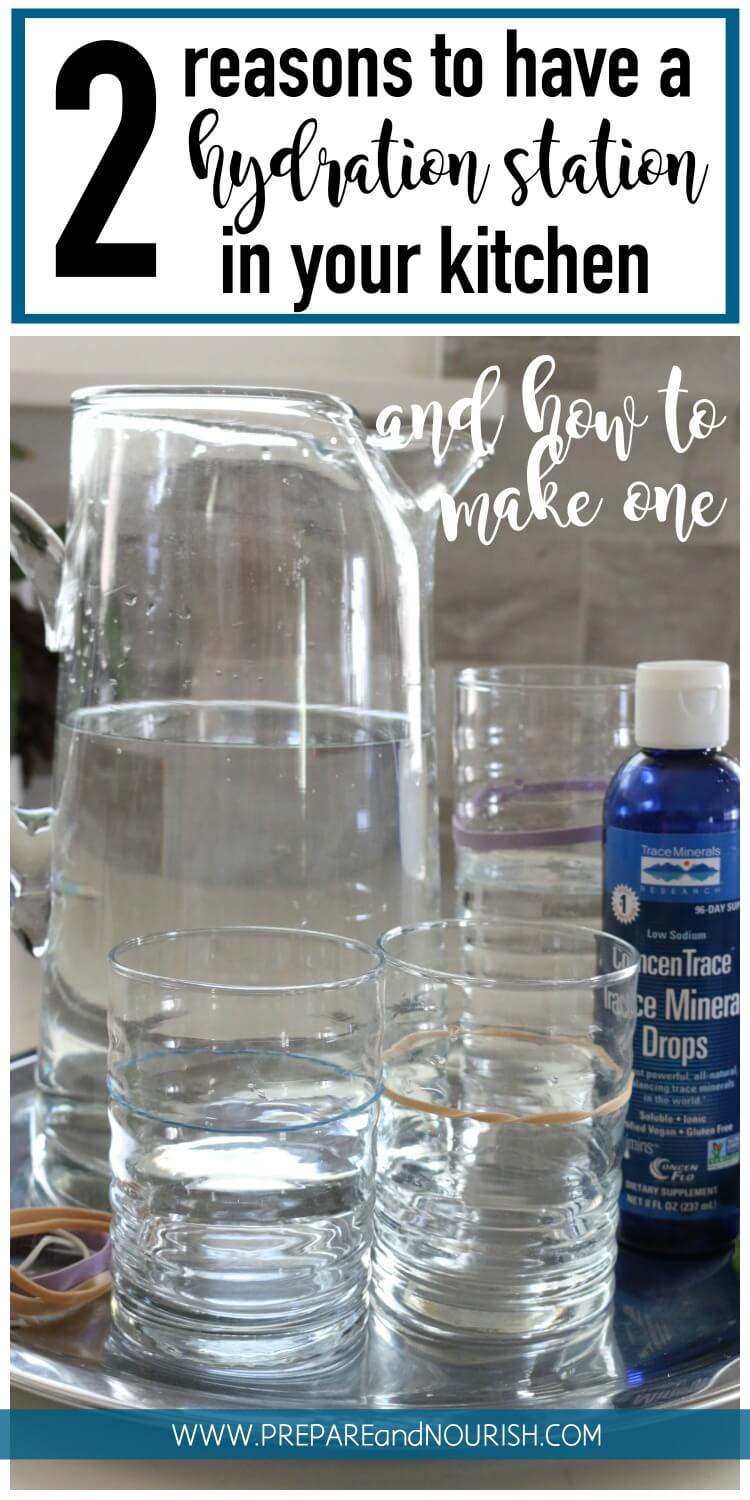
Check out two reasons why you should have a hydration station in your kitchen and learn how to easily make one.
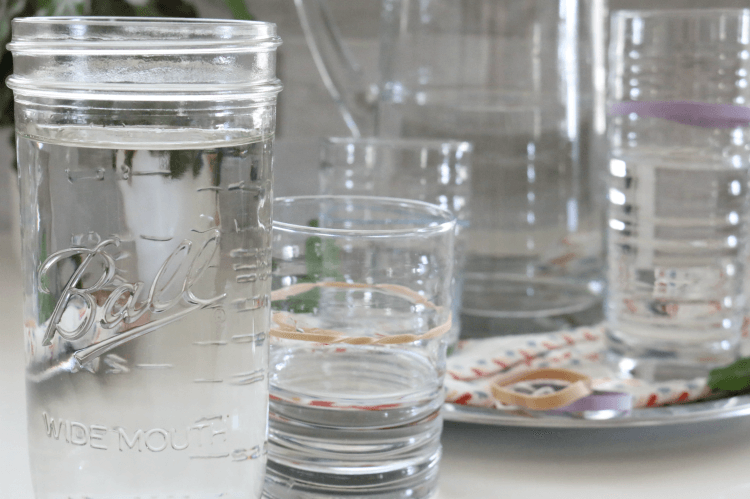
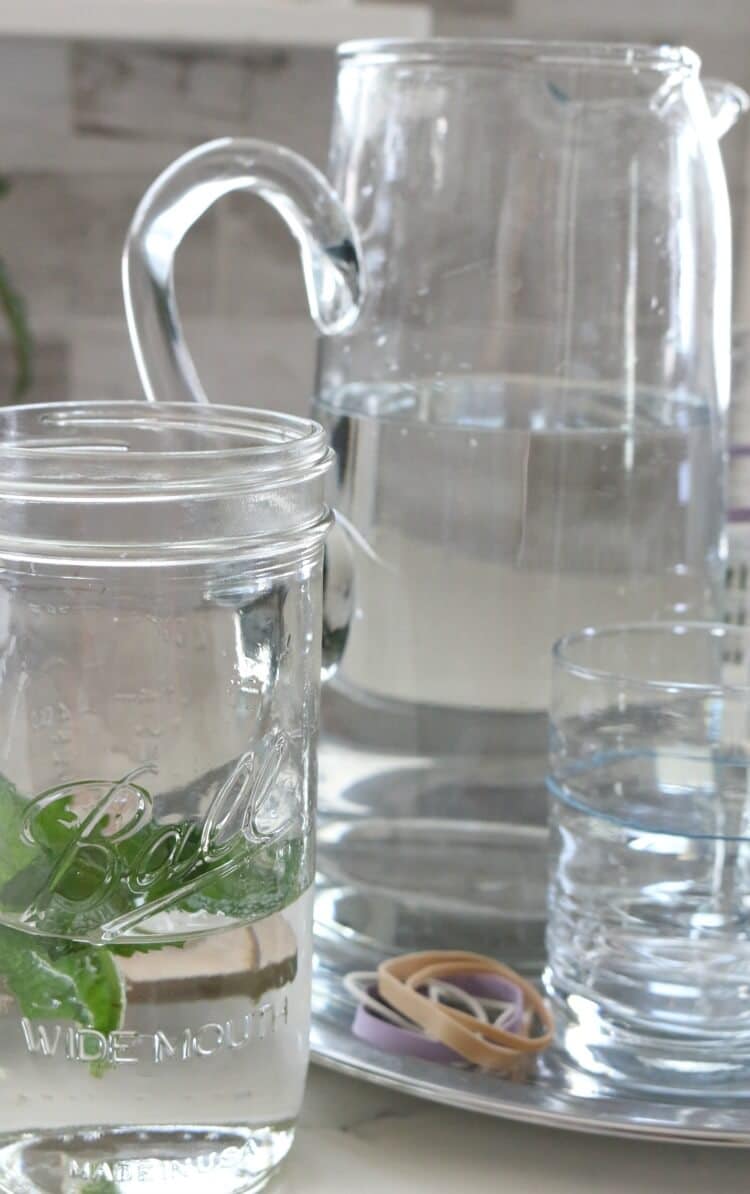
At the end of our counter, just by our door that leads to the patio area, we have a small area of a water pitcher and half a dozen glasses. It's nothing spectacular, just sits on a metal tray purchased at an estate sale and adorned with an IKEA house plant (a variety of calathea?). But that small area serves as our hydrating spot.
It seems so ridiculously unnecessary to create this "docking station" for hydration but there are reasons why every kitchen needs to have a water station.
Why Every Kitchen Needs a Hydration Station
Convenience Reasons
Raise your hand if you are growing increasingly frustrated at the countless glasses strewn about your kitchen. They're e.ve.ry.where! Kids. Husbands. Neighbors. Friends. Each person needs a new glass every time they take a gulp. Then they set the said glass wherever they please and until it's time to grab another glass to quench their thirst because there's no way they would risk contamination from someone else's glass.
I tried my best teaching them to reuse the same glass and remember where they last set it. I would tell my nieces and nephews - "your glass is next to the KitchenAid Mixer", "yours is right by the blender". And "yours is right in front of the Instant Pot, but no- not the one on the right, the other one."
I suppose you could use plastic or other disposable cups but I never have that on hand when I need it. Besides, to me it's a money waster and earth pollutant so I'll happily take my real glass glasses.
Solution: All glasses stay on the tray or nearby the water pitcher.
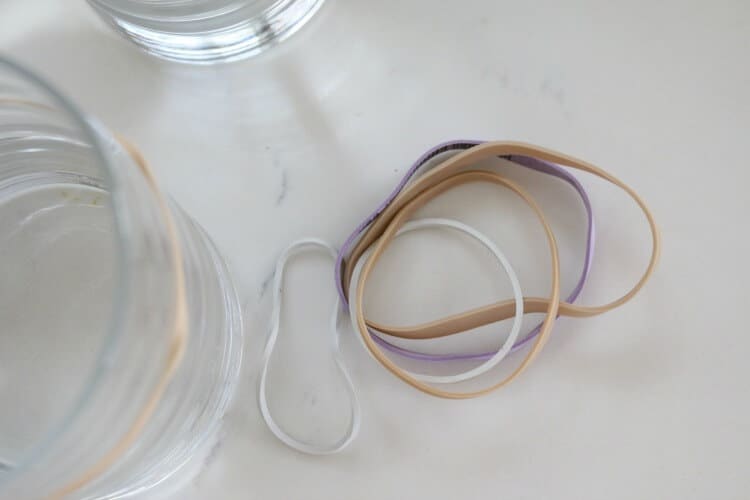
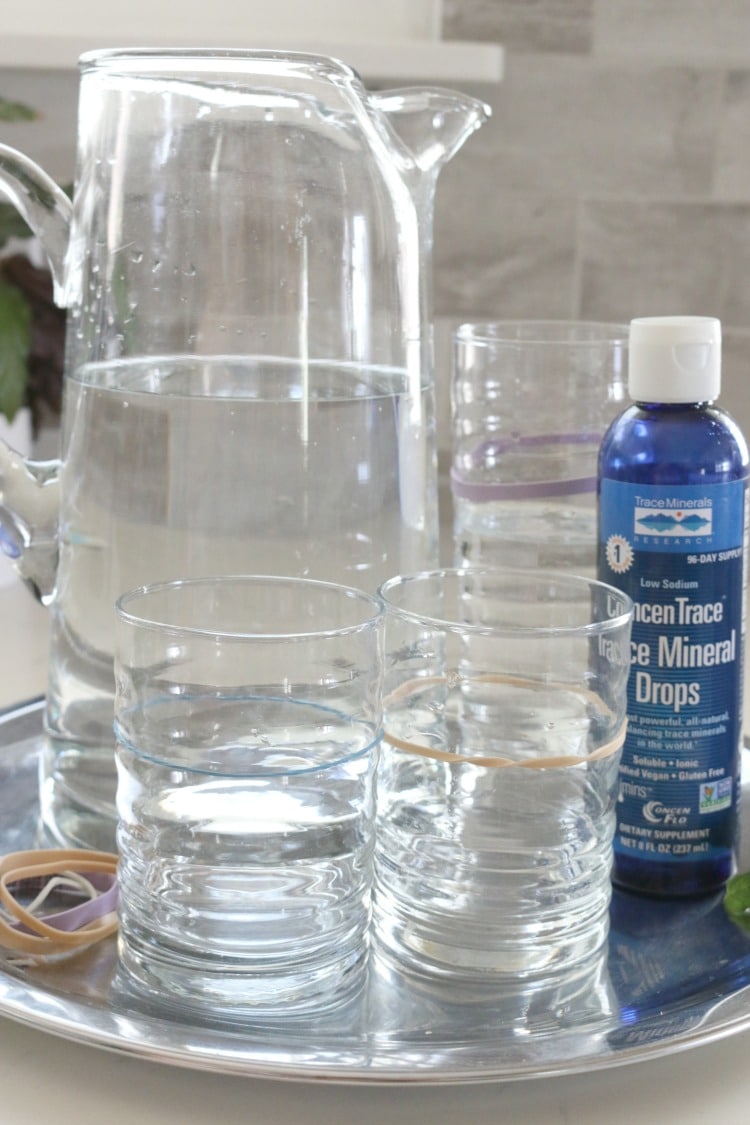
But how will you know which one belongs to whom? Use colored rubber bands. All the kids (or adults) need to do is remember what color rubber band their glass has. Take it a step further and put the same color rubber band on the wrist of the child so when they come it to get a drink, they'll be able to match the color of the glass band with that of their wrist band. Of course this would only work if you have enough different colored rubber bands so there aren't two of the same.
I re-used rubber bands from farmer's market produce but you can get multi-colored bands here.
Wellness Reasons
Minerals be gone!
This is one of the most important reasons to have a hydration station. If you have a heavy duty water filtration system like reverse osmosis, chances are your water is stripped of minerals and other nutrients. Reverse Osmosis is a great system to filter chlorine, fluoride, lead and other nasties but in the process they also filter beneficial minerals. Minerals that our bodies need for proper immune system function.
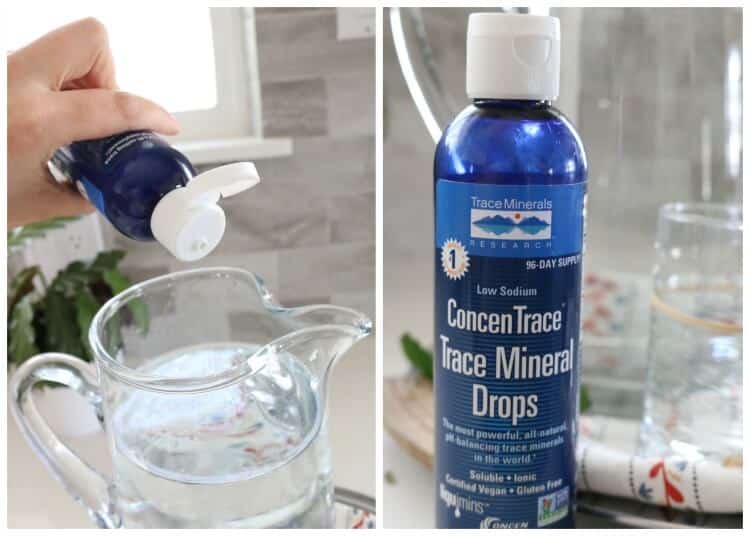
I add those minerals back into the water by adding a few drops of this to my pitcher of water. I realize it's far from the ideal of spring water naturally rich in minerals but not everyone has access to spring creek in their backyard.
You can also add herbs to your pitcher or any of these add-in from this Detoxifying Waters post. Or just plain water with minerals works great.
No more ice cold water!
If regular body temperature is 98.6 F degrees, imagine what a tall glass of ice cold water does to your internal temperature. If there's anything I've learned over the past years of healing a severe hormonal imbalance, it's that you want your body temperature as close to 98.6 as possible.
Sure, drinking ice cold water feels nice when you're at the poolside and it's 2000 degrees outside and is probably a very smart thing to do to cool off. But under normal conditions, we avoid cold drinks to hydrate. If we want a cool treat, we make ice cream or a smoothie as those are typically enjoyed slower, giving your body time to adjust gradually.
I personally have found that I am better quenched with room temperature water than ice cold water or even water straight from the refrigerator. My body prefers water that is closer to my natural body temperature.
Solution: Having a pitcher of water set on your counter will give you room temperature water that not only hydrates but wont shock your insides. Adding minerals to the pitcher will assure you're getting the maximum benefit from your aqua.
How to Create a Hydration Station
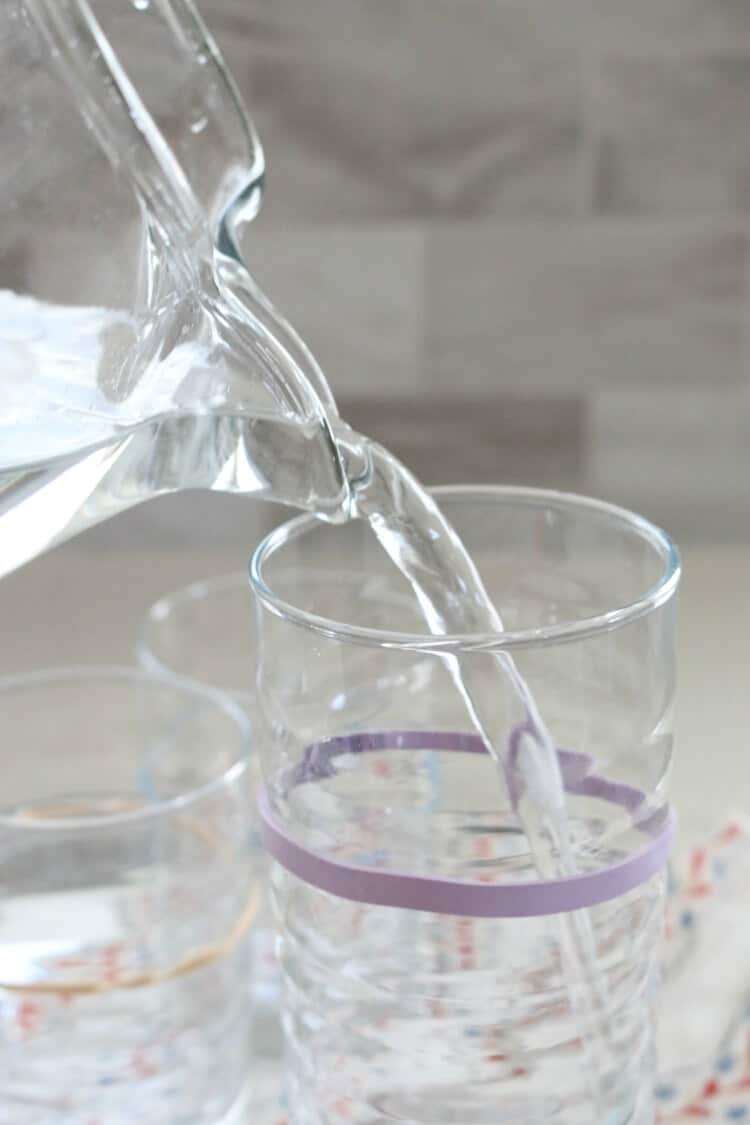
Very easily. Grab a pitcher of water, fill it with filtered water. Add 10-20 drops of trace minerals and give it a quick stir. Set a few rubber banded drinking glasses around the pitcher. Instruct your family to remember which color belongs to them so they can re-use it.. Remove the rubber bands before washing the glasses at the end of the day and refill the pitcher as necessary.
There you go. No more empty glasses filling every counter space and you'll have good-for-your-body water ready at your fingertips. Stay hydrated, friends!
Pin this!


Emily @ Recipes to Nourish says
Why have I not thought of this before?! Seriously, how many glasses (and in my Tiny Love's case - stainless steel straws) can you use every. single. time. you get a new drink. Sigh. My kitchen is full of those numerous glasses right now. I need do this!
Anya says
Right? Like how many glasses do you actually need in one day? Urgh!
Rachel Pelczar says
Yes, we have something similar! We live in the desert and my kids only like cold water, so I skip the pitcher for them. However, I bought a set of colored silicone bands on Amazon. These bands stay on the cups (glass or plastic), even in the dishwasher, and they have 2 of each color, so each of my kids has 1 cup for water and 1 for dinner with their color, with tons left for guests!
Anya says
Such a great idea!