This easy gluten free rice krispie treats recipe promises that irresistibly chewy, crispy goodness that will have you reach for seconds. Made with only 4 simple ingredients, you'll feel good about serving these gluten free rice crispy treats to your family! It's the perfect blend of sweet indulgence and wholesome goodness, all wrapped in a classic favorite!
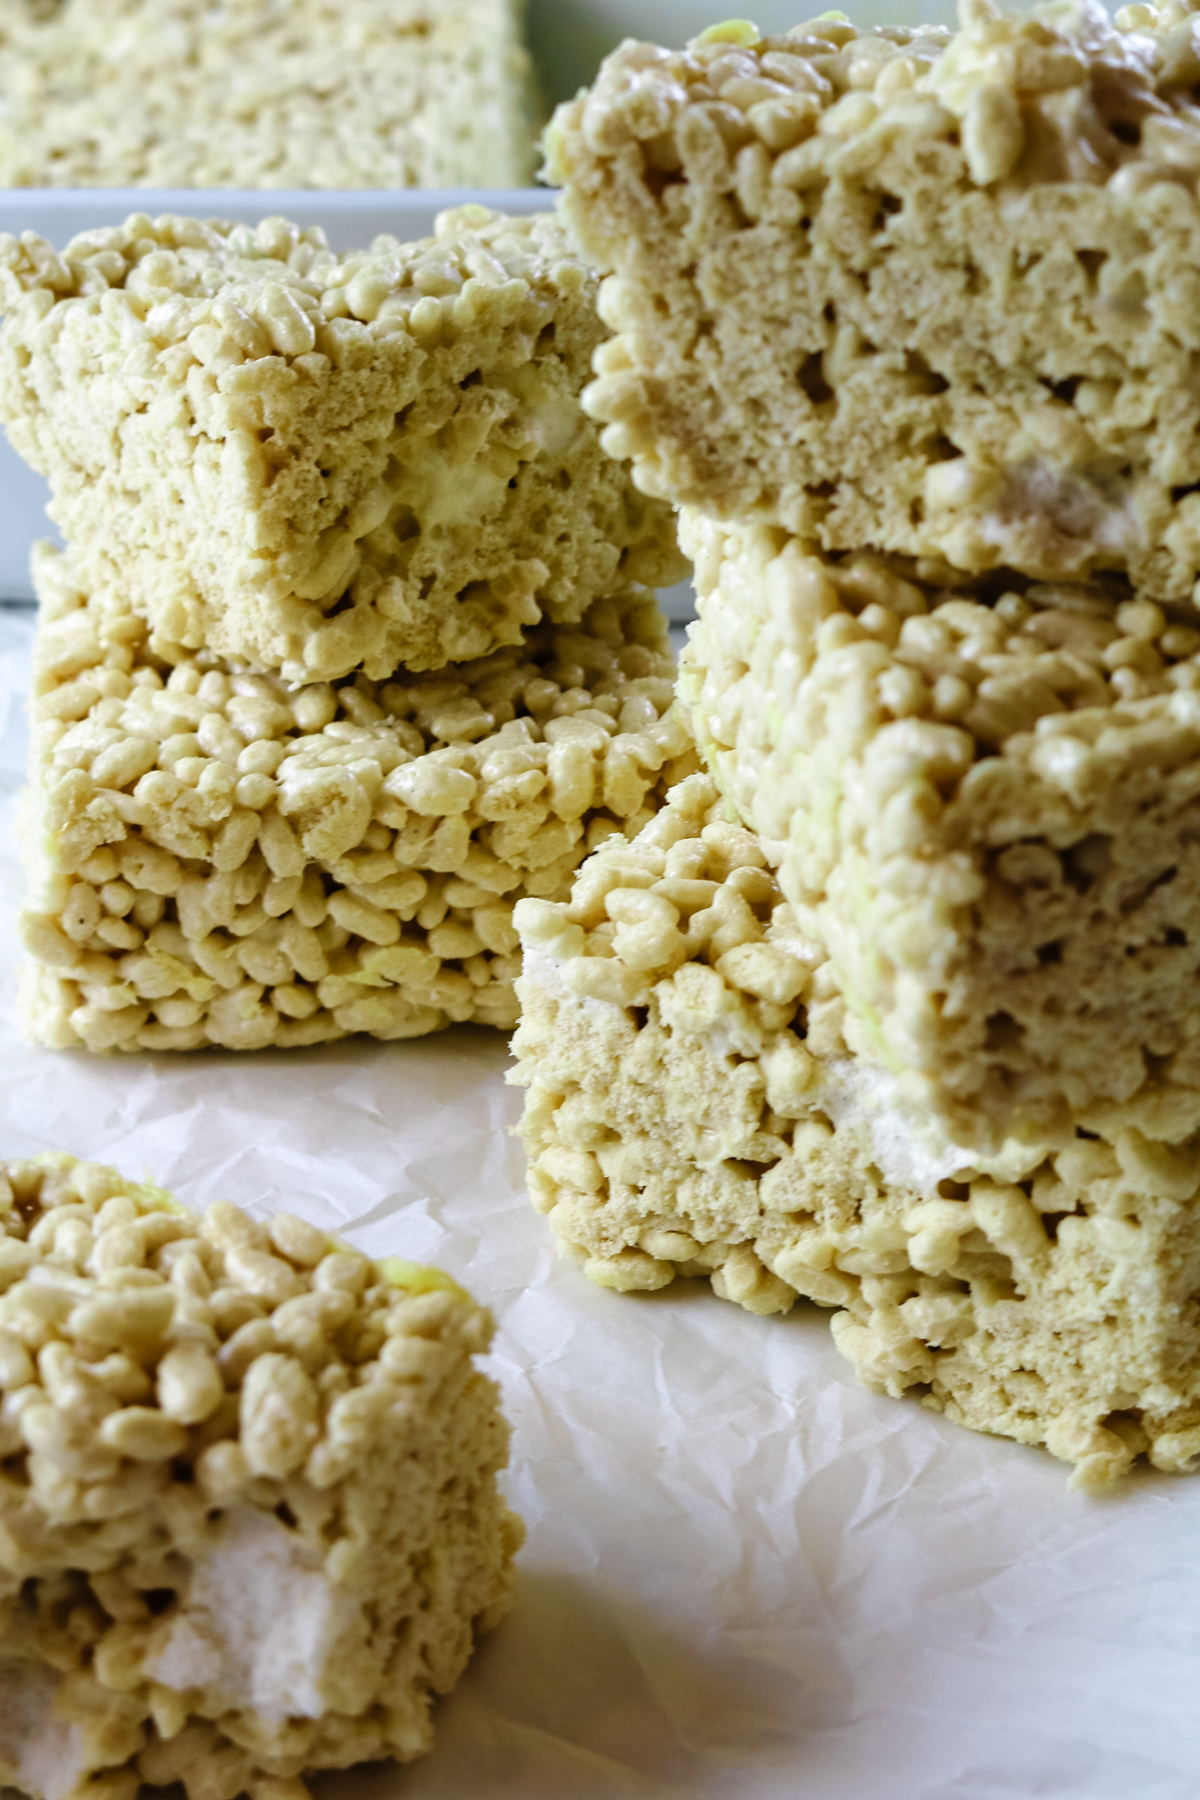
If you love the original recipe of ooey-gooey marshmallow treats but hate the malt syrup and high fructose corn syrup, stick around. I'll show you how you can make a gluten-free version of this classic dessert that doesn't skimp on flavor, texture, or that sweet tooth satisfaction.
Looking for more healthy desserts?
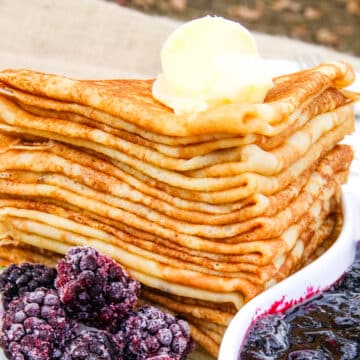
Check out coconut flour banana muffins, healthy chocolate muffins, and gluten-free crepes recipe.
Jump to:
Recipe Overview
- Prep and Cook Time: 30 minutes of hands-on prep
- Cooking Method: Stovetop only, no-bake treats
- Dietary Info: Gluten-free
- Tools Needed: Saucepan, large bowl, deep casserole dish
- Skill Level: Easy
Key Features & Benefits
Cooking method - No need to crank up the oven; this classic treat is made with just melting the marshmallows over stovetop and mixing it with gluten free crispy rice cereal.
Suitable for dietary needs - This is an easy treat that you can make healthier by using homemade marshmallows made with grass-fed gelatin and local honey and sprouted brown rice cereal.
Picky eaters - Take a classic dessert and spruce it up with better-for-you ingredients that even the pickiest of eaters will be nourished by.
Meal prep friendly - Great to make on the weekend to last you all week long. Better yet, double the batch and freeze for later use.
Ingredients for Gluten-Free Rice Crispy Treats
Learn how to make healthy gluten free rice crispy treats with 4 simple ingredients. This easy recipe takes only 30 minutes of hands on time and a few hours to set.
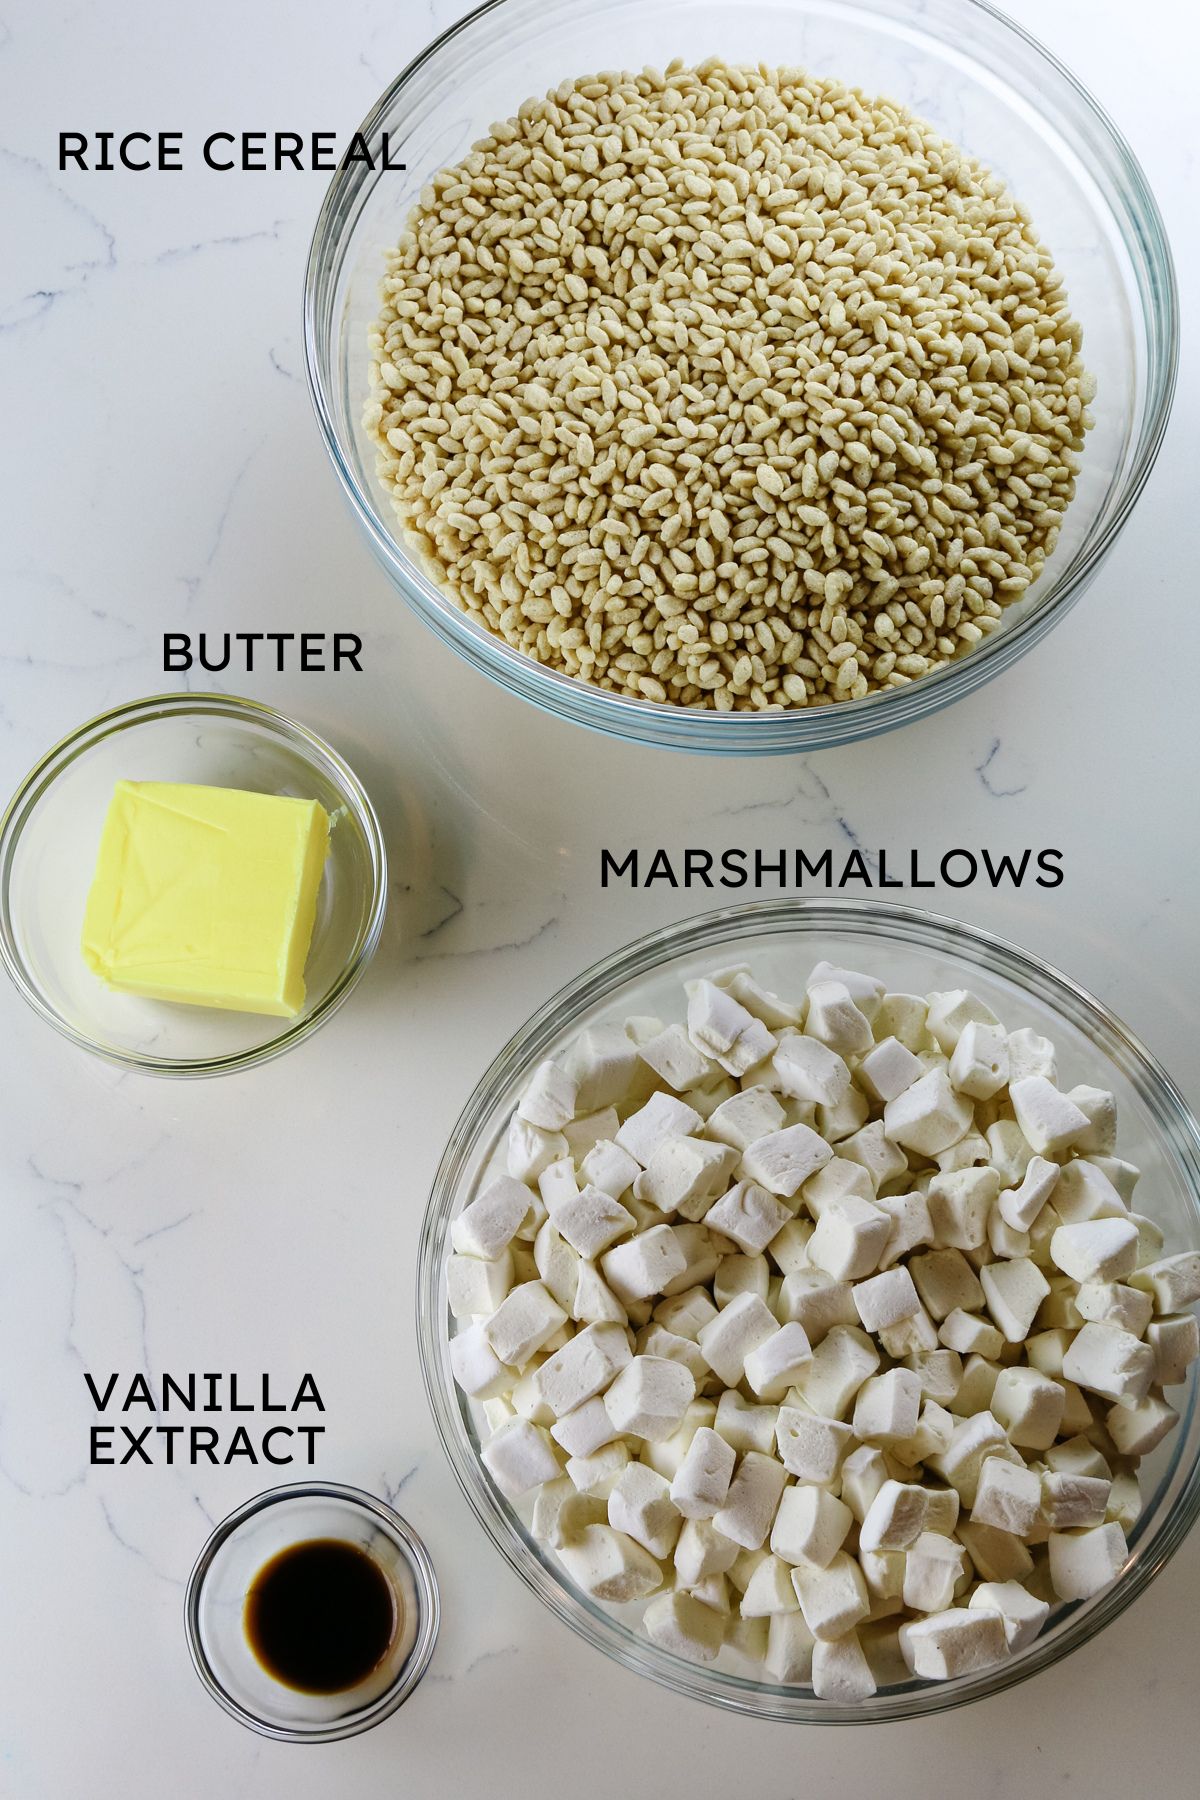
- Gluten-free rice cereal: The gold standard for homemade rice crispy treats has always been Kellogg's Rice Krispies Cereal, but they are not gluten-free because they contain malt flavoring. And even if they were, the ingredient list leaves something to be desired. Instead, I prefer to use One Degree Brown Rice Crisps. They are made with sprouted brown rice and slightly sweetened with coconut sugar. A much better option for an occasional treat!
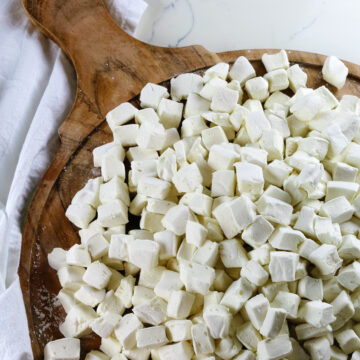
- Marshmallows: The best quality marshmallows are those you make yourself with a healthy sweetener like honey. Check out my recipe for healthy marshmallows. But as a treat, you can use these 365 by Whole Foods Marshmallows.
- Butter: Unsalted butter is an important ingredient as it helps the marshmallows melt and fold into the rice cereal more easily, adding moisture and rich texture to the rice crispy treats.
- Vanilla extract: Optional but adds a sweet aroma.
💭Pro Tip: One thing to note about the gluten free brown rice cereal is that One Degree brand is more dense so you may need to compensate that by adding a little bit more marshmallows and butter. If you want that same airy cereal, try another brand of gluten-free rice cereal like Whole Foods 365 Brown Rice Crisps or Nature's Path Rice Puffs.
See the recipe card for exact quantities.
Substitutions and Variations
- Chocolate deluxe - take individual rice krispie treats and dip halfway into melted chocolate and sprinkle chopped nuts.
- Sprinkle fun - add food-safe sprinkles into the melted marshmallows to make it more festive.
- Chocolate chunks - throw in some chocolate chips or chunks of white chocolate into the marshmallow mixture.
- Add a nut butter - give these crispy rice treats a boost with a sprouted nut butter like almond butter or a healthy peanut butter.
💭Make it Nutrient-Dense: For maximum nutrition in these gluten free rice crispy treats, use the One Degree sprouted brown rice crisps, homemade marshmallows, and grass-fed pastured butter.
How to Make Rice Crispy Treats Gluten Free
The complete printable recipe is below in the recipe card for your convenience. Follow these simple step-by-step instructions for the best results.
Step 1. Prepare
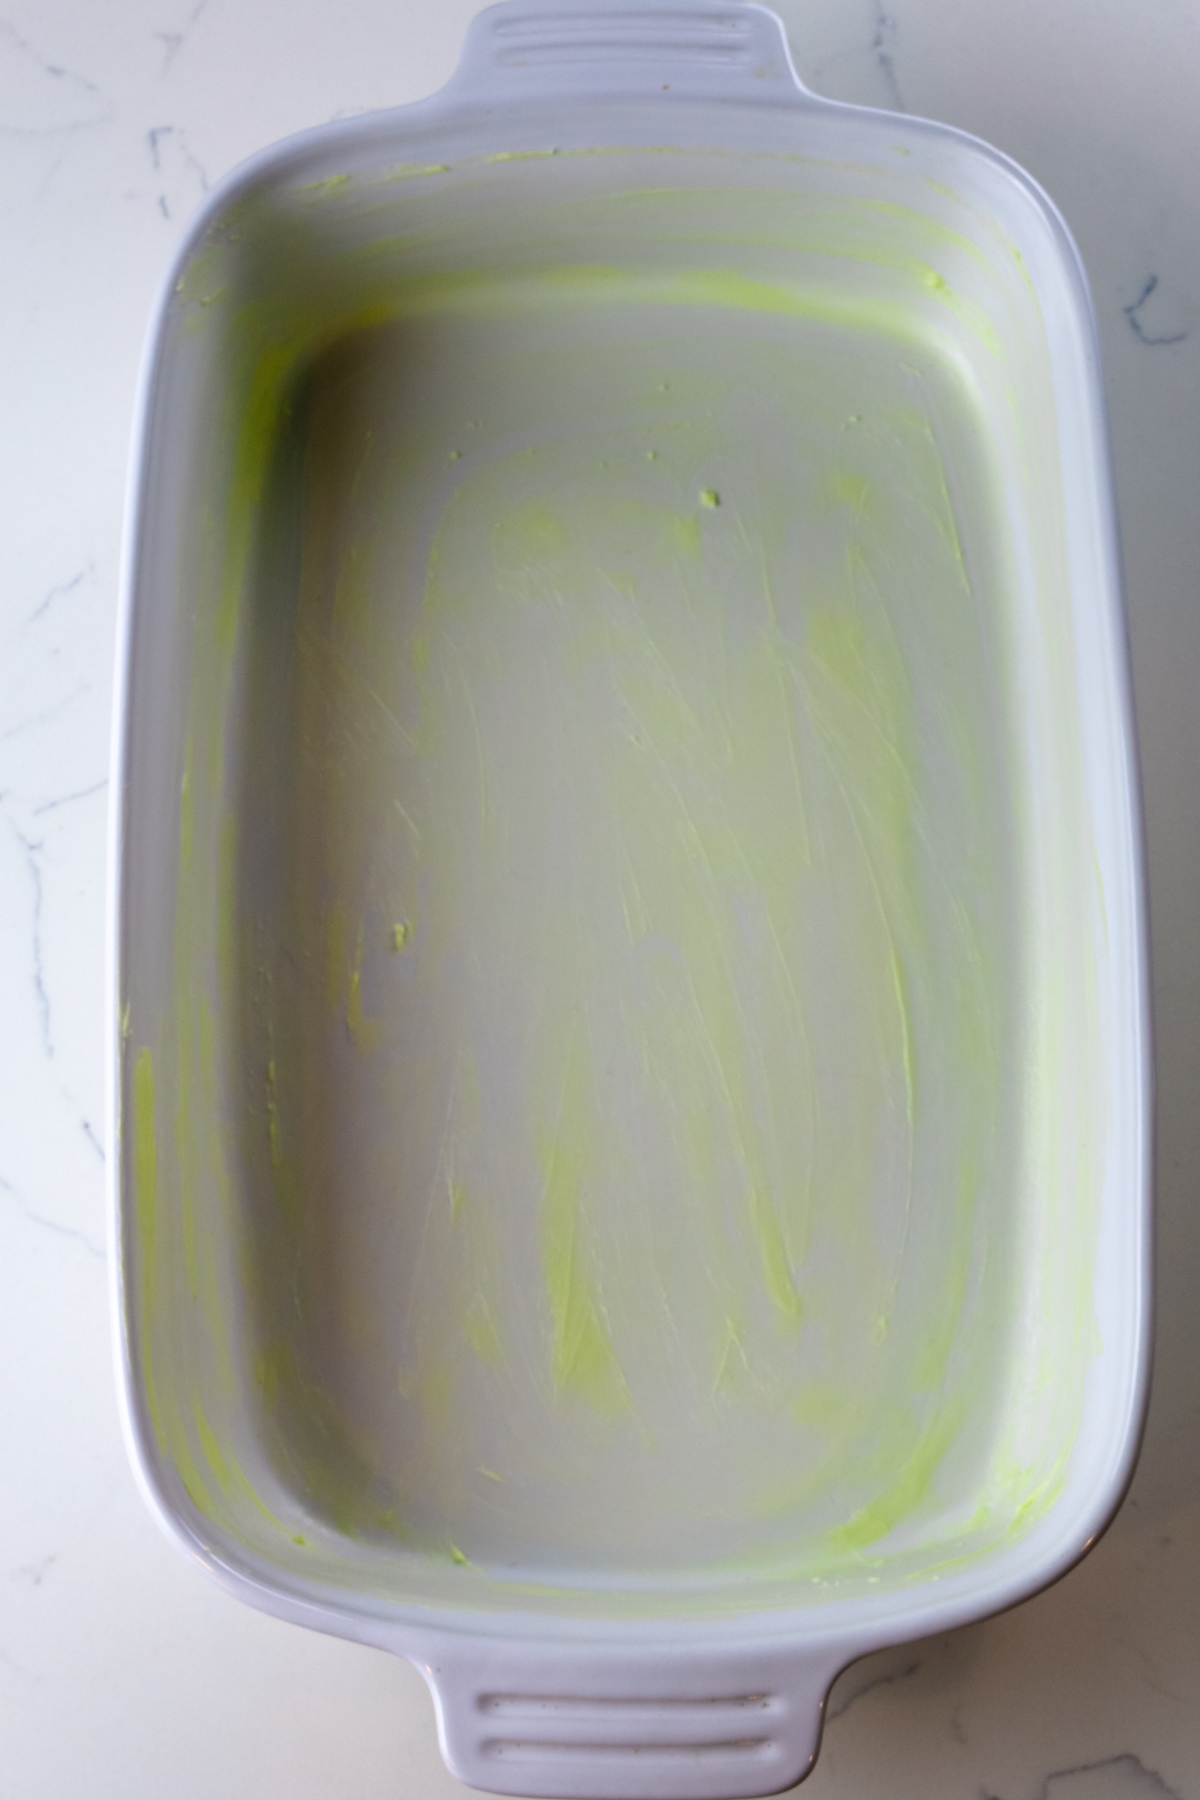
Grease a 9x13-inch baking pan generously with butter or coconut oil. Pour the cereal into a large bowl.
Step 2. Melt
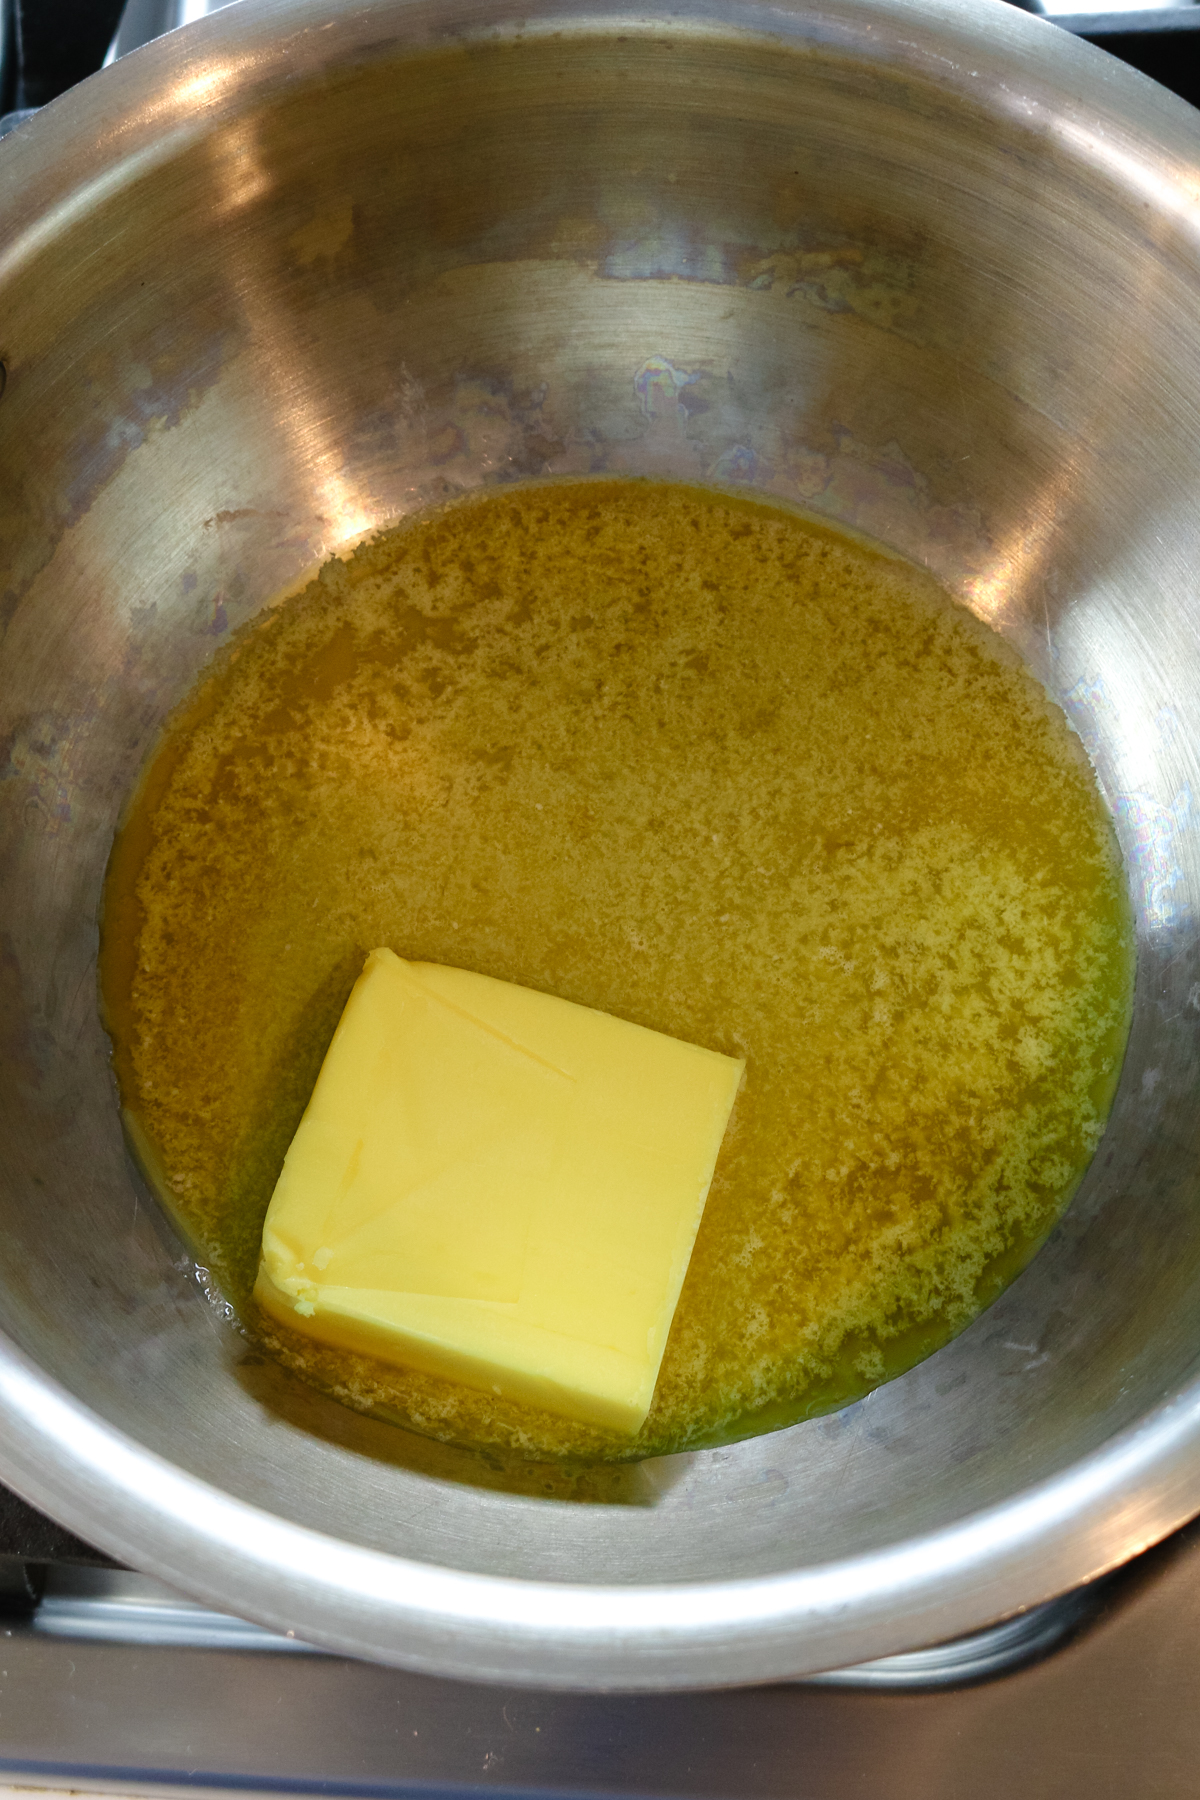
In a large pot over low heat, melt butter until almost completely melted. This will take approximately 5 minutes.
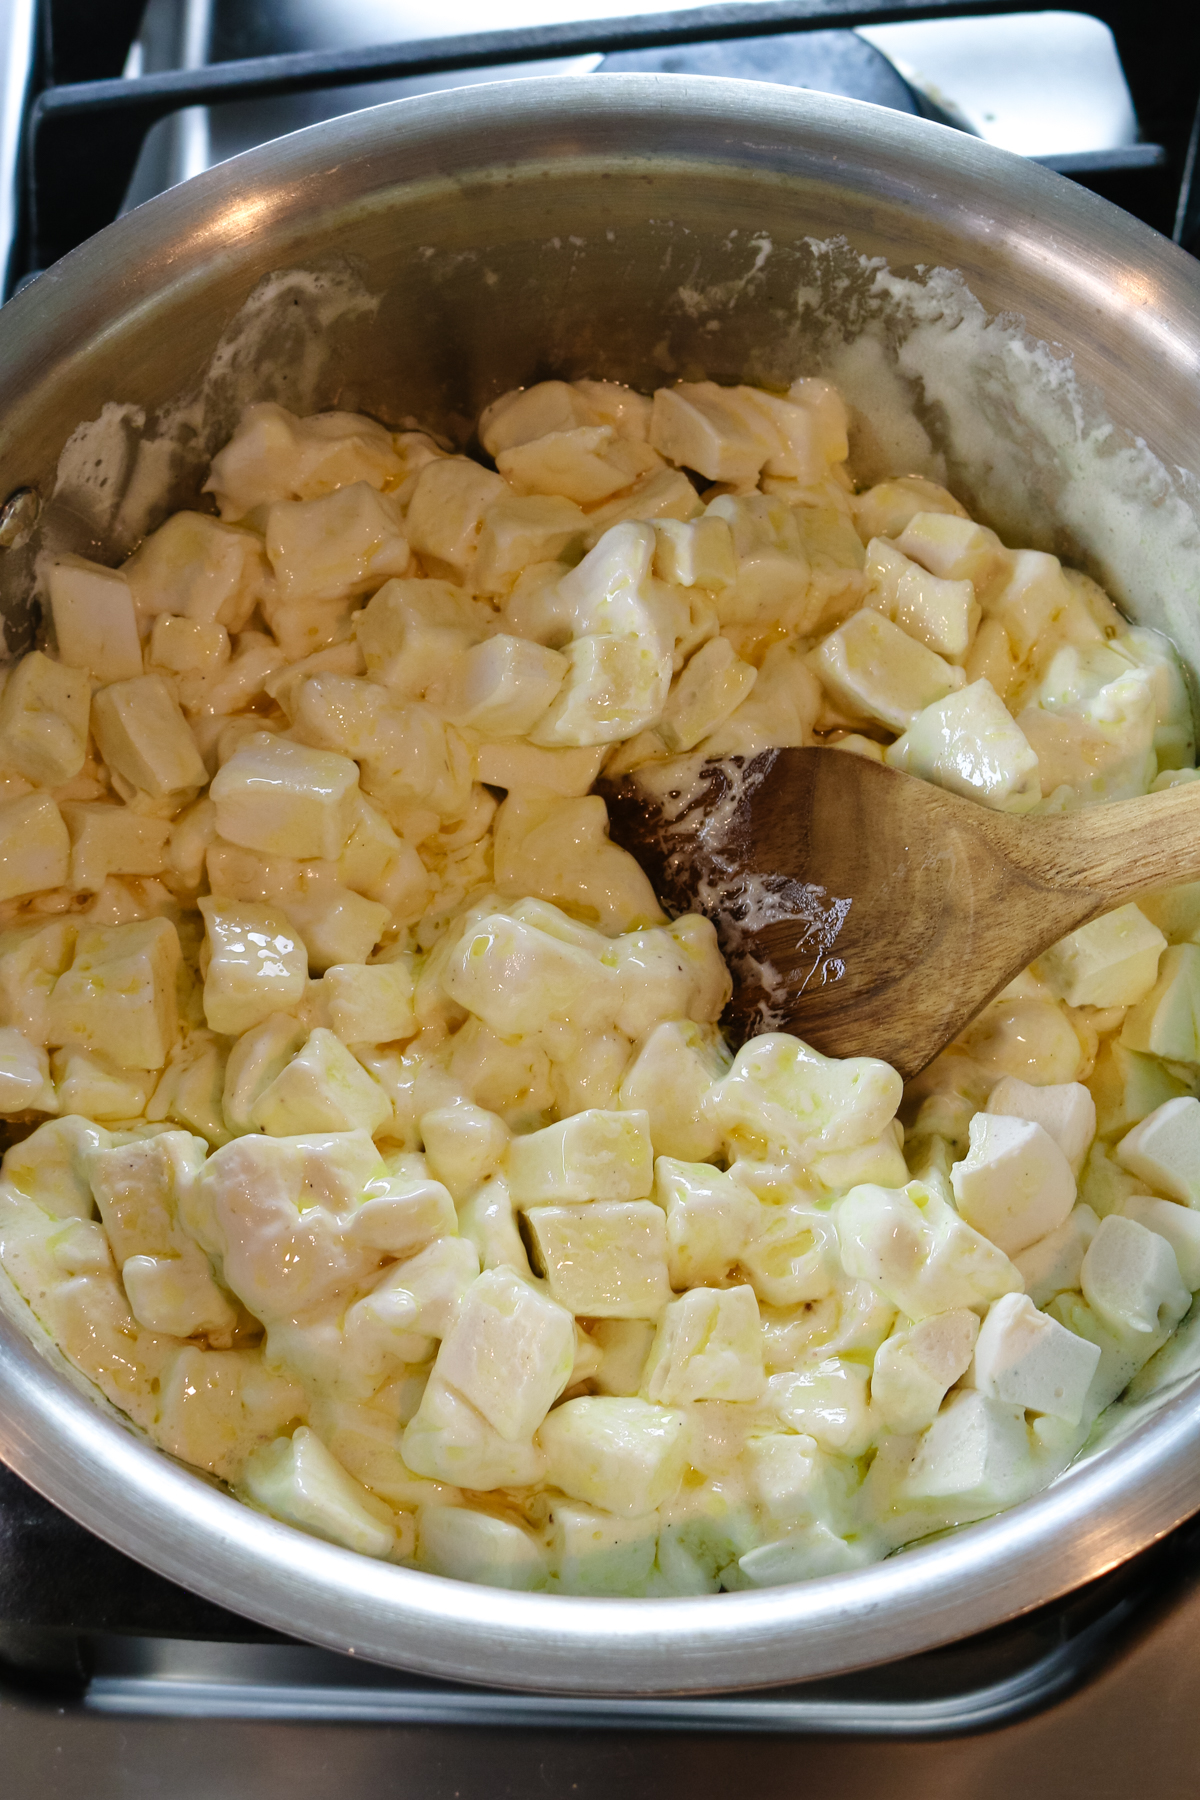
Step 3. Stir
Add marshmallows, reserving about a cup to add later, and stir until completely melted and smooth. Stir in vanilla extract and salt.
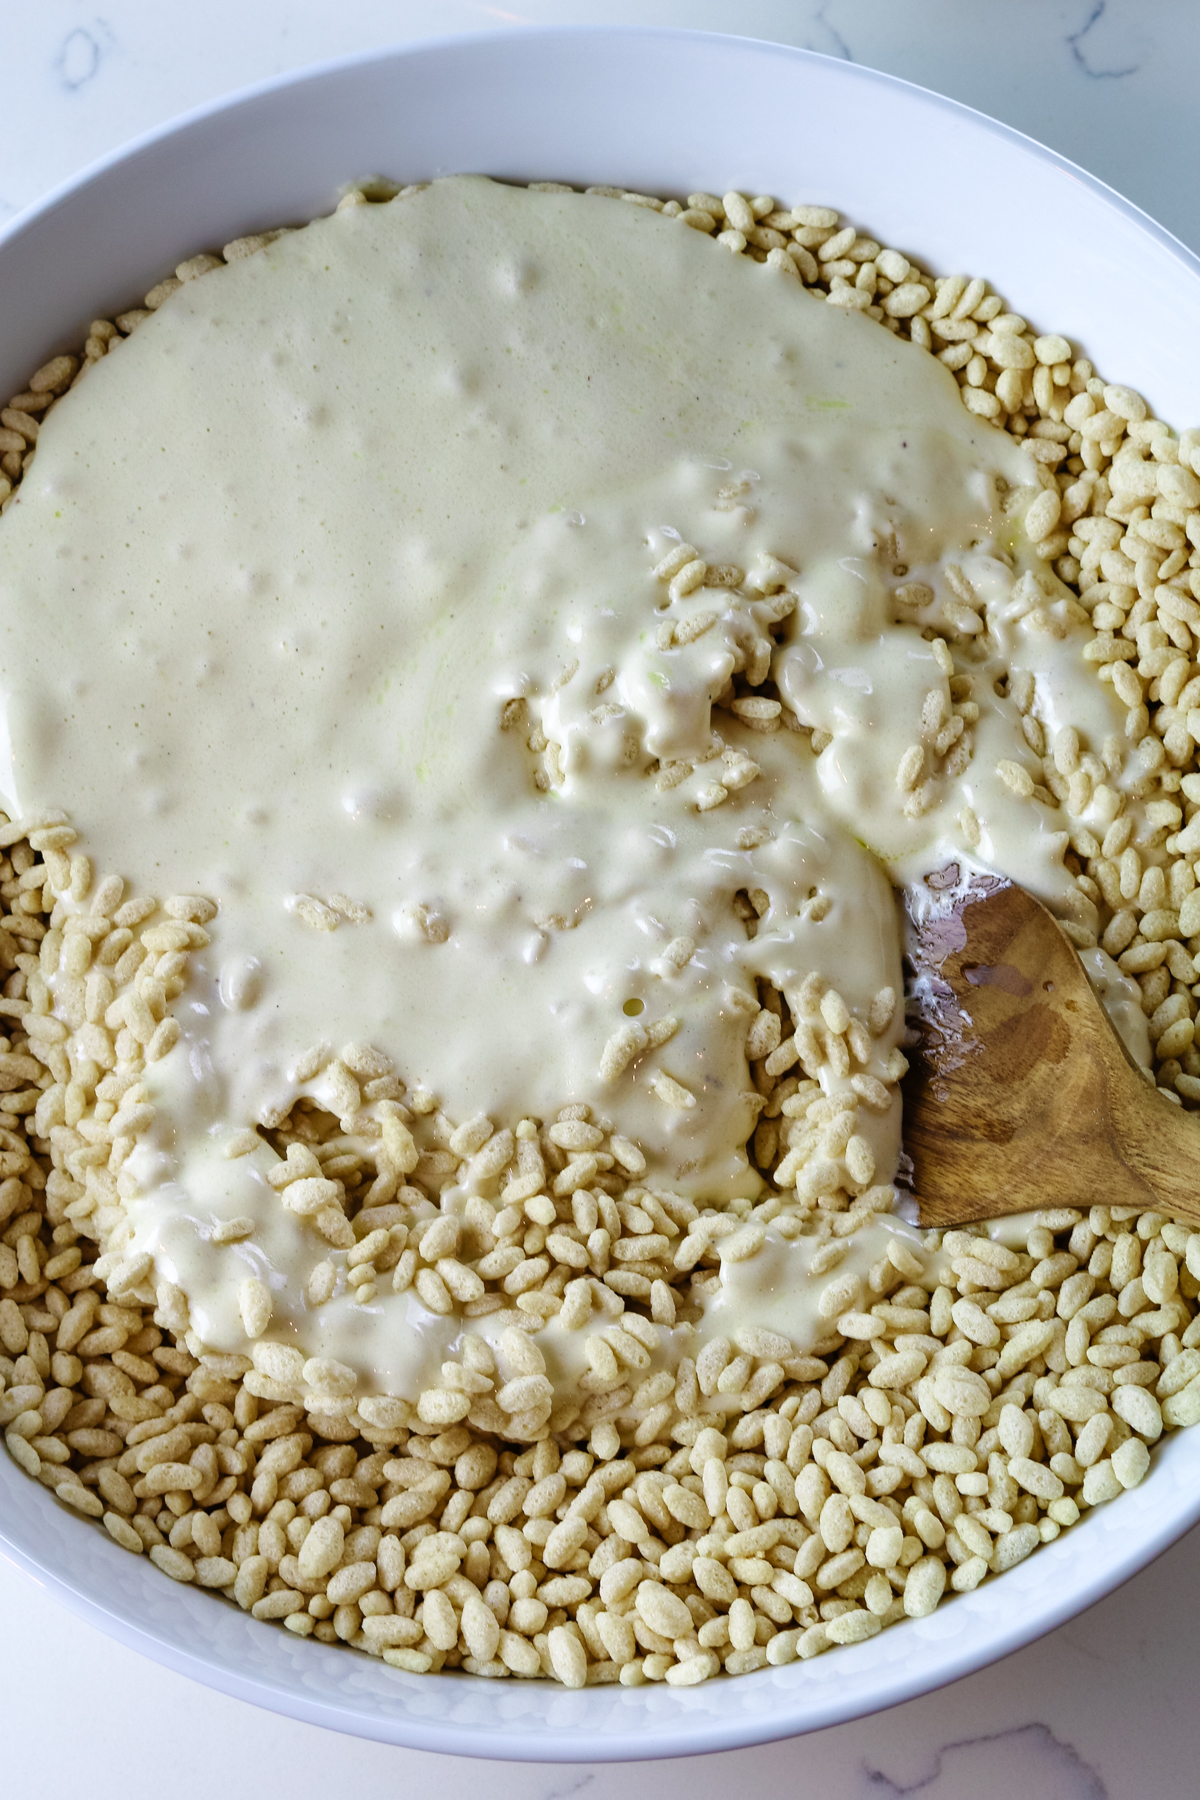
Step 4. Combine
Remove the melted marshmallow mixture and add to the rice cereal. Gently fold the cereal into the melted marshmallow until evenly coated.
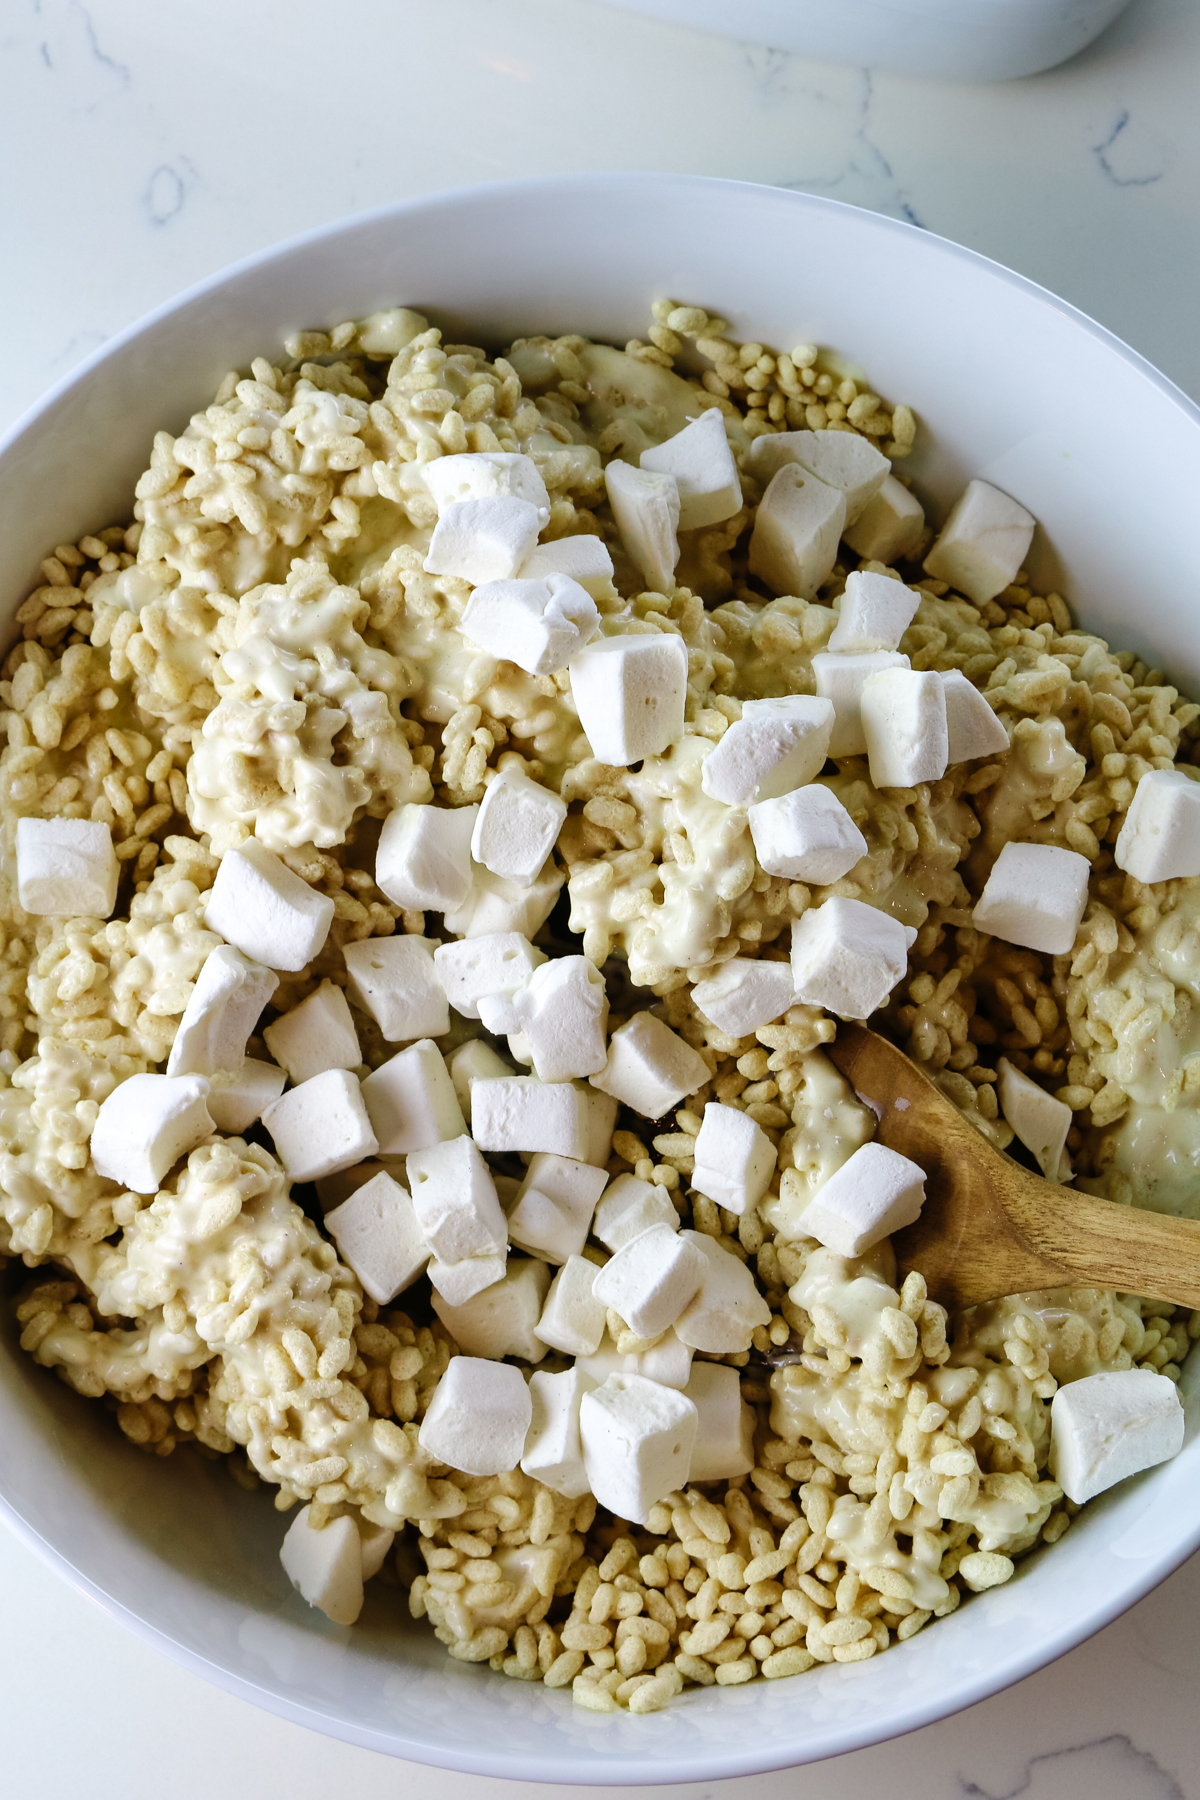
Step 5. Fold
Add reserved marshmallows and fold them into the cereal-mallow mixture. If adding other add-ins, do so now.
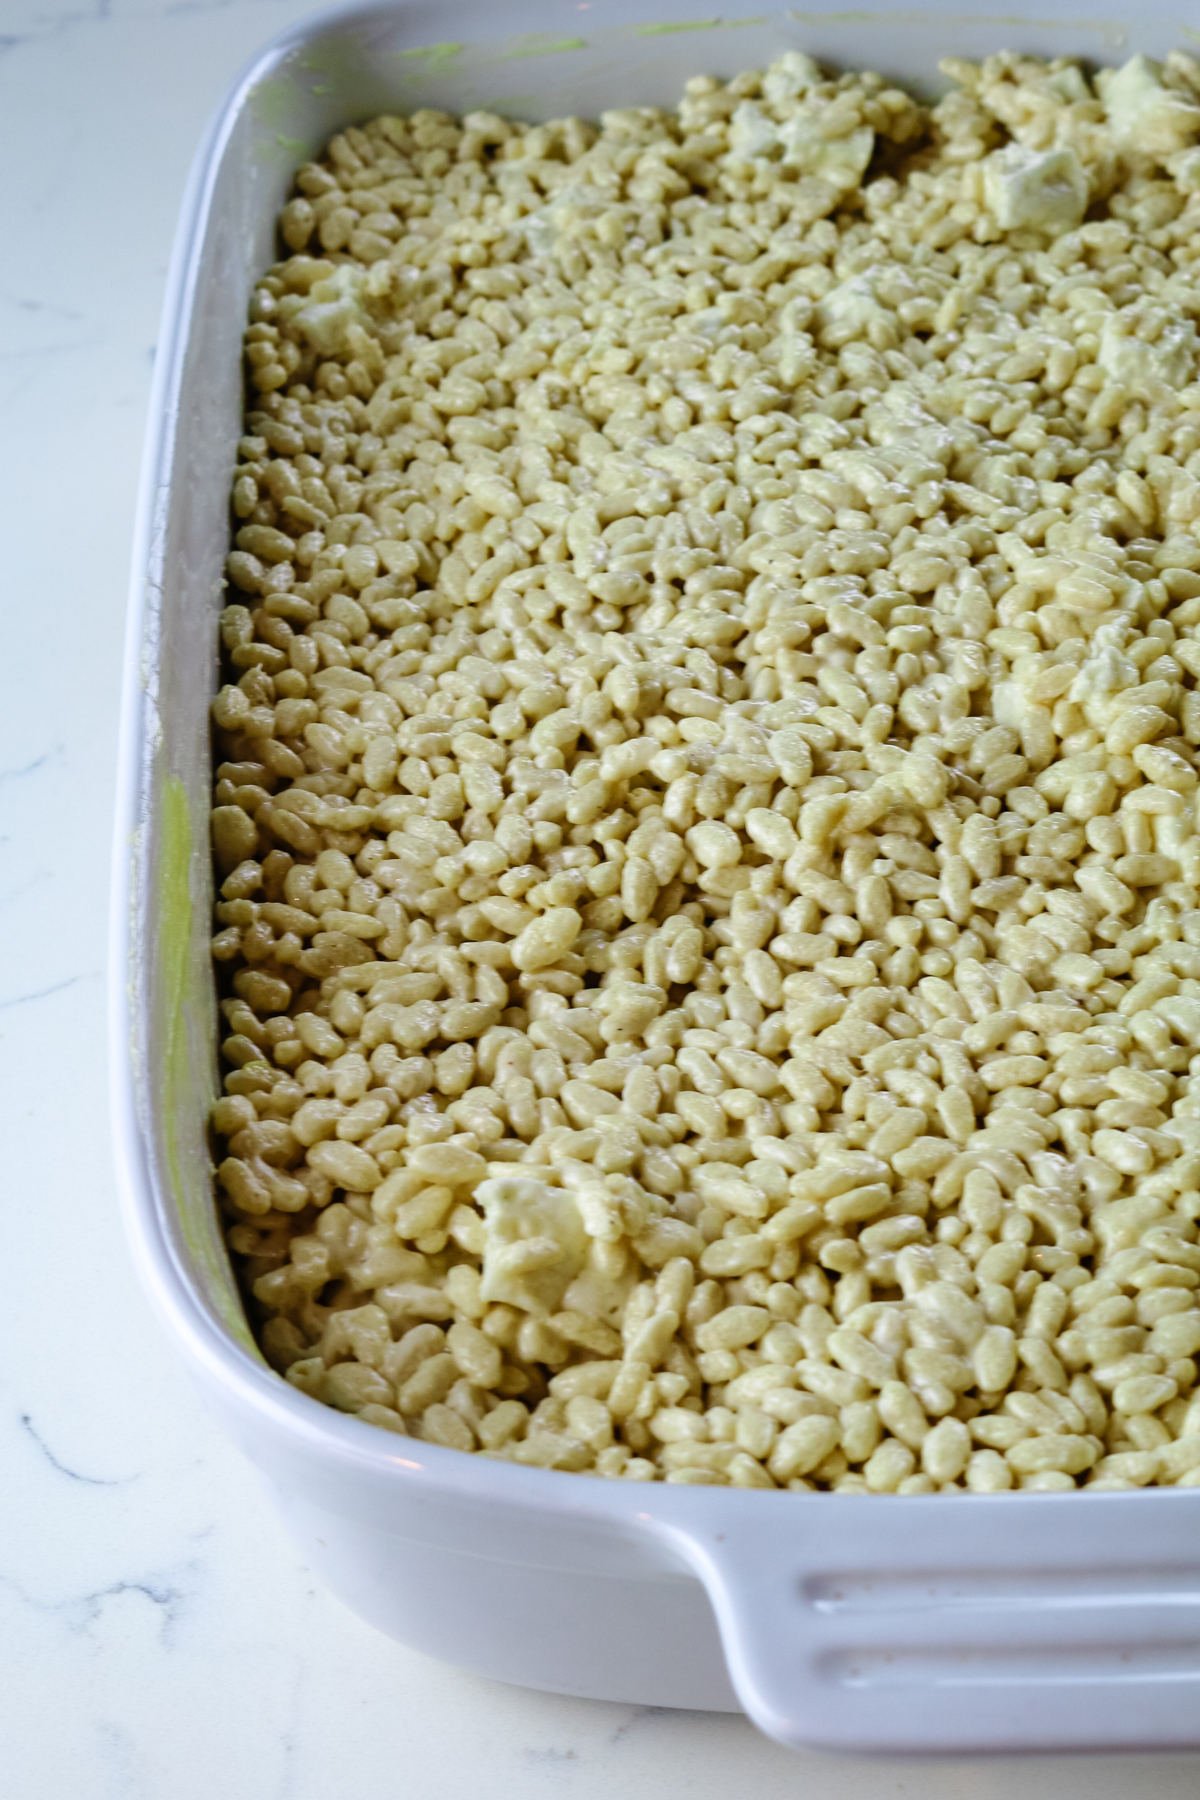
Step 6. Press
Transfer the mixture to the prepared pan and press it into the dish using an offset spatula or your hands.
Helpful Tips for Healthy Rice Krispie Treats
Keep the heat on low - When melting marshmallows, it's important to keep it on low heat as the high heat can inadvertently harden the marshmallows.
Stick with it - It will be hard to stir when folding the cereal into the marshmallow mixture as it'll be awkward and sticky. Just slowly and gently continue to fold until evenly coated.
Lightly grease your hands - You may want to oil your hands or the spatula when pressing the cereal mixture into the pan.
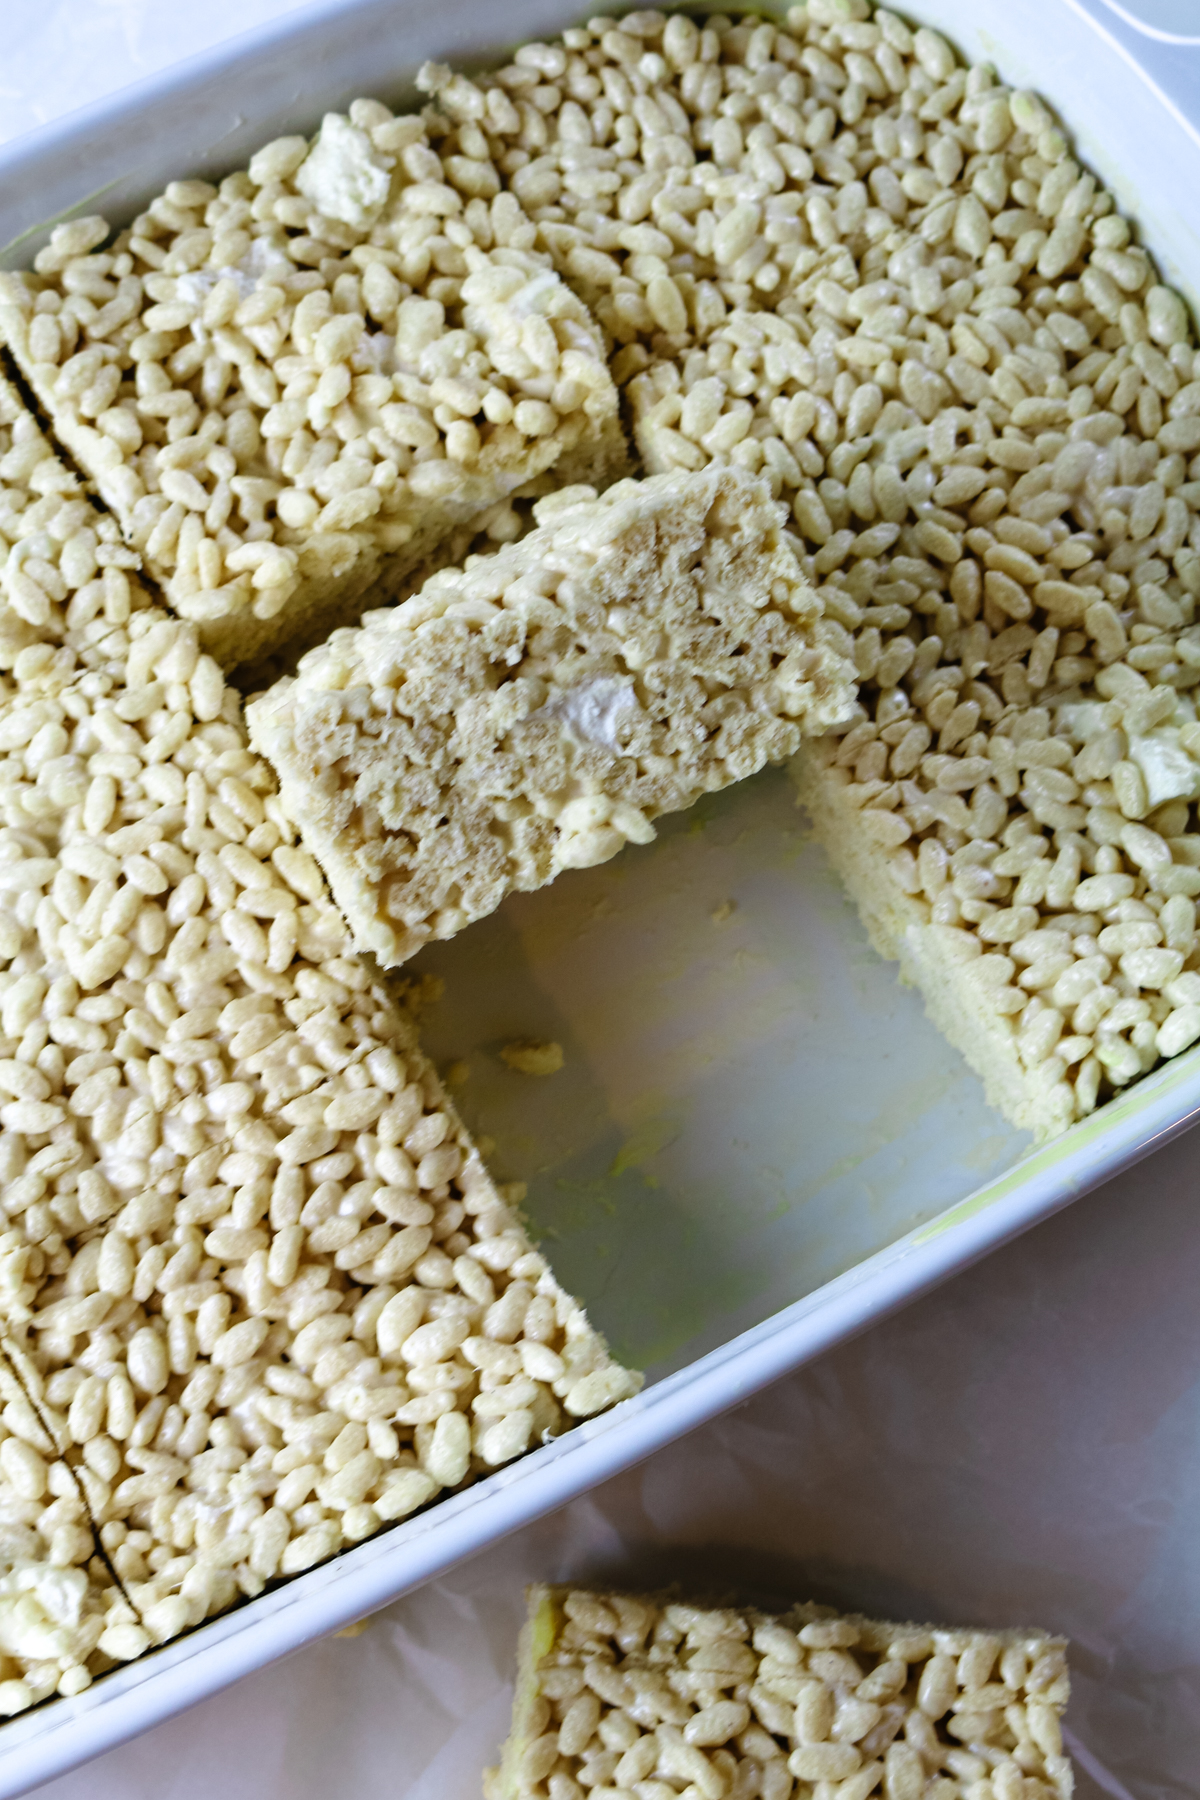
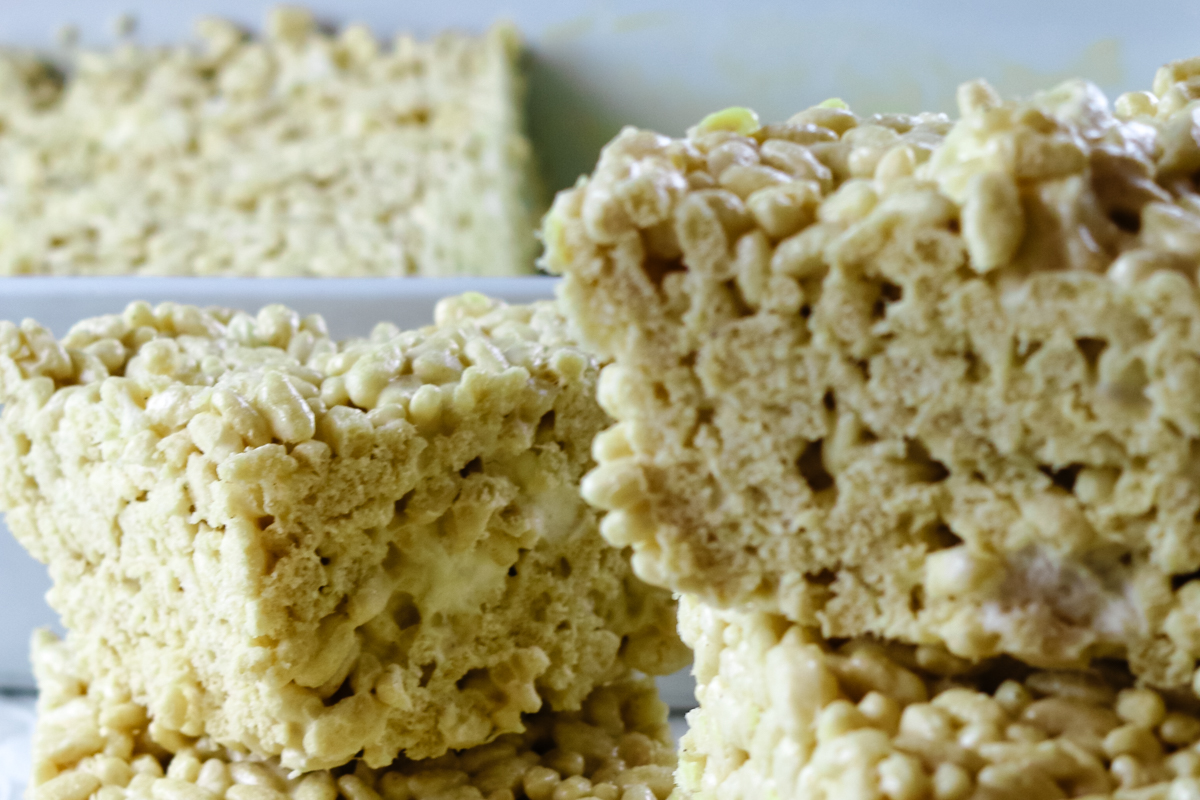
Don't pack it in - Take care not to press the rice crispy mixture too firmly into the baking dish as that will create very firm and dense treats. You want your crispy treats to be nice and soft.
💭Meal Prep Suggestion: This no-bake dessert is a great treat to make on the weekend, portion off into individual treats and refrigerate for a delicious and healthy sweet treat during the week.
Storage and Freezing Instructions
How to store rice krispie treats?
To store: Store these krispy treats in an airtight container at room temperature for up to 3-4 days. Make sure the container is sealed tightly to prevent them from turning stale. To extend shelf life, transfer them to the refrigerator for up to a week.
Storage containers: These glass snap containers are perfect for leftovers.
To freeze: To freeze these gluten-free rice krispie treats, individually wrap them with plastic wrap to prevent them from sticking to each other. Transfer to an airtight freezer-safe container or a zip-top bag, removing as much air as possible to avoid freezer burn. Freeze for up to 3 months.
To thaw: Thaw at room temperature for a few hours until soft enough to eat.
Frequently Asked Questions
Traditional rice cereal and marshmallow treats are not gluten-free because not all of the ingredients are gluten-free. Regular rice krispies cereal, the common ingredient used in these treats contains barley malt. However, these homemade gluten free rice crispy treats are a better option.
Yes, you can substitute regular rice cereal if gluten is not a concern for you. But keep in mind that the marshmallow and butter mixture is specifically created for gluten-free rice krispies so the texture and density may differ.
Adding small marshmallow pieces towards the end of stirring helps to maintain that gooey texture, providing a mix of melted and slightly whole marshmallows for a more interesting mouthfeel.
Looking for more related recipes? Here are some ideas:
Did you make these gluten free rice crispy treats? Please leave a ⭐ recipe rating in the recipe card below and leave a review in the comments. Thank you!💚
Printable Recipe
Healthy Homemade Marshmallows Rice Krispies
Ingredients
- 5 cups gluten-free rice krispie cereal approximately 8 ounces of sprouted brown rice cereal
- 1 cup unsalted butter
- 8 ounces marshmallows, divided
- 1 teaspoon vanilla extract
- ½ teaspoon sea salt
Instructions
- Prepare: Grease a 9x13 baking pan generously with butter. Pour out the cereal into a large bowl.
- Melt: In a large pot over low heat, melt butter until almost completely melted.
- Stir: Add mini marshmallows, reserving about a cup to add later, and stir until completely melted and smooth, taking care not to overheat. Stir in vanilla extract and salt.
- Combine: Remove the melted marshmallow mixture and add to the rice cereal. Gently fold the cereal into the marshmallow until evenly coated.
- Fold: Add remaining marshmallows and fold them into the cereal mixture.
- Press: Transfer the mixture to the prepared baking pan and using a spatula or your hands, press the mixture into the pan, being careful not to pack it in.
Notes
- Keep the heat on low - When melting marshmallows, it's important to keep it on low heat as the high heat can inadvertently harden the marshmallows.
- Stick with it - It will be hard to stir when folding the cereal into the marshmallow mixture as it'll be awkward and sticky. Just slowly and gently continue to fold until evenly coated.
- Lightly grease your hands - You may want to oil your hands or the spatula when pressing the cereal mixture into the pan.
- Don't pack it in - Take care not to press the rice crispy mixture too firmly into the baking dish as that will create very firm and dense treats. You want your crispy treats nice and soft.




Leave a Reply