


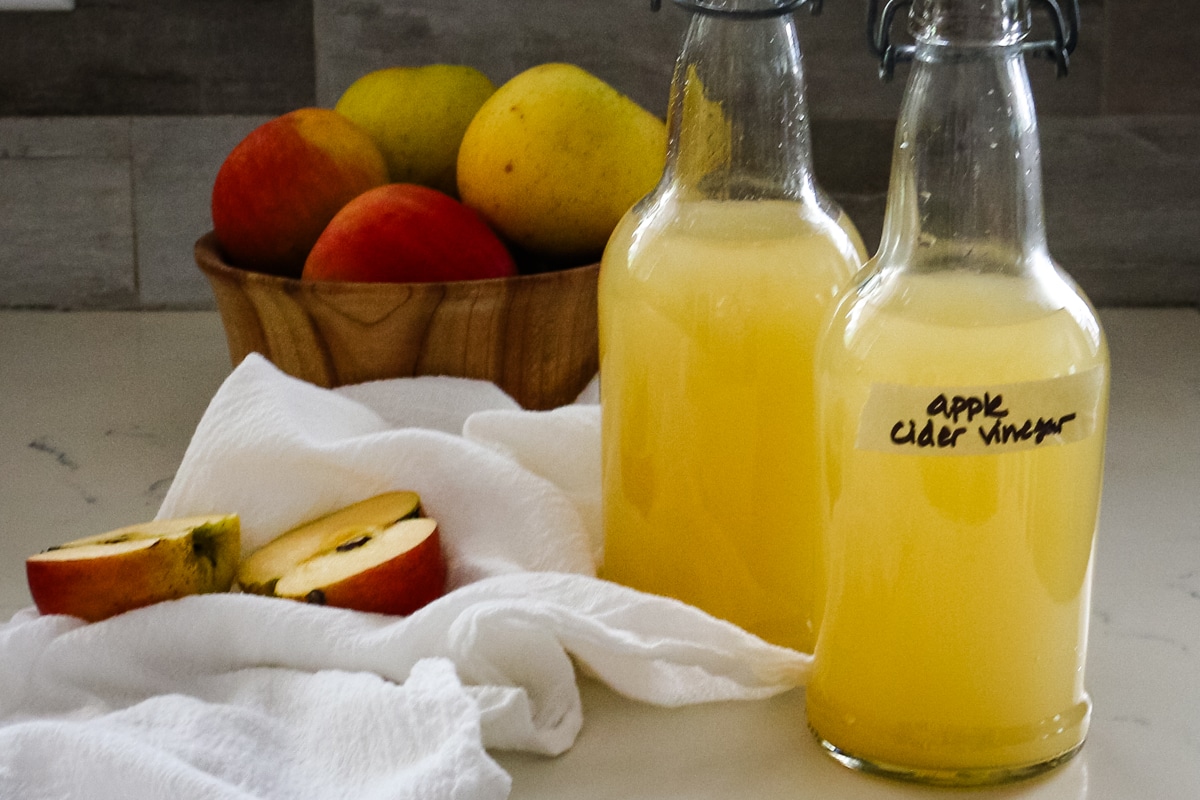
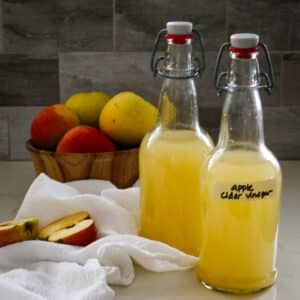
Learn how to make apple cider vinegar with whole apples or leftover cores and peels. Sugar and water feed natural fermentation, creating tangy vinegar with the mother. Great for dressings, marinades, or daily health routines.
Looking for more healthy fermentation recipes?
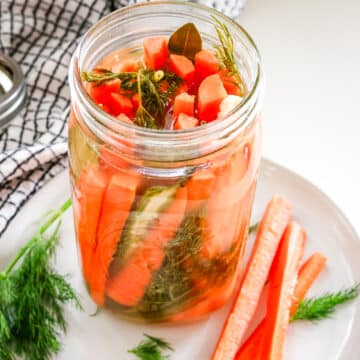
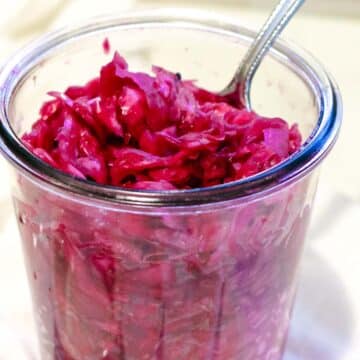
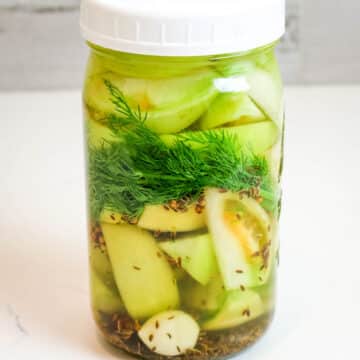
Check out fermented carrots, fermented pickles, and fermenting jalapenos.
Jump to:
💡Recipe Overview
- Prep and Cook Time: 15 minutes to prep, 3-5 weeks to ferment
- Cooking Method: Fermentation
- Dietary Info: Paleo, Primal, GAPS, Ancestral diet
- Tools Needed: Large jar, fermentation weight
- Skill Level: Easy
What is an ancestral diet? Read my post on what nourishing foods are based on the traditional dietary principles of the Weston A. Price Foundation.
From Scraps to Staple
A friend recently gave me a big bag of apples from their garden, and of course, they weren’t perfect - full of little worm holes and blemishes. But that’s exactly what makes homegrown apples so wonderful for recipes like this: you don’t need perfect fruit to make something delicious. I was honestly surprised at how easy it is to turn scraps and whole apples into homemade apple cider vinegar.
This recipe is perfect if you want to use up extra apples, avoid waste, and have a kitchen staple you’ll actually reach for every day. I use ACV in place of regular white vinegar all the time - for dressings, cleaning, marinades, and even little daily rituals. A shot of apple cider vinegar keeps the doctor away.
Just kidding.
Can't promise that, but what I can promise is that it’s incredibly satisfying to watch the cores and peels slowly transform into tangy, flavorful vinegar over a few weeks. It’s simple, practical, and I love that I get to use up the whole fruit (kinda like nose-to-tail but fruit version 😉).

Ingredients for Apple Cider Vinegar Recipe
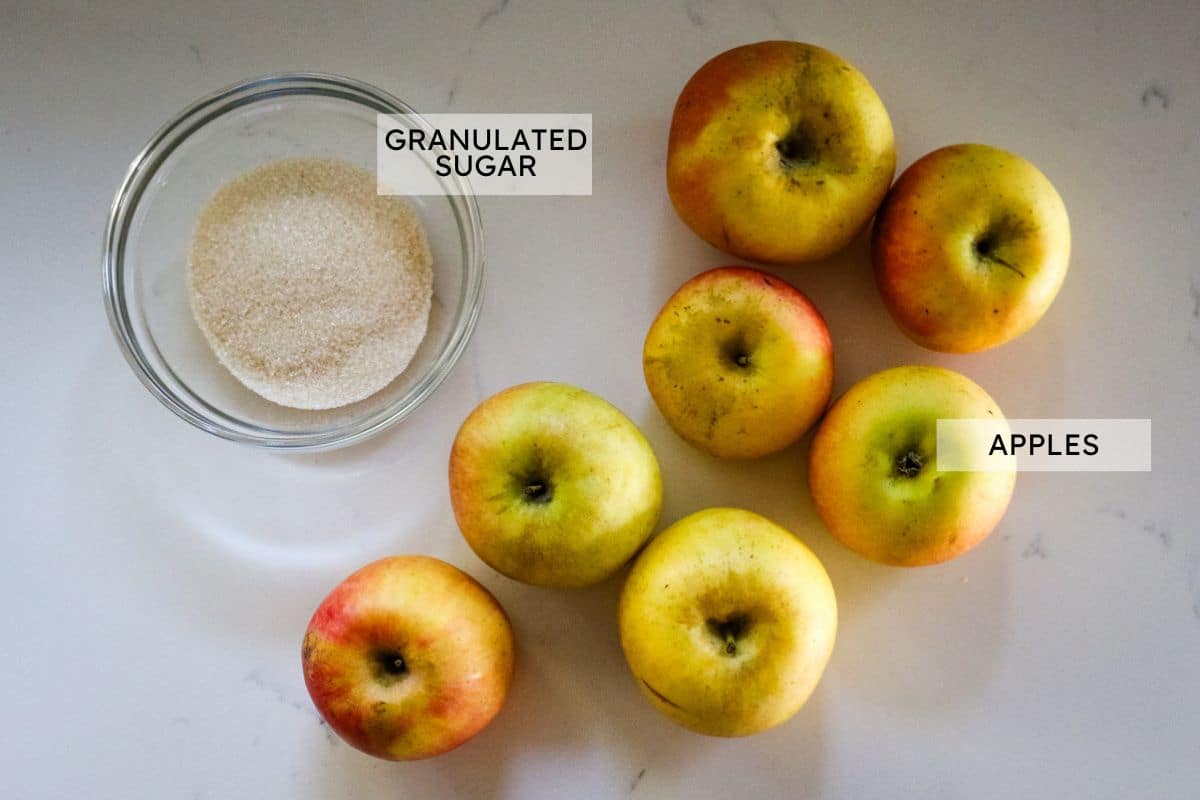
For homemade apple cider vinegar, stick with sweet apples like Fuji, Gala, or Honeycrisp - the natural sugars help fermentation along. But feel free to mix in a few tart ones (like Granny Smith) for extra depth. You can use whole apples or scraps such as peels and cores, which is an easy way to reduce waste if you’re already cooking with apples. Since the peels are part of the recipe, organic apples are ideal, and slightly bruised or “ugly” farmers market finds work perfectly. Add a little plain organic granulated sugar to jump-start the ferment, then cover everything fully with water. If any pieces float up, use a fermentation weight or a small clean jar to keep them submerged and avoid mold.

Naturally Ancestral
Apple cider vinegar is more than a kitchen staple - it has deep roots in traditional diets. Long before refrigeration, people used fermentation to preserve fruit, extend shelf life, and unlock nutrients. Making your own ACV honors this ancestral practice: nature’s wild yeasts and bacteria turn simple apples and water into tangy, probiotic-rich vinegar. Using the whole fruit - cores and peels - is the kind of nose-to-tail, whole-food thinking ancestral diets prized, and the slow fermentation mirrors the hands-on approach of traditional food preparation.
How to Make Apple Cider Vinegar Recipe
The complete printable recipe is below in the recipe card for your convenience. Follow these simple step-by-step instructions for the best results.
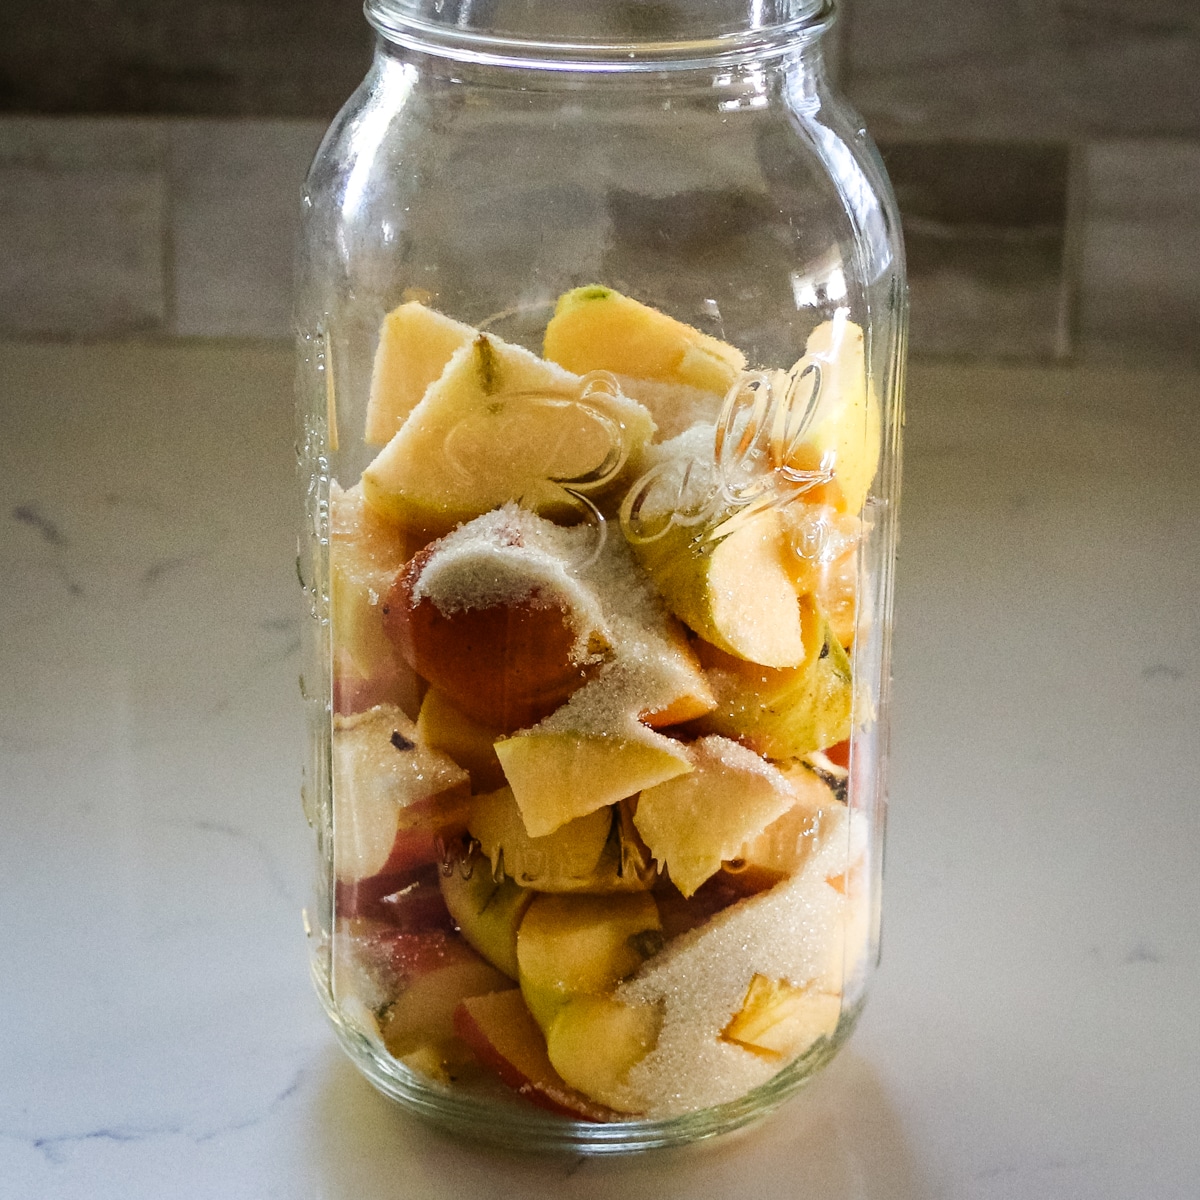
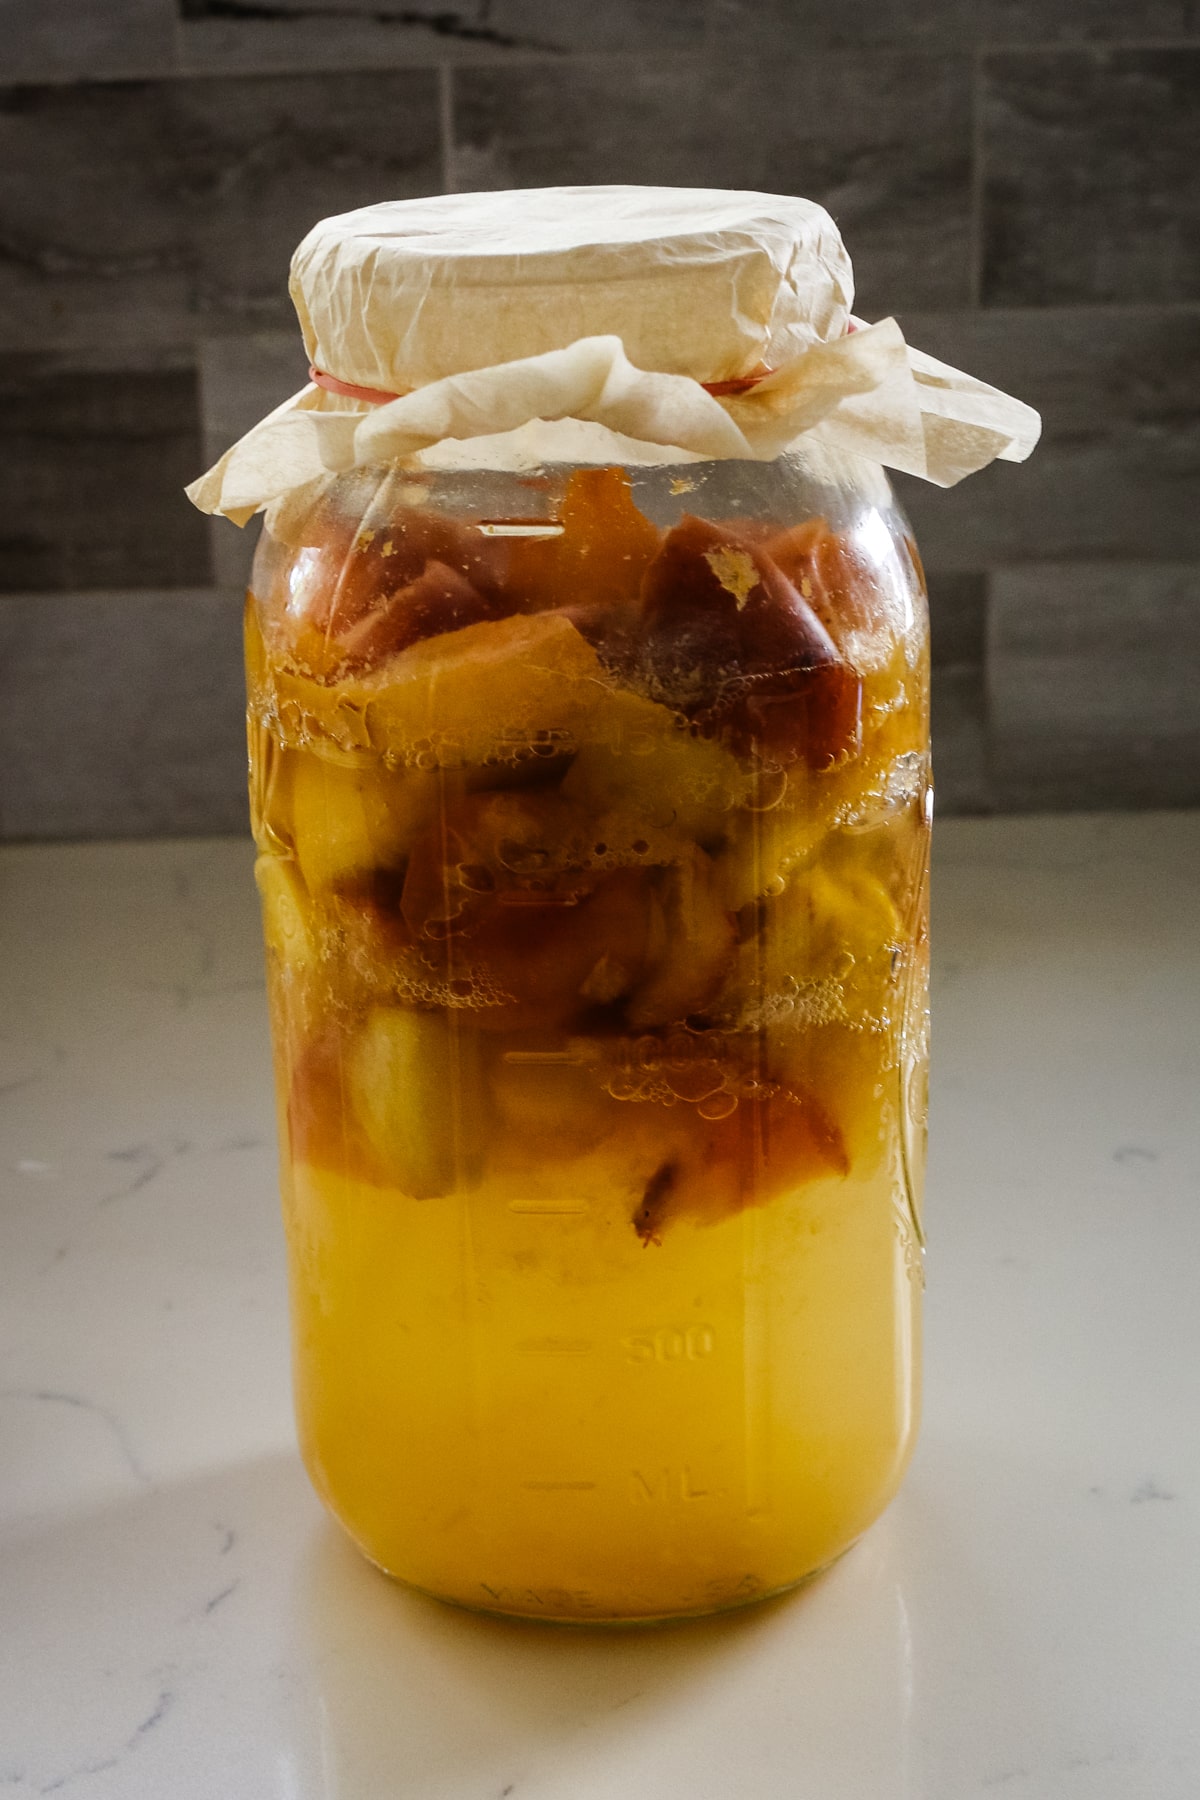
Step 1. Chop
Coarsely chop the apples into chunks and fill the jar about ⅔ to ¾ full with apples. Sprinkle granulated sugar over the apples.
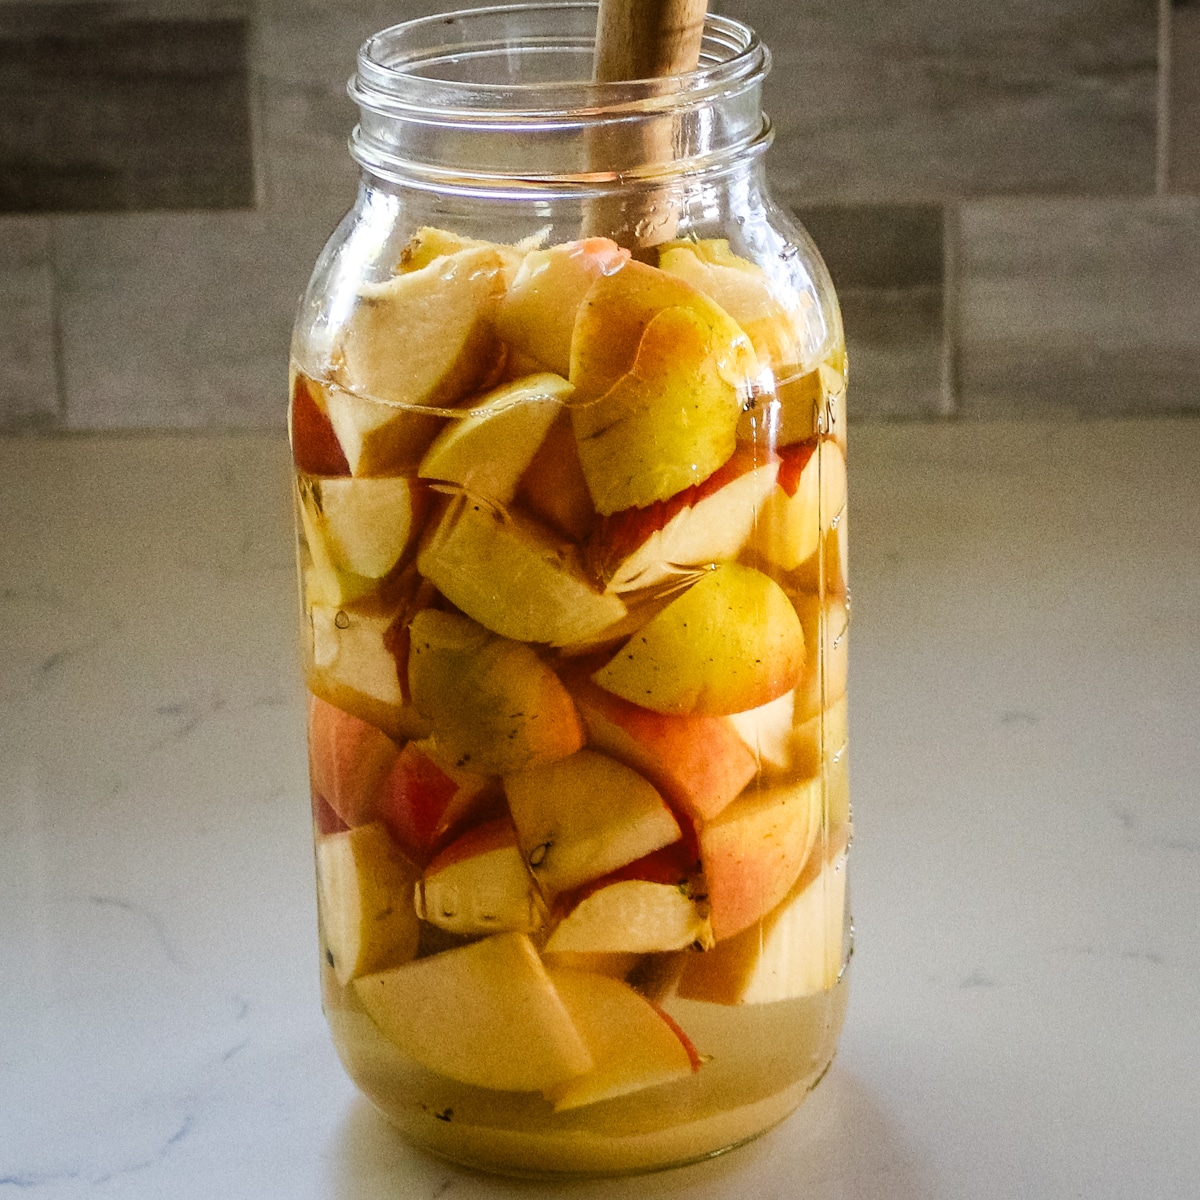
Step 2. Add
Add water to the jar ensuring the apples are completely submerged. Stir the apples, sugar, and water with a wooden spoon.
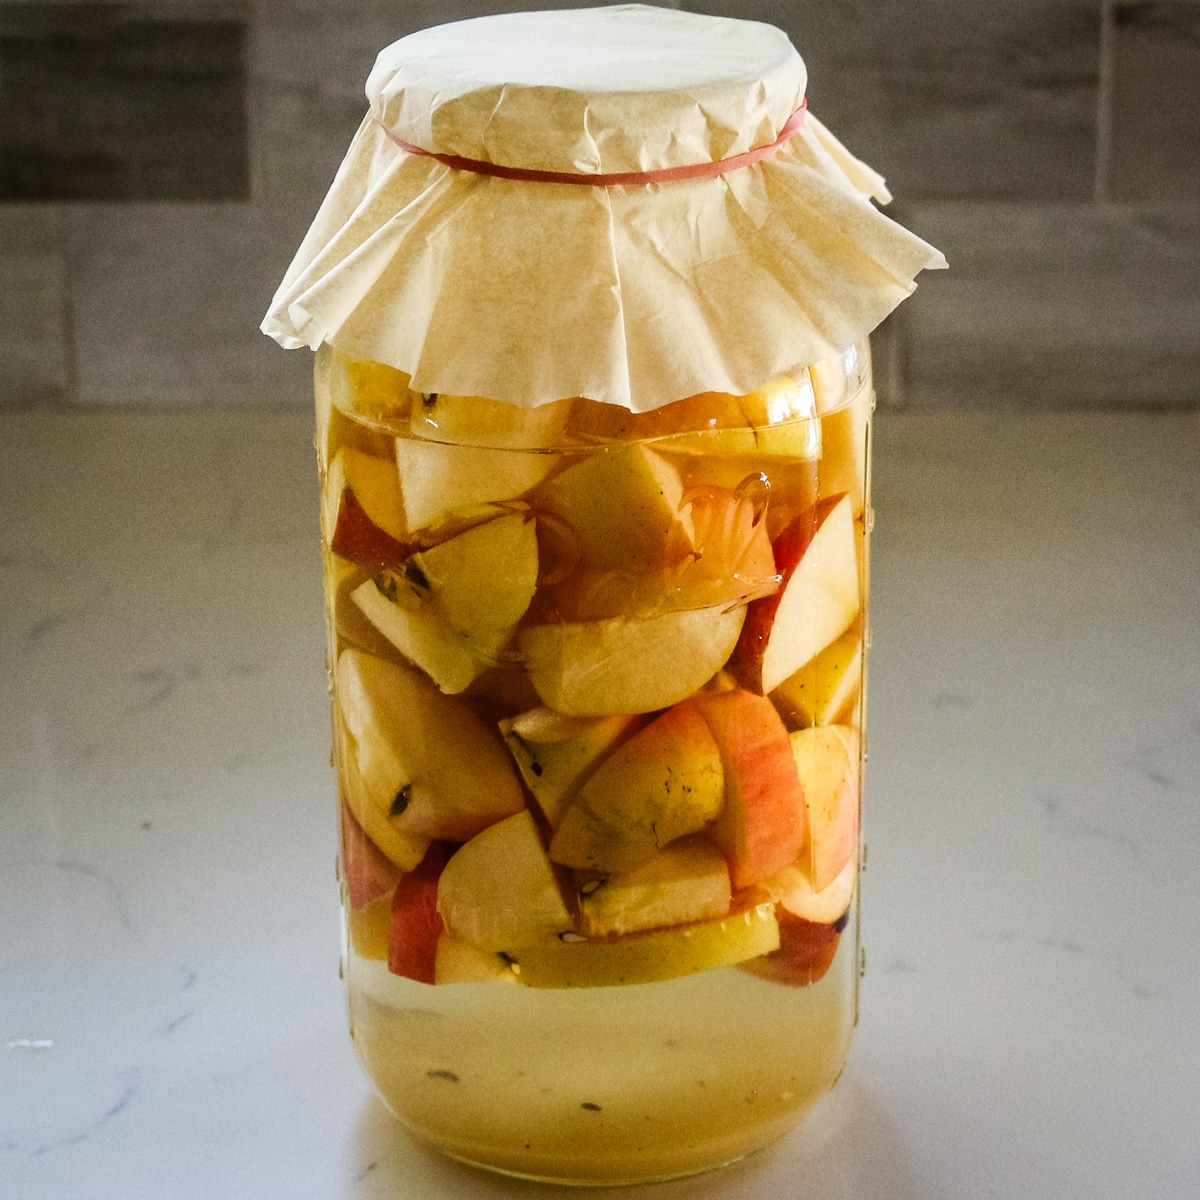
Step 3. Cover
Cover loosely with a kitchen towel (or a coffee filter). If your scraps float to the top of the jar, add a fermentation weight on top to push them to the bottom. Set the jar in a warm, dark place for 2 weeks.
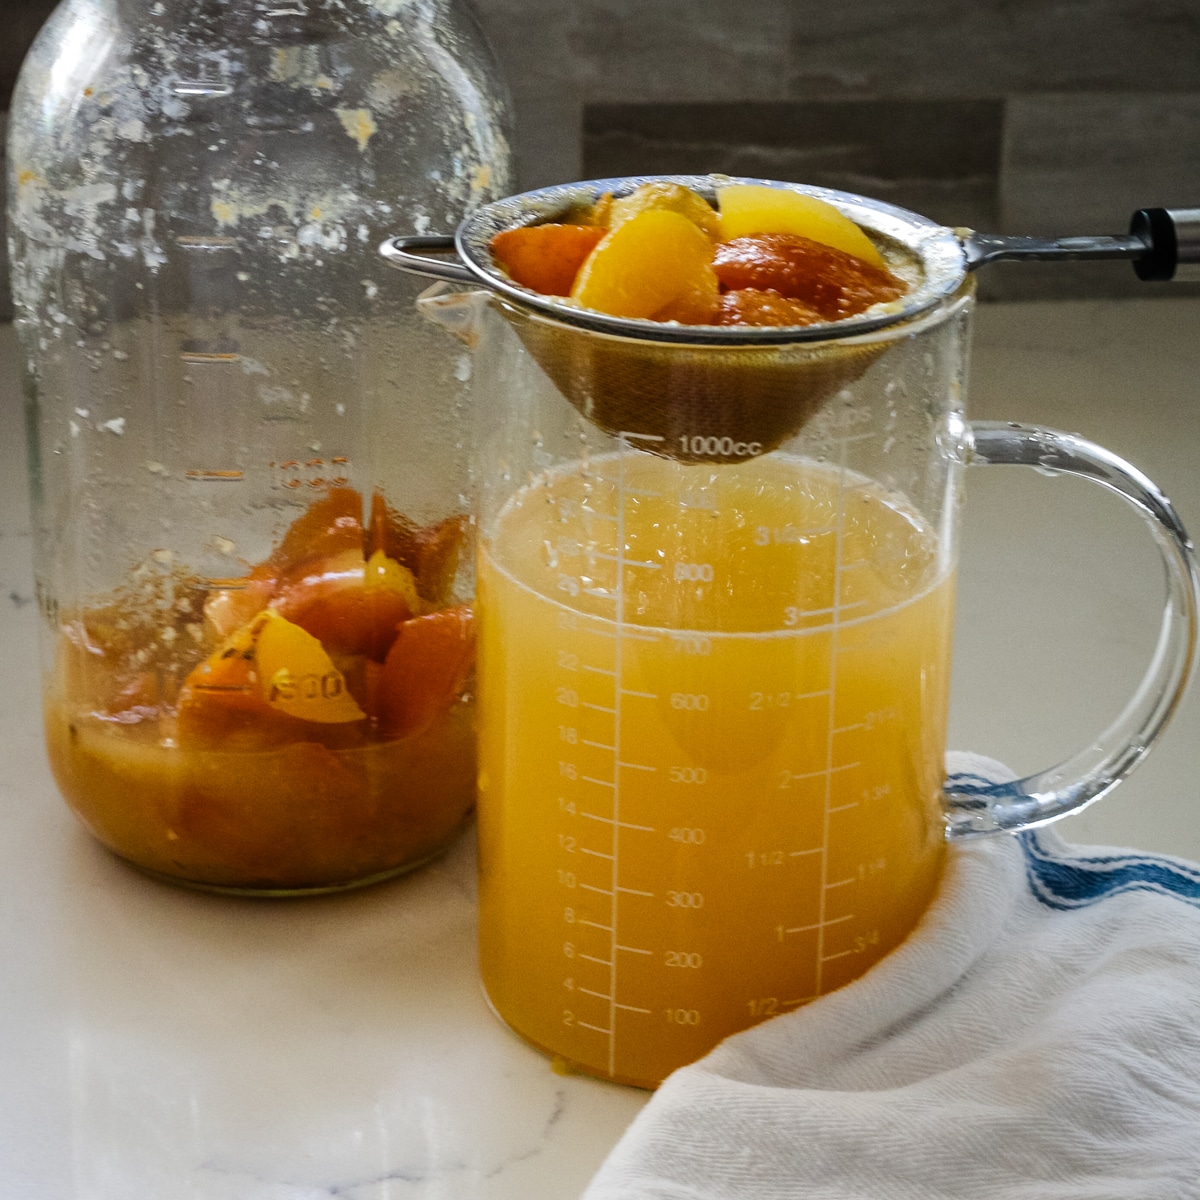
Step 4. Strain
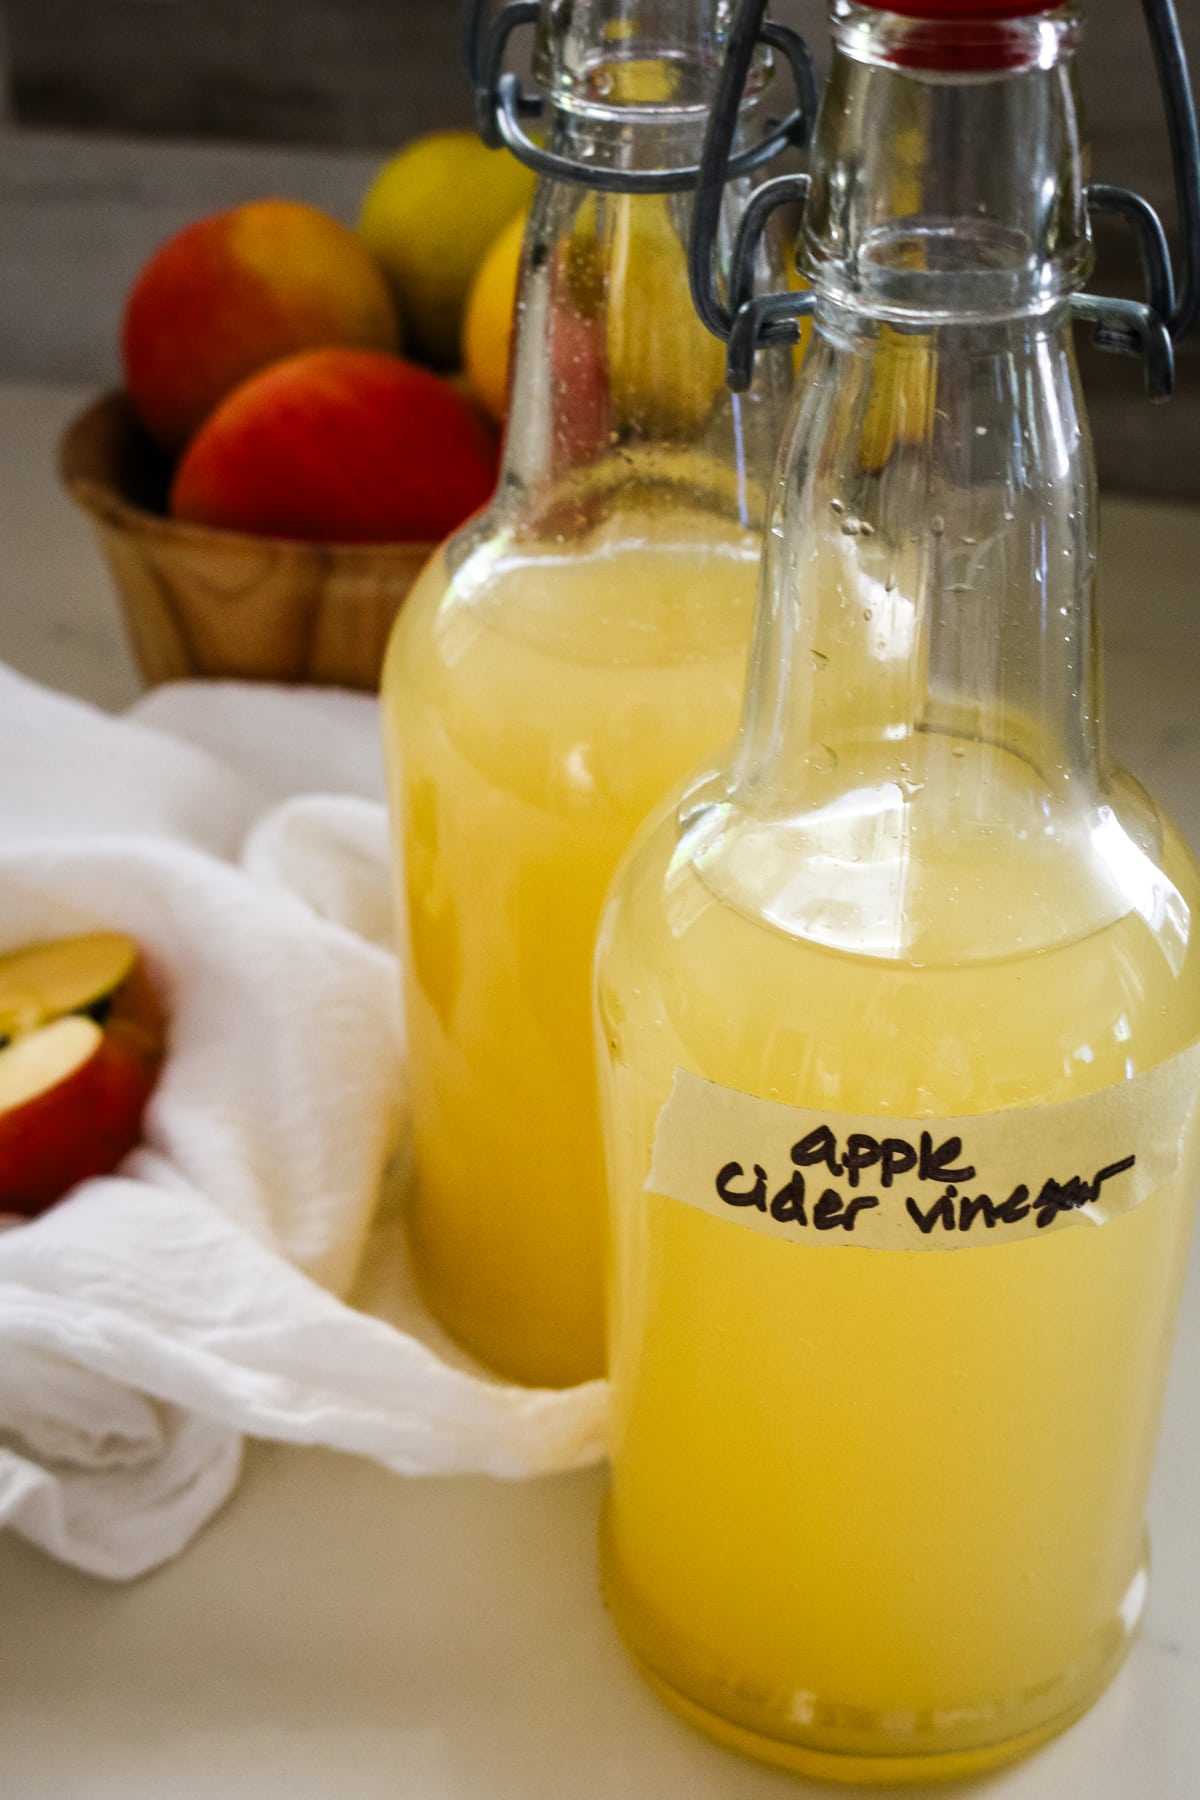
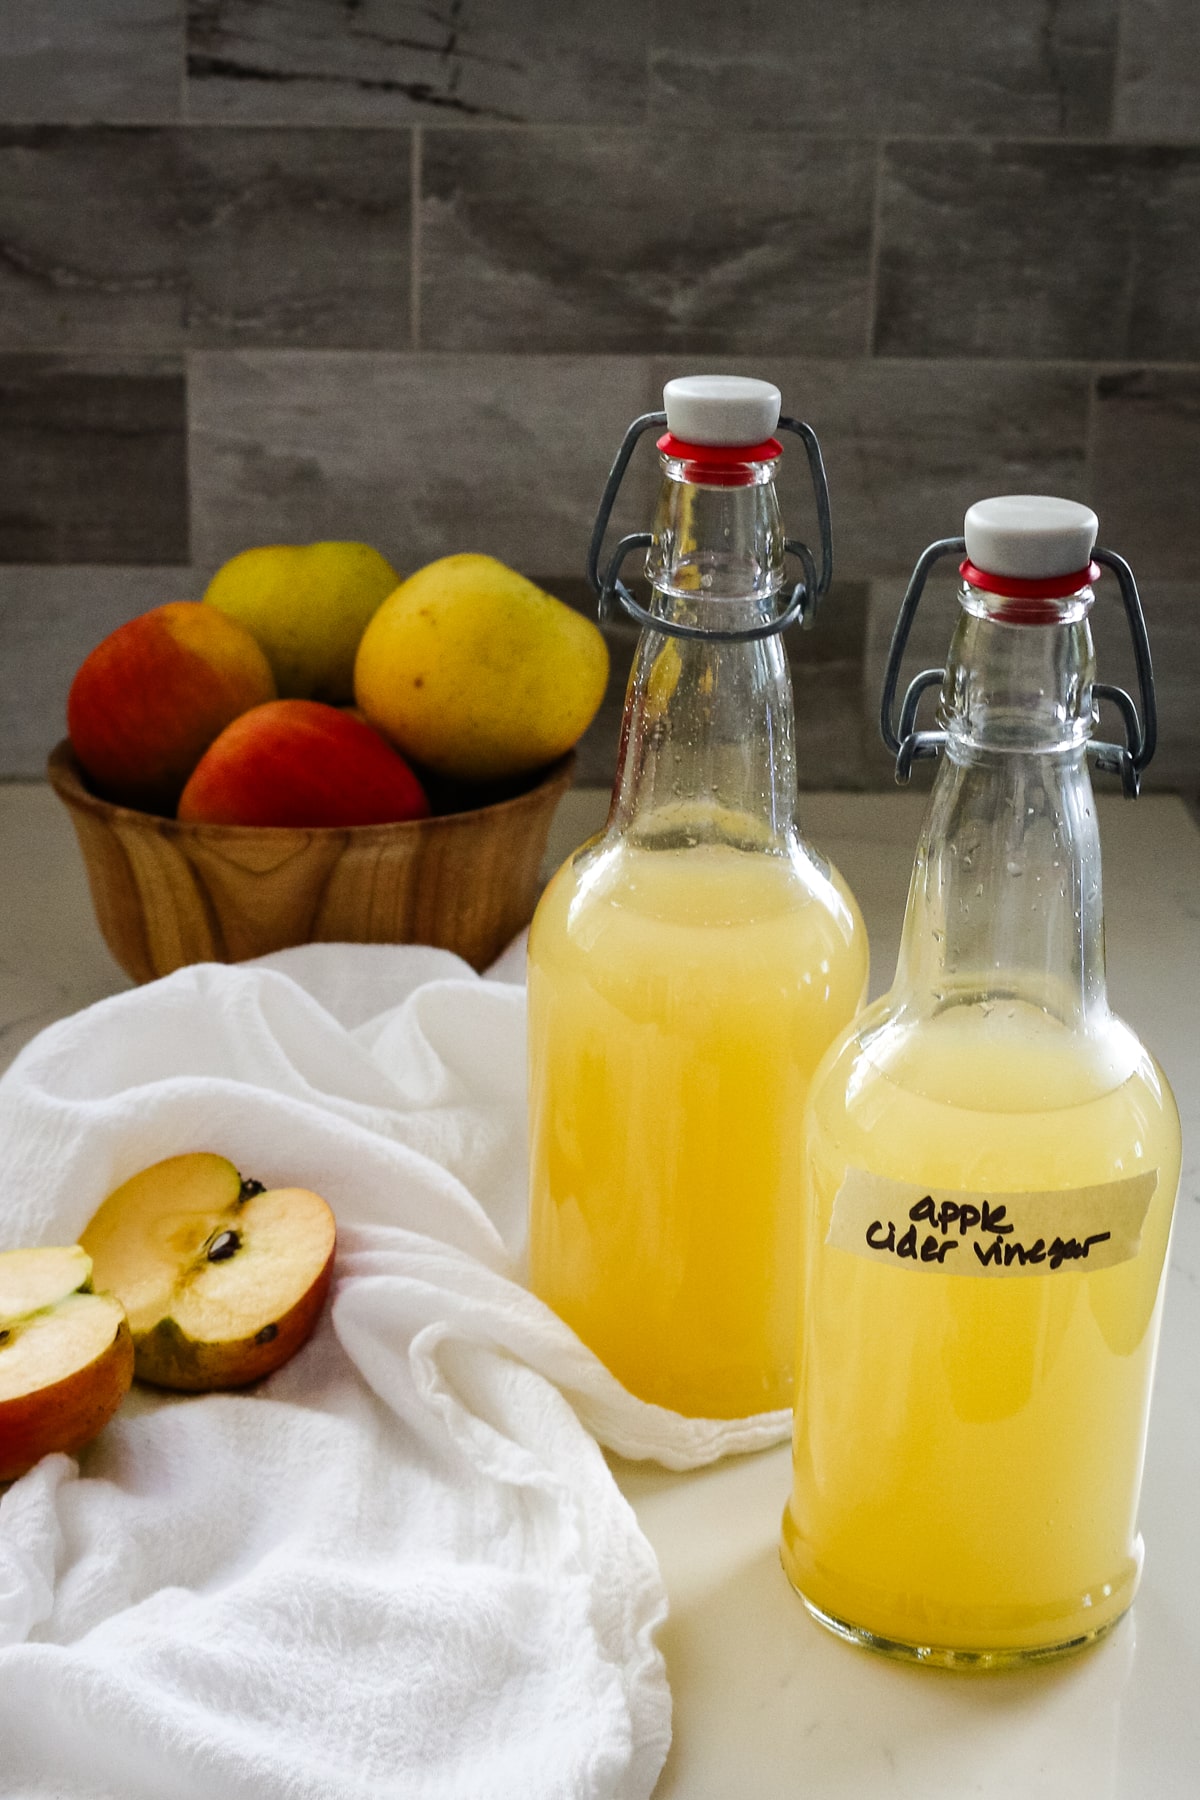
Strain the apple pieces and compost. Return the liquid to the jar. Cover the apple cider vinegar again with a kitchen towel and allow it to sit for another 3-4 weeks. Stir occasionally. Transfer the finished apple cider vinegar to a bottle with a lid. Store it in your fridge.
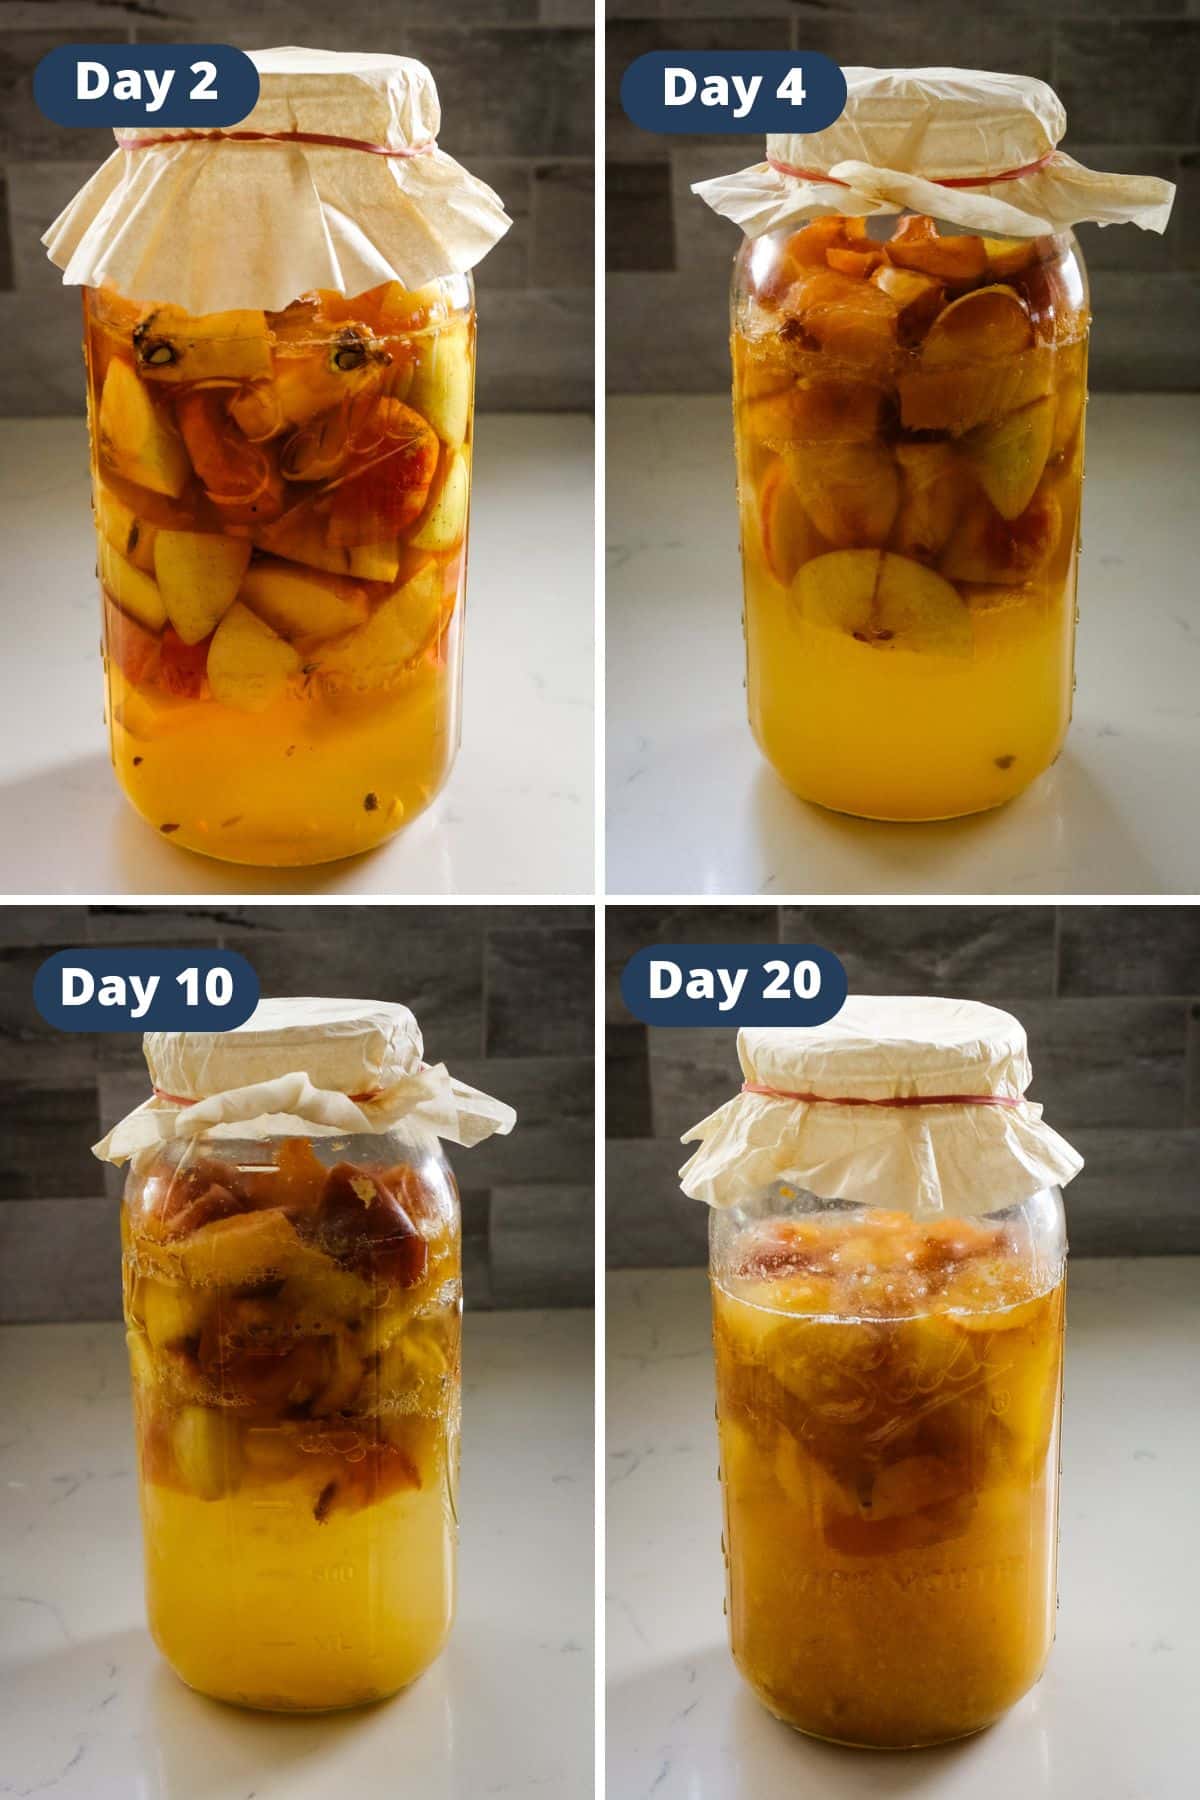
Fermentation Timeline
Once your apples and sugar are combined in a jar, place it in the warmest part of your kitchen (optimal temperature ranging between 65-75°F (18-24°C) to ferment for 2 weeks during the alcohol phase, stirring daily to keep oxygen reaching all the apples and prevent mold.
After straining out the solids, return the liquid to the jar for the vinegar phase, which takes another 3-4 weeks (or longer if your kitchen runs colder) until it reaches the tanginess you like.
You'll notice the apple cider vinegar gradually loses its bright, fresh apple aroma and color as the natural yeasts and bacteria consume the sugars and convert them into acetic acid.
I love sharing photos of each stage because fermentation can feel intimidating at first - but honestly, the transformation is amazing to watch. The timeline below gives you a clear picture of what to expect during the alcohol phase and hopefully, a little extra confidence to stick with the process.
Helpful Tips
- Use ripe apples or scraps - You can use whole apples or cores and peels from previously used apples.
- Ensure the apples are submerged - Use a fermentation weight to keep floating apple pieces under the liquid to prevent mold.
- Stir daily - Don't forget to stir daily during the alcohol phase to ensure oxygen reaches all the apples for even fermentation.
- Taste test - The second fermentation (vinegar phase) can take 3-4 weeks or longer.
ACV Recipe Essential Tools
I don't use special equipment in my ferments like airlocks and other gadgets. Fermentation doesn't have to be hard or intimidating. Here's what you'll need to make this apple cider vinegar:
- Half-gallon jar: I usually use 64-oz wide-mouth mason jar with a half-gallon capacity for all my ferments. But this flip-top half-gallon jar set is a cute option.
- Fermenting weight: This is optional, but a glass fermentation weight will help hold all the cucumbers submerged in the pickle juice.
Use homemade apple cider vinegar in these recipes:
- Easy Sumac Onions (Marinated Turkish Onion Salad Recipe)10 Minutes
- Korean Carrot Salad (Morkovcha Recipe)1 Hours 30 Minutes
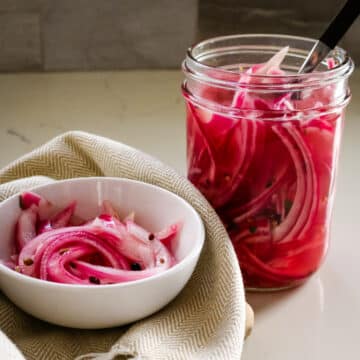
- Quick Pickled Red Onions (No Cook!)35 Minutes
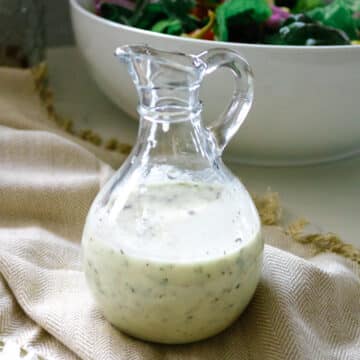
- Simple House Salad Dressing10 Minutes


Frequently Asked Questions
Store leftover homemade apple cider vinegar in an airtight jar for up to 12 months in the fridge, or keep it at room temperature to continue developing flavor over time.
Fermentation is a slow process, and rushing it can affect flavor and safety. Keeping the jar in a warm, dark spot and stirring daily helps, but the alcohol and vinegar phases still need time to develop fully. Patience is key for a tangy, well-balanced apple cider vinegar.
If you see mold forming on top, it’s best to discard the batch and start over - true mold is fuzzy, raised, and can be black, blue, green, or white. But don’t confuse it with kahm yeast, which is harmless. Kahm yeast looks like a thin, flat, matte film on the surface and can appear slightly bubbly or wrinkled. If that’s what you’re seeing, simply skim it off, keep the jar covered, and let the vinegar continue fermenting.
Looking for more healthy basics? Here are some ideas:

Did you make this apple cider vinegar recipe? Please leave a ⭐⭐⭐⭐⭐ recipe rating in the recipe card below and leave a review in the comments. Thank you!💚
Printable Recipe
Apple Cider Vinegar Recipe
Ingredients
- 5-6 whole apples or cores and peels form 8-10 apples
- ¼ cup granulated sugar
- 4 cups water
Instructions
- Coarsley chop 5-6 whole apples into chunks and fill the jar about ⅔ to ¾ full with apples.
- Sprinkle ¼ cup granulated sugar over the apples.
- Add 4 cups water to the jar ensuring the apples are completely submerged. Stir the apples, sugar, and water with a wooden spoon.
- Cover loosely with a kitchen towel. If your scraps float to the top of the jar, add a fermentation weight on top to push them to the bottom.
Ferment - Stage 1 - Alcohol Phase
- Set the jar in a warm, dark place for 2 weeks. Stir once daily to prevent mold from forming and to ensure oxygen reaches the apples. After about a week or son, you should start to smell a slight alcohol or hard cider scent.
Strain & Ferment - Stage 2 - Vinegar Phase
- Strain the apple pieces and compost. Return the liquid to the jar. Cover the apple cider vinegar again with a kitchen towel and allow it to sit at room temperature for another 3-4 weeks for it to ferment further. Stir occasionally. You'll notice a vinegary smell develop as acetic acid forms.
- Once it tastes tangy and vinegary to your liking, transfer the finished apple cider vinegar to a bottle with a lid. Store it in your fridge.
Notes
- Use ripe apples or scraps - you can use whole apples or cores and peels from previously used apples.
- Ensure the apples are submerged - use a fermentation weight to keep floating apple pieces under the liquid to prevent mold.
- Stir daily - don't forget to stir daily during the alcohol phase to ensure oxygen reaches all the apples for even fermentation.
- Taste test - the second fermentation (vinegar phase) can take 3-4 weeks or longer. Taste occasionally until it reaches the tanginess you like.

Leave a Reply