


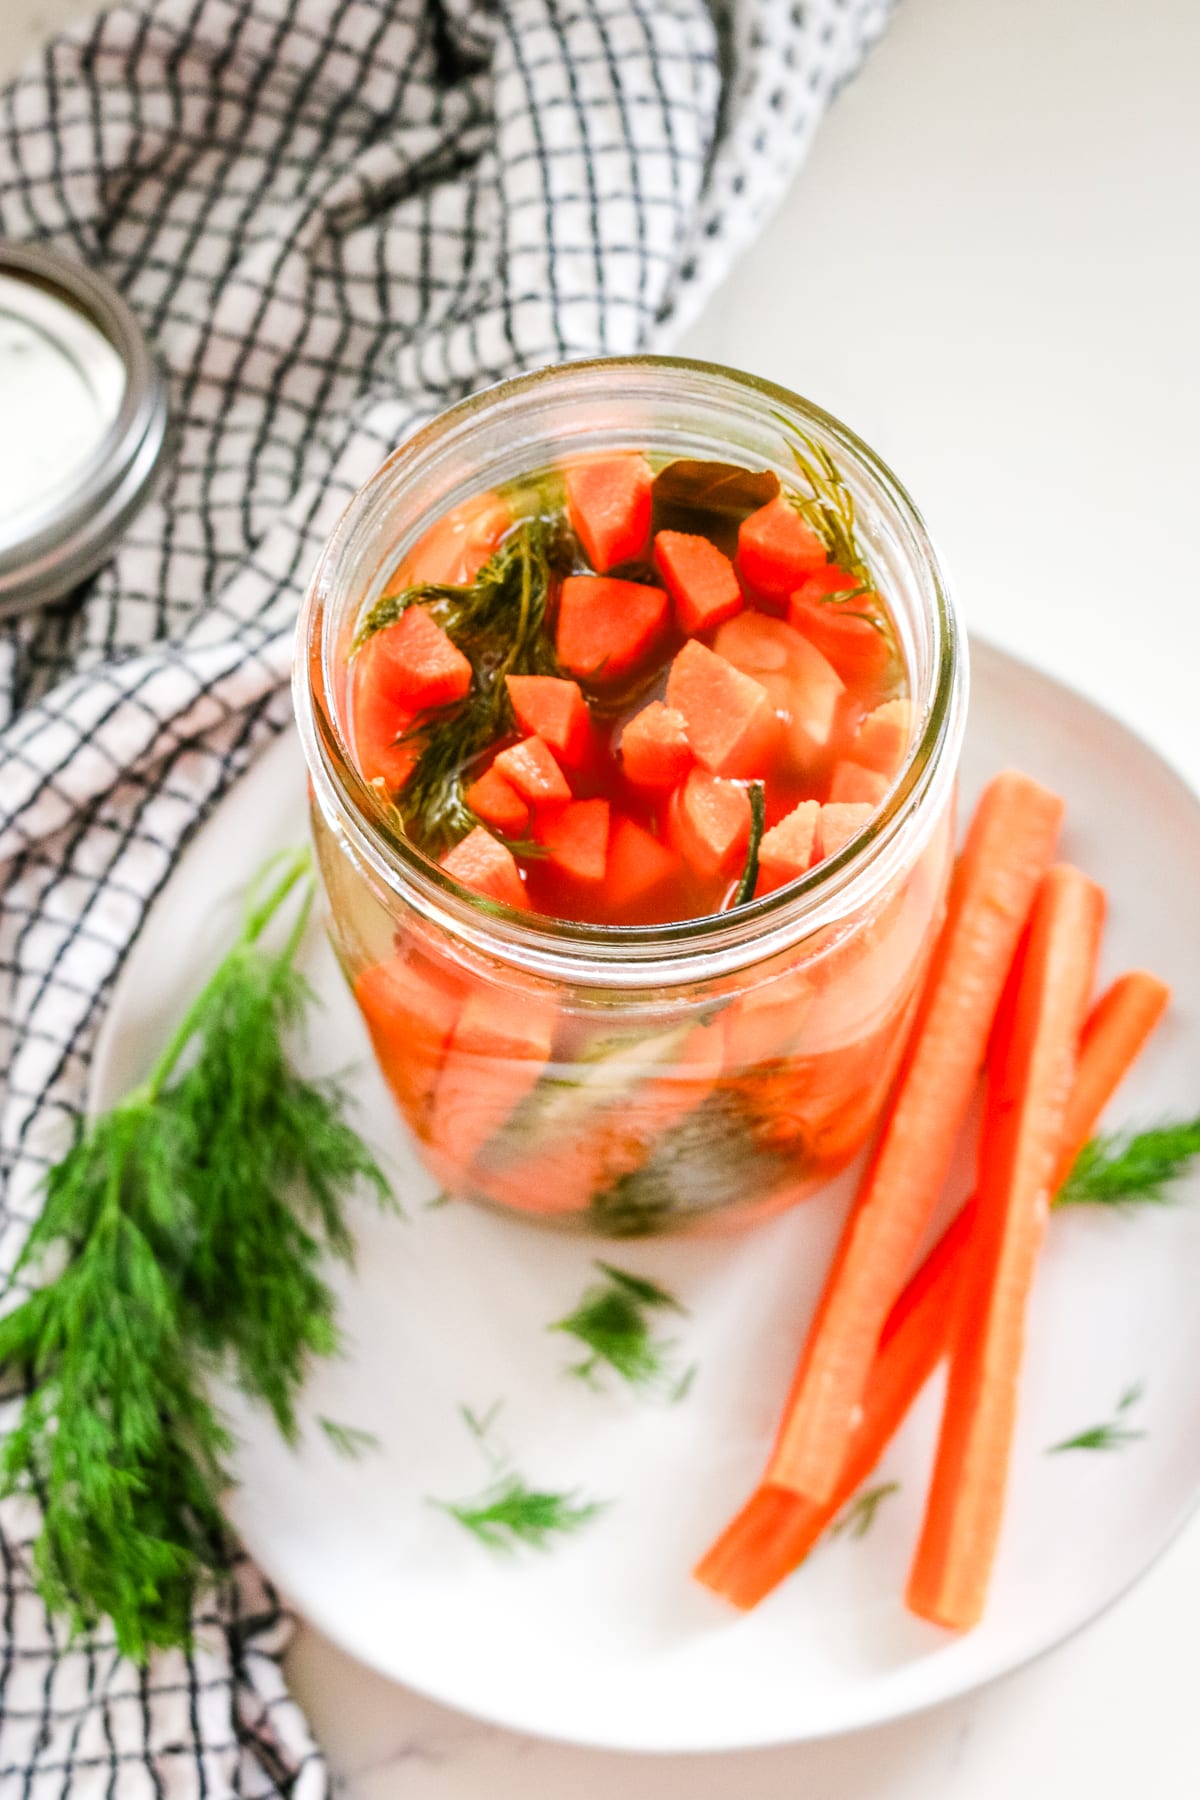
Fermented carrots with garlic and dill are the easiest way to use up a handful of carrots. Made with simple ingredients you probably already have, no fancy equipment required. They’re tangy, crunchy, and full of gut-loving benefits -perfect for beginners or anyone new to fermenting.
Jump to:
💡Recipe Overview
- Prep and Cook Time: 15 minutes to prep and 7 days for fermentation
- Cooking Method: No-cook
- Dietary Info: Whole30, Paleo, GAPS, Ancestral diet
- Tools Needed: sharp knife, cutting board, and quart-size jar
- Skill Level: Easy
What is an ancestral diet? Read my post on what nourishing foods are based on the traditional dietary principles of the Weston A. Price Foundation.
Chop, Brine, Forget...Then Eat Half Early
Fermented carrots are literally one of the easiest things you can ferment - chop, brine, forget about them on the counter, and suddenly they're a probiotic powerhouse.
But to be honest, I say that about every ferment I make.
Are fermented jalapenos easier? Maybe.
Is raw sauerkraut the real MVP? Possibly.
Is lacto-fermented salsa just pico pretending to be fancy? Also yes.
The point is: they're all easy, and they're all worth making. Plus, each one gives you different strains of good bacteria, so rotating your ferments is basically gut health cross-training.
That is… if you can resist sneaking bites while it’s bubbling away on the counter. Honestly, half the time I check on it, we’ve already eaten most of the jar before it’s even done fermenting.

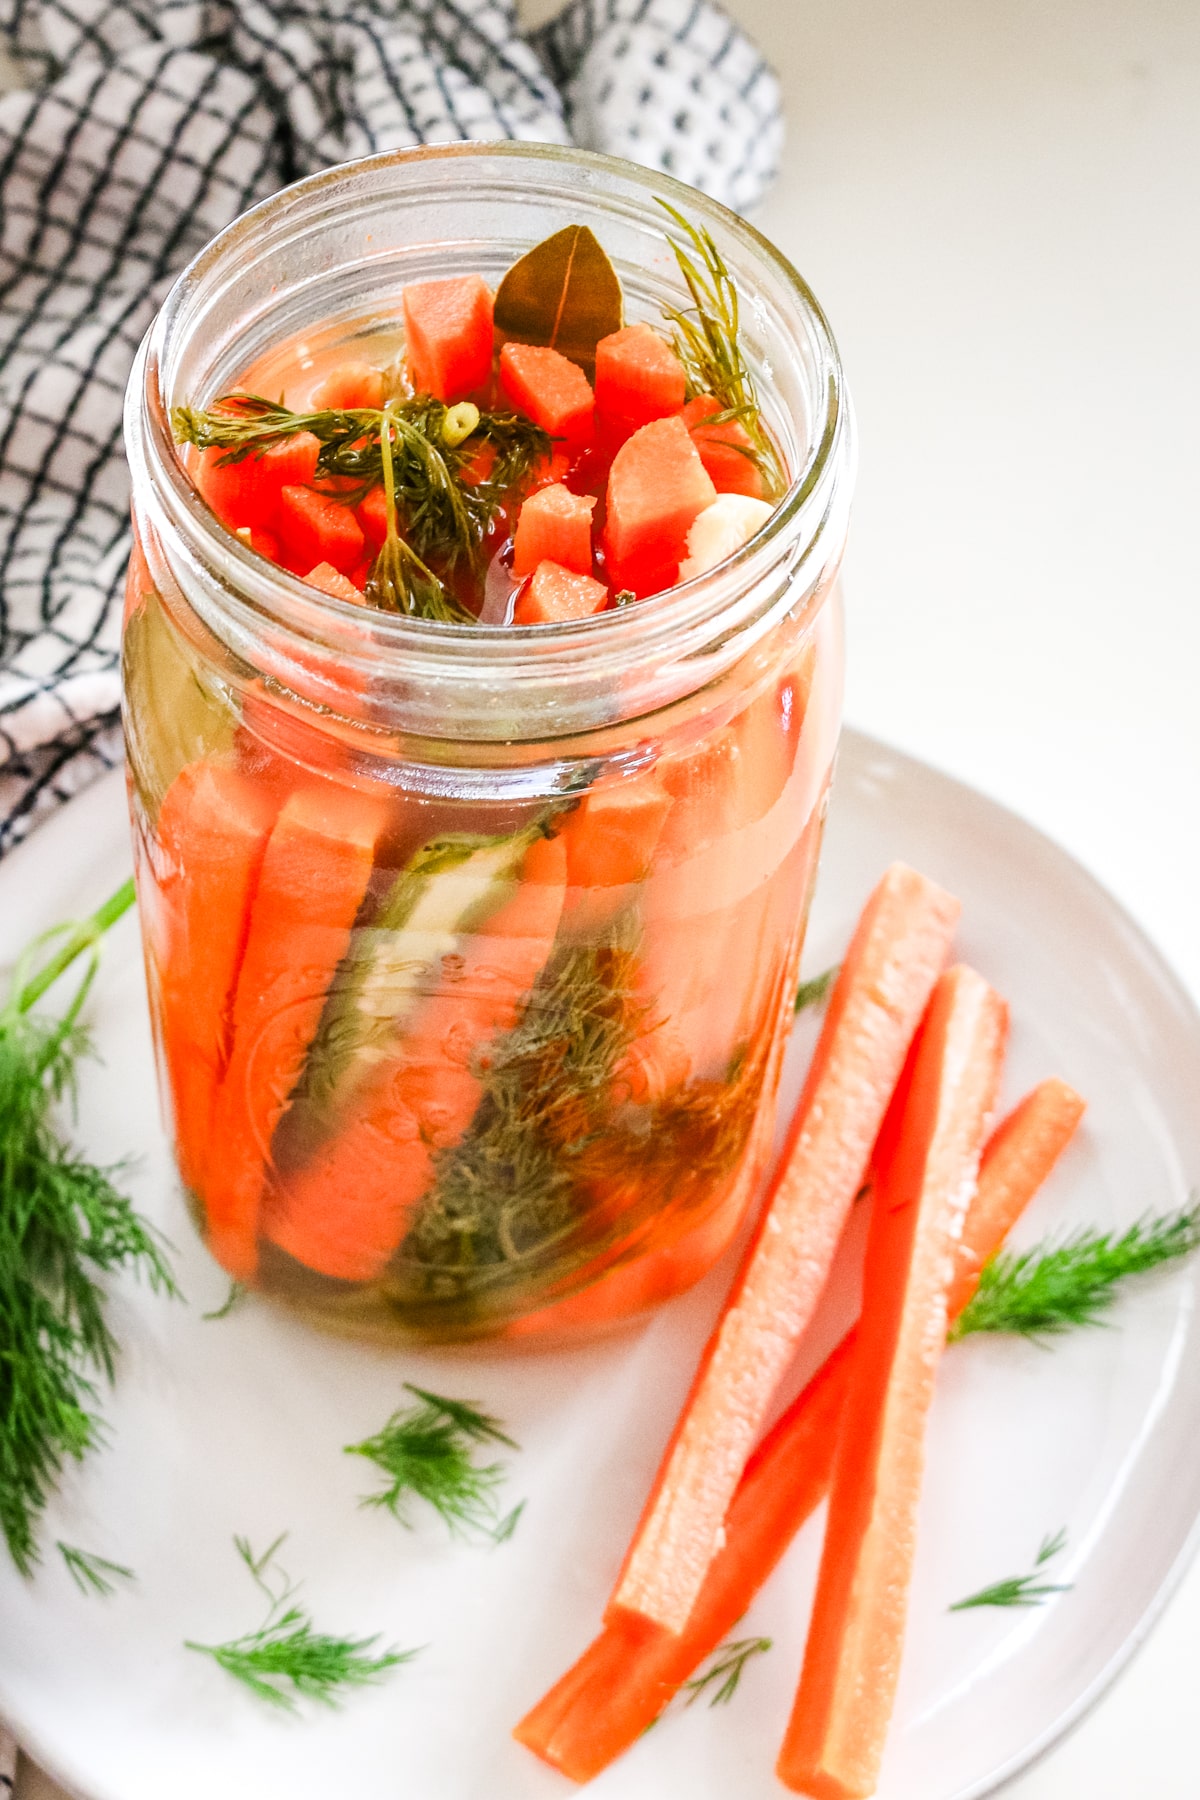
Ingredients for Fermented Carrots

This fermented carrot recipe keeps it simple but flavorful. Use firm, fresh carrots - soft ones won’t ferment well. Crushed garlic cloves adds bold flavor, fresh dill brings that classic pickle taste, and a hot pepper like serrano or jalapeno gives a gentle kick (optional, but fun). For the brine, stick with sea salt and filtered water (iodized salt and chlorinated tap water can mess with fermentation). Finally, bay leaves and black peppercorns boost the flavor without being too much.
Substitutions and Variations
- No fresh dill? - Use dried (about 1 teaspoon per sprig) or swap with fresh parsley, tarragon, or even celery leaves for a different twist. Or check out this post on substitute dried parsley for fresh for more ideas.
- Not into heat? Ditch the pepper or scoop out the seeds to tame the heat.
- Add-ins for fun: Add a slice of fresh beet for color or some mustard seeds for a tangy zing.

Reuse that Fermented Carrots Brine
Don’t even think about pouring that brine down the drain. It’s liquid gold - full of beneficial bacteria and flavor. Once you’ve crunched through the last carrot, drop in fresh veggies like cucumber spears, more carrots, or even cauliflower florets. Stick it in the fridge and let it slow-ferment. No extra effort, no waste, just another round of probiotic goodness doing its thing.

How to Make Fermented Carrots
The complete printable recipe is below in the recipe card for your convenience. Follow these simple step-by-step instructions for the best results.
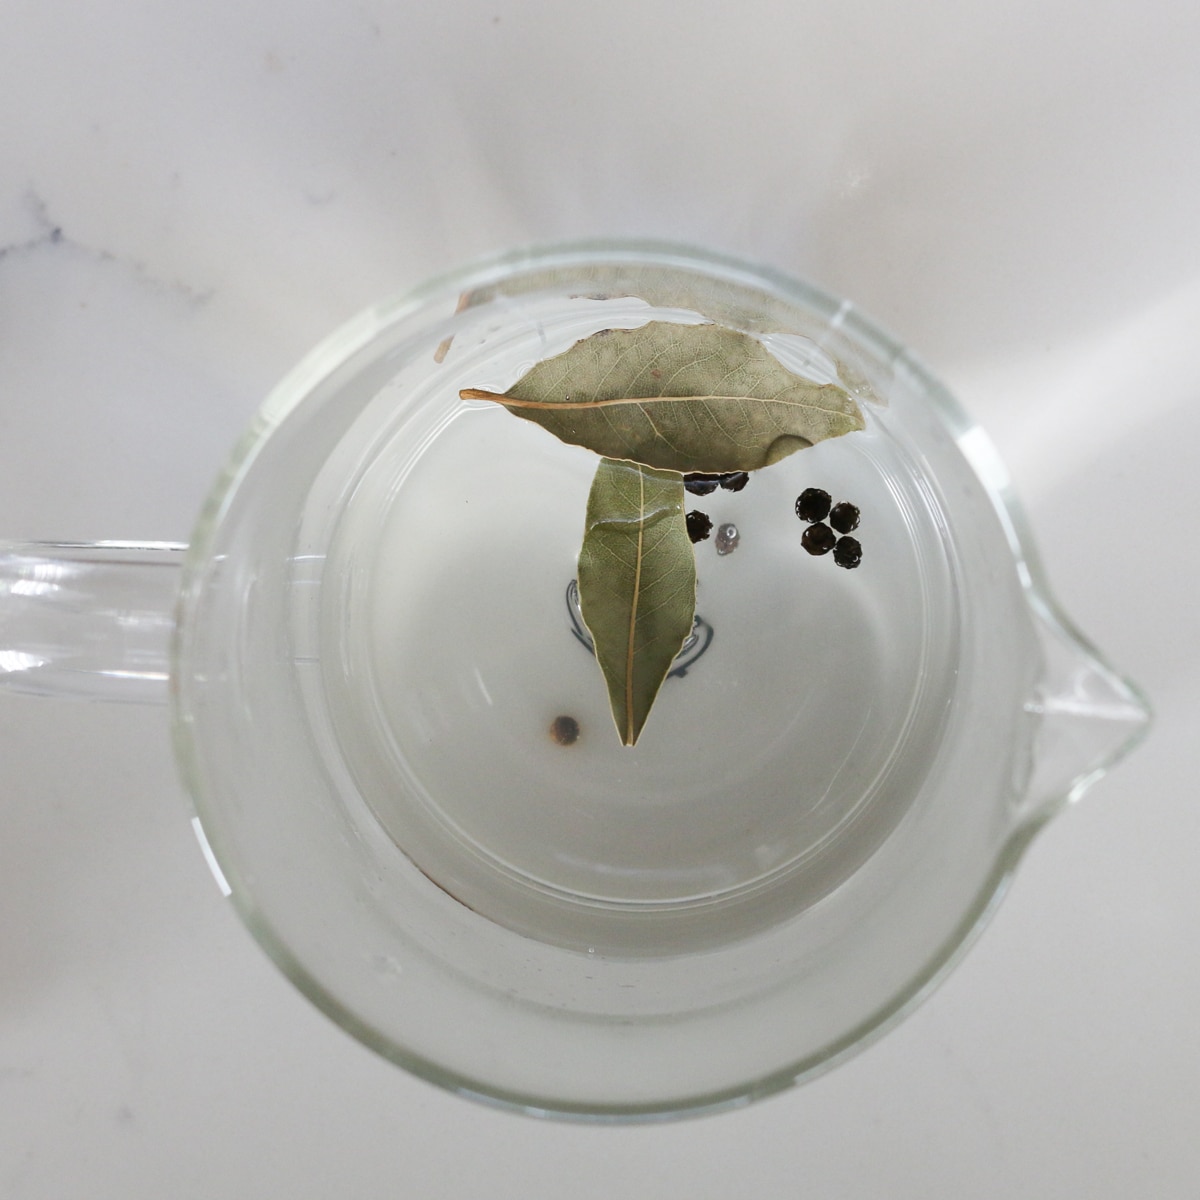
Step 1. Make the brine
In a mixing bowl, combine the hot water with salt, peppercorns, and bay leaves. Stir until the salt has dissolved.
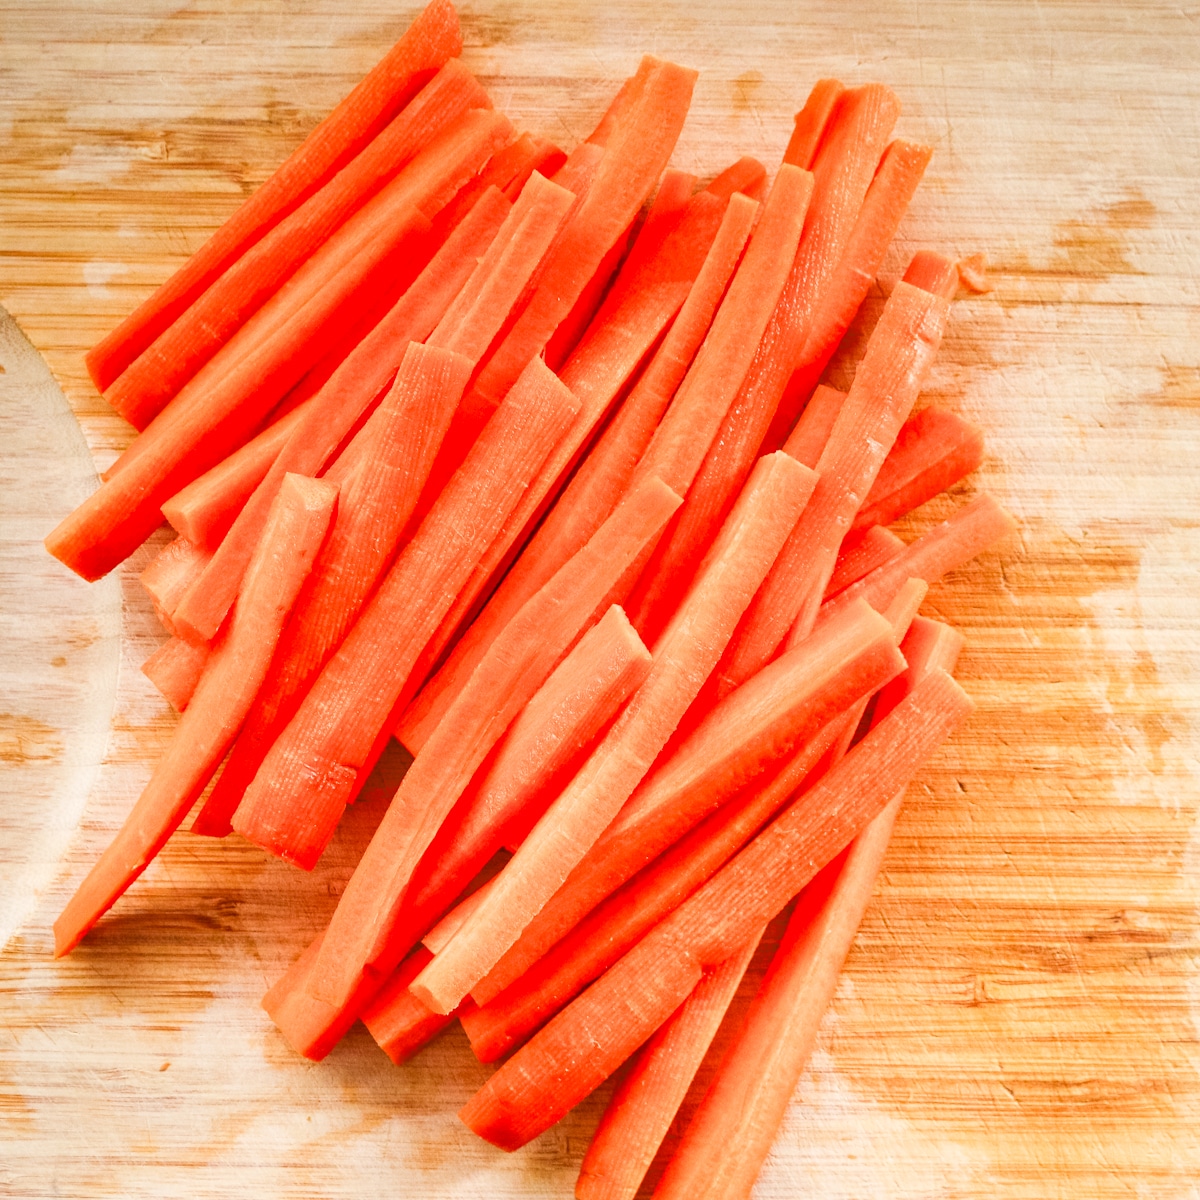
Step 2. Cut the carrots
Cut the carrots into thin sticks, length depending on preference but aim for uniform pieces.

Step 3. Pack the jar
Stack the carrots, smashed garlic cloves, jalapenos, and fresh dill sprigs so they are packed tightly.
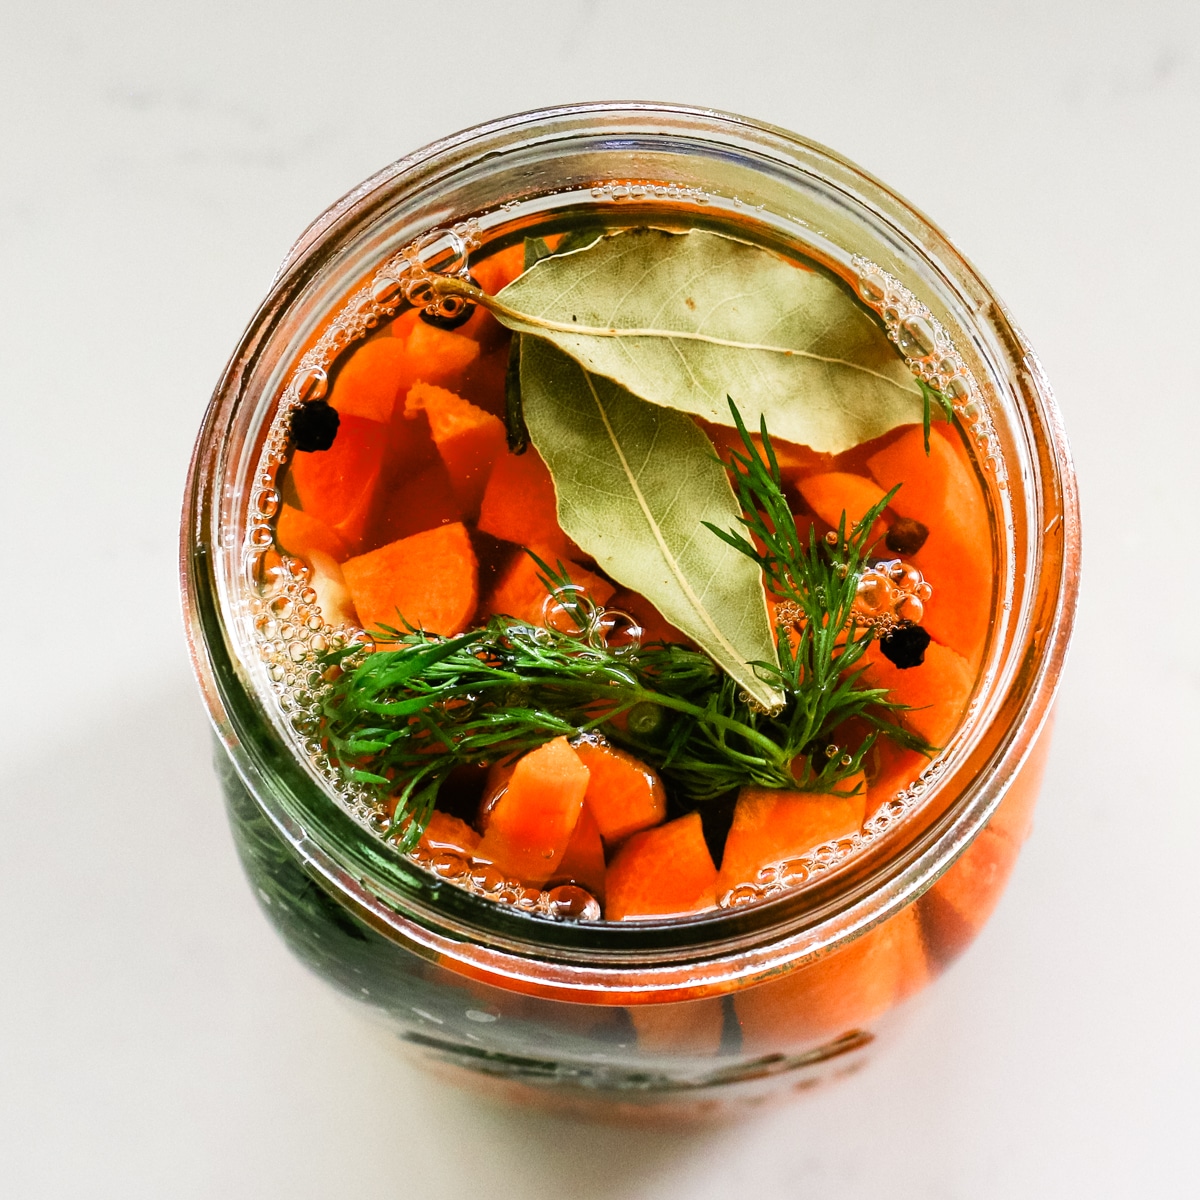
Step 4. Fill the brine
Pour the prepared brine over the carrots, making sure they are fully submerged. If necessary, place a fermentation weight.
Fermentation Timeline
Once your carrots have been filled with the brine, place the jar in the warmest part of your kitchen (optimal temperature ranging between 65-75°F (18-24°C)) to ferment for 1-2 weeks, or until it reaches your desired taste. Burp daily and gently shake by turning it upside down to evenly distribute the salt and spices.
You can see how the carrots, dill, and the brine will lose their brightness over time as the friendly bacteria consume the sugars and convert them into lactic acid.
I love to include these photos because I know fermenting can be intimidating. But also because I find this whole transformation so fascinating. I hope this timeline helps you through each stage, showing you what to expect and giving you confidence in the process.

Helpful Tips
- Cut carrots into uniform sticks about 3-4 inches long and ½ inch thick so they ferment and fit neatly into a wide-mouth quart size jar.
- Pack the jar tightly with carrots to prevent them from floating and to reduce air exposure. I like to tilt the jar sideways so it's easier to pack the carrot sticks.
- Always keep the carrots submerged in brine. A fermentation weight works great for this purpose.
- Taste every 2-3 days with a clean utensil (I know, tough job!). When they taste tangy and slightly fizzy, they're ready. They should still be crunchy not soft.
Troubleshooting
- What's the white film? That's just kahm yeast and it's totally harmless. You can scoop it off with a clean spoon. If it recurs, try fermenting at a cooler temperature or with more brine coverage.
- Carrots too soft? This usually happens if fermentation goes too long in warm temps. Next time, ferment for less time and pop them in the fridge sooner.
Essential Tools
Here's what you'll need to make these fermented carrots:
- Quart-size jar: I usually use wide-mouth mason jar with a quart capacity for these carrot sticks. But this flip-top half-gallon jar set is a cute option if you're doubling the recipe.
- Wide-mouth lids: I use metal lids during active fermentation to prevent salty brine from touching plastic, then switch to plastic lids to avoid corrosion from the salt. Metal lids are airtight so they're great when you need to shake the jar gently.
- Fermenting weight: This is optional, but a glass fermentation weight will help hold all the cucumbers submerged in the pickle juice.
Serving Suggestions
The hardest part is not eating these straight out of the jar while they’re still bubbling away on the counter. They’re that good. So when (if) you manage to wait until they’re fully fermented, here are a few tasty ways to enjoy them:
Tucked into tacos: Swap in for quick-pickled red onions or pile them on top of beef tongue tacos or blackened fish tacos.
Alongside a good protein: Try slow cooker duck, oven roasted whole chicken, or air fryer pork tenderloin. The richness of these meats loves a good punchy crunch of carrots.
On a grazing board: Serve with a bunch of appetizers like deviled eggs, cucumber cream cheese bites, and chicken liver pate for a truly nutrient-dense board.

Frequently Asked Questions
Store fermented carrots in the refrigerator in the original jar, brine included for up to 6 months. If you finish the carrots and still have the brine left over, you can just add more carrots (or other veggies) to it and keep it in the fridge to allow slow-fermentation.
Give them a taste every 2-3 days. When they’re tangy, a little fizzy, and still crisp—not soft—they’re ready to go. If you like a milder flavor, pull them out earlier, but if you want more of a punch, let them ferment longer.
That’s just kahm yeast—totally harmless and not a sign of anything going wrong. Just scoop it off with a clean spoon. If it keeps coming back, try fermenting at a cooler temperature or ensuring your brine fully covers the carrots.
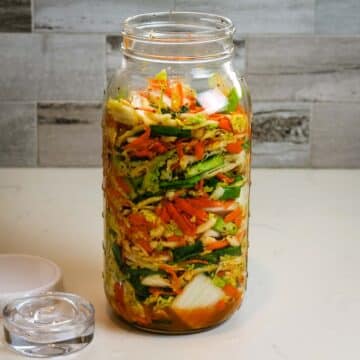
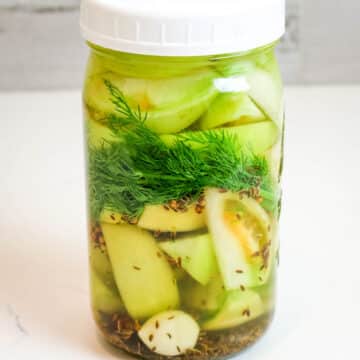
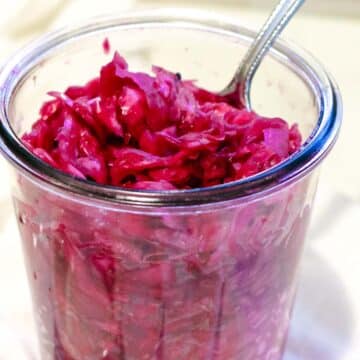
Looking for more fermented veggies? Here are some ideas:

Did you make these lacto-fermented carrots? ? Please leave a ⭐⭐⭐⭐⭐ recipe rating in the recipe card below and leave a review in the comments. Thank you!💚
Printable Recipe

Fermented Carrots with Dill and Garlic
Ingredients
Brine
- 2 cups hot water
- 1 tablespoon sea salt
- 1 bay leaf
- 6 black peppercorns
Fermented Carrots
- 4-5 medium carrots (about 1 ½ pounds) peeled and cut into sticks
- 3 garlic cloves peeled and smashed
- 1 jalapeno pepper sliced in half lengthwise
- 3 sprigs dill or 1 tablespoon dried dill
Instructions
- In a mixing bowl, combine 2 cups hot waterwith 1 tablespoon sea salt. Stir until the salt completely dissolves to create the brine. Add 1 bay leaf and 6 black peppercornsand set aside.
- Peel the carrots and slice them into thin sticks, length depending on preference. Aim for uniform pieces so they ferment evenly.
- Pack the jar with carrot sticks, smashed garlic cloves, jalapenos, and fresh dill sprigs.
- Pour the prepared saltwater brine over the carrots, making sure they are fully submerged. If necessary, add more water to ensure everything is covered.
- Place the fermentation weight over the carrots to keep them submerged in the brine. Cover the jar loosely with a lid or a clean cloth to allow the air to flow but keep the debris out.
- Let the jar sit at room temperature for up to 2 weeks, depending on your taste preferences and the ambient temperature. Fermentation times can vary, but typically, the carrots will be ready in 4-5 minutes. Taste them every couple of days to check the flavor.
- Once the carrots are fermented to your liking, move the jar to the refrigerator to store. They'll continue to develop flavor, but at a much slower rate.
Notes
- Cut carrots into uniform sticks about 3-4 inches long and ½ inch thick so they ferment and fit neatly into a wide-mouth quart size jar.
- Pack the jar tightly with carrots to prevent them from floating and to reduce air exposure.
- Always keep the carrots submerged in brine. A fermentation weight works great for this purpose.
- Taste every 2-3 days with a clean utensil (I know, tough job!). When they taste tangy and slightly fizzy, they're ready. They should still be crunchy not soft.


Leave a Reply