


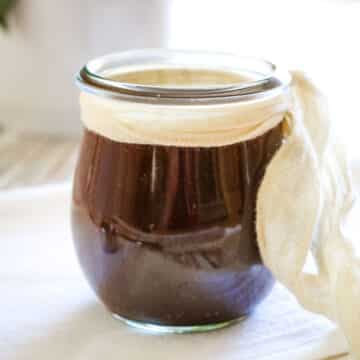
Learn how to make chocolate syrup with cocoa powder in just 2 simple steps! Rich, smooth, and perfect for drizzling over ice cream or stirring into drinks.
Looking for more healthy basics you didn't know you needed?
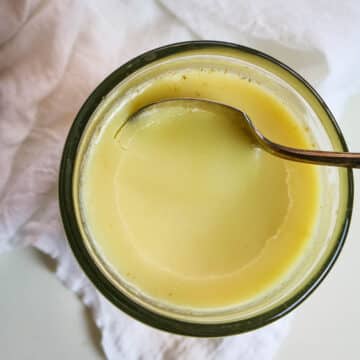
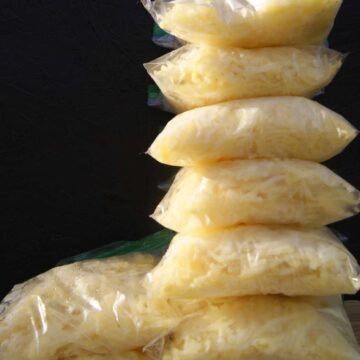
Check out homemade sour cream, sweet condensed milk, and healthy marshmallows.
Jump to:
Reasons to Love this Homemade Chocolate Syrup
I've been making this healthy chocolate syrup for many many years because it's always been such a hit with my kids. It's a great way to make chocolate milk or drizzle over ice cream without the added sugars or artificial ingredients found in store-bought versions. While it’s a little richer than what you’ll find on the shelves, it’s still plenty sweet and super delicious.
Plus, it's versatile and can be made with healthier sweeteners like honey or maple syrup (although coconut sugar is already a much better alternative than granulated sugar).
The best part? It's easy to make in just a few minutes and lasts for weeks in the fridge - unless your kids find it, in which case, you'll be lucky if it makes past a few days.

Ingredients for Chocolate Syrup Recipe
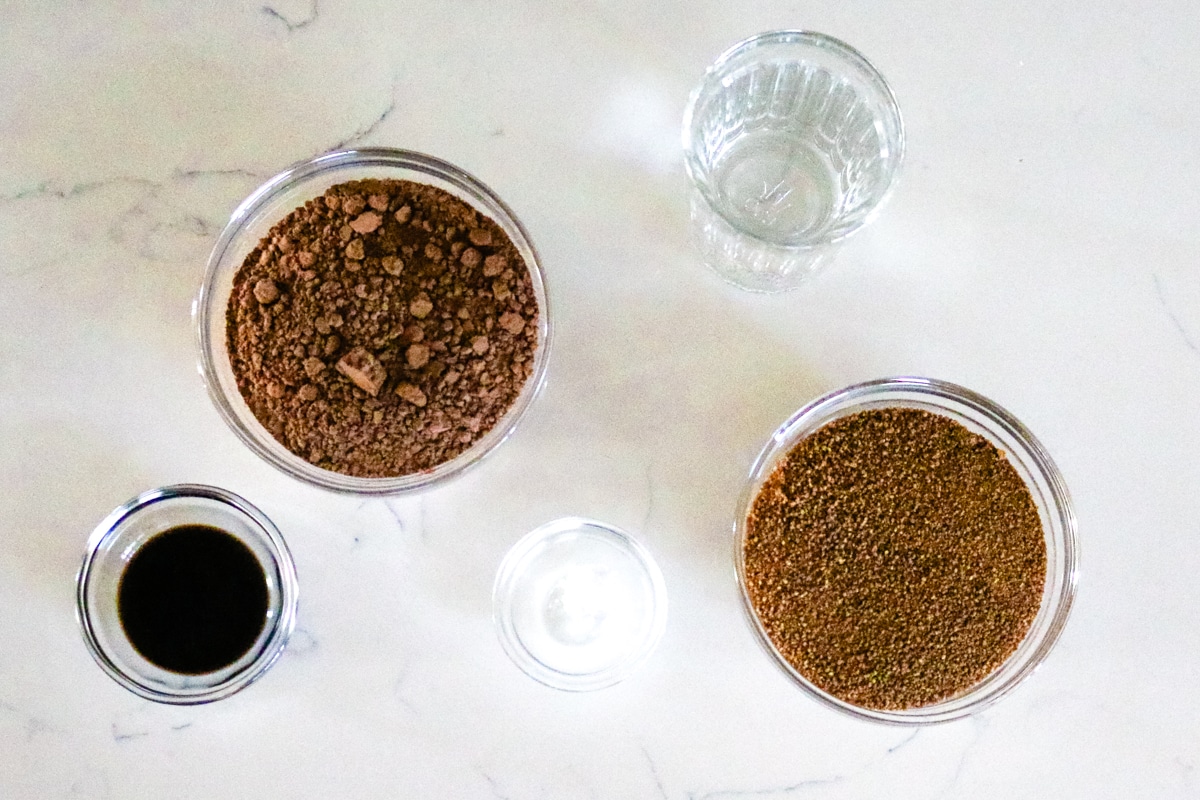
- Cocoa powder: Use Dutch-processed cocoa powder for a smoother, less acidic taste or natural cocoa for a more intense, slightly bitter kick.
- Coconut sugar: I love using coconut sugar for a more mineral-rich, less refined alternative to regular granulated sugar. Check out my post on unrefined sugars for more alternatives.
- Vanilla extract: A little goes a long way so we don't need much here.
- Sea salt: Just a pinch makes al the difference - it balances the intense chocolate and sweetness.
Substitutions and Variations
- Raw honey - Swapping coconut sugar for honey gives the syrup a smoother texture. Plus, honey is packed with enzymes and nutrients so it's a great ancestral alternative.
- Kick up the heat - Add a pinch of cayenne pepper to give this homemade chocolate syrup some heat.
- Add espresso - Add ½ teaspoon of espresso powder to deepen the chocolate flavor.
How to Make Chocolate Syrup with Cocoa Powder
The complete printable recipe is below in the recipe card for your convenience. Follow these simple step-by-step instructions for the best results.
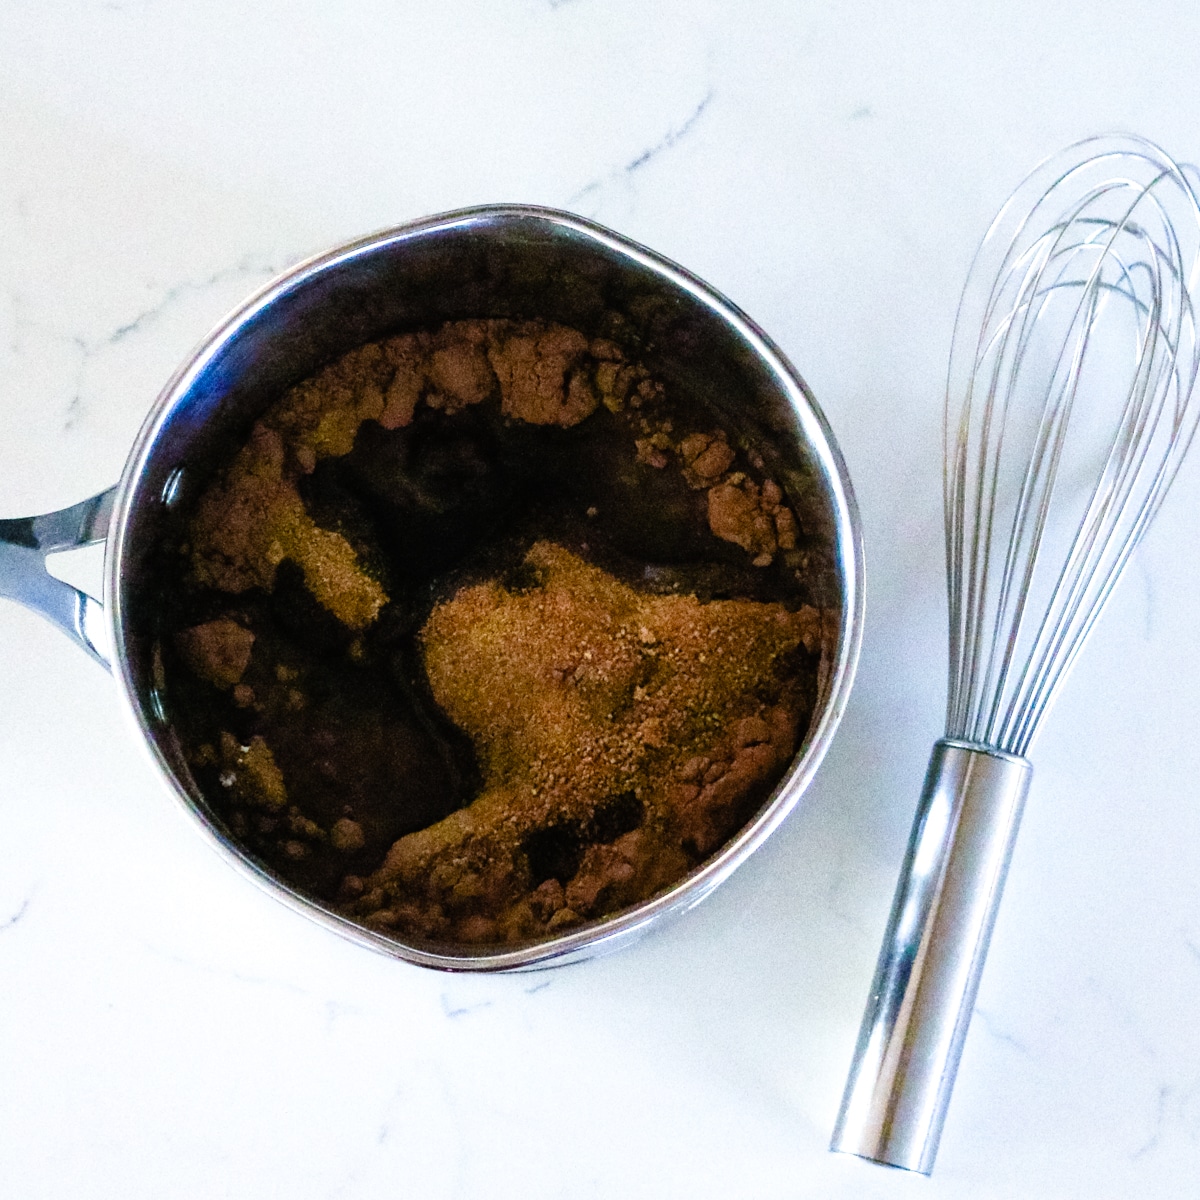
Step 1. Whisk
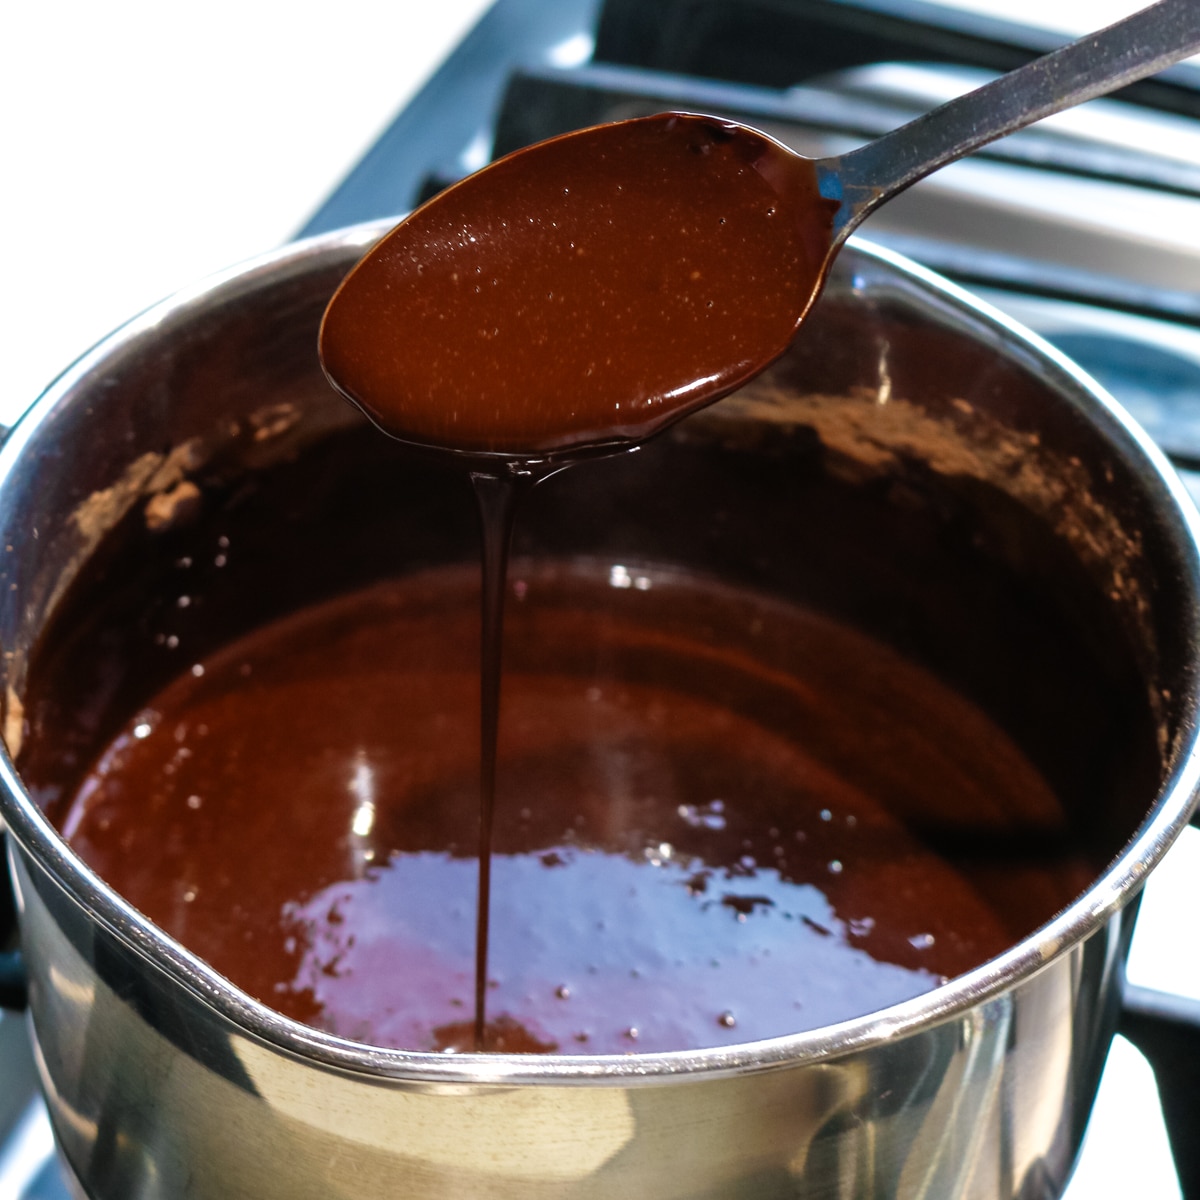
In a small saucepan over medium heat, whisk together water, cocoa powder, coconut sugar, and sea salt until smooth.
Step 2. Instructions
Bring to a gentle simmer, stirring frequently, and cook for about 5-10 minutes until the sugar dissolves and the mixture slightly thickens.
Helpful Tips
- Whisk constantly - To prevent lumps and create a smooth, glossy syrup, whisk frequently. Cocoa powder can clump up when mixed with liquid, and this also helps to prevent the sugar from sticking to the bottom and burning.
- Simmer, don't boil - Keep the heat at a gentle simmer rather than a rolling boil. Boiling can make the syrup too thick or cause it to develop a grainy texture as the sugars crystallize.
- Cool before storing - The syrup will thicken as it cools, so don’t worry if it looks thin when warm. Allow it to cool completely before transferring to a jar to prevent condensation from watering it down.
- No waste - If the syrup thickens too much in the fridge, don't toss it! Just warm it slightly under running warm water and stir in a little water to bring it back to pourable consistency.
Troubleshooting
- Too thick? Add a splash of water to thin it out.
- Too thin? Simmer a bit longer but also keep in mind, it will thicken more as it cools.

Serving Suggestions
Here are some of the delicious ways to serve this homemade chocolate syrup:
Over ice cream: Drizzle on top of this 3-ingredient vanilla paleo ice cream.
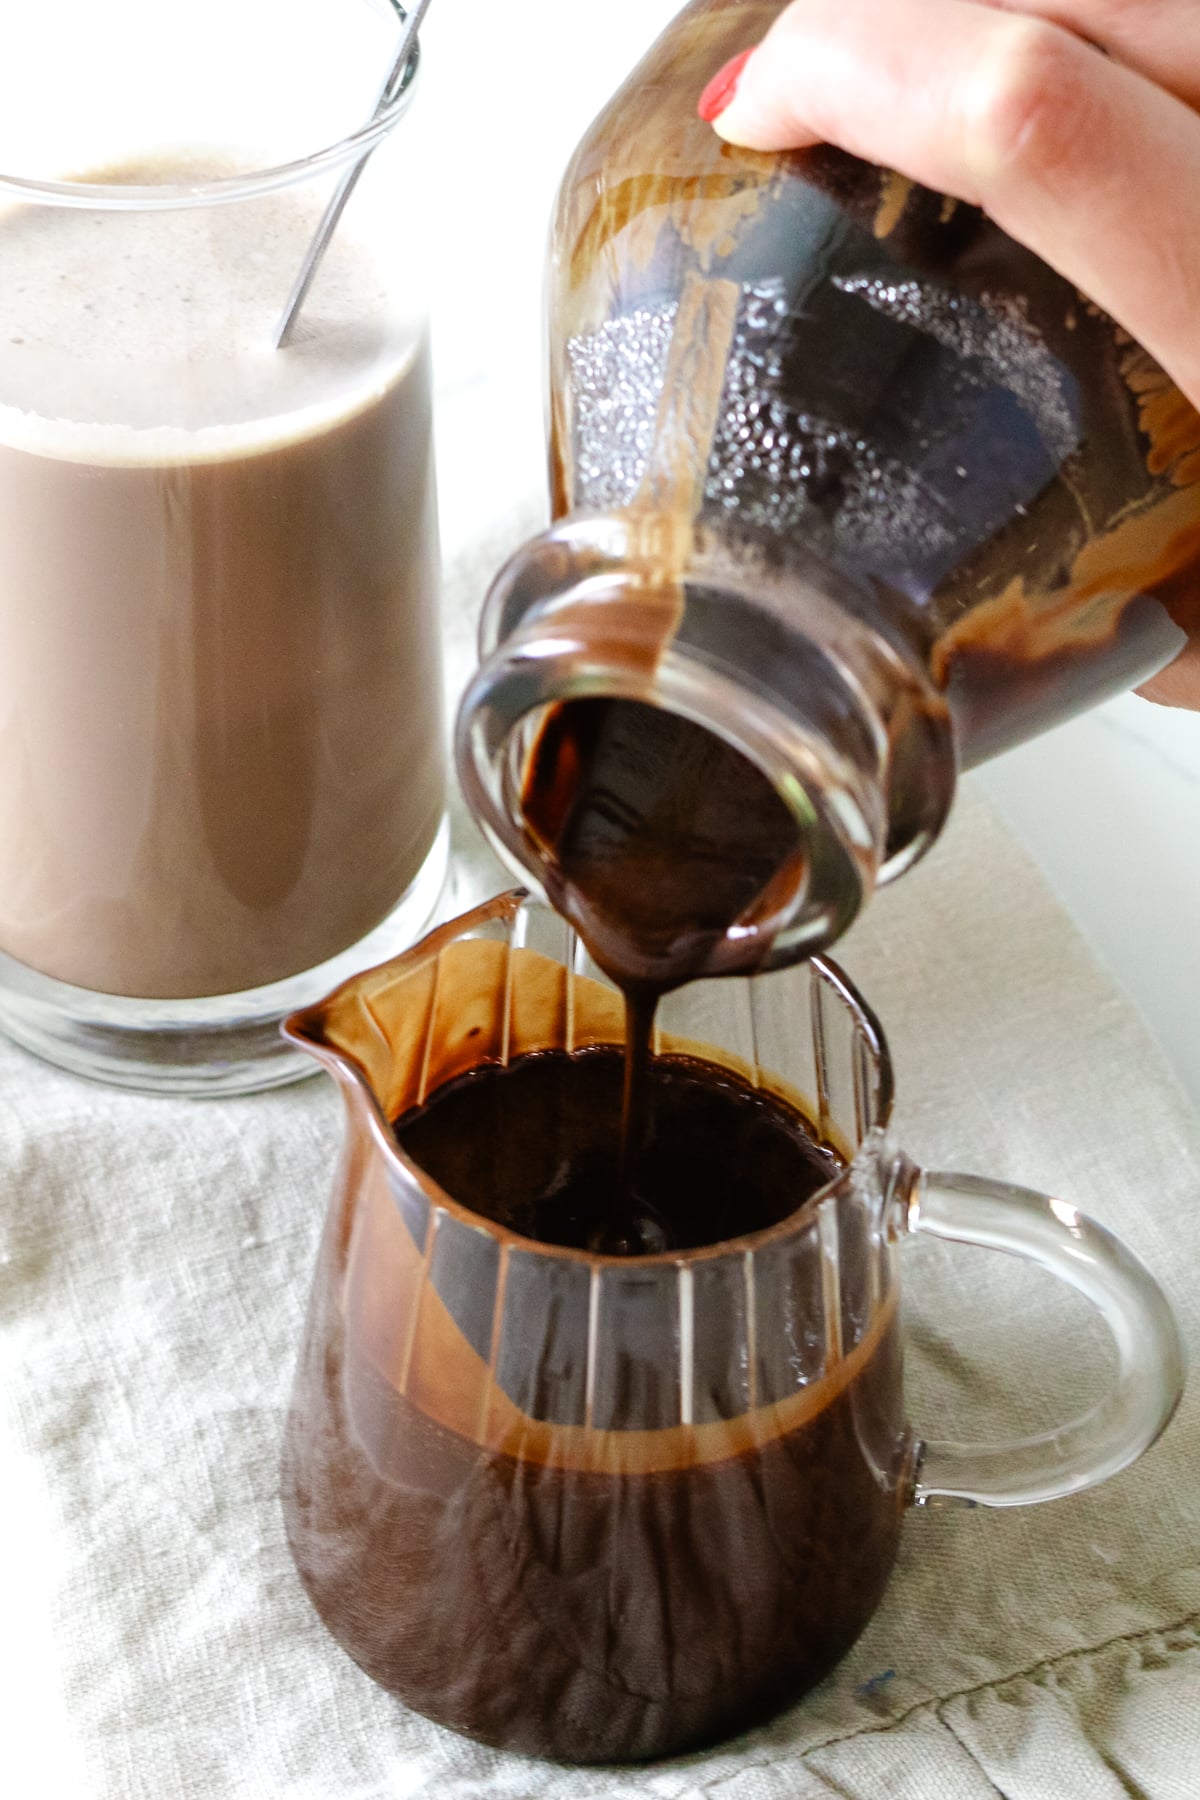
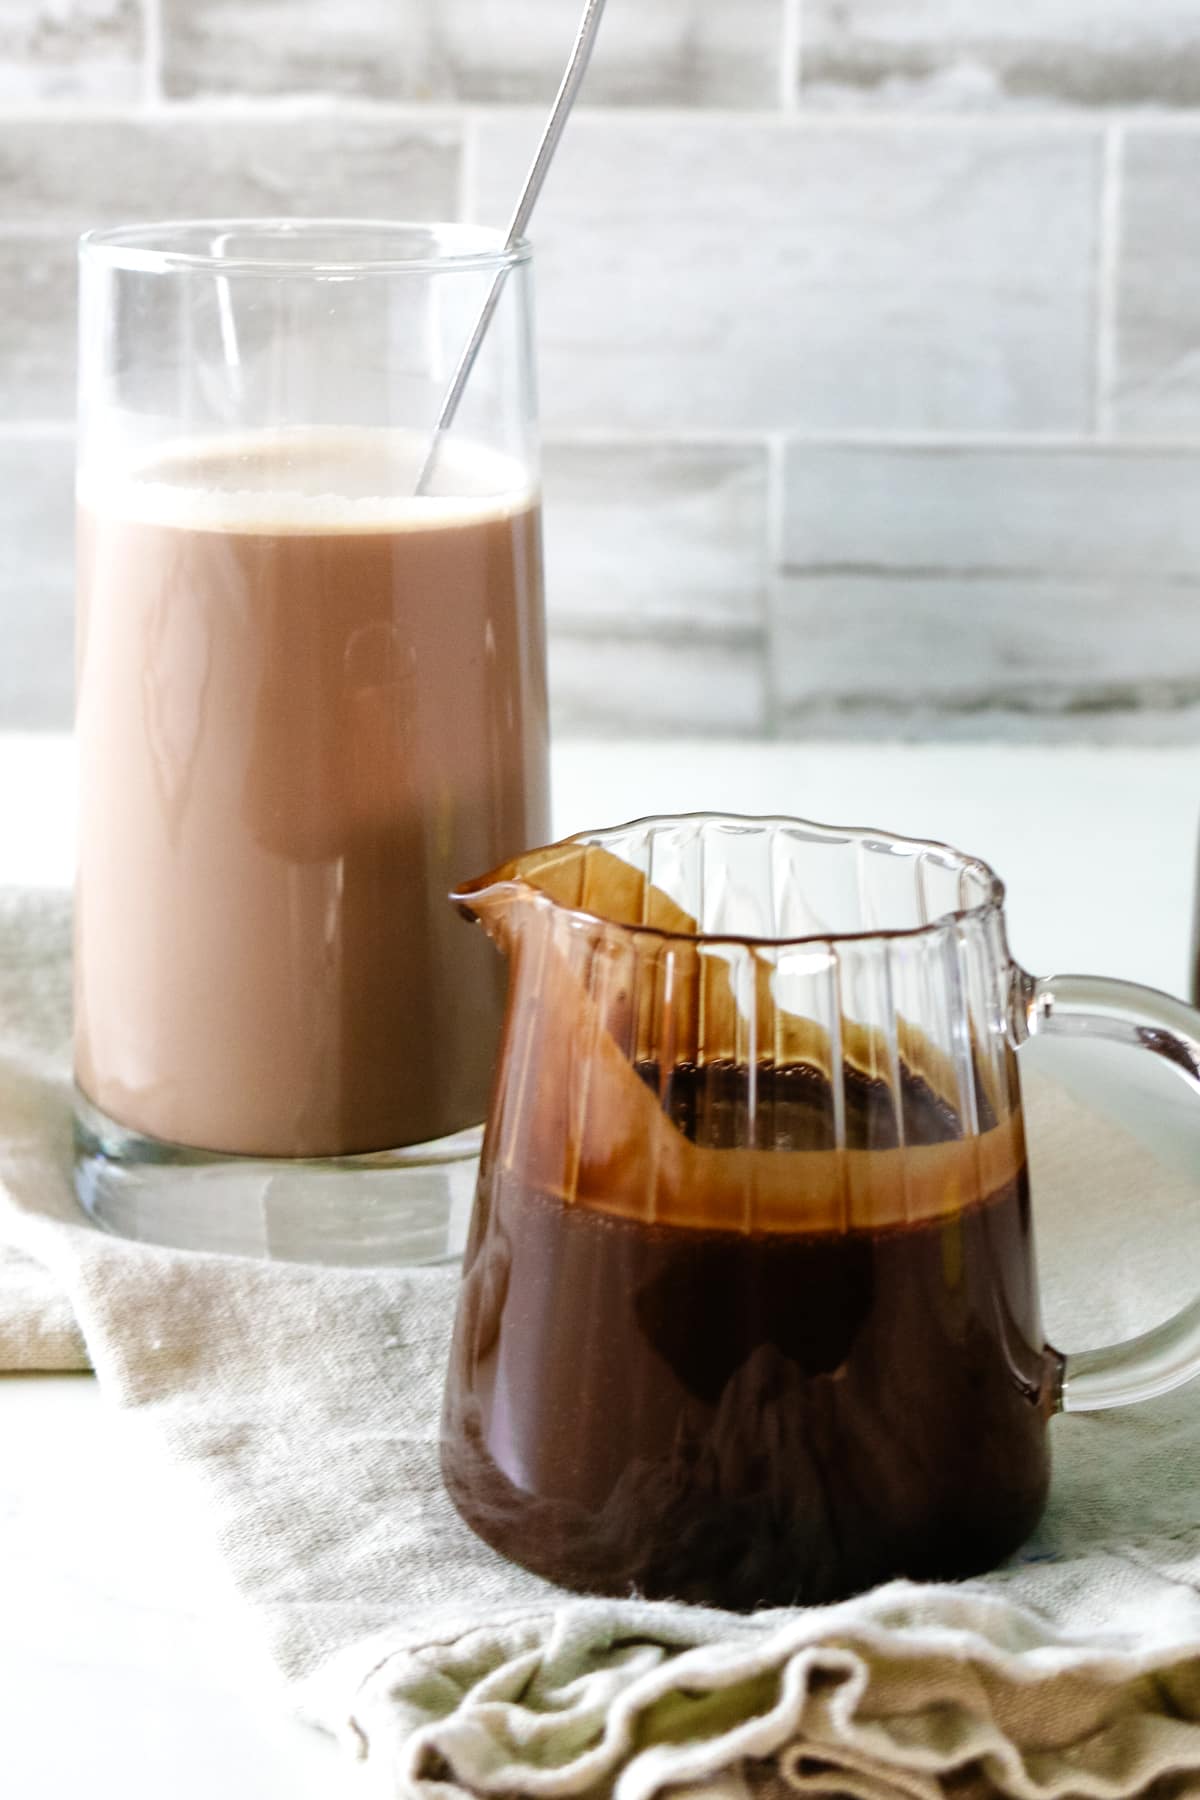
In milk: Stir into a tall glass of raw milk for a homemade chocolate milk (my kids' favorite way to enjoy this!).
In coffee: Add a spoonful to your protein coffee or a cup of herbal coffee
Drizzle over baked goods: Use it as a topping for crepe rolls, coconut flour brownies, or gluten-free crepes. Want a double chocolate dessert? Try this gluten-free chocolate pie.

Frequently Asked Questions
Store homemade chocolate syrup in an airtight container, such as a glass jar, in the refrigerator for up to 3 weeks if using coconut sugar and 2 weeks if using honey.
Yes, you can freeze chocolate syrup! For longer storage, pour the syrup into an airtight container, leaving a little space at the top for expansion, and freeze for up to 3 months. When you're ready to use it, thaw in the fridge overnight. You might need to warm it up a bit to bring it back to a pourable consistency.
No, this chocolate syrup is too thin to be used as a filling for candies or desserts. It works best as a drizzle or topping, but if you're looking for a thicker consistency, try reducing it on the stove to thicken it up before using it in recipes.
Looking for more staples made from scratch? Here are some ideas:
Did you make this chocolate syrup with cocoa powder]? Please leave a ⭐⭐⭐⭐⭐ recipe rating in the recipe card below and leave a review in the comments. Thank you!💚
Printable Recipe

Homemade Chocolate Syrup
Ingredients
- 1 cup water
- 1 cup cocoa powder
- 1 ⅓ cup coconut sugar
- 1 tablespoon vanilla
- ¼ teaspoon sea salt
Instructions
- In a small saucepan over medium heat, whisk together water, cocoa powder, coconut sugar, and sea salt until smooth.1 cup water, 1 cup cocoa powder, 1 ⅓ cup coconut sugar, ¼ teaspoon sea salt
- Bring to a gentle simmer, stirring frequently, and cook for about 3-5 minutes until the sugar dissolves and the mixture slightly thickens.
- Remove from heat and stir in the vanilla extract.1 tablespoon vanilla
- Let the syrup cool slightly but still warm, transfer to a jar or bottle. Store in the fridge for up to 2 weeks.
Notes
- Whisk constantly - To prevent lumps and create a smooth, glossy syrup, whisk frequently. Cocoa powder can clump up when mixed with liquid, and this also helps to prevent the sugar from sticking to the bottom and burning.
- Simmer, don't boil - Keep the heat at a gentle simmer rather than a rolling boil. Boiling can make the syrup too thick or cause it to develop a grainy texture as the sugars crystallize.
- Cool before storing - The syrup will thicken as it cools, so don’t worry if it looks thin when warm. Allow it to cool completely before transferring to a jar to prevent condensation from watering it down.
- No waste - If the syrup thickens too much in the fridge, don't toss it! Just warm it slightly under running warm water and stir in a little water to bring it back to pourable consistency.


Kaylin@EnticingHealthyEating says
What a wonderful idea! I've seen a lot of "you should make this at home rather than buying it in the store" posts, but I've never seen chocolate syrup as one of the food items mentioned. I never knew it was this easy.
Anya says
Yes, Kaylin...super easy! It's along the lines of making homemade mayonnaise and ranch, looks intimidating but in reality easier and quicker than going to the store for a bottle. 🙂
Marla says
Hi Anya,
I love this recipe. My husband loves drinking chocolate milk & hot cocoa. I have been looking for a easy homemade healthy alternative besides Hershey syrup & this seems to fit perfectly. We use raw milk and I don't like the idea of all those additives in the chocolate syrup. Thanks for sharing On Real Food Fridays. Pinned & twitted.
Anya says
Oooo..raw milk. Yes - this is perfect to go into a tall glass of raw milk.
Marla says
Hi Anya,
Just a note to let you know that I have chosen your posts as one of my features for this weeks Real Food Fridays blog hop that goes live every Thursday @7pm EST. Thanks for being part of Real Food Fridays mission to make this world healthier. Have a healthy happy blessed holidays.
Anya says
Thanks Marla for the feature. Happy Holidays to you as well. 🙂
Emily says
It burnt! This recipe sadly didn’t work for me and what a shame to waste all of the maple syrup and cocoa!! It burnt before it reached a boil.
Anya says
Hi Emily,
I'm sorry it didn't work out for you. Did you have it on high heat? Stoves vary but be sure the heat isn't too high. 🙂