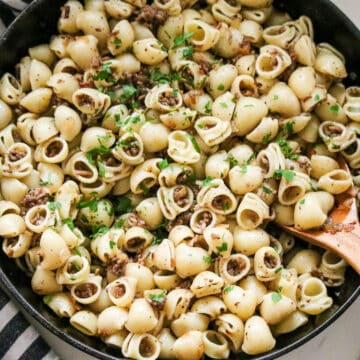
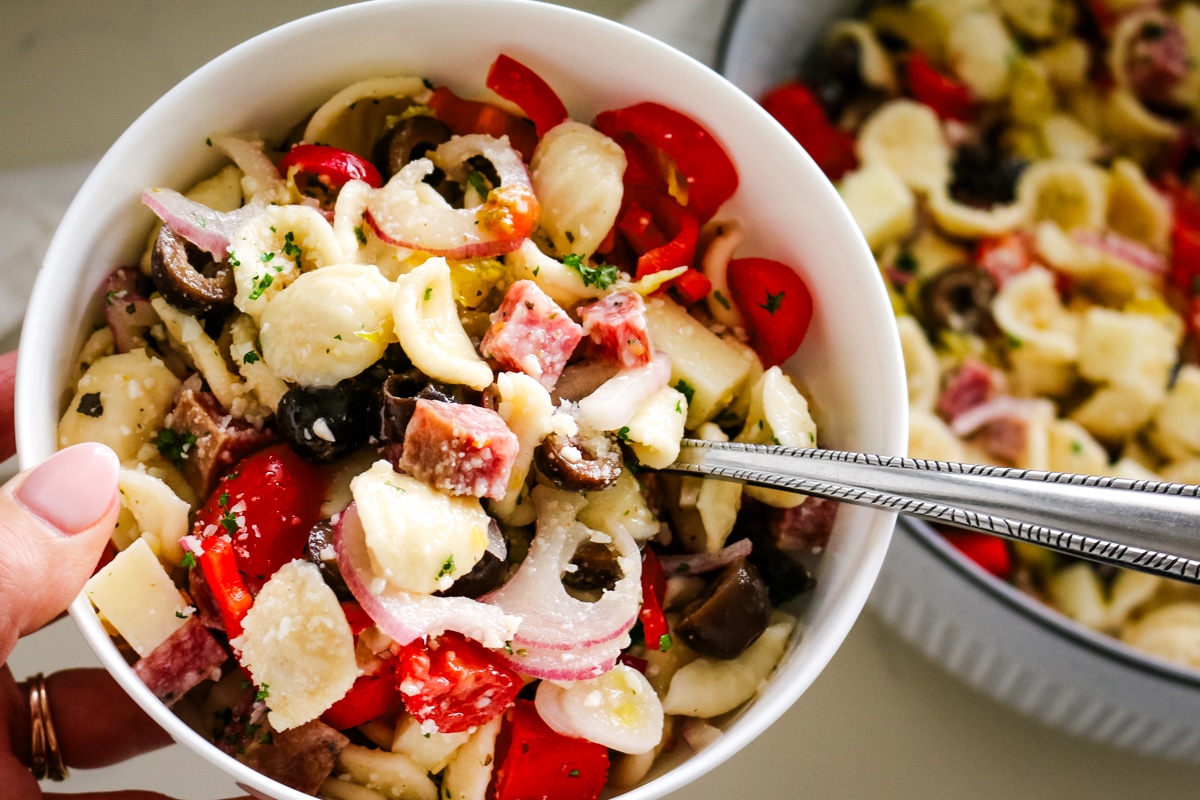
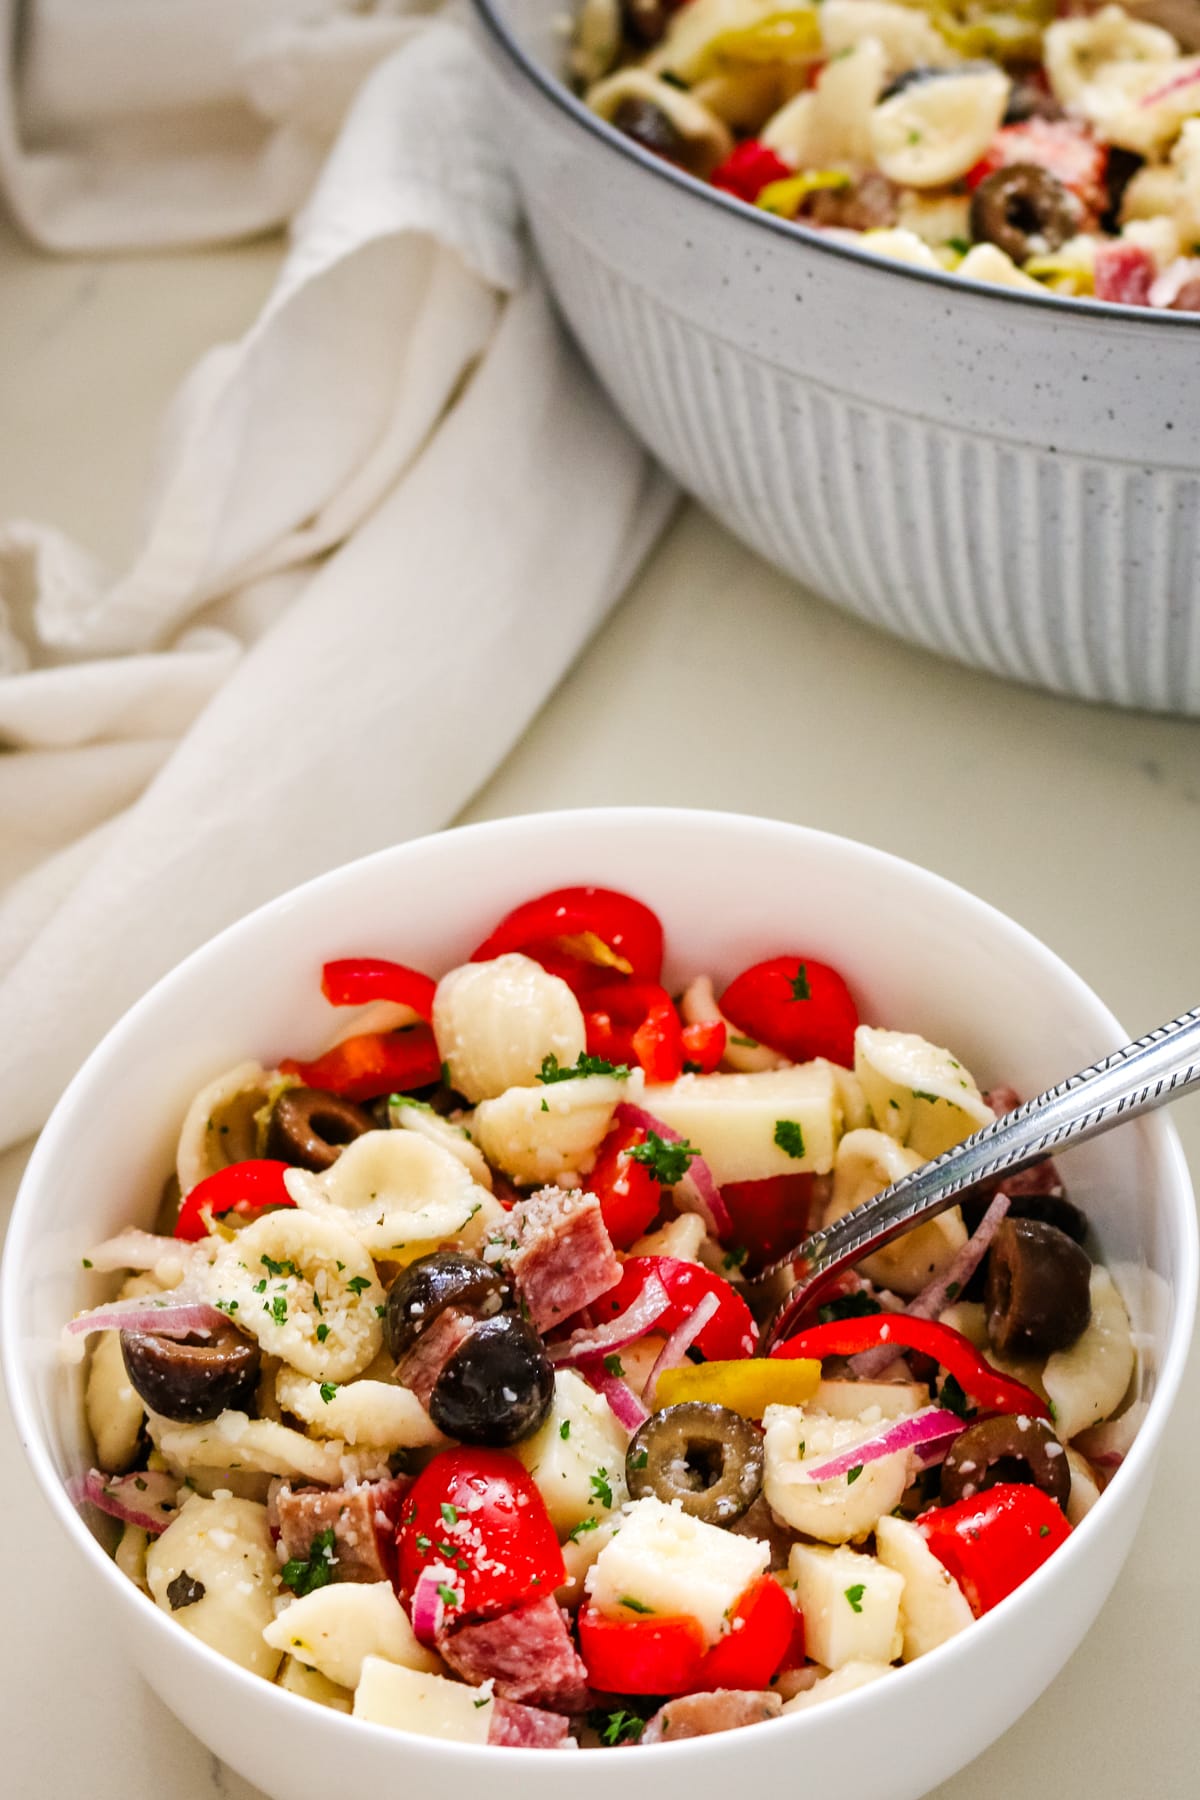
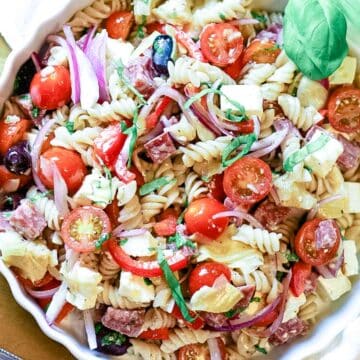
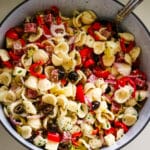
Italian pasta salad recipe with salami, mozzarella, cherry tomatoes, and pepperoncini, all tossed in a simple olive oil and vinegar dressing. The pasta gets dressed while it's still warm so it soaks up more flavor, and a short chill in the fridge lets the vegetables slightly pickle in the dressing. It's a cold dish made ahead of time, and it actually tastes better the next day.
💡Recipe Overview
- Prep and Cook Time: 20 minutes to prep and 10 minutes to cook [pasta]
- Cooking Method: Stove-top
- Skill Level: Easy
- Who this recipe is for: This Italian pasta salad recipe is for anyone who wants big antipasto flavor all in one bowl, and needs a mayo-free side that can sit out at a cookout without a second thought.
What is an ancestral diet? Read my post on what nourishing foods are based on the traditional dietary principles of the Weston A. Price Foundation.
Antipasto Flavors, Less Fuss
You love antipasto flavors but don't want a platter that needs constant refilling? This is that, in one bowl. Salami, olives, and pepperoncini give you all that flavor without the fuss of restocking a spread every twenty minutes. It's also become my go-to once cookout season hits since there's no mayo involved, so I don't have to think twice about it sitting out in the heat for a few hours.
It's an easy one to make the night before and forget about, which is really what earns it a spot in my rotation. So it's great to serve when feeding a crowd. And, it holds its own next to whatever's coming off the grill, so it's an easy side to pair with just about anything you're already making.

Ingredients for Italian Pasta Salad
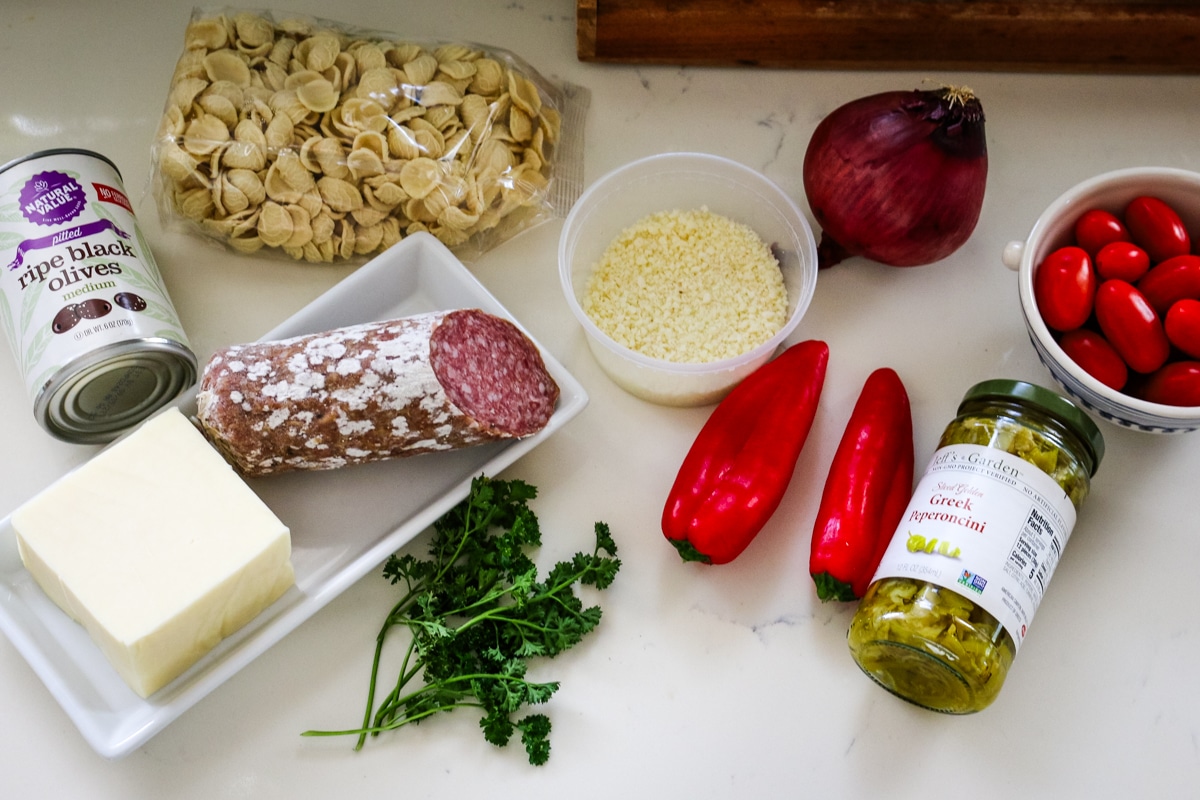
- Pasta: Any short pasta with ridges works well here since it holds onto the dressing. Fusilli is a solid choice, though rotini or farfalle work too. Einkorn or sprouted pasta are good ancestral swaps and hold up fine in a cold salad.
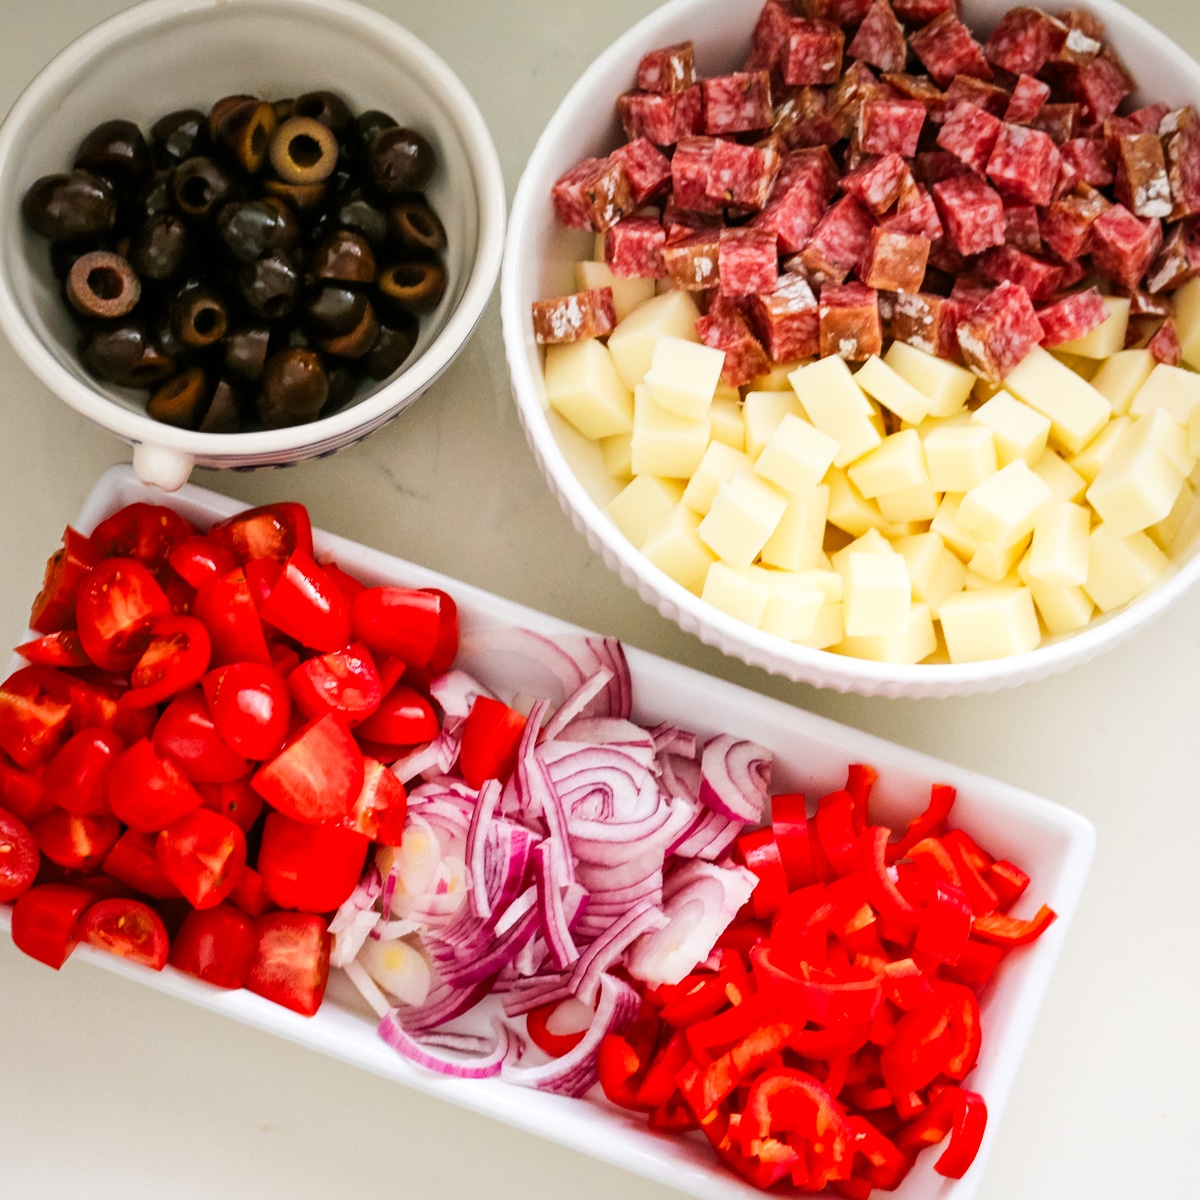
- Salami: Diced for a good, hearty bite. A good Italian salami from a butcher counter or deli beats most pre-packaged options.
- Mozzarella: Fresh pearls are the easiest to use since they need no cutting, but diced mozzarella works too (like I'm doing here).
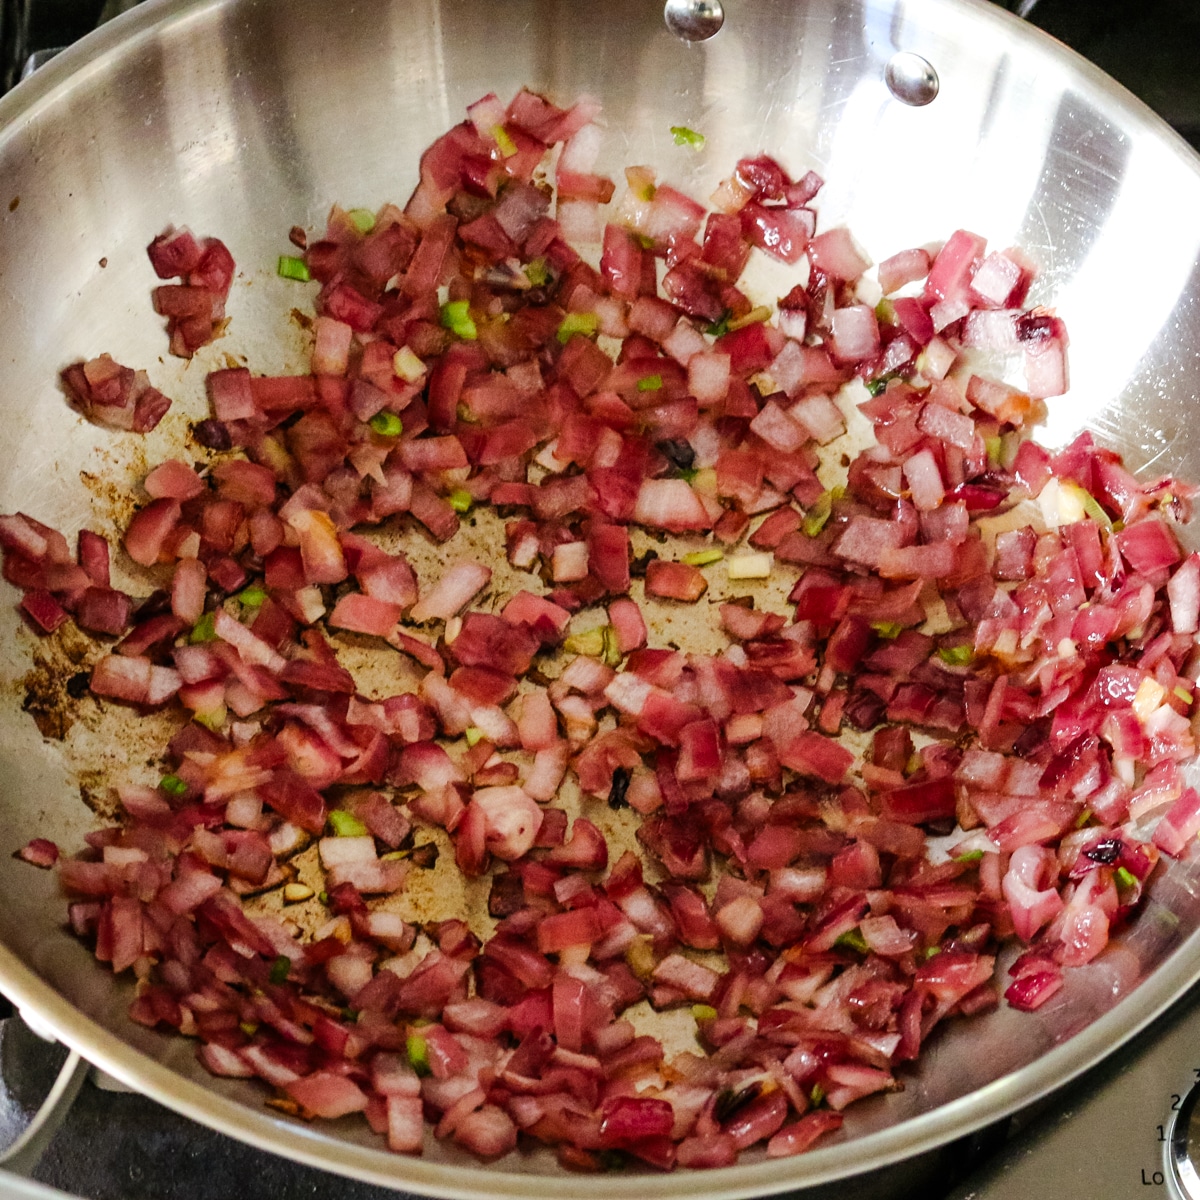
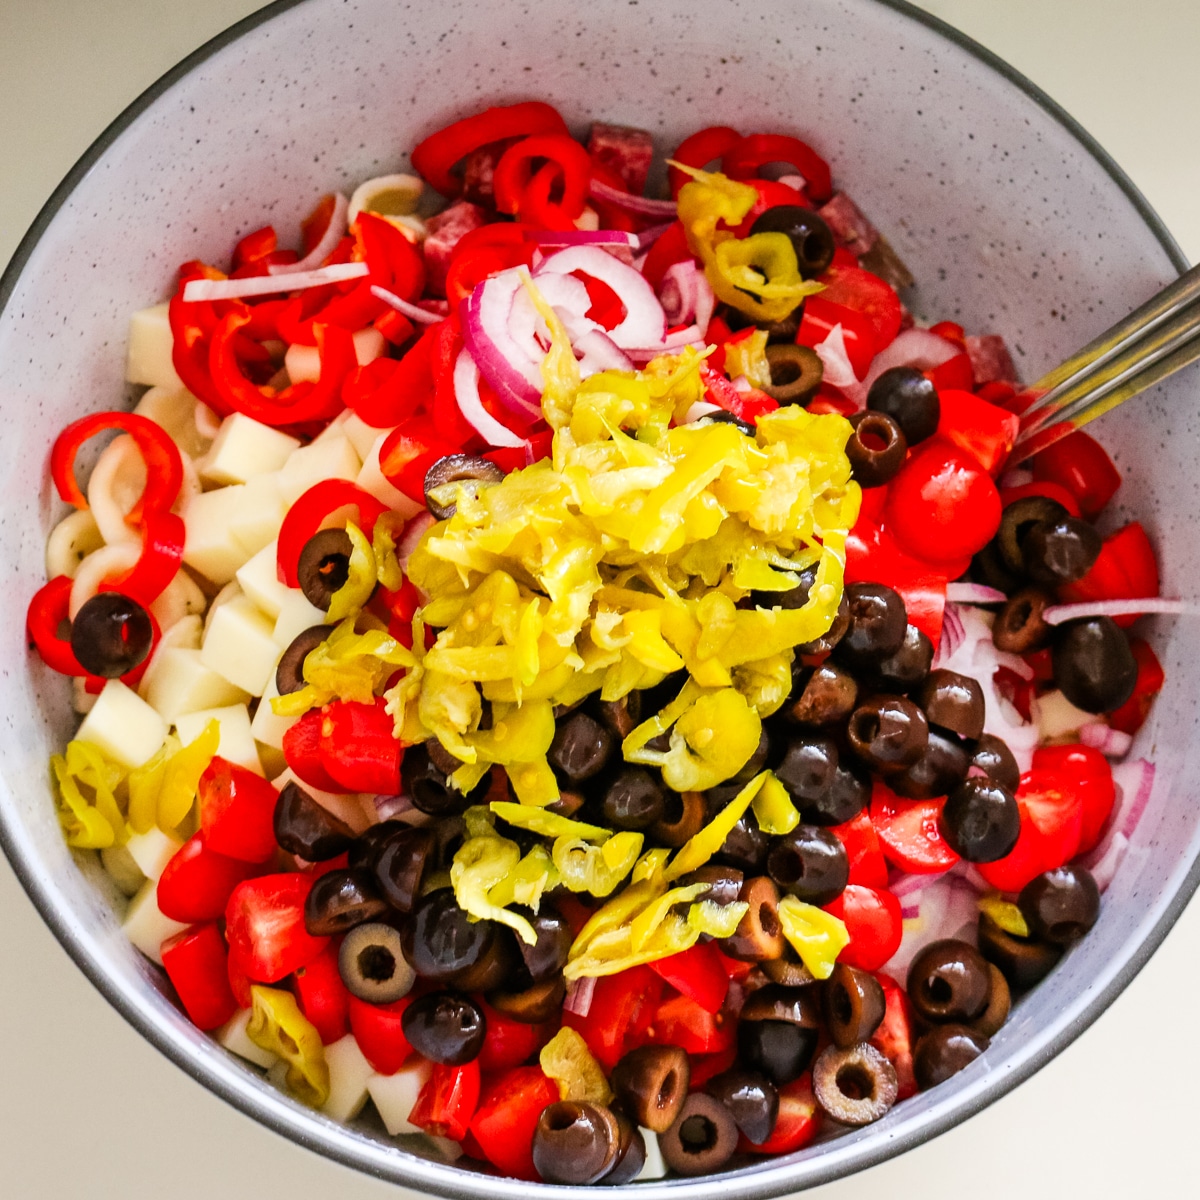
- Vegetables: Fresh vegetables like cherry tomatoes, red onion, and bell pepper add color and crunch, while black olives and pepperoncini bring the briny, zingy notes.
- Dressing: A simple blend of olive oil and apple cider vinegar (check out my homemade apple cider vinegar recipe), then add garlic and oregano for that classic Italian flavor, rounding it out with sea salt and black pepper.

Make it Ancestral
Pasta salad isn't a traditional ancestral dish, and there's no pretending otherwise. But it's important to mention: good salami earns its place here. Traditional salami is fermented, cured with salt and time while beneficial bacteria slowly build that tangy flavor, the same process behind sauerkraut or sourdough.
Most commercial salami skips that slow fermentation in favor of fast acidulants, and leans on synthetic nitrates or nitrites to get the color and shelf life right. Look for salami from a butcher or small producer who takes the traditional route instead, fermented slowly and cured simply with salt and time.
Even "nitrate-free" labels are worth a second look, since many just swap in celery powder, which still delivers natural nitrates, just under a cleaner sounding name (though it does bring some natural antioxidants along with it). Find salami that's genuinely fermented and simply cured, and you've got an actual fermented food on the plate, which puts this dish closer to traditional and ancestral philosophy.
How to Make Italian Pasta Salad
The complete printable recipe is below in the recipe card for your convenience.

Step 1. Whisk the dressing
In a glass pint-size jar, combine the olive oil, apple cider vinegar, garlic, and herbs. Shake vigorously until emulsified. Set aside.
Step 2. Prep everything
Cook the pasta according to package instructions until just al dente. Take care not to overcook the pasta. While pasta is cooking, prep all the ingredients, including tomatoes, onions, bell peppers, salami, cheese, and olives.

Step 3. Drain the pasta
Drain and rinse the pasta under cold water to stop the cooking process and remove excess starch. While still gently warm, toss in ½ of the dressing to allow the pasta to absorb flavor.
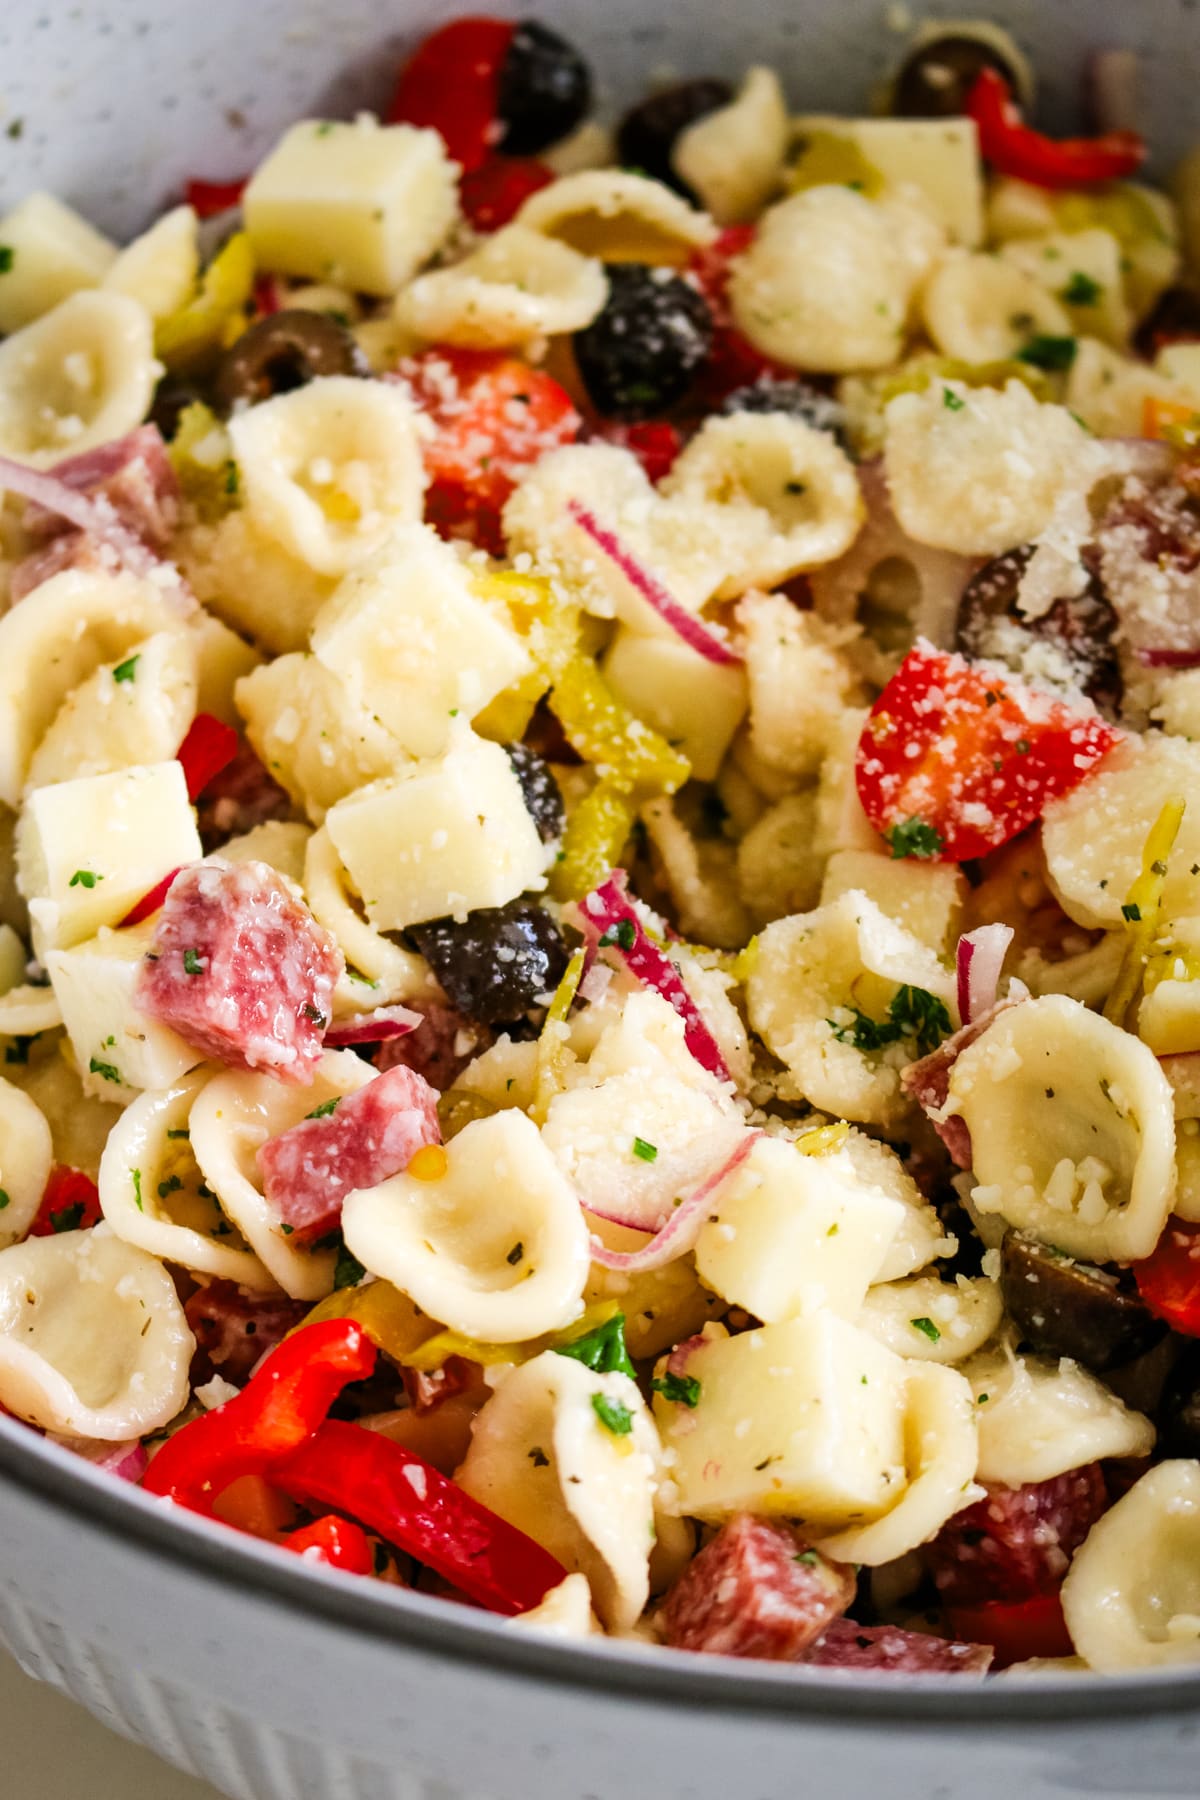
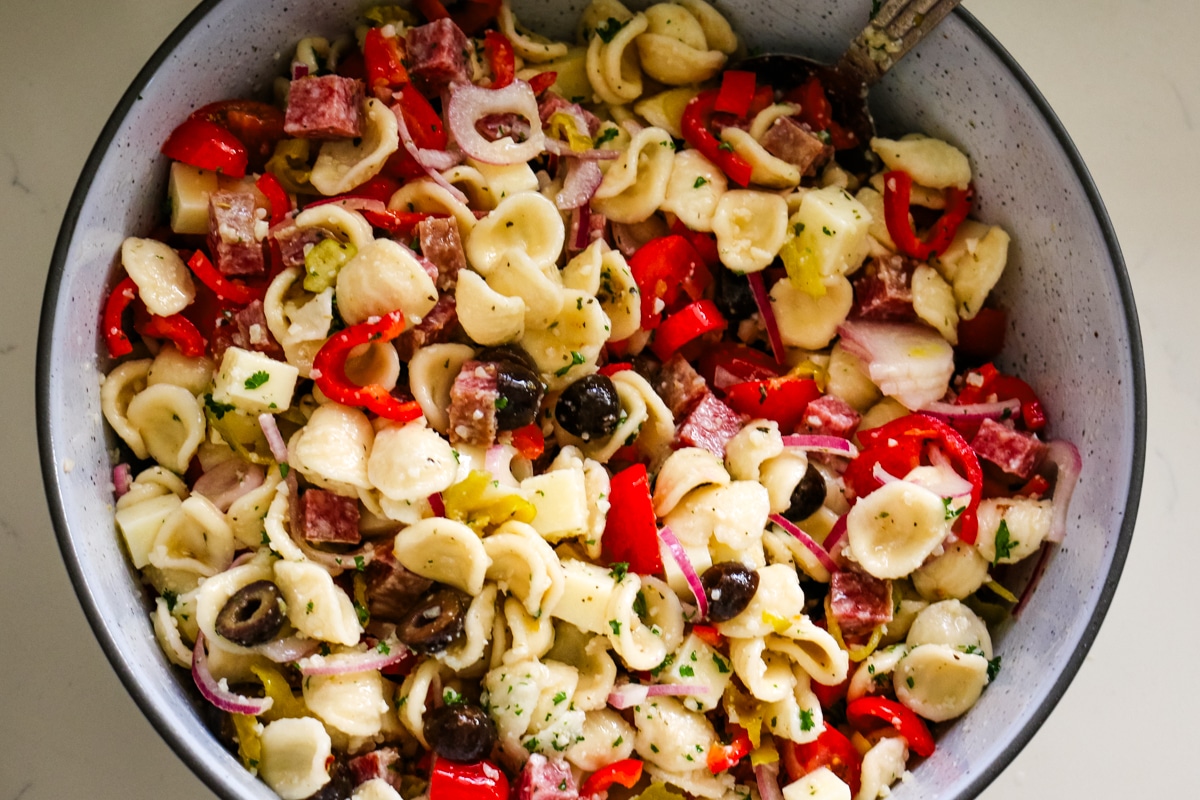
Step 4. Combine
In a large bowl, combine all the ingredients together and toss until everything is coated evenly. Let the salad sit at room temperature for 20-30 minutes for flavors to meld. If not serving immediately, keep in the fridge but allow to come to room temp before serving.
Helpful Tips
- Dress the pasta while it's still warm. Warm pasta absorbs the dressing much better than cold pasta, so tossing it with half the dressing right after draining and rinsing gives you more flavor throughout the pasta instead of just on the surface.
- Avoid plastic bowls. Plastic bowls can hold onto the smell and color of the vinegar-based dressing over time, while glass or ceramic clean up easily and don't absorb anything.
- Add a splash of pepperoncini brine. If the salad needs a little more flavor, add a splash of pepperoncini brine. The dressing mutes slightly once it's cold, so taste before serving and consider adding a splash to wake the flavors back.
💭Meal Prep Suggestion!
Make the full batch, then portion into individual glass containers once it's finished its initial chill. It keeps well for up to 4 days and actually gets better by day two or three as the flavors settle in. Hold back the parsley and a splash of pepperoncini brine, adding those fresh to each container right before eating so the color stays vibrant and the dressing doesn't taste flat by the end of the week.
Serving Suggestions
This pasta salad holds its own as a light lunch, but it's just as good alongside dry brine chicken, salmon with mayonnaise, or chicken kotleti for a full spread.
It travels well, which makes it a great pick for potlucks, picnics, and backyard gatherings where it needs to sit out for a while without going bad. Unlike a good macaroni salad, this one doesn't have mayonnaise so you don't have to worry about it turning in the heat or racing the clock once it's out of the fridge.
Frequently Asked Questions
Store leftover salad in an airtight container for up to 4 days. These glass snap containers are perfect for leftovers. Pull it out of the fridge 15-20 minutes before serving to take the chill off.
Go with a short, ridged shape like fusilli or rotini. The curves and ridges hold onto the dressing, so you get flavor in every bite instead of it pooling at the bottom of the bowl. Farfalle or shells work too. Skip anything smooth and long like spaghetti; it won't grab the dressing the same way.
Up to a day ahead is ideal. The flavors actually improve overnight as the vegetables soften slightly in the dressing, so this is a great one to prep the night before you need it.
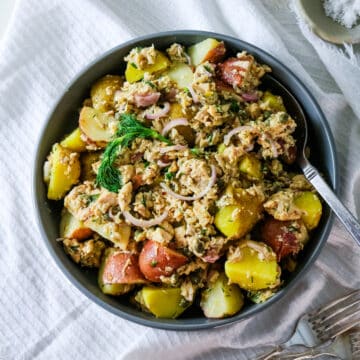
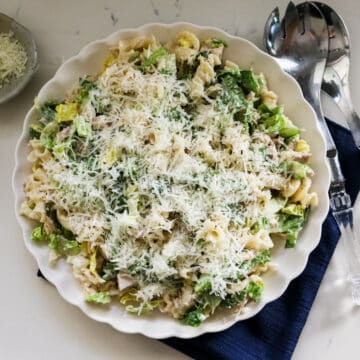
Looking for more related salad recipes? Here are some ideas:

Did you make this Italian Pasta Salad Recipe? Please leave a ⭐⭐⭐⭐⭐ recipe rating in the recipe card below and leave a review in the comments. Thank you!💚
Printable Recipe
Italian Pasta Salad Recipe
Ingredients
- 1 pound short pasta
- 2 cups salami diced
- 2 cups mozzarella cheese or pearls
- 1 pint cherry tomatoes halved
- 1 bell pepper sliced
- ½ red onion sliced
- 1 cup black olives
- ¼ cup fresh parsley
- ½ cup pepperoncini
Dressing
- ½ cup olive oil
- ¼ cup apple cider vinegar
- 2 cloves garlic, minced
- 1 teaspoon oregano
- 1 teaspoon sea salt
- ¼ teaspoon black pepper
Instructions
- In a small glass jar, combine the ½ cup olive oil, ¼ cup apple cider vinegar, 2 cloves garlic, minced, 1 teaspoon oregano, 1 teaspoon sea salt, and ¼ teaspoon black pepper. Shake vigorously until emulsified.
- Boil 1 pound short pasta in heavily salted water until just al dente. Overcooking will lead to mushy salad after it sits in the dressing. Drain and rinse the pasta under cold water to stop the cooking process and remove excess starch. While still gently warm, toss in ½ of the dressing to allow the pasta to absorb flavor.
- In a large bowl, combine the cooled pasta with 2 cups salami (diced), 2 cups mozzarella cheese or pearls, 1 pint cherry tomatoes (halved), 1 bell pepper (sliced), ½ red onion (sliced), 1 cup black olives (halved), ¼ cup fresh parsley (chopped), and ½ cup pepperoncini.
- Pour the dressing over the salad and toss well to ensure every everything is coated well.
- Let the salad sit at room temperature for at least 30 minutes before serving. This allows the flavors to meld. Garnish with fresh parmesan cheese if desired.
Video
Notes
- Dress the pasta while it's still warm. Warm pasta absorbs the dressing much better than cold pasta, so tossing it with half the dressing right after draining and rinsing gives you more flavor throughout the pasta instead of just on the surface.
- Avoid plastic bowls. Plastic bowls can hold onto the smell and color of the vinegar-based dressing over time, while glass or ceramic clean up easily and don't absorb anything.
- Add a splash of pepperoncini brine. If the salad needs a little more flavor, add a splash of pepperoncini brine. The dressing mutes slightly once it's cold, so taste before serving and consider adding a splash to wake the flavors back.