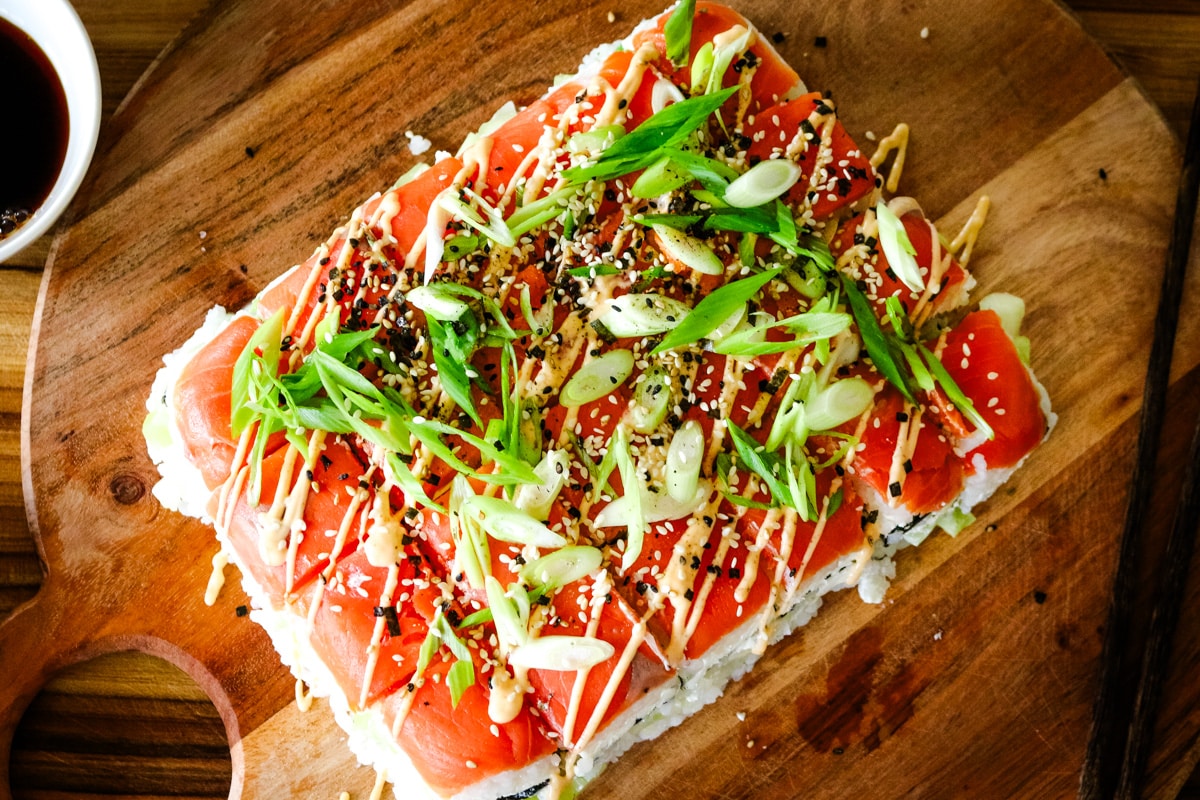
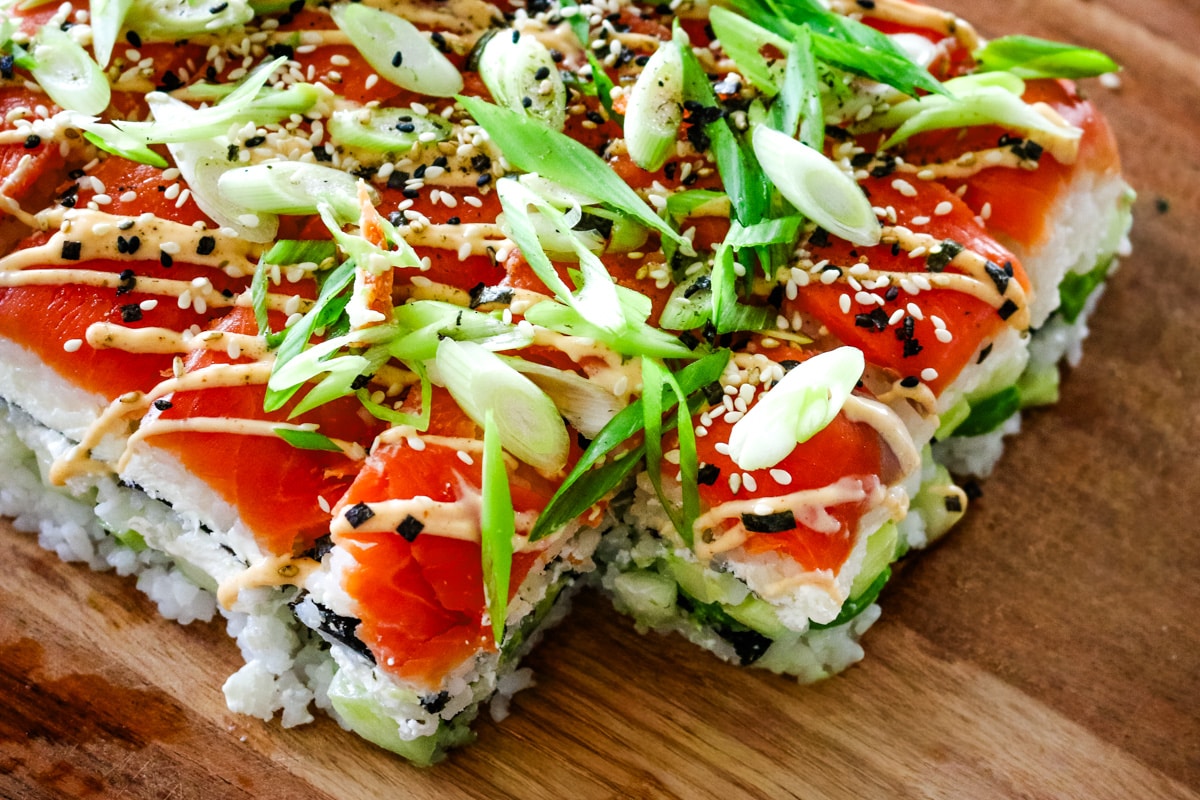
Smoked salmon sushi stack takes the viral lazy sushi trend and builds it in a dish instead of a bowl, so it holds together and slices clean once it's chilled. Smoked salmon, cream cheese, cucumber, avocado, and nori press into layers, then flip out onto a plate like a cake. It's a good one for using leftover sushi rice or for anyone who wants the flavors of sushi without rolling a single piece.
💡Recipe Overview
- Prep and Cook Time: 30 minutes to prep and 1 hour to chill
- Skill Level: Moderate
- Who this recipe is for: Anyone who loves sushi but not the price tag or the hassle of rolling it themselves.
What is an ancestral diet? Read my post on what nourishing foods are based on the traditional dietary principles of the Weston A. Price Foundation.
Smoked Salmon Sushi Without the Price Tag
We love sushi in this house, but not the prices $$, and definitely not the idea of standing at the counter trying to roll something that looks nothing like what's on Pinterest.
And if I'm honest, what we actually want most nights is simpler than that: rice, fish, veggies, all stacked up so you can cut a piece, dunk it in a little wasabi and soy sauce (enough wasabe that it's creeeammy!), and call it dinner.
It's also a great option for a lake day or picnic (as seen on my Instagram series on Lunch on the Lake), since it holds up well in a cooler and doesn't need any last-minute fuss once it's made.
If you're into this whole lazy sushi thing like we are, this one joins my smoked salmon poke bowl and salmon sushi bake as another way to get those flavors without any rolling involved. A bowl of traditional miso soup on the side turns it into a full meal without the hefty prices.

Ingredient Notes

Making sushi at home sounds intimidating, until you realize there's no raw fish or rolling involved. Just a handful of ingredients you can find at a regular grocery store.
- Rice: Short grain sushi rice is what holds the stack together, so don't substitute long grain or quick-cook rice. I recommend following instructions on the bag. Some call for rinsing, others don't. After rice is cooked, we'll stir in rice vinegar for that classic sushi flavor.
- Fish: Wild smoked salmon or cured salmon is the main ingredient. Cold-smoked, sometimes labeled lox or Nova style, has better texture and flavor than shelf-stable versions. I'm also working on updating my cured salmon post so I'll share that once it's live.
- Dairy: The best way to glue the layers together is with cream cheese. It's creamy, delicious, and adds a nice smooth texture to balance everything else out. Full-fat holds up better than reduced-fat, which tends to be too soft and wet. Let it come to room temperature before spreading so it doesn't tear the layer underneath.
- Vegetables: Keeping it simple in this viral lazy sushi with just cucumber and avocado for freshness and crunch. English cucumber works best since it has less water, but salt and press it dry regardless, that step is what keeps the stack from turning soggy. Choose an avocado that's ripe but still firm enough to slice cleanly.
- Wraps: Every sushi, whether rolled or not, needs nori. Not just for flavor but also to keep texture between the layers. Nori is dried, pressed seaweed sold in thin sheets, most familiar as the wrap around sushi rolls. It's mild in flavor with a bit of natural saltiness, and it gets slightly crisp when dry but softens once it's near moisture, like the rice in your stack. Trim sheets to fit your dish so they lay flat.
- Garnish: Spicy mayo, nori komi furikake or sesame seeds, and green onion finish the dish. Make my spicy mayo recipe to avoid industrial seed oils. These are optional extras, so use what you have.
Substitutions and Variations
- Vegetables - You can add a layer of julienned carrots for some color and crunch, or thin strips of bell pepper for the same effect.
- Spicy - Mix a spoonful of prepared wasabi into the cream cheese before you spread it, for a little heat that runs through the whole smoked salmon sushi stack instead of just sitting on top.
How to Make Smoked Salmon Sushi
The printable version is in the recipe card below, ready to go. Keep reading here first though, since these instructions walk through more detail with photos along the way.
Step 1.
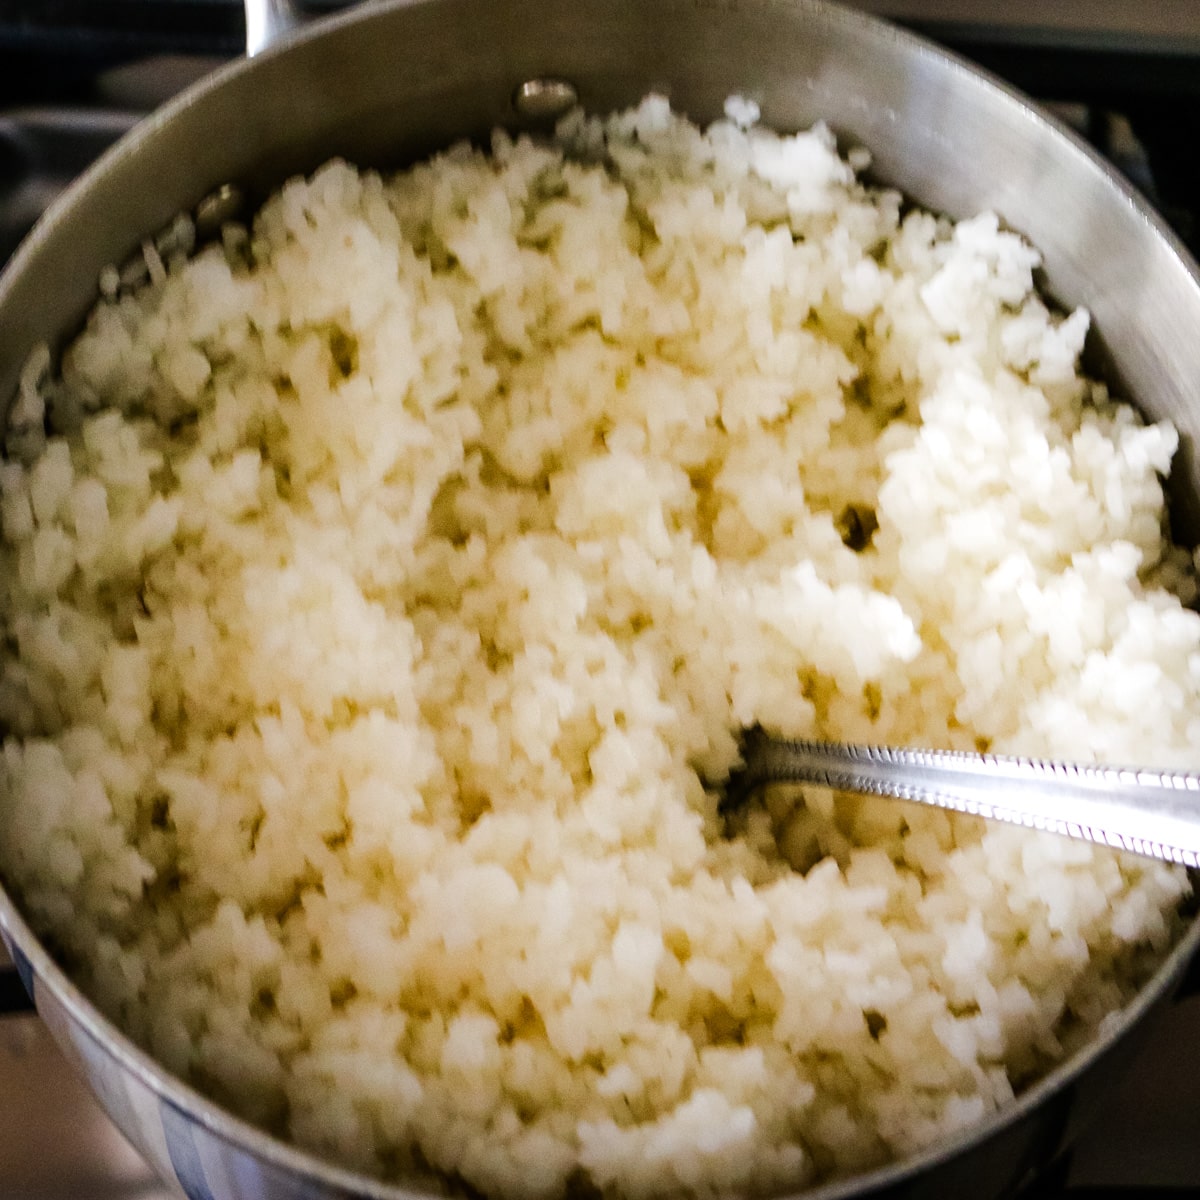
Rinse rice in cold water until it runs mostly clear. Combine with water in a pot, bring to a boil, then cover and reduce heat to low. Cook for 18 minutes without lifting the lid. Remove from heat and let sit covered for 10 minutes. While the rice is still warm, fold in rice vinegar. Let it cool to room temperature before building, or it will melt the cream cheese layers as you go.
Step 2.
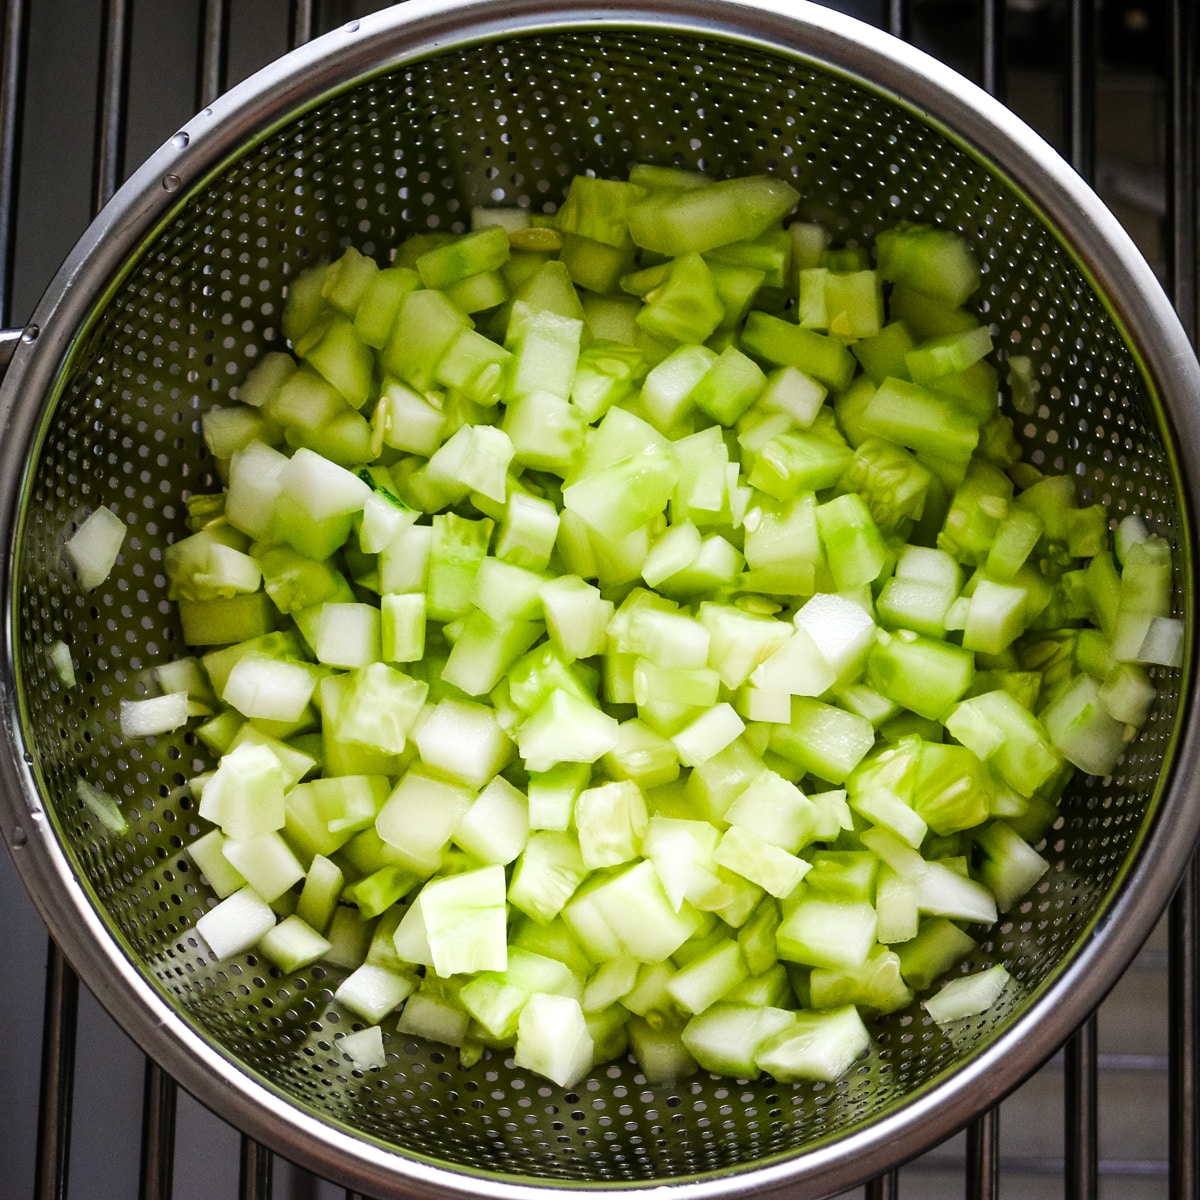
While the rice cooks, peel and finely dice the cucumber. Sprinkle with salt and let it sit in a colander for 15 to 20 minutes to drain, then pat it dry thoroughly with a clean towel or paper towels.
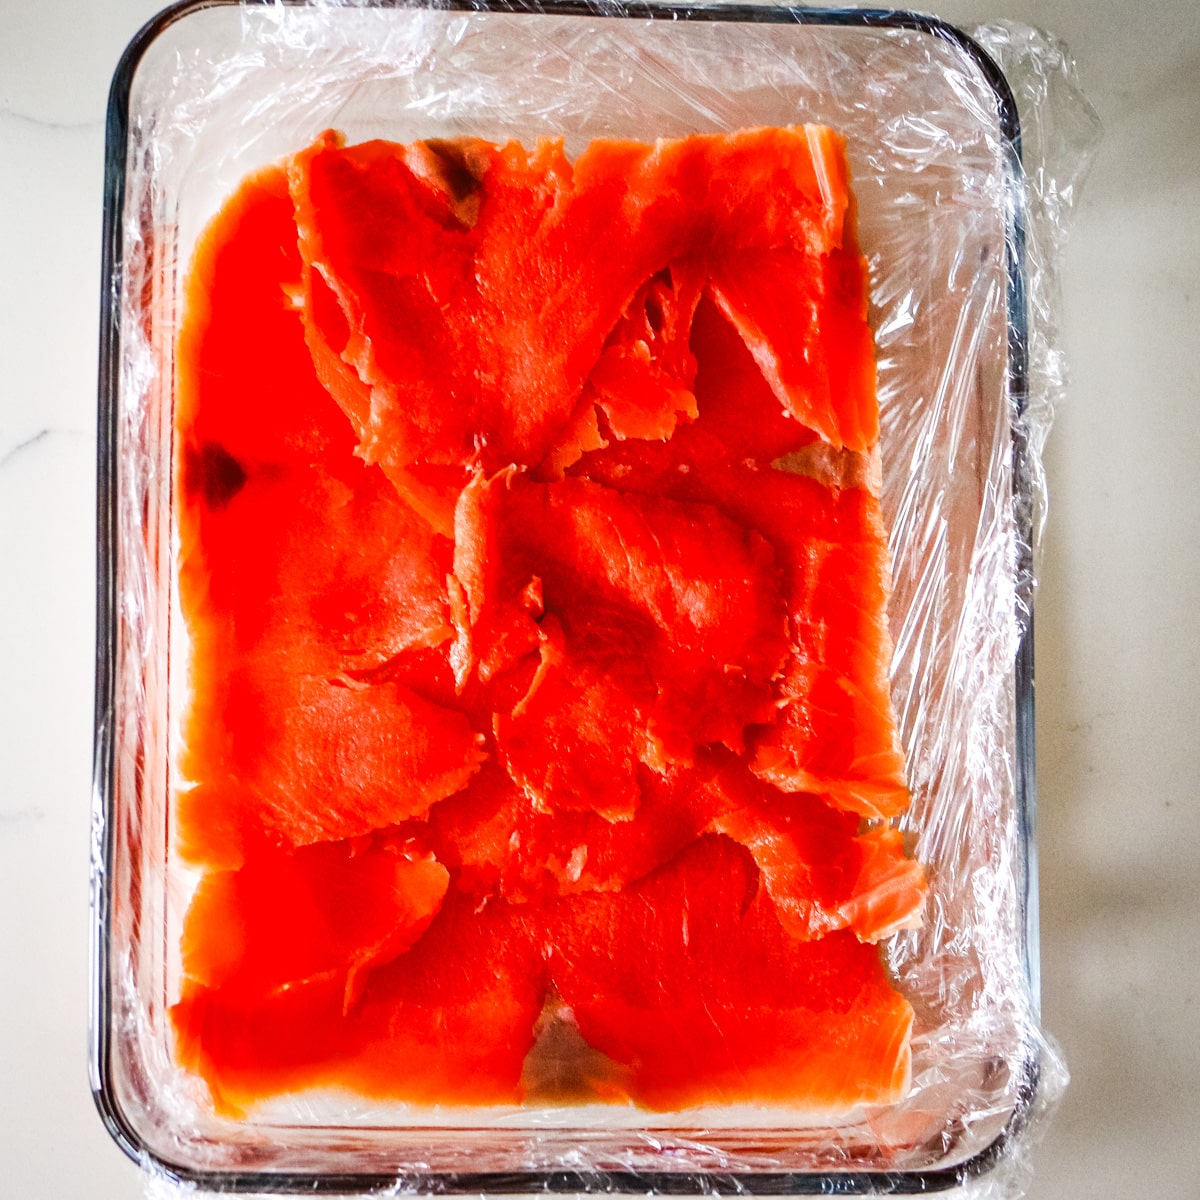
Step 3.
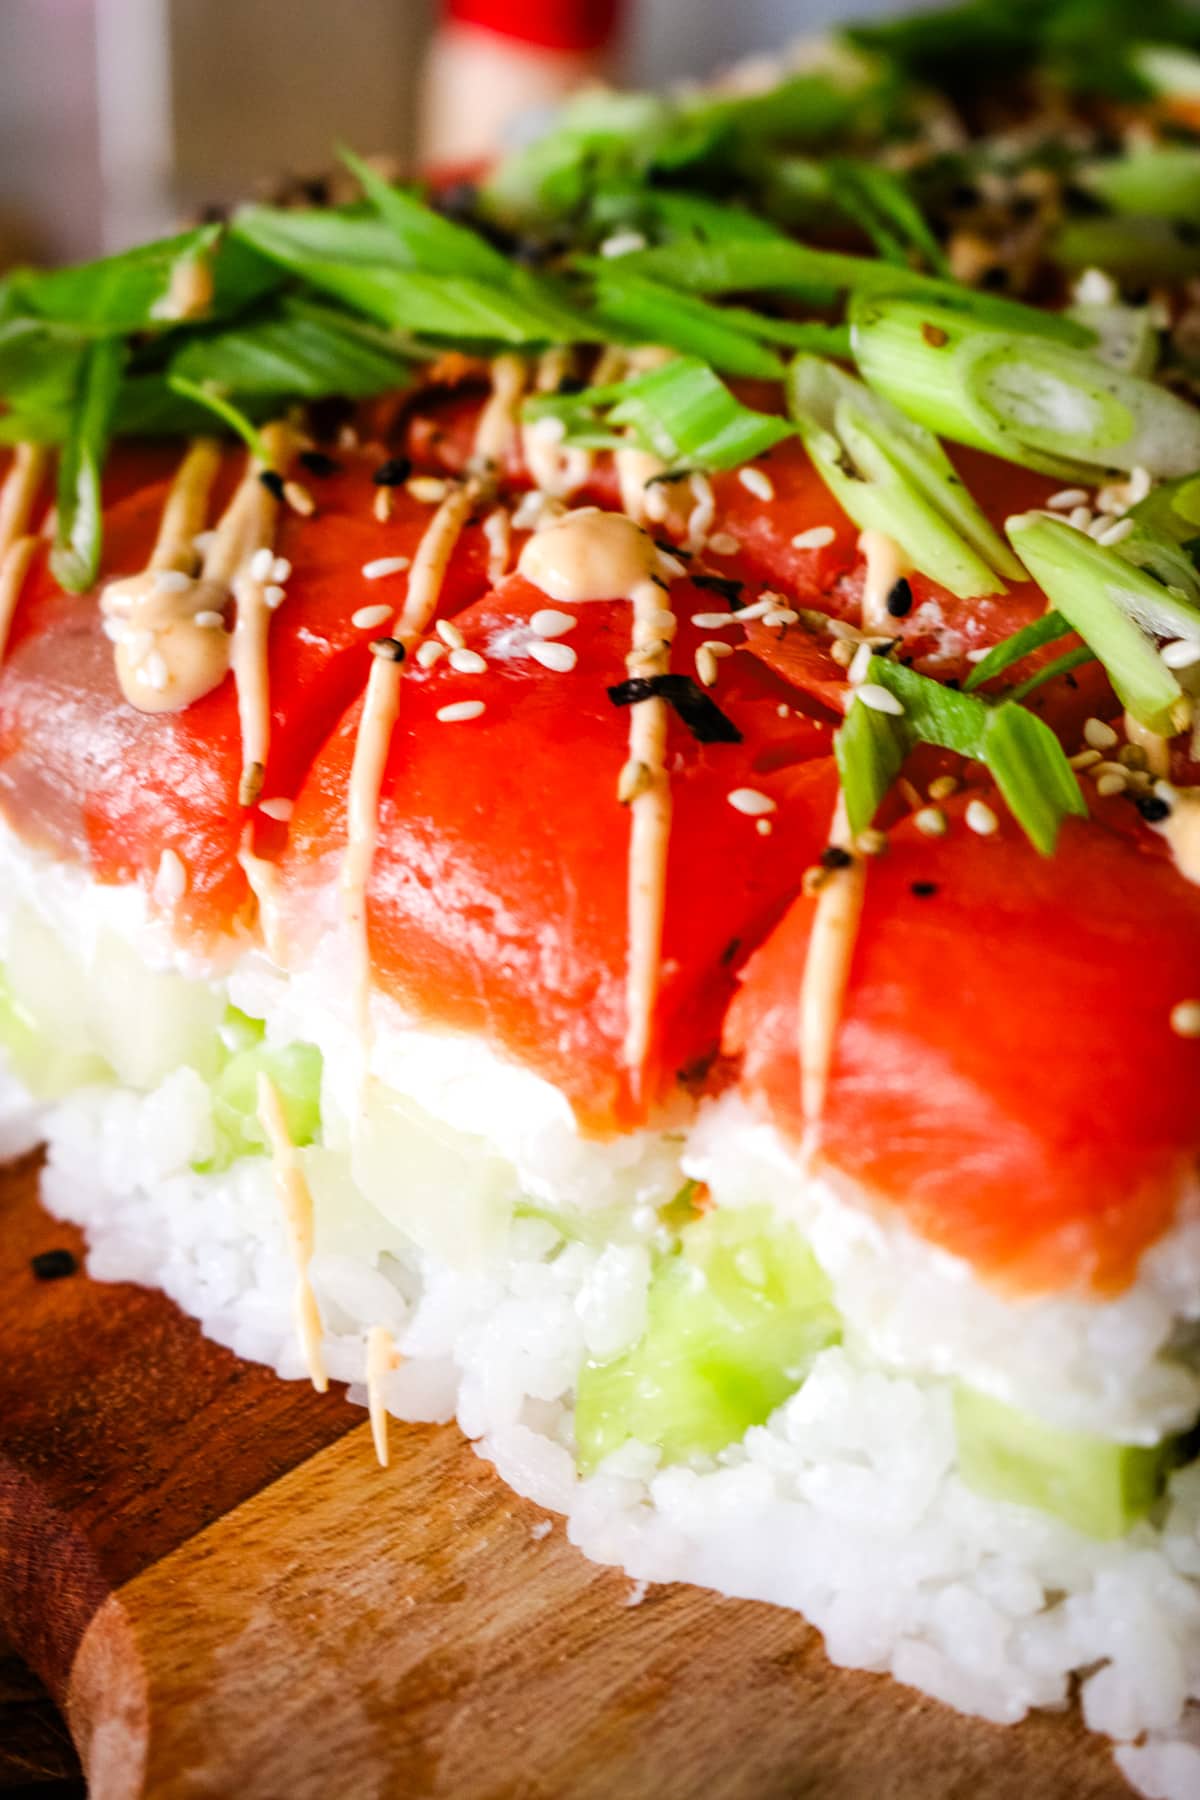
Line a square Tupperware or similar dish with plastic wrap, leaving enough overhang to fold over the top later. Layer salmon evenly across the bottom of the dish. Add a layer of sushi rice, pressing gently to level it out.
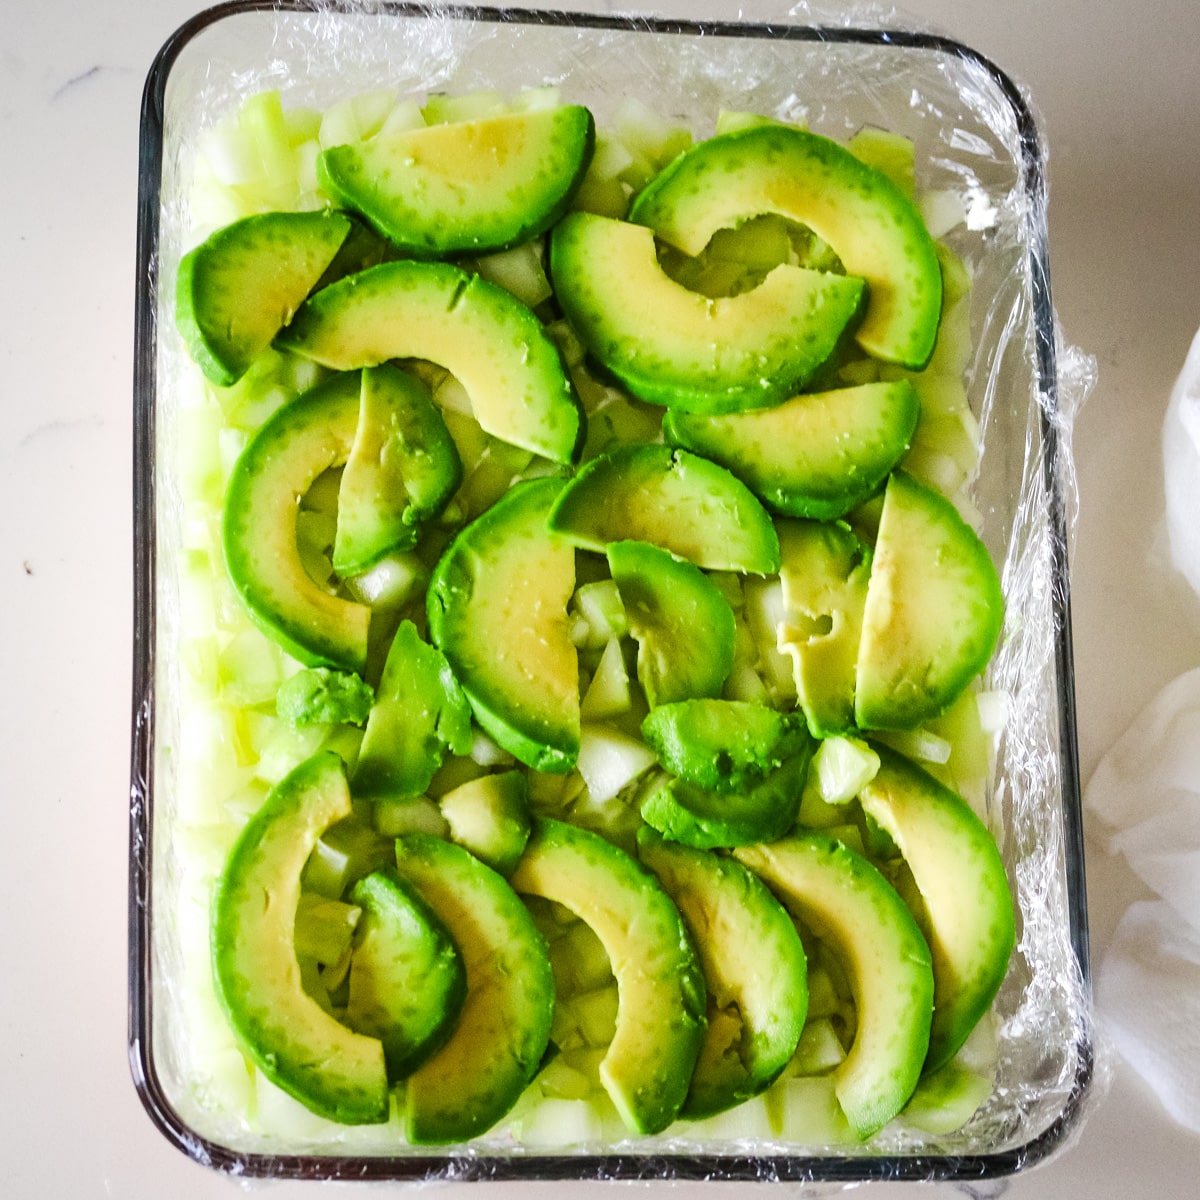
Step 4.
Spread a layer of cream cheese over the rice. Lay a sheet of nori over the cream cheese, trimming to fit the dish. Layer the diced cucumbers, then the avocado slices. Top with the second sheet of nori, then a final layer of rice.
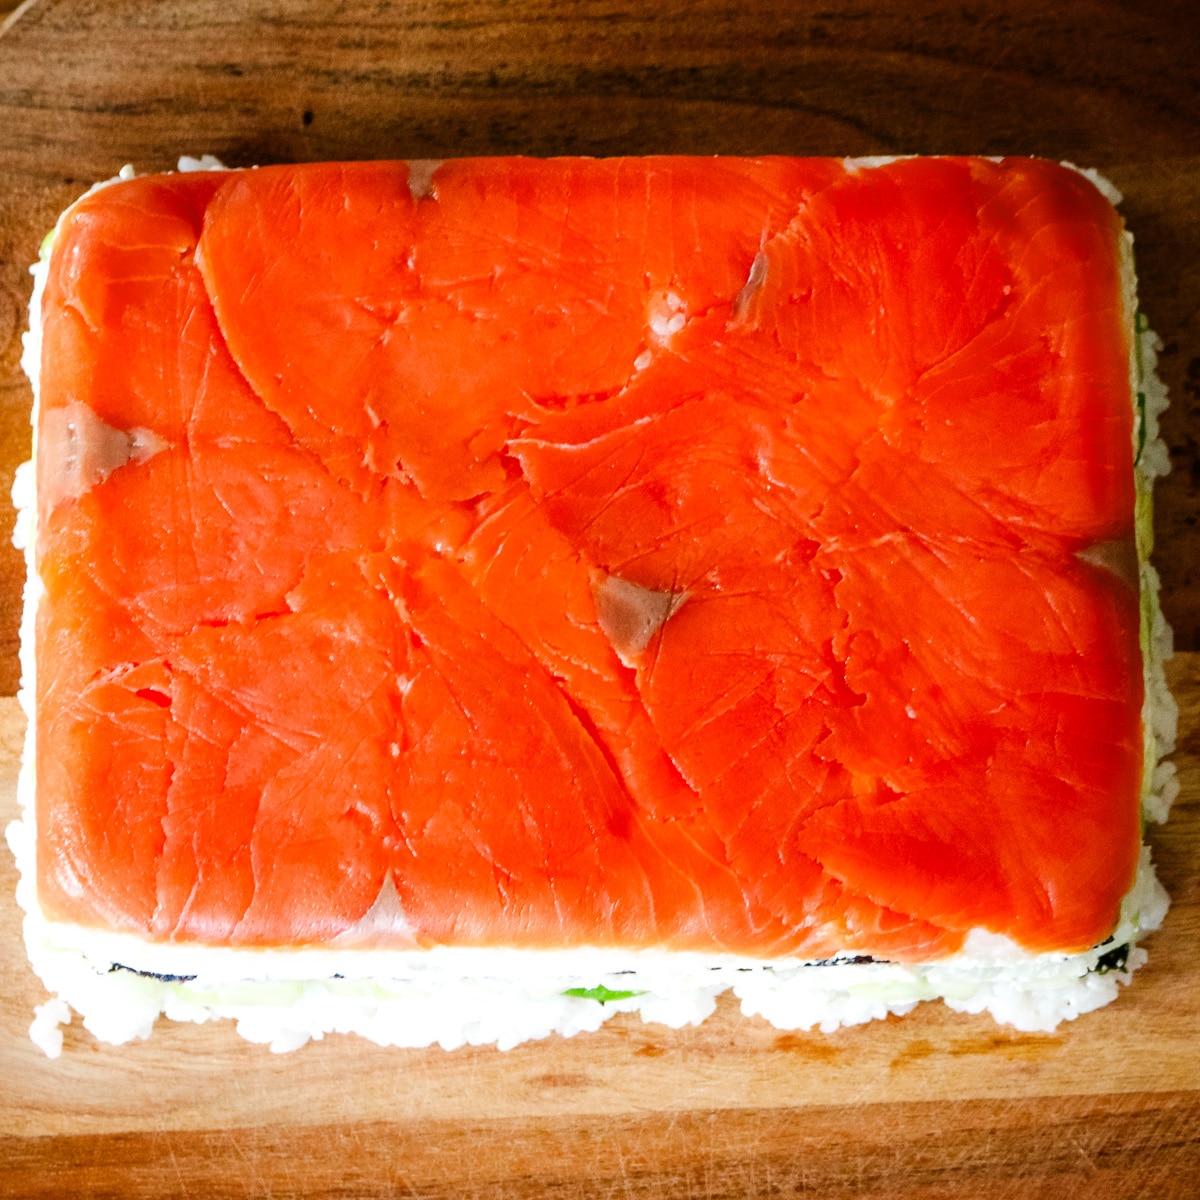
Step 5.
Fold the plastic wrap over the top, pressing down to compact everything. Refrigerate for at least an hour to firm up. To serve, unfold the plastic wrap, place a serving plate over the dish, and flip. Lift the dish away, then peel off the plastic wrap.

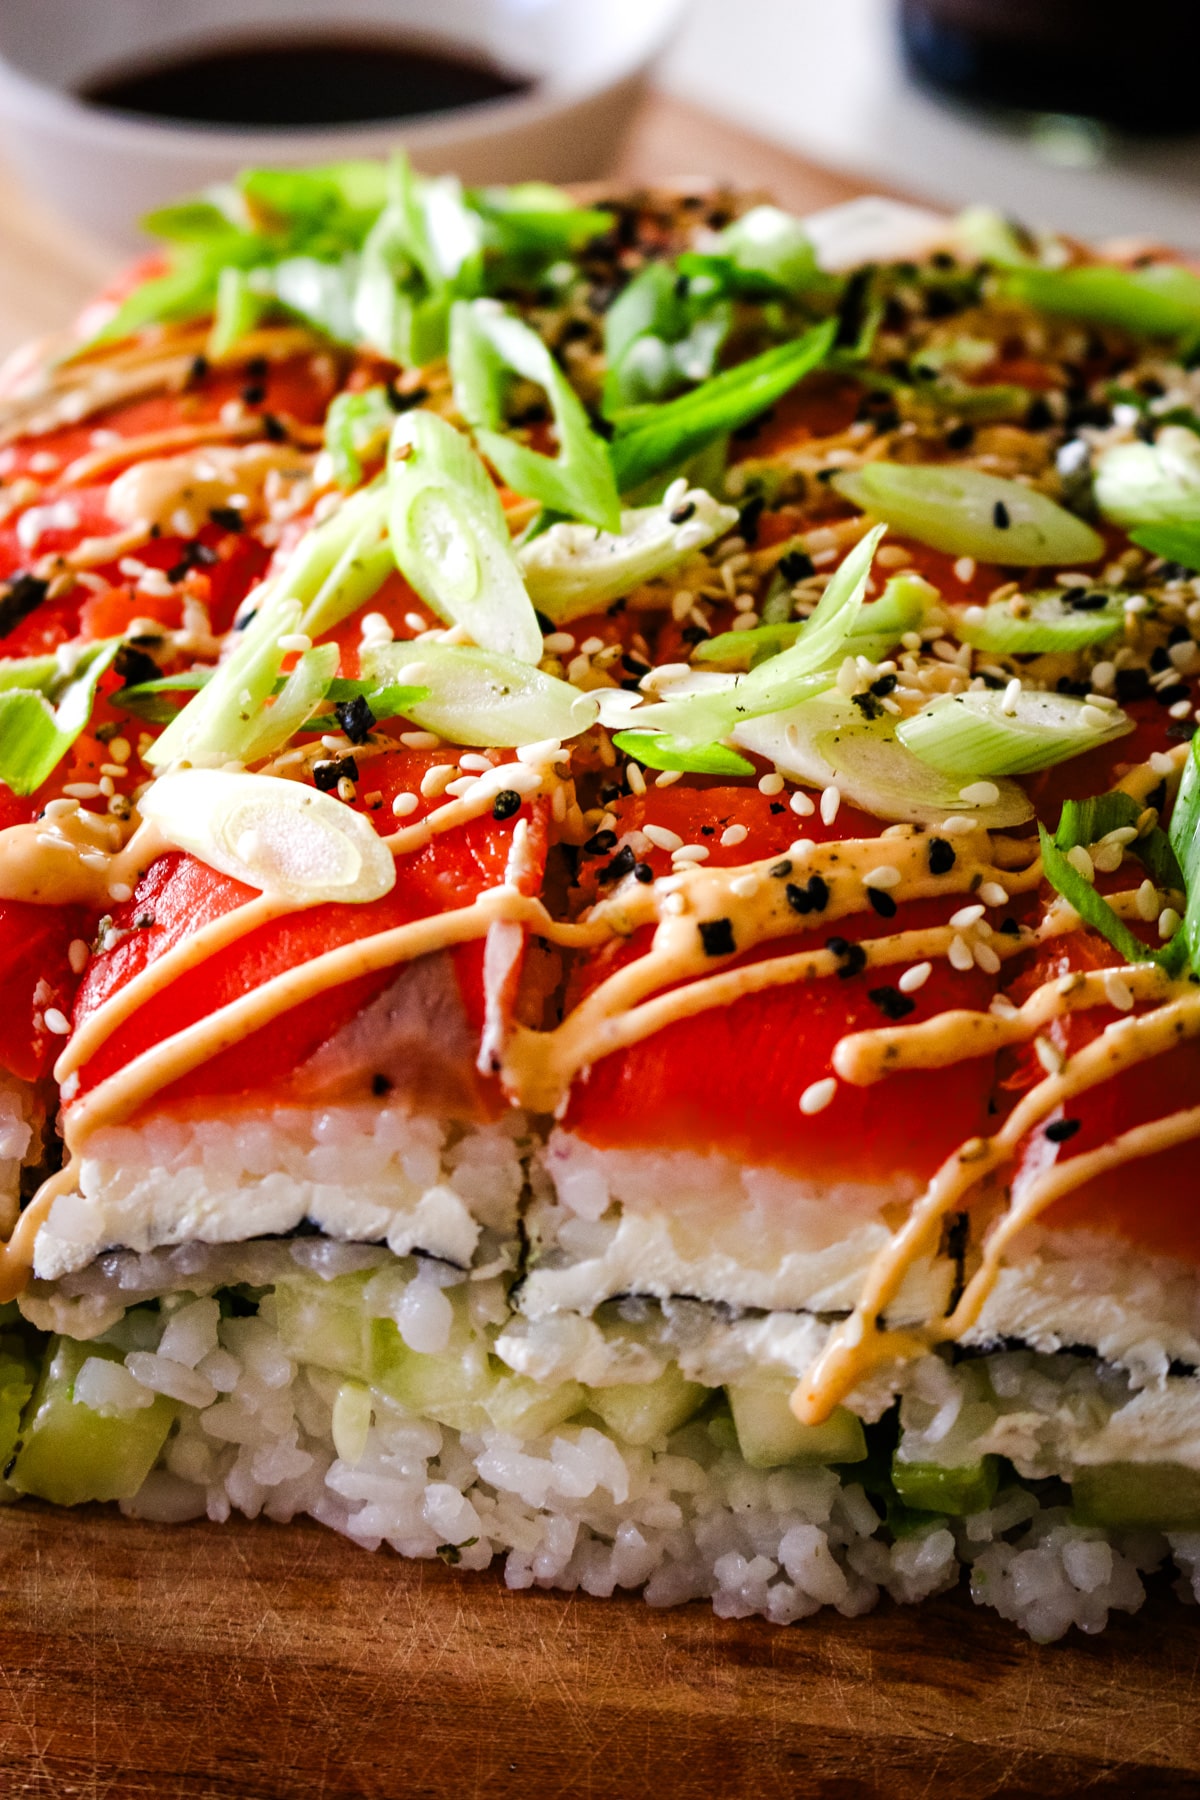
Step 6.
Cut evenly into 1" pieces. Drizzle with spicy mayo, sprinkle with Nori komi furikake or sesame seeds, and finish with green onion.
Helpful Tips
- Press the cucumber dry, twice if needed. After salting and draining, check the cucumber again before you layer it in. If it still feels damp, give it one more press with a clean towel, since any extra moisture left behind will seep into the rice as it chills and soften the whole stack.
- Let the rice fully cool before building. Warm rice melts the cream cheese layer and makes everything slide instead of stack, so spread it on a sheet pan and let it come all the way to room temperature first.
- Chill longer if you're short on time the day of. An hour is the minimum, but this stack actually slices cleaner after 3 to 4 hours or overnight, so it's a good one to build the night before you need it.
- Use a sharp, wet knife for slicing. Dip your knife in water and wipe it between cuts so the layers stay defined instead of smearing together, especially through the cream cheese.
💭Meal Prep Suggestion - Can I make this ahead?
Yes, and it's actually better for it. Build the stack up to a day ahead and let it chill overnight, it slices cleaner after several hours than it does at the one-hour minimum. Just keep in mind this isn't a weekly meal prep dish, it holds well in the fridge for about 2 days, but it's meant to be built, chilled, and served as one dish rather than portioned out over several meals.
Serving Suggestions
This dish is meant to be sliced and served like a savory cake, cut into squares or wedges once it's fully chilled and flipped out onto a plate. On the side, offer soy sauce mixed with a little wasabi and ginger for dipping, the classic sushi combination and an extra serving of spicy sriracha mayo. If you're avoiding gluten, coconut aminos or tamari both work in place of soy sauce.
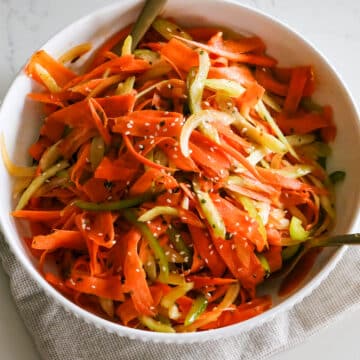
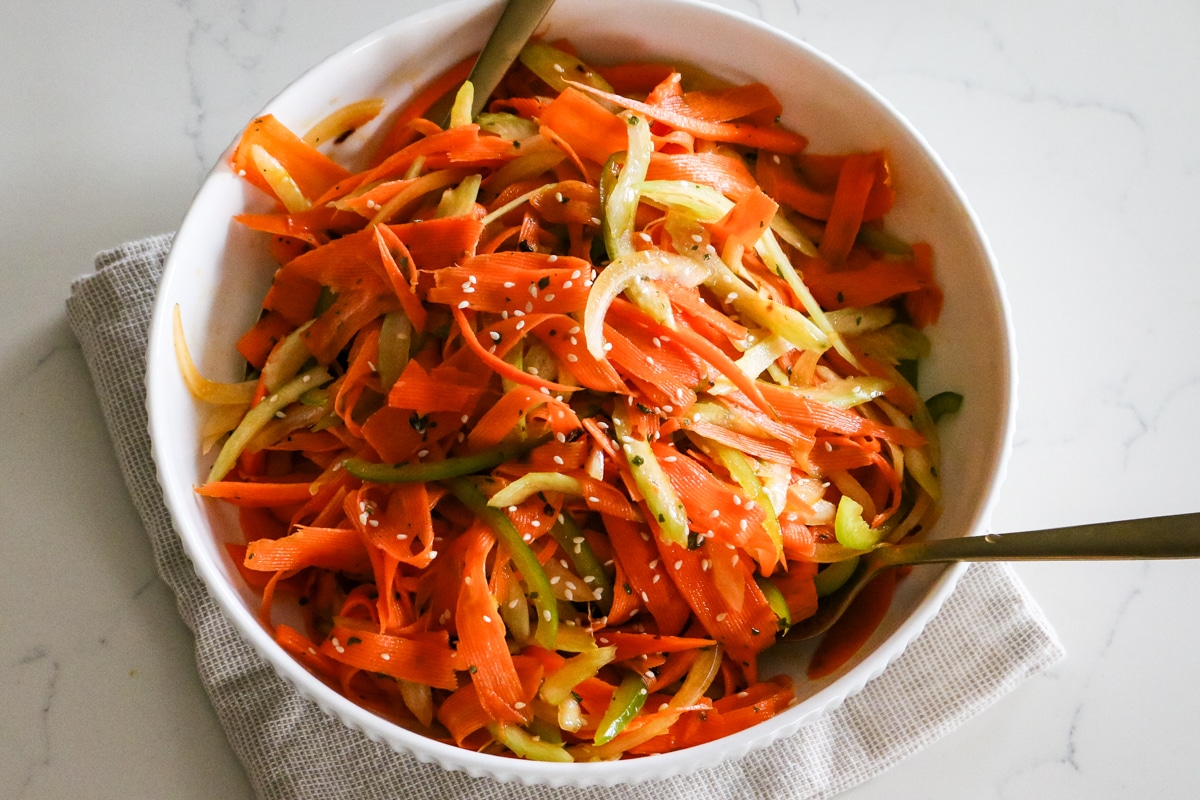
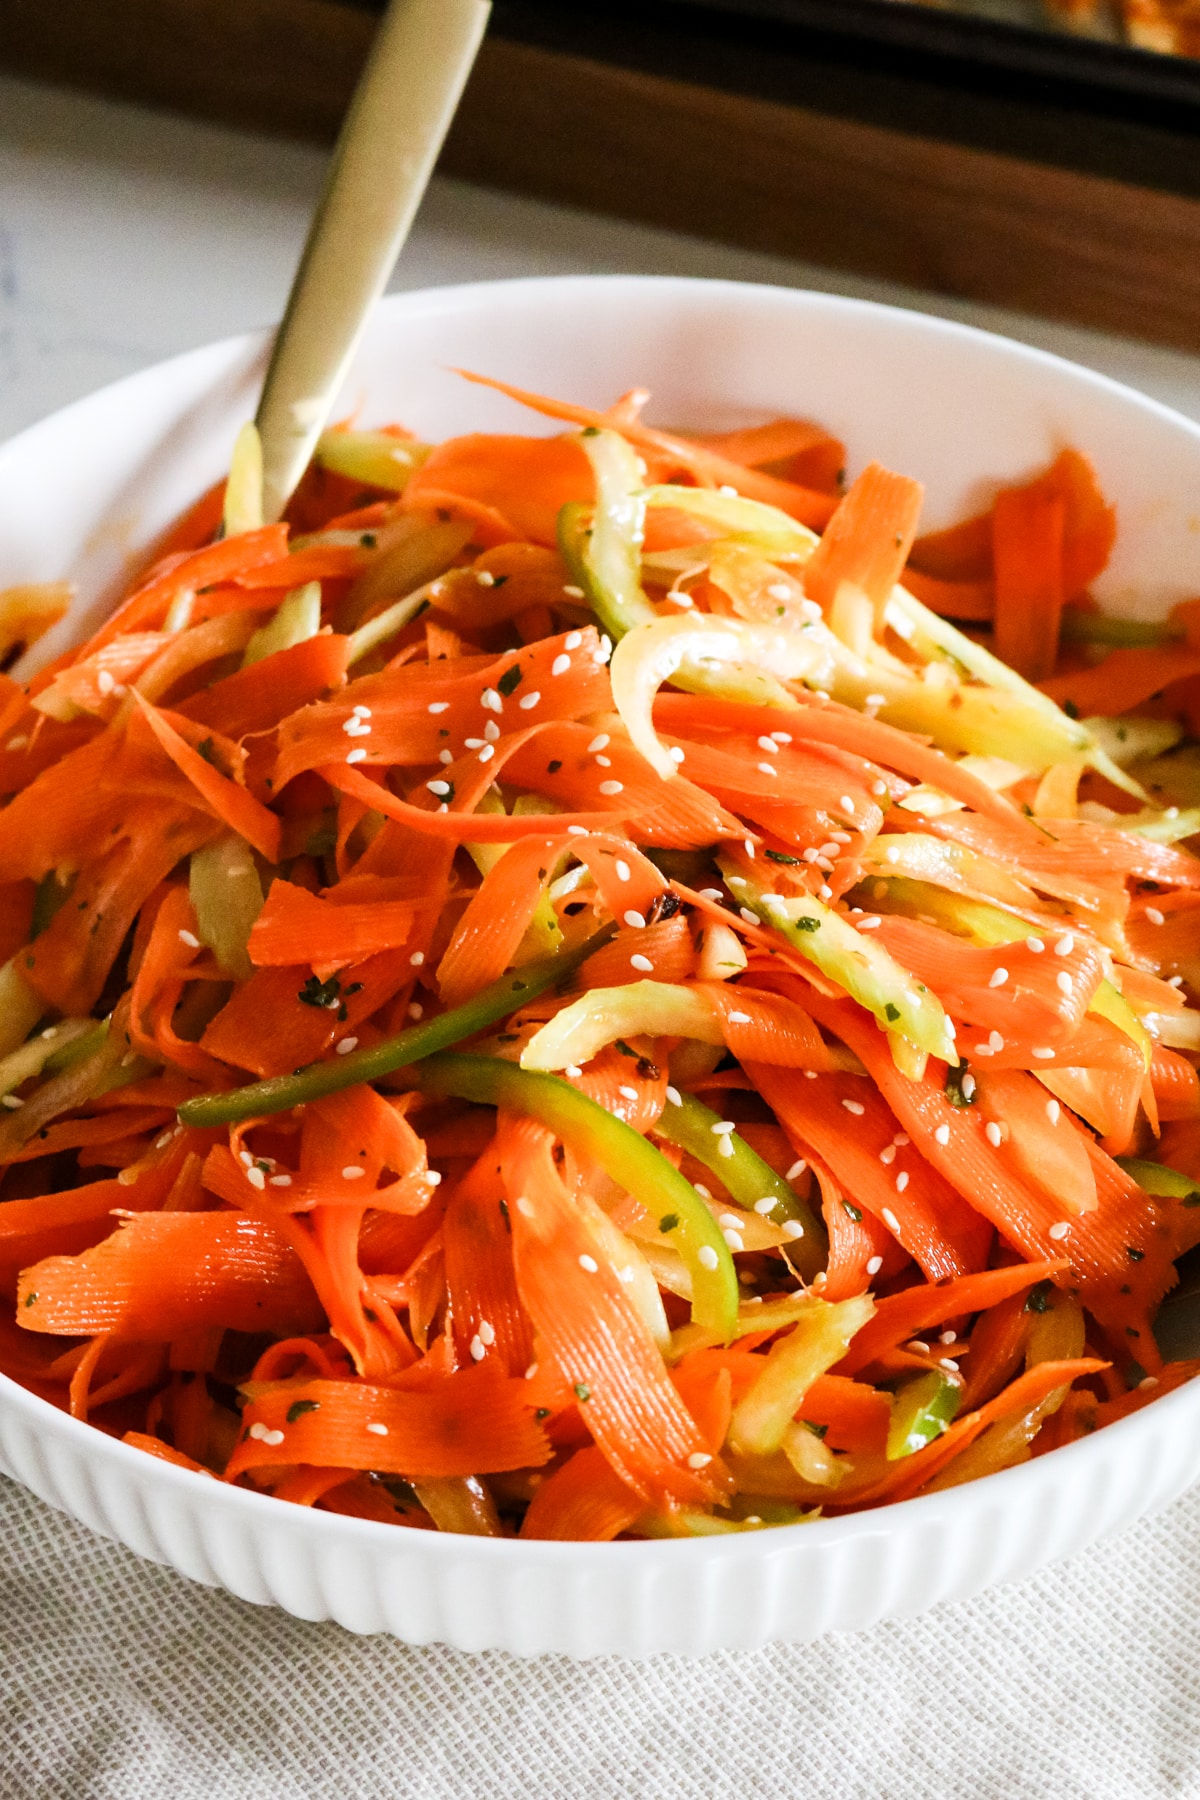
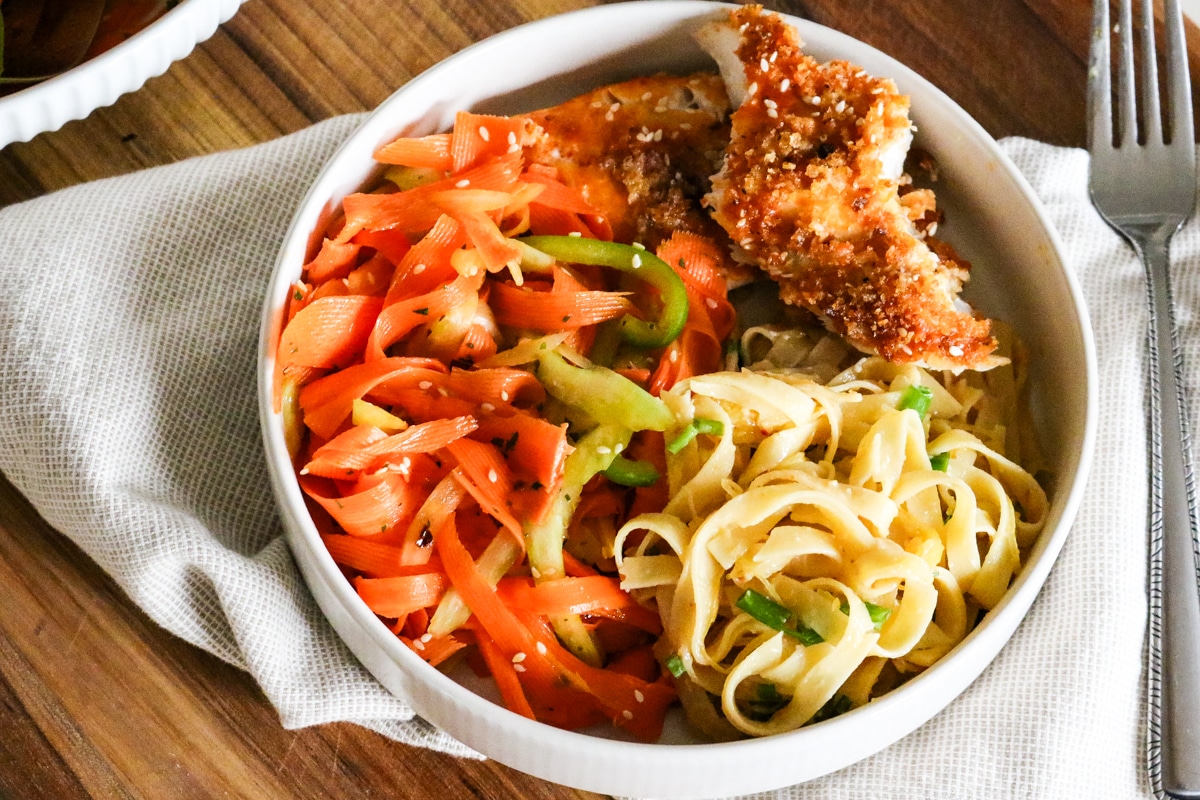
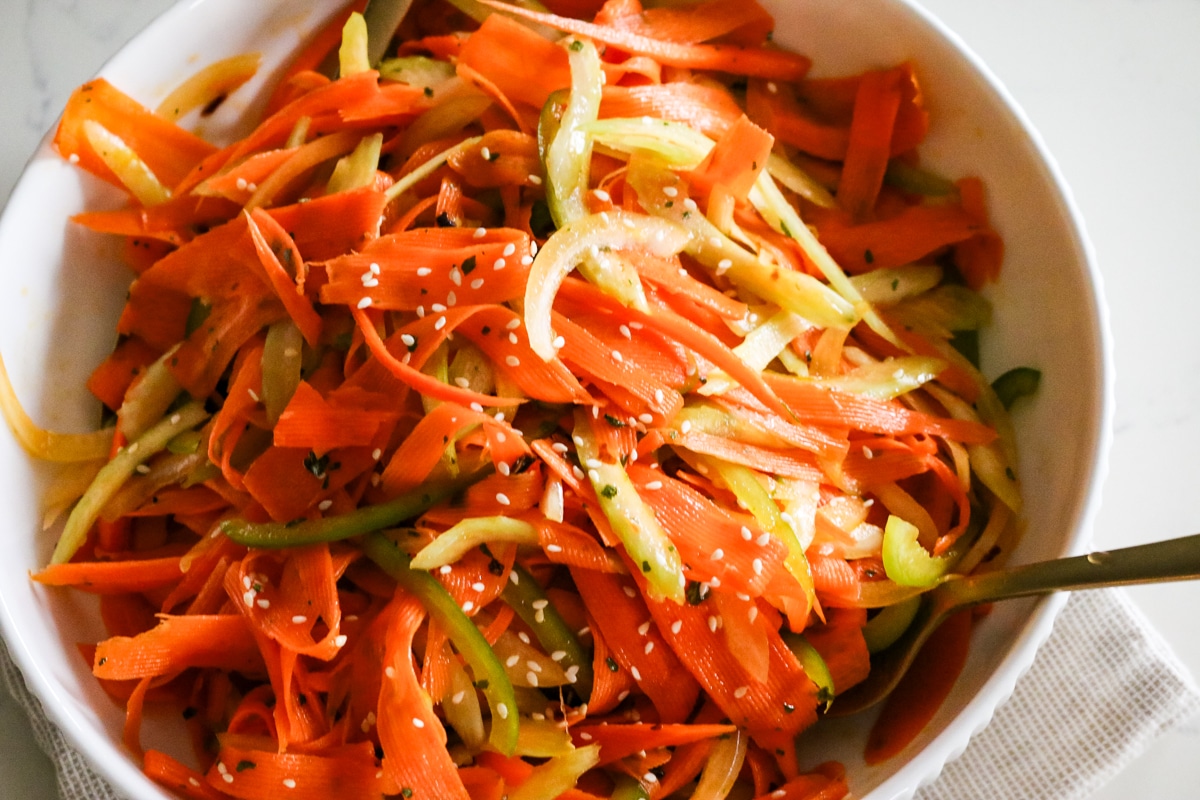
For an everyday dinner, pair it with something Asian-inspired and light, a quick napa cabbage and carrot salad, a shaved carrot salad, or an Asian cucumber salad all work well and keep the meal fresh without competing with the richness of the cream cheese and salmon. You can also a warm and brothy soup by making my authentic miso soup recipe.
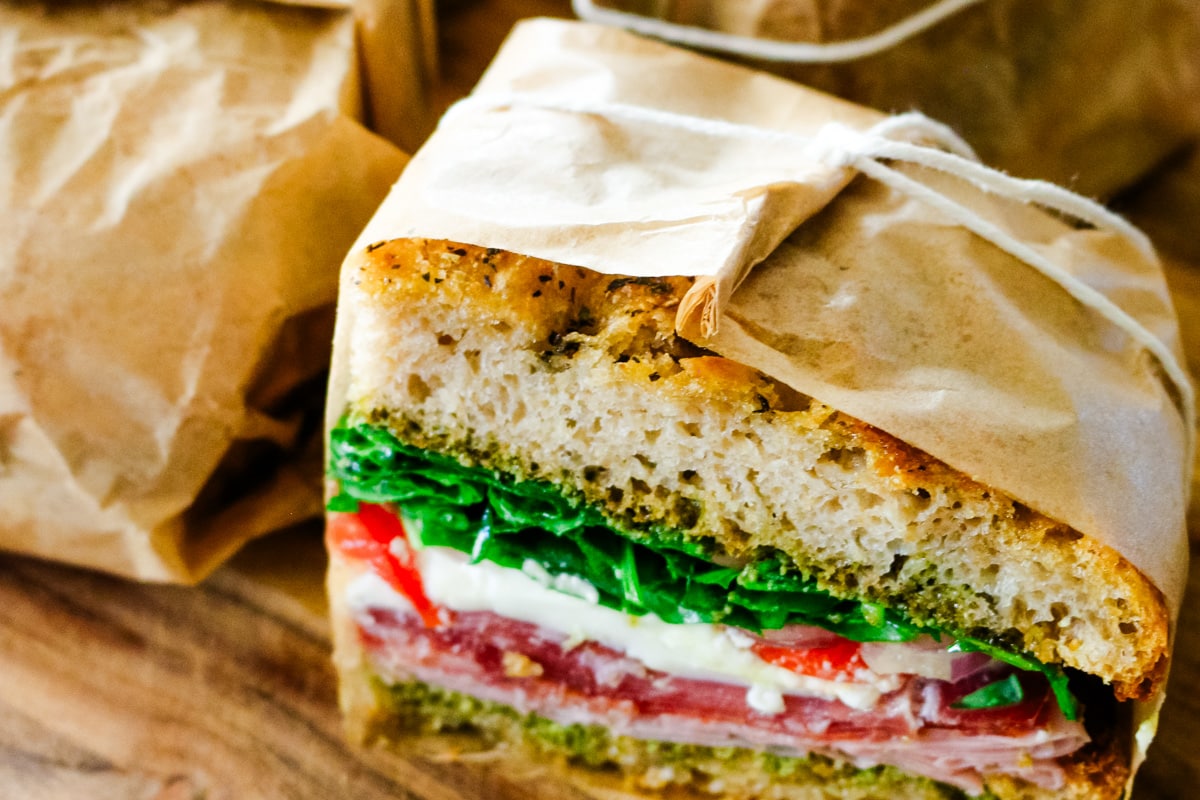
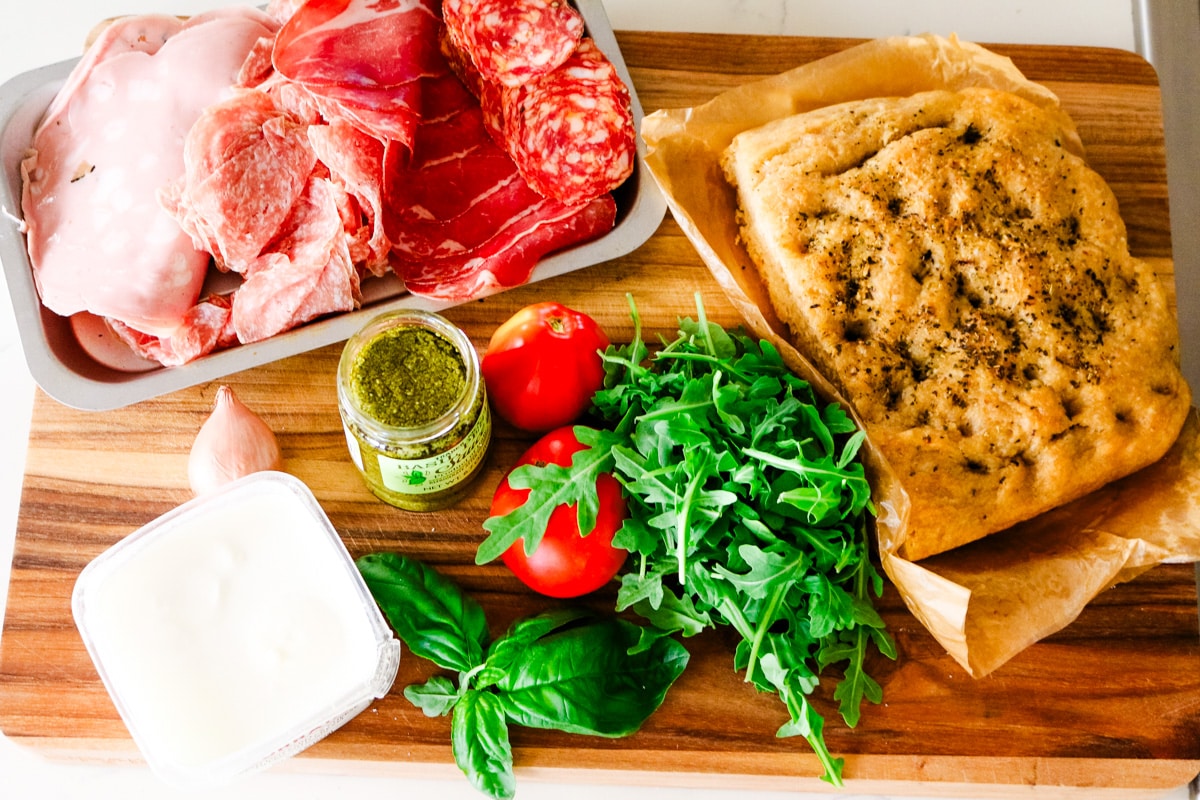
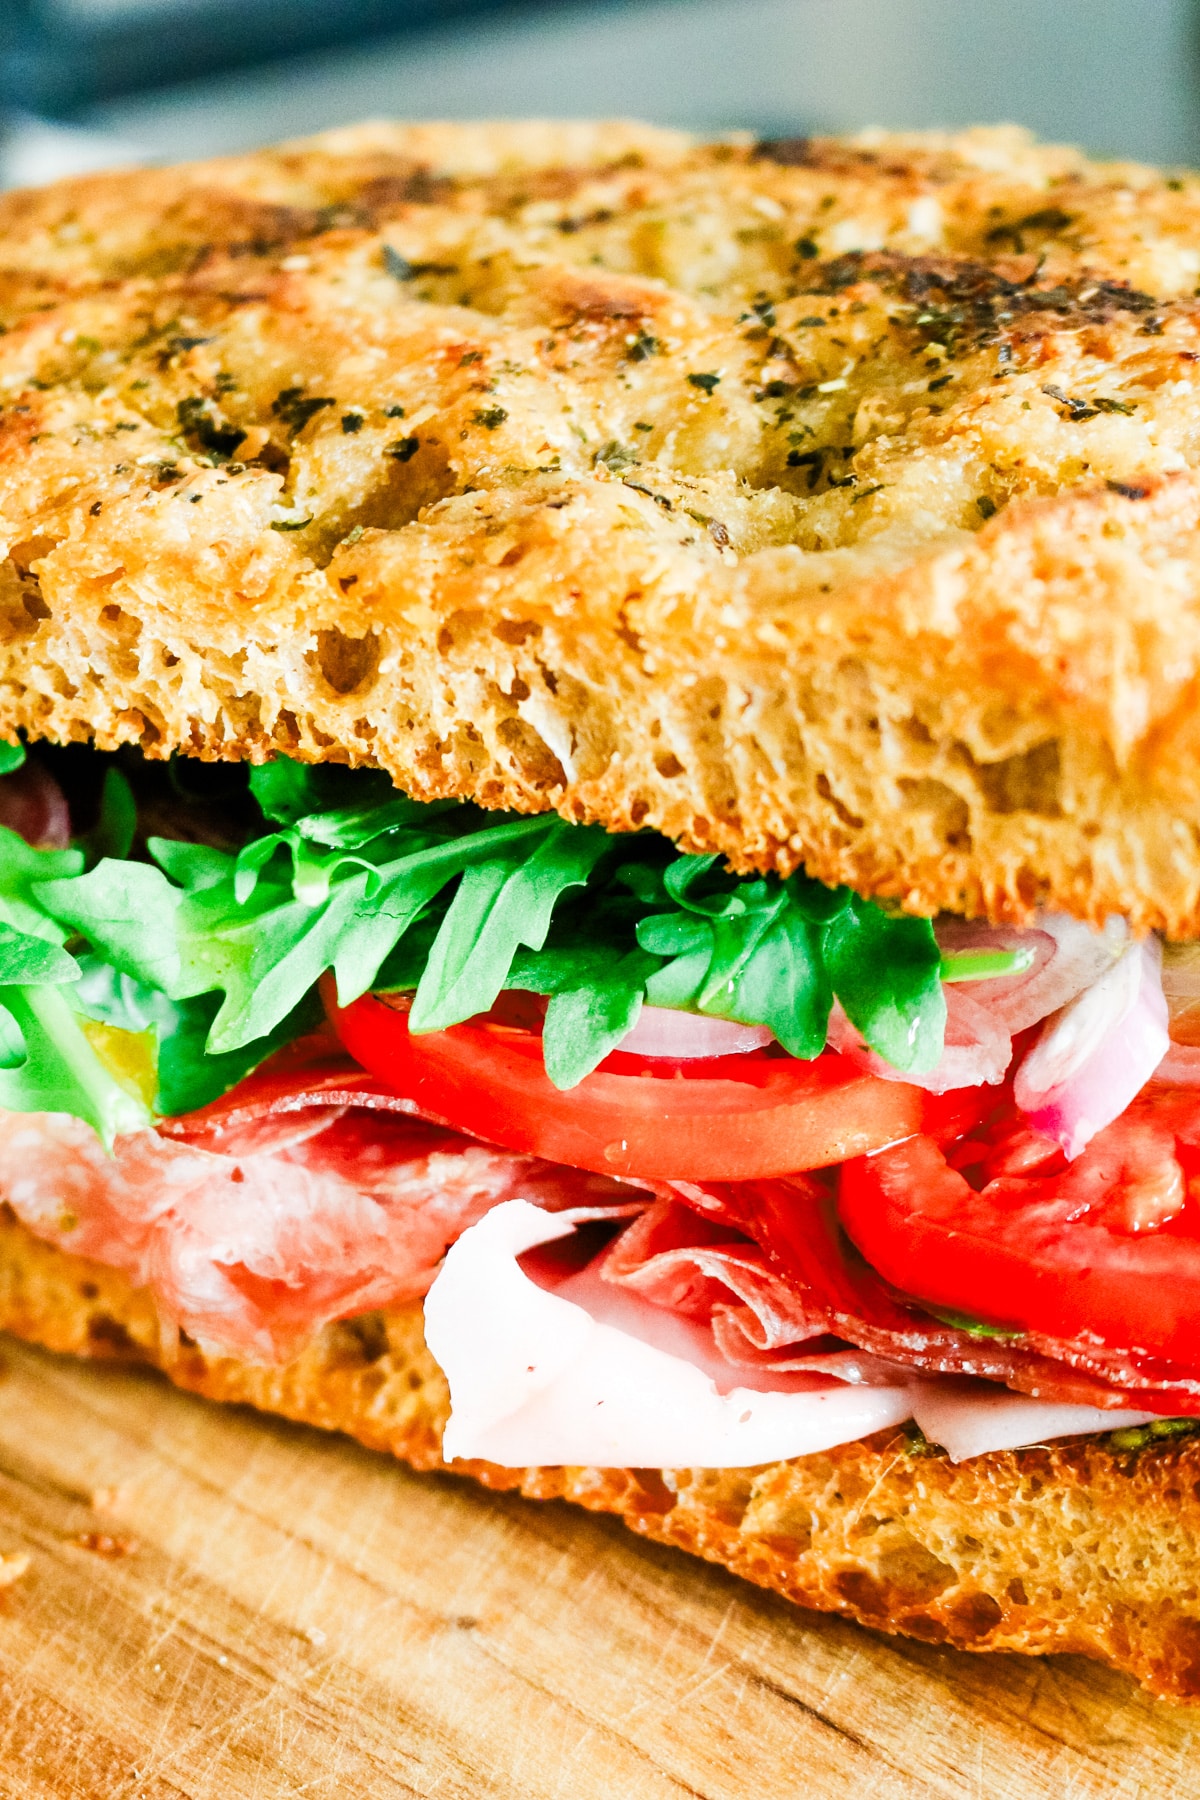
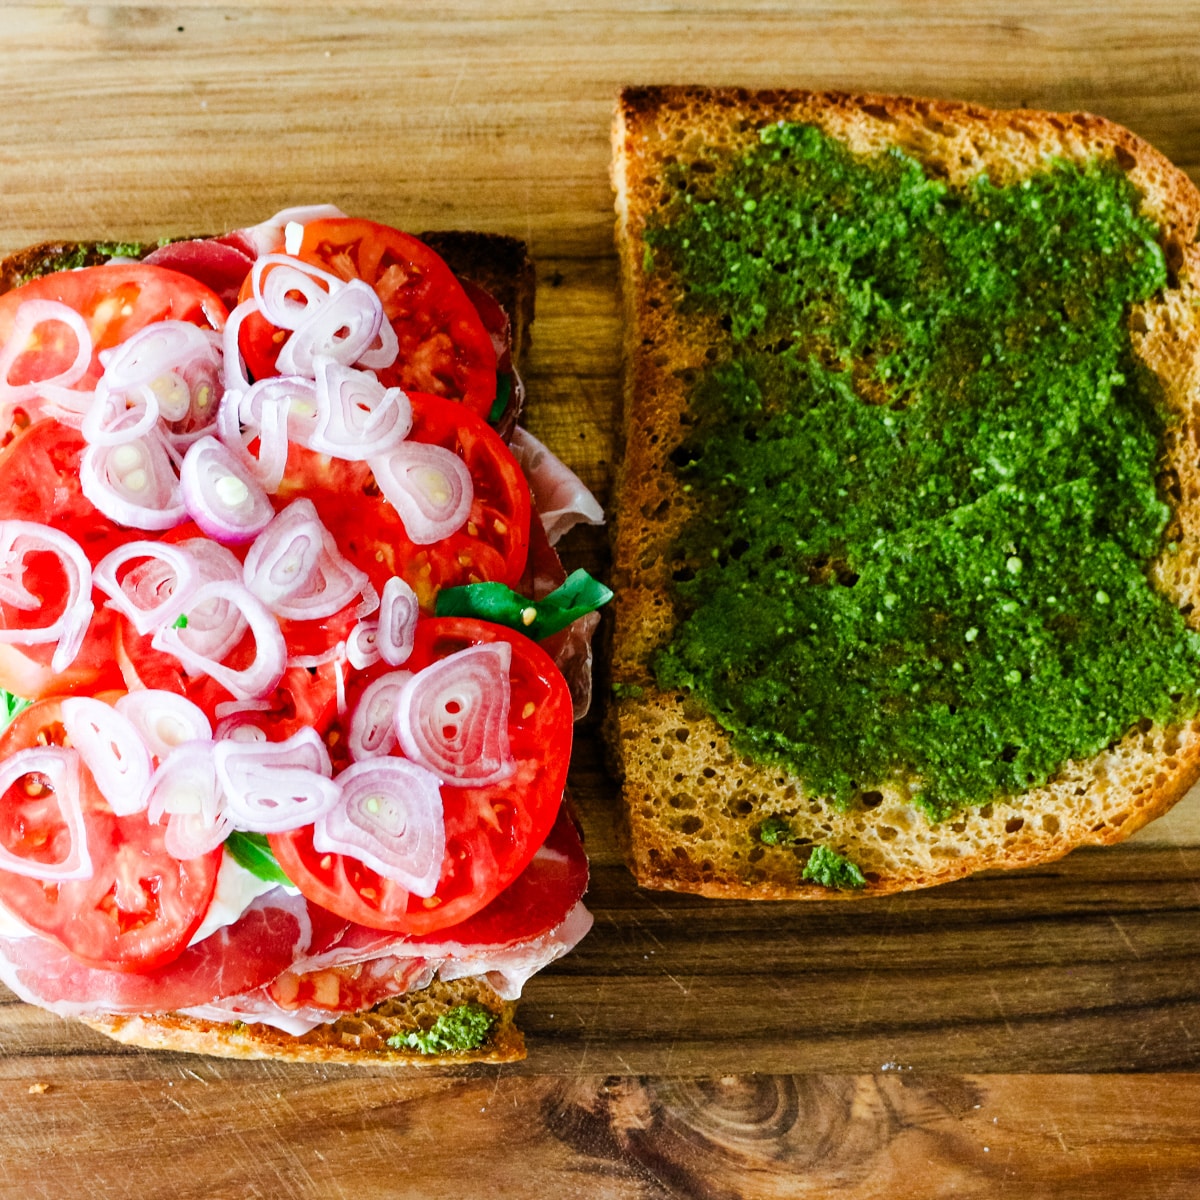
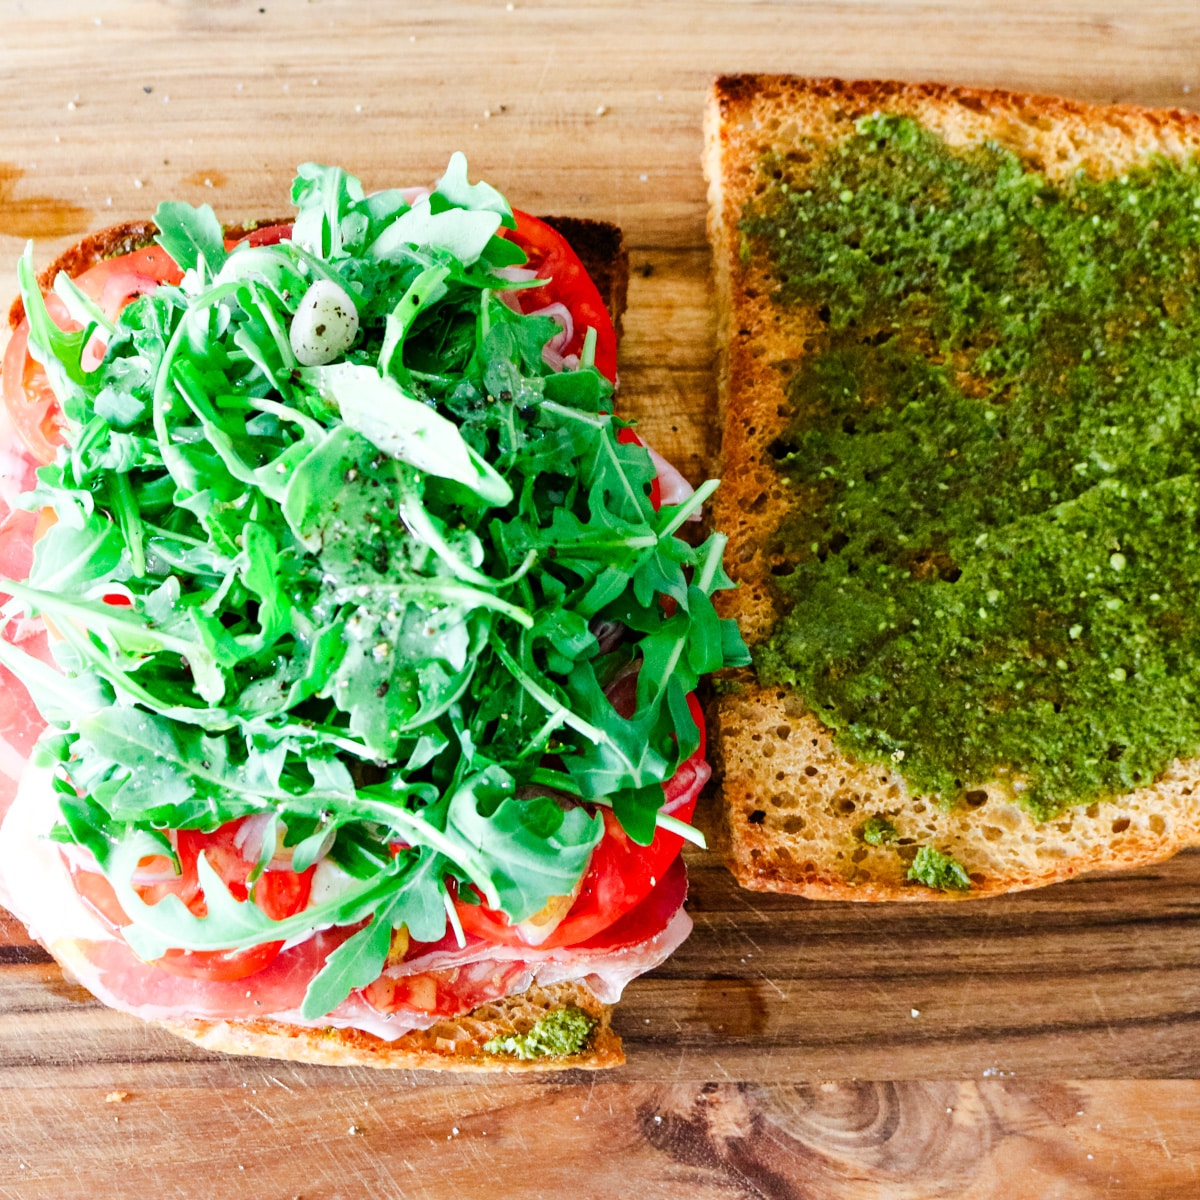
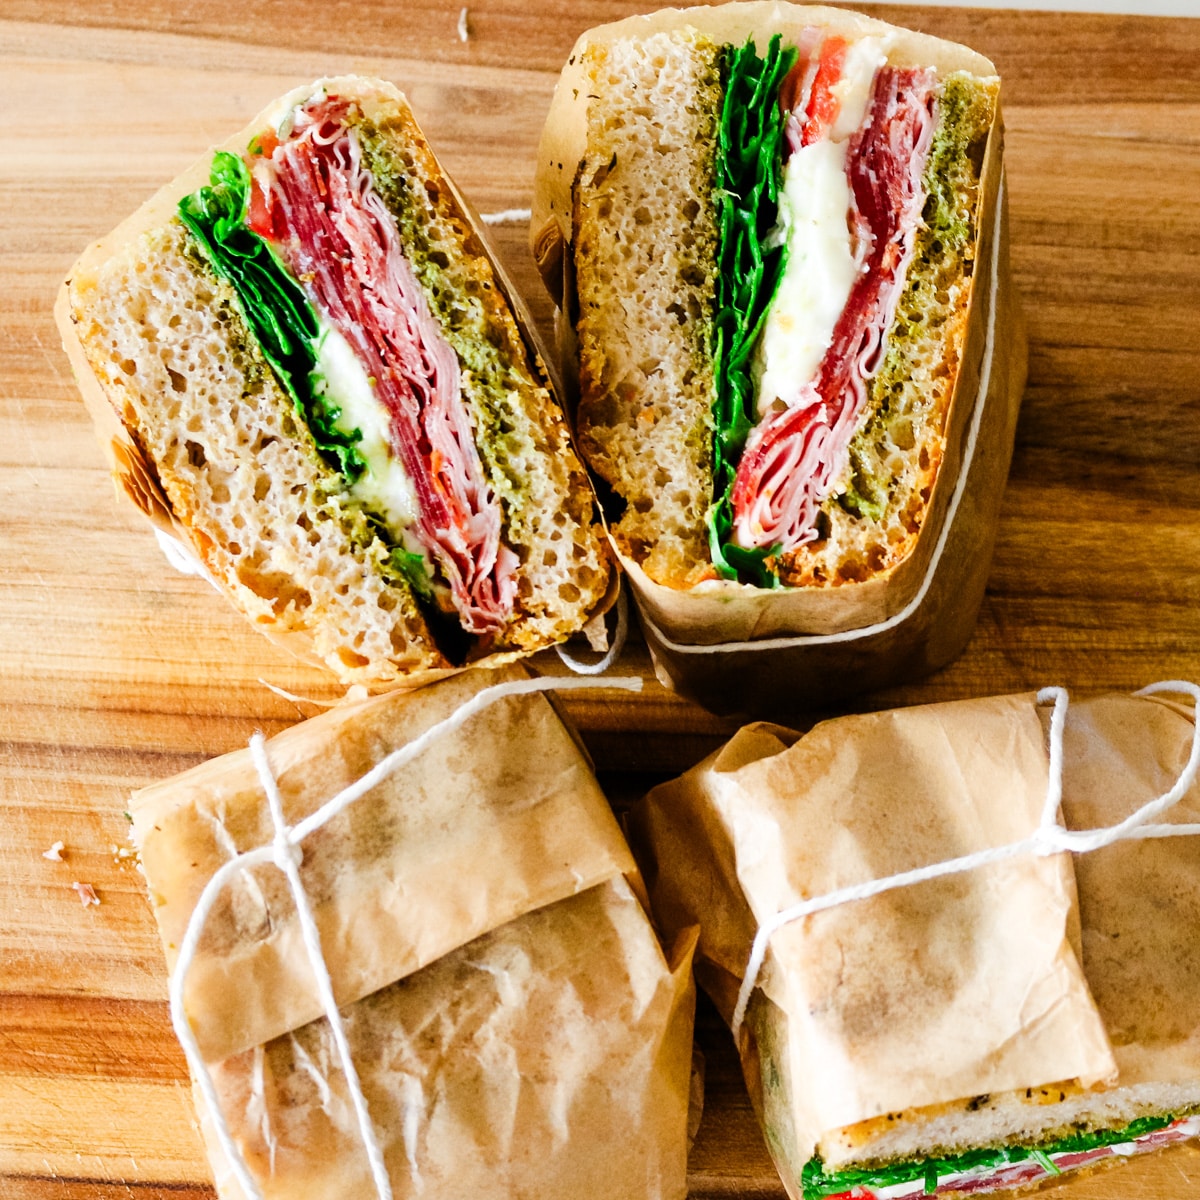
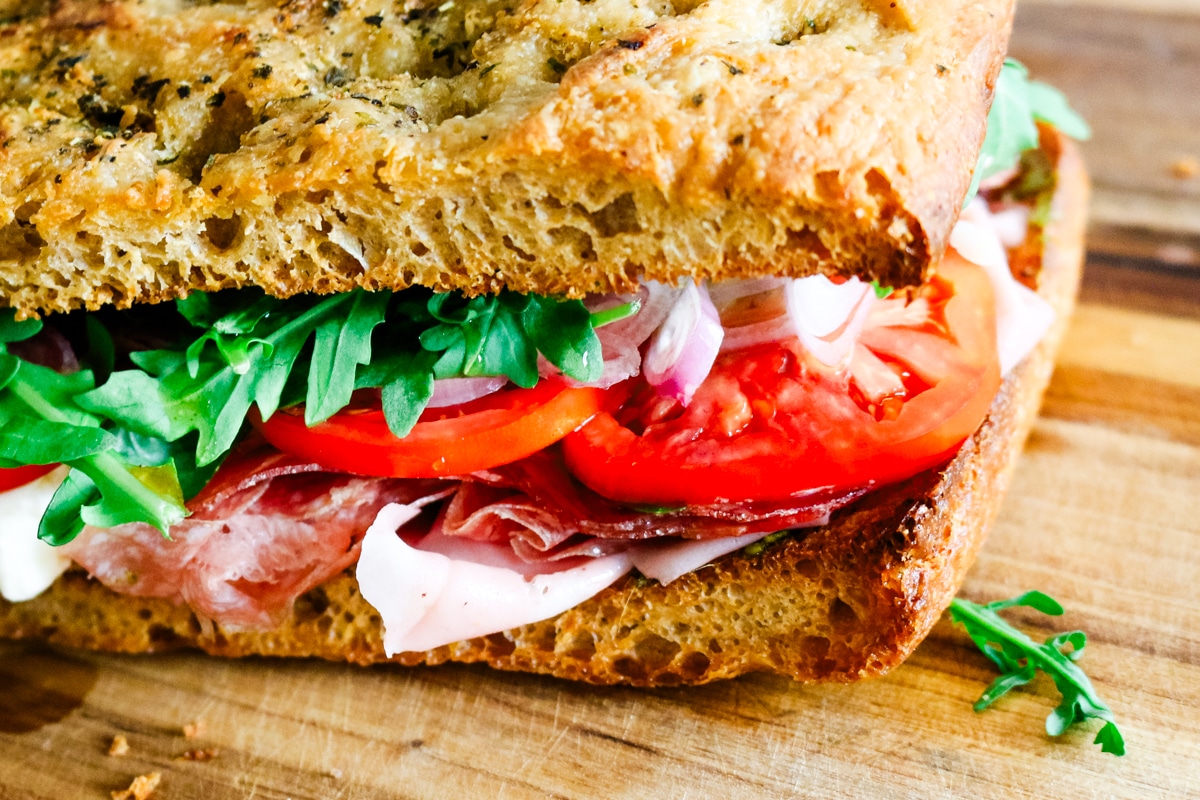
This is also a solid pick for a picnic or a day at the lake, a good change of pace when you want something other than a sandwich. We're not mad at an Italian sandwich or my grinder sandwich recipe but sometimes, lake day wants something more untraditional. This lazy sushi is it. It travels well since it's already chilled and holds its shape, just keep it cold until you're ready to slice and serve.
Frequently Asked Questions
Store leftover lazy sushi in an airtight container for up to 2 days. These glass snap containers are perfect for leftovers. Pull it out 15 to 20 minutes before eating so the rice and cream cheese soften slightly.
Yes. Ramekins or small mason jars work well if you'd rather portion this out individually, just adjust your layering amounts down to fit the smaller size. Individual stacks also chill and firm up a little faster than one large dish.
No, any straight-sided container works, round or square. A square dish just gives you cleaner slices when it comes time to cut, but the shape doesn't affect flavor or how well it holds together.
Looking for more sushi-like recipes? Here are some ideas:


Did you make this smoked salmon sushi? Please leave a ⭐⭐⭐⭐⭐ recipe rating in the recipe card below and leave a review in the comments. Thank you!💚
Printable Recipe

Viral Lazy Sushi - Smoked Salmon Sushi Stack
Ingredients
- 3 cups sushi rice short grain white, cooked
- 2 tablespoons rice vinegar
- 8 ounces smoked salmon
- 8 ounces cream cheese softened
- 1 English cucumber finely diced, salted, and pressed dry
- 1 avocado thinly sliced
- 2 sheets nori
- spicy mayo to serve
- Nori komi furikake or sesame seeds
- green onion sliced
Instructions
- Rinse 3 cups sushi rice in cold water until it runs mostly clear. Combine with water in a pot, bring to a boil, then cover and reduce heat to low. Cook for 18 minutes without lifting the lid. Remove from heat and let sit covered for 10 minutes. While the rice is still warm, fold in the 2 tablespoons rice vinegar. Let it cool to room temperature before building, or it will melt the cream cheese layers as you go.
- While the rice cooks, peel and finely dice 1 English cucumber. Sprinkle with salt and let it sit in a colander for 15 to 20 minutes to drain, then pat it dry thoroughly with a clean towel or paper towels.
- Line a square Tupperware or similar dish with plastic wrap, leaving enough overhang to fold over the top later.
- Layer 8 ounces smoked salmon evenly across the bottom of the dish. Add a layer of sushi rice, pressing gently to level it out.
- Spread a layer of 8 ounces cream cheese over the rice. Lay a sheet of 2 sheets nori over the cream cheese, trimming to fit the dish. Layer the diced cucumbers, then the 1 avocado slices. Top with the second sheet of nori, then a final layer of rice.
- Fold the plastic wrap over the top, pressing down to compact everything. Refrigerate for at least an hour to firm up. To serve, unfold the plastic wrap, place a serving plate over the dish, and flip. Lift the dish away, then peel off the plastic wrap.
- Drizzle with spicy mayo, sprinkle with Nori komi furikake or sesame seeds, and finish with green onion.