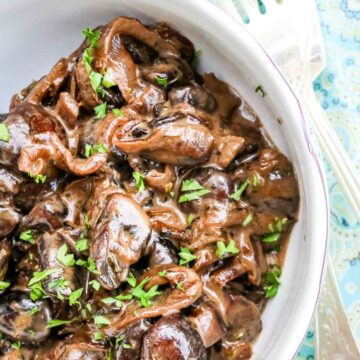
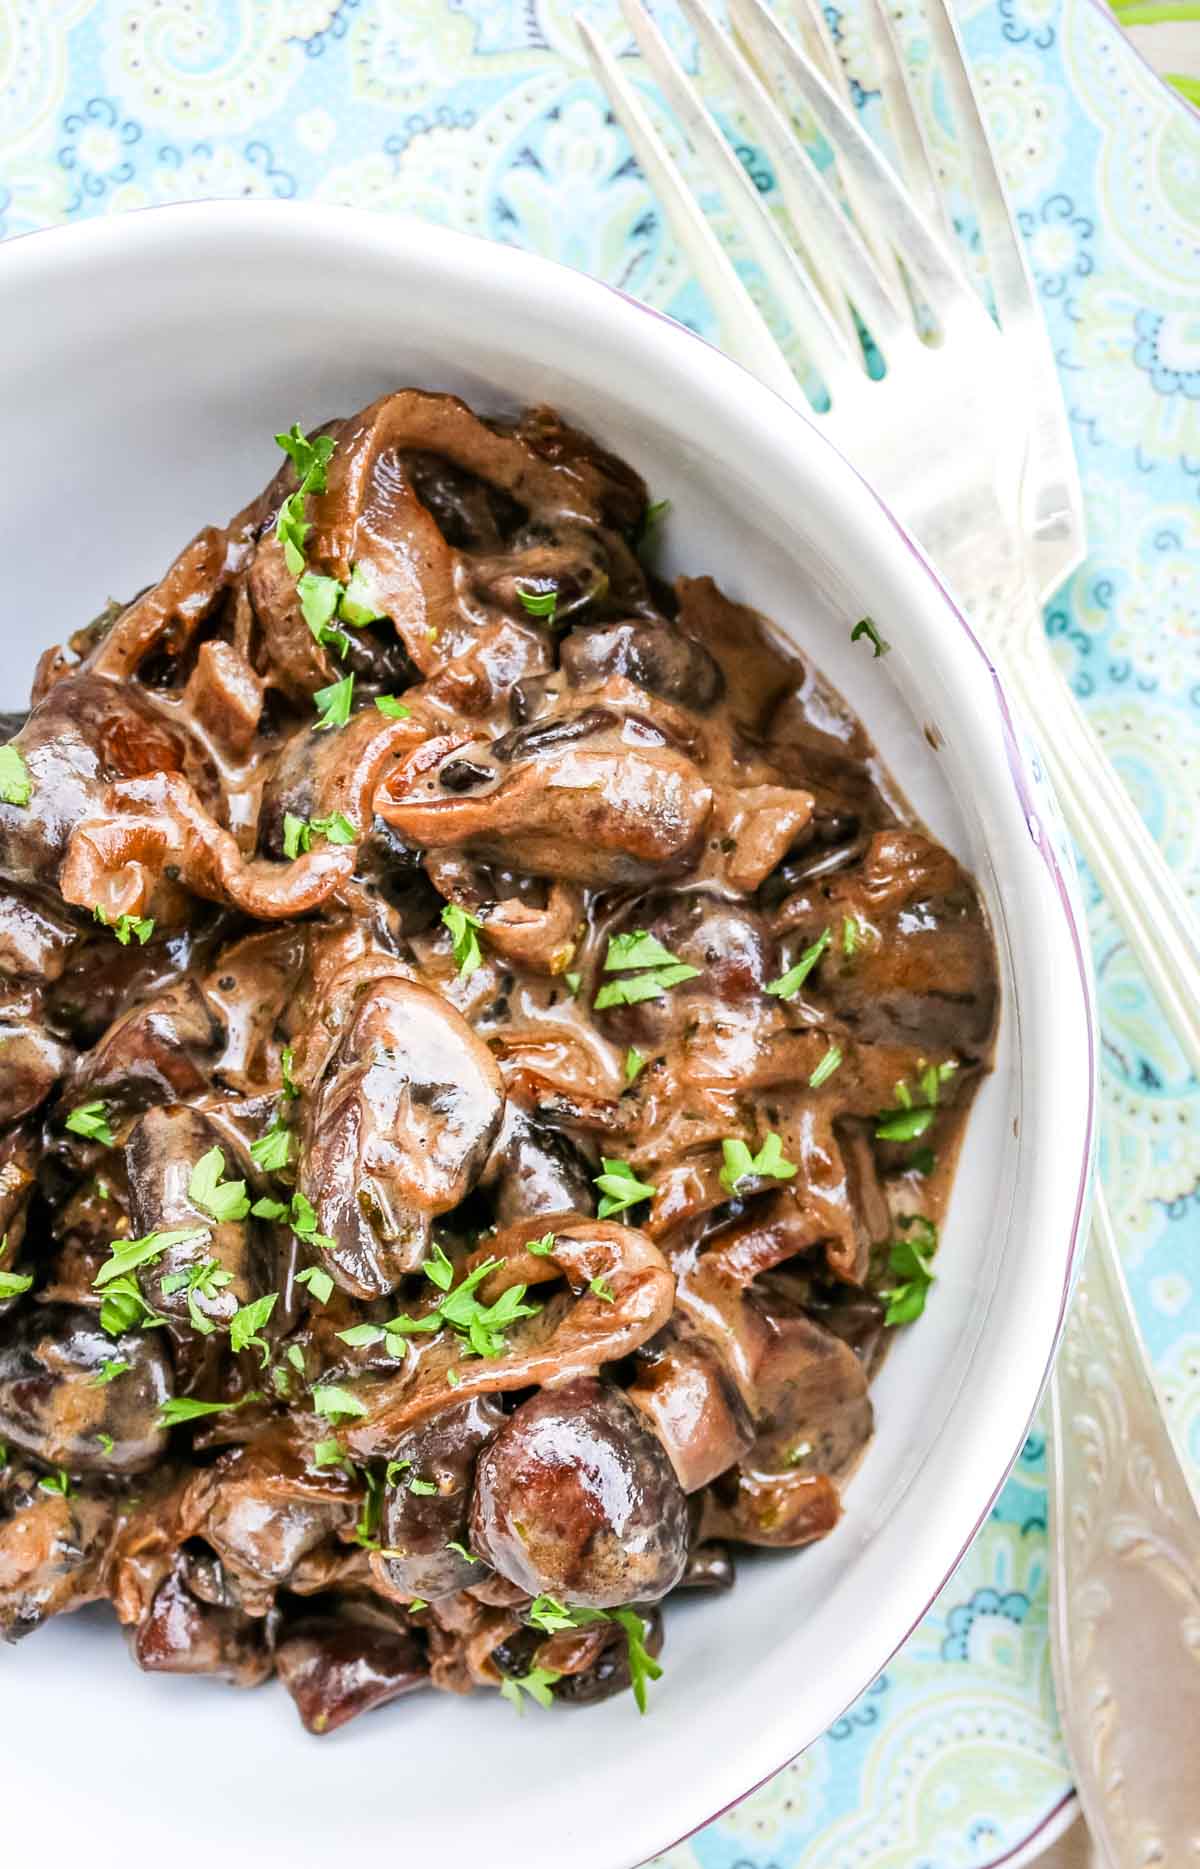
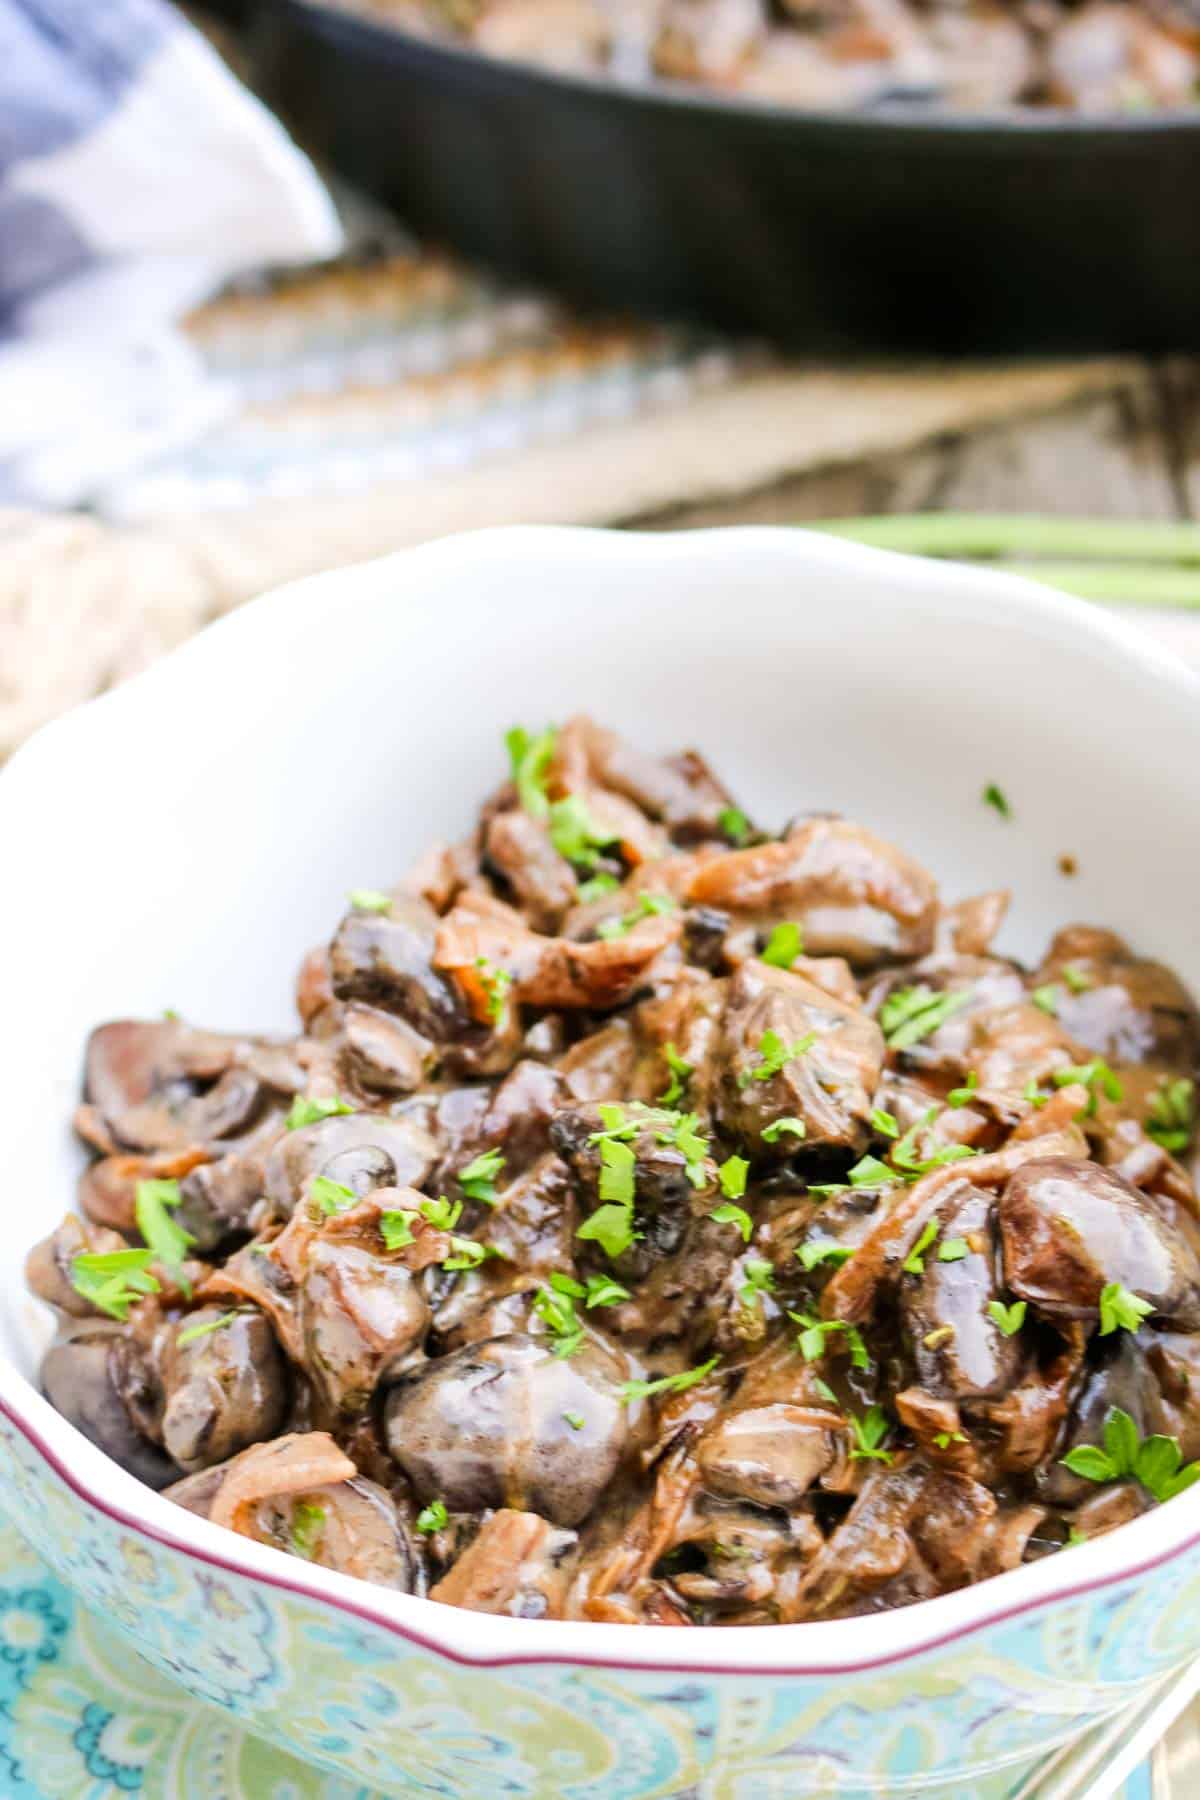
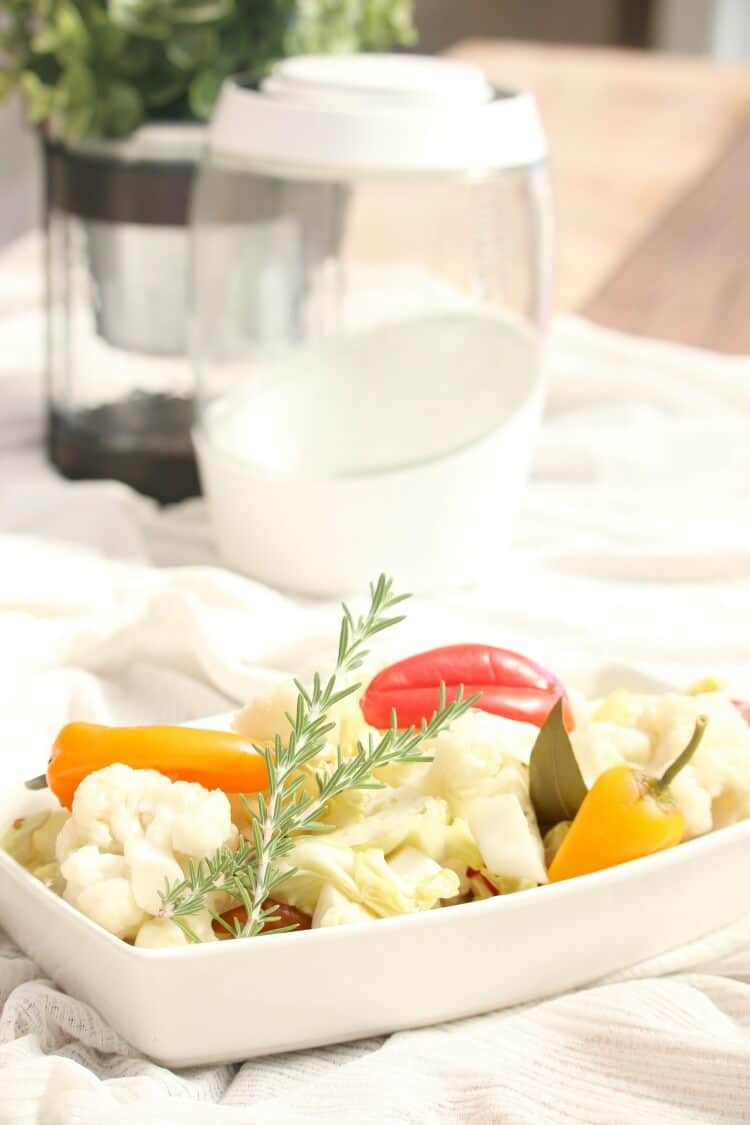
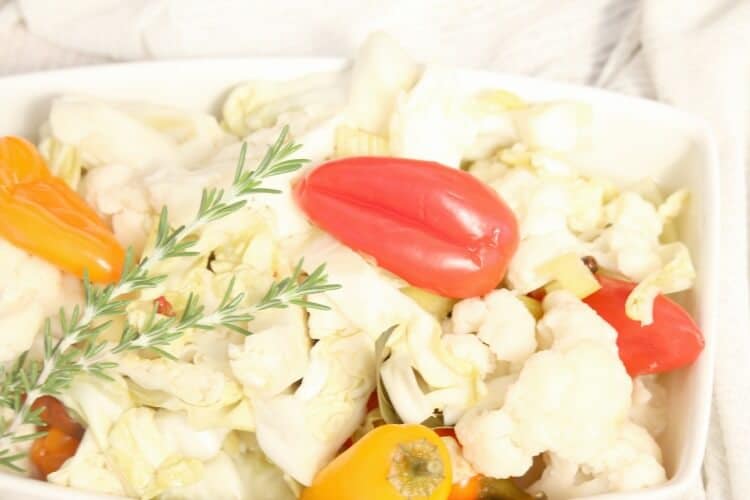
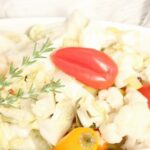
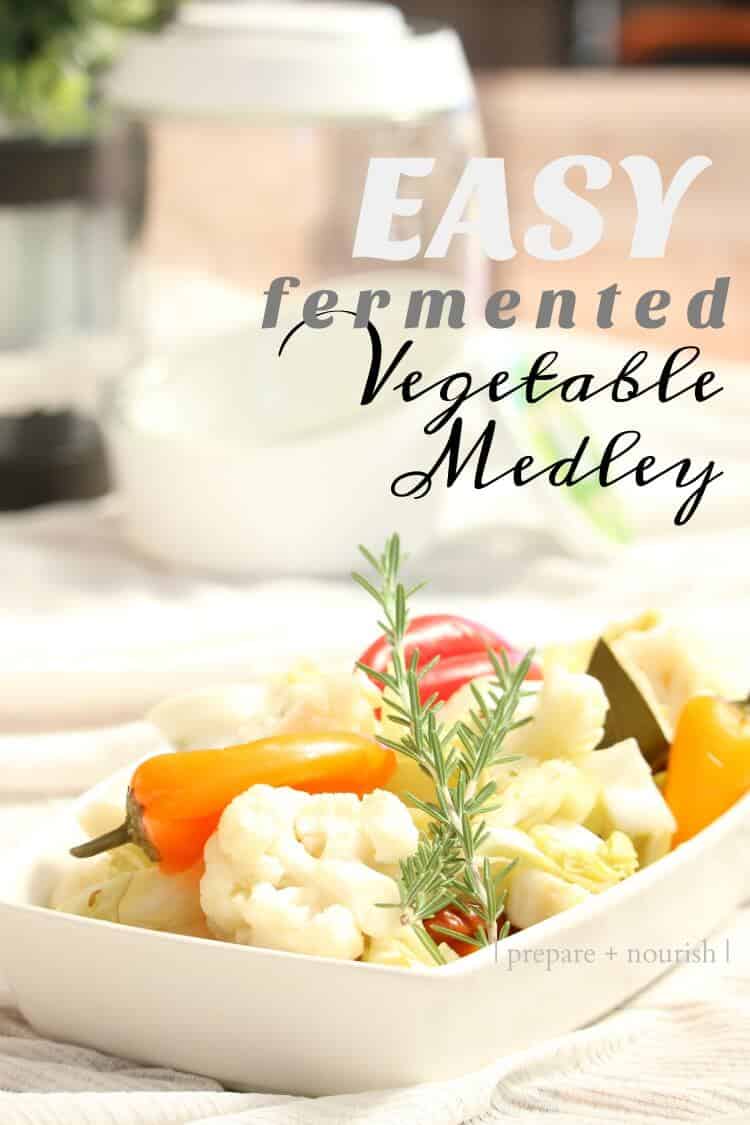
This Easy Fermented Vegetable Medley can easily be enjoyed as a side salad. So simple to make with coarsely chopped cabbage, cauliflower, celery and mini bell peppers thrown in for good measure.
This post is sponsored my Mortier Pilon. All opinions, recipes and photos are my own. This post may also contain affiliate links. The cost is the same for you.
I'm always thinking of more ways to incorporate fermented foods into our diets. Not only does it add the benefits of lacto-fermentation, it can also be enjoyed as a simple side salad.
Take the ever-so-popular sauerkraut. I grew up eating this humble ferment with fresh dill, zesty green onions, and a splash of sunflower oil. It graced our kitchen table regularly as a salad, not a condiment. Today, I incorporate kraut in both salad and condiment form for maximum health benefits.
I have to add however, if you are just starting out with fermented foods, start slowly. Take 2 tablespoons and see how your digestion responds. Eventually, you'll be able to enjoy kraut as a salad but right now take it as a condiment.
Another favorite is the Korean version of kraut, Kimchi, which on any given day, I can put away a decent size bowl. I do the best I can with offering fresh salad daily, but that's not always possible with crazy busy lives. And on those days, sauerkraut, kimchi and pickles come to the rescue.

More Foods to Culture
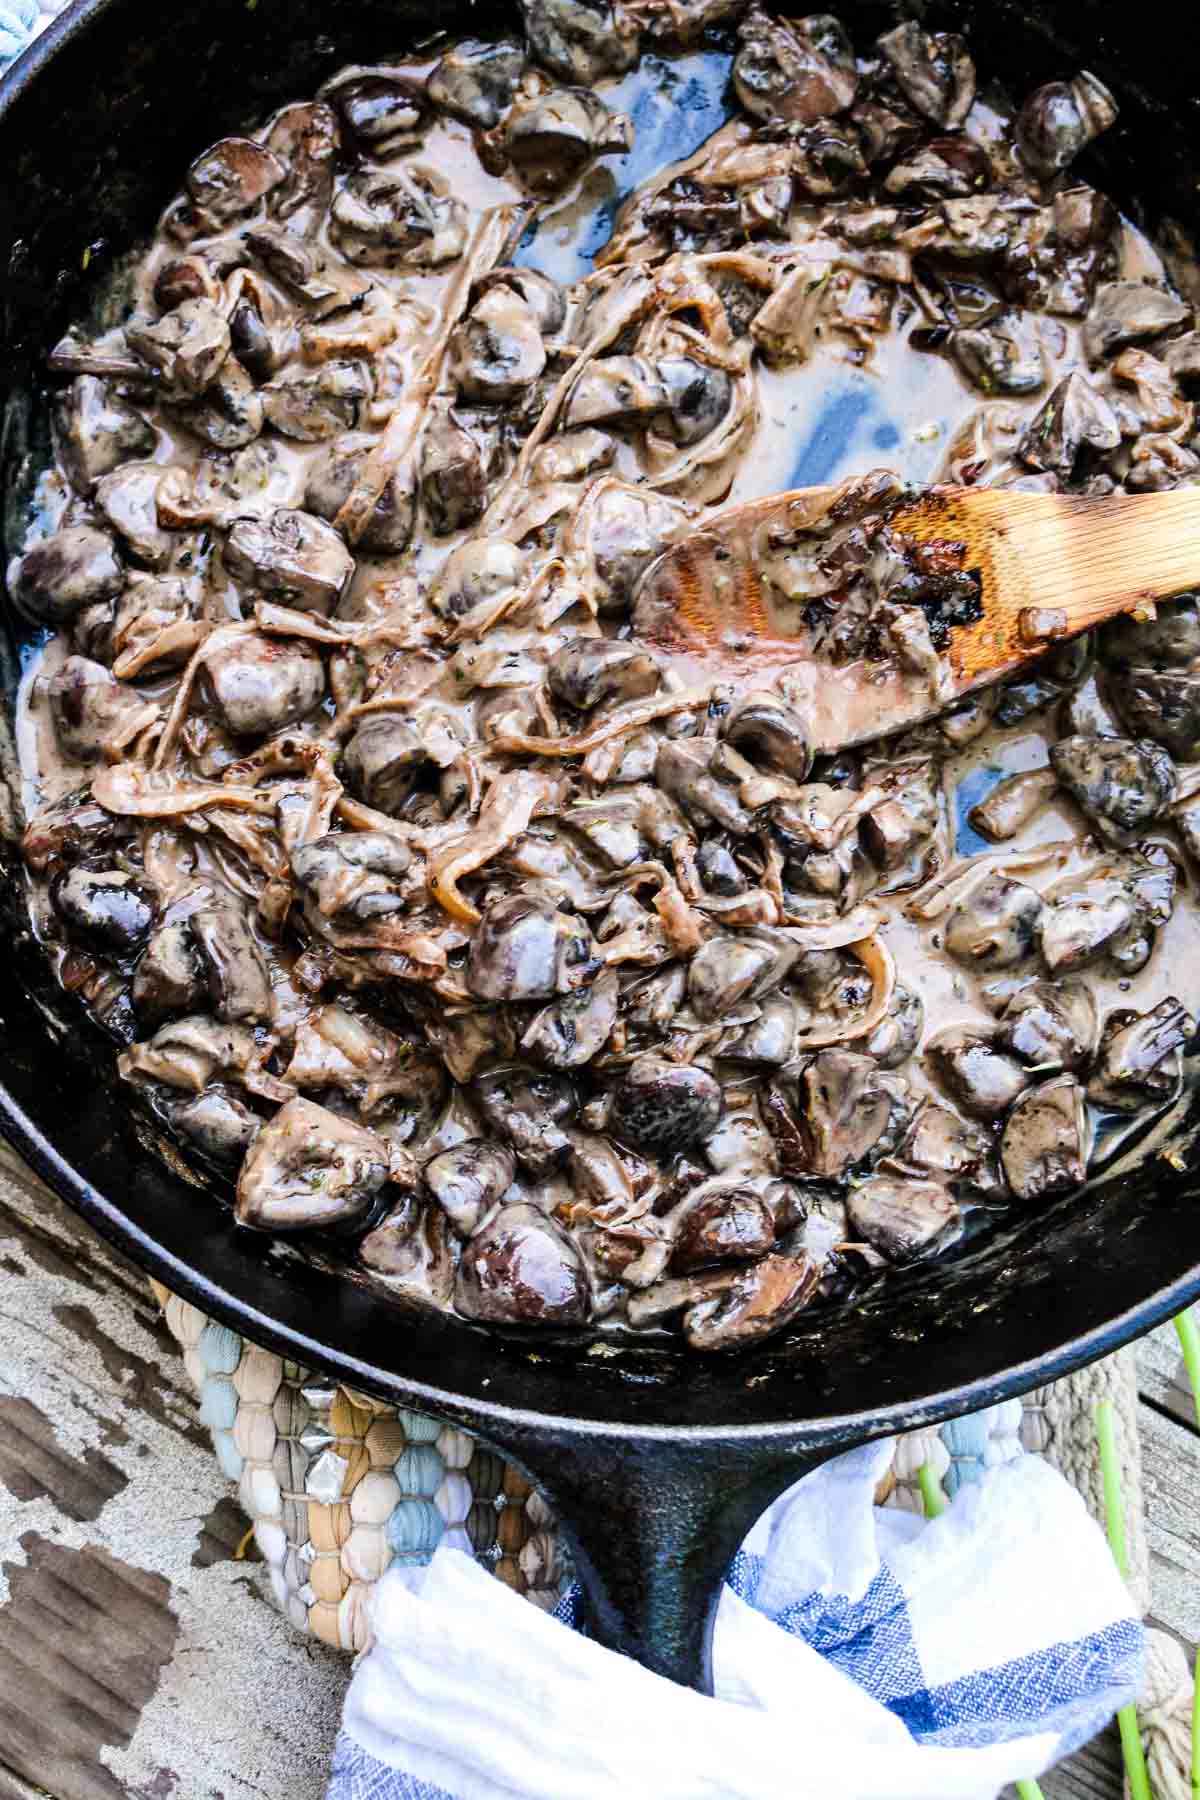
Needless to say, I'll always take more veggies to ferment, culture and preserve. This vegetable medley is the latest in my rotation of cultured foods. It was simple to prepare with the coarse chopping and no need to massage the cabbage. Although, if you're having a particularly rough day - have at it!
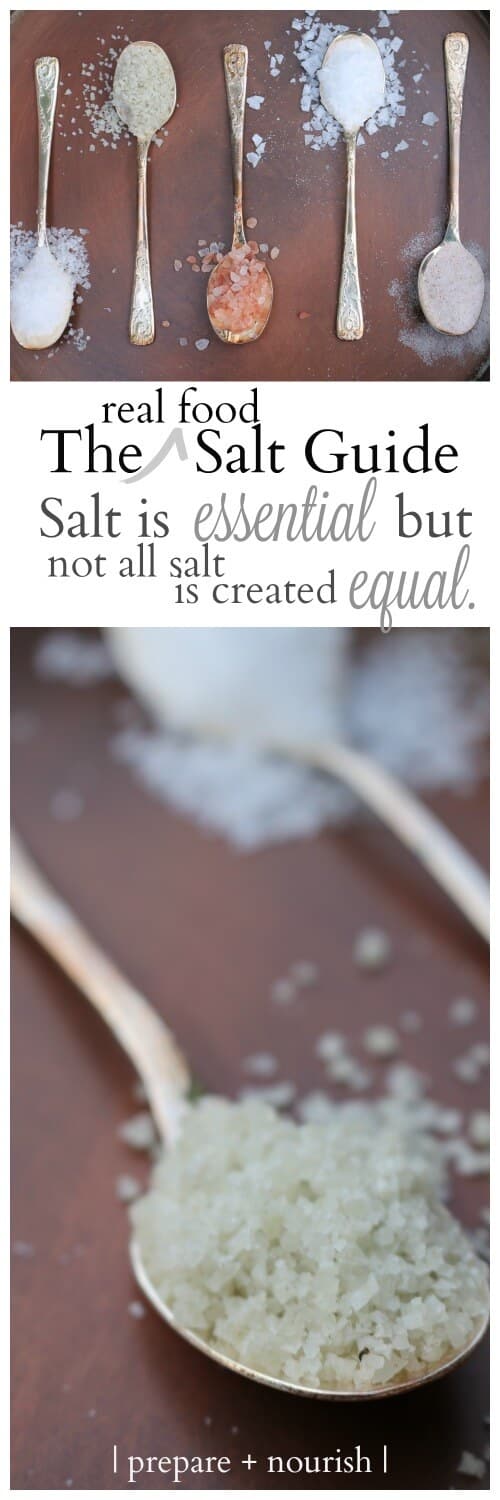
It's also versatile - use whatever veggies you happen to have on hand at that moment. That's the beauty of lacto-fermentation - it's pretty forgiving. The most important thing to remember is to use enough salt to preserve and take care off any harmful bacteria.
Importance of Lacto-Fermentation
Lacto-fermentation increases nutritional content and adds good bacteria to your microbiome, making foods easier to digest. In other words, culturing or fermenting foods predigests them so your stomach doesn't have to. The probiotics improve the health of the digestive tract essentially healing the gut from common ailments. It comes as no surprise that our ancestors consumed fermented foods on a daily basis and I'm happy to see them making comeback.
The Secret to Easy Fermentation
Recently, I came across Mortier Pilon fermentation crocks and was giddy to get my hands dirty when I received the fermentation crock in the mail. The crock is specially designed for just the right airflow to create a perfect anaerobic environment.
This Canadian company is passionate about bringing the age-old art of fermentation back into today's modern kitchen. The slick design, use of glass versus stoneware, and their affordable priced products, makes them a perfect addition to your kitchen.
Their crocks also come with rimmed lids that serves three purposes. One, when water is added to the rim it creates a suction to create pressure that is conducive to lacto-fermentation. Two, the rim can also be used to catch overflow. And lastly, the rim has chalkboard strip so you can easily keep track of the contents and preparation date.
Easy Fermented Vegetable Medley Recipe
Printable Recipe
Easy Fermented Vegetable Medley
Ingredients
- 4 cups warm filtered water
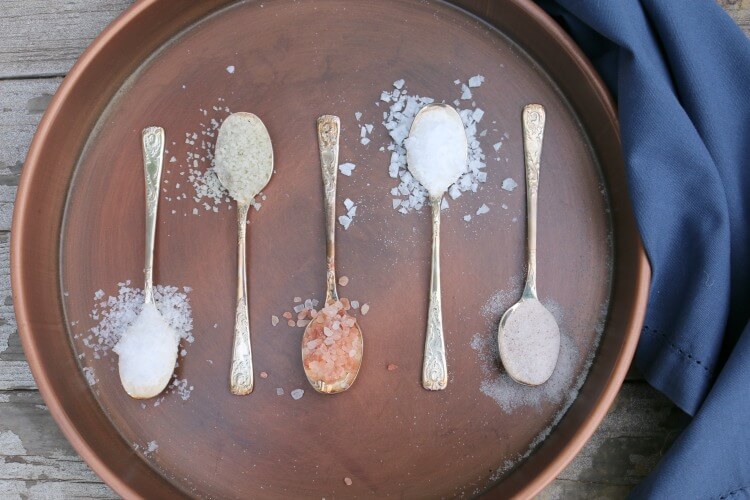
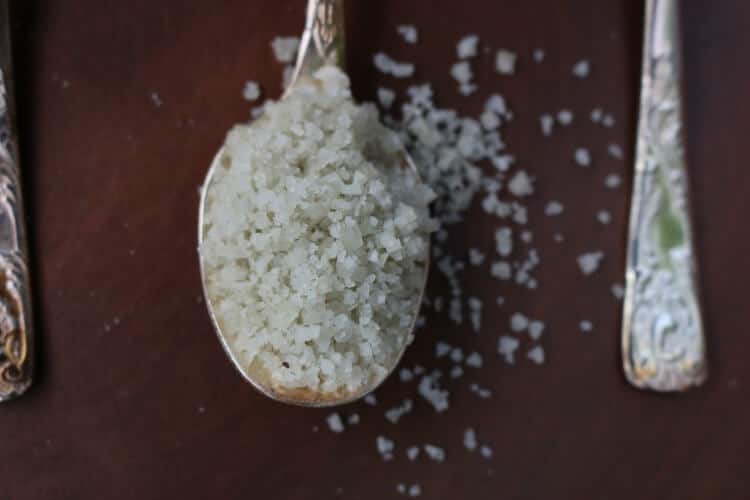
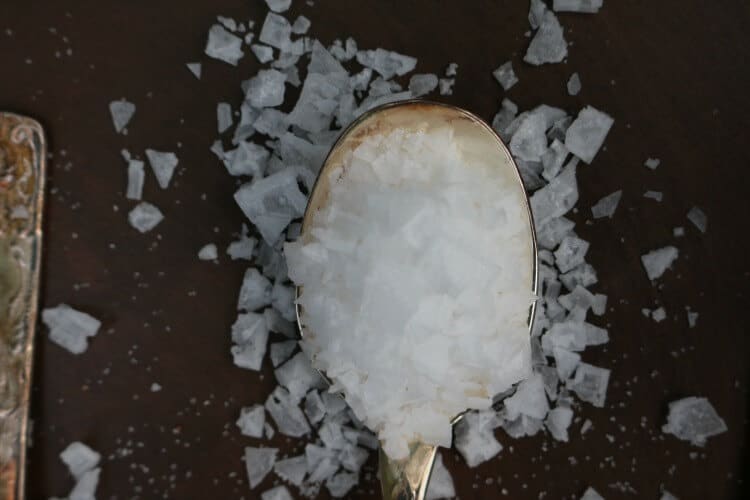
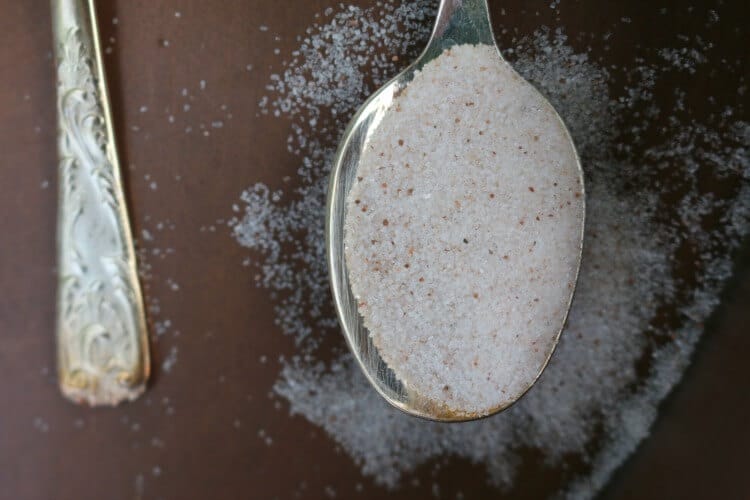
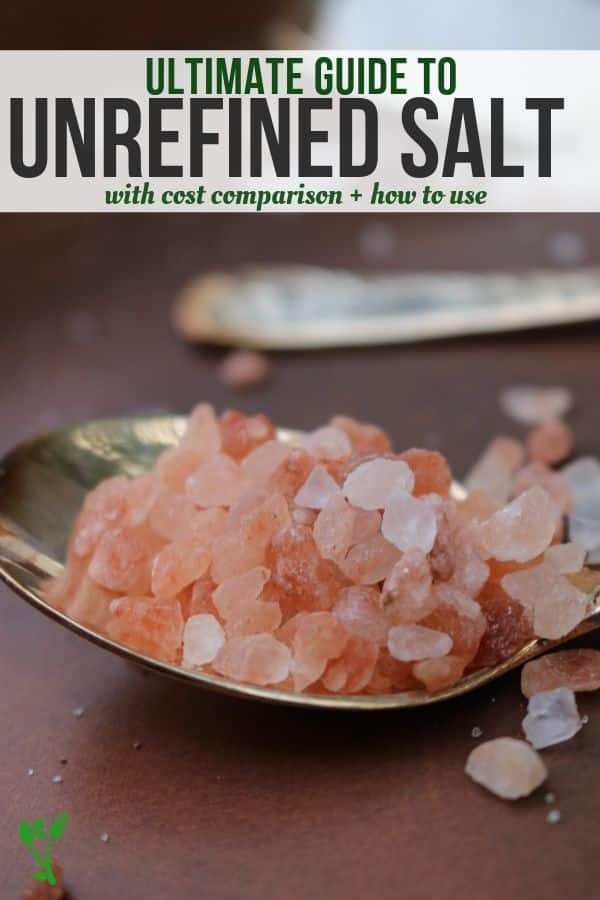
- 4 tablespoons unrefined salt my pick
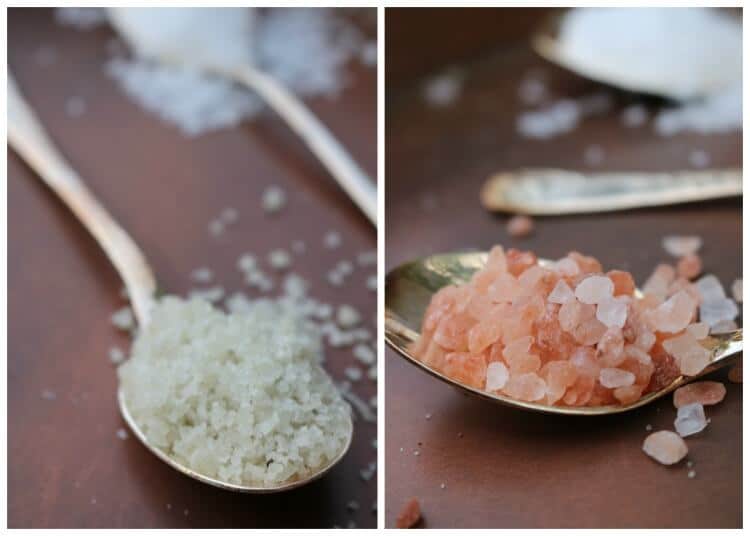
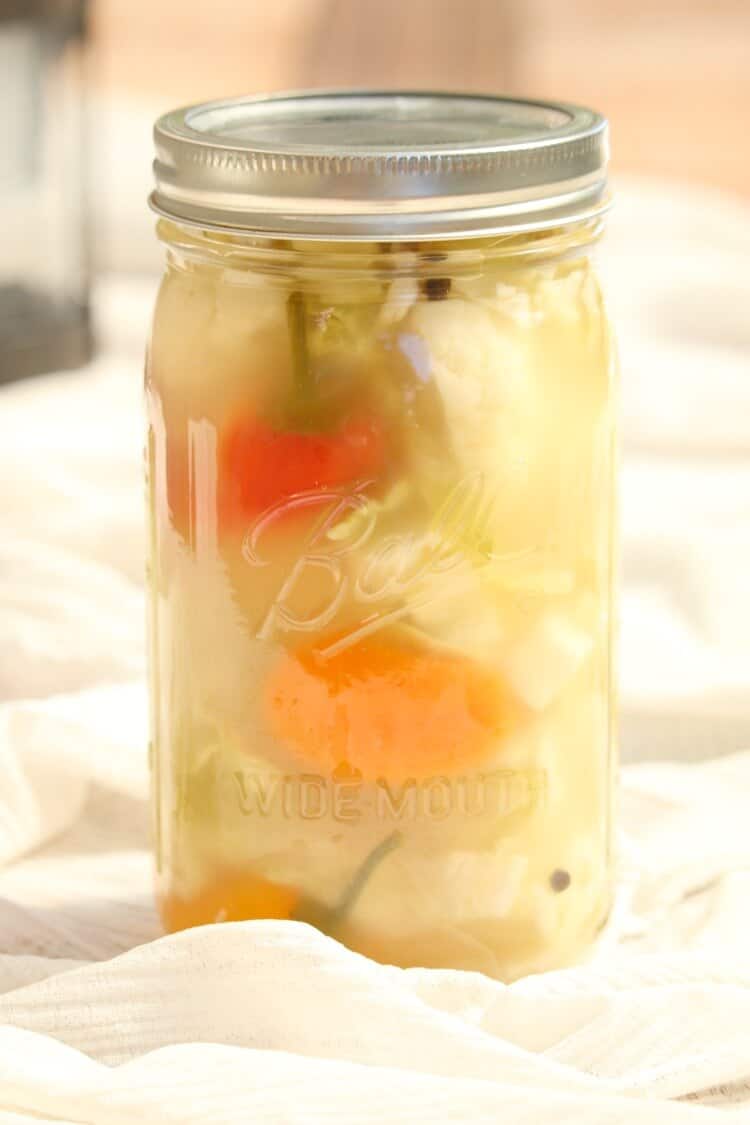
- 2 quarts of coarsely chopped vegetables I used 1 small head of cauliflower, ½ cabbage, 3 celery stalks, 8 mini bell peppers
- 3 small chili peppers whole
- 6 bay leaves
- 1 tablespoon whole peppercorns
Equipment Needed:
- 2 L Mortier Pilon Fermentation Crock
Instructions
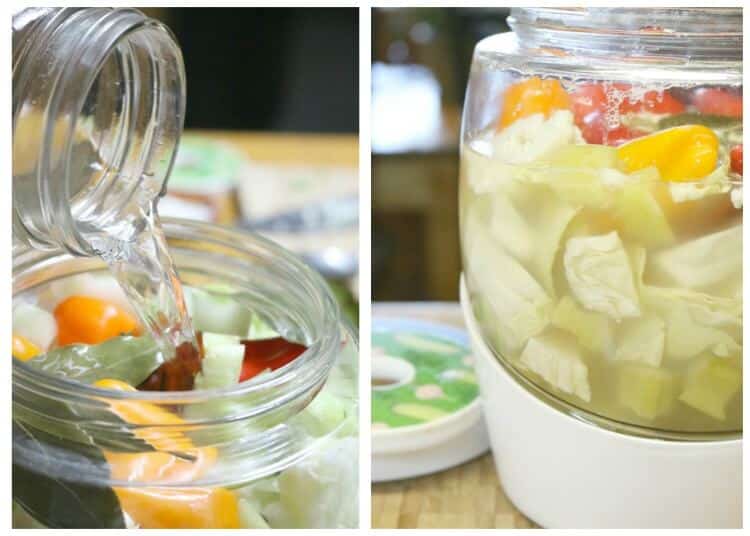
- Stir salt into the warm water and set aside to dissolve.
- Coarsely chop all veggies into 1" chunks. If using mini bell peppers, leave them as is. Cut regularly sized bell peppers into strips.
- Toss all veggies, chili peppers, bay leaves and peppercorns into a fermentation crock.
- Pour water over the vegetables, leaving 1" from the top but making sure all contents are submerged in the brine.
- Place weight (comes with the crock) atop of vegetables. Close lid and set aside at room temperature for 7-10 days. Start checking for doneness and tanginess at day 5 (depending on humidity and temperature of home).
- You should start seeing bubbles forming by around day 4-5 and it should have a very distinct smell to it.
- When the vegetables reach the desired flavor, transfer them to mason jars and cap them tightly. Store them in a cool place (the fridge or a very cool area in the basement or garage). Once refrigerated, the fermentation process will stop and they'll keep for up to 10 months.
::: Save for Later :::
::: You May Also Like :::
Simple Sauerkraut
Overnight Cultured Tomatoes
Kimchi
Lacto-Fermented Ginger and Garlic Sauerkraut