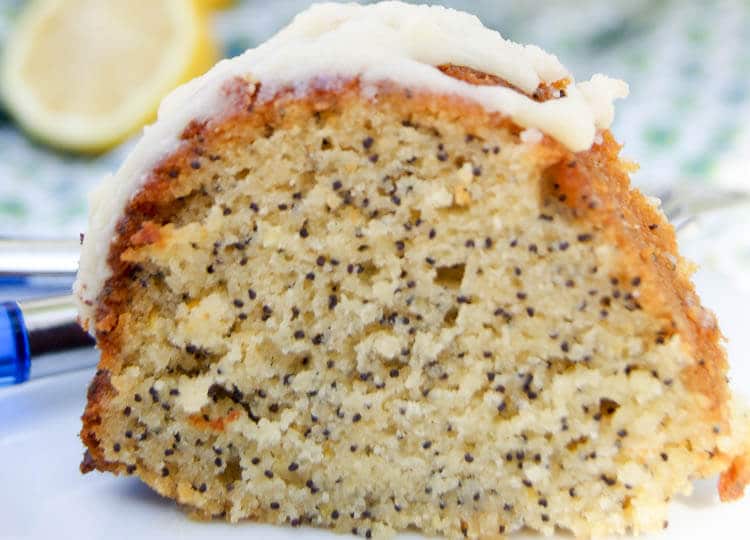
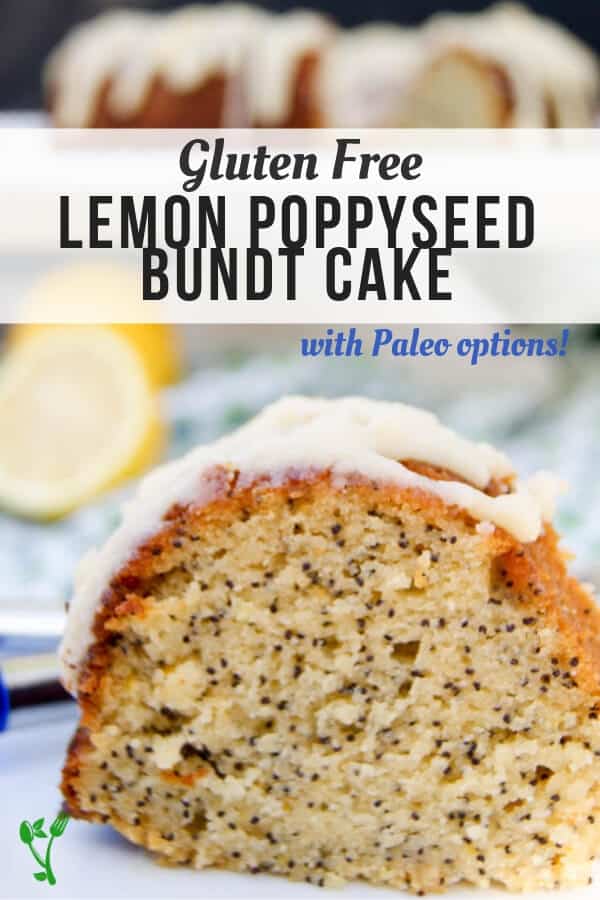
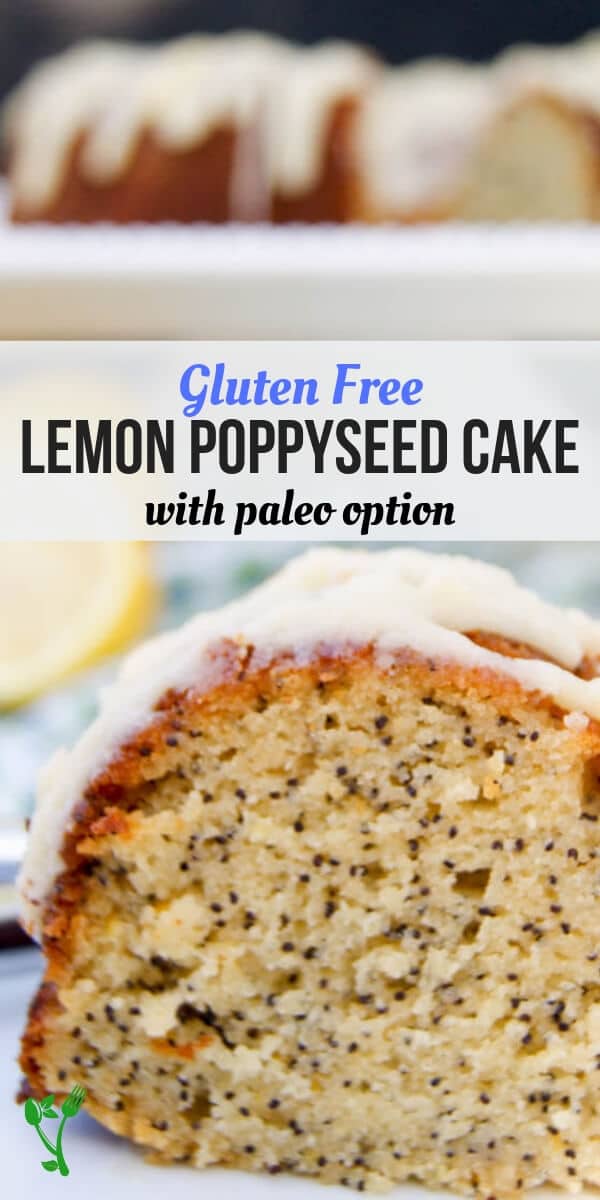
This delicious grain free Paleo Lemon Poppyseed Bundt Cake has the perfect blend of tartness and the delicate sweetness from honey. The rich lemon glaze is the perfect garnish atop this sweet treat.

Lemon Poppyseed Bundt Cake (Gluten Free, Paleo)
Now that we are well into spring, it's time to use up all those lemons from cooler months. What better way to do that than to make this Lemon Poppy Seed Bundt Cake?
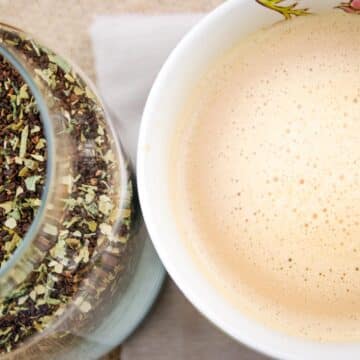
This Paleo Lemon Poppyseed Bundt Cake is so delicious with your morning coffee (go herbal coffee HERE) or as an afternoon treat. Be forewarned, it's not too wildly sweet because I've learned that my taste buds have adapted to using less sugar than normal. It has an obvious yet gentle flavor of honey. The poppy seeds are peppered throughout and you can't miss the refreshing lemon flavor. All in all, this Gluten Free Lemon Poppyseed Cake has it all.
Helpful Tips for this Paleo Lemon Poppyseed Cake
- Dairy on PALEO: Pastured butter as called for in this recipe is a healthy saturated fat with usually little lactose to cause trouble. You may use coconut cream for the heavy cream and coconut oil in place of butter if you have to avoid dairy entirely.
- I bake this in a bundt cake pan such as this one. Alternatively, you may also use two loaf pans and reduce baking time by 10 minutes or until toothpick comes out clean.
- It helps to have a standing mixer such as this one to cream the butter and honey together. It's not necessary though so feel free to use a hand mixer.
Printable Recipe

Paleo Lemon Poppyseed Bundt Cake
Ingredients
For the cake:
- 1 ¼ cup almond flour
- 1 cup tapioca flour
- ¾ cup coconut flour
- ¼ cup poppy seeds
- 1 teaspoon baking soda
- ¼ teaspoon real salt
- ½ cup butter or coconut oil softened but not melted
- ½ cup honey
- 3 large eggs
- 4 large lemons zested and juiced
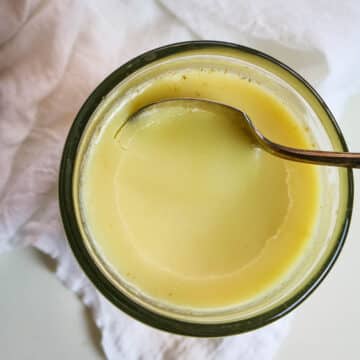
For the Glaze:
- 2 tablespoons butter or coconut oil melted
- 2 tablespoons raw honey
- 2 tablespoons heavy cream or coconut cream
- ½ lemon
Instructions
Cake:
- Preheat the oven to 350° degrees Fahrenheit and set an oven rack in the middle position.
- Grease a 12-cup bundt pan or 2 loaf pans with butter and dust with tapioca flour.
- In a medium bowl, whisk together the flours, poppyseed, baking soda and salt. Set aside.
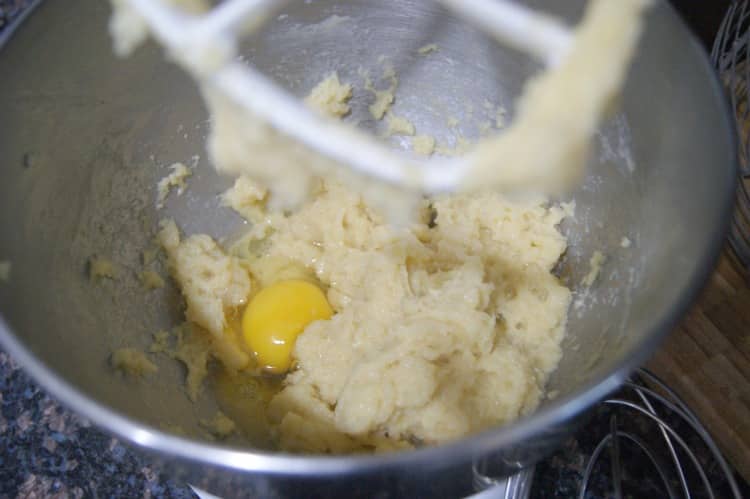
- In the bowl of an electric mixer fitted with the paddle attachment cream butter (or coconut oil) and honey together. Scrape down the sides of the bowl, then beat in the eggs one at a time, beating well after each addition.
- In a small bowl, combine the zest and juice of four lemons.
- With the mixer on low speed, beat in ⅓ of the flour mixture, then ⅓ of the lemon mixture and combine well. Repeat with another third of the flour, then another third of the lemon mixture. Finally, beat in the remaining flour and lemon mixture. Scrape down the sides of the bowl and give another stir to make sure all ingredients are combined well.
- Pour the batter into greased and floured pan(s) and smooth with a spatula.
- Bake for approximately 50 minutes or until toothpick comes out clean.
- Cool the cake in the pan for 15 minutes on a rack.
- Invert the warm cake onto a cooling rack and allow to cool completely (approx.. 1 hour – don’t rush as the glaze will just melt straight into the cake if it’s too warm)
Glaze:
- Mix all ingredients with a fork until smooth. Spoon the glaze over the top of the cake(s), letting it drizzle down the sides. Give a few minutes to set.
Nutrition
If you liked the recipe above, please consider rating the recipe and leaving a comment below. Also, be sure to follow me on Facebook, Instagram, and Pinterest.
Need More Healthy Sweets?
Grain Free Snickerdoodles (Paleo)
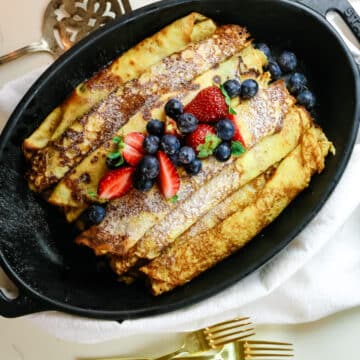
Grain Free French Crepes with Cassava Flour
Flourless Double Chocolate Muffins (Paleo, GAPS)
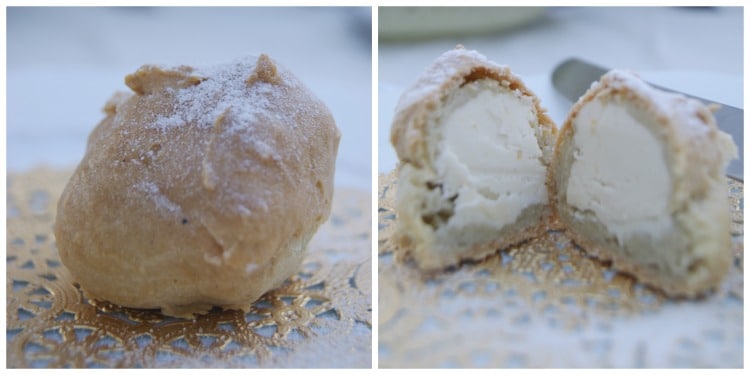
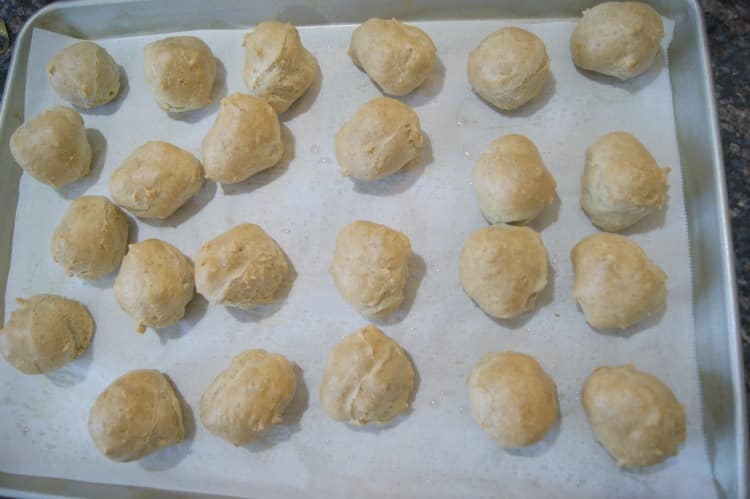
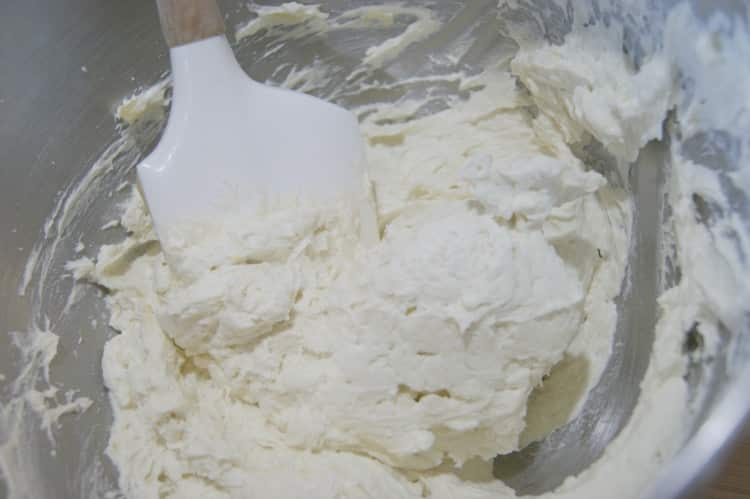
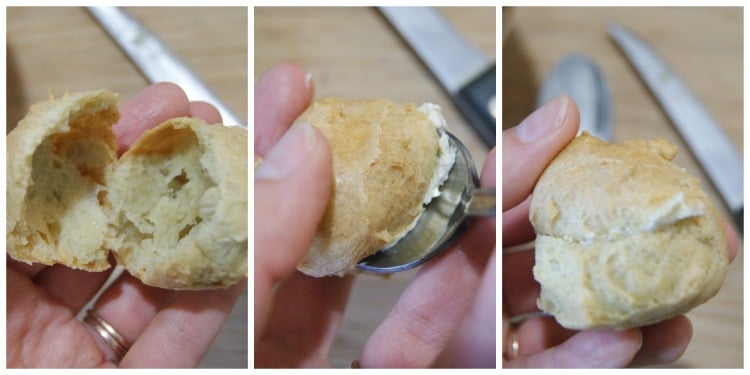
Grain Free Cream Puffs with Buttercream
>>> Pin This <<<


 This post may contain affiliate links for your convenience. Thank you for supporting this site with purchases made through these links. See my full


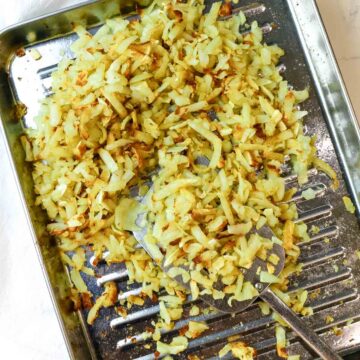
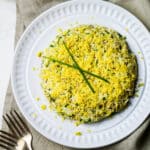
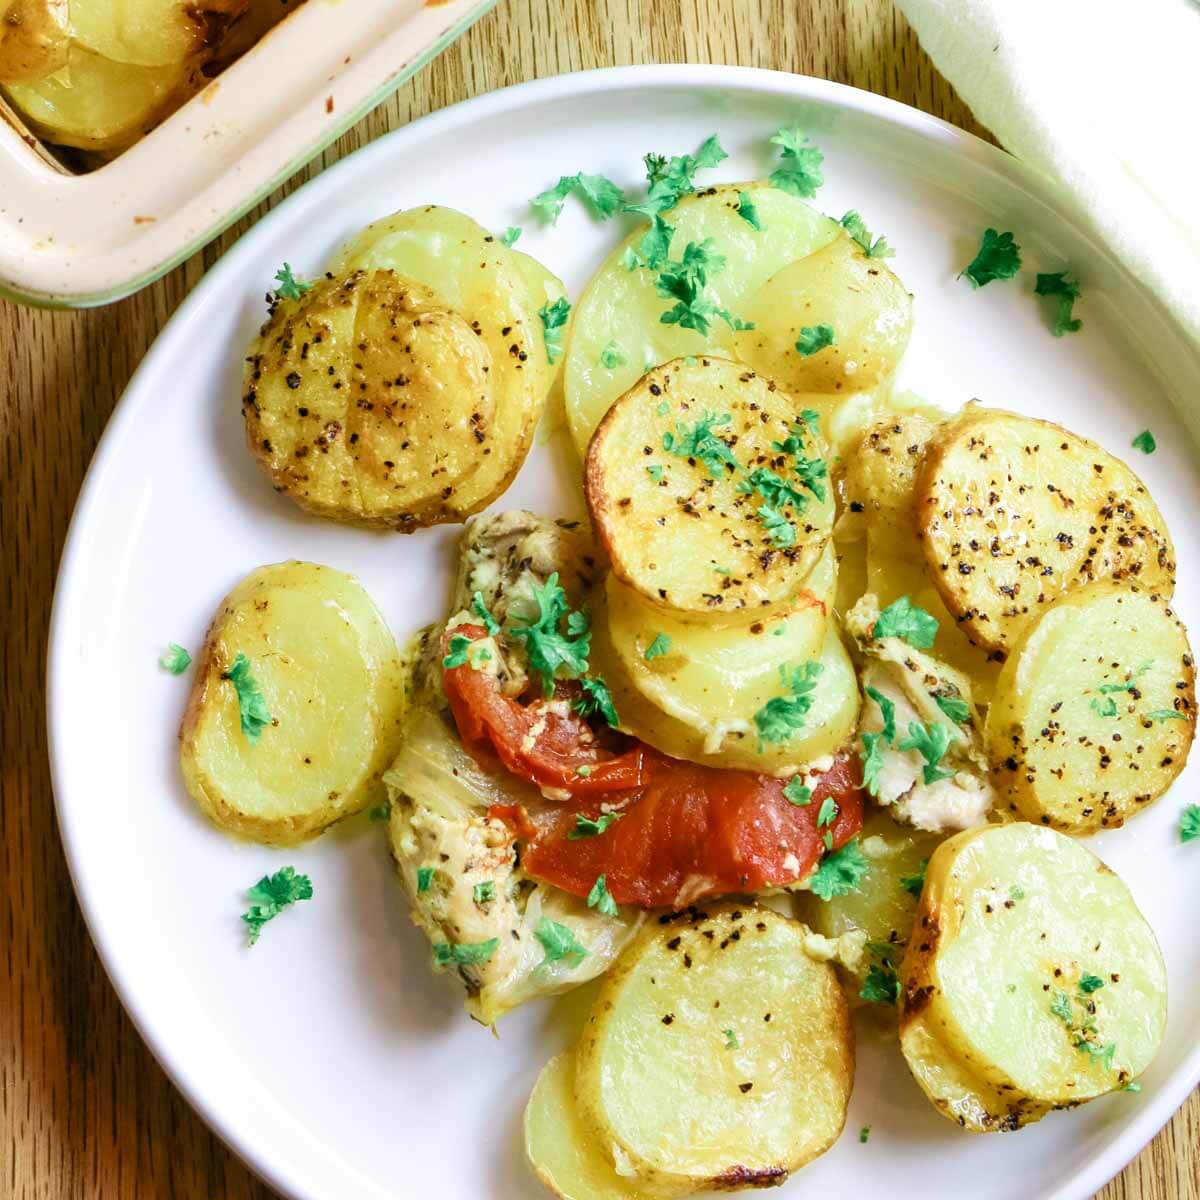
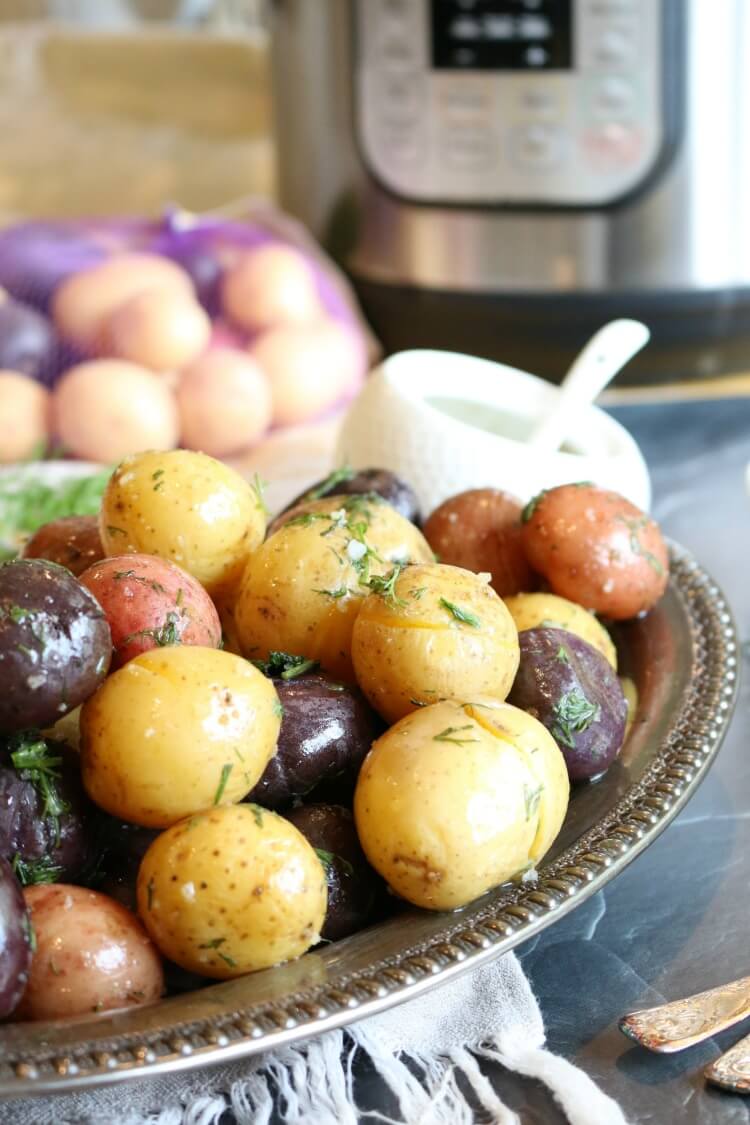 Instant Pot Butter Dill Potato Medley