
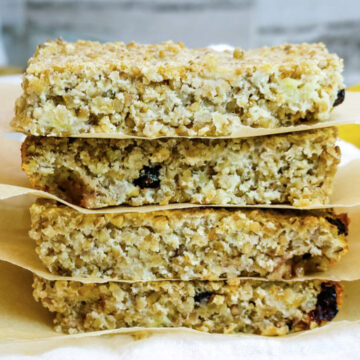
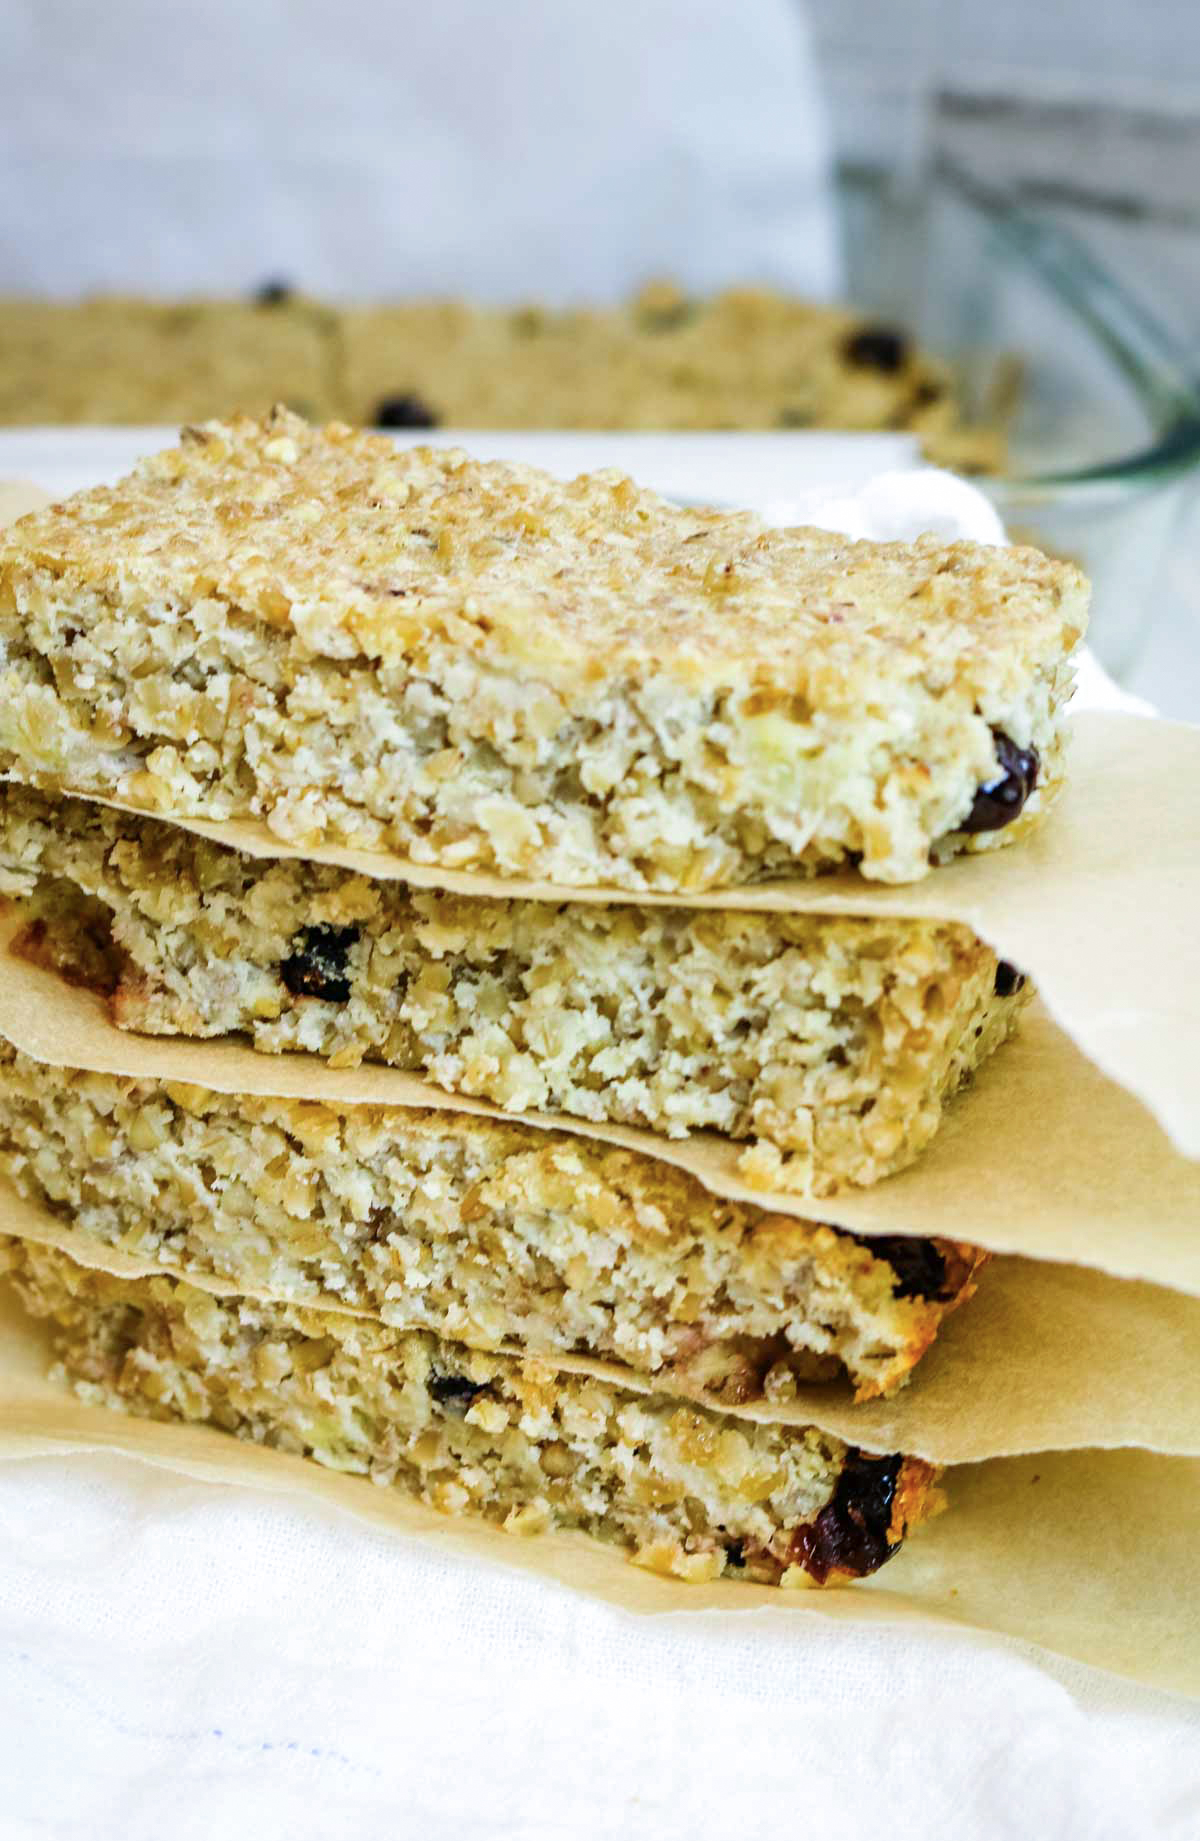
Start the day right with this healthy baked steel-cut oatmeal breakfast bars recipe. Made with just 6 main ingredients plus pantry staples, you can have healthy and hearty steel-cut oat bars that are an easy breakfast on the go on busy mornings or a satisfying snack mid-day. This baked steel-cut oatmeal recipe has the right amount of sweetness from bananas and can be easily customized with your favorite oatmeal toppings.
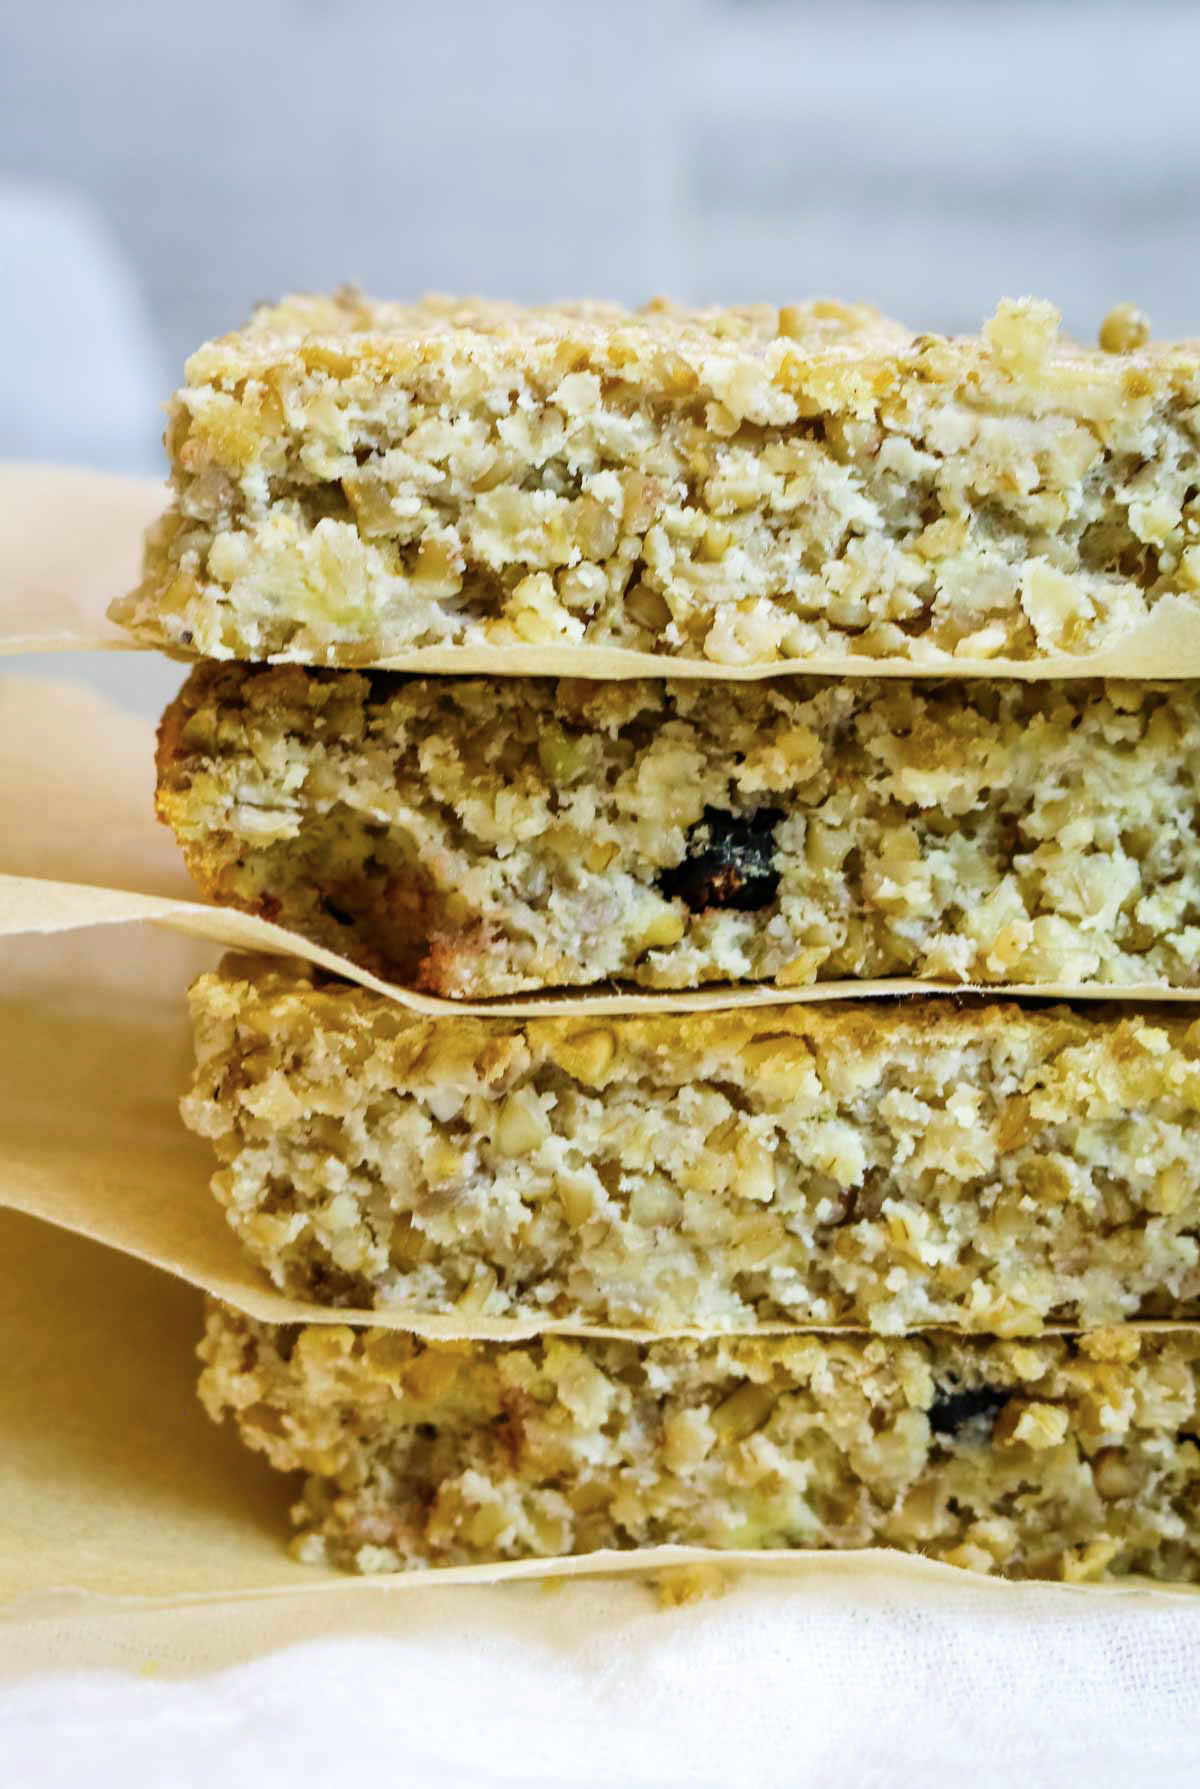
Soaked steel-cut oats lightly sweetened with overripe bananas make a simple breakfast or snack win. This wholesome and satisfying treat effortlessly combines the simplicity of oats and bananas and packs in a nutritional punch to boot!
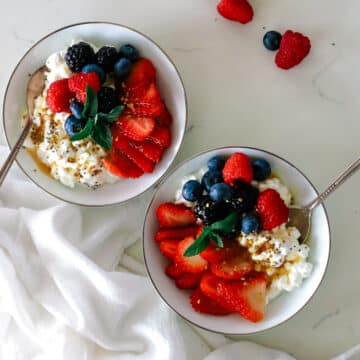
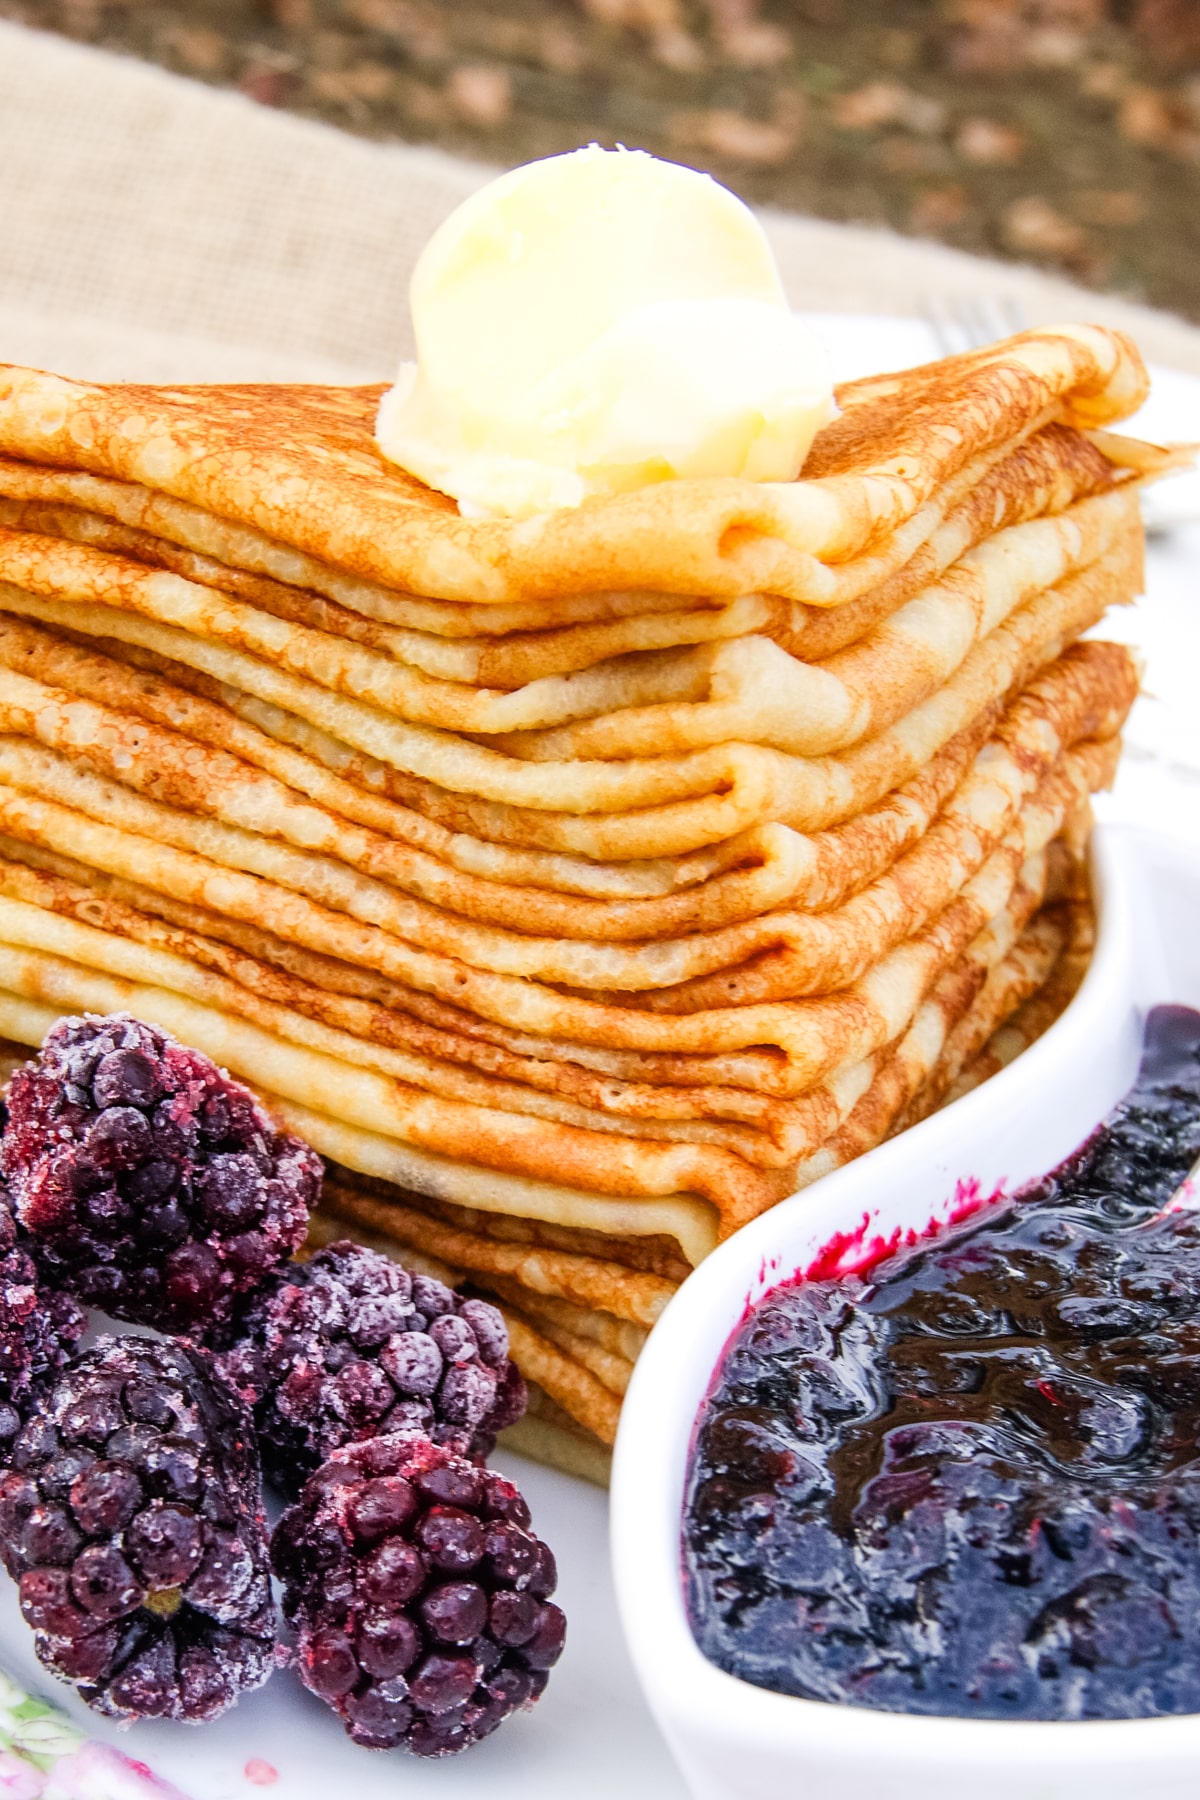
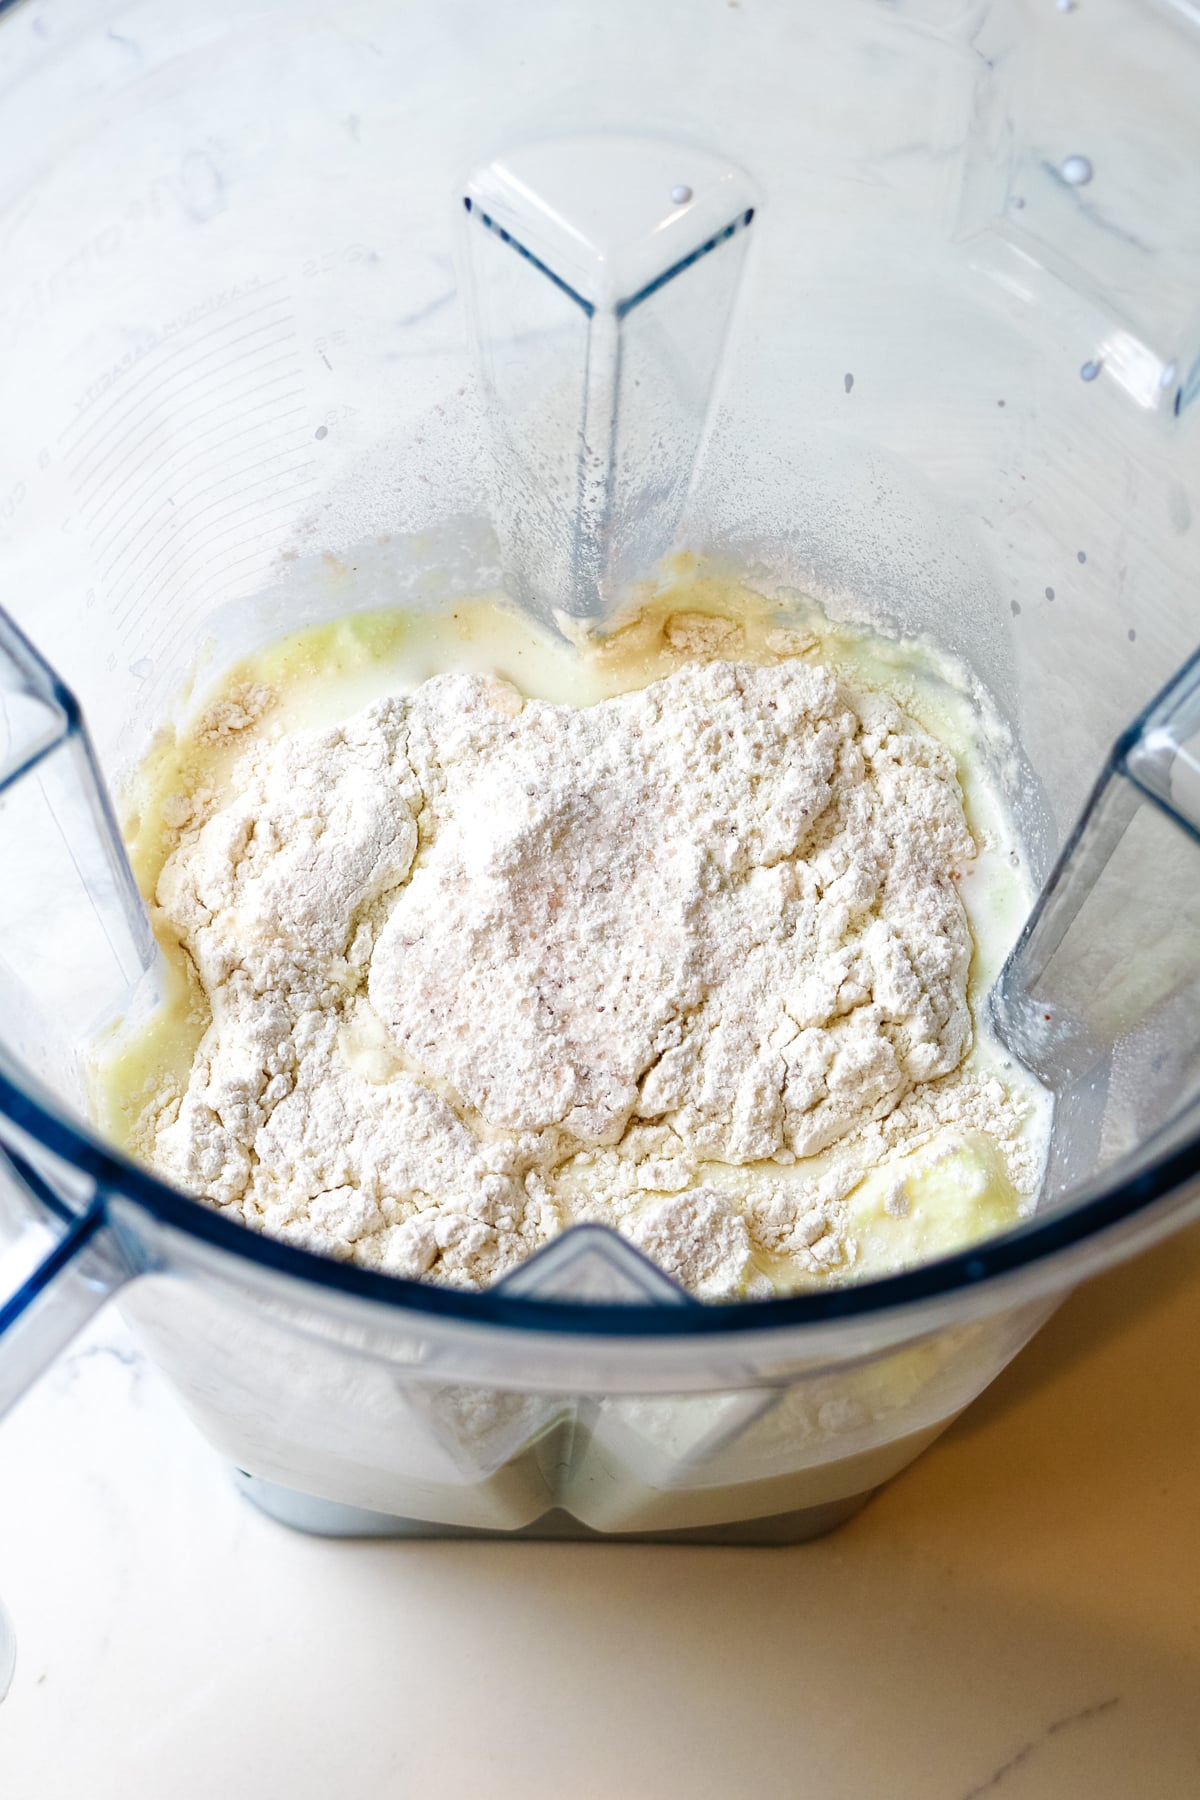
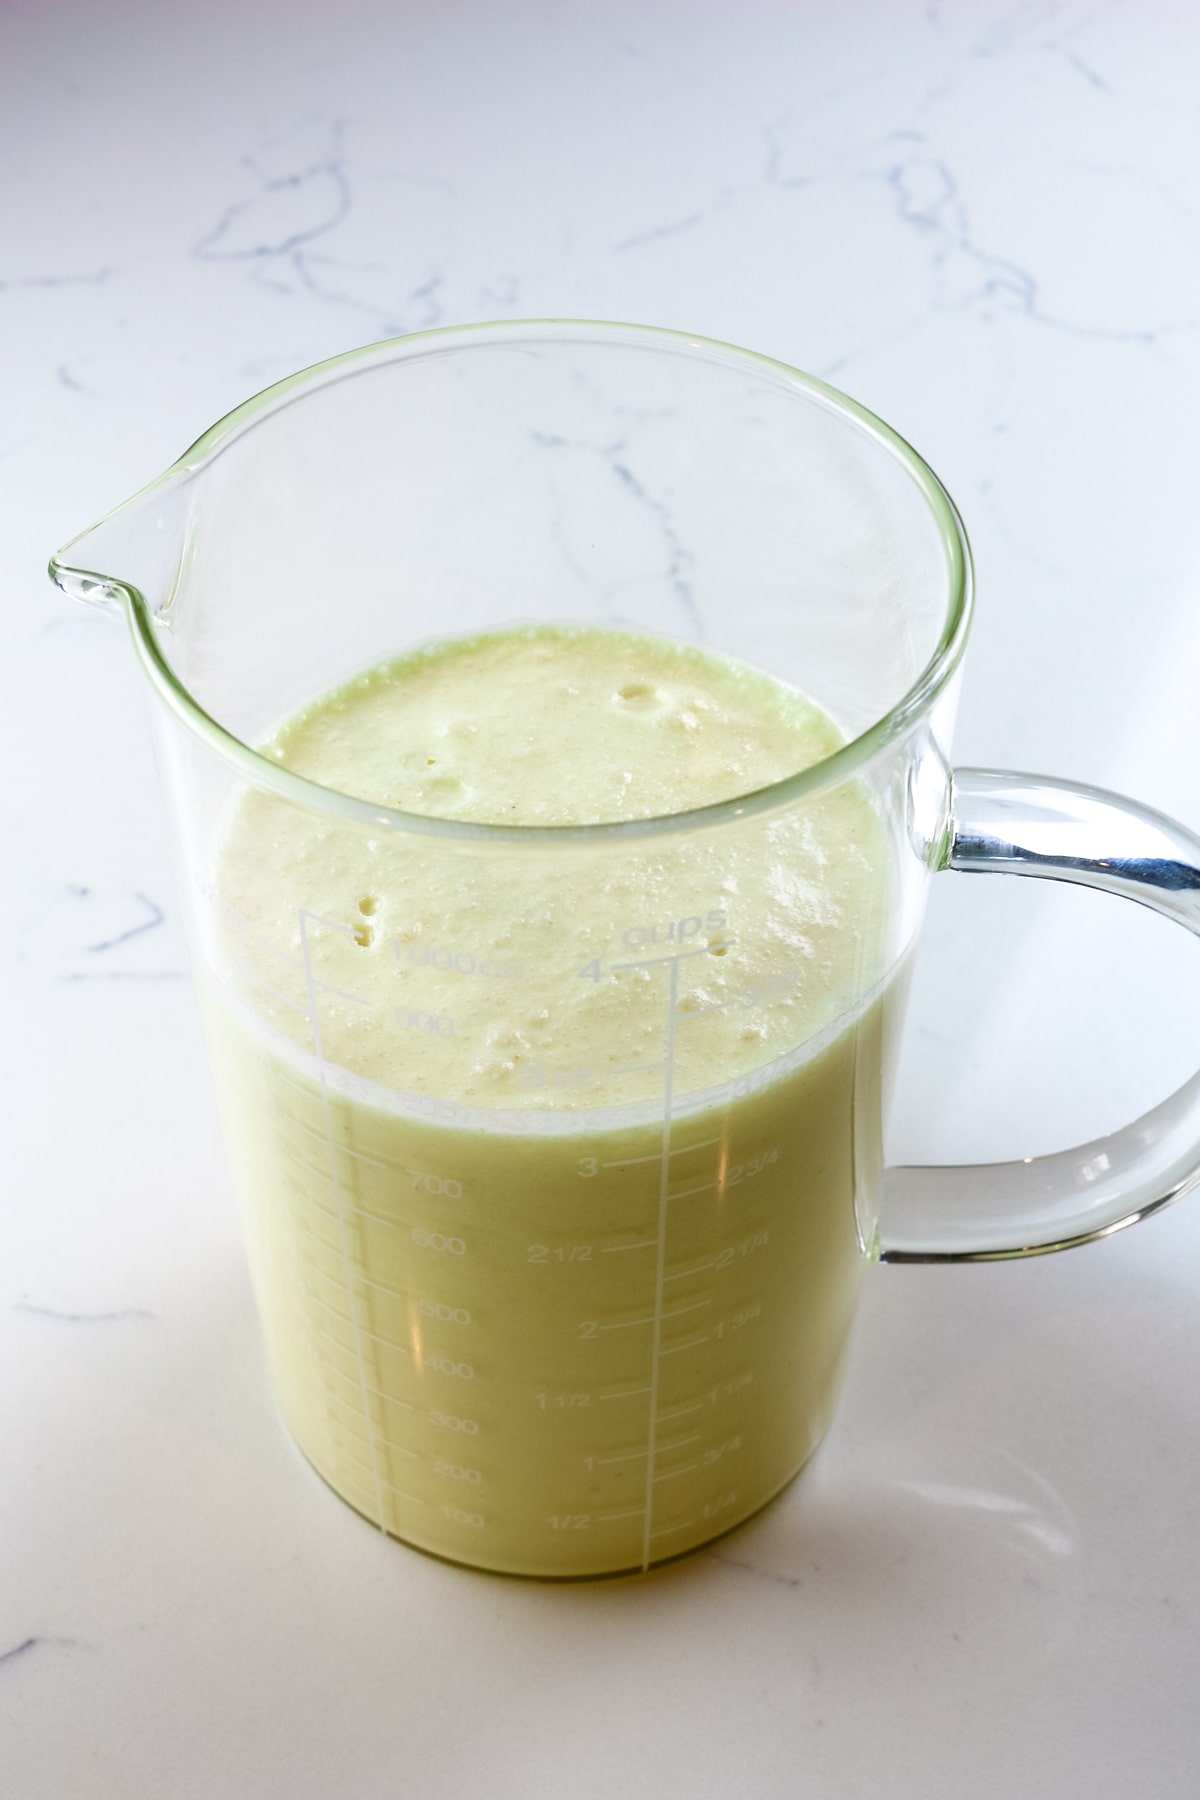
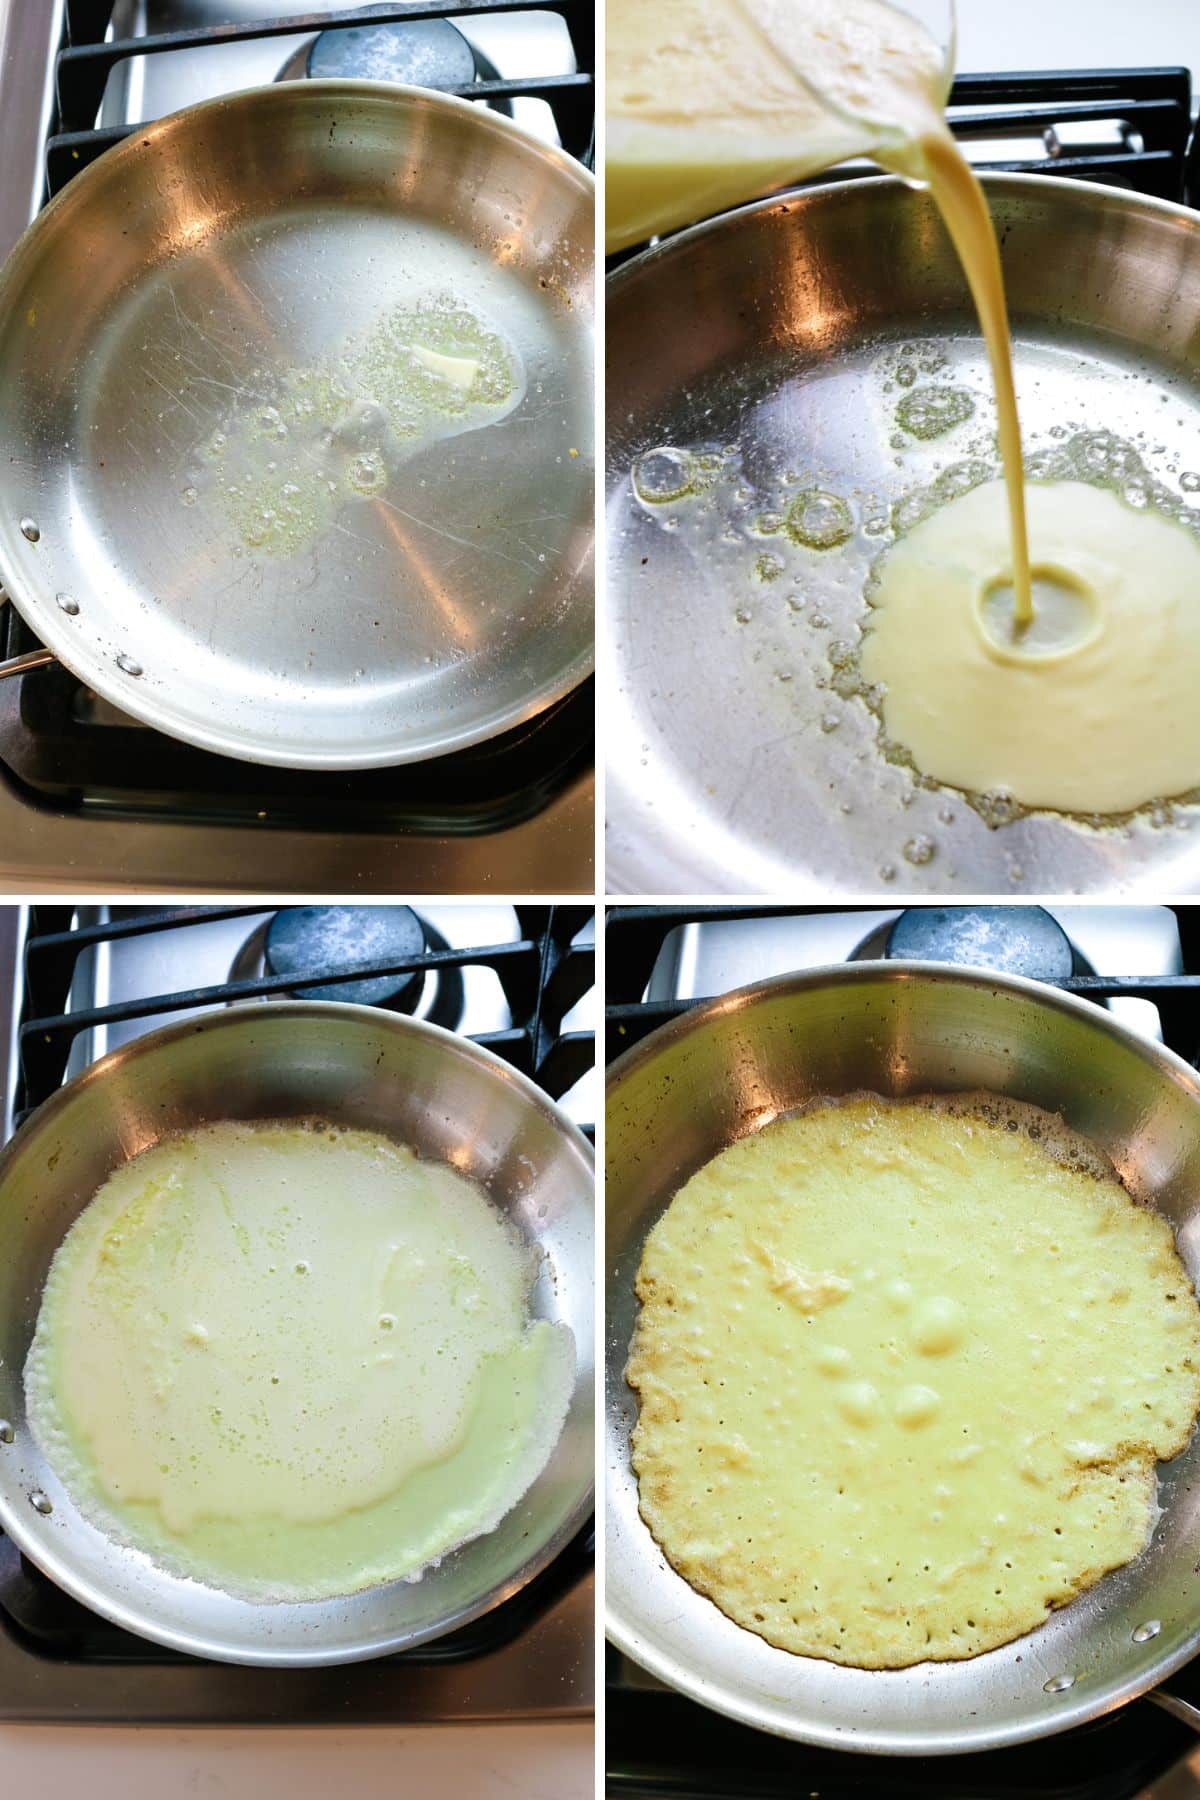
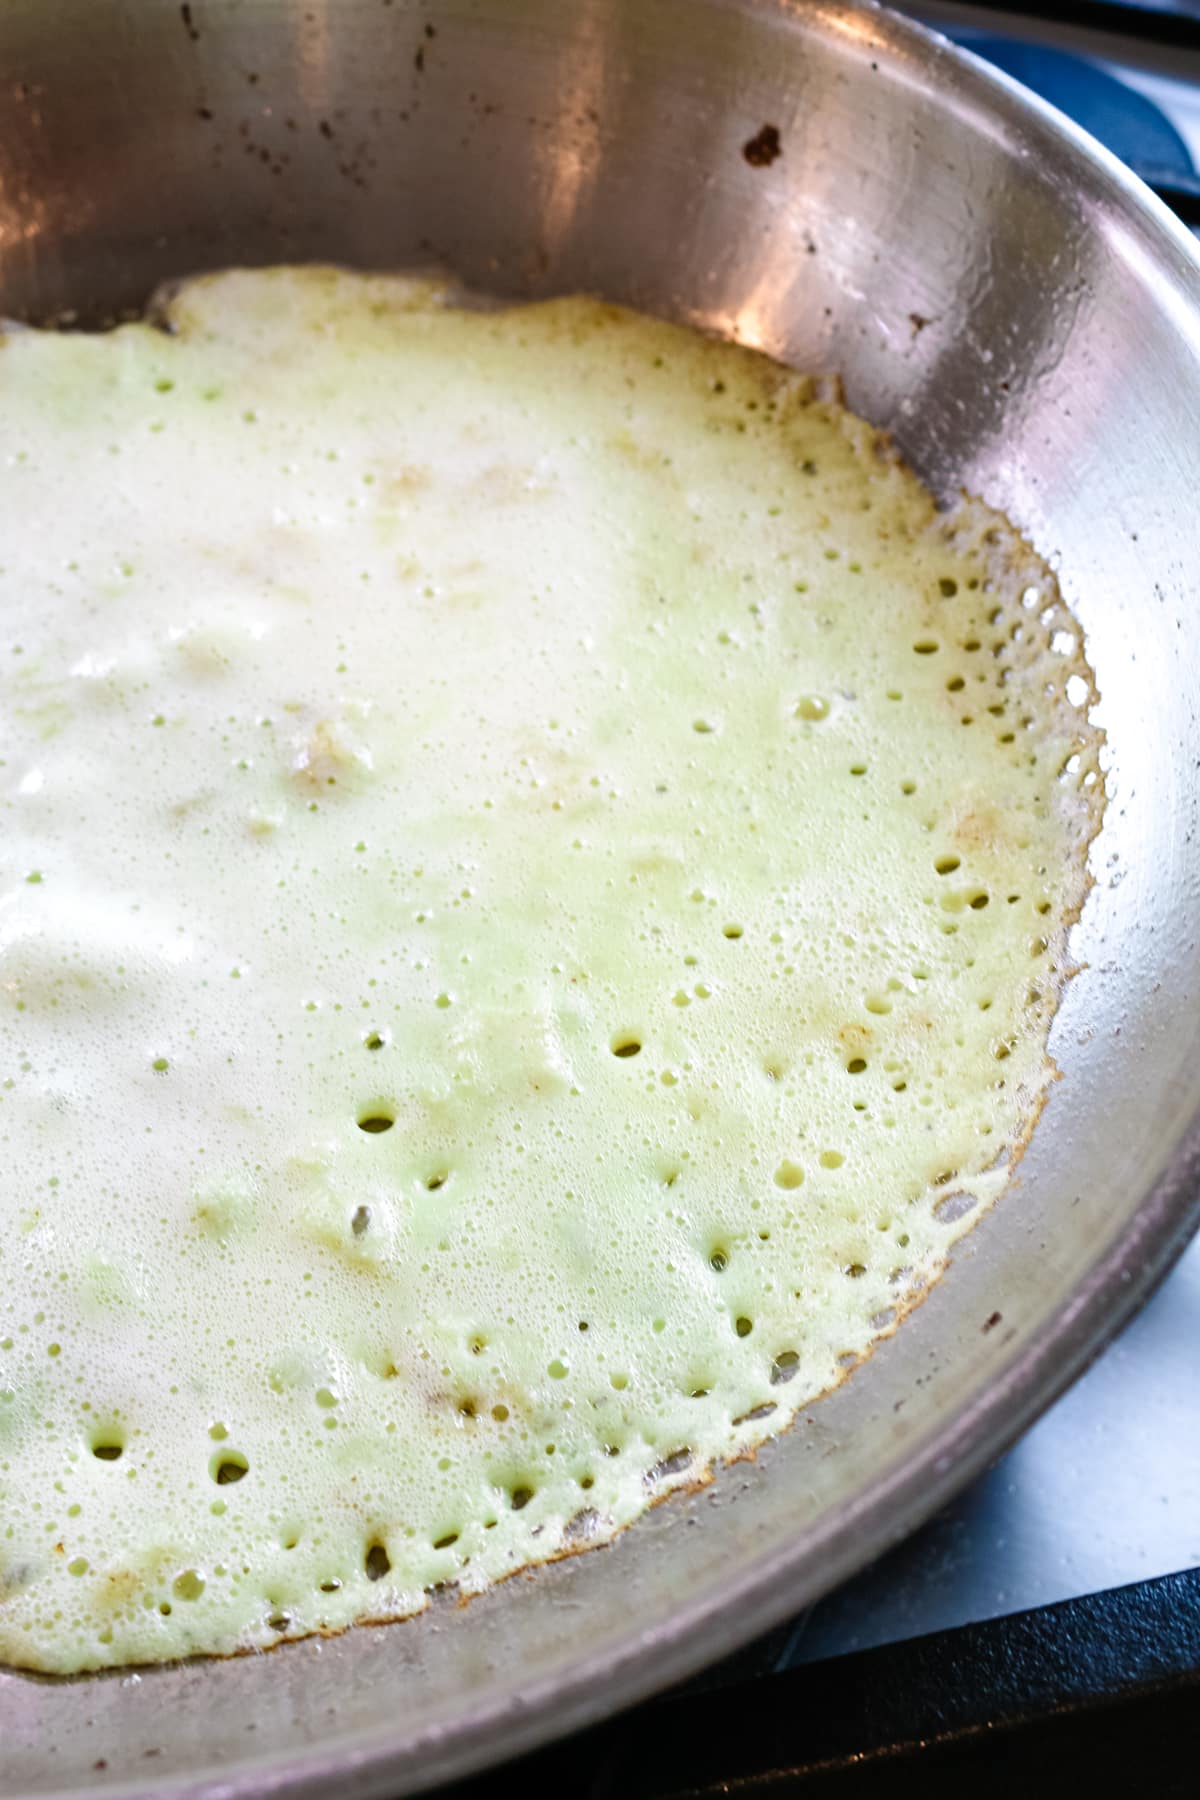
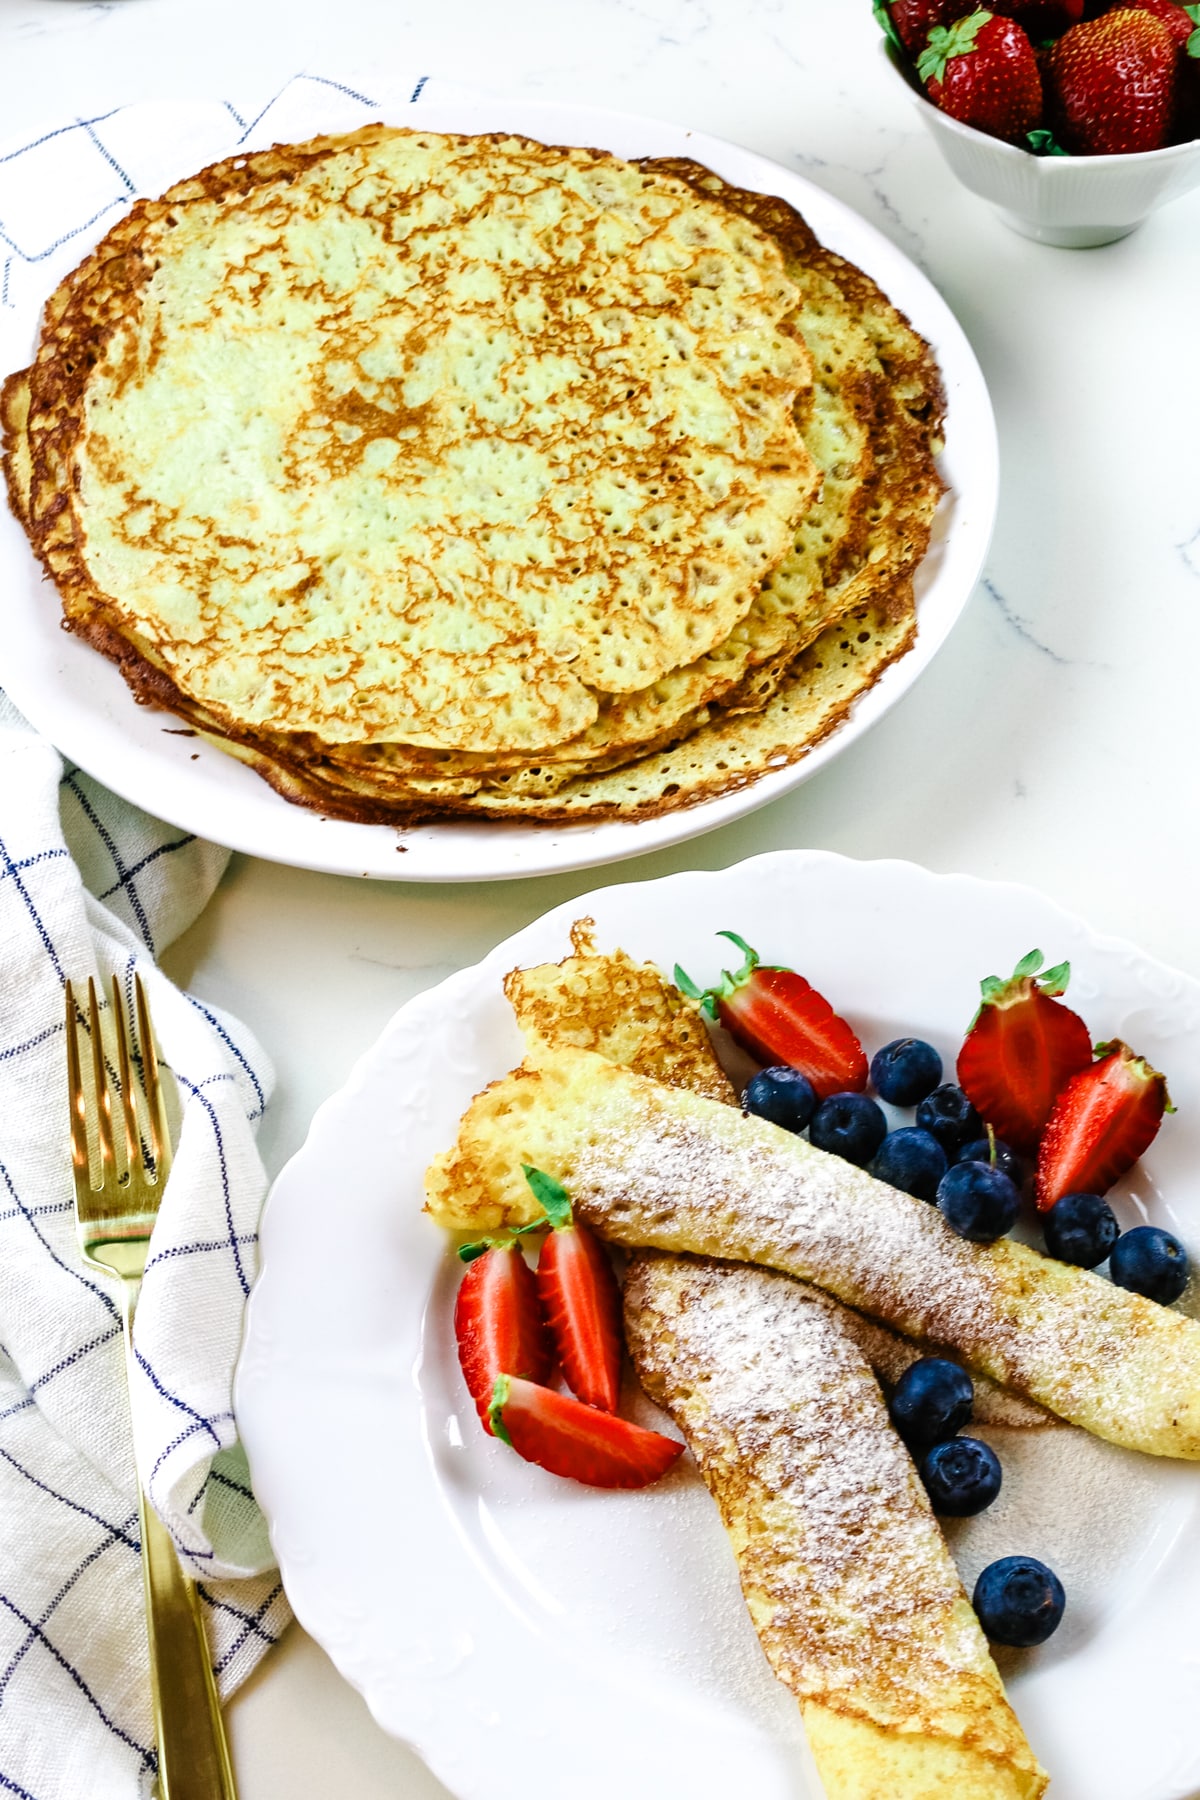
Looking for more healthy sweet treats?
Check out rollup crepes with cottage cheese, coconut flour banana muffins, and cottage cheese with fruit bowls.
[feast_advanced_jump_to]
Recipe Overview
- Prep and Cook Time: 15 minutes to prep and 45 minutes to bake
- Cooking Method: Oven-baked
- Dietary Info: Gluten-free, with WAPF suggestions for soaking; see my post on nourishing food pillars for reasons why we should soak our grains.
- Tools Needed: Large bowl, baking dish
- Skill Level: Easy
Key Features & Benefits
Great for busy families - Have oatmeal on the go with these bars! This is a good way to enjoy a warm bowl of oatmeal when you're short on time.
Mild Flavor Profile: Use this recipe as a blank canvas to make these bars your own. Feel free to throw in your favorite add-ins to make them uniquely yours.
Versatile serving: Enjoy these bars as a subtle sweet treat after a heartier breakfast or grab an individual portion as you're heading out the door! You can serve these warmed with maple syrup or cold like homemade granola bars.
Mildly sweetened - You will not find additional sweeteners in this recipe. The only ingredients to sweeten these bars are bananas and dried cranberries or raisins.
Meal prep friendly - This recipe makes a lot, but you can make a double batch and freeze to enjoy an easy baked oatmeal later.
Ingredients for Steel Cut Oat Bars
Learn how to make steel cut oatmeal bars recipe with 6 simple ingredients. This easy recipe can come together in under one hour.
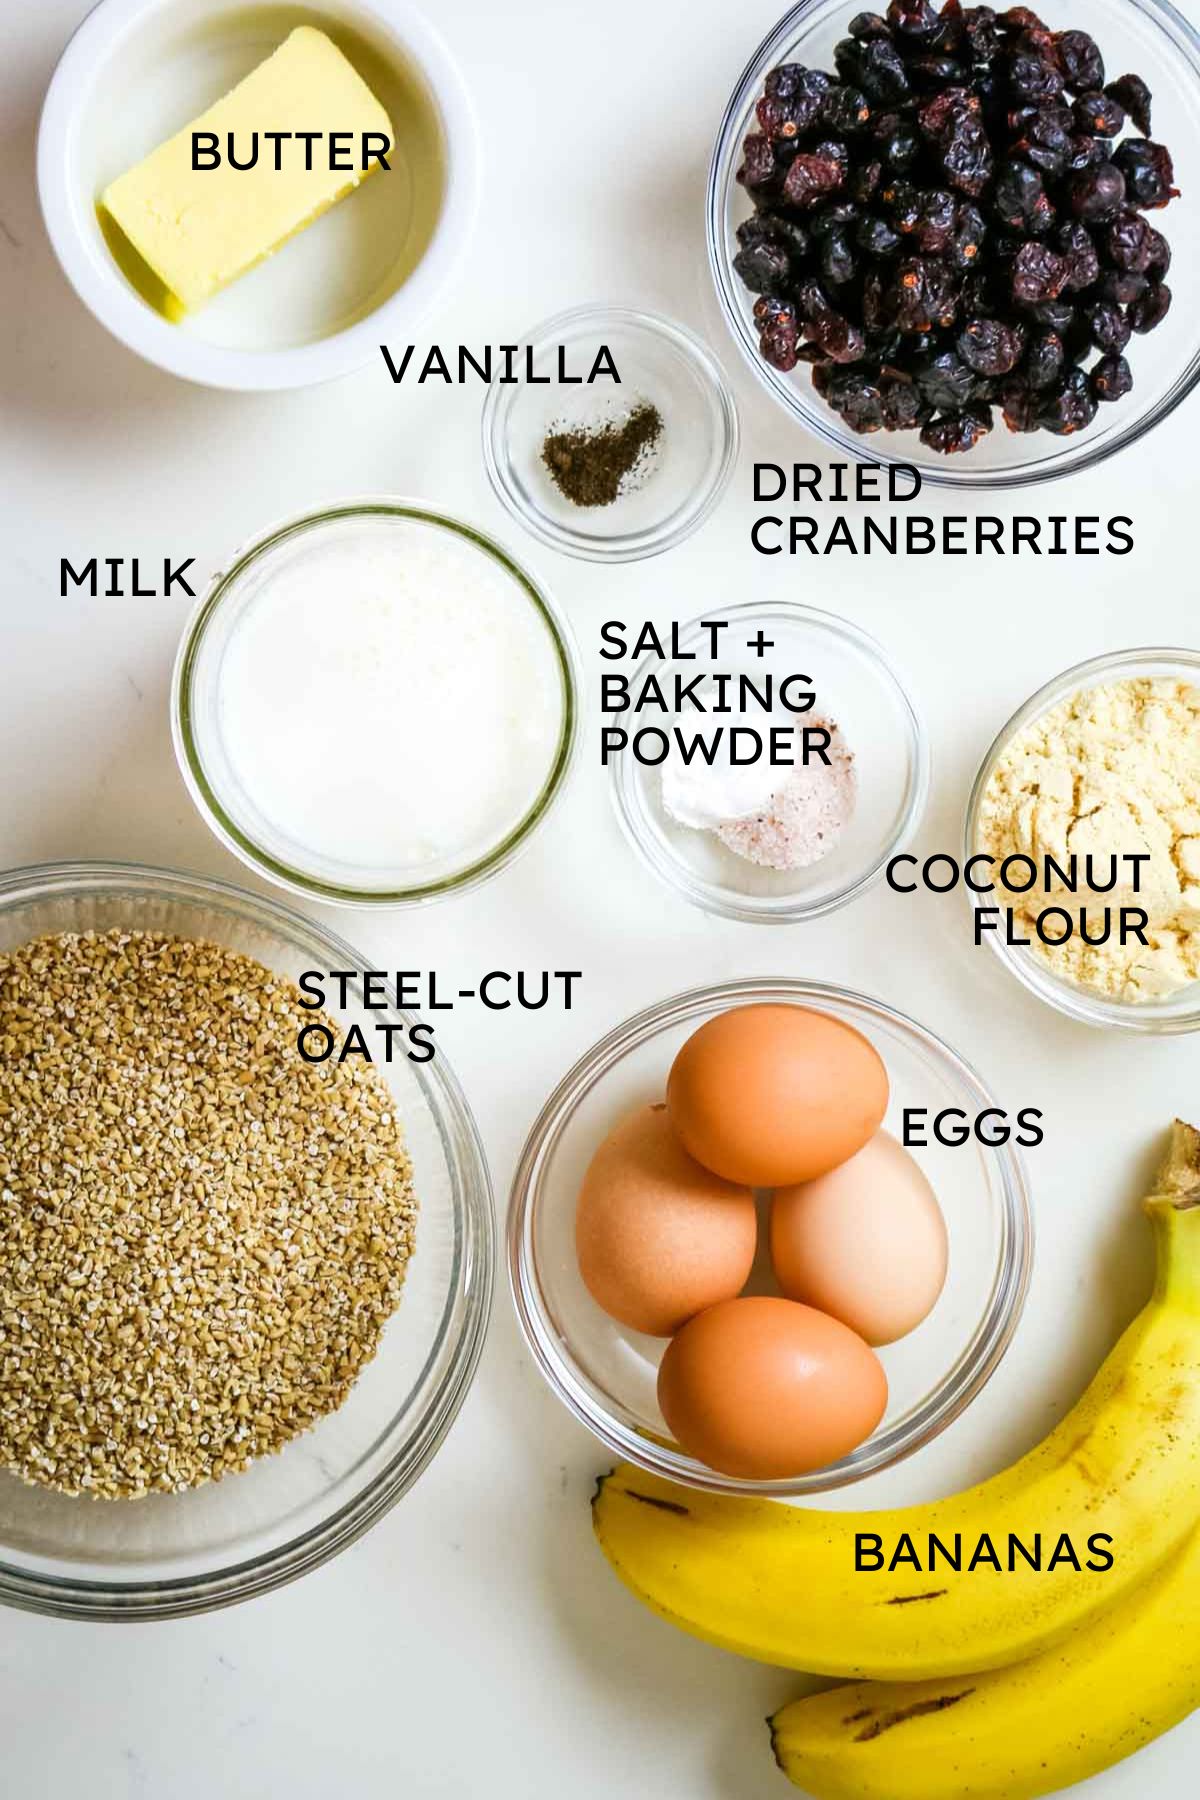
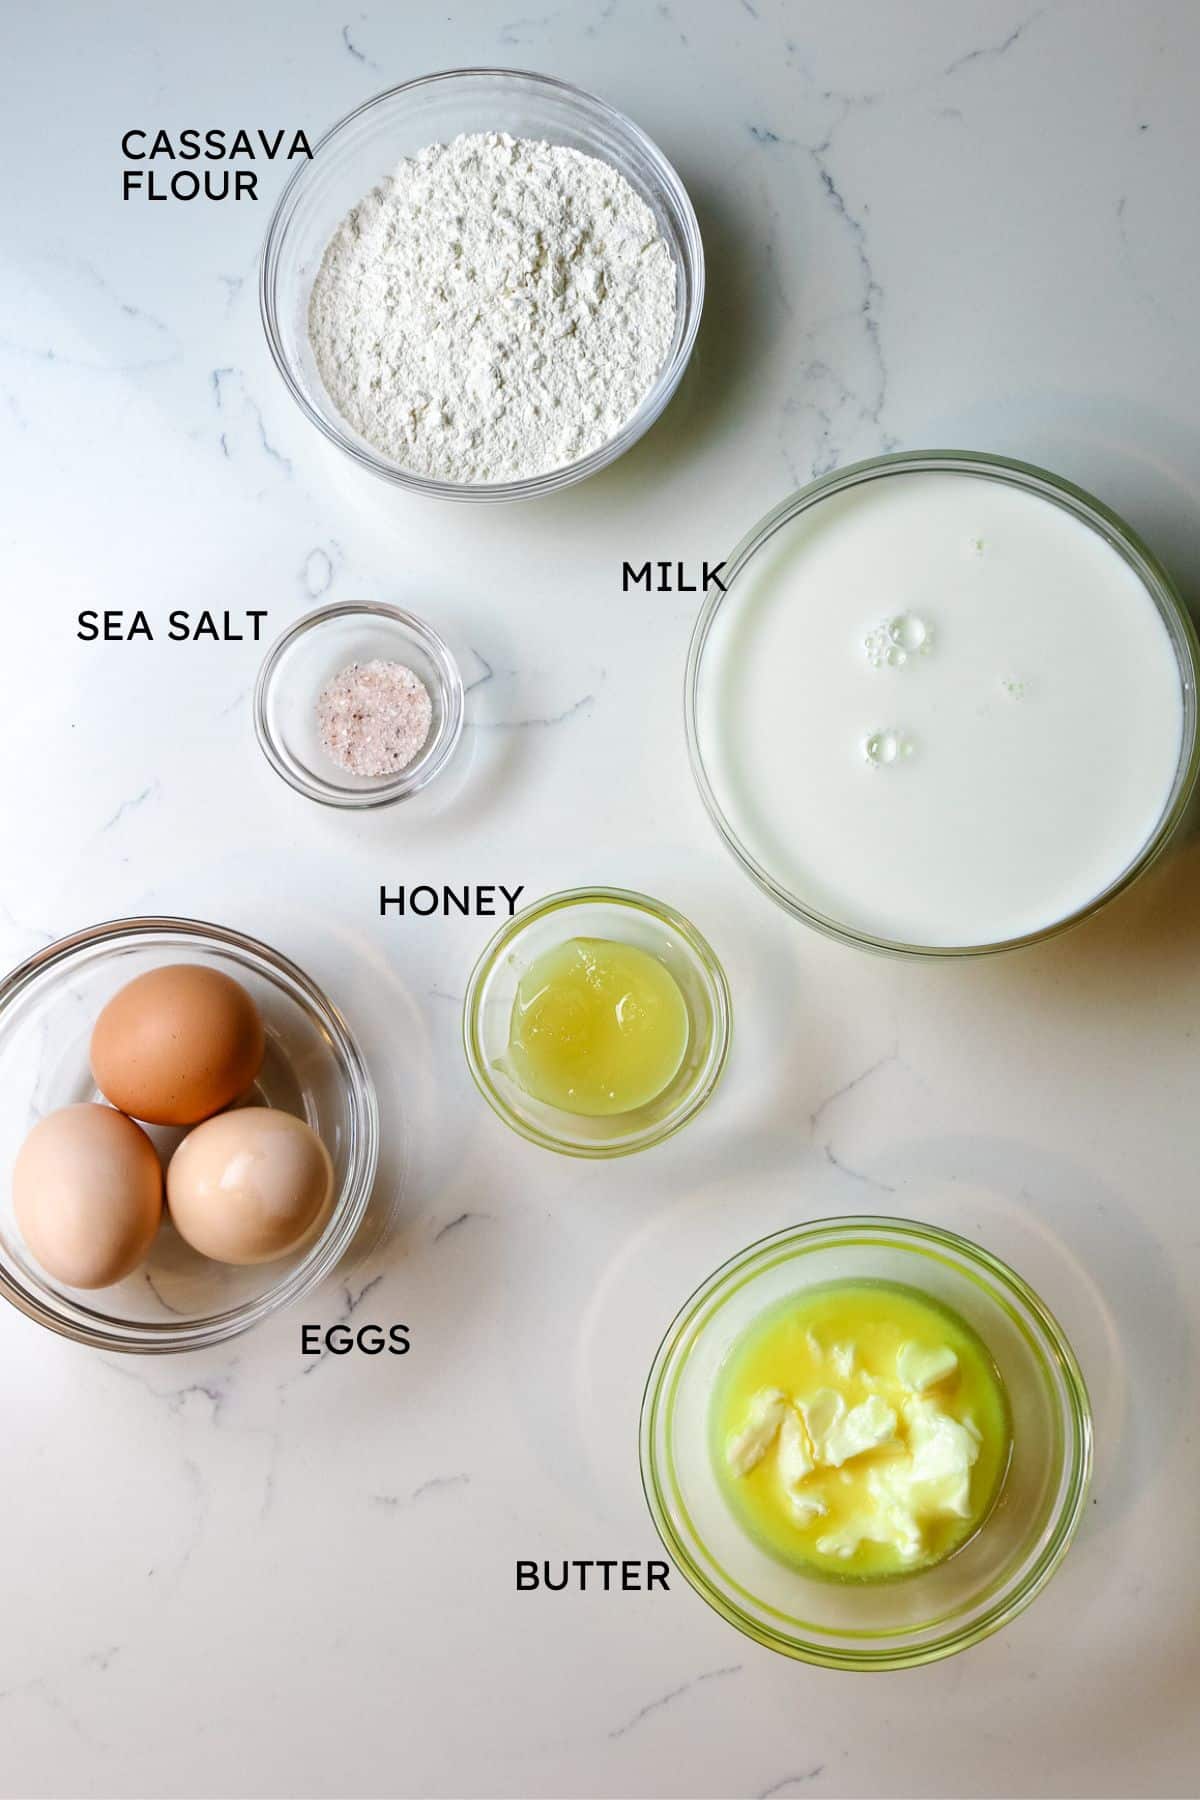
- Steel-cut oats: Oats are heavily sprayed, so I recommend you buy organic oats to avoid potential glyphosate residue. If you are sensitive to gluten, make sure you use certified gluten-free oats. Even though oats are naturally gluten-free, they can be cross-contaminated with wheat during processing.
- Bananas: Go with overripe bananas with a few brown spots. Bananas are the only sweetener in these breakfast bars, so the riper they are, the sweeter the bars will be.
- Eggs: Used as a binder and a protein boost to hold all the ingredients together.
- Coconut flour: This gluten-free alternative adds texture and a satiety to the bars.
- Milk: Helps create a smooth batter and gives the bars a slightly creamy texture.
- Butter: Adds richness and moisture to the bars.
- Dried Cranberries or raisins: Provides sweetness, chewiness, and a burst of fruity flavor to complement the oats.
- Salt, baking powder, and vanilla: These baking essentials enhance the overall flavor and combine the finished taste.
See the recipe card for exact quantities.
Substitutions and Variations
- Add a crunch - Incorporate a crunchy element by adding chopped nuts such as walnuts, almonds, or pecans. It adds nutty flavor and fun texture.
- Increase sweetness - Add a natural sweetener like honey, brown sugar, or real maple syrup. Check out this post on other natural unrefined sweeteners.
- Fresh fruit - Fold in diced apples, pears, banana slices, or fresh blueberries into the batter.
- Make it chocolatey - Add a handful of chocolate chips.
- Deluxe breakfast bars - Make these steel cut oat bars extra satisfying by folding in a few tablespoons of chia seeds and a handful of coconut flakes for healthy fats and fiber.
💭Make it Nutrient-Dense: This recipe was originally published January 2016 and titled Soaked Oatmeal Breakfast Bars. It included instructions on how to soak oatmeal with buckwheat groats and an acidic medium for better digestion. You can still do that for maximum nutrient absorption but if you're in a pinch, just rinse them well under cold running water.
How to Make Steel Cut Oatmeal Bars Recipe
The complete printable recipe is below in the recipe card for your convenience. Follow these simple step-by-step instructions for the best results.
Step 1. Prep
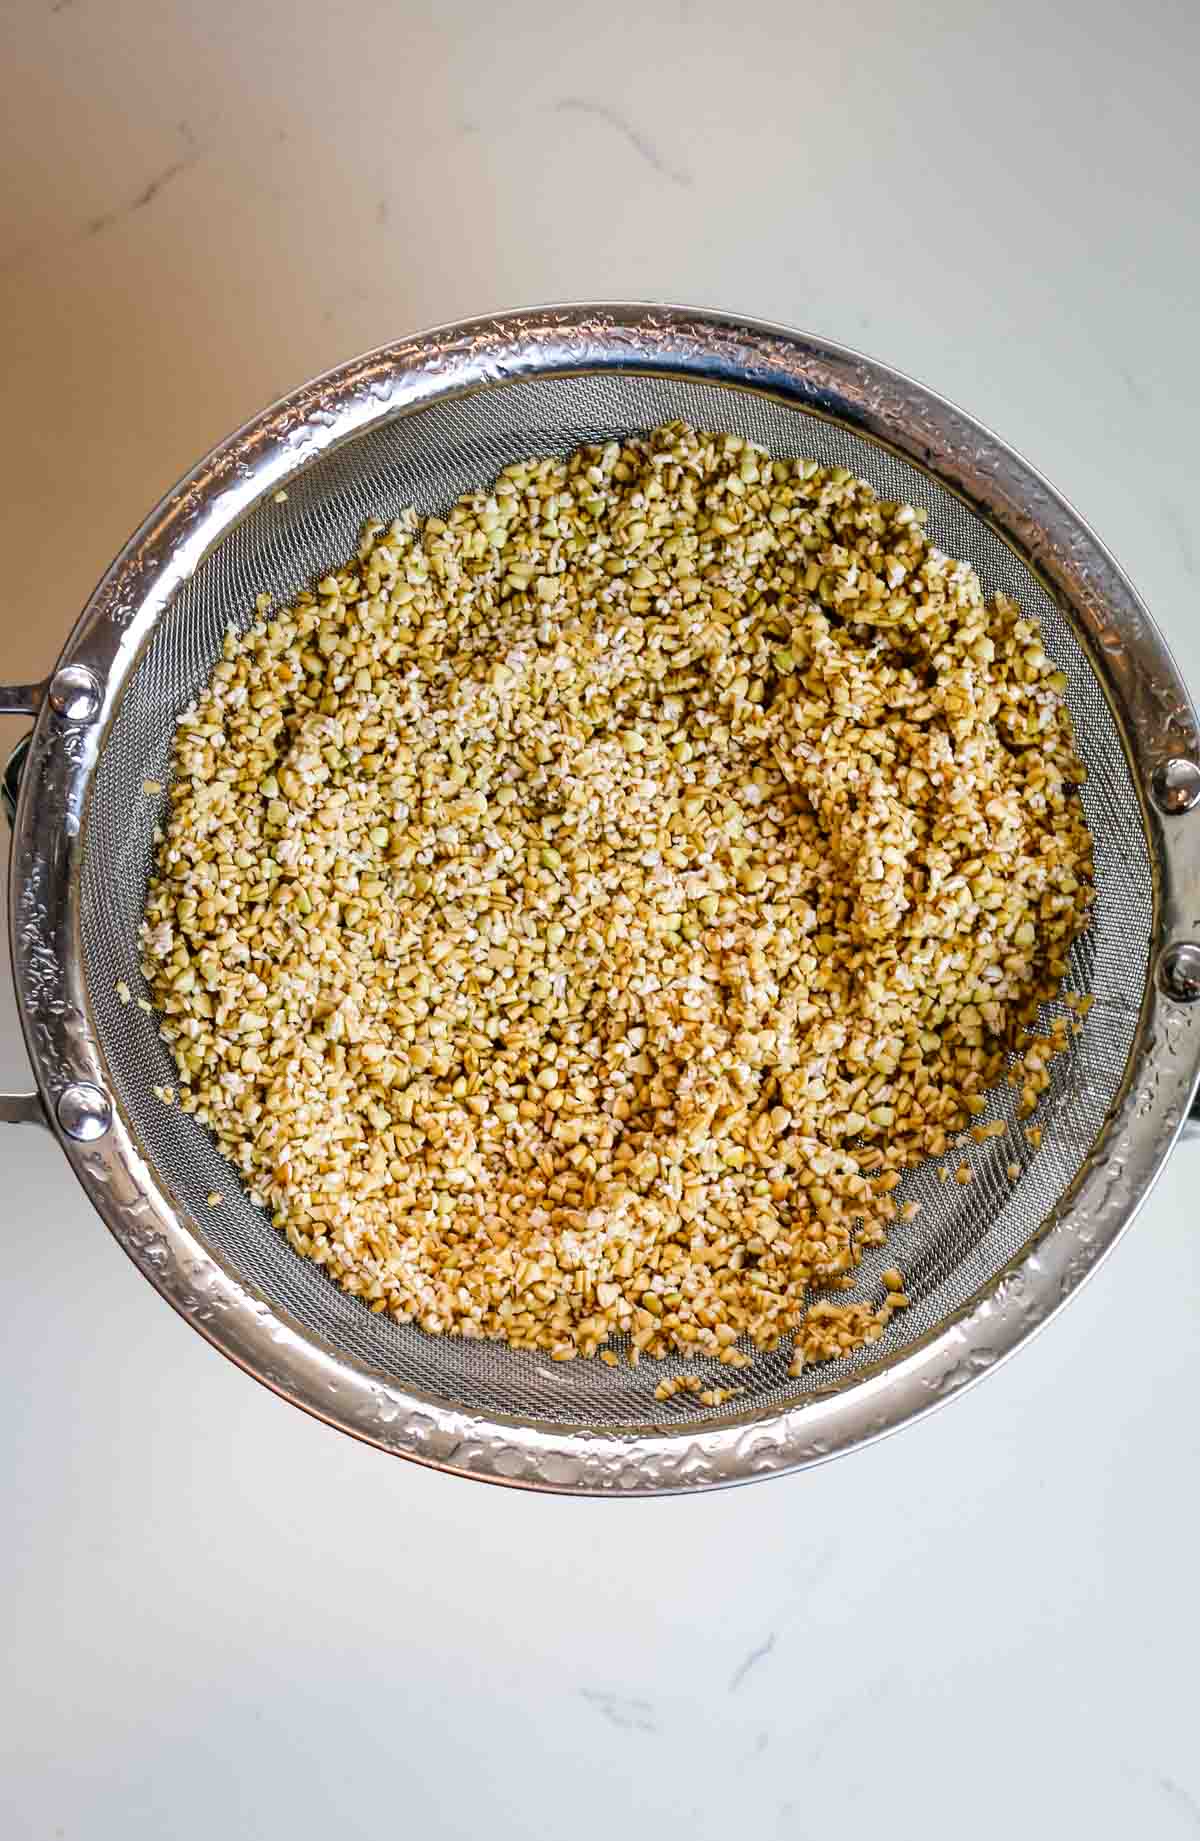
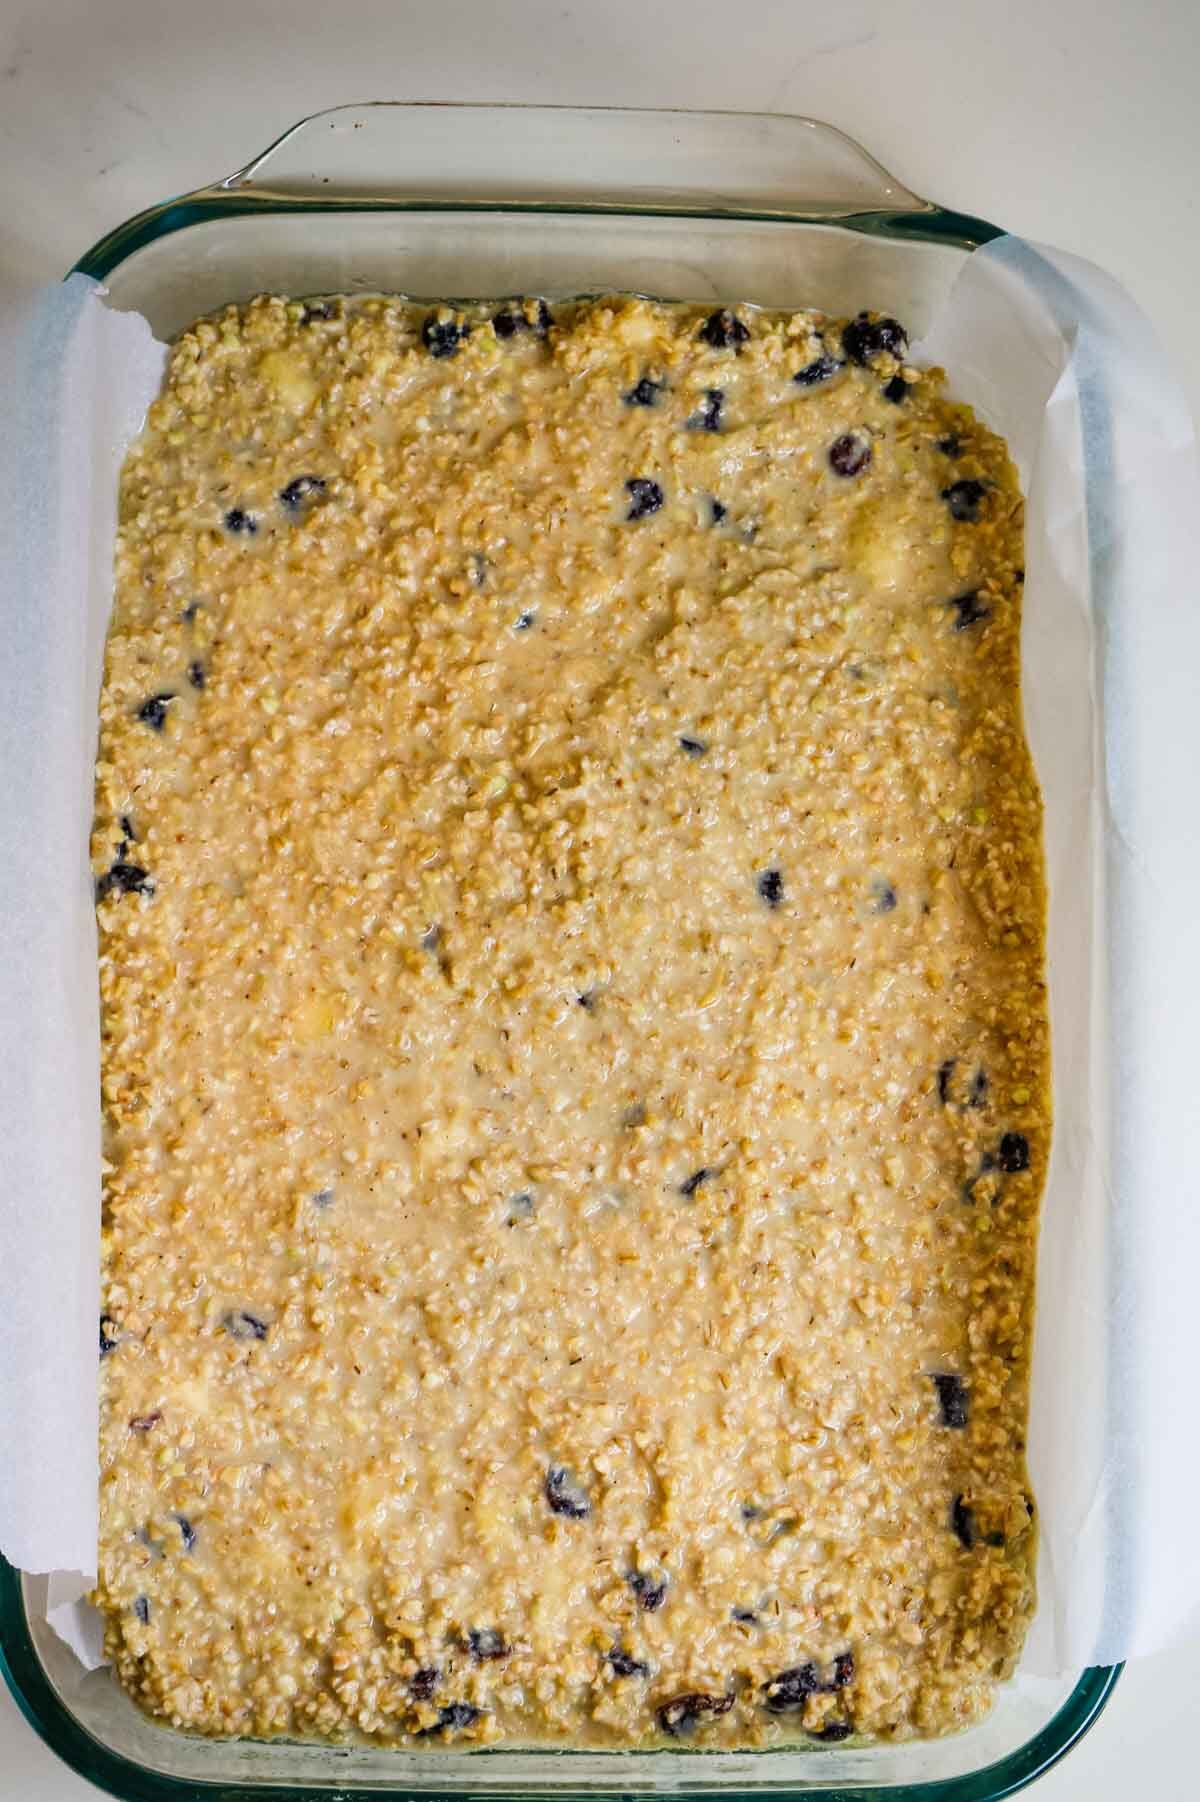
Preheat oven to 350°F. Line a 9x13 baking pan with parchment paper and grease with coconut oil or butter. Set aside. Optional: Rinse the steel-cut oats in a fine mesh sieve under cold running water until the water runs clear. Leave them in the strainer over a bowl to drain well.
Step 2. Whisk
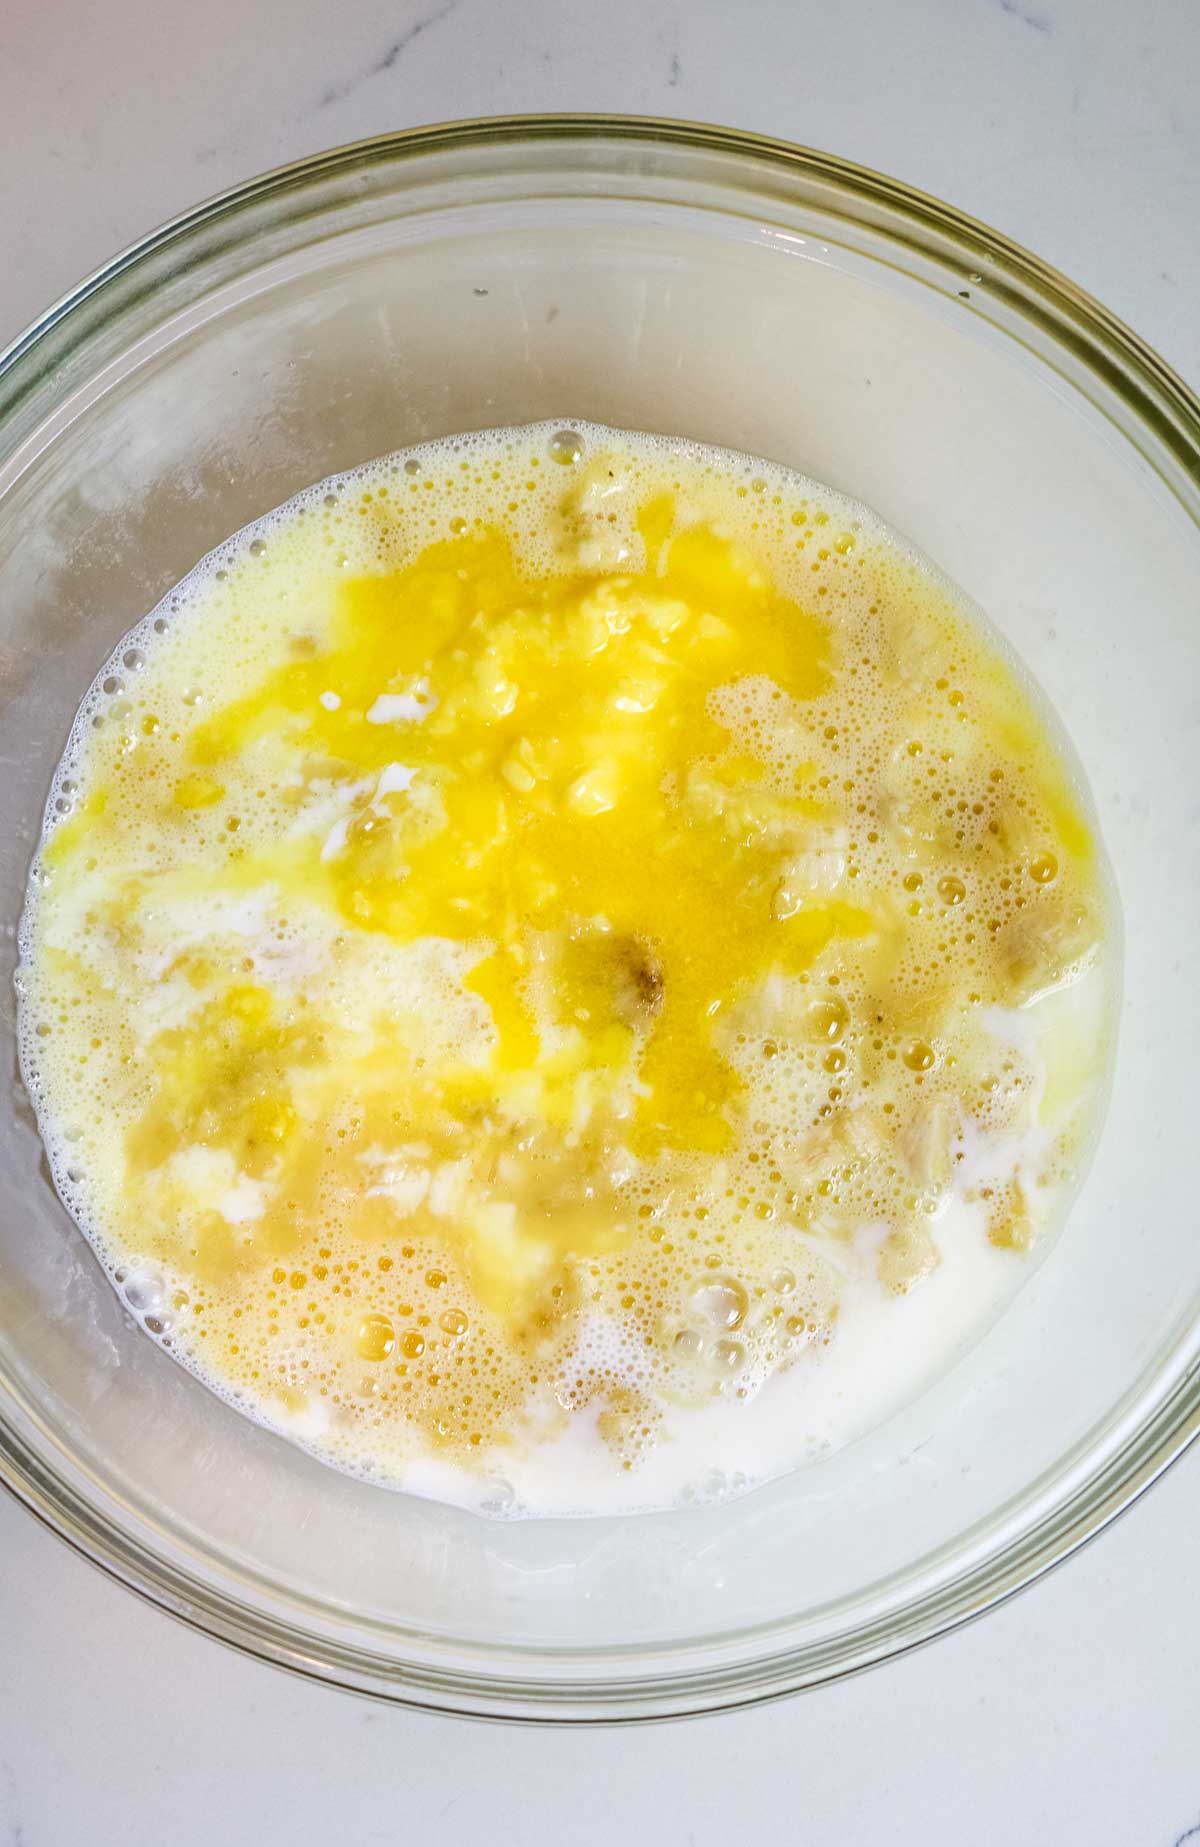
In a large bowl, whisk eggs using a hand mixer until foamy (approximately 4-5 minutes). Add bananas and mix until combined. Stir in milk, melted butter, and vanilla extract if using the liquid kind.
Step 3. Mix
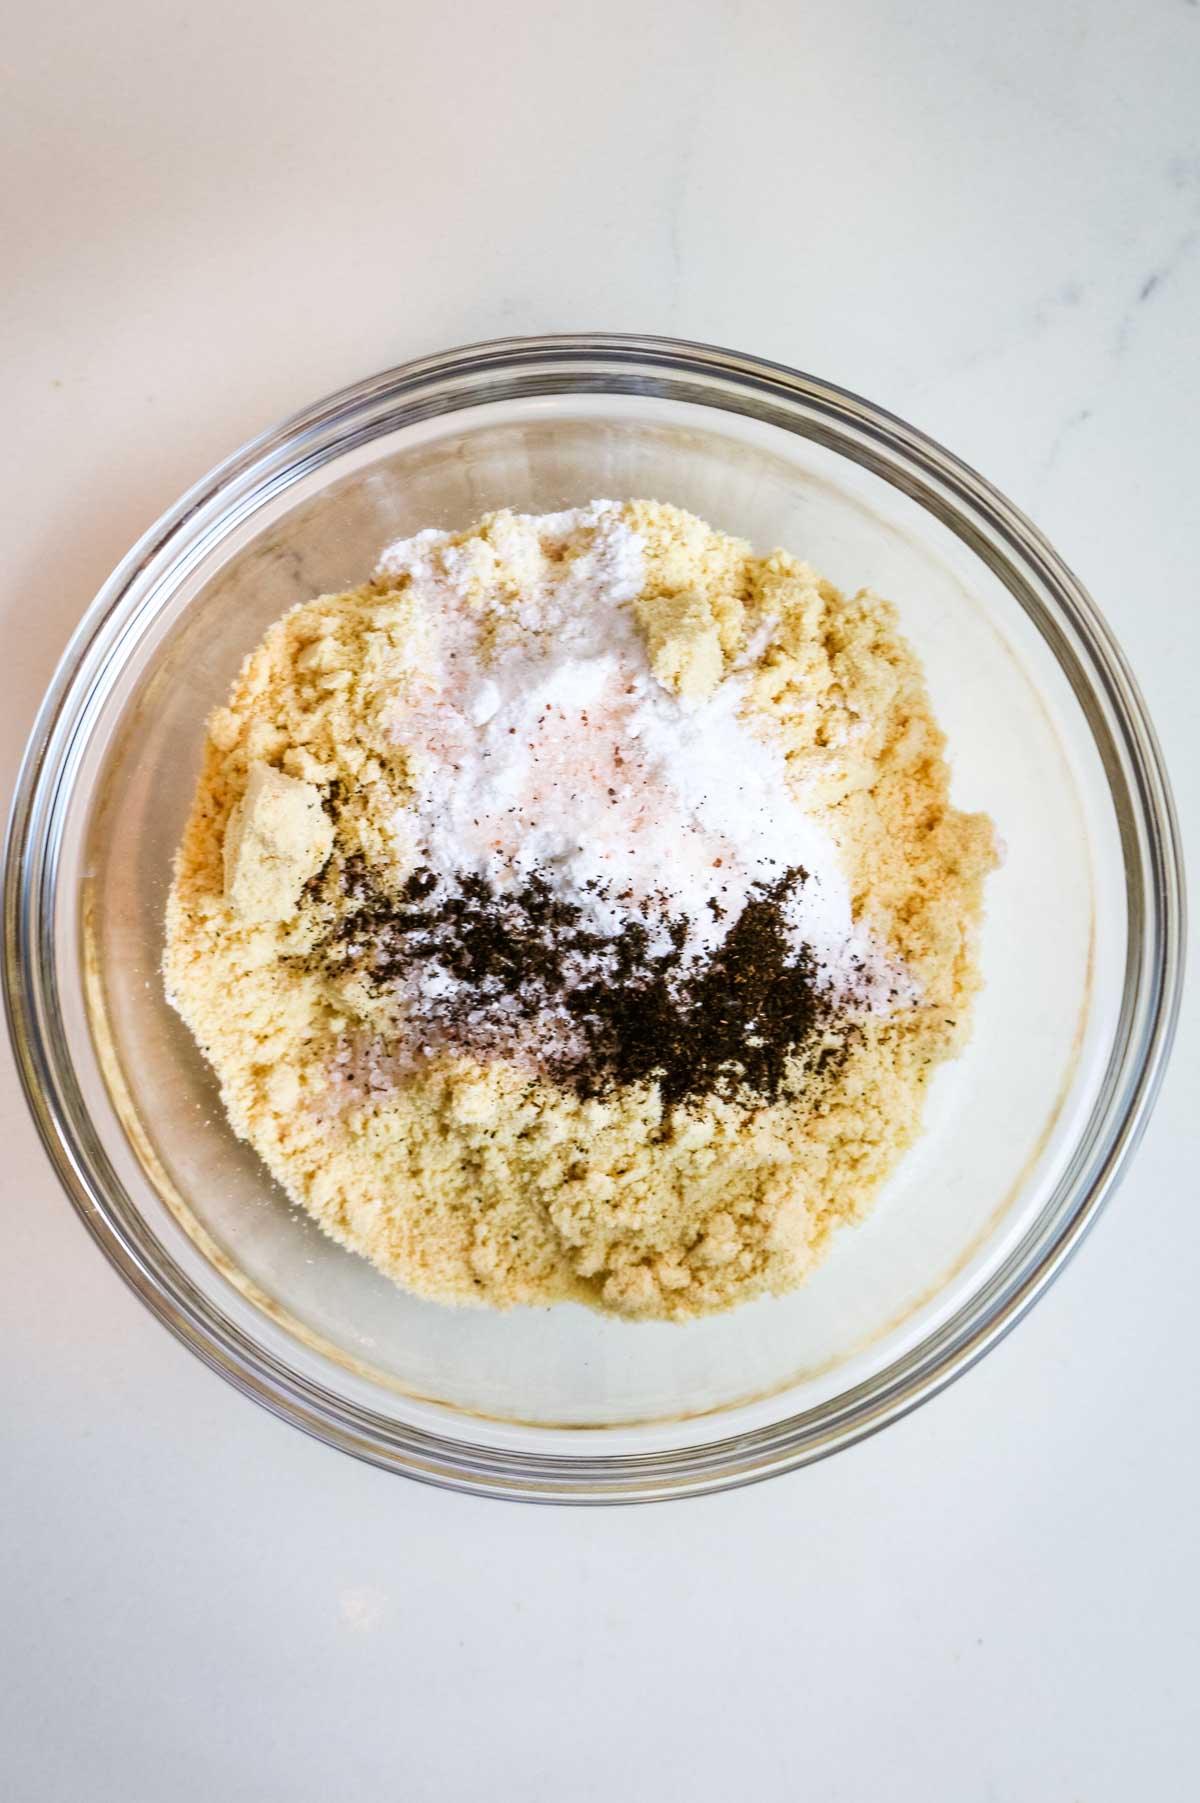
In a small bowl, whisk all the dry ingredients (minus the cranberries) including coconut flour, salt, and baking powder together.

Step 4. Combine
Whisk in the dry ingredients into the wet eggs and banana mixture until thoroughly combined.
Step 5. Stir
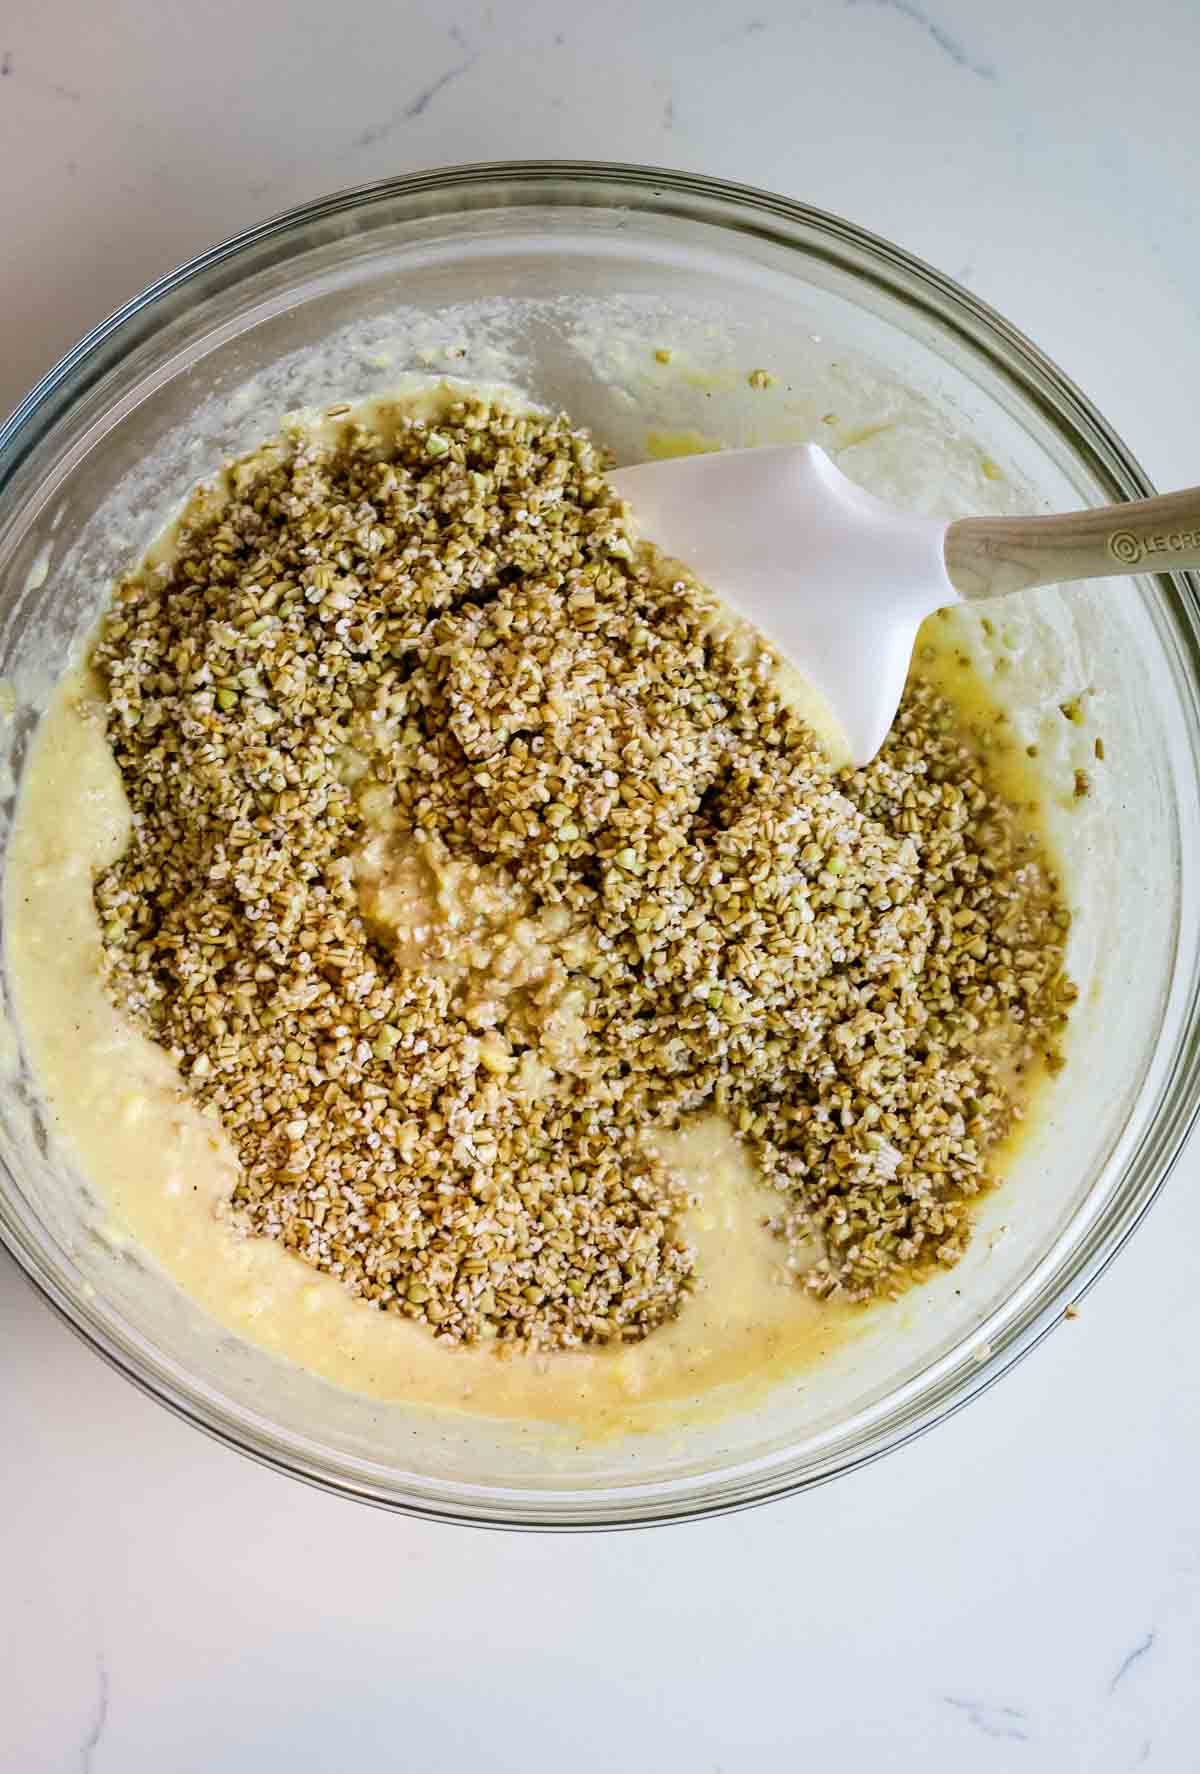
Fold in the steel-cut oats and the dried cranberries or raisins if using. Add vanilla extract if you haven't already.
Step 6. Bake
Pour the entire mixture of steel cut oats into the prepared pan and bake until baked through and the toothpick inserted comes out clear.
Helpful Tips for Steel Cut Oat Bars
Soak for better digestion - Soak the oats in 4 cups of water, adding a ¼-cup of raw buckwheat groats, and 2 tablespoons of kefir, lemon juice, yogurt, or apple cider vinegar. Soak overnight to break down the phytic acid in the oats. Then rinse and drain very well before adding to the recipe.
Rinse well - While rinsing the steel-cut oats is optional, it can help remove excess starch, yielding a better texture. It also subtly softens the oats, kick starting the cooking process.
Use very ripe bananas - Since bananas are the only sweetener in these bars, make sure they are very ripe with brown spots on them. The riper they are, the sweeter the bars will be.
💭Meal Prep Suggestion: This recipe makes a big batch! Cut the steel cut oat breakfast bars into small individual servings and wrap tightly in parchment paper and plastic wrap. Freeze them and thaw as needed.
Serving Suggestions
Though these oatmeal bars with steel cut oats are great for breakfast, we use them as a satisfying and nutritious snack when we are on the go or mid-day.

I am forever team eggs-and-steak in the morning like this pulled pork breakfast and the sheet pan breakfast. These oat bars are a good option to finish your heartier breakfast with.

They don't offer a lot of sweetness but I find that's actually better if you're enjoying them with a sweet drink like pumpkin spice latte or hot chocolate.
More baked steel cut oats pairing suggestions:


Storage and Reheating Instructions
How long do steel-cut oat bars last?
To store: Store the bars in an airtight container at room temperature for up to 2 days. Then, transfer them to the fridge for up to a week.
Storage containers: These glass snap containers are perfect for baked steel-cut oats.
To freeze: Wrap individual bars tightly in plastic wrap and place them in a sealed freezer bag to avoid freezer burn. Freeze for up to 3 months. Remove a bar and reheat when you want to enjoy a quick breakfast or treat on the go.
To reheat: These bars are just as delicious cold but if you want to enjoy warm steel cut oatmeal bars, reheat them in a small toaster oven at 350°F for about 5-7 minutes or until they are warmed to your liking.

Frequently Asked Questions
Steel-cut oats are whole oat groats chopped into pieces, resulting in a chewy texture when cooked. Rolled oats are steamed and then flattened with large rollers, creating a flatter and quicker-cooking oat. The main difference lies in their processing, with steel-cut oats being less processed and having a heartier texture, while rolled oats are more processed and cook faster, offering a smoother consistency. Both variations retain the nutritional benefits of whole oats but differ in their cooking times and textures.
Technically yes, but I advise against it. Regular oats or quick oats have a finer texture, resulting in a softer and less chewy consistency compared to regular steel cut oats. This will significantly change the texture of the bars and the intended consistency. I recommend sticking to steel-cut oats for the best texture and flavor.
While soaking the oats is entirely optional it does help with better nutritient absorption and digestibility. The soaking process initiates enzymatic activity, breaking down anti-nutrients like phytic acid and making the nutrients more accessible to your body. Additionally, soaking can contribute to a creamier texture in the final product. So, if you have the time, consider giving your oats a soak for a more nutrient-dense and digestible steel cut oatmeal bars.
Looking for more hearty breakfast treats? Here are some ideas:


Did you make this healthy baked steel cut oatmeal recipe? Please leave a ⭐ recipe rating in the recipe card below and leave a review in the comments. Thank you!💚
Printable Recipe

Steel Cut Oat Bars Recipe
Ingredients
- 1 ½ cups steel cut oats
- 4 eggs
- 2 ripe bananas
- 1 cup milk of choice
- ⅓ cup coconut flour
- 1 teaspoon baking powder
- ½ teaspoon sea salt
- ⅓ cup butter, melted
- 2 teaspoons vanilla extract
- 1 cup dried cranberries or raisins
Instructions
- Prep: Preheat oven to 350°F. Line a 9x13 baking pan with parchment paper and grease with coconut oil or butter. Set aside. Optional: Rinse the steel-cut oats in a fine mesh sieve under cold running water until the water runs clear. Leave them in the strainer over a bowl to drain well.
- Whisk: In a large bowl, whisk eggs using a hand mixer until foamy (approximately 4-5 minutes). Add bananas and mix until combined. Stir in milk and melted butter.
- Mix: In a small bowl, whisk all the dry ingredients (minus the cranberries) including coconut flour, salt, and baking powder together.
- Combine: Whisk in the dry ingredients into the wet eggs and banana mixture until thoroughly combined.
- Stir: Fold in the steel-cut oats and the dried cranberries or raisins.
- Bake: Pour the oatmeal batter into the prepared pan and bake for 45-55 minutes or until baked through and the toothpick insterted comes out clear. Allow to cool, then cut into bars.
Notes
- Soak for better digestion - Soak the oats in 4 cups of water, adding a ¼-cup of raw buckwheat groats, and 2 tablespoons of kefir, lemon juice, yogurt, or apple cider vinegar. Soak overnight to break down the phytic acid in the oats. Then rinse and drain very well before adding to the recipe.
- Rinse well - While rinsing the steel-cut oats is optional, it can help remove excess starch, yielding a better texture. It also subtly softens the oats, kick starting the cooking process.
- Use very ripe bananas - Since bananas are the only sweetener in these bars, make sure they are very ripe with brown spots on them. The riper they are, the sweeter the bars will be.
- Meal Prep Suggestion: Cut the steel cut oat breakfast bars into small individual servings and wrap tightly in parchment paper and plastic wrap. Freeze them for up to 3 months and thaw as needed.


 Chunky Guacamole
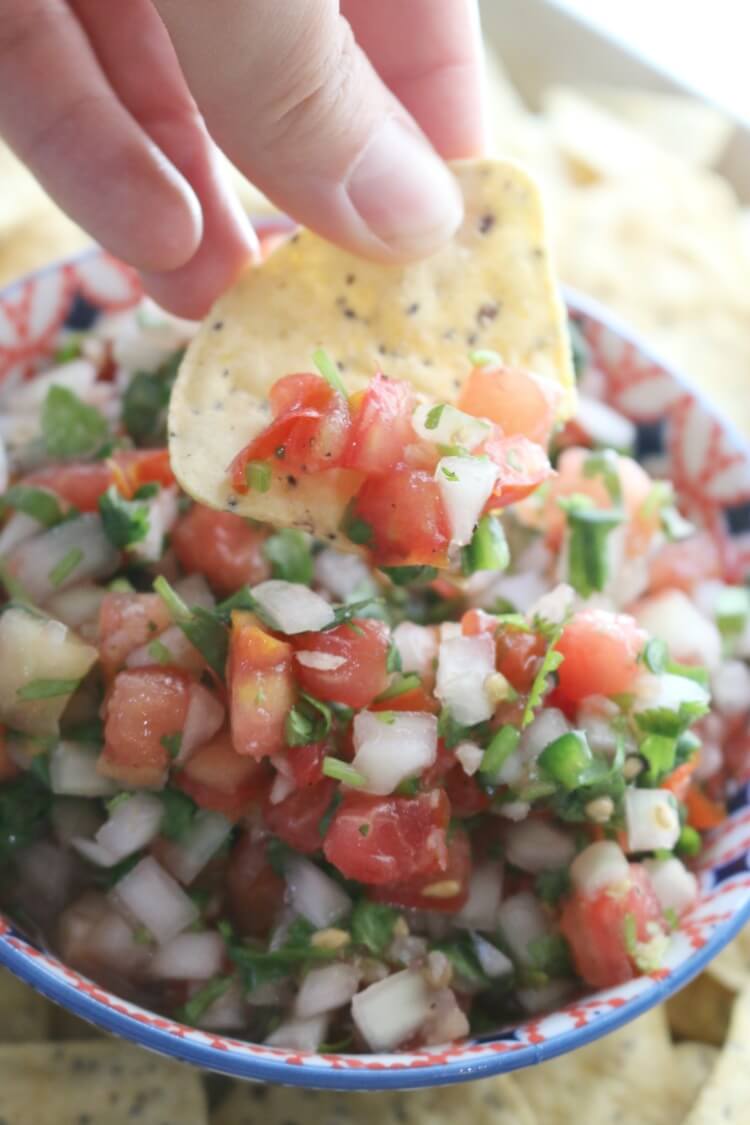 Lacto-Fermented Tomato Salsa
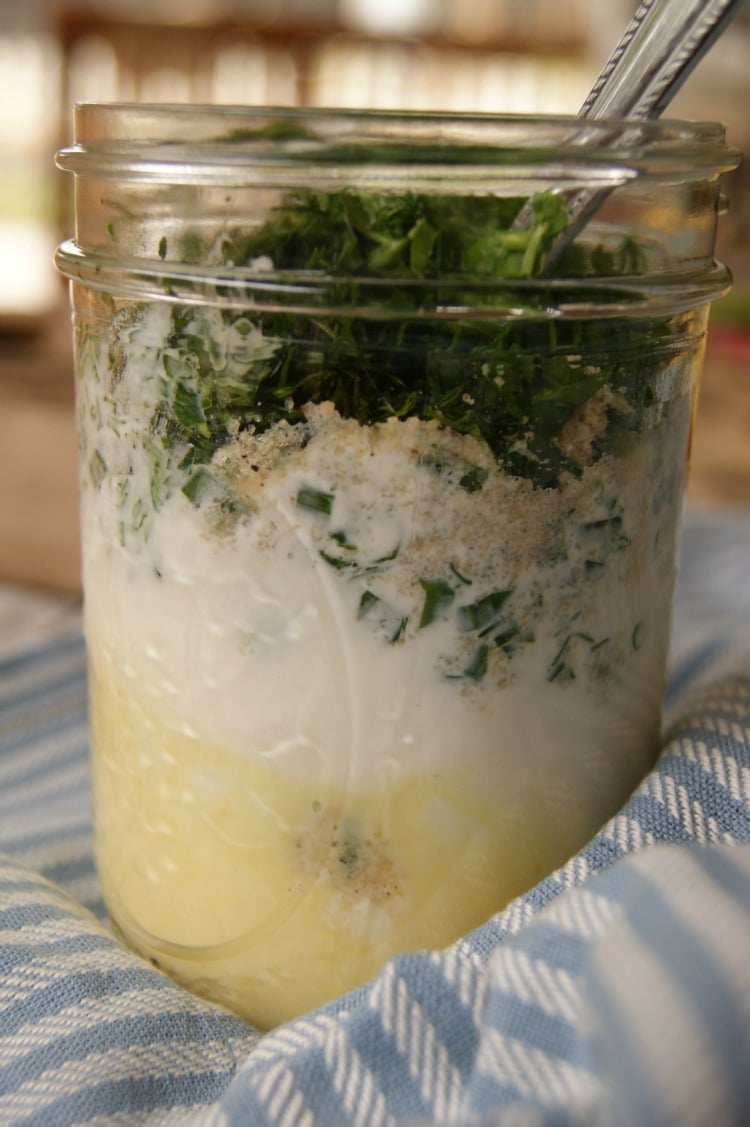 Homemade Ranch Dressing (dried & fresh herbs)


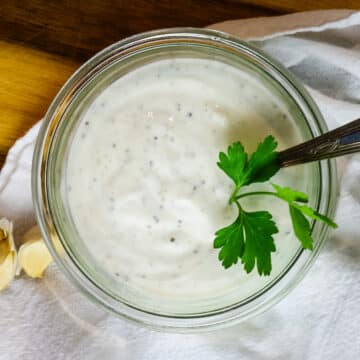


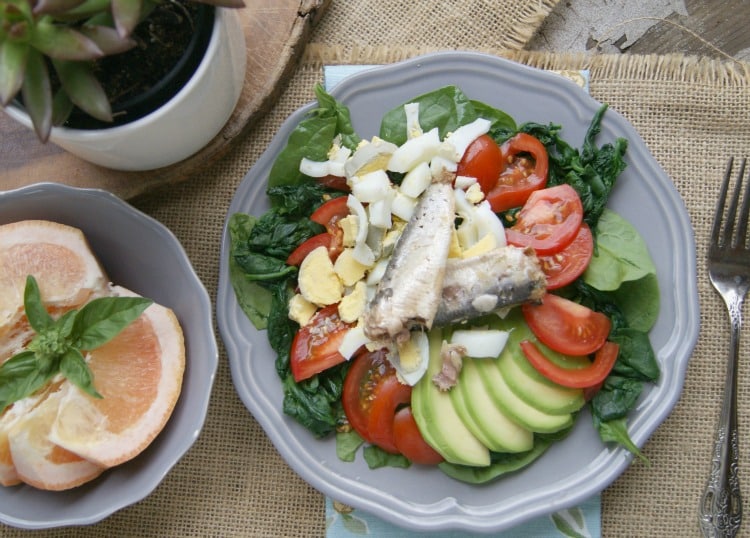
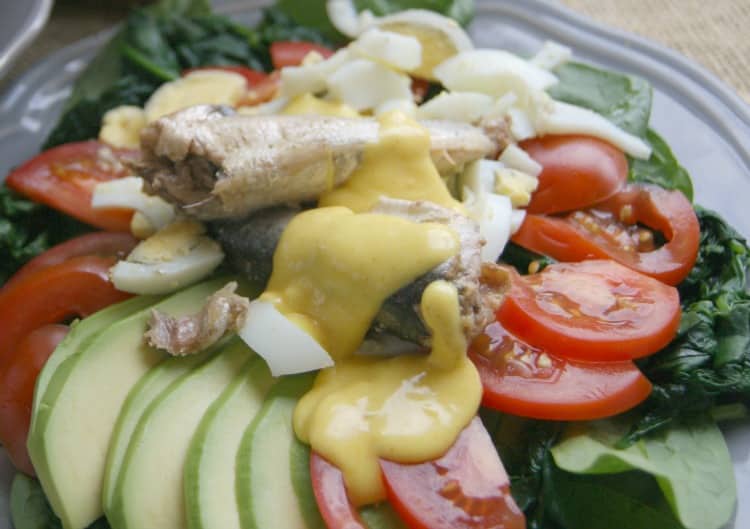 Vigorously whisk egg yolks, lemon juice and water in a small glass bowl. Place the bowl over a saucepan (or double broiler) with an inch of simmering water on low heat making sure bowl does not touch the water. Continuously whisking, the sauce should double in volume as the heat from the water gently thickens the egg yolks, approximately 5 minutes. Add butter, combining well after each tablespoon. If it gets too thick, add another teaspoon or so of warm water and whisk rapidly.
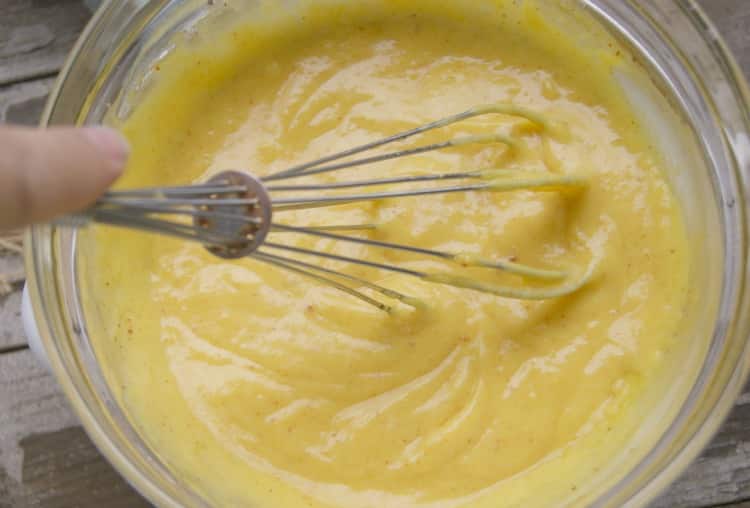

 This post has been shared on