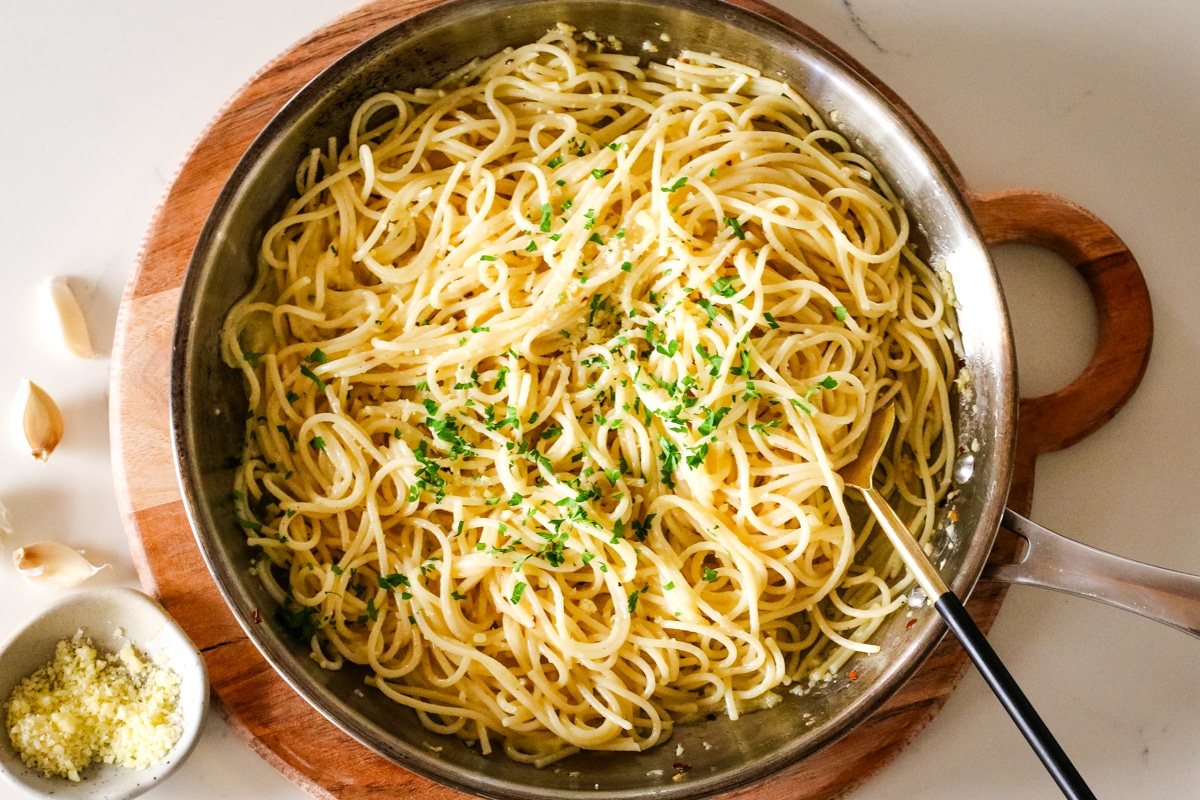
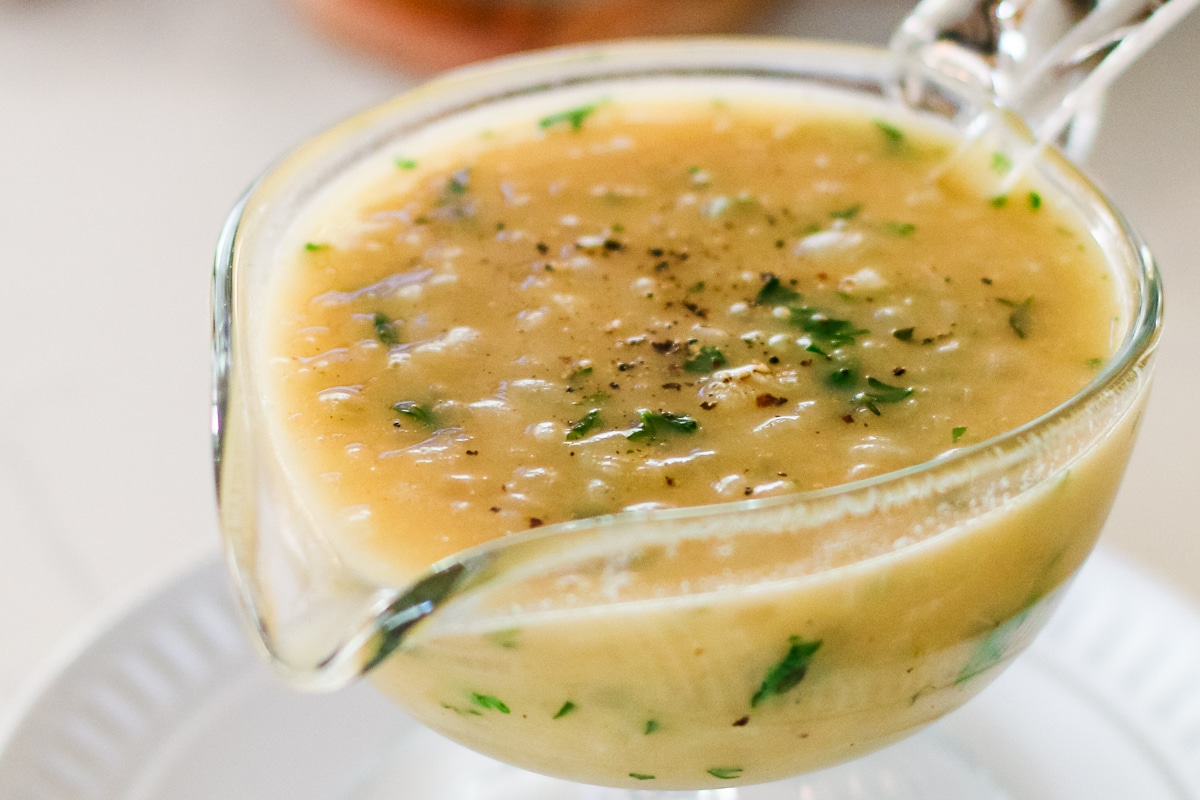
This simple onion gravy is made from slowly caramelized onions, butter, and chicken broth. Thickened with fresh milled flour (or all-purpose flour), it's easy to make, stays smooth, and adds savory depth to mashed potatoes, roasted meats, rice, or pasta.
Looking for ways to serve this?[feast_advanced_jump_to]
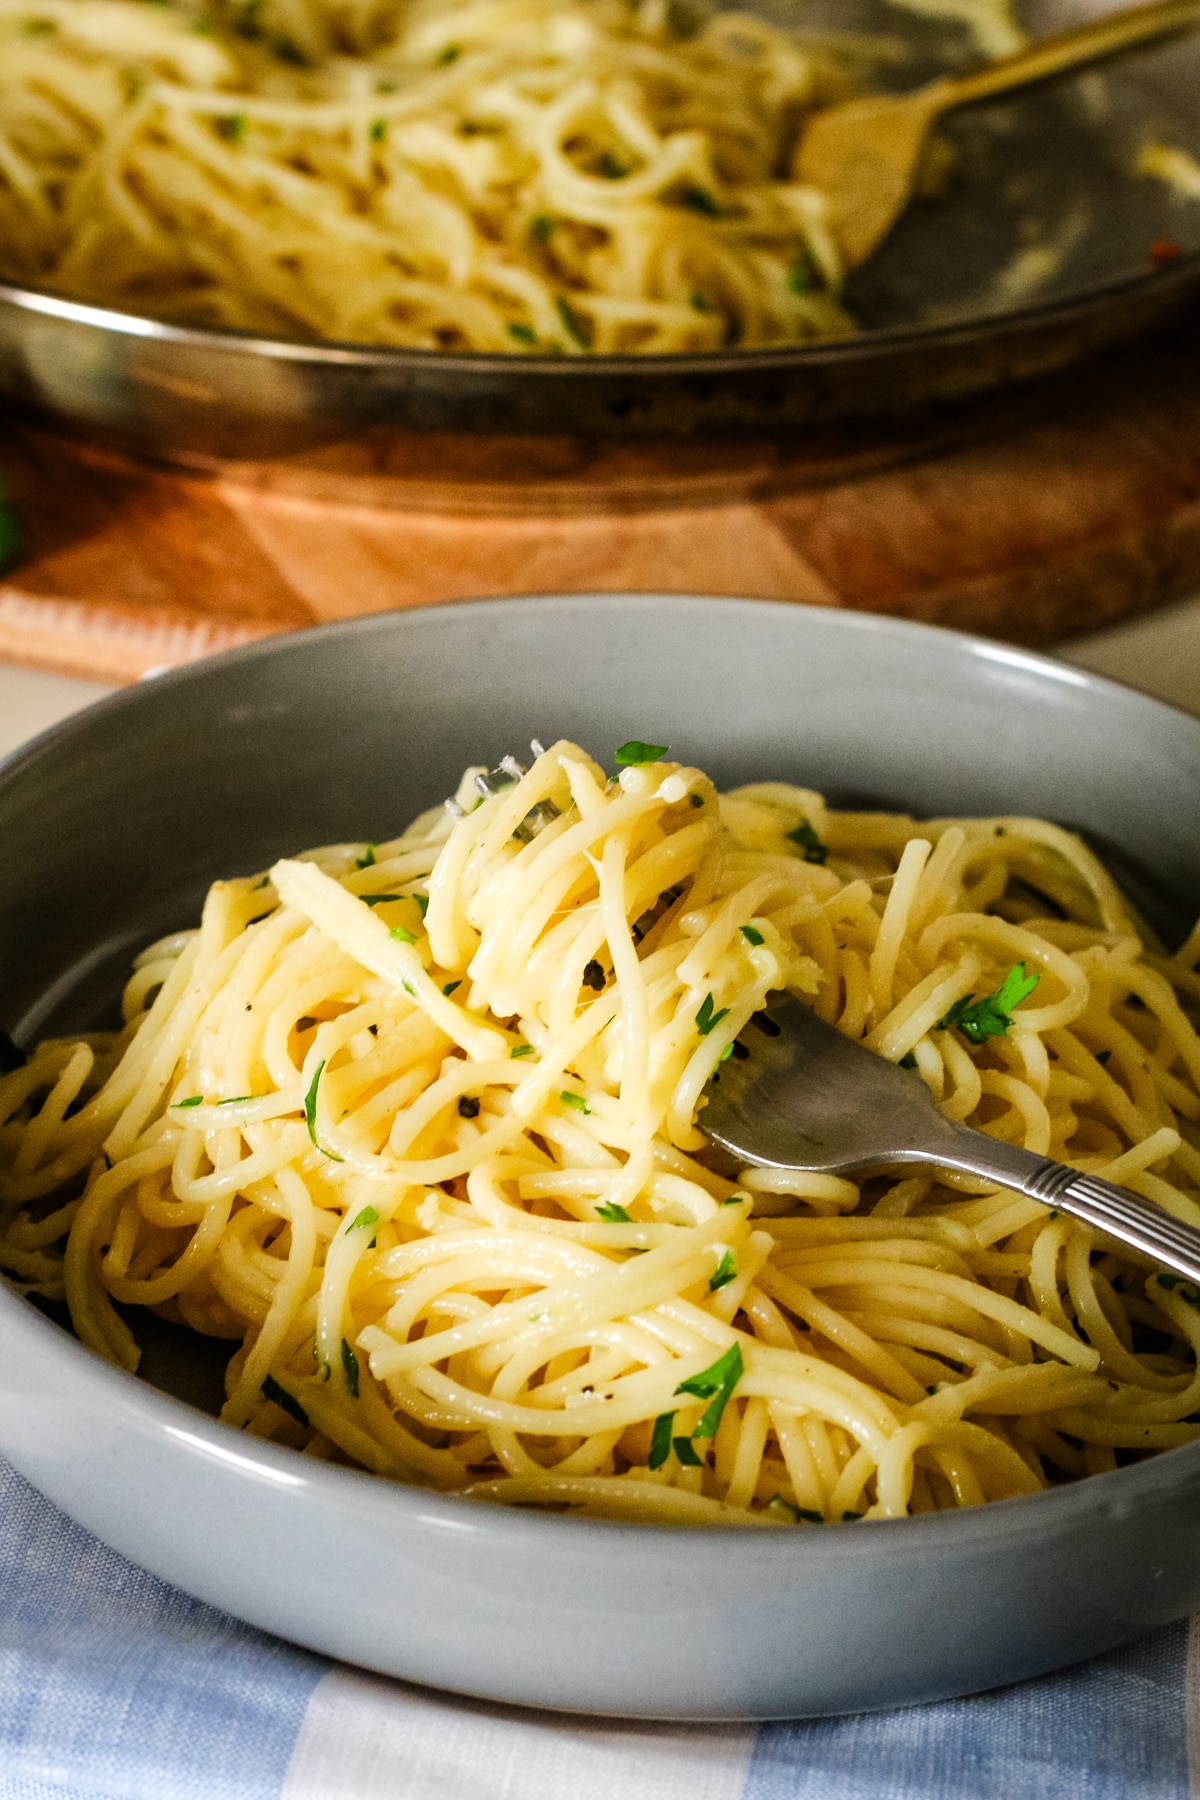
Pour it over Instant Pot buckwheat, Yukon gold mashed potatoes, or bone broth rice.
💡Recipe Overview
- Prep and Cook Time: 5 minutes to prep and 25 minutes to cook
- Cooking Method: Stove-top
- Skill Level: Easy
What is an ancestral diet? Read my post on what nourishing foods are based on the traditional dietary principles of the Weston A. Price Foundation.
Reasons to Love this Simple Onion Gravy
This onion gravy is proof that you don’t need fancy ingredients to make something taste amazing - just butter, onions, flour, and broth, all things most kitchens already have on hand.
It comes together in no time, and you can even make it gluten-free by swapping in your favorite gluten-free flour blend.
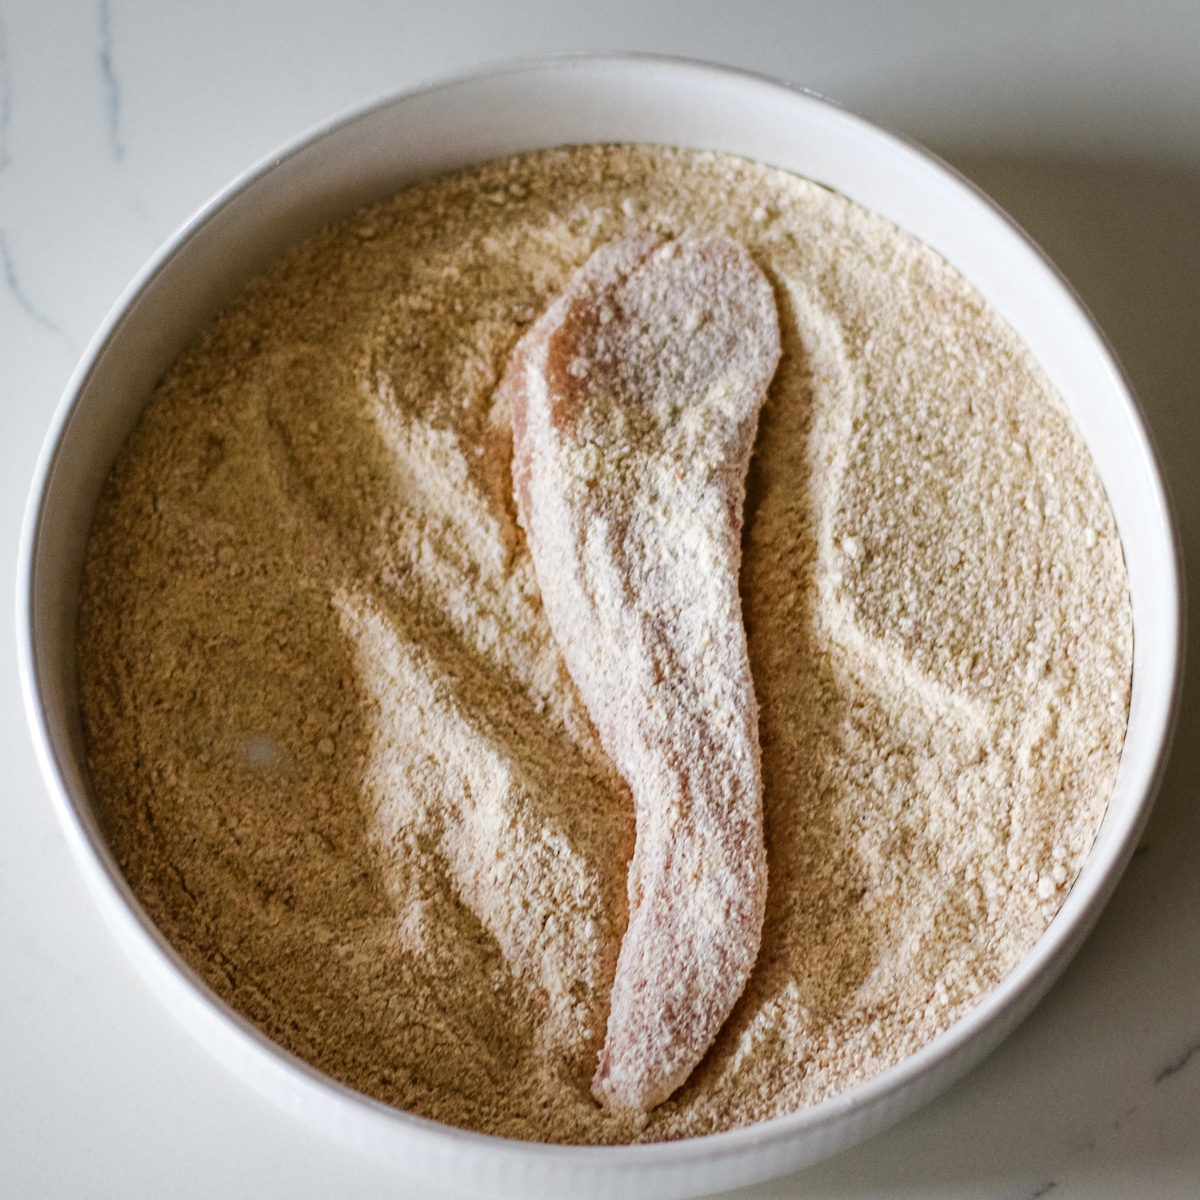
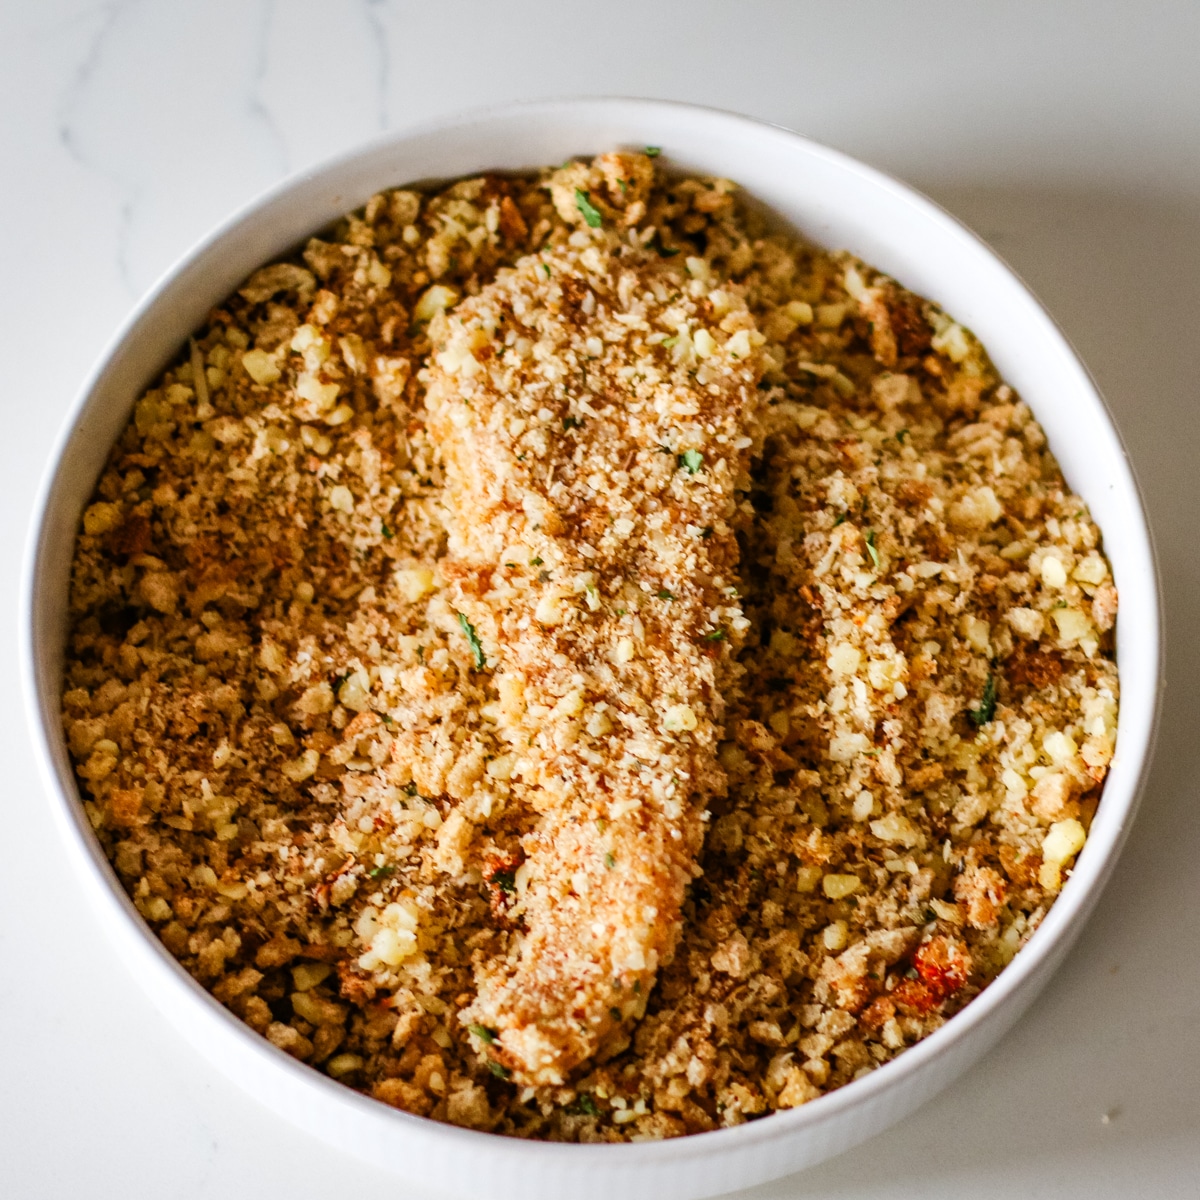
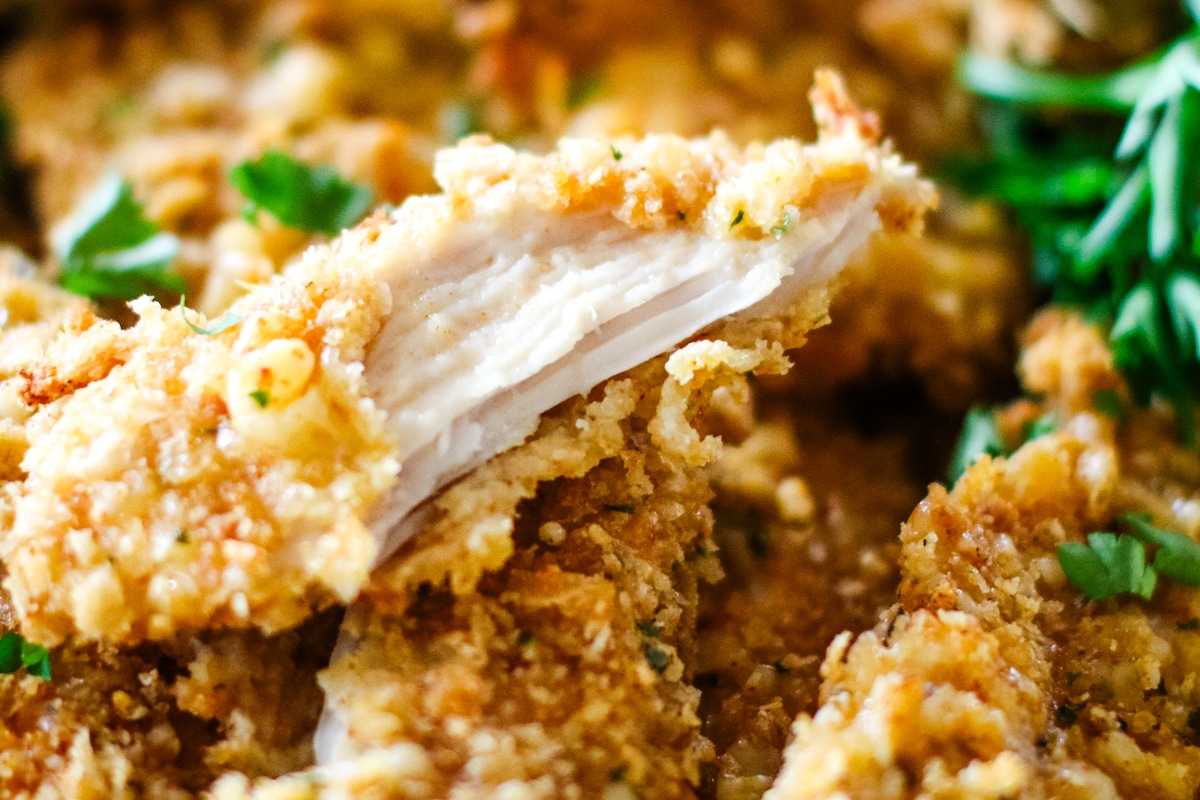
Pour it over my mother-in-law’s chicken kotleti, and suddenly everyone’s sneaking seconds like it’s a family secret - simple, flavorful, and totally stress-free.

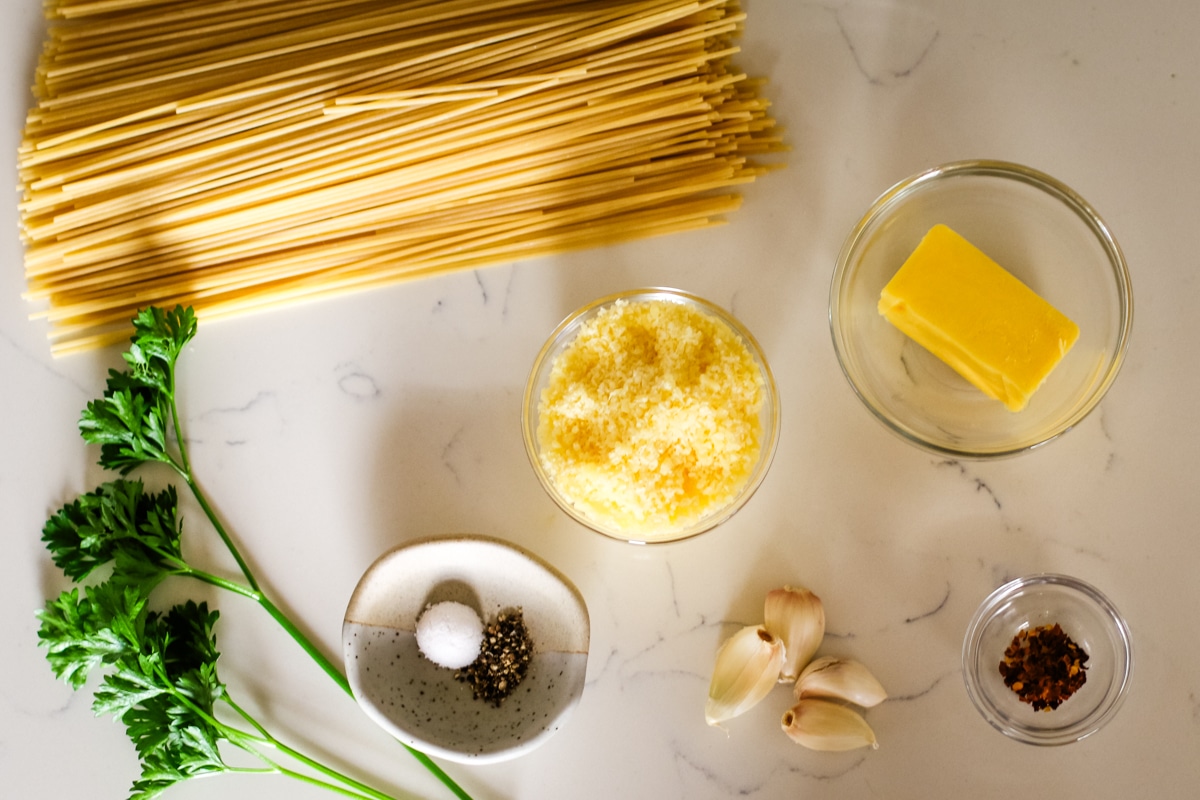
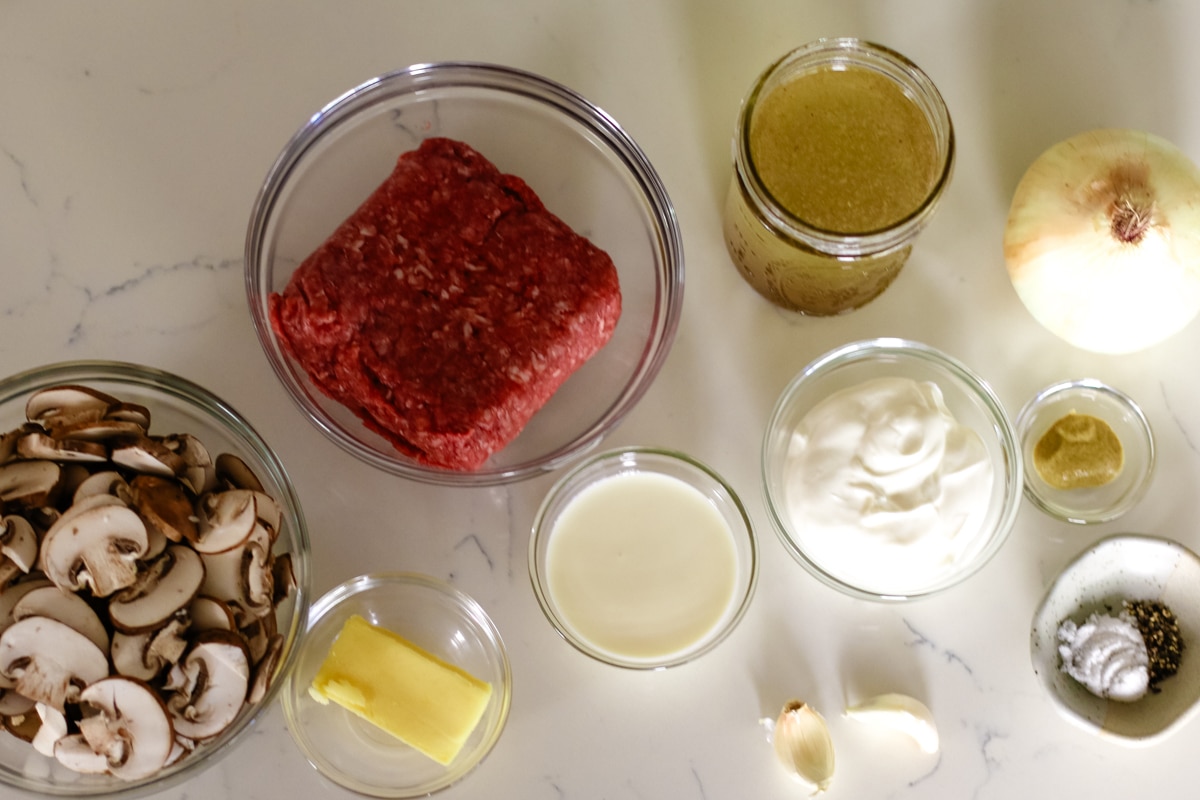
Ingredients for Onion Gravy
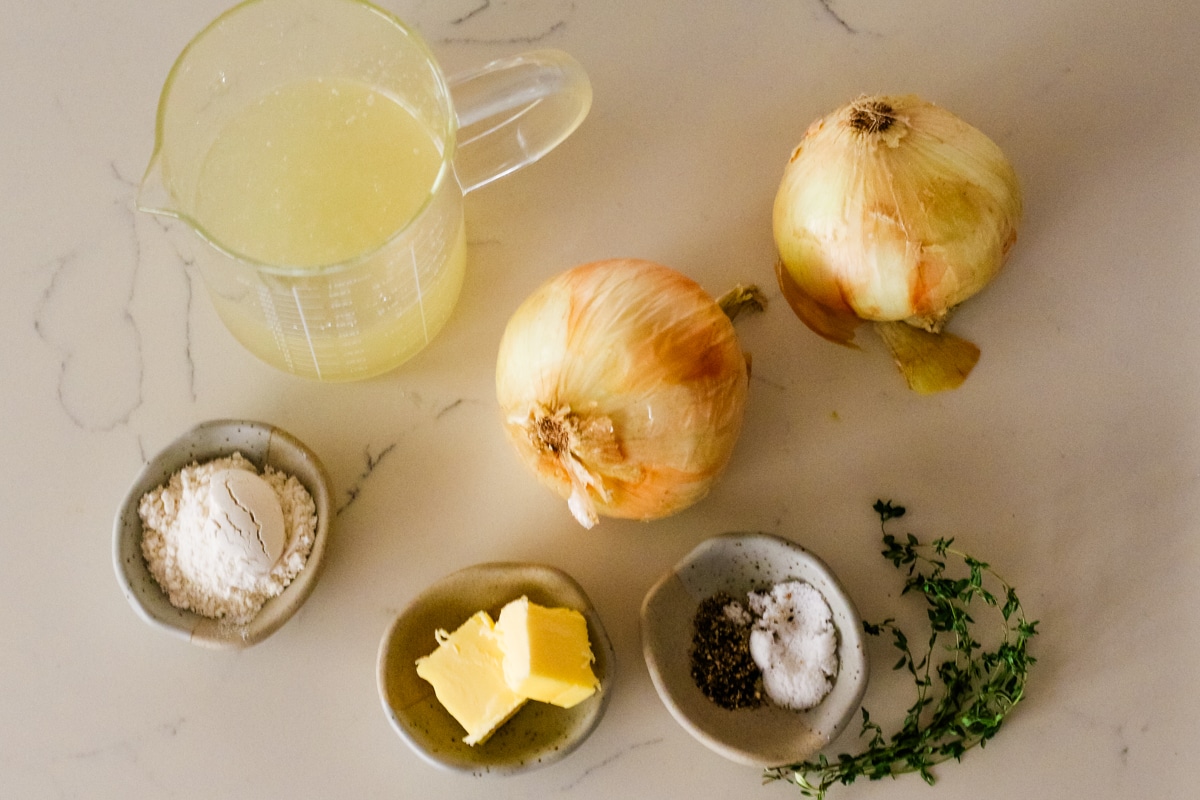
- Butter – I like using butter here because butter makes everything better. And creamier and richer. But you could use beef tallow or even a good quality olive oil to keep it dairy free.
- Onions – Yellow onions work best here. They caramelize nicely and give a naturally sweet base flavor.
- Flour – If you have a grain mill in your appliance room (lol), use that to get some fresh milled flour in here. But all-purpose flour works just as well. In fact, the APF will give a more smoother texture while the fresh milled flour will be a little grainier (but admittedly more nutritious).
- Chicken stock – When you can - always go with the homemade broth. You can use my whole chicken broth or Instant Pot chicken broth depending on how much time you have.
- Seasonings – Sea salt and freshly cracked black pepper are all you need to bring the gravy together.
Substitutions and Variations
- Gluten-free – Swap the all-purpose flour for a gluten-free flour blend to make this gravy gluten-free without changing the texture.
- Richer flavor – Use beef bone broth instead of chicken stock for a deeper, more savory taste.
- Worcestershire sauce – Many onion gravy recipes historically include Worcestershire sauce, especially in British-style pub gravies. Add 1–2 teaspoons after the broth for that classic flavor.

Make it Ancestral
Use freshly milled flour and pasture-raised butter for a more traditional, nutrient-dense version of this gravy. Cook the onions slowly in the butter to extract natural flavor, and use homemade chicken stock if possible for extra nourishment.

How to Make Onion Gravy
The complete printable recipe is below in the recipe card for your convenience. Follow these simple step-by-step instructions for the best results.

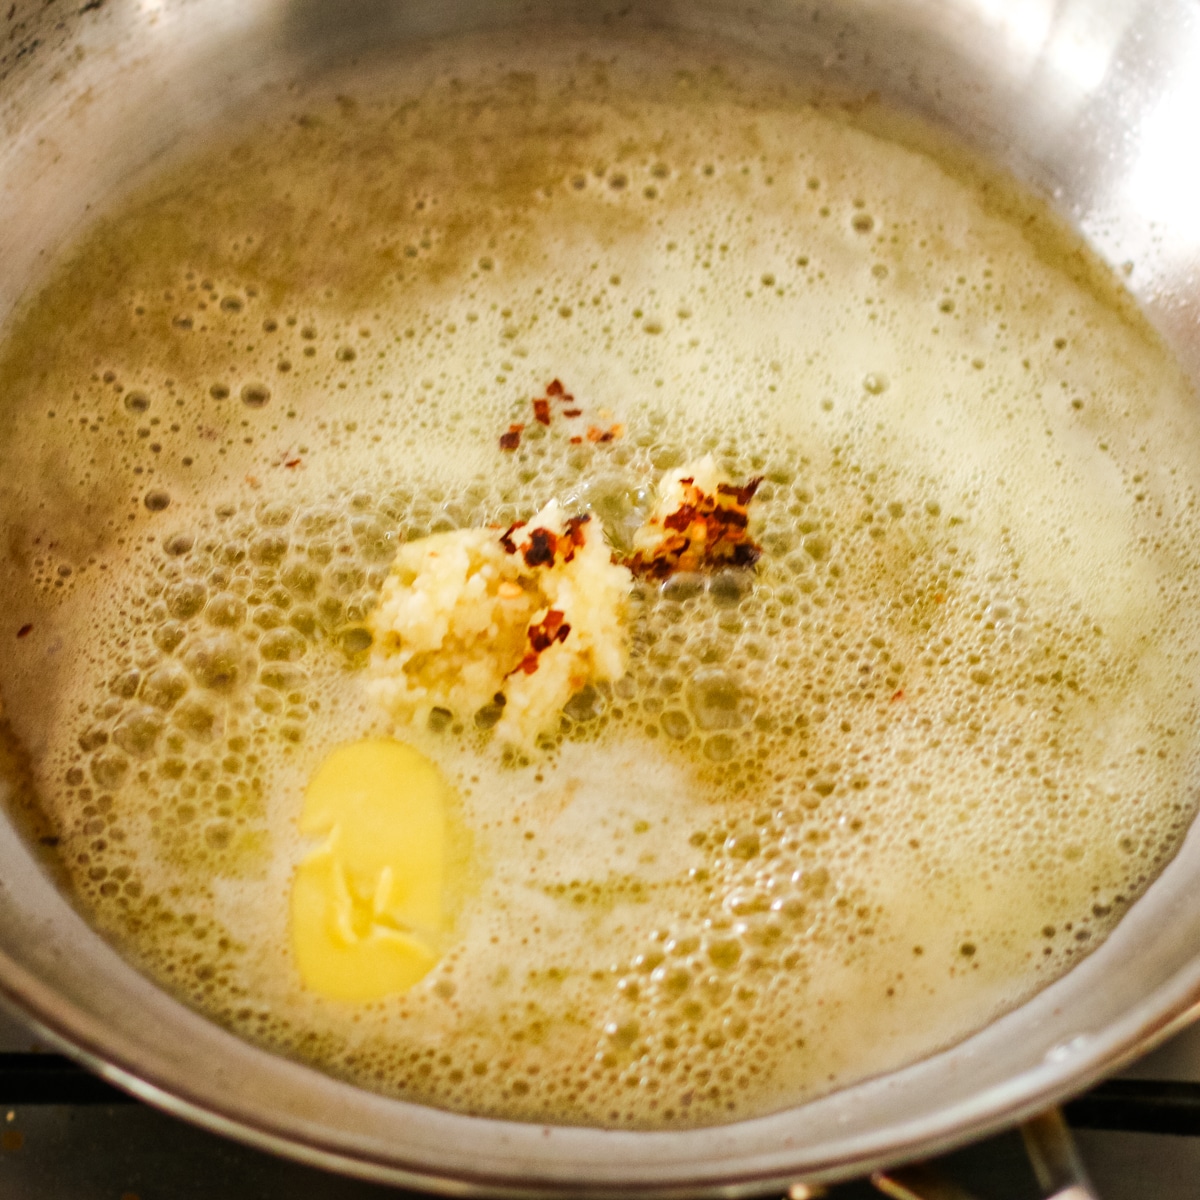
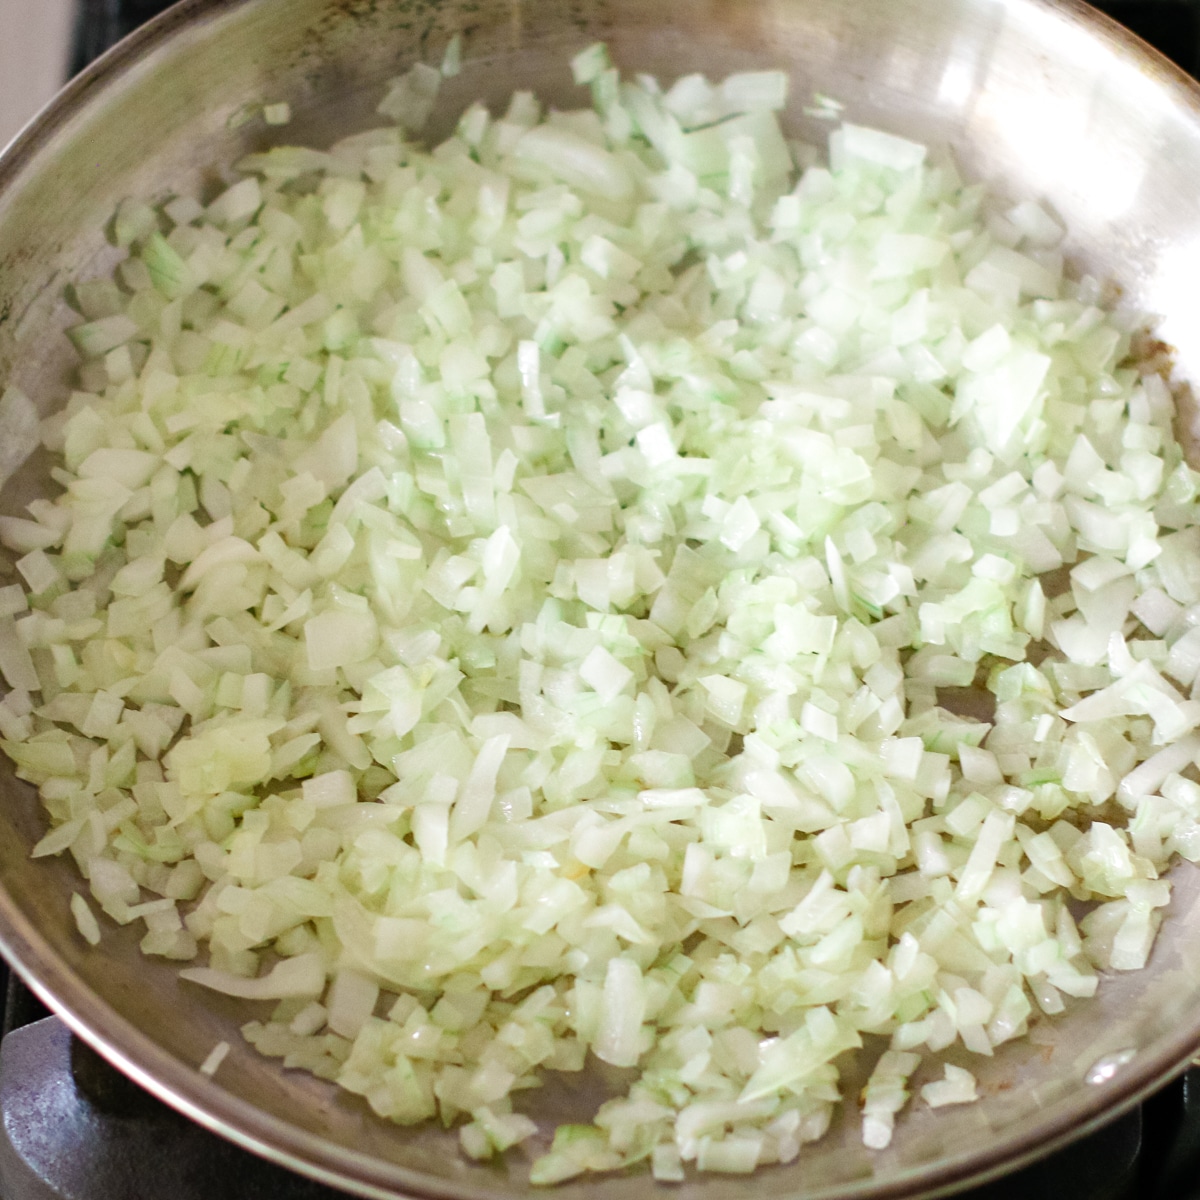
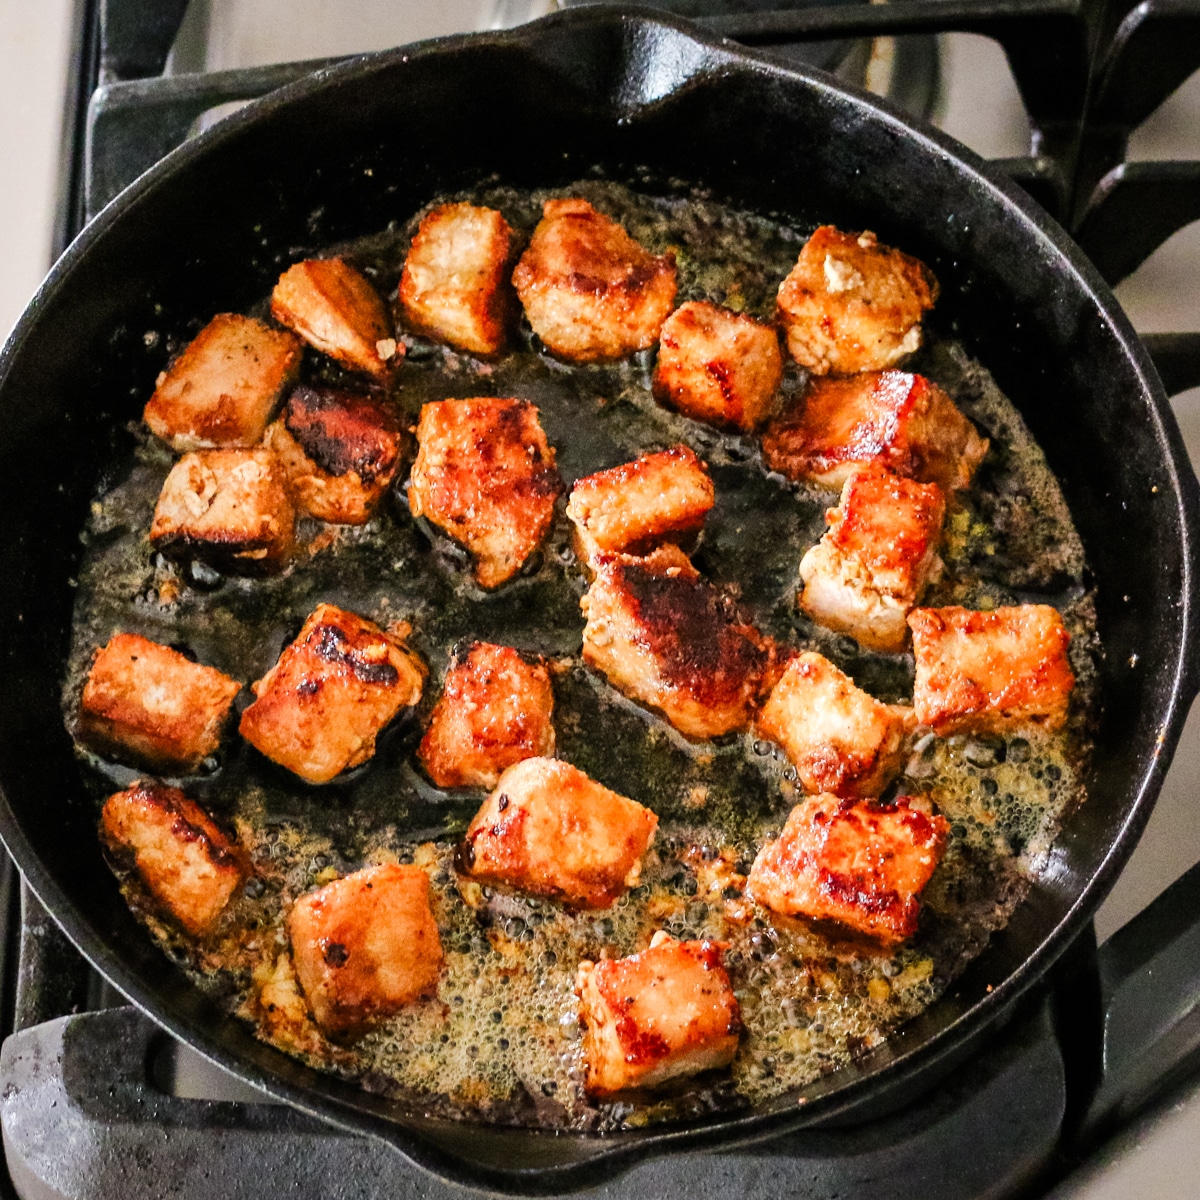
Step 1. Cook
Heat butter in a skillet over medium heat, then add onions and cook until soft and golden, stirring often.
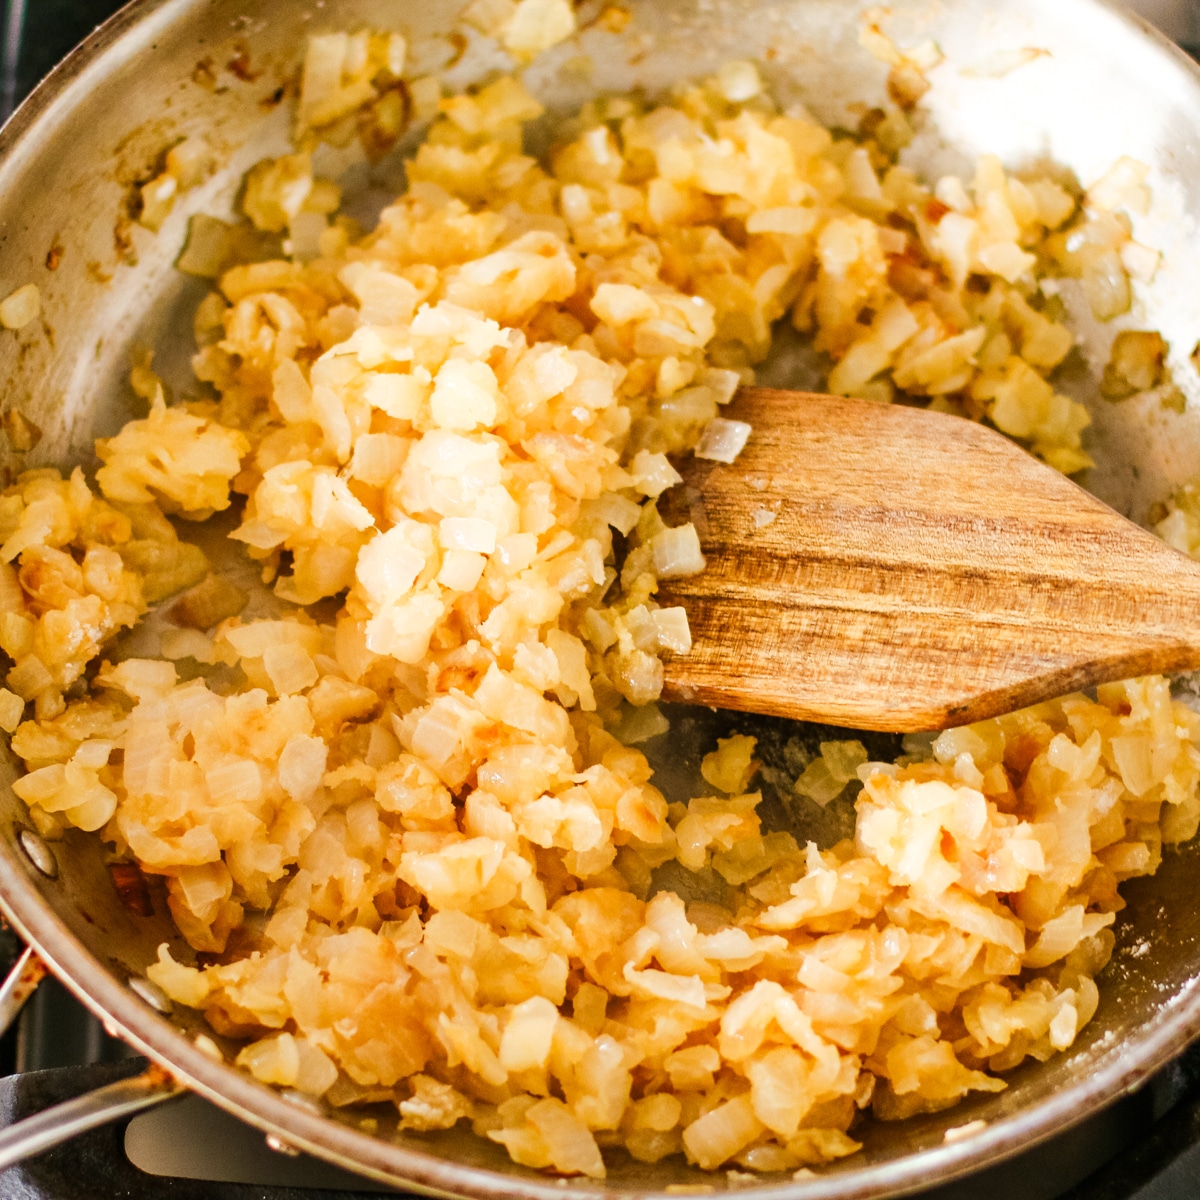
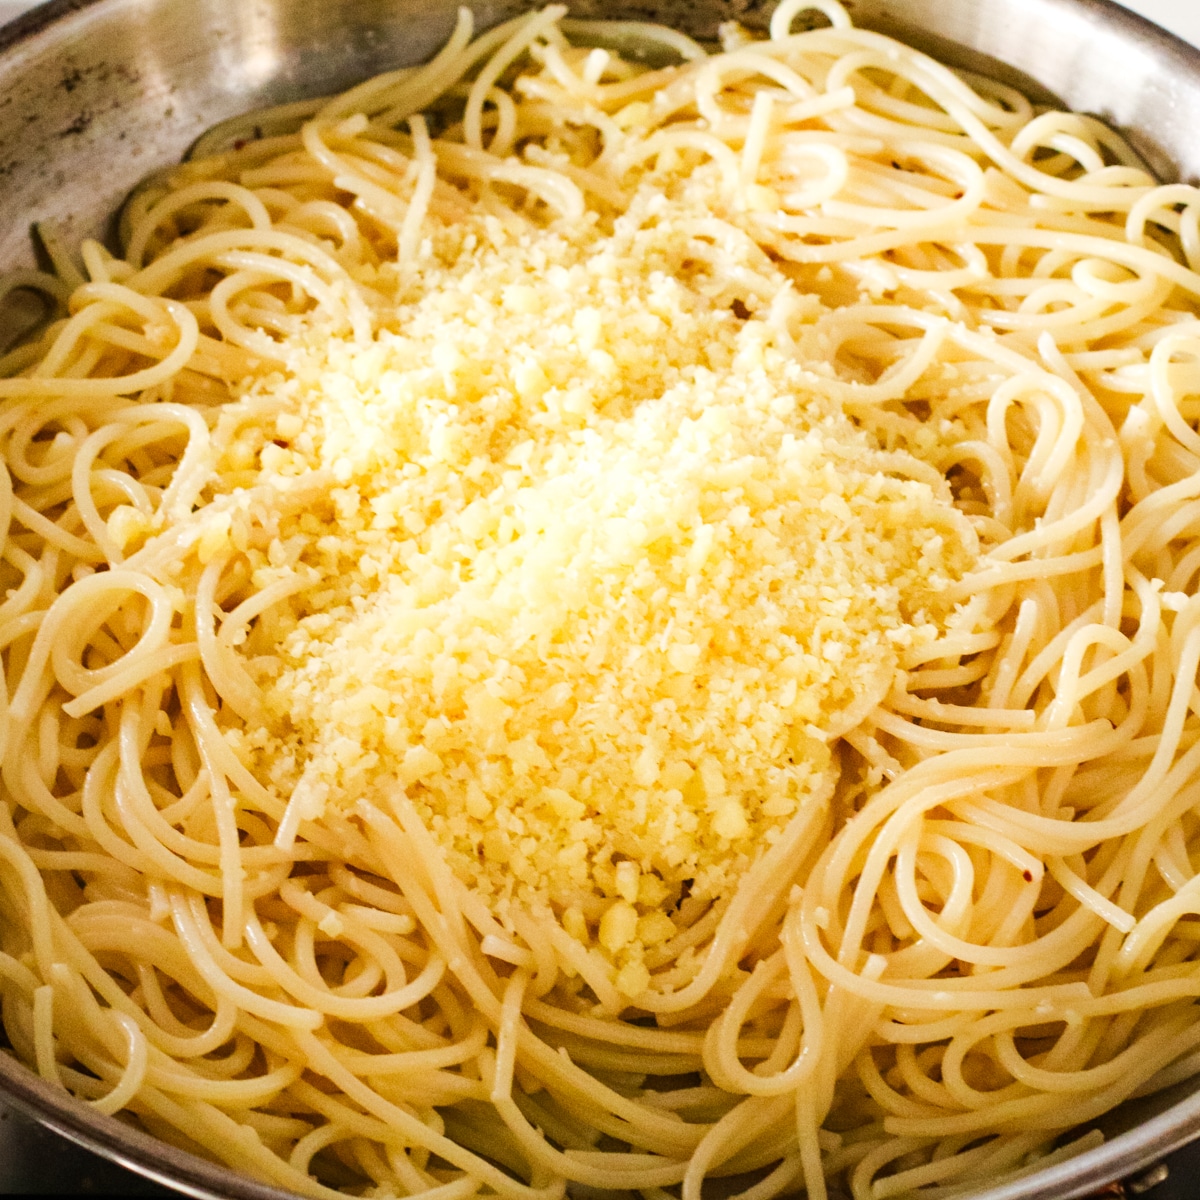
Step 2. Season
Sprinkle with salt as the onions cook, then stir in flour and cook briefly to remove the raw taste.
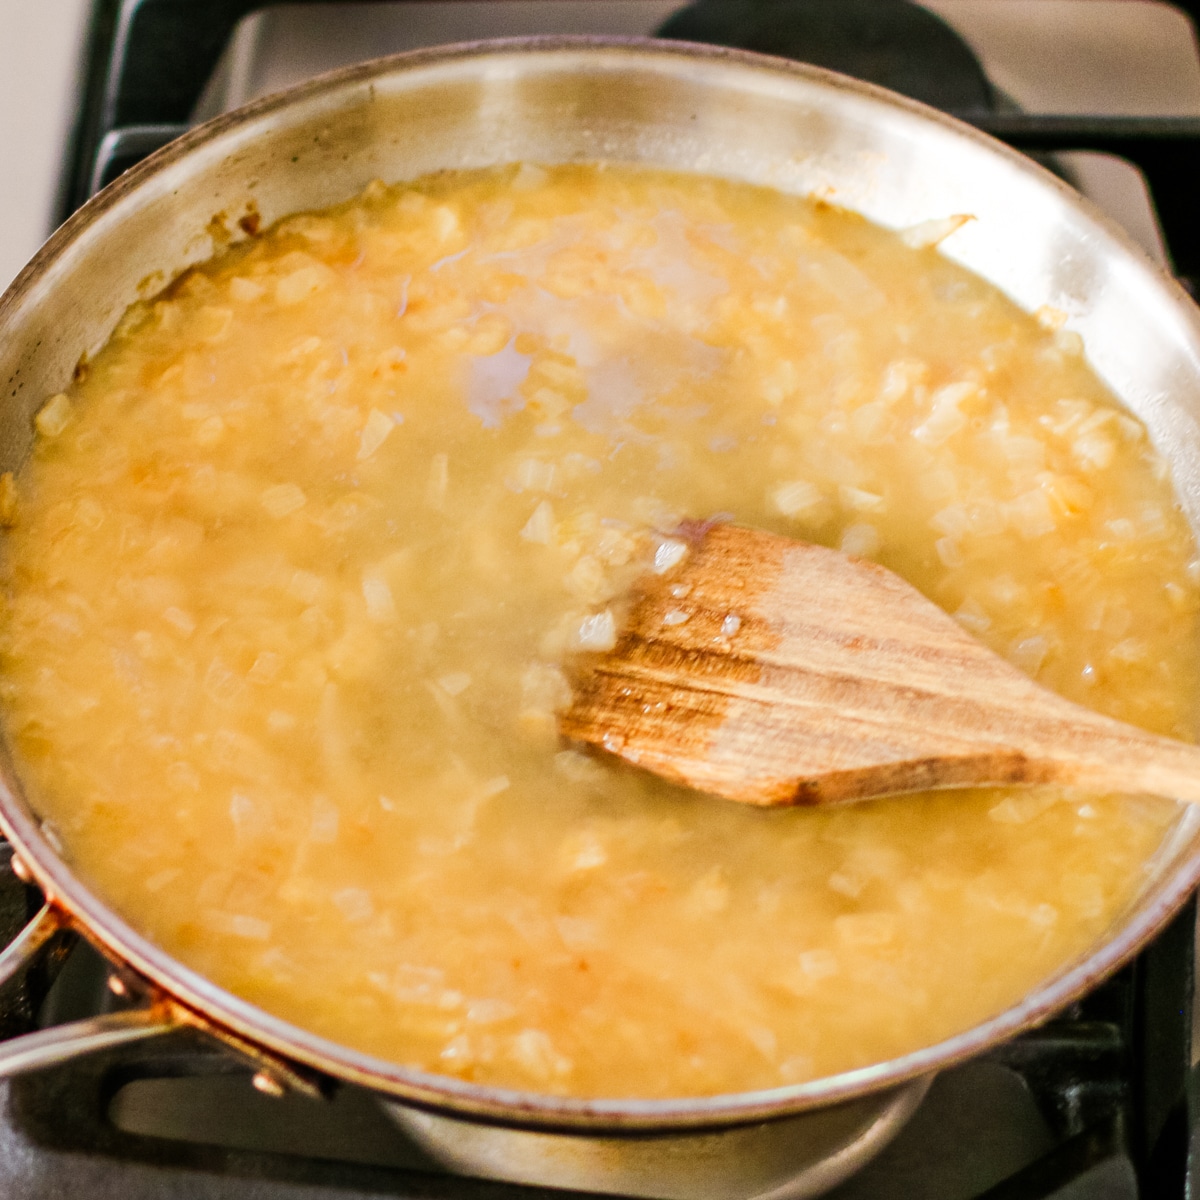
Step 3. Add
Gradually pour in chicken stock, stirring constantly, and simmer until thickened.
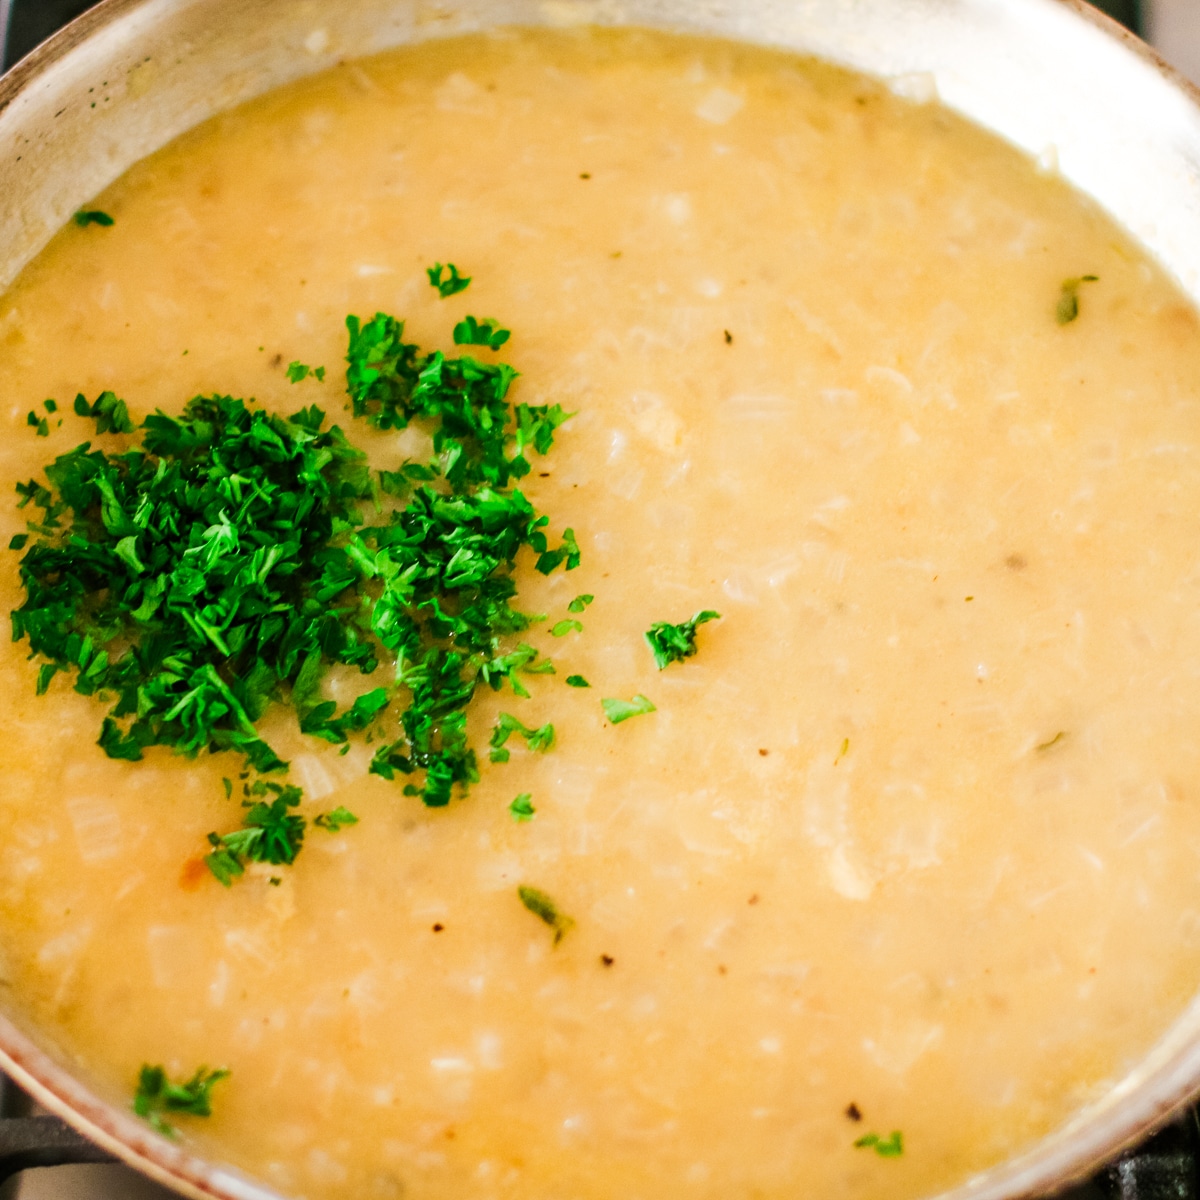
Step 4. Done
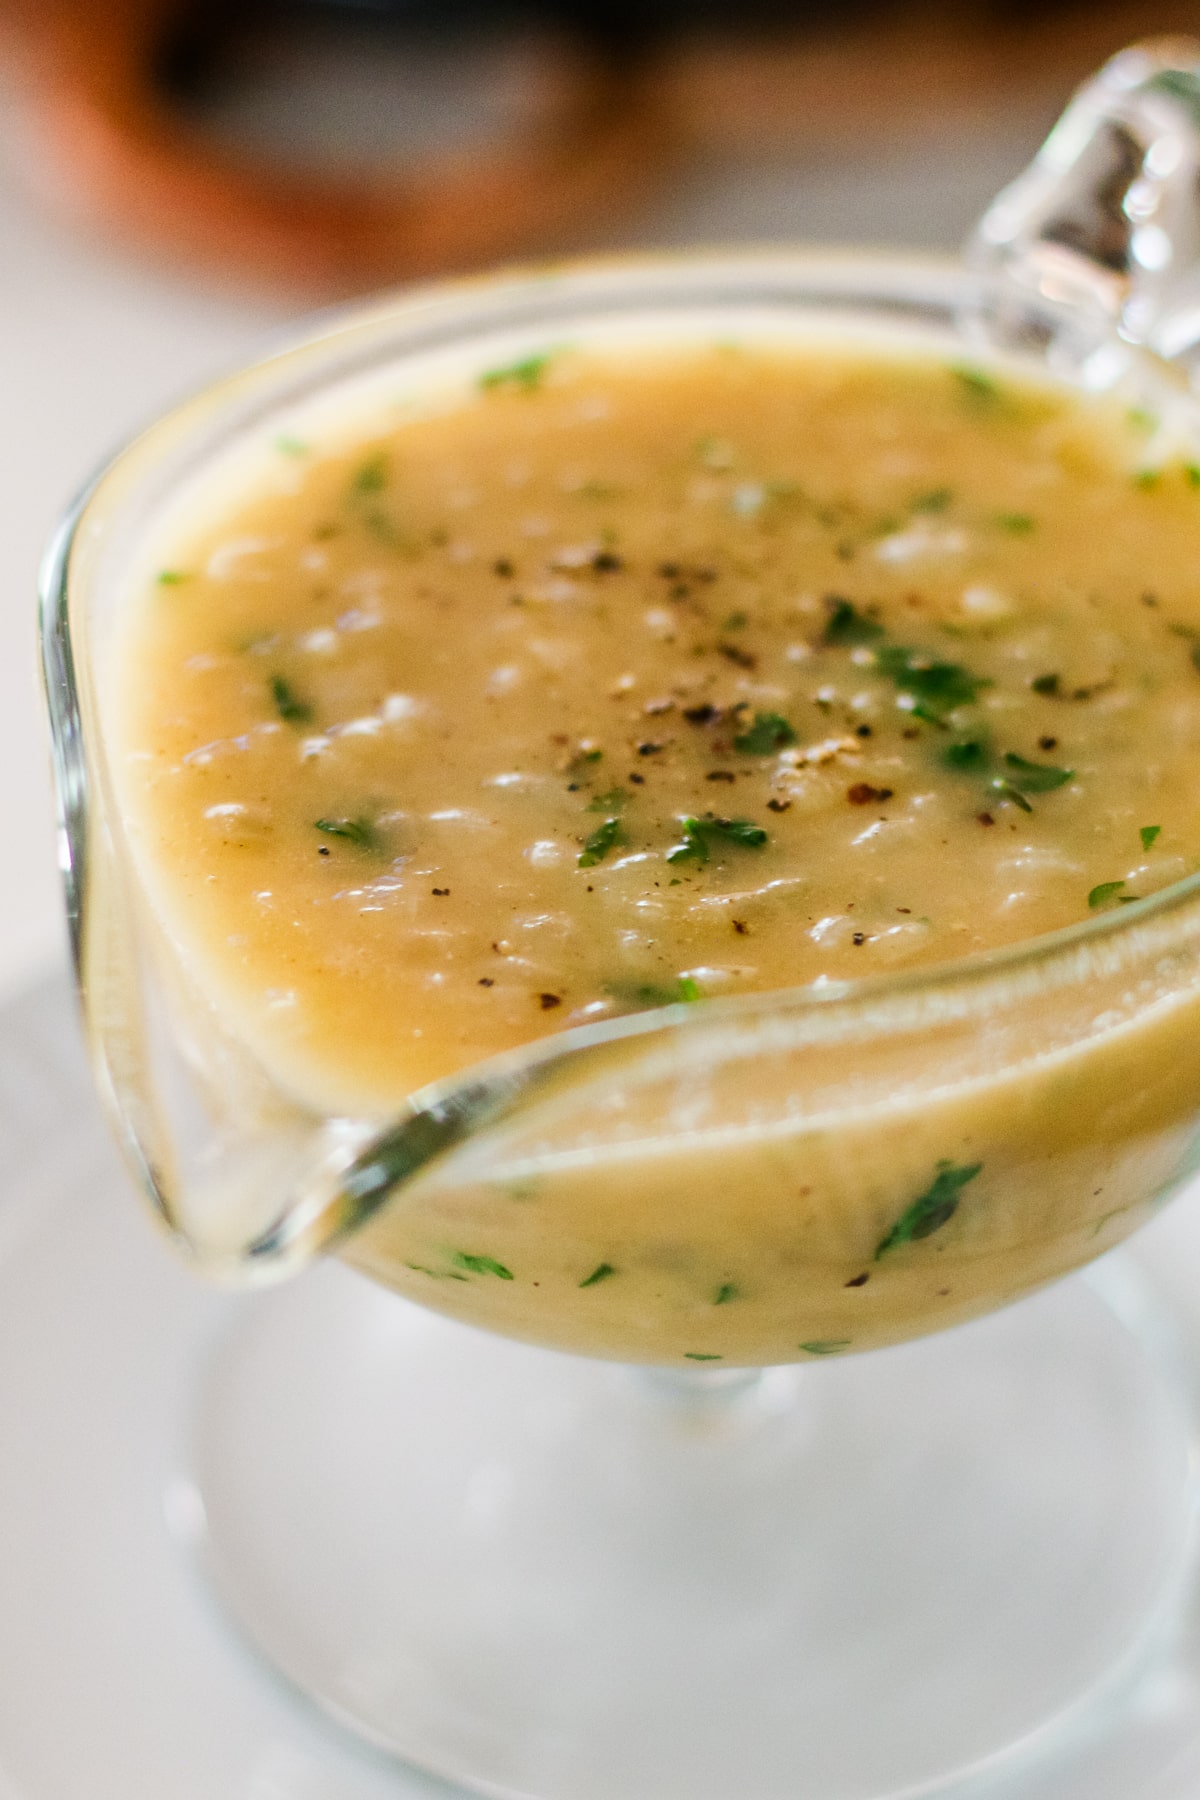
Taste, adjust seasoning with pepper, and serve warm.
Helpful Tips
- Caramelize slowly - Cook the onions slowly over medium heat to bring out the natural sweetness and deepen the flavor.
- Avoid lumps - Sprinkle the flour evenly and stir consistently when adding broth to prevent lumps.
- Adjust thickness - For a thinner gravy, add a little bit more broth; for a thicker one, let it simmer a few extra minutes.
Troubleshooting
- Gravy split? It likely means the fat and liquid didn't emulsify properly. To fix it, whisk in a small amount of chicken broth over low heat until it comes back together. You can also try adding a slurry of flour and water to help rebind the fat and liquid.
💭Meal Prep Suggestion!
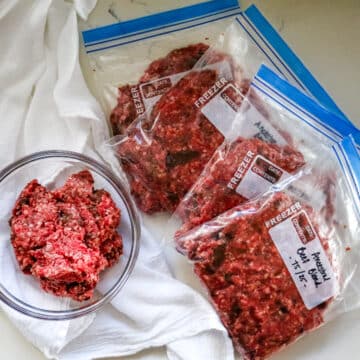
You can make this onion gravy a few days in advance and keep it in the fridge in an airtight container. Warm it gently on the stove, stirring now and then, and add a little broth or water if it gets too thick. It freezes well too - just leave some room in a freezer-safe container, store for up to 3 months, and thaw in the fridge overnight before reheating.
Serving Suggestions
Onion gravy is a simple gravy that makes just about any meal feel a little better. I usually make a batch for weeknight dinners, but it also works for more special meals or when you want something comforting.
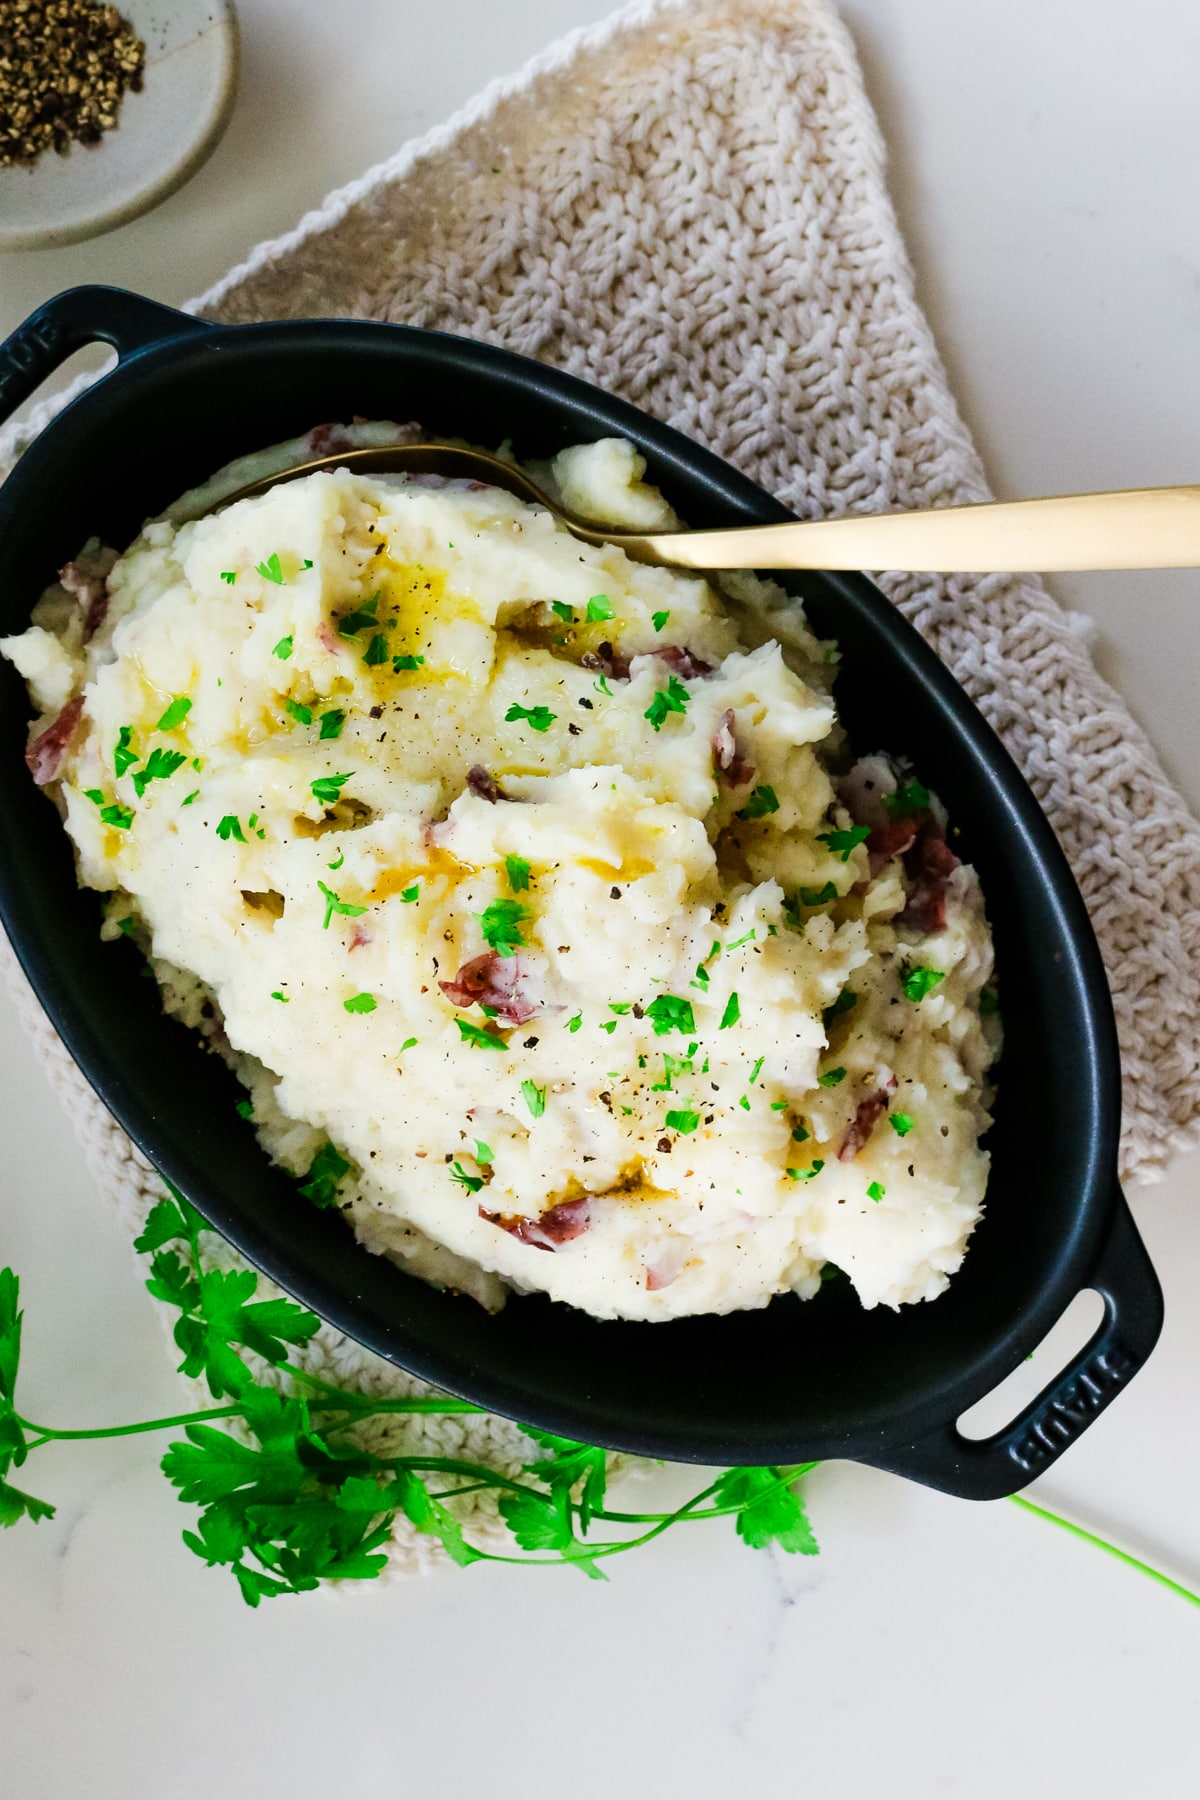
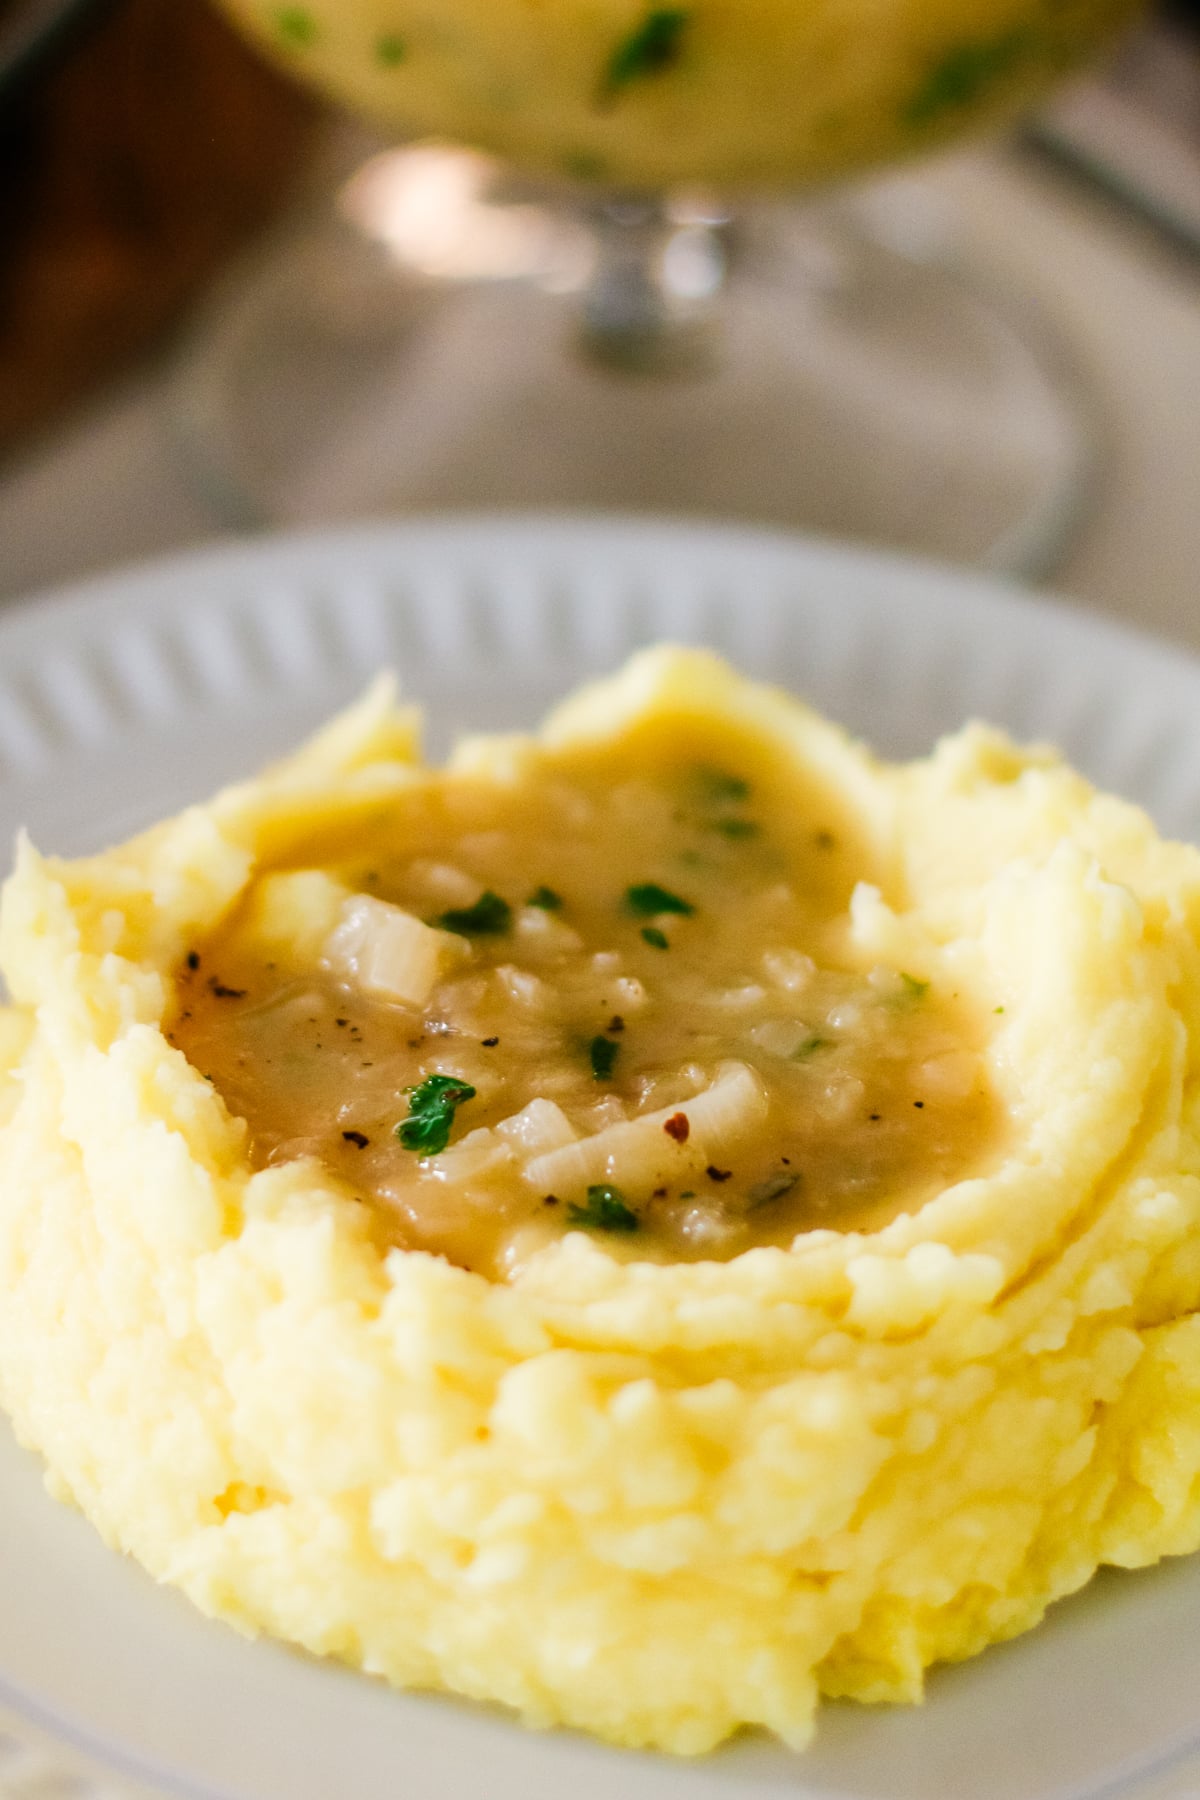
Mashed Potatoes: Spoon it over creamy Yukon gold mashed potatoes or chunky red-skinned mashed potatoes.
Grains: Don’t stop at potatoes - pour it over Instant Pot millet, Instant Pot buckwheat, or bone broth rice for extra flavor.
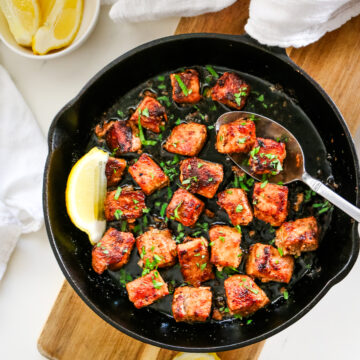
Roast Meats: It’s great over oven-roasted whole chicken, chicken from homemade whole chicken broth, or even slow cooker duck and spatchcock turkey recipe.
Frequently Asked Questions
Store leftover onion gravy in an airtight container in the fridge for up to 4 days. Glass snap containers, wide-mouth mason jars, or Weck preserving jars all work well. To reheat, pour the gravy into a small saucepan and warm over medium heat, stirring occasionally. Add a splash of broth or water if it thickens too much.
Yes! Let the gravy cool completely, then transfer it to a freezer-safe container or bag, leaving a little room for expansion. Freeze for up to 3 months. To use, thaw overnight in the fridge and reheat gently on the stovetop, adding a splash of broth or water if needed.
If your gravy has lumps, whisk it vigorously over low heat until smooth. You can also pour it through a fine-mesh sieve to catch any stubborn bits. Adding a small splash of broth or water while whisking can help smooth it out.
Looking for more healthy basics? Here are some ideas:


Did you make this onion gravy? Please leave a ⭐⭐⭐⭐⭐ recipe rating in the recipe card below and leave a review in the comments. Thank you!💚
Printable Recipe

Simple Onion Gravy
Ingredients
- 2 tablespoons butter
- 2 yellow onions
- 1 teaspoon sea salt
- ½ teaspoon black pepper
- 2 tablespoon all-purpose flour or fresh-milled flour
- 2 cups chicken stock
Instructions
- Melt 2 tablespoons butter in a skillet over medium heat. Add 2 yellow onions and cook, stirring frequently, for 15-20 minutes, until soft and golden brown. Season with 1 teaspoon sea salt .
- Sprinkle 2 tablespoon all-purpose flour over the onions and stir to coat. Cook for 1-2 minutes to remove the raw flour taste.
- Gradually pour in 2 cups chicken stock, stirring constantly to avoid lumps. Bring to a simmer and cook for 5-10 minutes, until the gravy thickens.
- Taste and adjust seasoning with salt and ½ teaspoon black pepper. Serve warm over meats or mashed potatoes.
Notes
- Caramelize slowly - cook the onions slowly over medium heat to bring out the natural sweetness and deepen the flavor.
- Avoid lumps - sprinkle the flour evenly and stir consistenly when adding broth to prevent lumps.
- Adjust thickness - for a thinner gravy, add a little bit more broth; for thicker, let it simmer a few extra minutes.