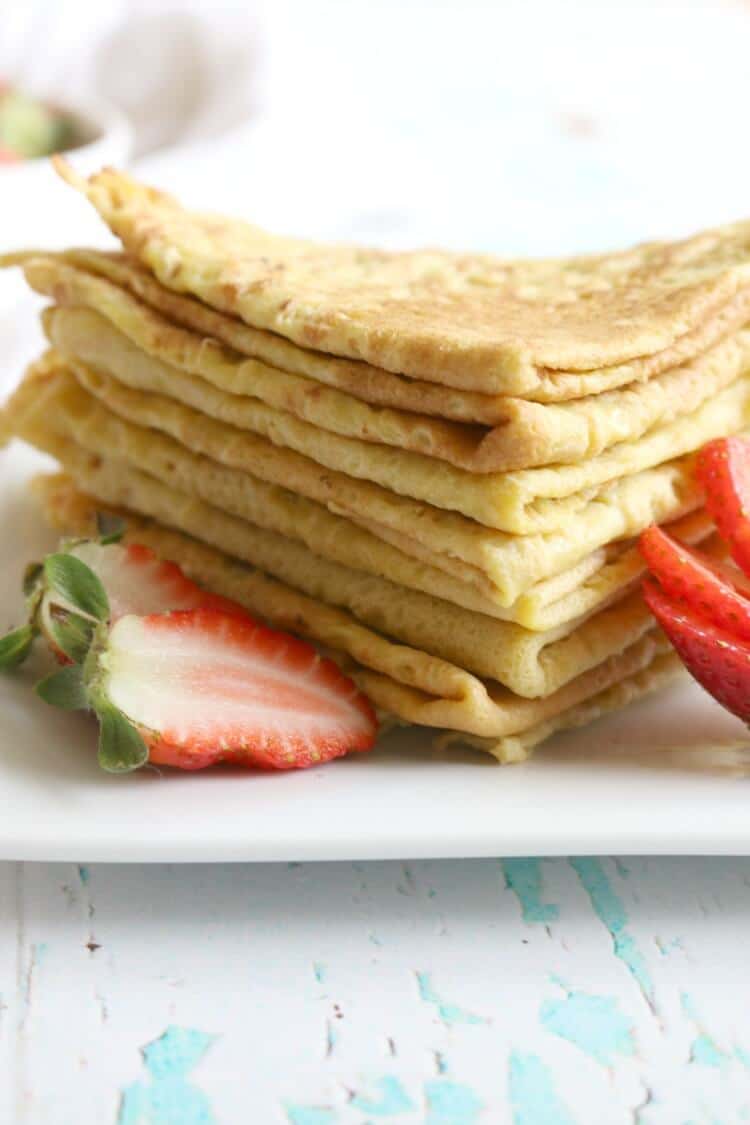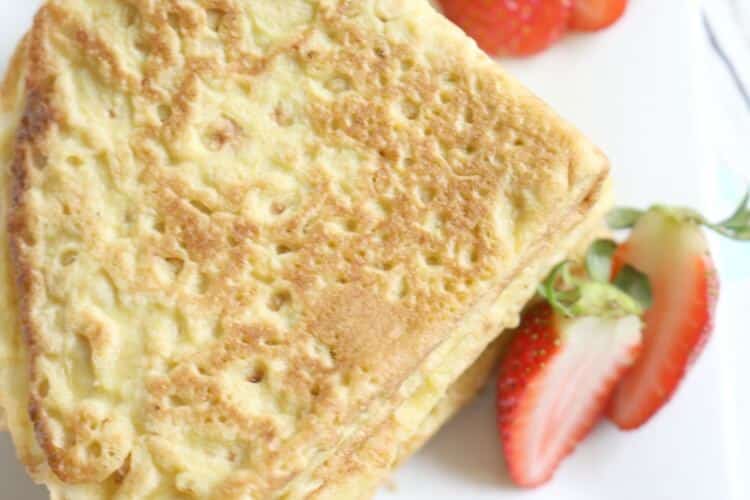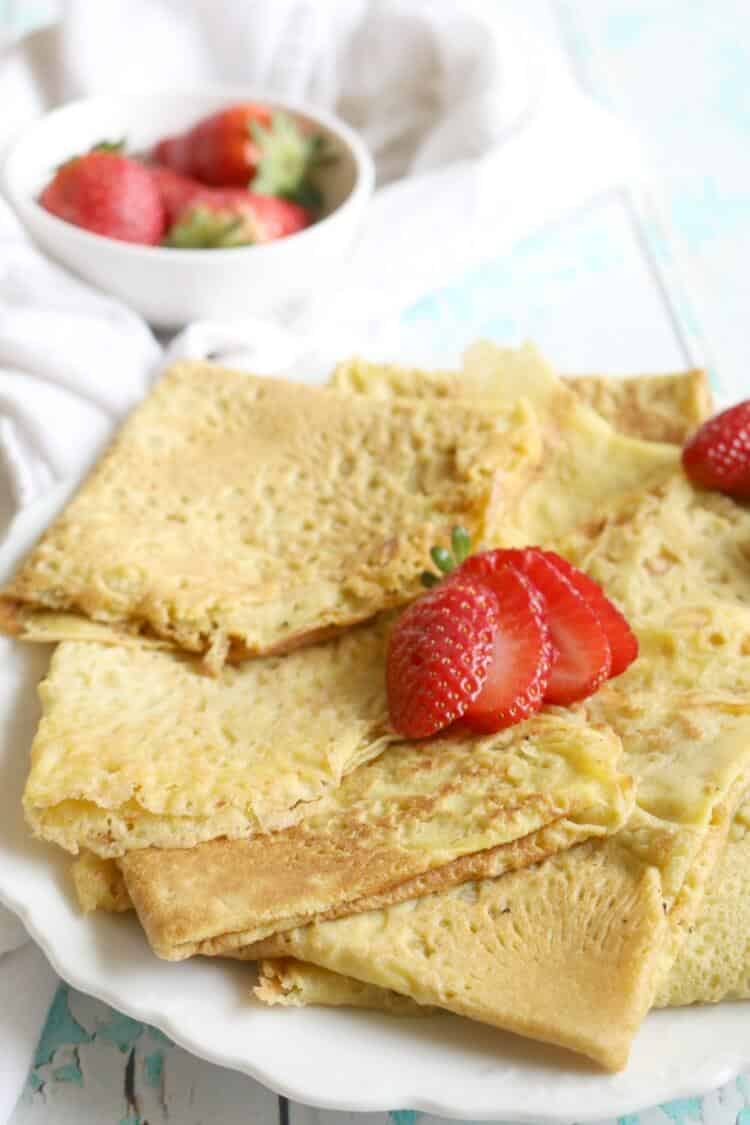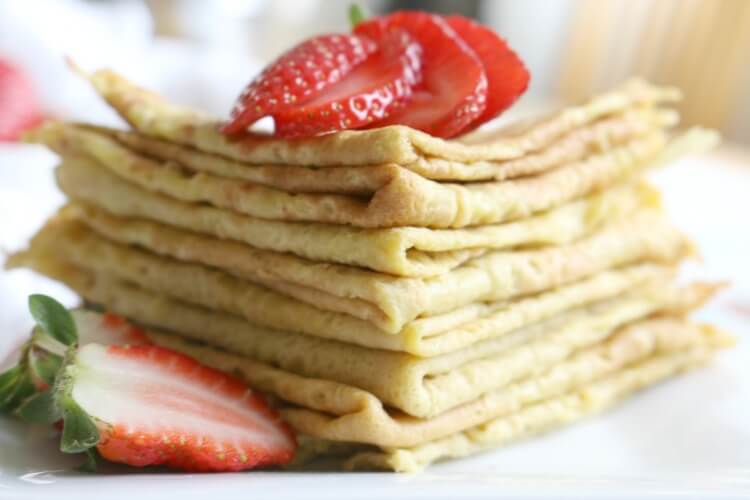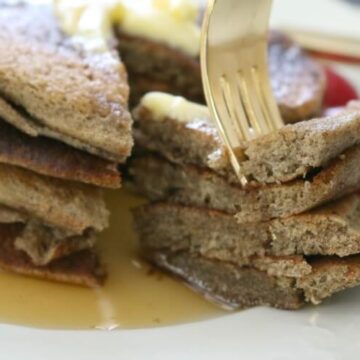
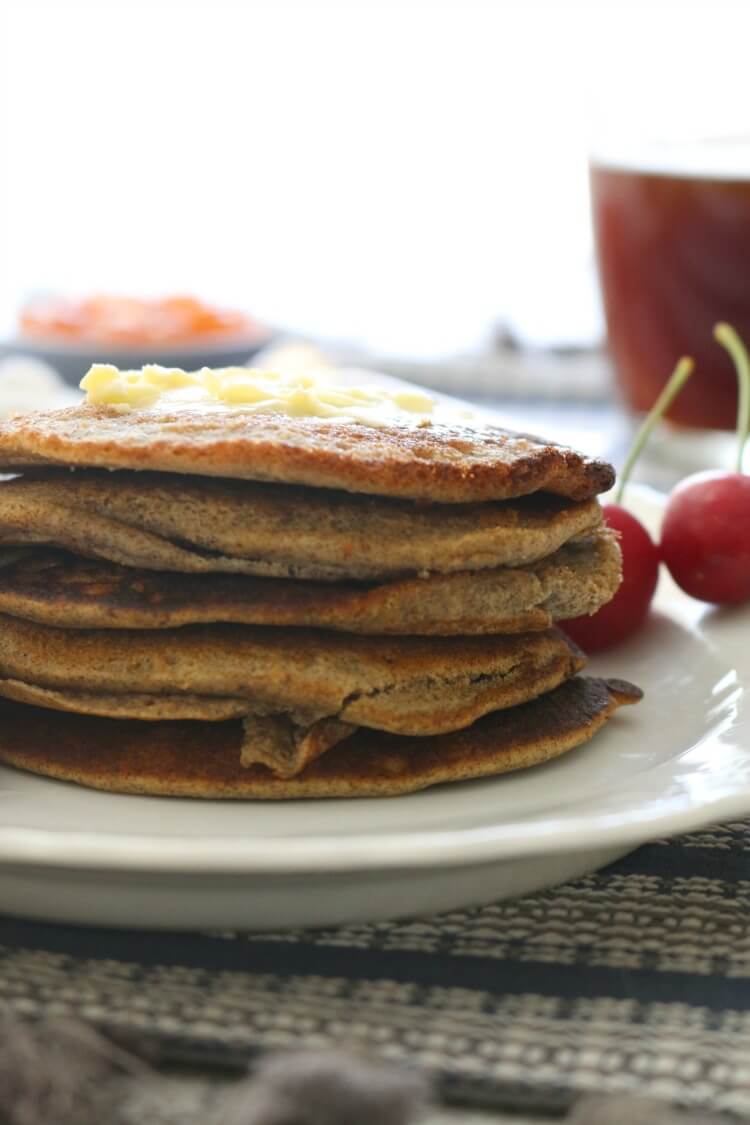
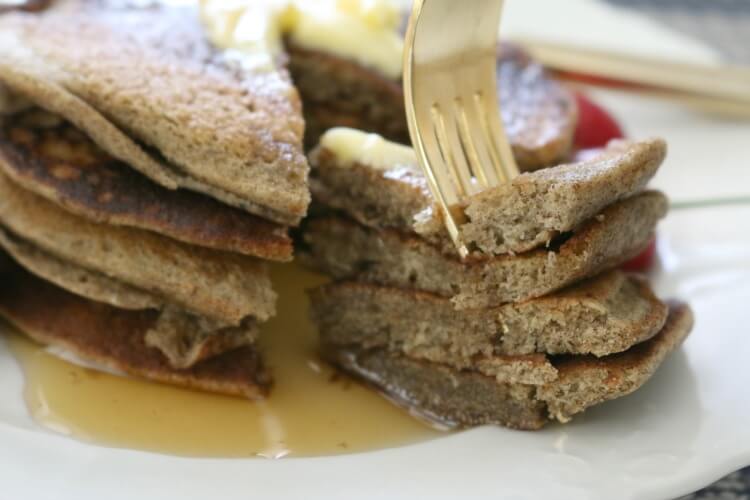
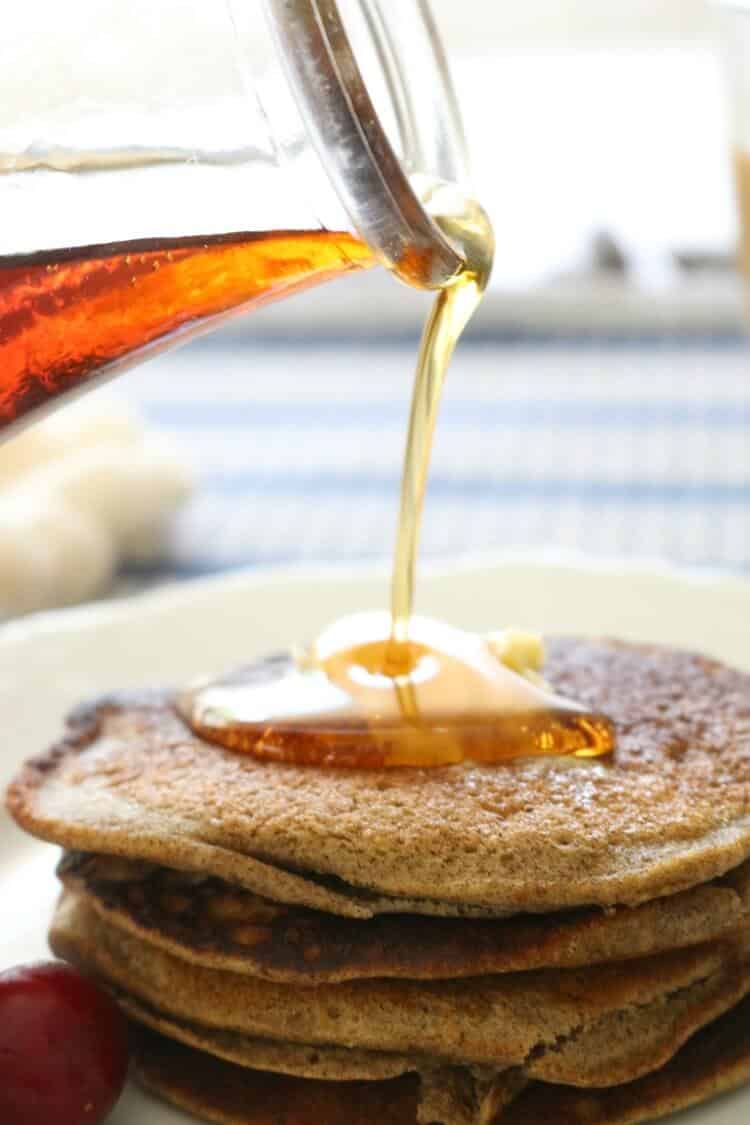
These Gluten Free Sourdough Pancakes are rich in tangy buckwheat flavor and delicious. Smother with pastured butter, favorite berries and real maple syrup.
I received a product in exchange for my honest review. I only recommend products I trust and use myself.
I recently received Shannon Stonger's newest book Traditionally Fermented Foods (Page Street Publishing) and am absolutely smitten by all the nourishing ferments. If you've been around long enough, you know I love traditional foods. Foods that our great grandfathers cultivated and our great grandmothers prepared. Recipes that have been passed down from generations to generations and that were made to nourish and sustain our bodies.
These foods consisted of organ meats, various ferments and grass fed dairy and were staples in the kitchens of our ancestors. Sadly that has become a lost art.
Related: Nourishing Foods Defined
Shannon is a natural whiz at all things fermentation. She's a regular contributor at Cultures for Health, a source of ferment starters and information on the art of culturing foods. Furthermore, her degree in Chemistry pretty much makes her an expert in culturing bacteria.
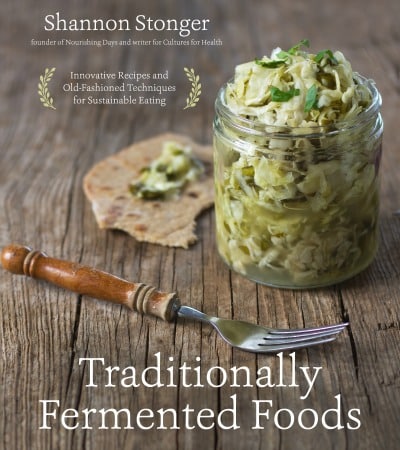
Traditionally Fermented Foods - get your copy HERE
The book begins with the basic fermentation process and why one would ferment in the first place. In addition, Shannon offers troubleshooting tips and tricks. Every section has additional information specific to those particular foods. The section on Vegetables is loaded with beautiful, nourishing recipes such as Pizza Green Beans, Everyday Spicy Carrots, and Basic Brine-Fermented Vegetables.
The Grains section includes recipes such as Gluten Free Sourdough Dinner Rolls, Perpetual Fermented Porridge, and Fermented Polenta. Followed by the Dairy section which includes Kefir, Milk Clabber, and Cultured Buttermilk. I was pleasantly surprised to see Okroshka, cold summer soup. It just reminds me yet again how traditional my heritage foods truly are.
The book wouldn't be complete without a section on Beverages which contain recipes such as Sweet Potato Kvass and The Pits Soda and Condiments section includes Veg Brine Fermented Hot Sauce and Cultured Dairy Ranch Dressing.
Traditionally Fermented Foods is rich with information for both the novice and expert in fermenting. It's a great addition to my real food cookbooks, right next to Nourishing Traditions.
How to Make Sourdough Starter
In order to make these sourdough pancakes, you need to start with making sourdough starter. The best gluten free flours to sour are teff, sorghum, and buckwheat.
Days 1 - 3: In a quart jar, combine ½ cup of your choice of gluten free flour and a scant ½ cup of water. Mix vigorously to incorporate air. Cover with a clean cloth and secure with a rubber band. Leave at room temperature for 12 hours. Repeat feedings with the same amounts of flour and water.
Days 4 - 7: Continue to feed every 12 hours and discard half of the starter before very feeding. You can add the discarded starter to any quick bread recipe, crepes or fritters.
Printable Recipe
Gluten Free Sourdough Pancakes
Ingredients
- ½ cup gluten free sourdough starter *
- 1 cup buckwheat flour
- ⅔ cup rice flour
- 1 ¼ cup full fat milk
- 3 eggs
- 1 teaspoon vanilla extract
- ½ teaspoon real salt
- 1 tablespoon baking powder
Instructions
- Combine the sourdough starter, buckwheat flour, rice flour and milk in a medium mixing bowl. Combine with a fork until all ingredients are hydrated. Cover and allow to ferment overnight at room temperature.
- In the morning, preheat a griddle pan or skillet over medium heat.
- Uncover the fermented batter and mix lightly with a fork to break up a bit. Make a well in the middle.
- Crack the eggs into the well and beat. Add the vanilla and salt and begin incorporating the egg mixture into the surrounding batter.
- Once the dough is nearly mixed, sprinkle the baking powder over the top and stir until completely combined.
- When the griddle is hot, great it lightly with butter, lard or coconut oil. Ladle ⅓ cup of the batter onto the griddle to form a pancake. Cook for 2-3 minutes until small bubbles just begin to appear and the edges begin to firm.
- Carefully flip and cook an additional 2 minutes or until golden brown.
- Serve piping hot with butter and jam, syrup or honey.
Notes
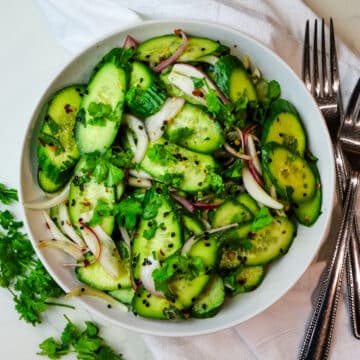
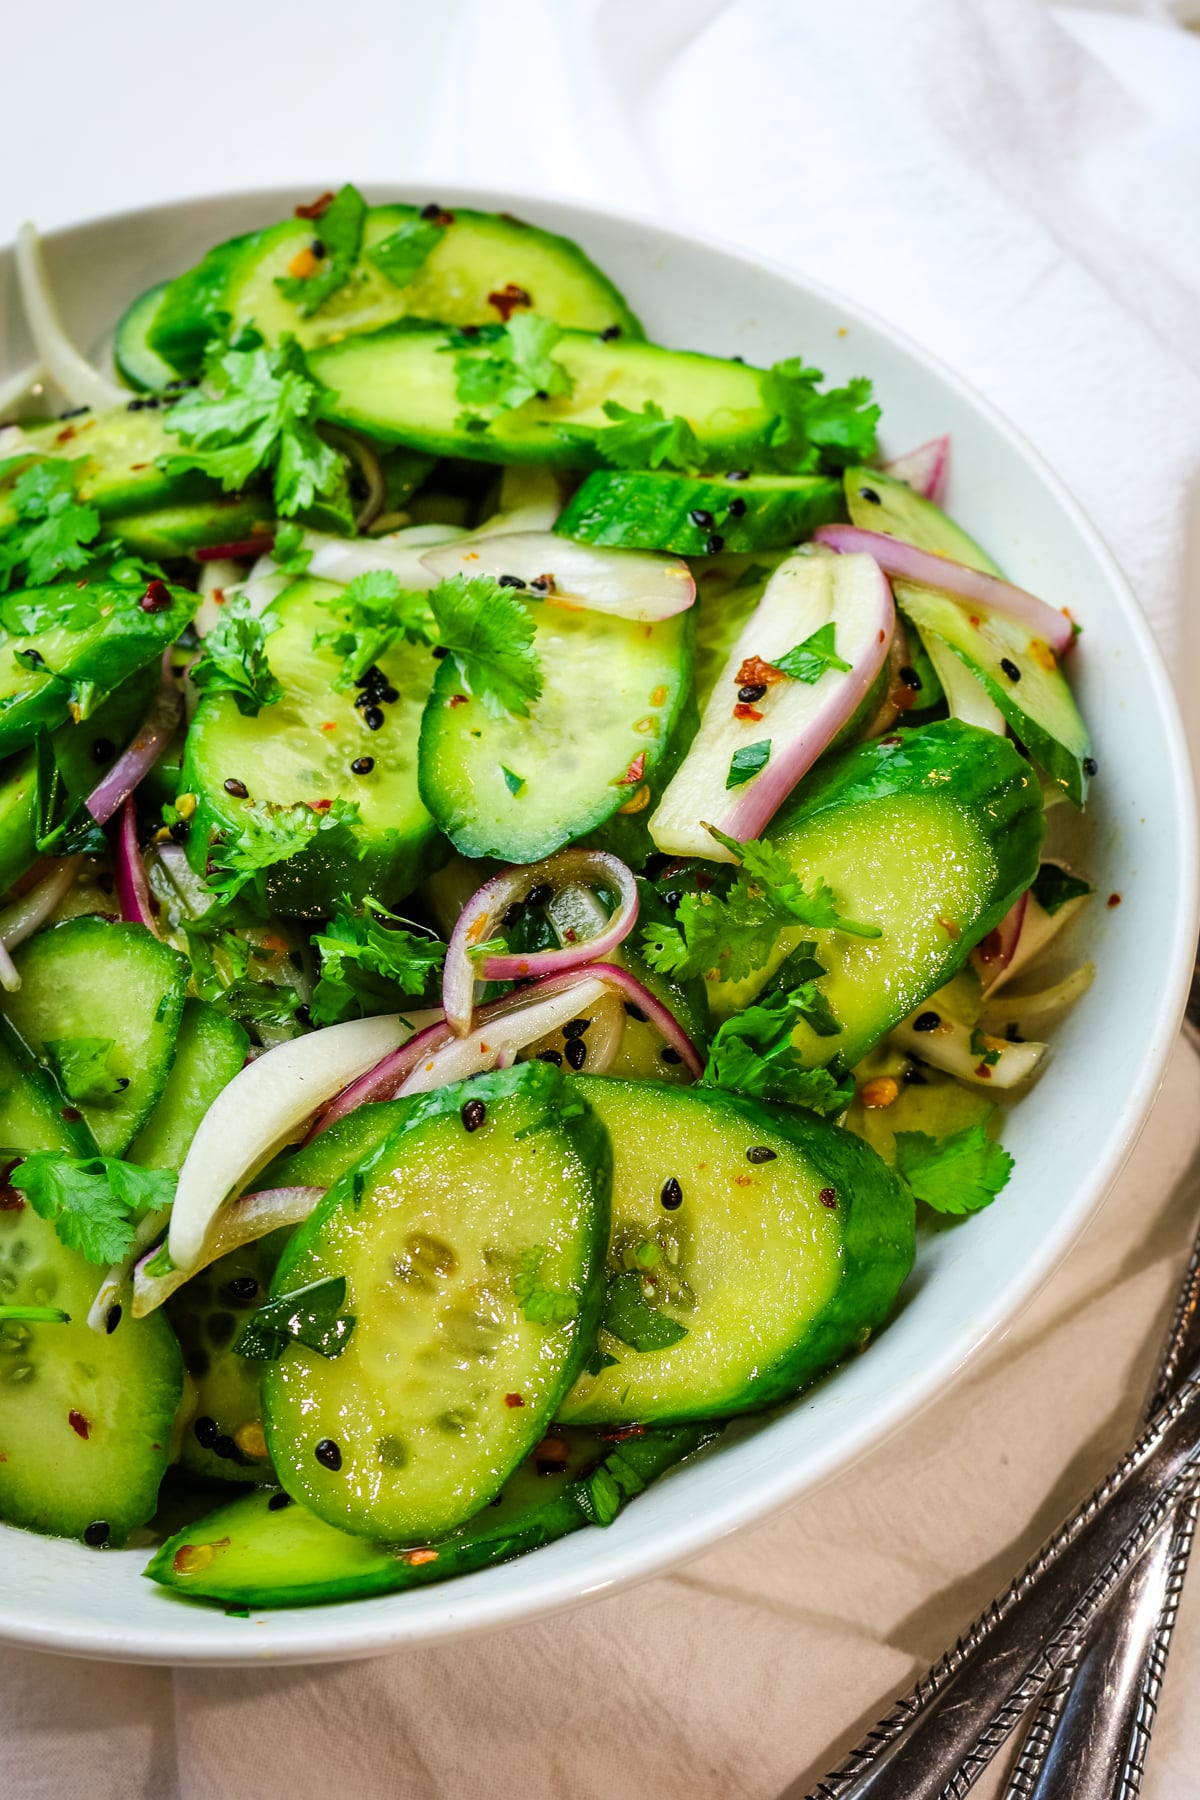


 Your Favorite Greens
 Any meal of the day!