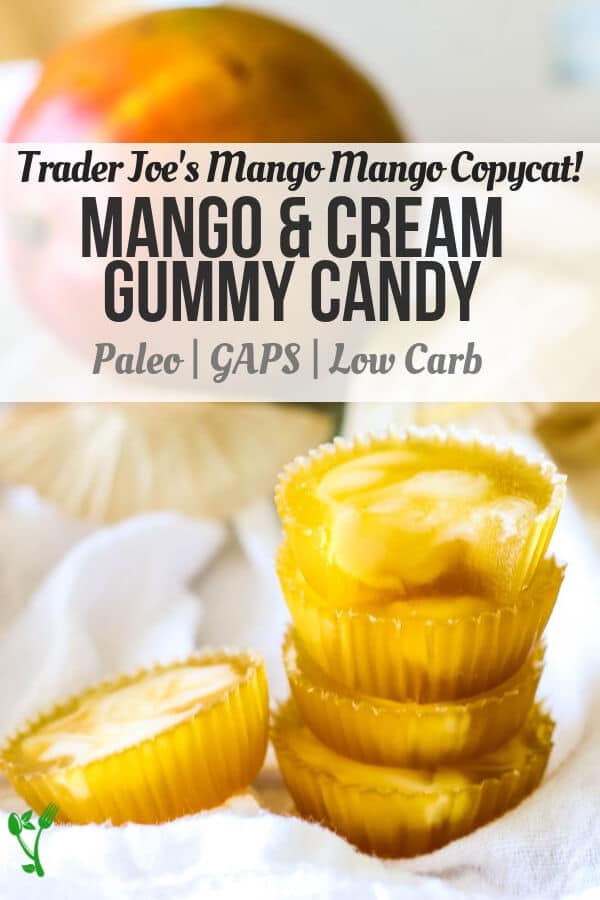
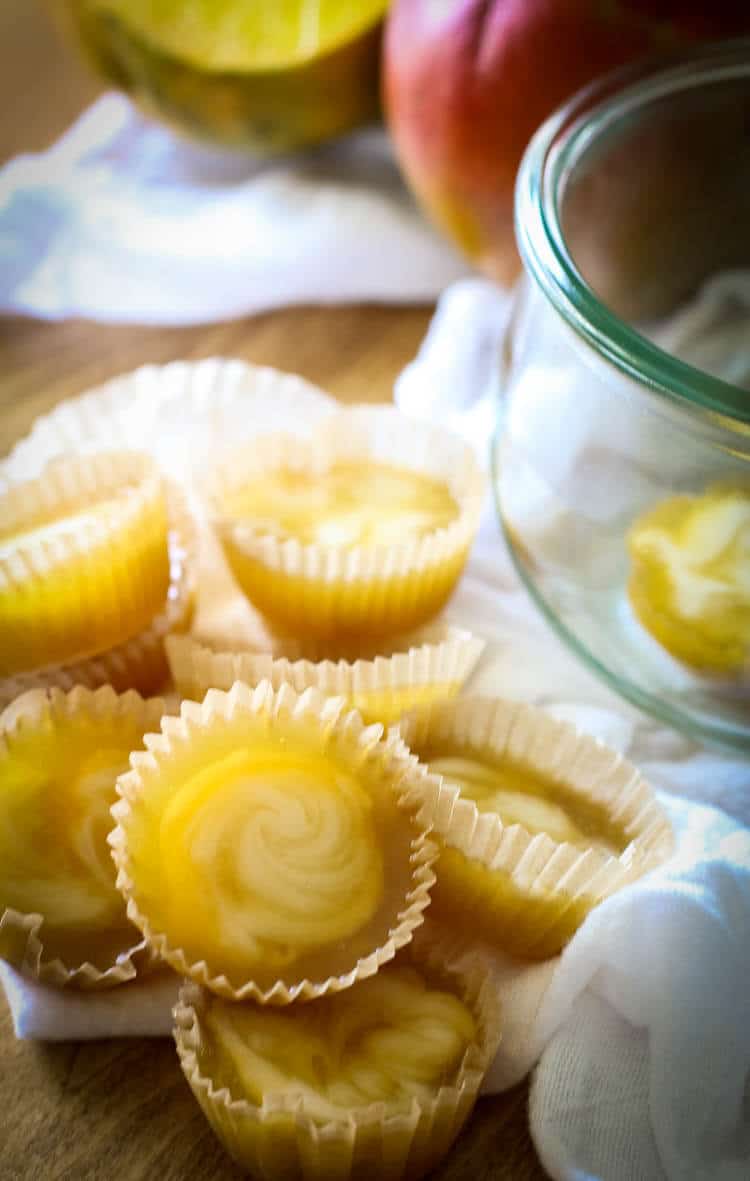
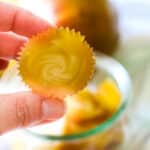
Mango and Cream Gummies are a gut-healing, refined sugar-free, and an overall healthy treat that your whole family will love. It's a simple Paleo and GAPS candy that takes 20 minutes to make.

Do your kids enjoy gummy candies but you cringe at the long list of added sugars and preservatives?
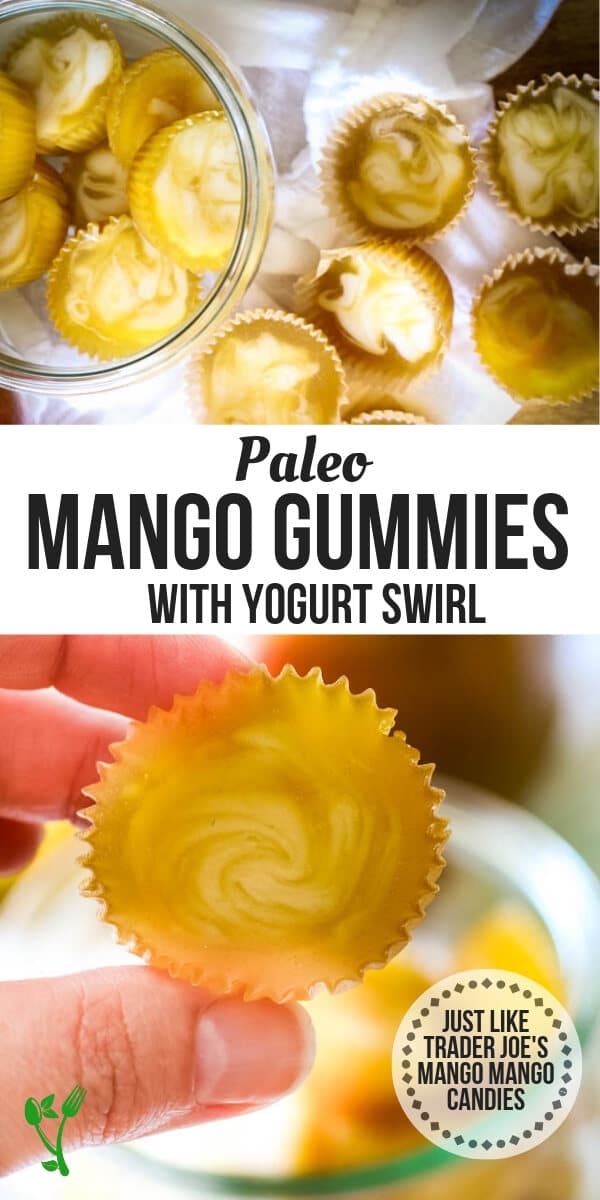
If so, you must try these Mango and Cream Gummy Candies. They taste just like the Mango Mango candies from Trader Joe's but with only a handful of clean ingredients.
Mango and Cream Gummy Recipe - Trader Joe's CopyCat
The best part about recreating your favorites at home is that I have total control over the ingredients used and that allows me to use the best quality on the market. So, let's take a look at the short ingredient list, starting with the order in which they are used:
Mango Nectar vs. Mango Juice:
This is the star of the recipe and what gives the subtle sweetness to the gummies. Mango nectar is essentially mango juice but because mango generally contains so much fruit pulp that it cannot be sold as 100% fruit juice.
Most nectars have added water and sugar -- so be on the lookout for one without the added sugar or other preservatives. My first choice is Organic Mango Nectar at Costco, followed closely by Trader Joe's canned Mango Juice (they come in 4-pack and have zero added sugars!
Gummies Using Unflavored Grass-Fed Gelatin:
Gelatin is having it's time in the spotlight these days and for good reason.
This superfood is rich in minerals, amino acids and is 98% protein. Not to be confused with collagen (which is added to my morning drink daily and is just as superfoodish!), gelatin is naturally gluten-free and has zero fat. Note that gelatin is what "gels" and gives these gummies that traditional gummy texture where as collagen would not change the consistency or texture of your drink.
We use Perfect Supplements for all our collagen and gelatin needs. It is exclusively sourced from pastured cows, is non-GMO and is free from hormones and pesticides. Truly a product you’ll feel good about.
Perfect Supplements has kindly given P+N readers a 10% discount. Enter PREPARE10 at checkout and get your grass-fed, non-GMO gelatin today!
Homemade Gummies with Raw Honey
I like to preserve the nutritional benefits of using raw honey whenever I can so I avoid heating it as much as possible. Use a light colored honey such as this one so it doesn't darken the gummies.
When adding honey, make sure the gelatin mixture has cooled down enough to not destroy the live enzymes in the honey but you also want it to be warm enough to dissolve the sweetener easily. You want to keep it under 98F degrees to avoid denaturing the honey.
Dairy Free Mango and Cream Gummies
Coconut Yogurt is used to create that creamy part of the gummies. It has a perfectly thick texture and adds a subtle tartness to these sweet gems. It balances out the mango flavor so well. Lightly seasoned with honey and stevia if desired, this yogurt addition makes these Mango and Cream Gummies just like the real Trader Joe's Mango Mango candies.
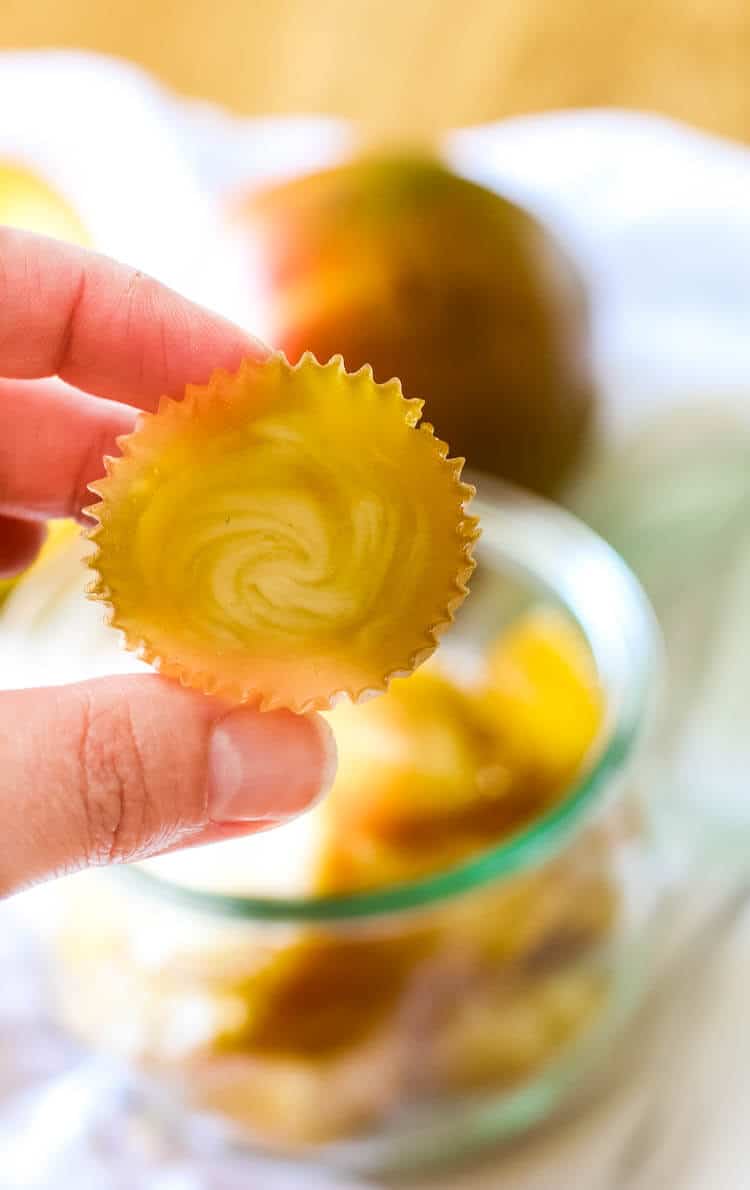
Mango Gummies from Trader Joe's
The Mango Mango gummy candies from Trader Joe's is my weakness. I realize it doesn't have the cleanest ingredients (I'm looking at you cane sugar!) but every now and then I would purchase them as a treat for my family.
That's why I was itching to recreate a Paleo version at home - one that I would feel good about consuming. I'm very pleased with this recipe and how crazy similar it tastes to the Trader Joe's version.
Mango Gummy Recipe
Printable Recipe
Mango and Cream Gummy Recipe - Trader Joe's Copy Cat (Paleo, GAPS, Low Carb)
Ingredients
For Mango Mixture
- ¾ cup mango nectar divided
- 2 tablespoons unflavored grass fed gelatin
For Yogurt Mixture
- 2 tablespoons room temperature water
- 1 tablespoon unflavored grass fed gelatin
- 1 tablespoon boiling water
- 1 tablespoon raw honey light colored
- ½ cup full fat coconut yogurt
- 6-10 stevia extract optional
Instructions
Mango Mixture
- Bloom gelatin in ½ cup of mango juice and set aside in a small saucepan.
- Once gelatin and mango nectar has thickened, add remaining mango nectar (¼ cup) and set on medium-low heat. Whisk gently to dissolve the gelatin. Set aside to chill.
Yogurt Mixture
- In another small saucepan, bloom gelatin with room temperature water.
- Once thickened, add boiling water and dissolve over medium-low heat until consistency is smooth (approximately 3 minutes)
- Remove from heat, add honey and yogurt and stevia if desired. Whisk well to combine. Set aside to slightly chill to room temperature.
Bringing it Together
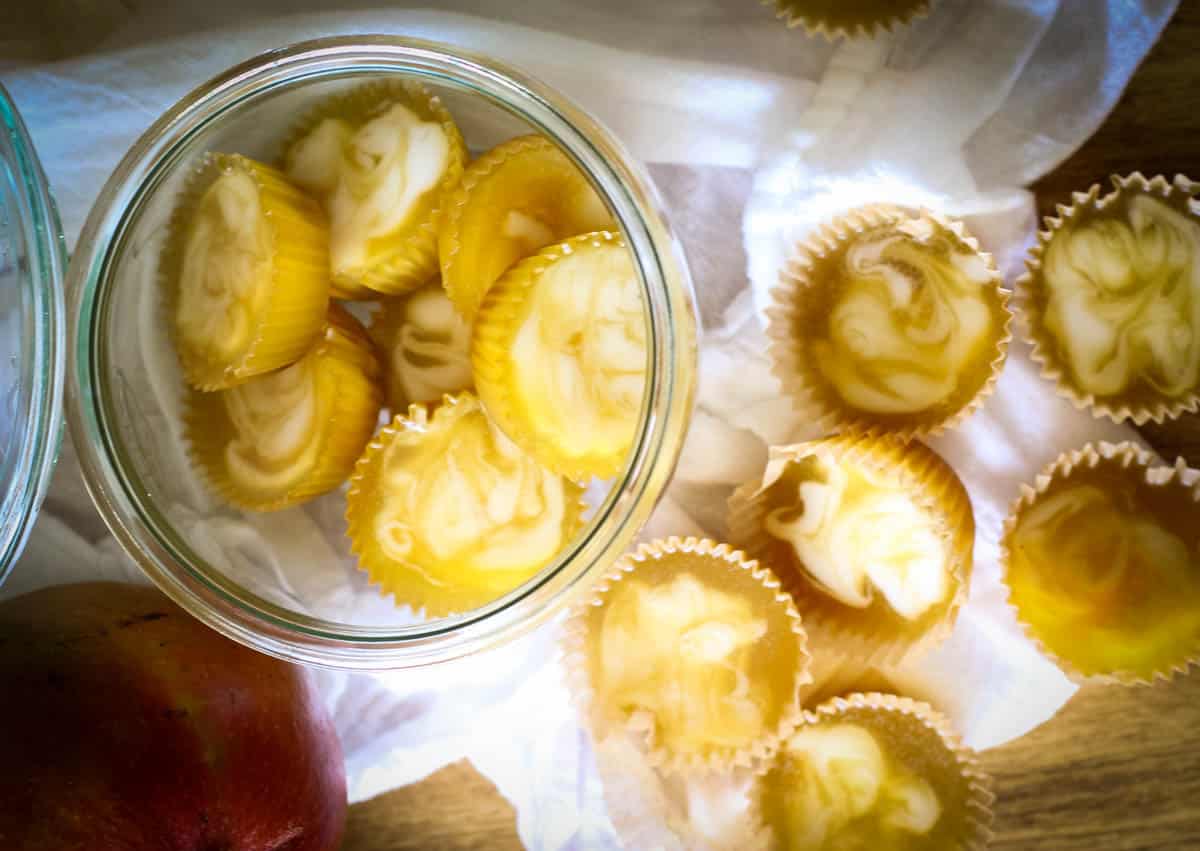
- In silicone molds or mini muffin pan, fill ⅔ of the cavity with mango mixture. Carefully pour about a teaspoon of the yogurt mixture and quickly make swirls using a toothpick.
- Set aside at room temperature for two hours to completely set.
- Store in closed container at room temperature for up to a week.
Video
Notes
Nutrition
If you liked the recipe above, please consider rating the recipe and leaving a comment below. Also, be sure to follow me on Facebook, Instagram, and Pinterest.
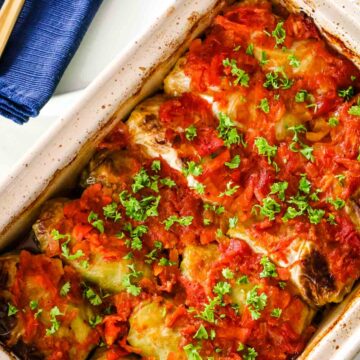
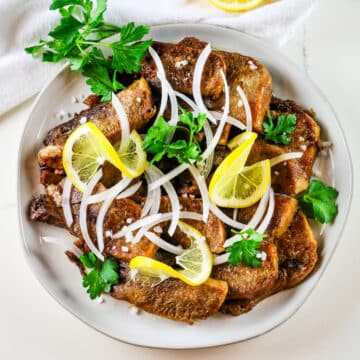
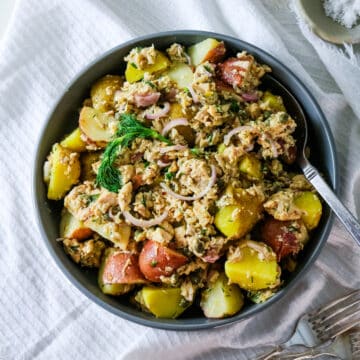
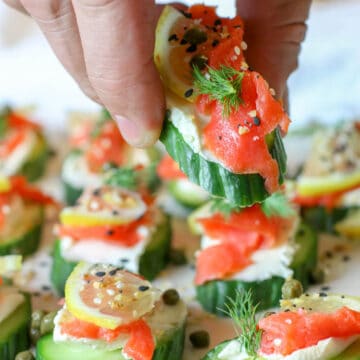
More Healthy Treats You Must Check Out:
3 Ingredient Bedtime Gummies (Paleo, GAPS)
Raspberry Cheesecake Fat Bombs (Primal, GAPS, Low Carb)
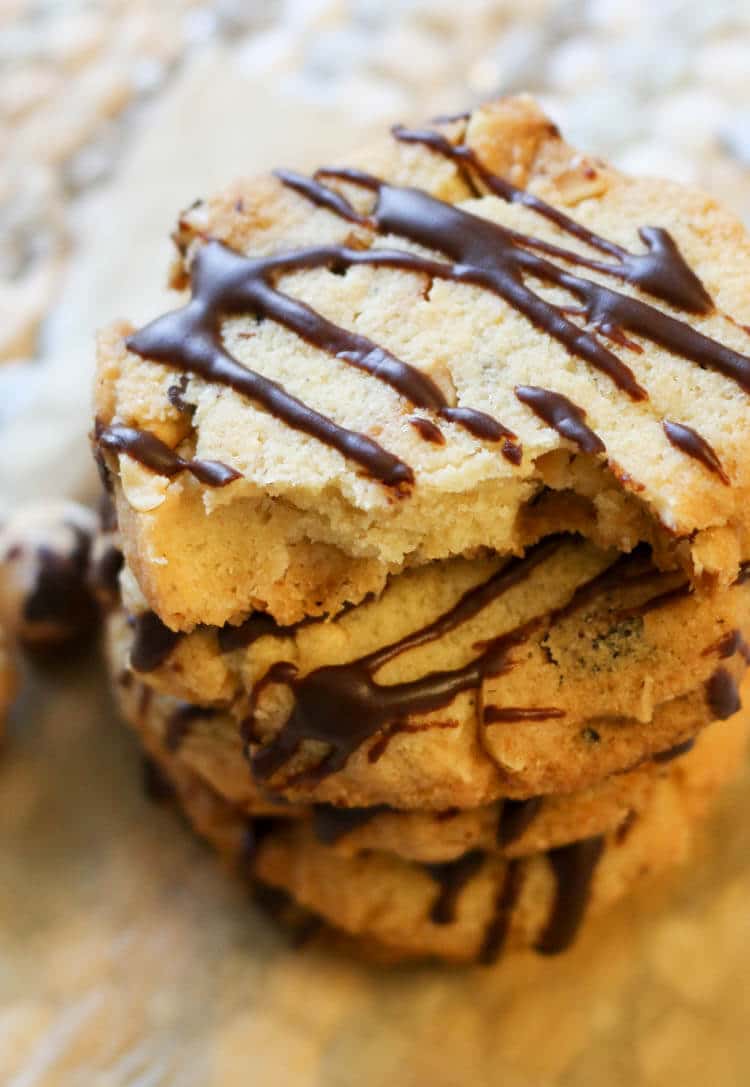
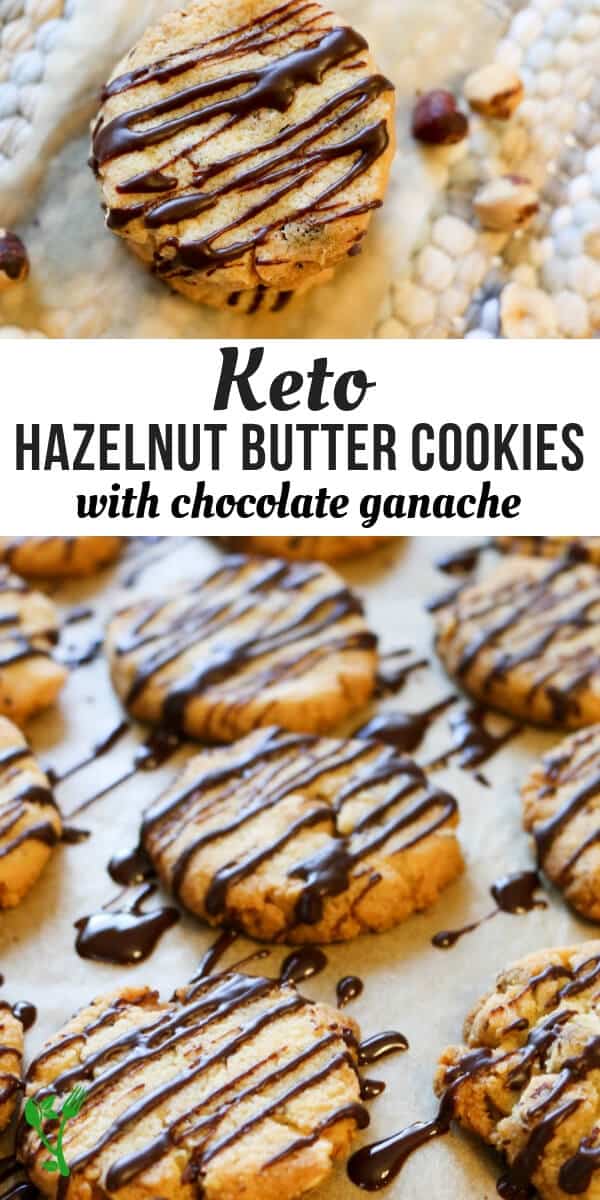
Keto Hazelnut Butter Cookies (Gluten Free, Low Carb)
Paleo Coconut Flour Banana Bread Muffins (Nut Free, Dairy Free)
>>> Pin This <<<