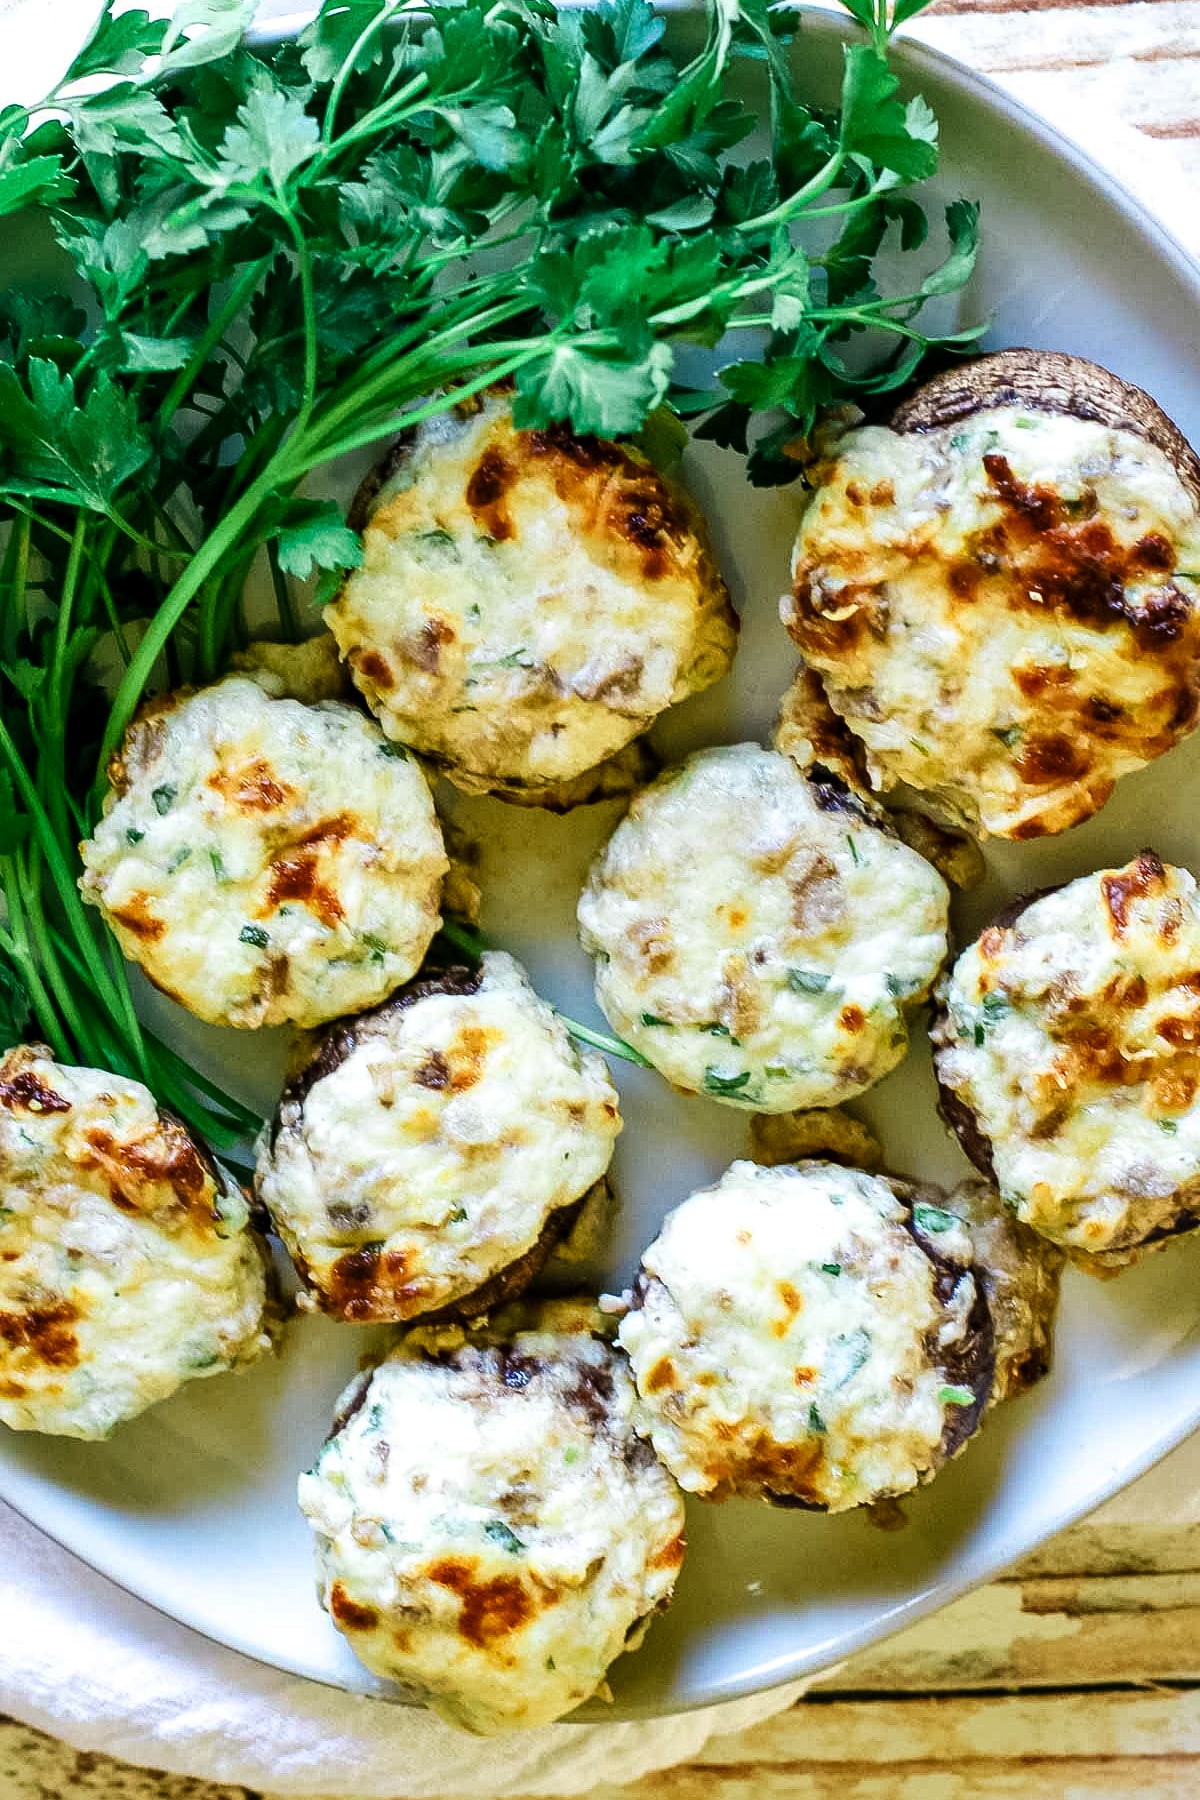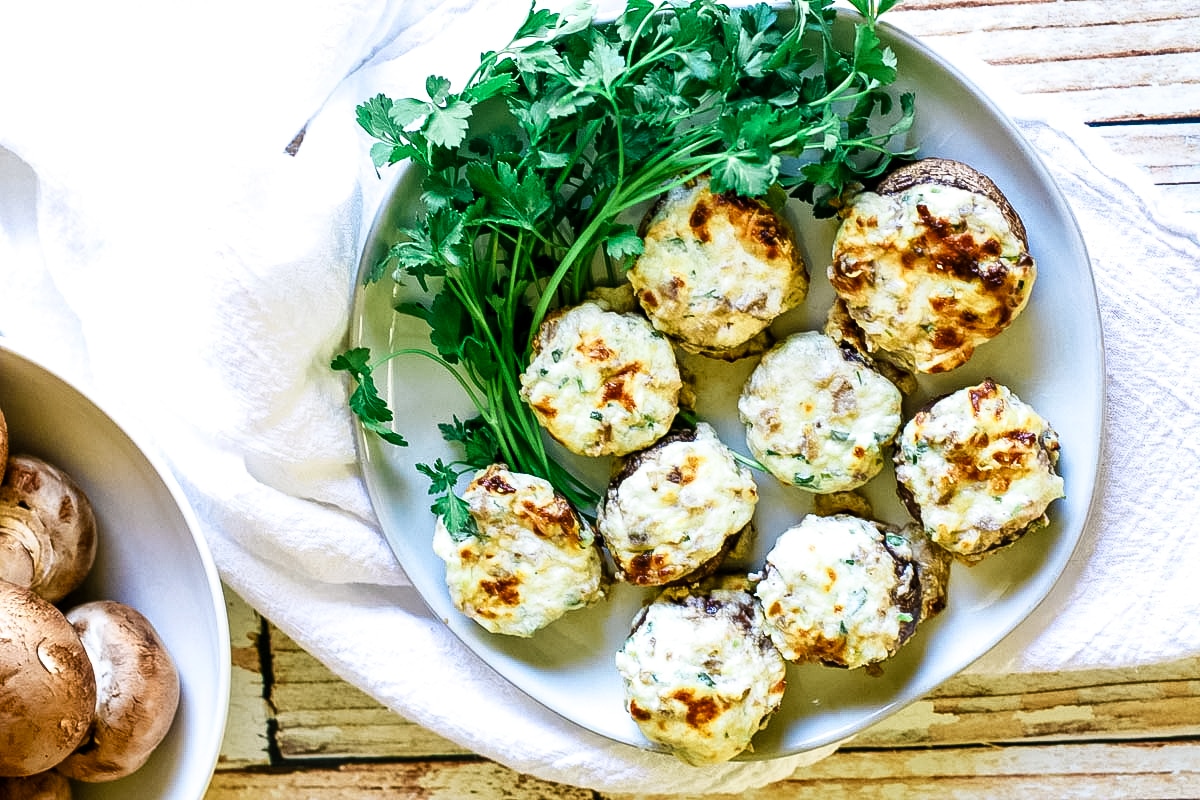
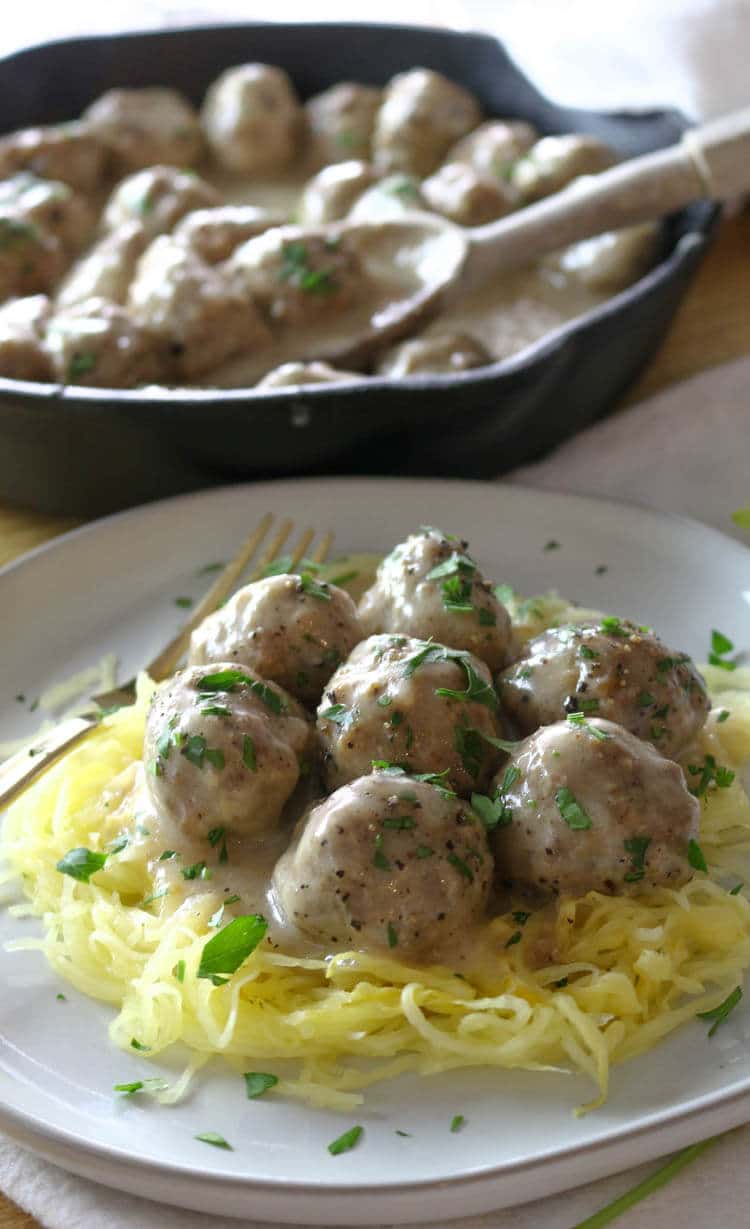
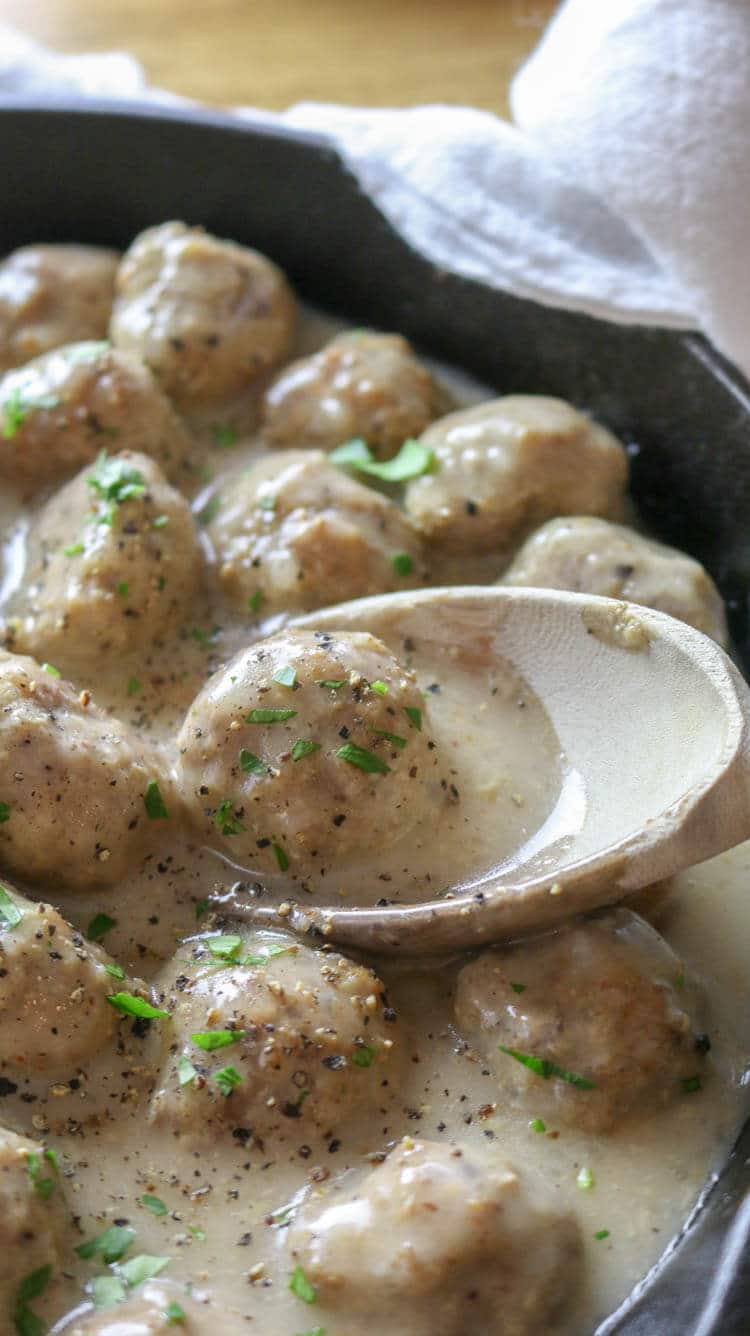
These Paleo Swedish Meatballs are just as satisfying as the original comfort food but without the gluten or dairy. They come together easily, baked to perfection in the oven, and then smothered in the delicious gluten-free gravy.
Meatballs are such a classic hit around here. But I always dread making them because that usually calls for frying them.
I don't particularly appreciate the splatter of grease all over my cooktop and kitchen counters and I definitely don't care for the time it takes to turn and flip them. There are certain foods that simply taste better fried but whenever I can, I will always opt to bake food in the oven instead.
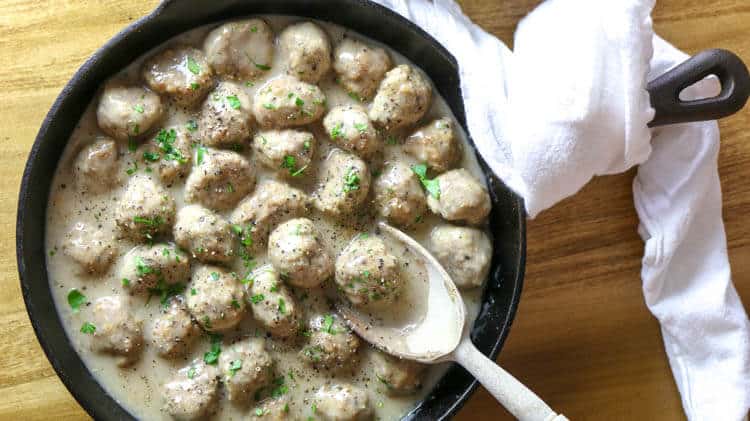
That's how these Paleo Swedish Meatballs are made. They are oven-baked to tender perfection. Meanwhile, the gravy is made and the cooktop is spared! #winwin
Oven-Baked Swedish Meatballs (Paleo, Whole30, Gluten Free)
The best thing about this recipe, besides the flavor-packed meal, is that they are baked in the oven. This is ideal for busy weeknight dinners when there's already plenty to get done. While the meatballs are cooking in the oven, you can work on the gravy, that way everything comes together in perfect timing.
The gravy is simply a gluten-free roux in ghee (if dairy free, butter if not) with added bone broth and additional natural flavors. All delicious and real food. I love that this recipe is not heavy on different ingredients. The meatballs contain a ton of flavor from the meat itself and the various seasonings but the gravy is pretty simple yet still boasts a rich and savory taste. Surprisingly, the gravy still has that creamy flavor, texture and look but without the sour cream as other recipes call for.
What is the best ground meat for Swedish meatballs?
Most recipes use 1:1 ratio of pork and beef. I've used that in the past but admittedly prefer all pork for this recipe. I feel like the flavor and texture is different as soon as you add beef to the pot. It really is a matter of preference so I would probably go with what you have available and what you feel like using. However, I personally would not recommend using all beef.
One of the top quality pork meats available on the market is ButcherBox. In fact, it's thanks to them that I feel comfortable serving my family pork. They deliver heritage breed pork that is humanely raised, free from antibiotics or hormones directly to my door. ButcherBox meets all my criteria for quality meat and I get giddy when I receive my box every month. In addition to pork, they carry humanely raised 100% grass-fed beef, free-range organic chicken, and wild-caught Alaskan sockeye salmon.
Speaking of pork, they are running a killer deal right now (through April 30, 2019) that will get you 2 pounds of breakfast sausage and 2 packs of bacon for FREE in your first box. As you build your box, thrown in some ground pork for these Swedish meatballs.

What to serve with Swedish Meatballs?
There's really no shortage of foods to serve with these Oven-Baked Swedish Meatballs. If you're following Paleo or Whole30 eating, some of my favorite options are zoodles, cauliflower rice, or spaghetti squash pasta. Check out THIS post on how to cook spaghetti squash for the longest strands.
If you tolerate potatoes, mashed potatoes are a traditional side to serve with Swedish meatballs. They are Whole30 and Paleo (according to some sources) if dairy is omitted.
If you're simply wanting to stay gluten free but your gut is happy with other grains, I recommend my favorite Ancient Grains pasta such as this one. The grains used in this pasta are soaked and sprouted for easier digestion. Good ol' white rice is also a great option as it contains less phytic acid than it's brown counterpart. THIS post has information on how to cook the perfect rice in the Instant Pot using both soaked and non-soaked rice.
Helpful Tips for these Oven-Baked Swedish Meatballs:
- Bake them in the oven instead of frying them. This frees up time to make the gravy and spares the stove from all the grease splatters.
- This recipe makes 24 large meatballs or 46 small meatballs.
- The meatballs can easily be frozen after they are baked. Allow to cool first before transferring them to freezer.
- The gravy can be made with arrowroot or tapioca powder. Be careful not to overcook the gravy.
- The meatballs can be served with zoodles, spaghetti squash, cauliflower rice or mashed potatoes.
- Leftovers can be kept in the refrigerator for up to 7 days.
- The meatballs can easily be re-heated in a small saucepan on medium-low heat. Add a few tablespoons of water to the saucepan to thin out the gravy, close the lid and allow to "steam" to warm through the meatballs.
Printable Recipe

Oven-Baked Swedish Meatballs (Paleo, Whole30)
Ingredients
Meatballs
- 2 pounds ground pork
- 2 eggs
- ¼ cup psyllium husk
- 1 teaspoon sea salt
- 1 teaspoon garlic powder
- ½ teaspoon black pepper
- ¾ teaspoon nutmeg ground
- ½ teaspoon allspice ground
Gravy
- ½ cup butter or ghee
- 2 tablespoons arrowroot or tapioca powder
- 2 cups bone broth warmed
- 1 tablespoon coconut aminos
- 1 teaspoon Dijon mustard
- ½ teaspoon garlic powder
Instructions
Swedish Meatballs
- Preheat oven to 400 degrees Fahrenheit.
- In a medium size bowl, combine pork, eggs, psyllium husk, salt, garlic powder, pepper, nutmeg and allspice. Mix until combined.
- Roll into 24 large meatballs or 46 small meatballs and spread them evenly on a parchment-lined baking sheet. Bake in preheated oven for 30 minutes.
Gravy
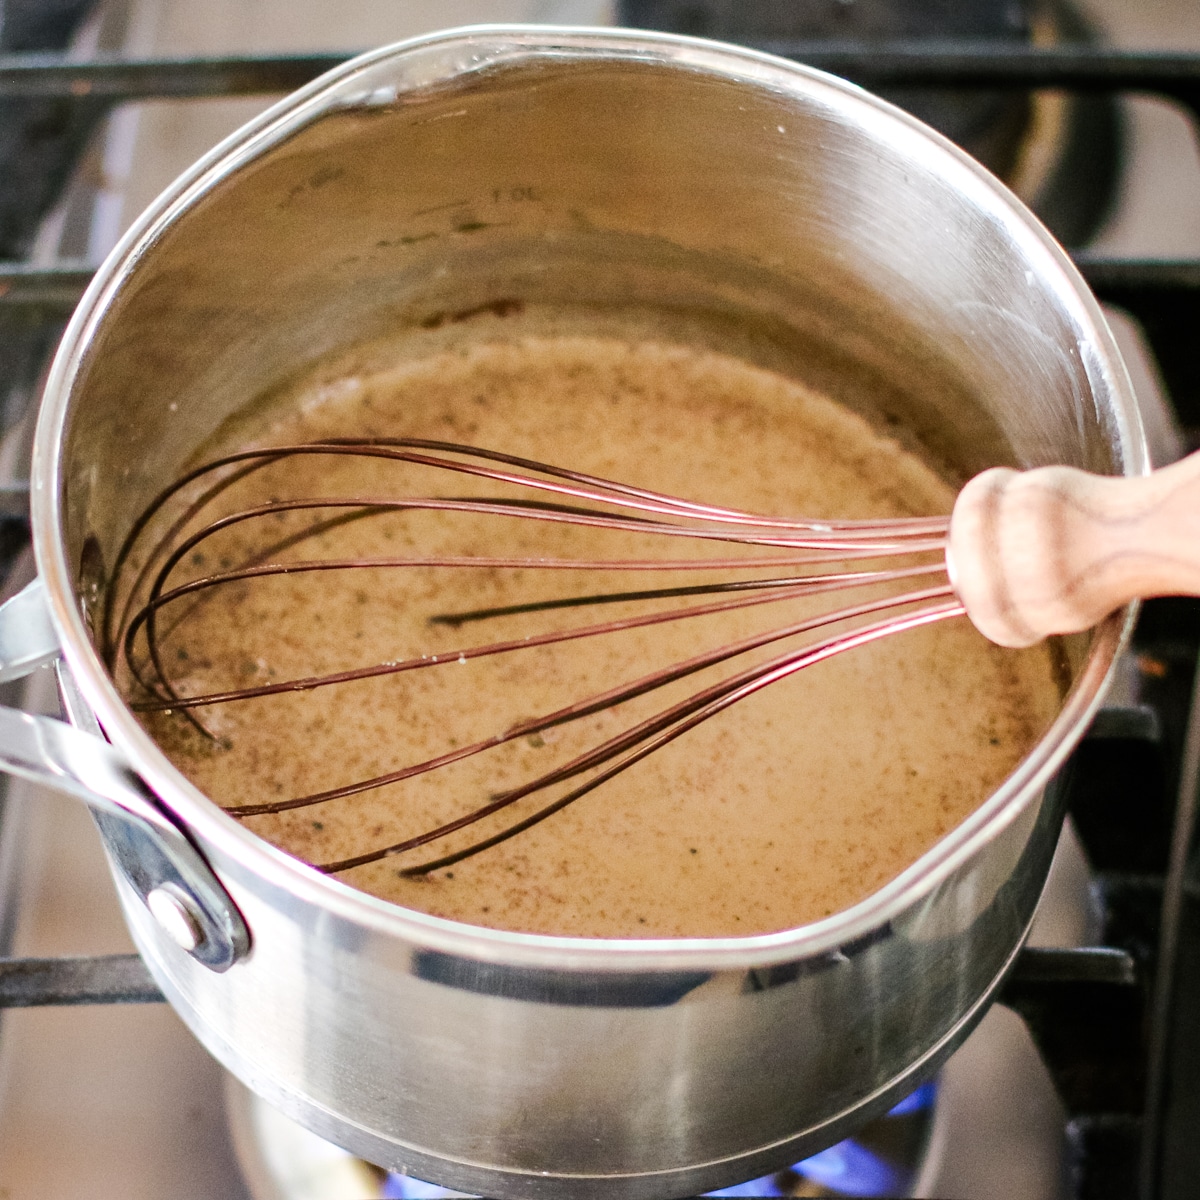
- Heat butter or ghee in a large stainless steel skillet on low heat.
- Sprinkle arrowroot or tapioca all over the butter and whisk vigourously to combine. Cook for 30 seconds, whisking continually until bubbly.
- Add warm broth over the arrowroot/tapioca slurry and stir to combine. Increase heat to medium, gently stirring.
- Add coconut aminos, mustard, and garlic powder and stir to combine. Adjust salt and pepper to taste.
- Transfer baked meatballs to the gravy and simmer and combine everything over low heat. Or serve separately in a gravy bowl and pour over meatballs.
Notes
Nutrition
If you liked the recipe above, please consider rating the recipe and leaving a comment below. Also, be sure to follow me on Facebook, Instagram, and Pinterest.
Need More Easy Dinner Ideas?
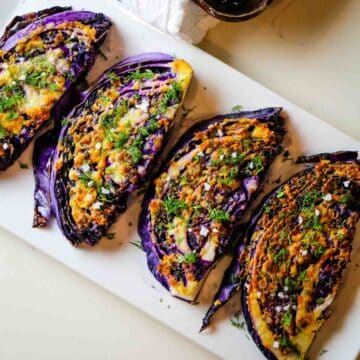
Lazy Cabbage Rolls (Paleo, Low Carb, Whole30)
Veggie-Packed Sloppy Joes (Paleo, Low Carb, Whole30)
Fish en Papillote (Paleo, Low Carb, Whole30)
Almond-Crusted Trout (Paleo, Whole30, Low Carb)
>>> Pin This <<<