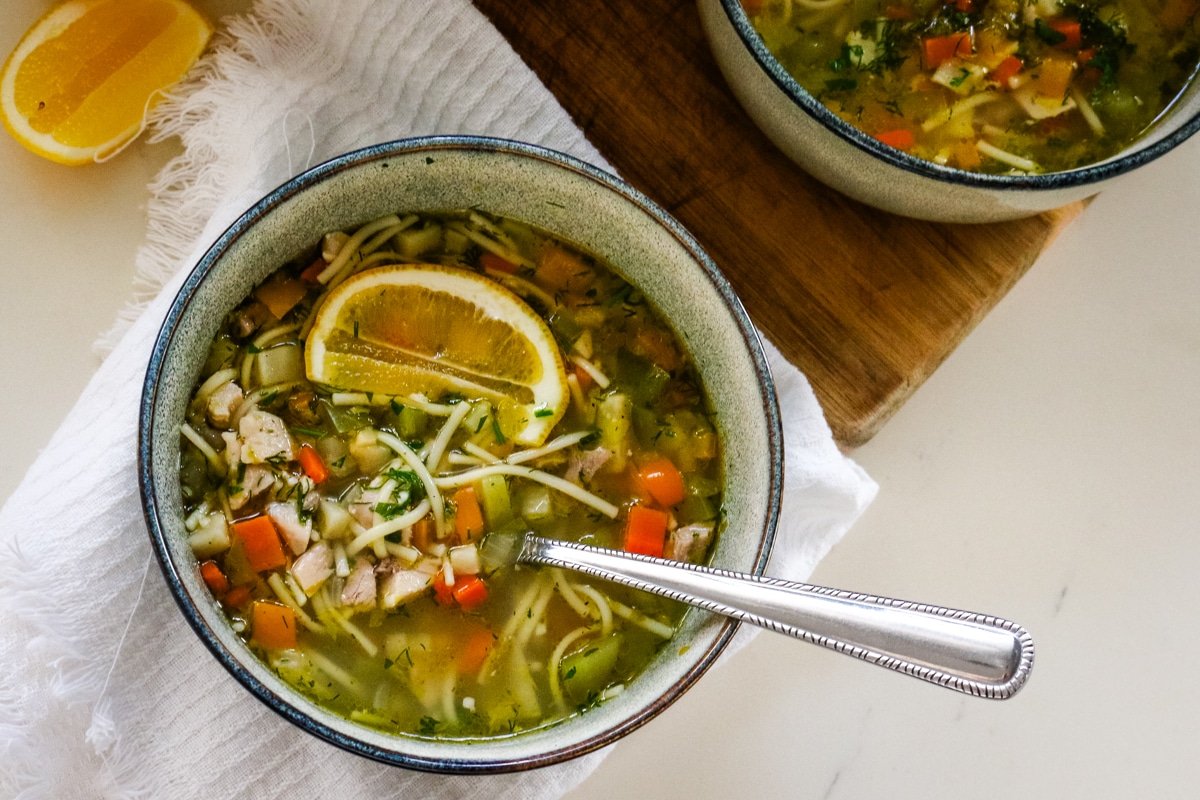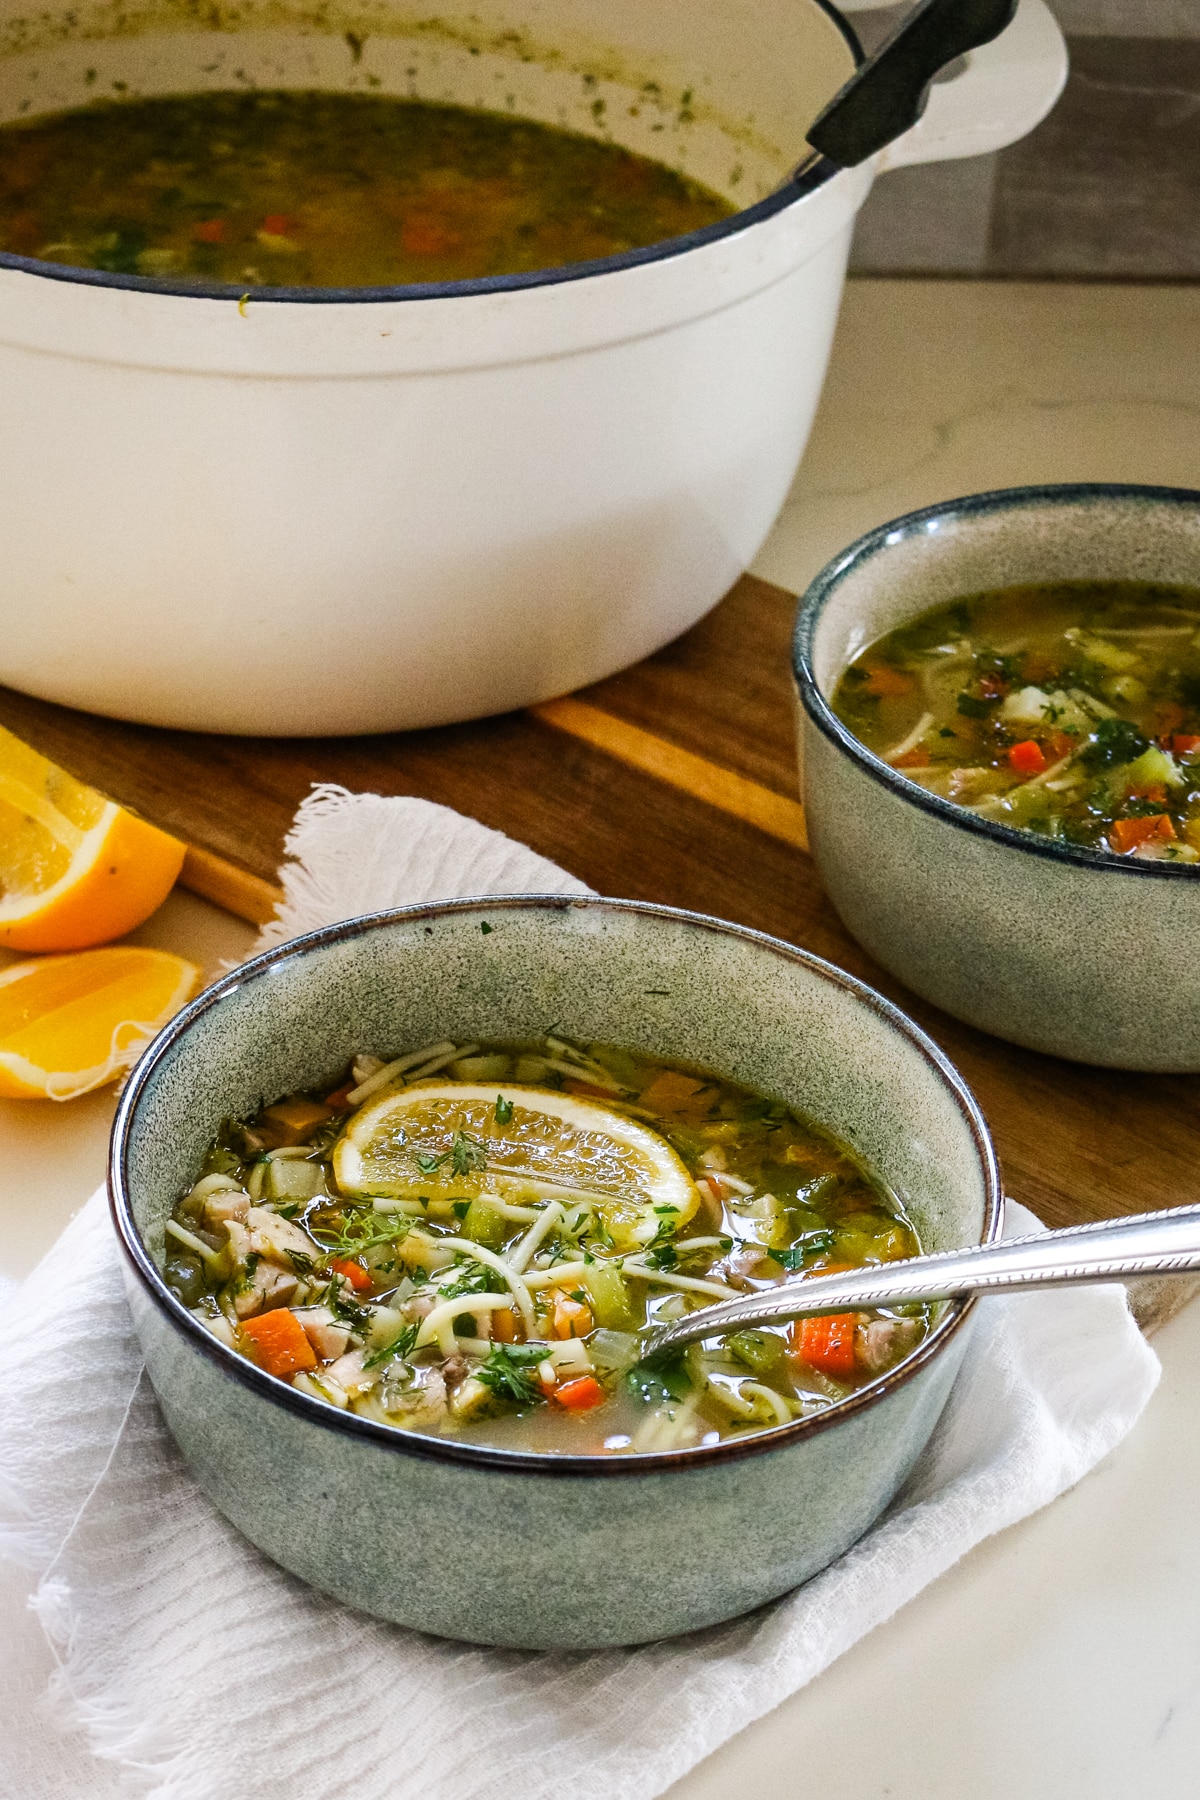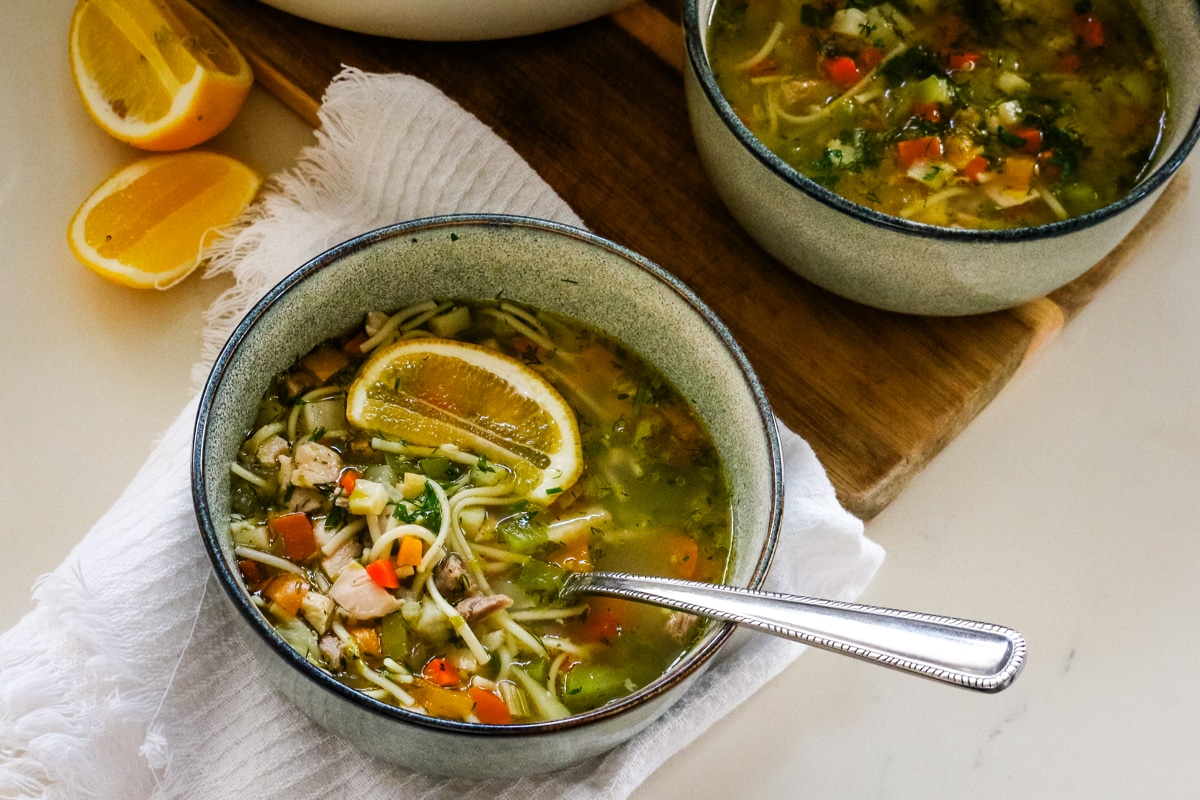
This Avgolemono Soup Recipe stays authentic with very simple and accessible ingredients like bone-in chicken, rice, eggs, lemon, and fresh dill. It's light yet hearty, relying on the rich chicken broth and tempered eggs for its signature creamy texture. I'll show you how to properly temper the eggs so you get that beautiful, airy consistency without any dairy. It's a simple, nourishing meal with just a few ingredients, but bright, satisfying, and delicious.

💡Recipe Overview
- Prep and Cook Time: 15 minutes to prep and 75 minutes to cook
- Cooking Method: Stove-top
- Dietary Info: Ancestral diet
- Tools Needed: large pot
- Skill Level: Easy
What is an ancestral diet? Read my post on what nourishing foods are based on the traditional dietary principles of the Weston A. Price Foundation.
Reasons to Love this Avgolemono Chicken Soup
I first tried this authentic Greek Avgolemono soup at a little spot in Santa Clara, and I’ve been obsessed with recreating it ever since.
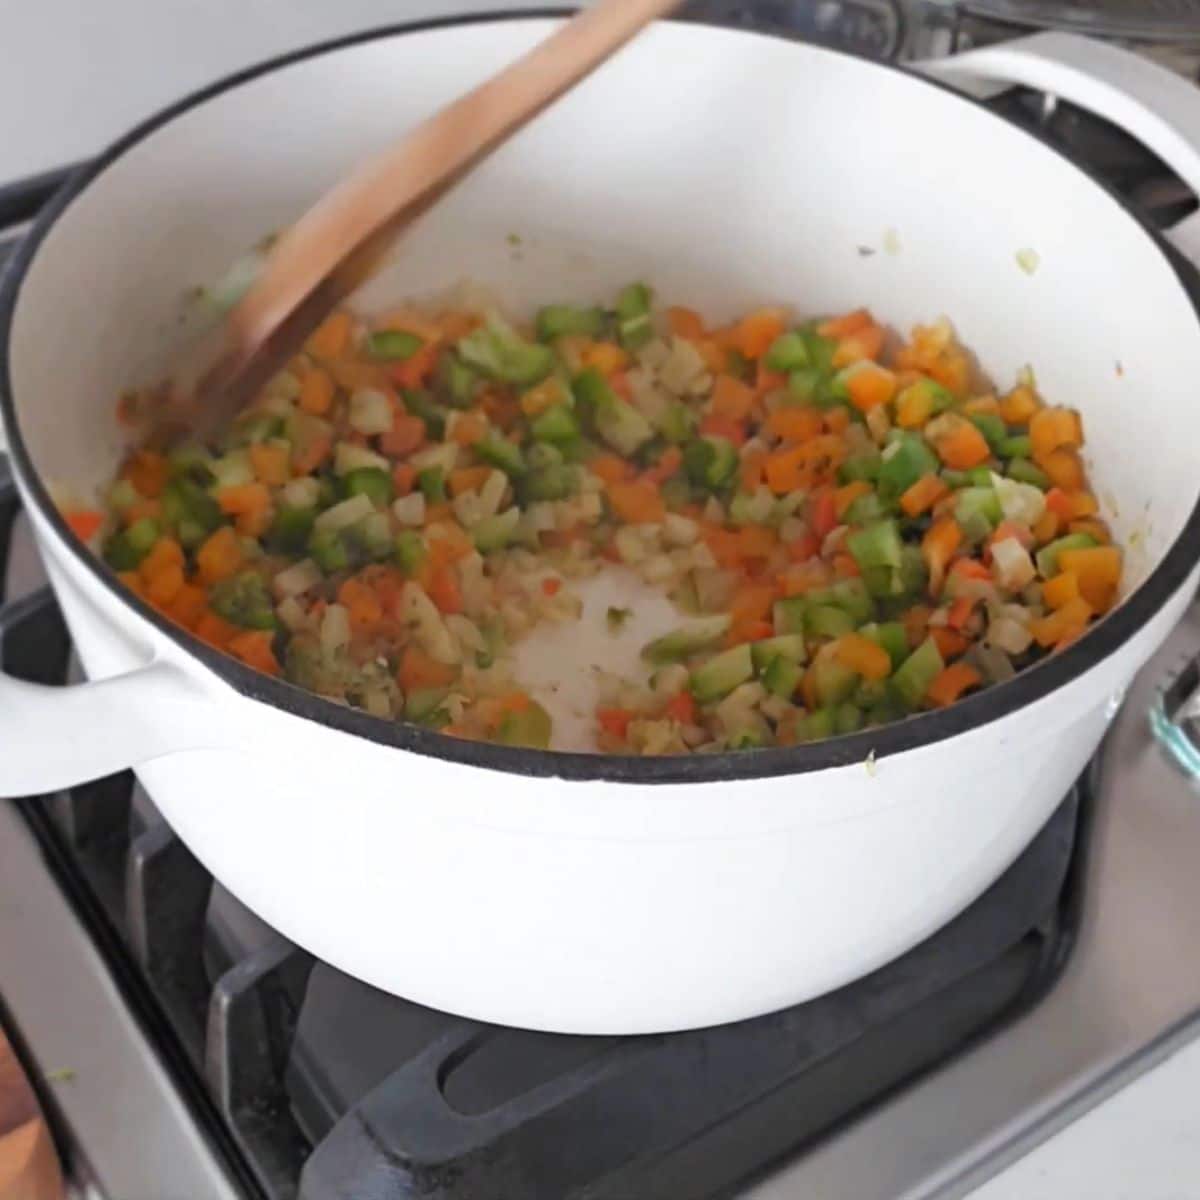
But before we dive in, let’s clear the air: I’m not Greek, but I’m standing firm that real Avgolemono doesn't need onions, celery, or carrots. None of that nonsense. Can we just… not? It simply doesn't belong here.
What’s wild is how this soup is so creamy, light, and flavorful with literally only three main ingredients. How? Magic.
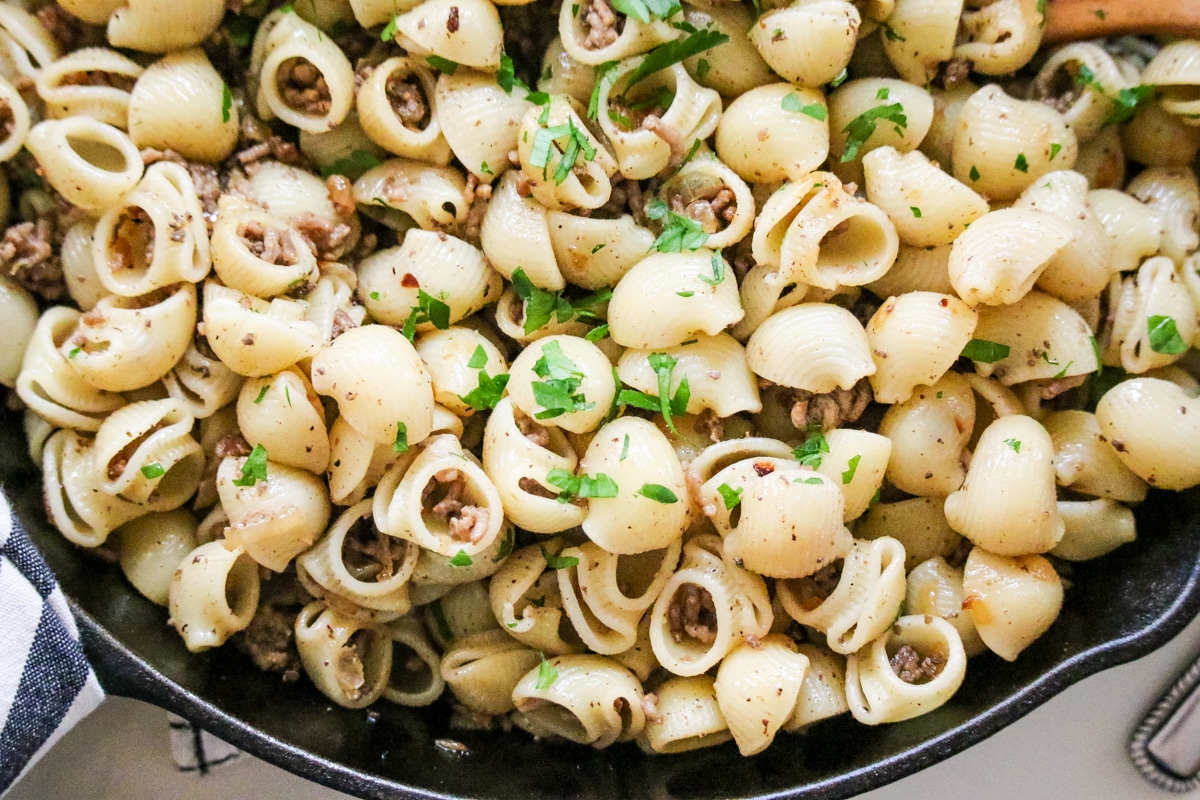
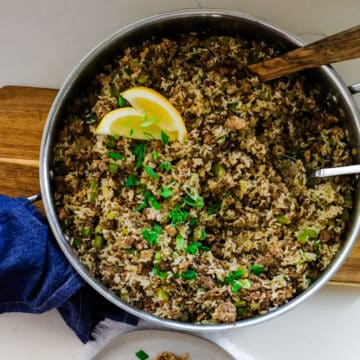
It’s the perfect year-round wonder - light enough for a summer nutrient boost when you aren't craving a heavy chicken and wild rice soup situation, but comforting enough for the colder months.
I’ll show you exactly how to make it for maximum nutrition with zero egg-curdling or "scrambled egg soup" disasters. There's a simple trick that, once you nail it, makes total sense.

Ingredients for Avgolemono Soup
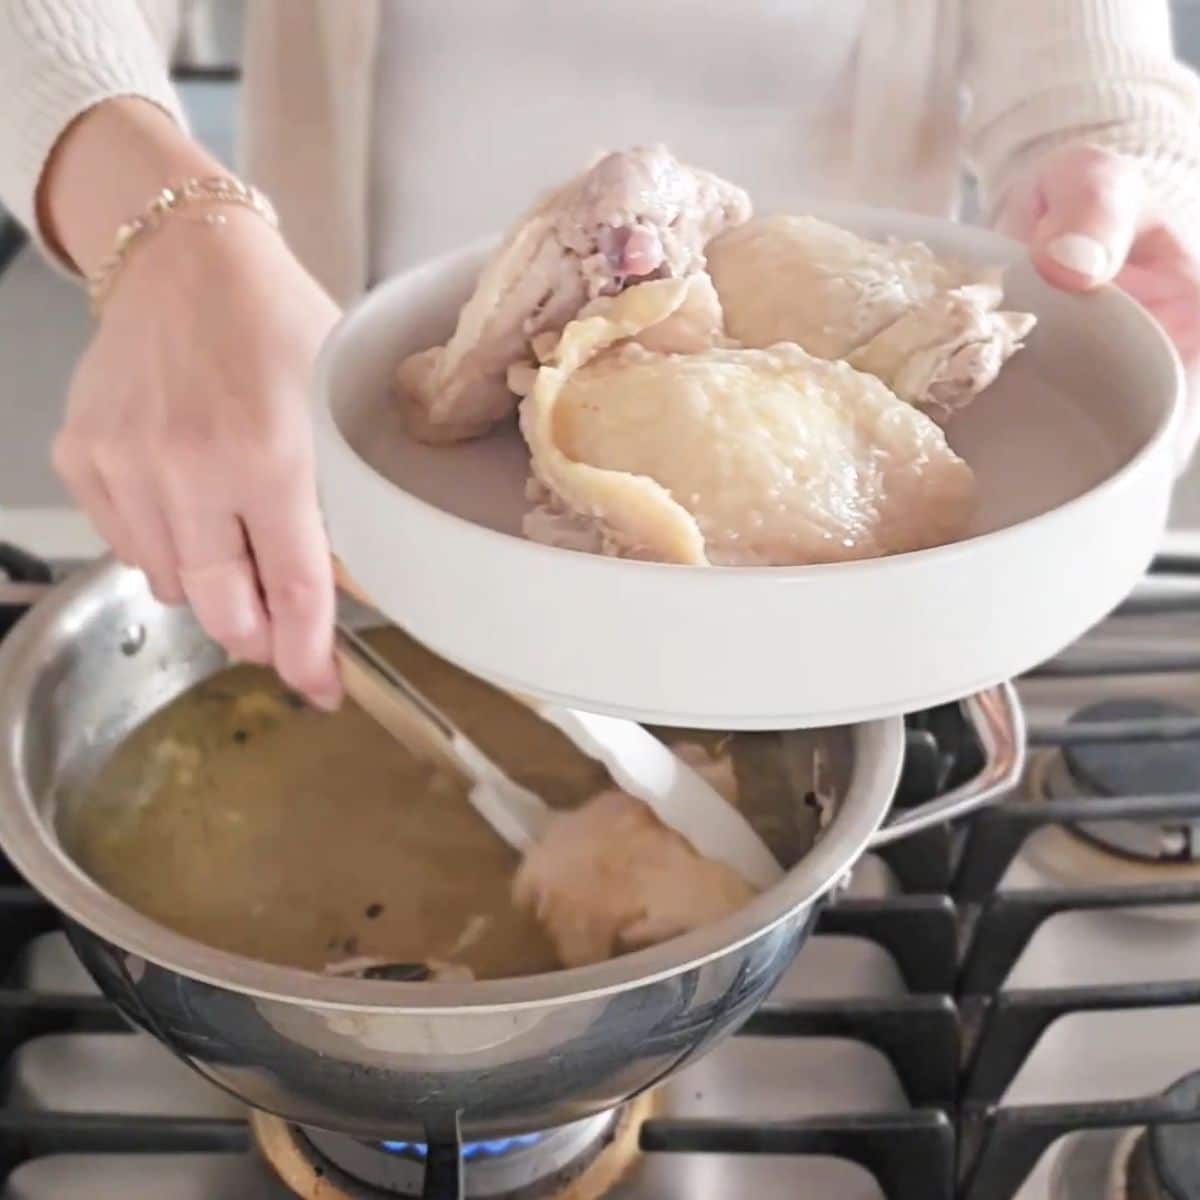
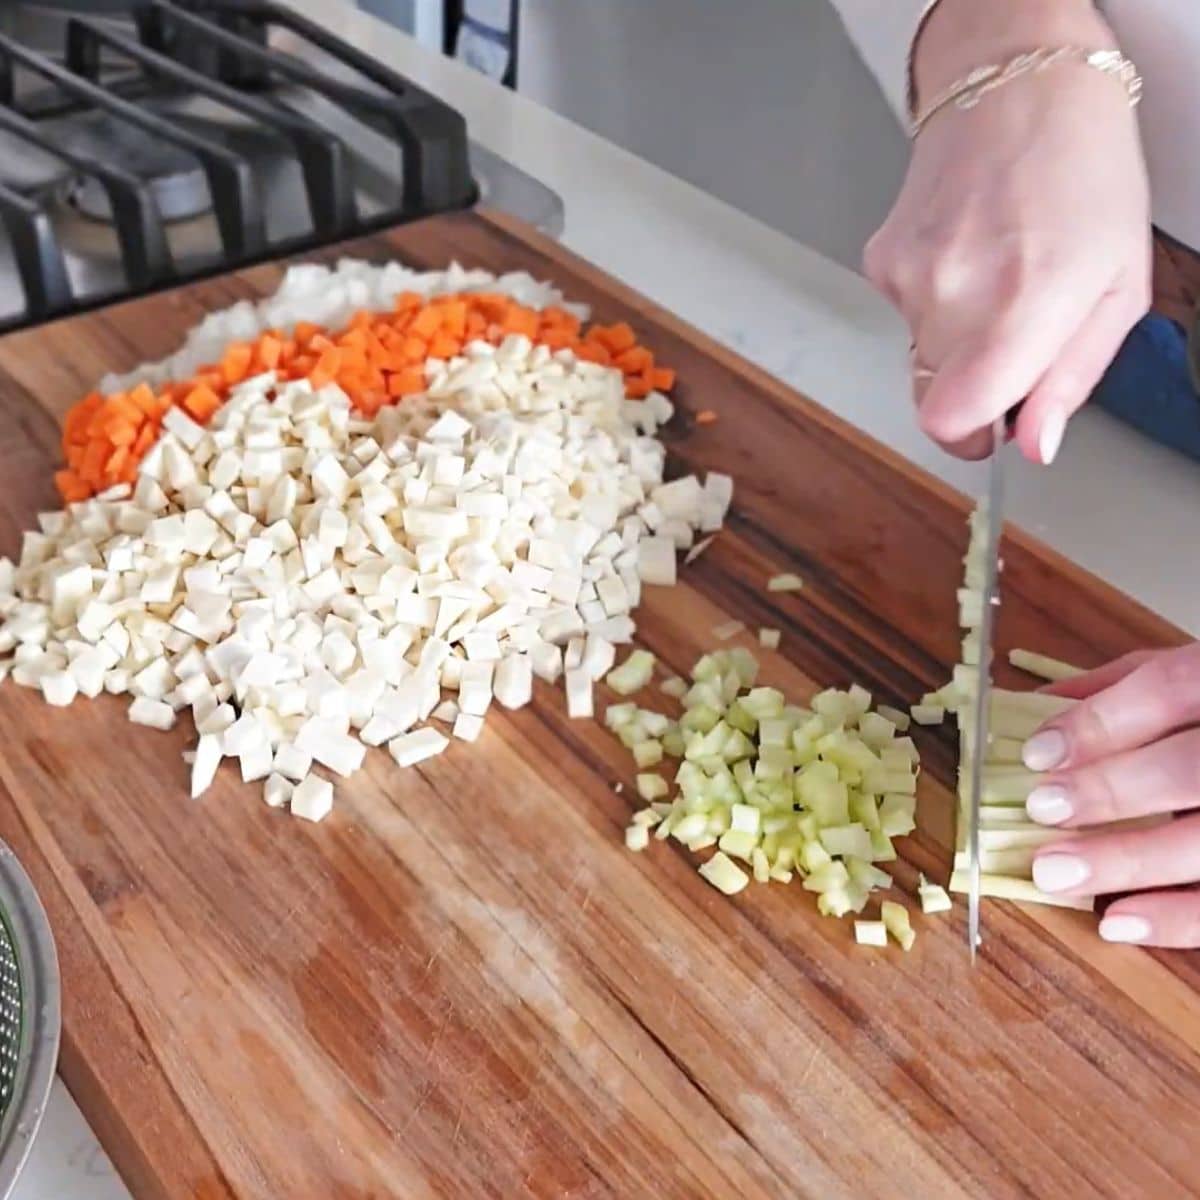
Chicken is the foundation of this soup, using bone-in and skin-on to create a mineral-dense, gelatinous broth. I don't recommend using lean cuts like chicken breasts. It's easier to overcook and dry out the meat, but also the least flavorful. White rice, specifically medium or long-grain rice, provides the starch needed to thicken the broth naturally. I like to toast the rice in a little bit of butter first to really bring out the flavor.
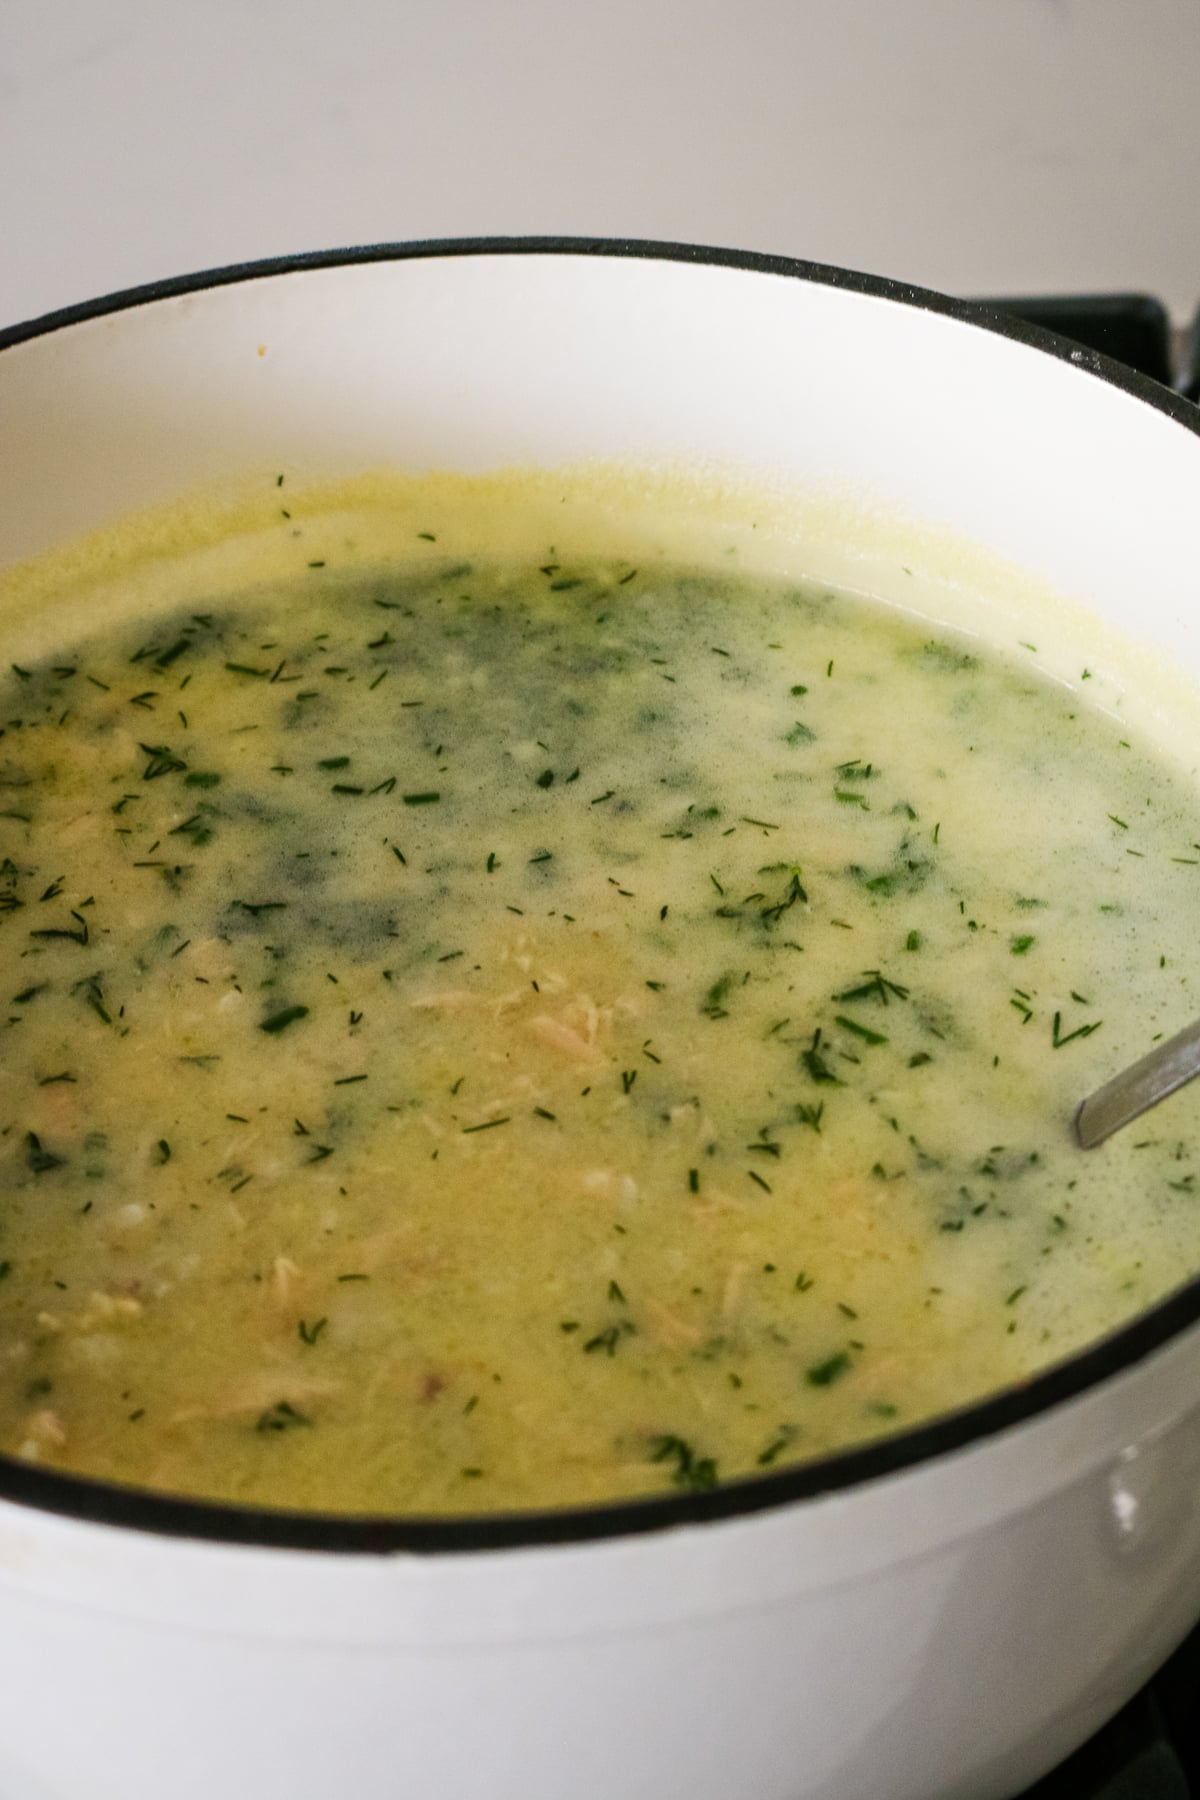
The signature creamy texture comes from tempering eggs into the hot liquid. Fresh lemons provide the necessary acidity; using freshly squeezed juice is essential for the correct flavor and consistency. Finally, fresh dill is the finishing touch for a bright finish.
Helpful Tips
- Achieve frothy eggs: Don't skip whisking the egg whites into a voluminous foam before adding the yolks and the lemon juice. This trapped air is what creates that signature cloud-like texture that defines traditional Avgolemono.
- Perfect tempered eggs: Add the hot broth to the egg mixture in a very slow, steady drizzle while whisking vigorously. A gradual temperature increase prevents the eggs from scrambling or dropping.
- Residual heat finishing: Stir the tempered eggs into the pot only after turning off the heat.
- Eggs curdled or clumped? If the eggs scrambled, pulse the liquid base with an immersion blender (before adding the chicken) to restore the smooth texture.

Serving Suggestions
Since Avgolemono soup is both creamy and bright, I usually lean towards sides that have a Mediterranean slant or provide a crunchy contrast to the silky texture.
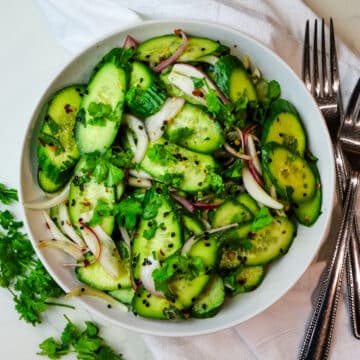
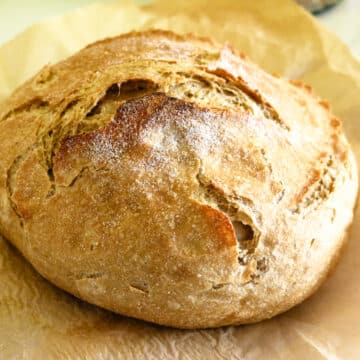
Try my no-knead fresh-milled flour bread or a simple cucumber and tomato Greek salad as a side. If you're looking for a more hearty, green-based salad, try this chopped Mediterranean salad.
Frequently Asked Questions
Store leftover soup in an airtight glass container in the refrigerator for up to 4 days. Be aware that the rice will continue to absorb liquid as it sits, naturally thickening the soup. To reheat, transfer the desired amount to a heavy-bottomed pot on the stovetop over low heat, stirring gently and adding a splash of broth to restore the consistency. These glass snap containers are perfect for leftovers but I love wide-mouth mason jars for leftovers.
You can freeze the soup for up to 3 months but the eggs might curdle. The texture might change slightly but the flavor will remain the same. Thaw in the refrigerator over night and reheat gently on low heat.
Yes, you can use pre-cooked chicken or oven roasted whole chicken and a high-quality chicken bone broth if you're in a pinch. However, you’ll miss out on the natural gelatin and deep flavor that comes from simmering skin-on, bone-in chicken. If you go this route, make sure your broth is unflavored so the lemon can really shine.
Looking for more light soup recipes? Here are some ideas:

Did you make this Avgolemono soup? Please leave a ⭐⭐⭐⭐⭐ recipe rating in the recipe card below and leave a review in the comments. Thank you!💚
Printable Recipe

Avgolemono Soup Recipe
Ingredients
- 2 pounds bone-in chicken
- 12 cups water
- 2 tablespoons butter
- 1 cup medium grain rice
- 3 eggs separated
- 2 lemons juiced
- ¼ cup fresh dill chopped
- salt and black pepper
Instructions
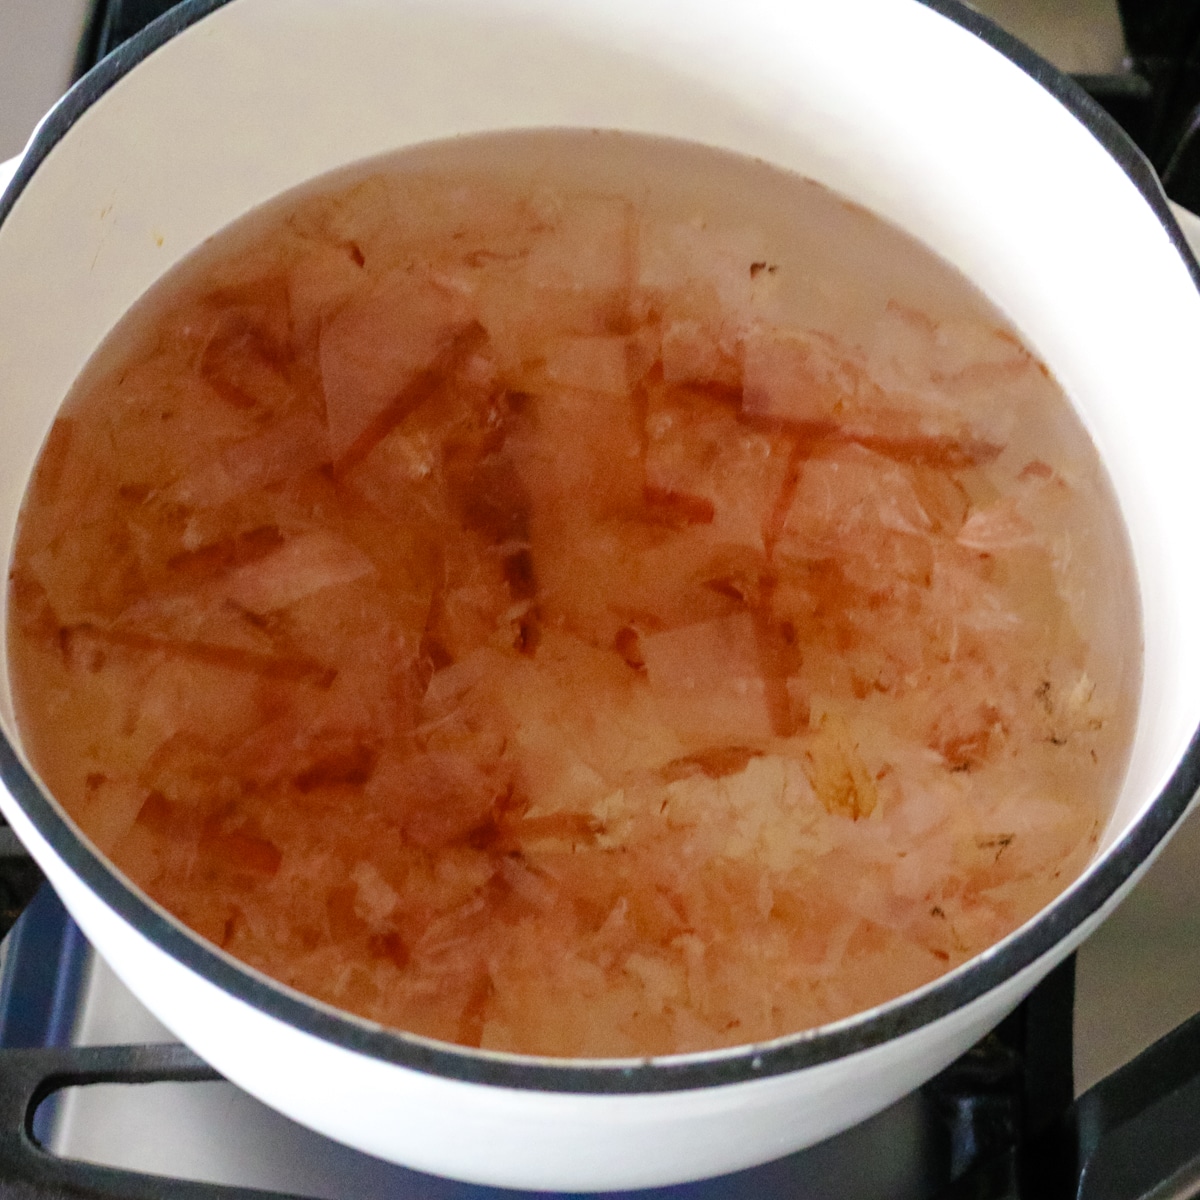
- Place 2 pounds bone-in chicken in the Instant Pot and cover fully with 12 cups water. Add a few bay leaves, peppercorns, and salt for flavor, if desired. Secure the lid and set to Manual to pressure cook for 25 minutes. Allow a 15-minute natural pressure release (NPR) before venting the remaining pressure.
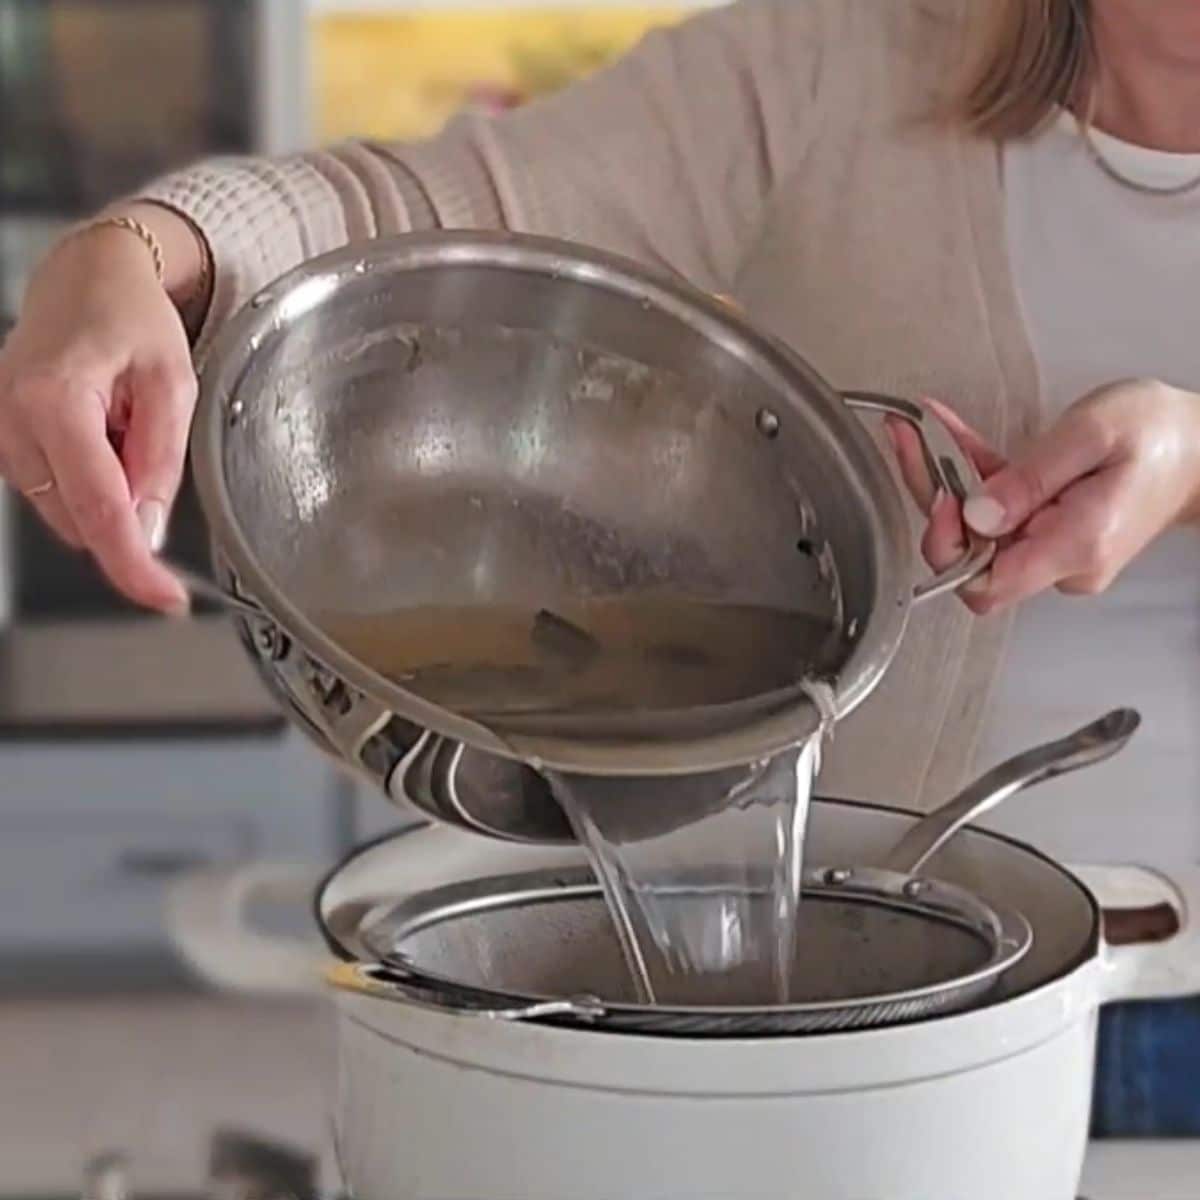
- Carefully remove the chicken and shred the meat. Strain the broth through a fine-mesh sieve into a large bowl.
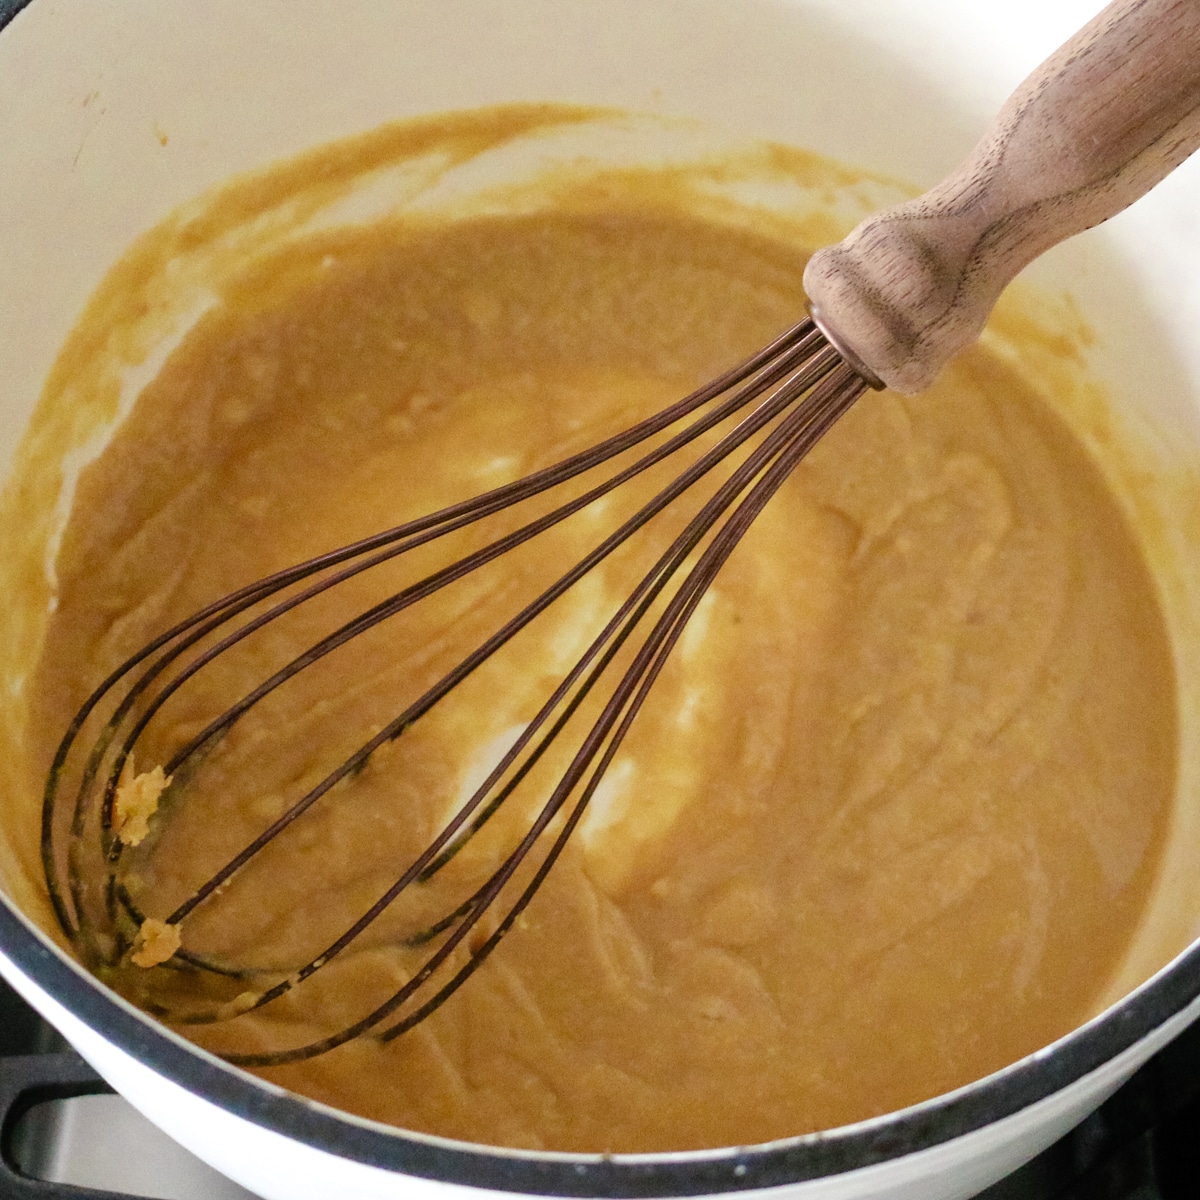
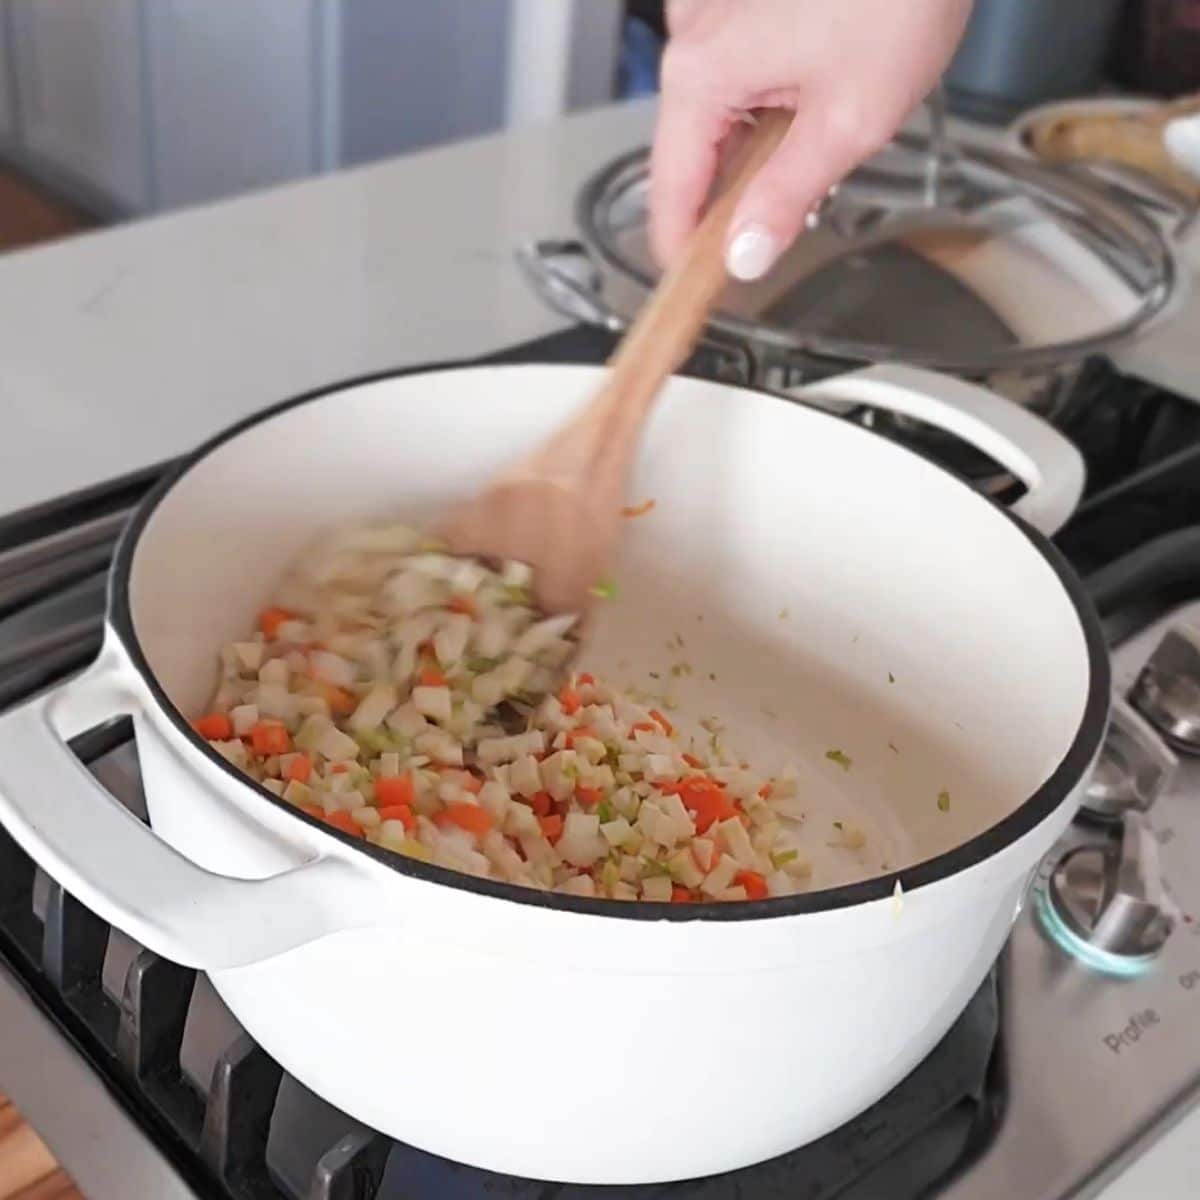
- In a separate medium pot, melt 2 tablespoons butter over medium heat. Add 1 cup medium grain rice and toast for 3-5 minutes until the grains are opaque and smell nutty.
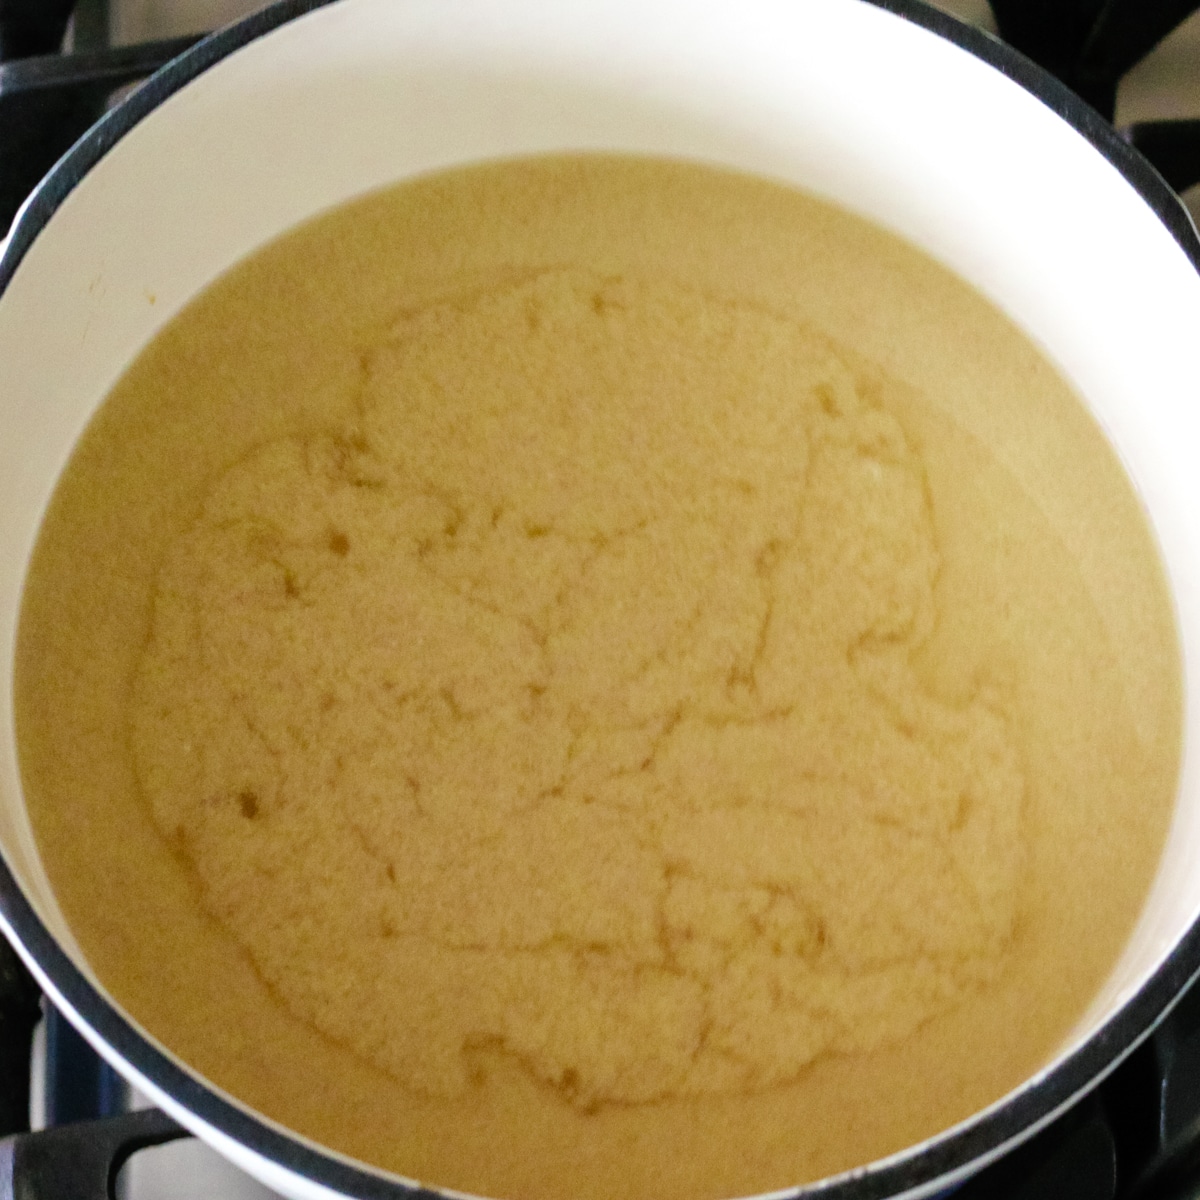
- Add the broth to the toasted rice and bring it to a boil. Reduce heat to a gentle simmer. Cook uncovered for 10 minutes until the rice is tender.
- While the rice simmers, whisk the 3 egg whites from 3 eggs in a medium bowl until very frothy (nearly soft peaks). Gently whisk in the 3 yolks and the juice of 2 lemons.
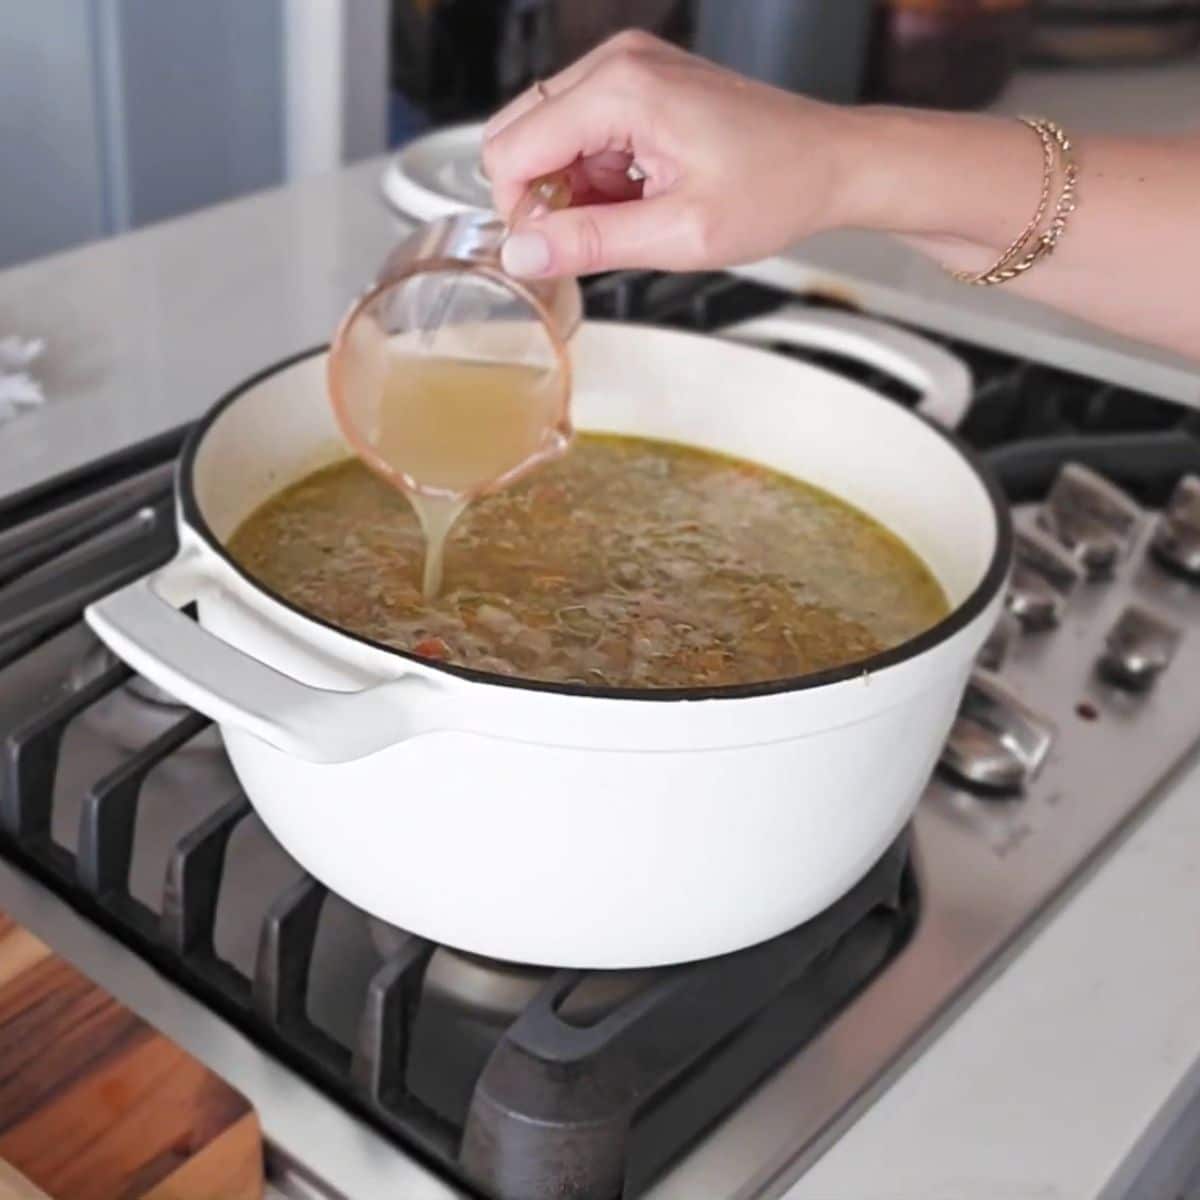
- Temper the eggs by slowly drizzling 3 cups of the hot broth into the egg mixture, whisking constantly so the eggs don't scramble.
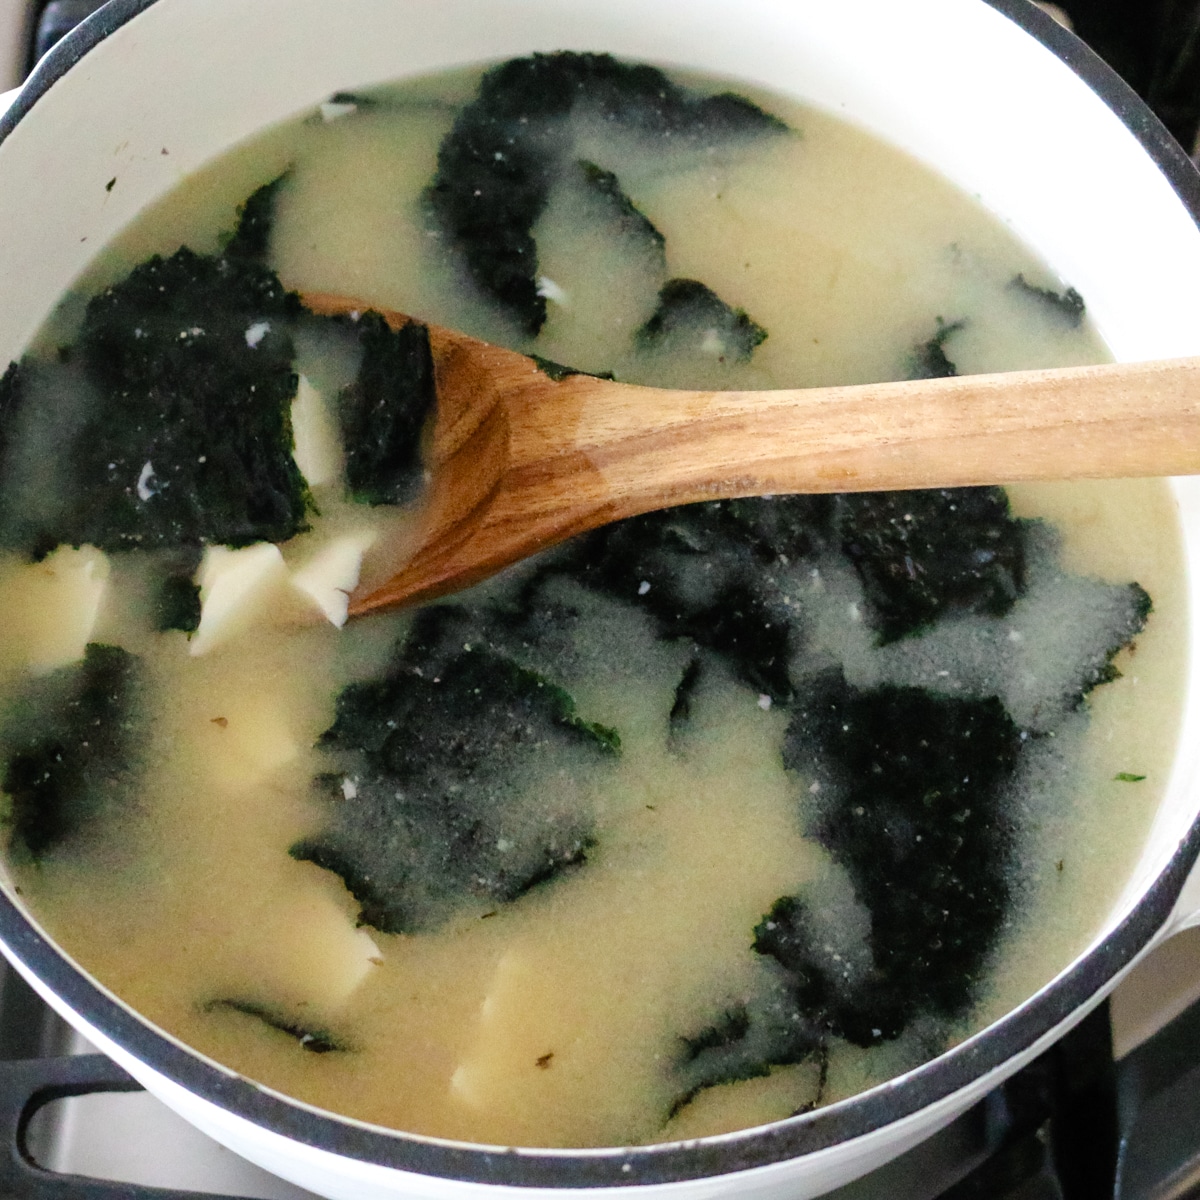
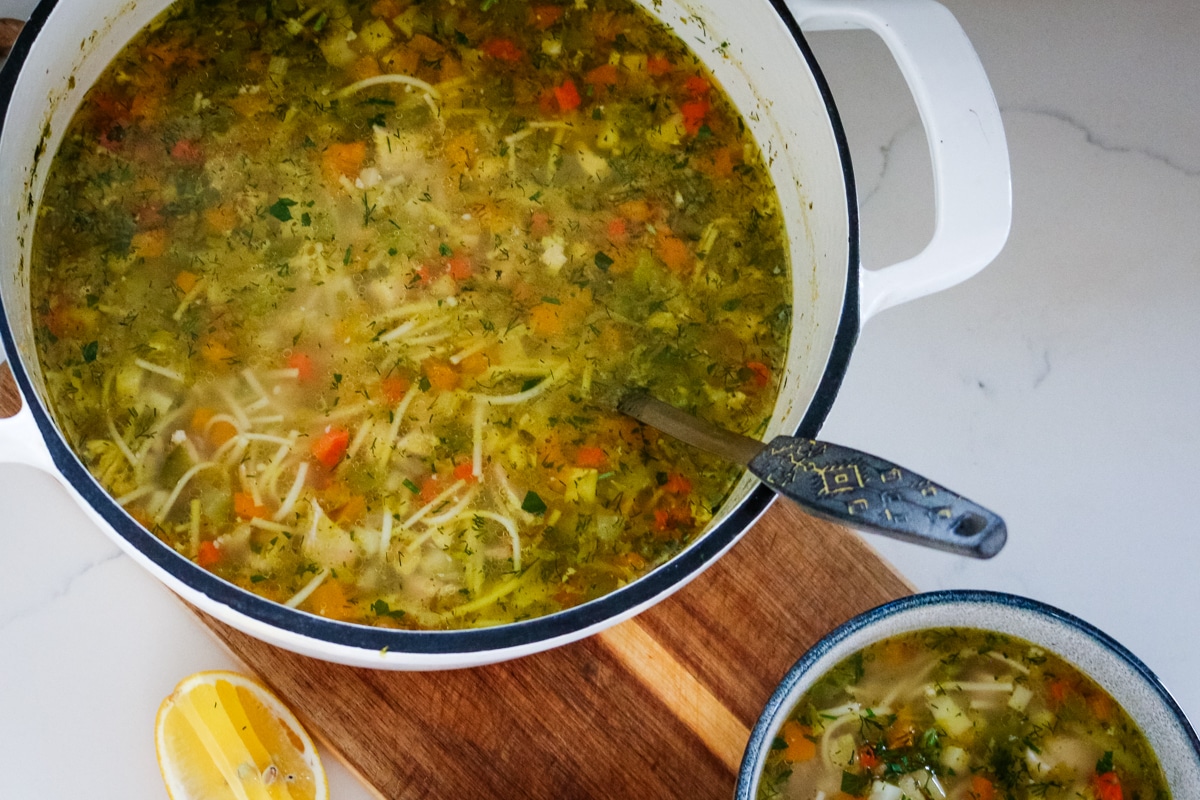
- Finely chop the chicken and fold it into the soup. Add chopped ¼ cup fresh dill and season with salt and black pepper to taste. Serve immediately.
Notes
- Achieve frothy eggs: Don't skip whisking the egg whites into a voluminous foam before adding the yolks and the lemon juice. This trapped air is what creates that signature cloud-like texture that defines traditional Avgolemono.
- Perfect tempered eggs: Add the hot broth to the egg mixture in a very slow, steady drizzle while whisking vigorously. A gradual temperature increase prevents the eggs from scrambling or dropping.
- Residual heat finishing: Stir the tempered eggs into the pot only after turning off the heat.
- Eggs curdled or clumped? If the eggs scrambled, pulse the liquid base with an immersion blender (before adding the chicken) to restore the smooth texture.