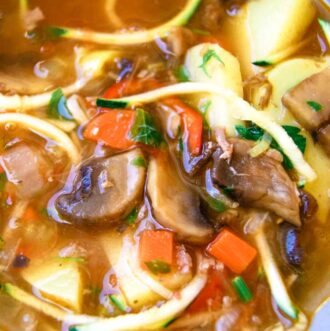
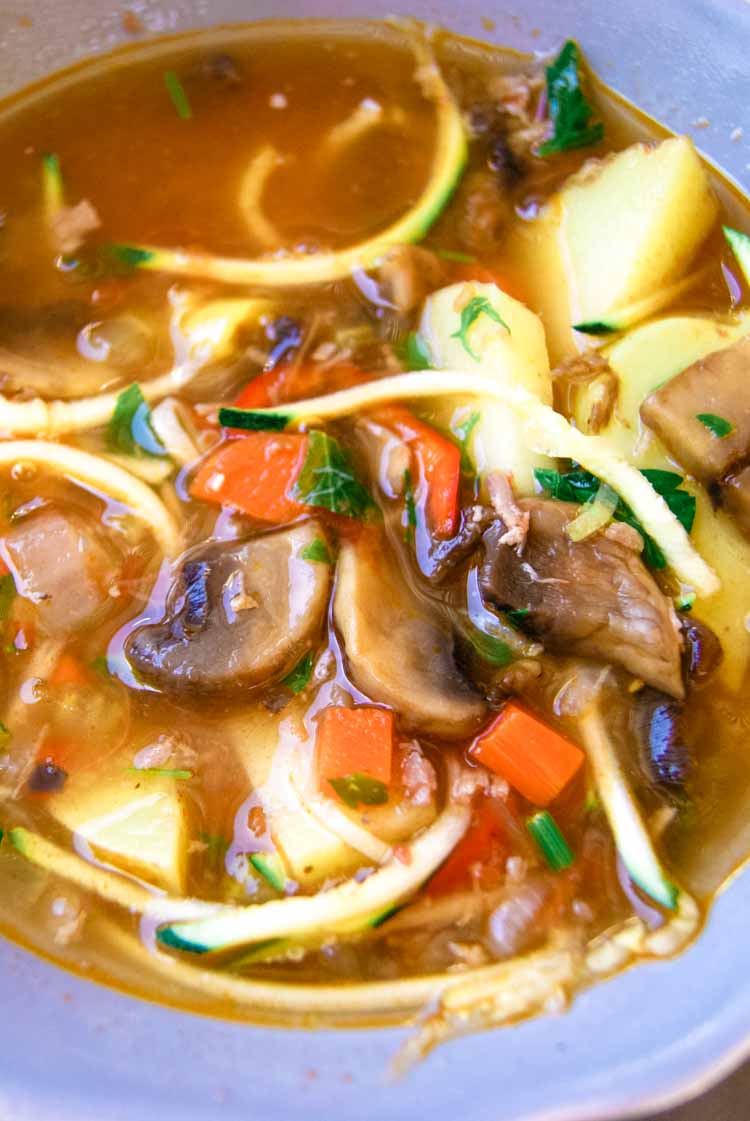
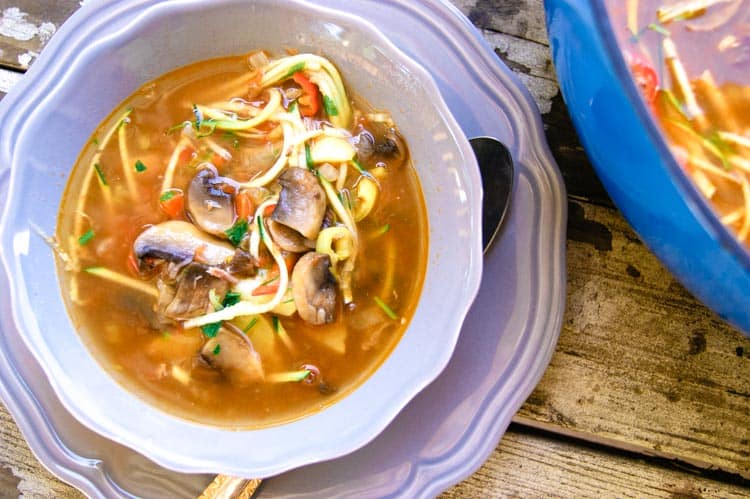
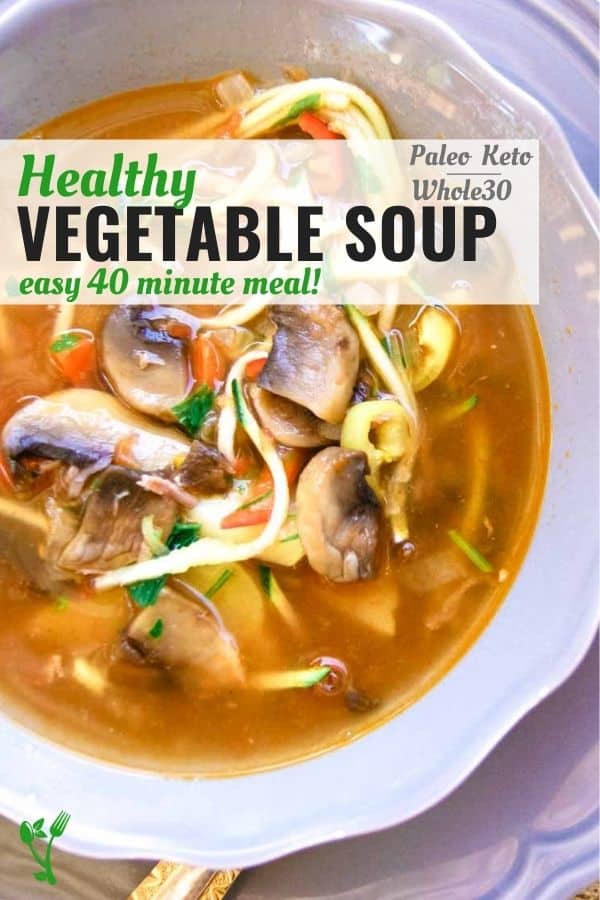
This Healthy Vegetable Soup recipe is a seasonal favorite. It boasts all the hearty and delicious veggies, nutritious bone broth and is paleo, Whole30, and low carb The best part is you can have this on your dinner table in under one hour.
Healthy Vegetable Soup Recipe
This Healthy Vegetable Soup Recipe is one of the easiest recipes to have in your back pocket. With the heartiest part of the recipe prepared in advance, the soup comes together in approximately 40 minutes.
It's full of flavor and packed with nutrition. The best part is that it's so versatile - depending on the seasonal vegetables and according to each one's diet. It's easy to omit or add vegetables to make it Whole30, paleo, GAPS and low carb compliant.
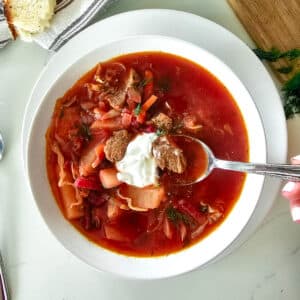
Lamb and Vegetable Soup - Lagman Recipe
This healthy vegetable soup was actually inspired by a childhood favorite of mine - Lagman Soup.
Lagman is an Uzbek soup that is typically made with lamb and a variety of vegetables. Traditionally, it is poured over spaghetti, making it into a soup much like Chicken Noodle Soup.
Lamb is generally the meat of choice in Lagman because it is most accessible in Central Asia part of the world.
If you are looking for non organic meat, consider buying lamb next time you are at the supermarket. It is the best bet for non organic farmed animals. The reason is because lamb is a grazing animal, by their very nature preferring grass as their source of food instead of feed which is often full of GMO grains prepared by the farmers.
Though this soup was inspired by Lagman using lamb as the meat, it is quite easy to modify it using beef, chicken, or even all vegetables.

What gluten free "pastas" can I use for Healthy Vegetable Soup?
You may use any gluten-free pasta or noodles. To keep the broth clear, I would cook the pasta separately and rinse in cold water.
If you are using white rice pasta (like in this Chicken Noodle Soup), you can just soak the pasta in luke-warm water for 10-15 minutes, separating with a fork periodically. Drain and rinse before adding to soup.
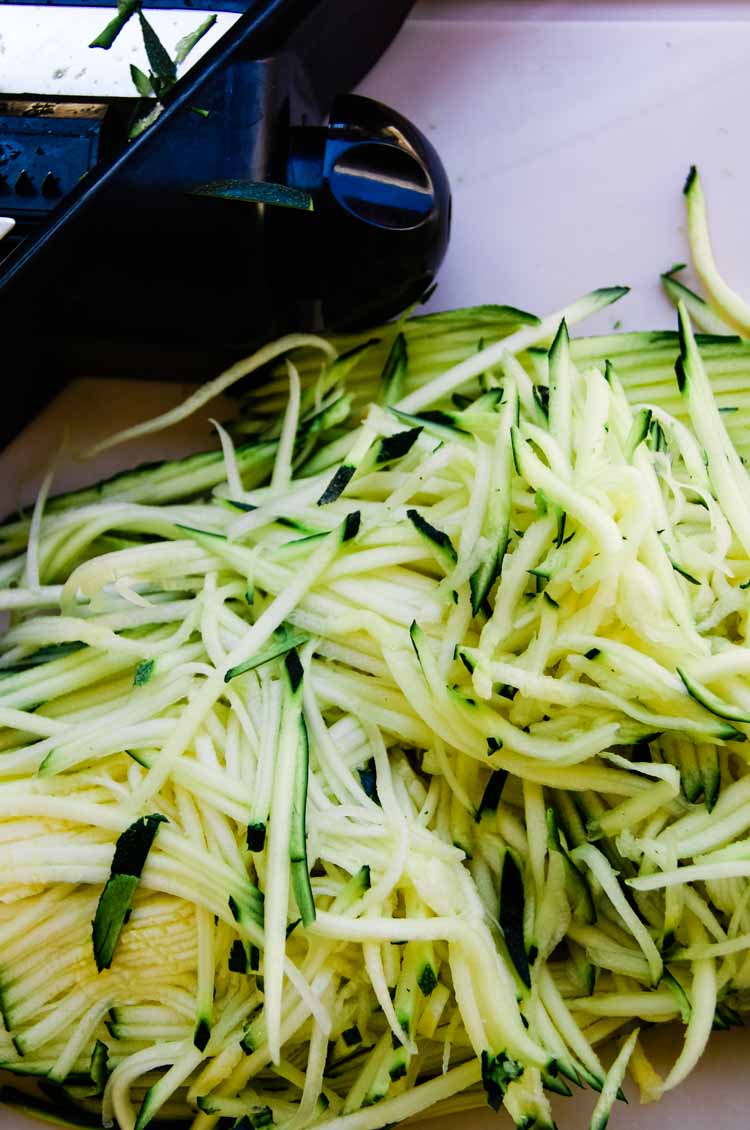
A better option would be to use zucchini or spaghetti squash instead for added nutrition. Don't let the spaghetti squash intimidate you. There are three ways to cook it and you can achieve that similar al dente texture that we all love in traditional spaghetti. Find out How to Cook Spaghetti Squash for Longest Strands here.
To add zucchini to soup, you can either spiralize your zucchini or julienne into small strips as shown in photo. Alternatively, you can also just dice it or slice into half moons.
If using spaghetti squash or zucchini (or another other vegetable "pasta" for that matter), add at the very end and make sure the heat is off otherwise you risk overcooking the veggie noodles.
How do you make vegetable soup from scratch?
The best part about vegetable soup is the ease in which you can make it from scratch. You may use any broth as the base: chicken, beef, pork, even vegetable broth will work. Of course, the preference is always homemade but store bought will work too.
For instructions on how to make nutrient-dense bone broth, using roasted marrow and knuckle bones, check out this post on Three Ways to Make Bone Broth.
You may add more sustenance to your vegetable soup by adding healthy protein such as lamb, chicken or beef. You can either cook that separately or make meat stock and use both of those components. I prefer to pick the meat off the bones if needed and add the meat part back to the soup, discarding the bones.
What can I add to vegetable soup?
One of the greatest advantages to vegetable soup is that you can truly enjoy this year round, depending on the seasonal vegetables. You can also make it entirely vegetarian by using mushroom or vegetable broth and a good variety of veggies.
- During the cooler months, load the soup up with squashes, root vegetables, mushroom, cabbages, Brussel sprouts, kale, and broccoli.
- During the warmer months, go lighter with asparagus, peas, zucchini, bell peppers, spinach and a touch of lemon.
Take care to add delicate vegetables such as spinach and zucchini near the end and preferably once off heat so you don't overcook those veggies.
This soup is also a great option for those on a healing diet such as Whole30, paleo and low carb. It's easy to customize based on what foods should be omitted.
Even though this seasonal soup is full of vegetables, it still makes a hearty and filling meal. But if you wanted to get more mileage out of this Healthy Vegetable Soup, you can add previously cooked meat to it.
Can I add meat to vegetable soup?
Yes, and I often do.
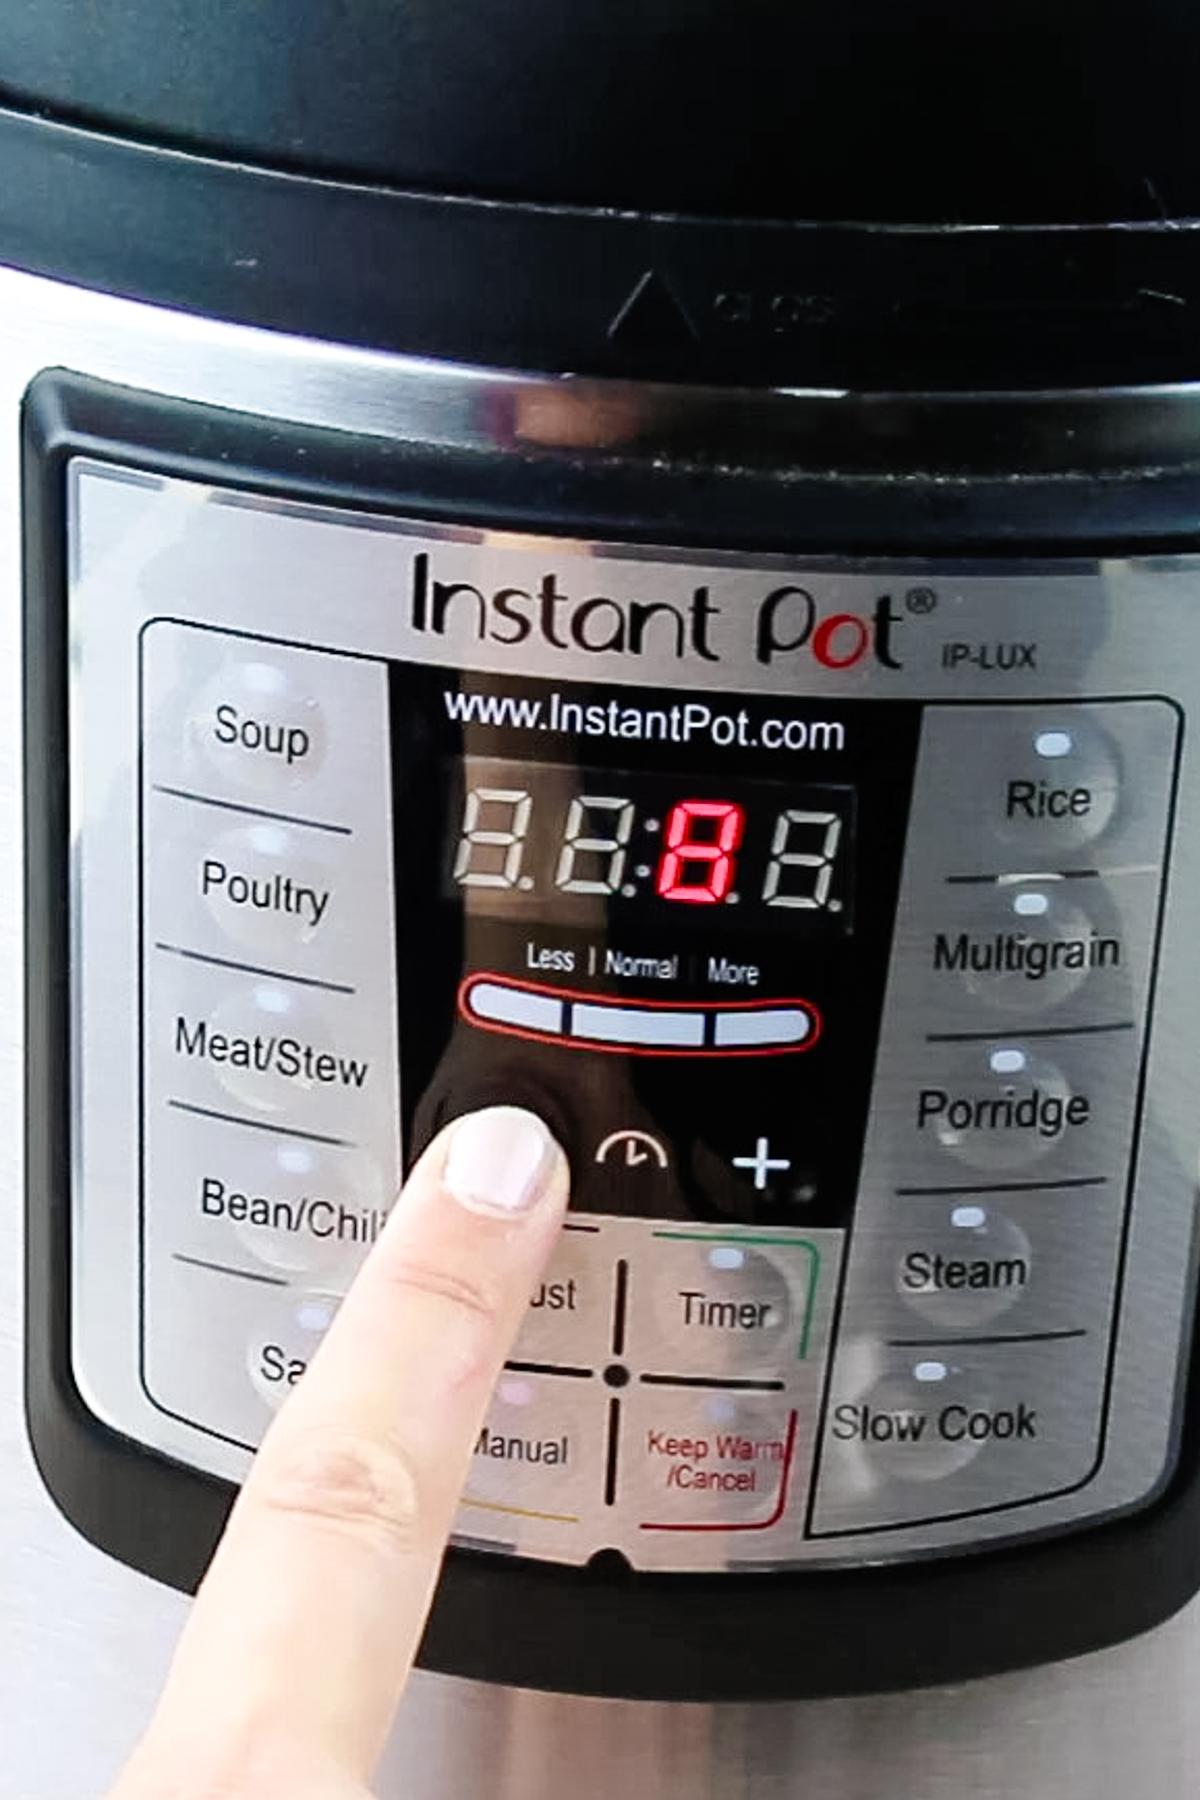
Since this Healthy Vegetable Soup recipe is largely based on the Uzbekistan soup, Lagman, I prefer to use lamb as my meat of choice. I make meat stock using stew lamb directly in my Instant Pot. I then use that broth and the tender lamb in this soup.
Other options for healthy protein is leftover roast chicken, shredded pork, or even ground beef, provided that it's browned before adding. I would steer clear of anything with very strong flavorings (i.e. taco meat).
Be sure to add your choice of previously cooked meat along with the potatoes to give it plenty time to absorb all the flavors and reheat properly.
Printable Recipe

Healthy Vegetable Soup Recipe
Ingredients
- 2 tablespoons avocado oil
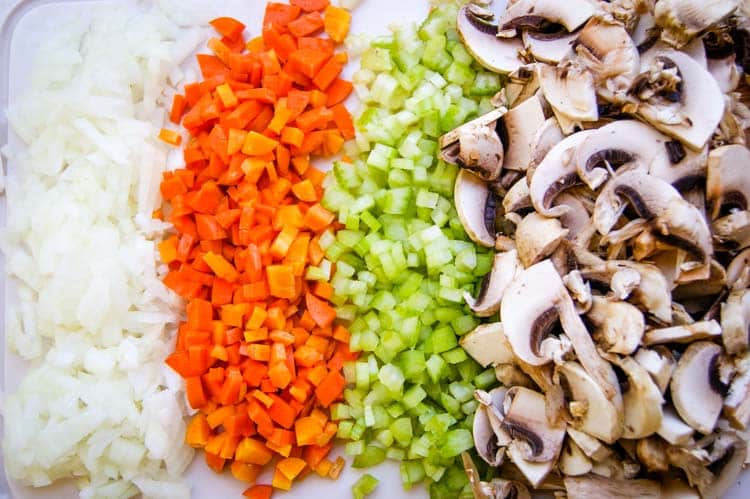
- 1 yellow onion diced
- 1 carrot diced
- 1 celery stalk sliced
- 16 ounces white button mushrooms sliced
- 1 pint tomato sauce
- ½ teaspoon ground cumin
- 2 gold potatoes diced
- 3 bay leaves
- 8 cups bone broth
- 1 zucchini julienned
- 1 bell pepper sliced
- 3 tablespoons parsley
- salt and pepper to taste
Instructions
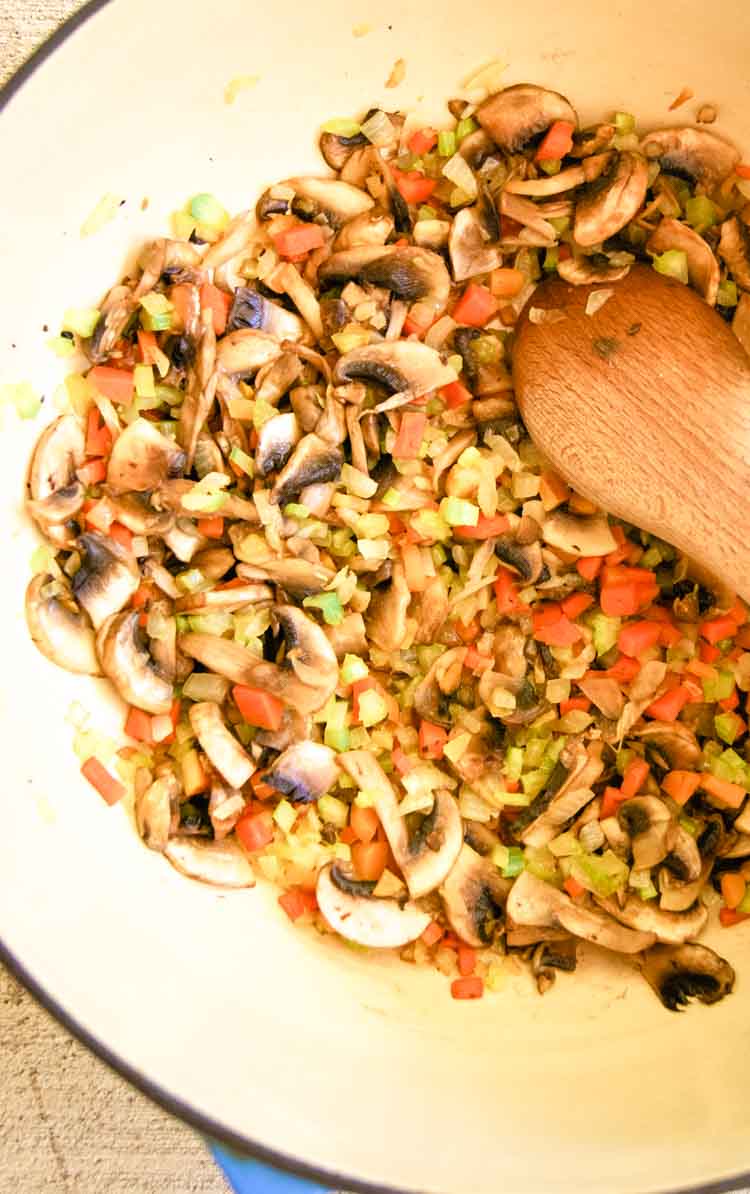
- Heat avocado oil in a large pot over medium-high heat. Add onions, carrots, and celery and cook for 5 minutes, stirring occasionally, until vegetables begin to soften.
- Add mushrooms and cook until tender. Add tomato sauce and simmer on low heat for 5 minutes.
- If using, cook pasta according to package instructions.
- Add cumin, potatoes, and bay leaves to vegetables. Add cooked meat, if using. Pour broth and stir.
- Close the lid and bring to a boil on high heat. Reduce heat to low and simmer for 2-3 minutes until the potatoes are fork tender.
- Remove from heat and add remaining ingredients: zucchini, bell peppers and parsley. Season with salt and pepper.
- Close the lid and set aside for 10-15 minutes before serving to allow all flavors to blend.
Notes
- To add grain pasta to soup: cook 8 ounces of pasta according to package instructions. Drain and rinse before adding to soup.
- You may add additional previously cooked meat such as leftover roast chicken, pork, beef, or lamb. If using, add with the potatoes to give ample time to reheat and blend with other ingredients.
- Feel free to use whatever seasonal vegetables are available to you: zucchini, bell peppers, asparagus are great during the spring. Squashes, cabbages, and kale are great options in the fall and winter time.
Nutrition
If you liked this Healthy Vegetable Soup recipe, please consider rating the recipe and leaving a comment below. ⇓
Need More Healthy Soup Ideas:
Nourishing Gluten-Free Chicken Noodle Soup
Low Carb Hamburger Soup Recipe
Instant Pot Ground Beef and Kale Soup
Easy Nourishing Fish Soup
>>> Pin This <<<
This recipe was originally published December 2014 but has since been updated to include helpful information.