This healthy jello-like sweet treat is made with real strawberries, lightly sweetened with honey, and uses grass-fed gelatin and yogurt for an all around gut-healthy dessert.
Every year around this time, I'm always itching to make more summer deserts. The kind where generous amount of fresh berries is involved and the oven has been temporarily retired.
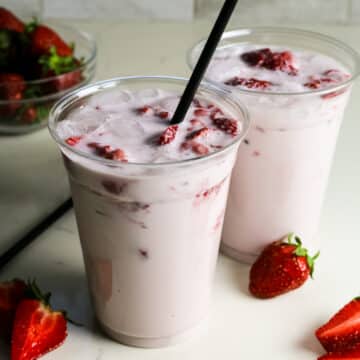
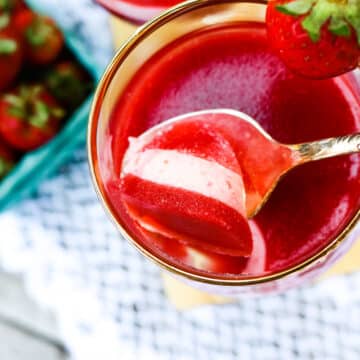
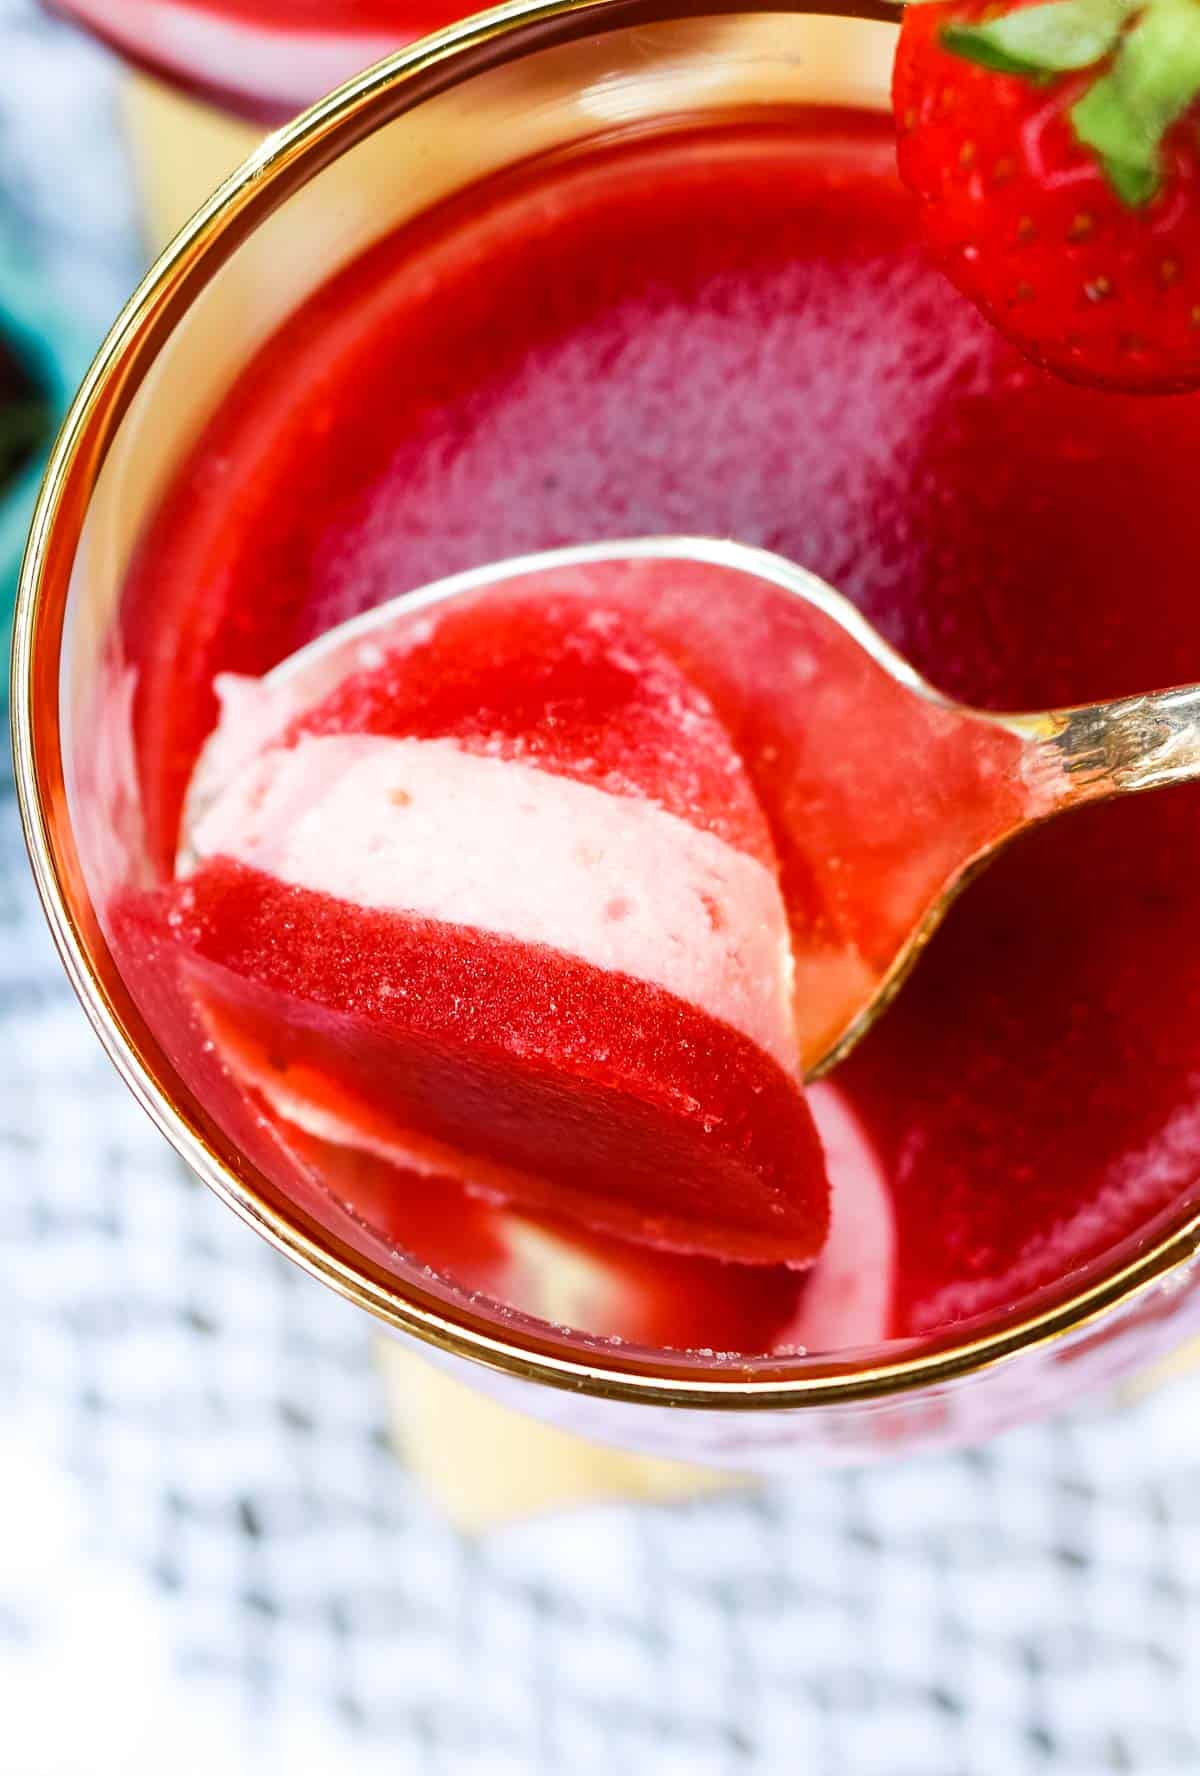
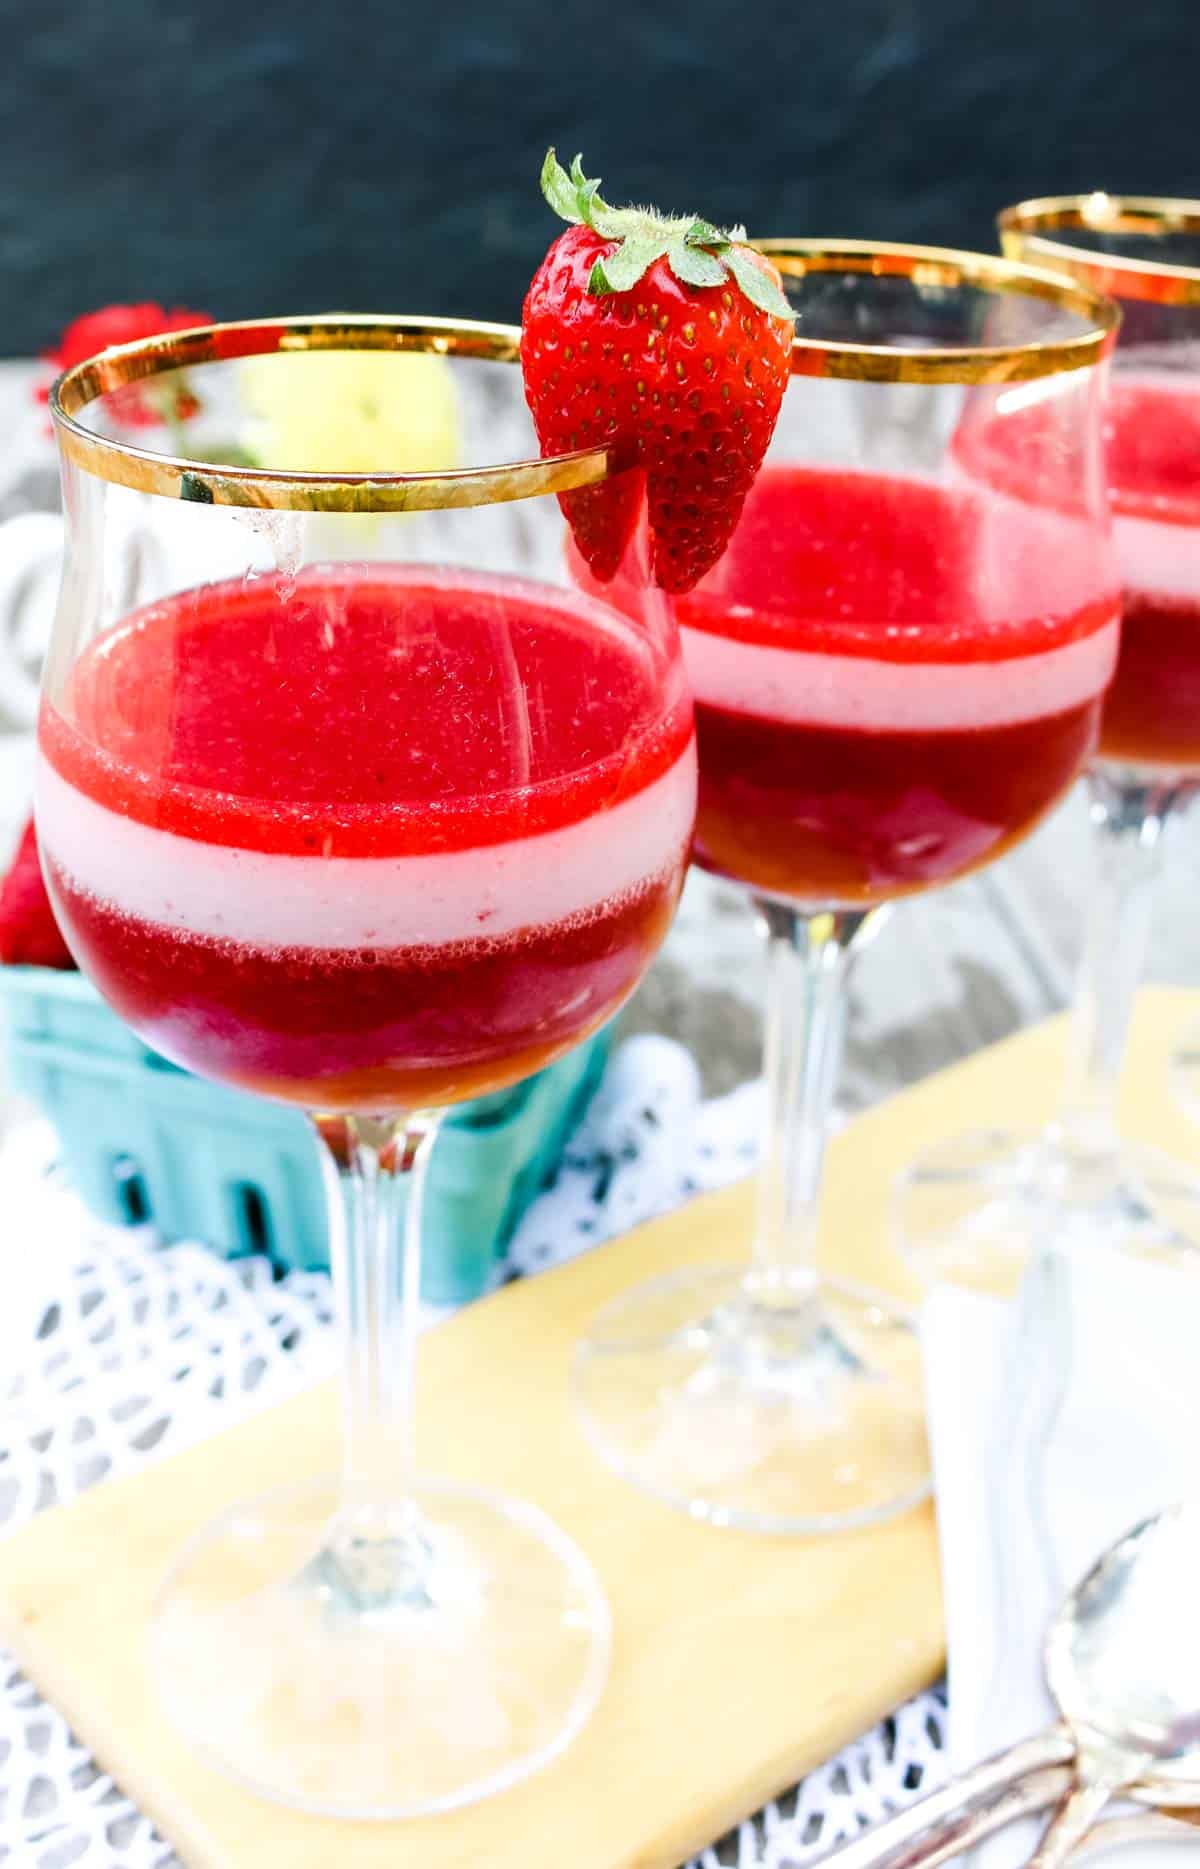
Strawberries and Cream Gelatin Cups
This is a no-guilt dessert that can also serve as a light snack. What?
That's right. It is a complete package with a serving of fruit, protein, and healthy probiotic-rich yogurt. Gelatin can be a great addition to a nutrient-dense snack or dessert. It tastes great, super easy to make and comes with copious health benefits.
No-Bake Strawberry Dessert
I love no-bake treats, especially if they also happen to be gut-healing and nourishing like these Strawberries and Cream gelatin cups.
These jello-like treats are full of health benefits. We start with real fresh strawberries (frozen can be used with slight modifications) sweetened with honey and combined with grass-fed gelatin to make homemade jello. The middle layer is a luscious probiotic-rich yogurt mixture that adds subtle tang and rich texture.
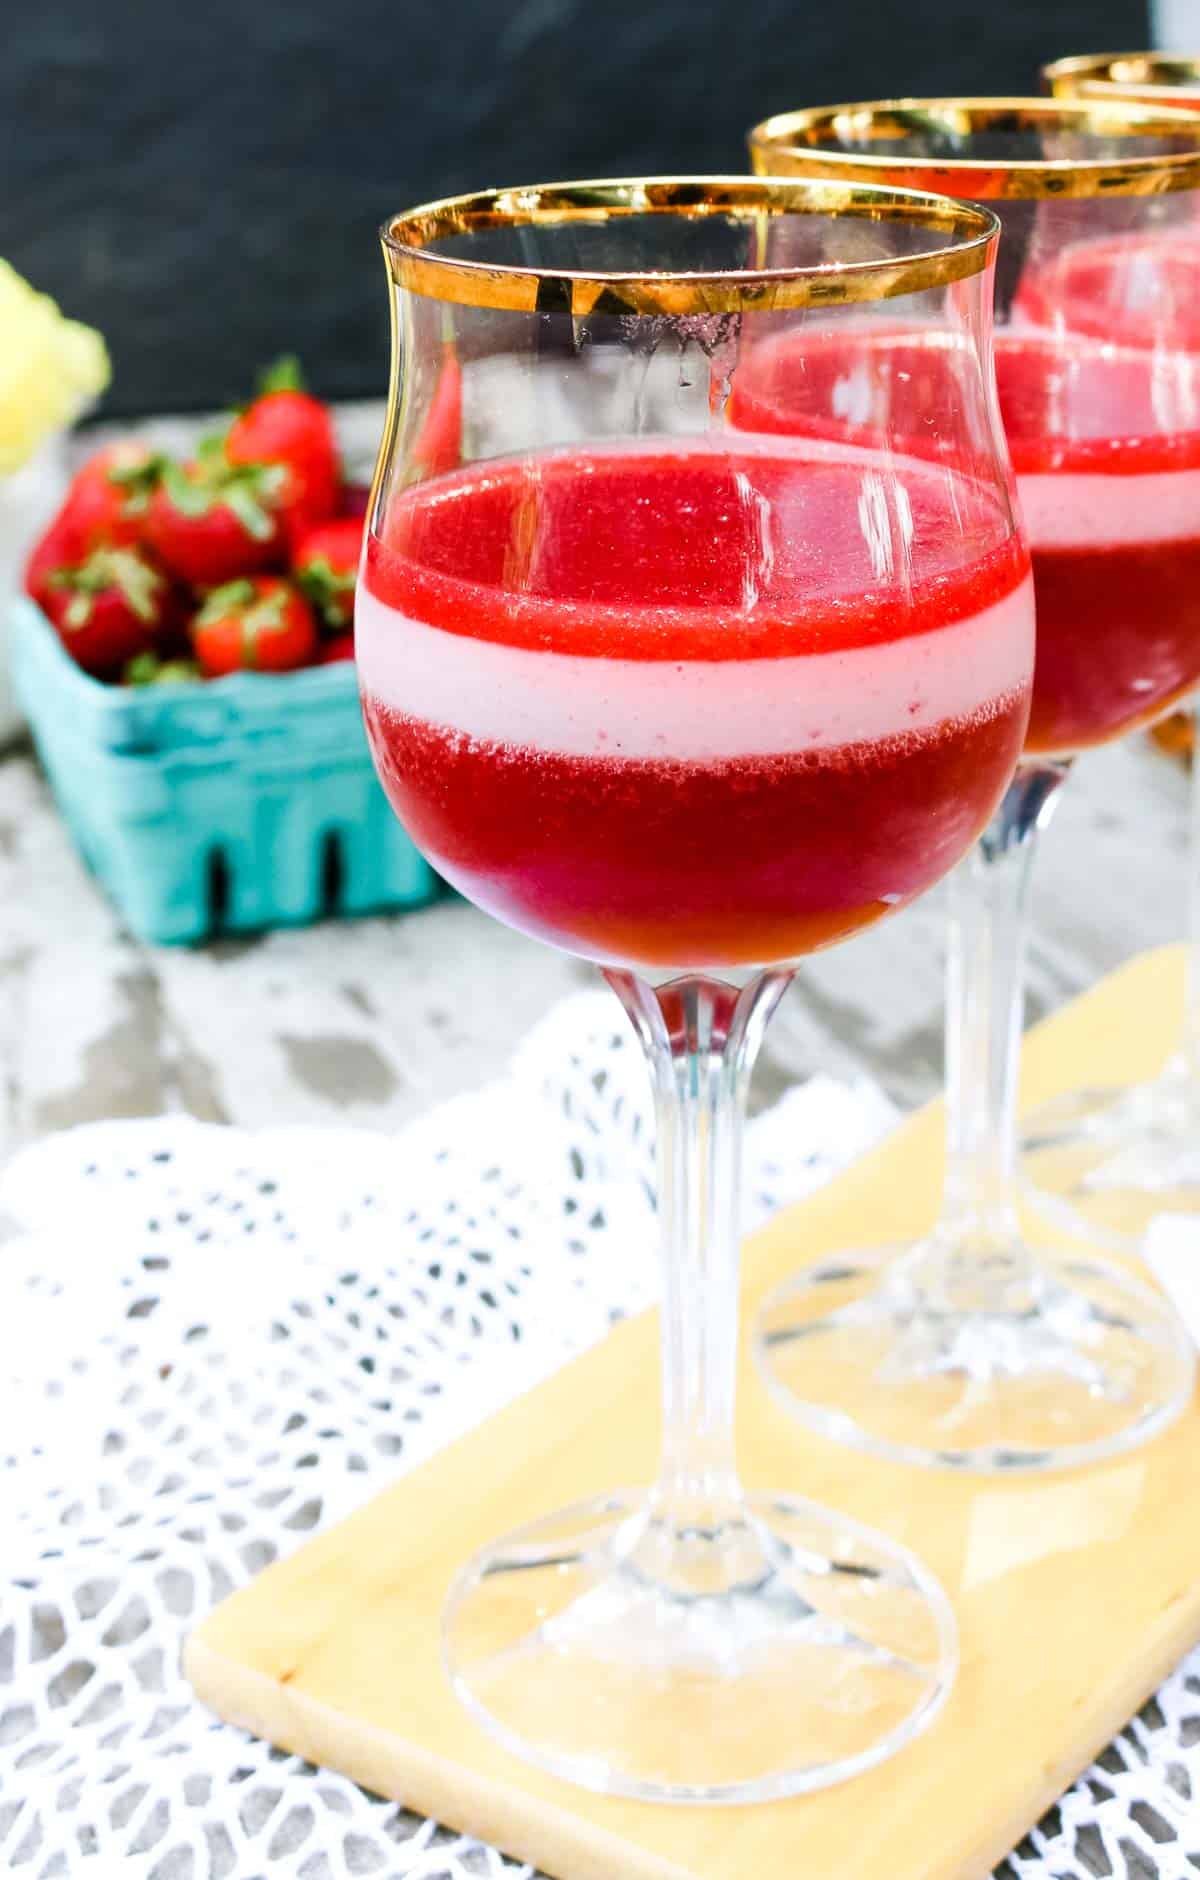
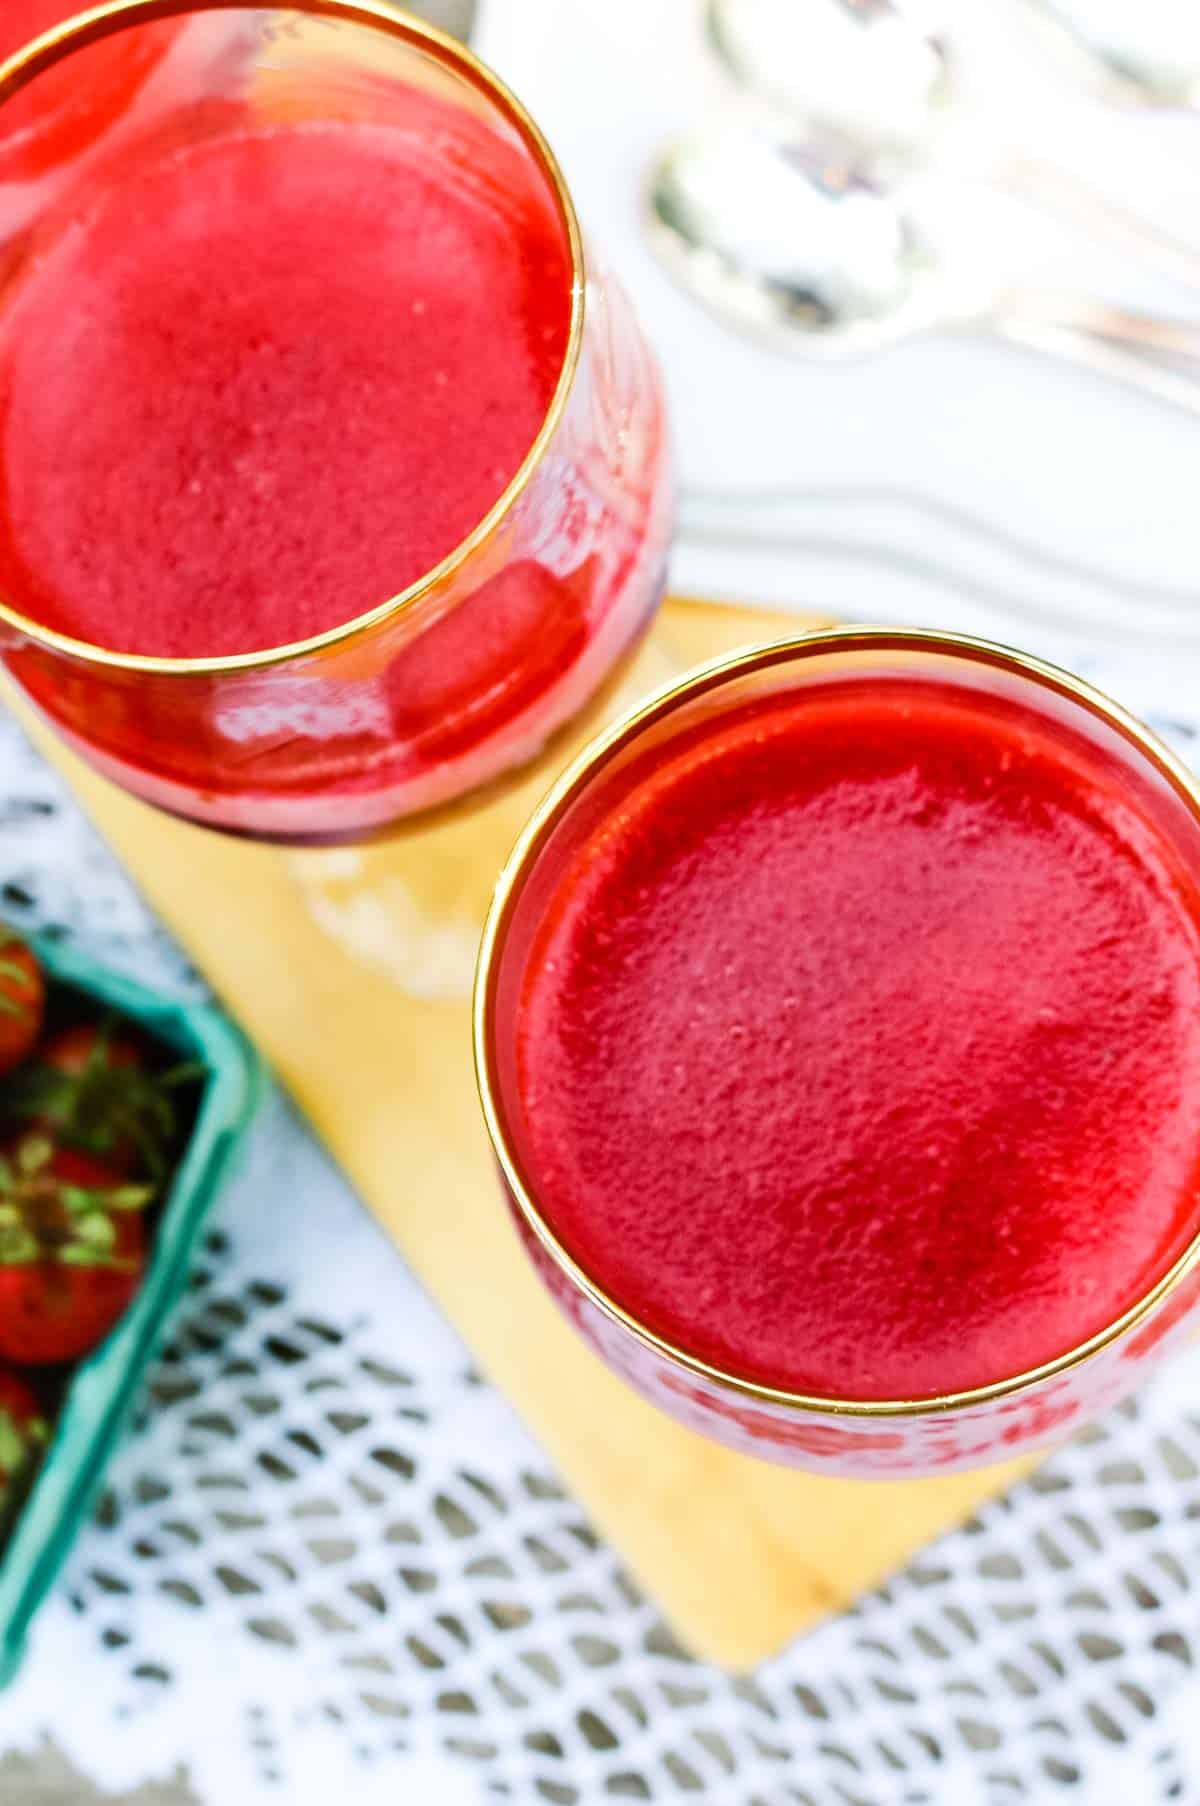
These Strawberry and Cream gelatin cups come with a pleasant ruby color with matte undertones. None of that sharp and bright artificial dyes that come from boxed Jello.
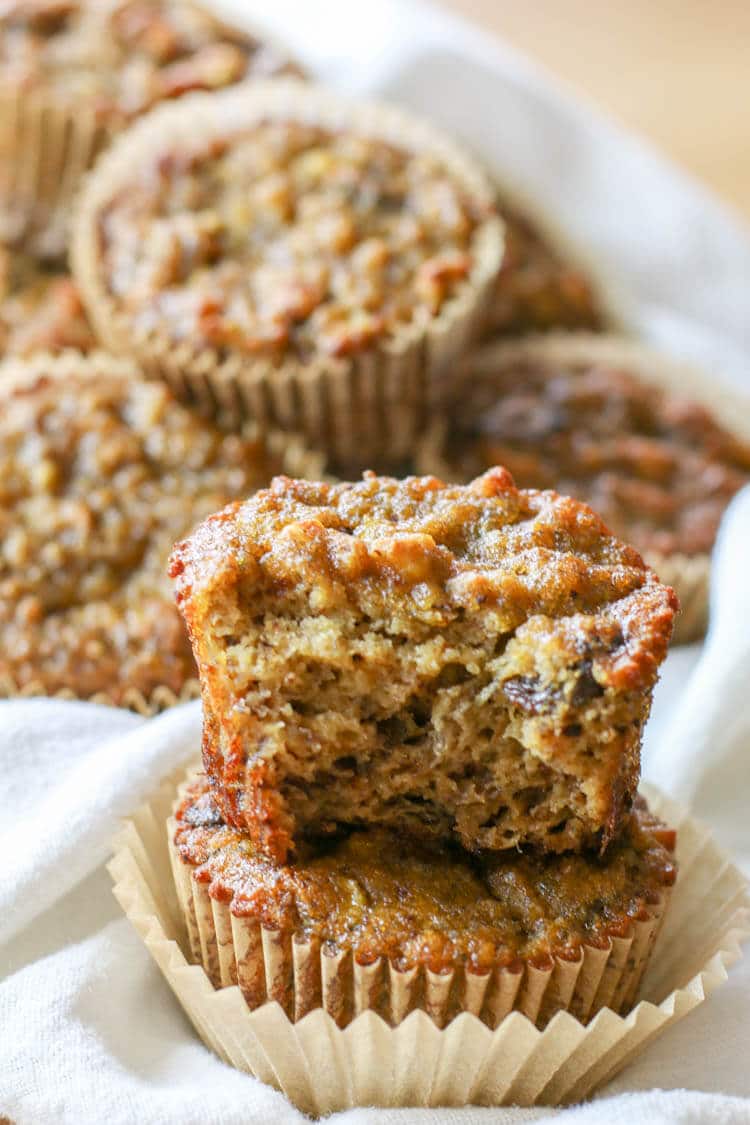
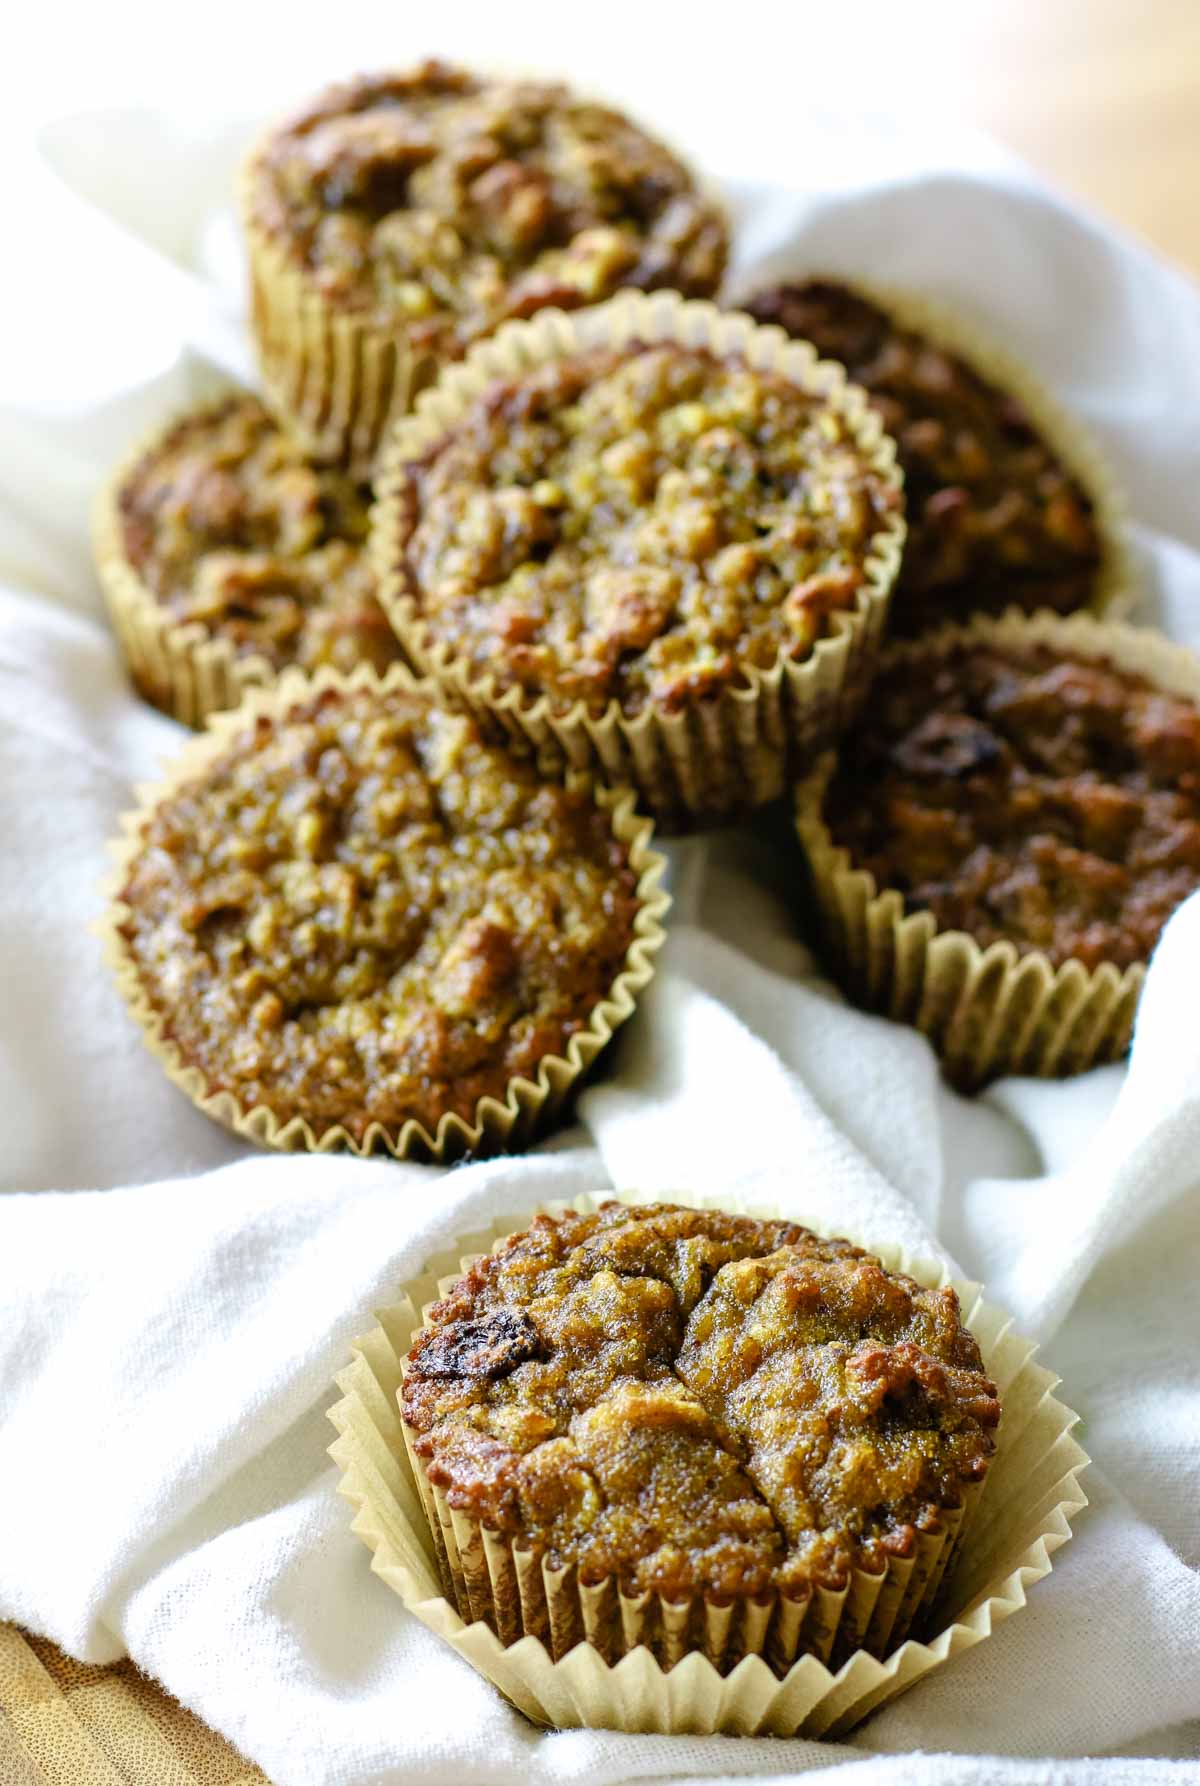
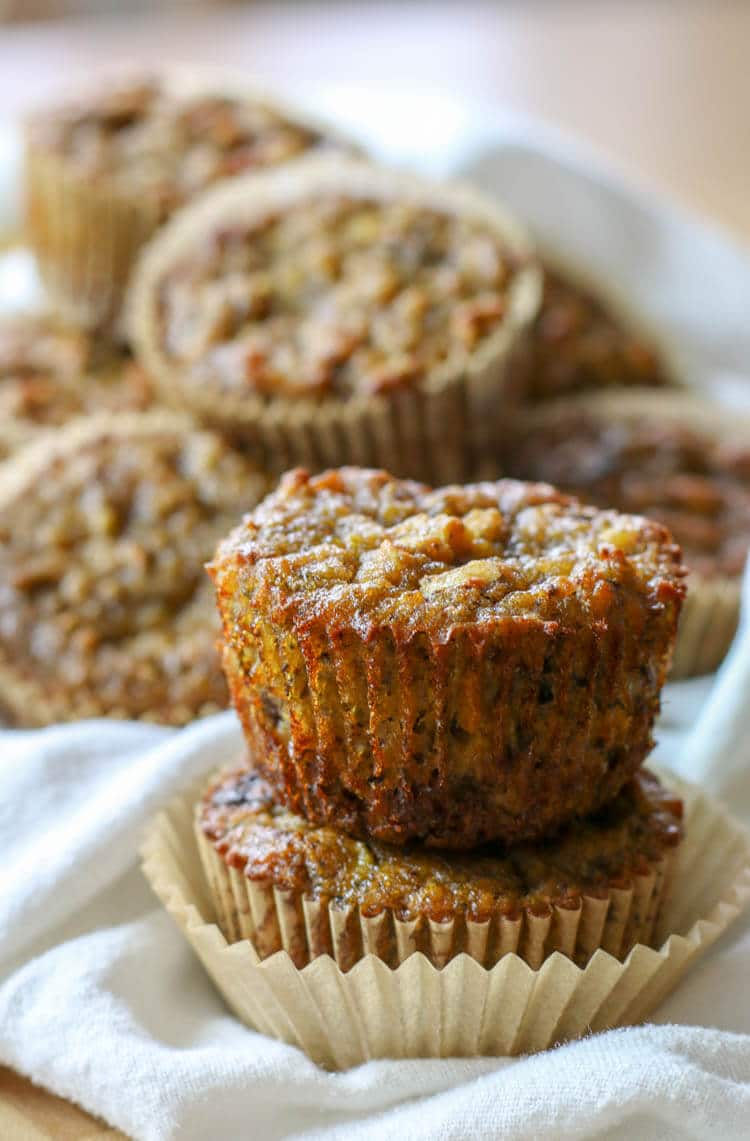
If you're looking for a heartier strawberry dessert, you will love these almond flour strawberry muffins.
Homemade Jello
Making homemade jello with real unflavored gelatin is just as easy as the boxed version but without the artificial flavorings and food dyes.
What is in homemade jello? Homemade jello requires only 2-3 natural ingredients:
- fruit juice (or real fruit)
- unflavored gelatin
- sweetener (totally optional!)
When looking for juice to use in homemade jello, look at the ingredient list to be sure it is 100% fruit juice with no added sugars.
However, this Strawberries and Cream jello recipe calls for real strawberries. Using real fruit instead of juice adds density and texture. If you want to make these cups lighter (jello would be more jiggly) you're welcome to use fruit juice instead.
Unflavored gelatin is an essential ingredient to making healthy homemade jello snacks. It is what makes makes the whole concoction thicken and stick together. In all of my gummy and jello-like recipes, I only use grass-fed gelatin from Perfect Supplements. It is sourced from pastured cows and is free from hormones and pesticides. Gelatin is rich in amino acids, minerals, and is 98% protein, making it a bit of a superfood.
Helpful Tip: Use quality gelatin for all your jello needs. Grass-fed gelatin is rich in amino acids, minerals and is 98% protein.
You may need to add a sweetener to your homemade jello but this is entirely based on preference. Some juices are sweeter than others.
Using Gelatin for Jello Snacks
It's important to note that we are using powered gelatin for this recipe. This is vastly different from gelatin-based protein powders. This is also different from collagen. Collagen and Gelatin are both great sources of protein and contain the same amino acid profile but they each behave differently.
Collagen is great to add to coffee or smoothies and will not gel.
Gelatin, on the other hand, will gel and only dissolves in hot liquids.
Both collagen and gelatin are commonly used in gut-healing protocols like Auto-Immune Paleo (AIP), Gut and Psychology Syndrome (GAPS), and Specific Carbohydrate Diet (SCD) as it can help with healing and restoring the gut.
Frequently Asked Questions and Helpful Tips
What is the best gelatin for this recipe?
In order to really maximize all the health benefits of this Strawberries and Cream Gelatin Cups, I recommend sourcing the best quality gelatin out on the market. I personally love Perfect Supplements as they are grass-fed, glyphosate residue free, and do regular third party testing for heavy metals.
Another good brand is Great Lakes. You may have seen Vital Proteins at Sprouts and Whole Foods but take note they recently been bought by a large company and may have changed their formulations. Knox is a popular brand and is readily available but it is not grass-fed.
Helpful Tip: For truly grass-fed, glyphosate-residue free gelatin, use PREPARE10 for 10% discount on quality product at Perfect Supplements.
Does gelatin add flavor to this jello recipe?
Gelatin is flavorless but I will say it does have a distinct smell. Once bloomed and dissolved in warm strawberry jam/juice, the smell dissipates. Gelatin does not add flavor to the finished product but rather pulls all the flavors of the other ingredients together.
Can these Strawberries and Cream Gelatin Cups be made without added sweetener?
The additional sweetener (whether using honey, maple syrup, or plain organic sugar) is entirely up to your preference. Sometimes, the natural sweetness of strawberries is sufficient while other times, a tablespoon of honey or organic sugar is necessary.
How to Make Strawberries and Cream Gelatin Cups
The complete printable recipe is below in the recipe card for your convenience.
Let's look at the simple ingredient list for this Strawberries and Cream Gelatin Cups:
- strawberries: fresh is best but frozen will work in a pinch
- lemon juice: to bring out strawberry flavor
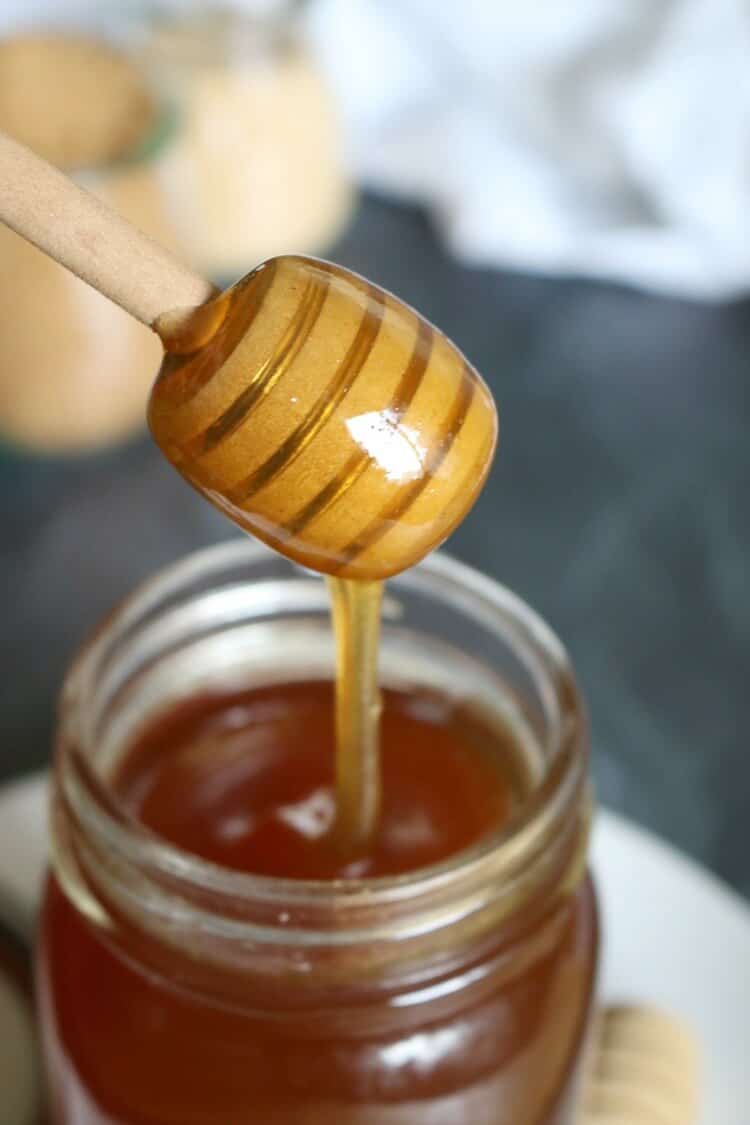
- honey or another healthy sweetener: see my post on other healthy sweeteners
- gelatin: my favorite bovine (beef) gelatin is linked here
- water: to bloom gelatin in
- yogurt: this is the middle layer and the "cream" part of the title
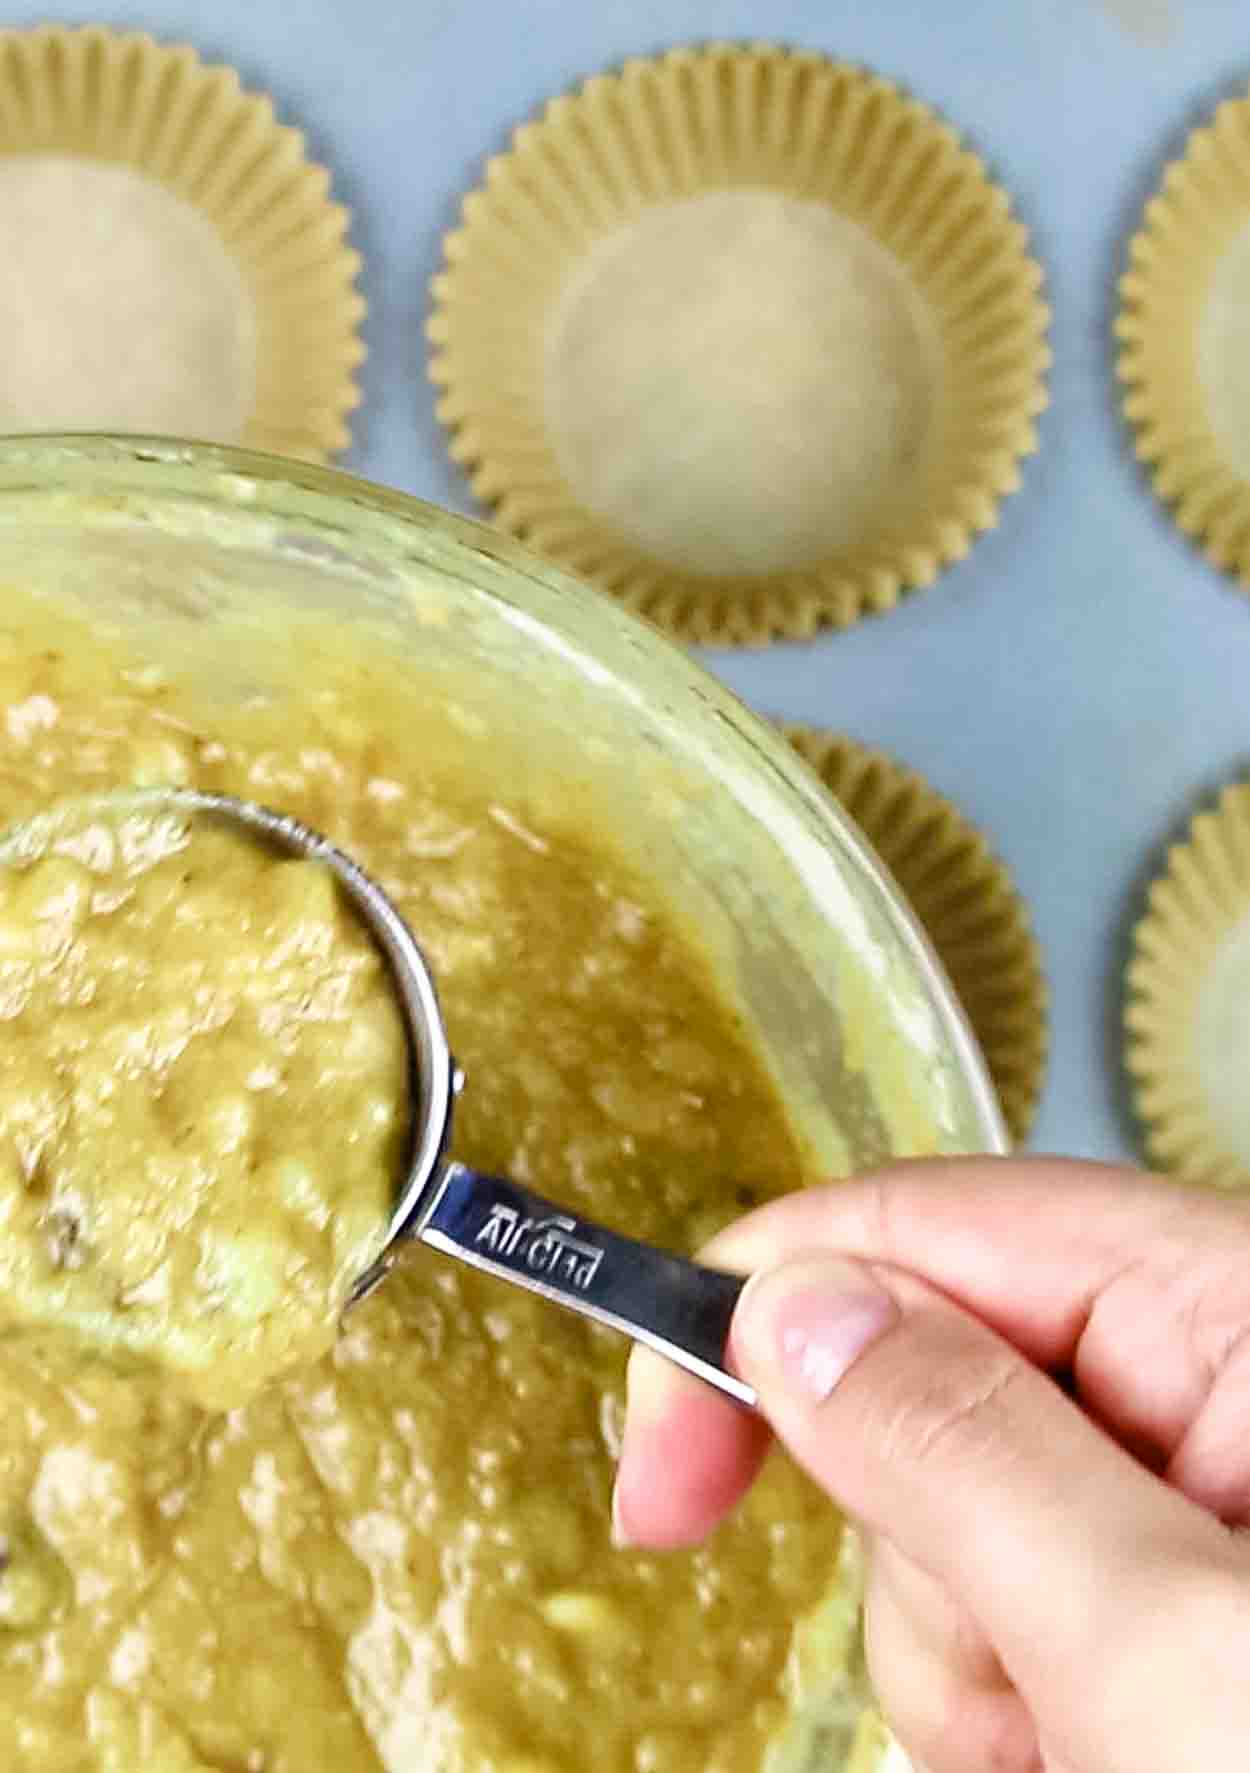
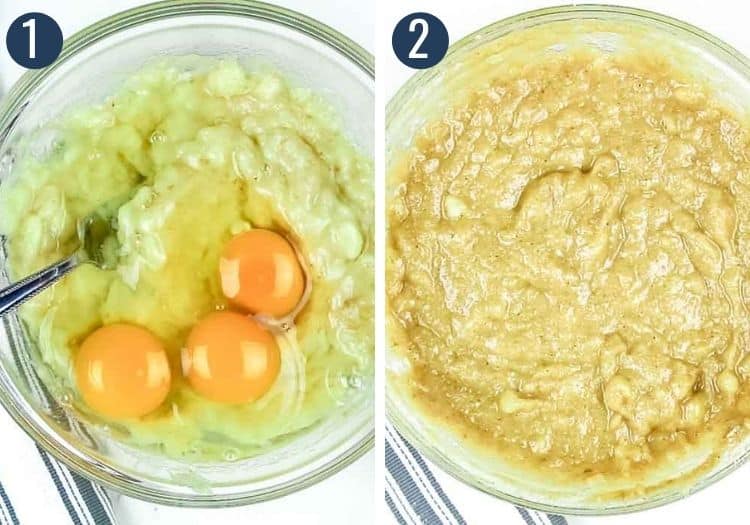
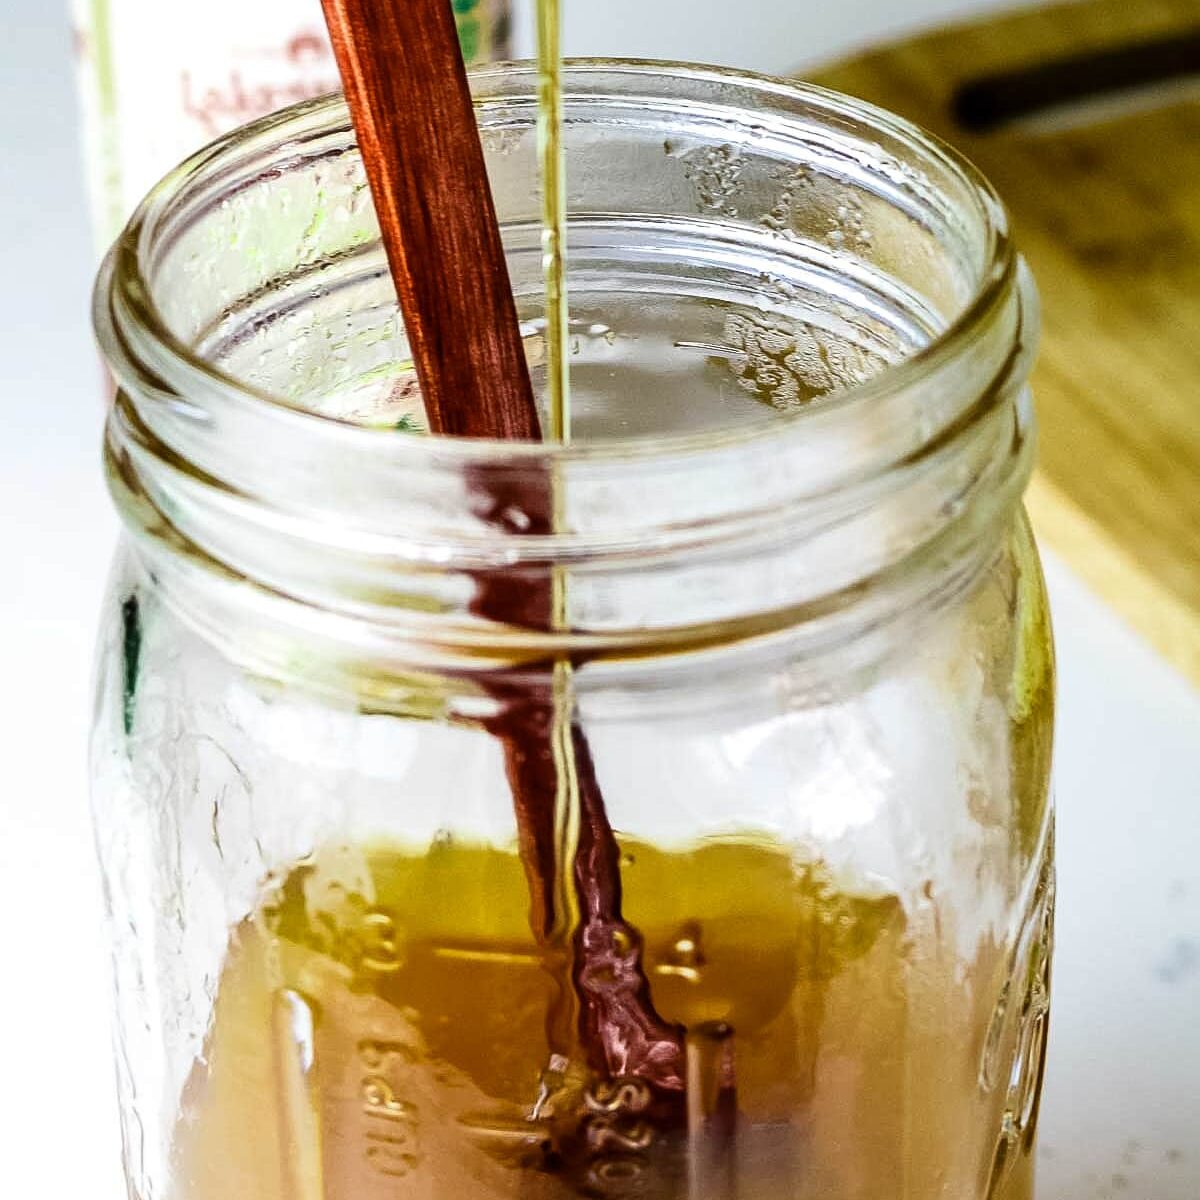
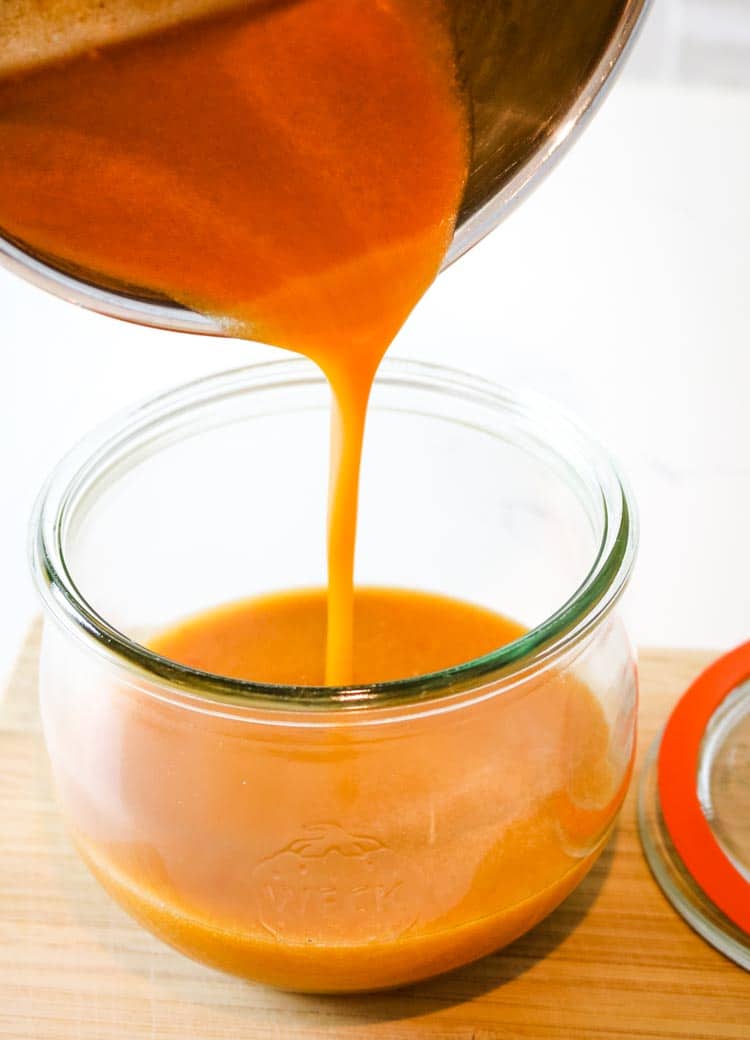
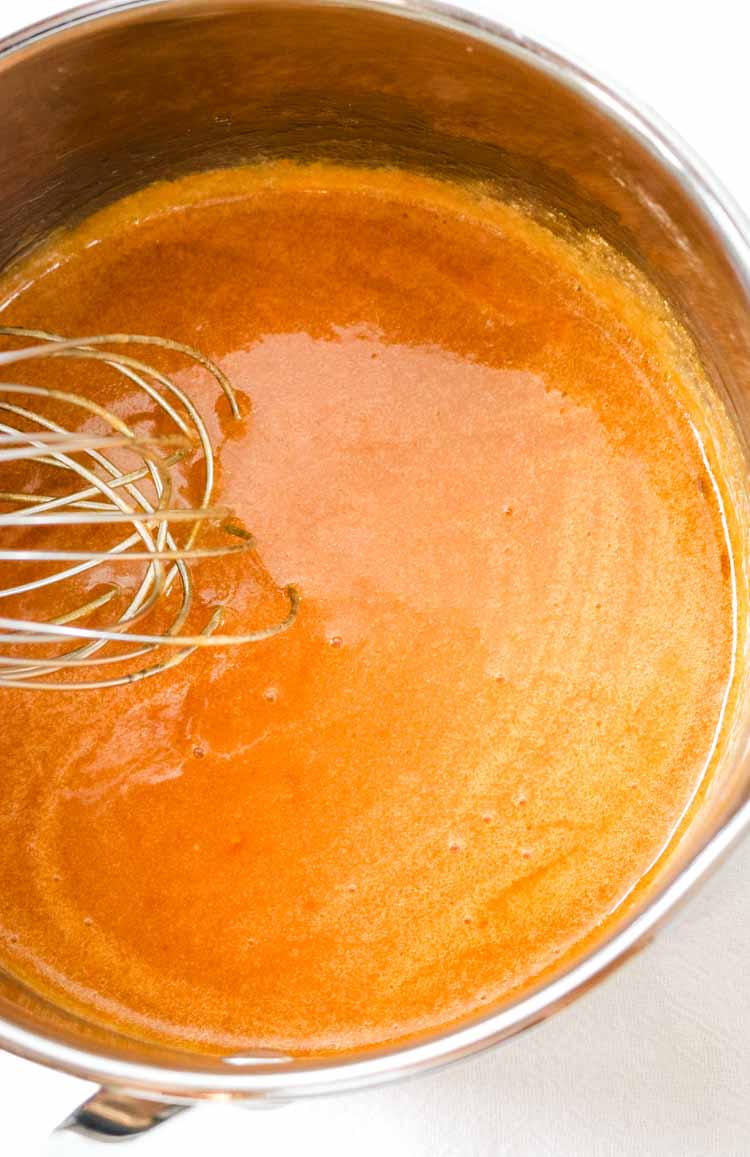
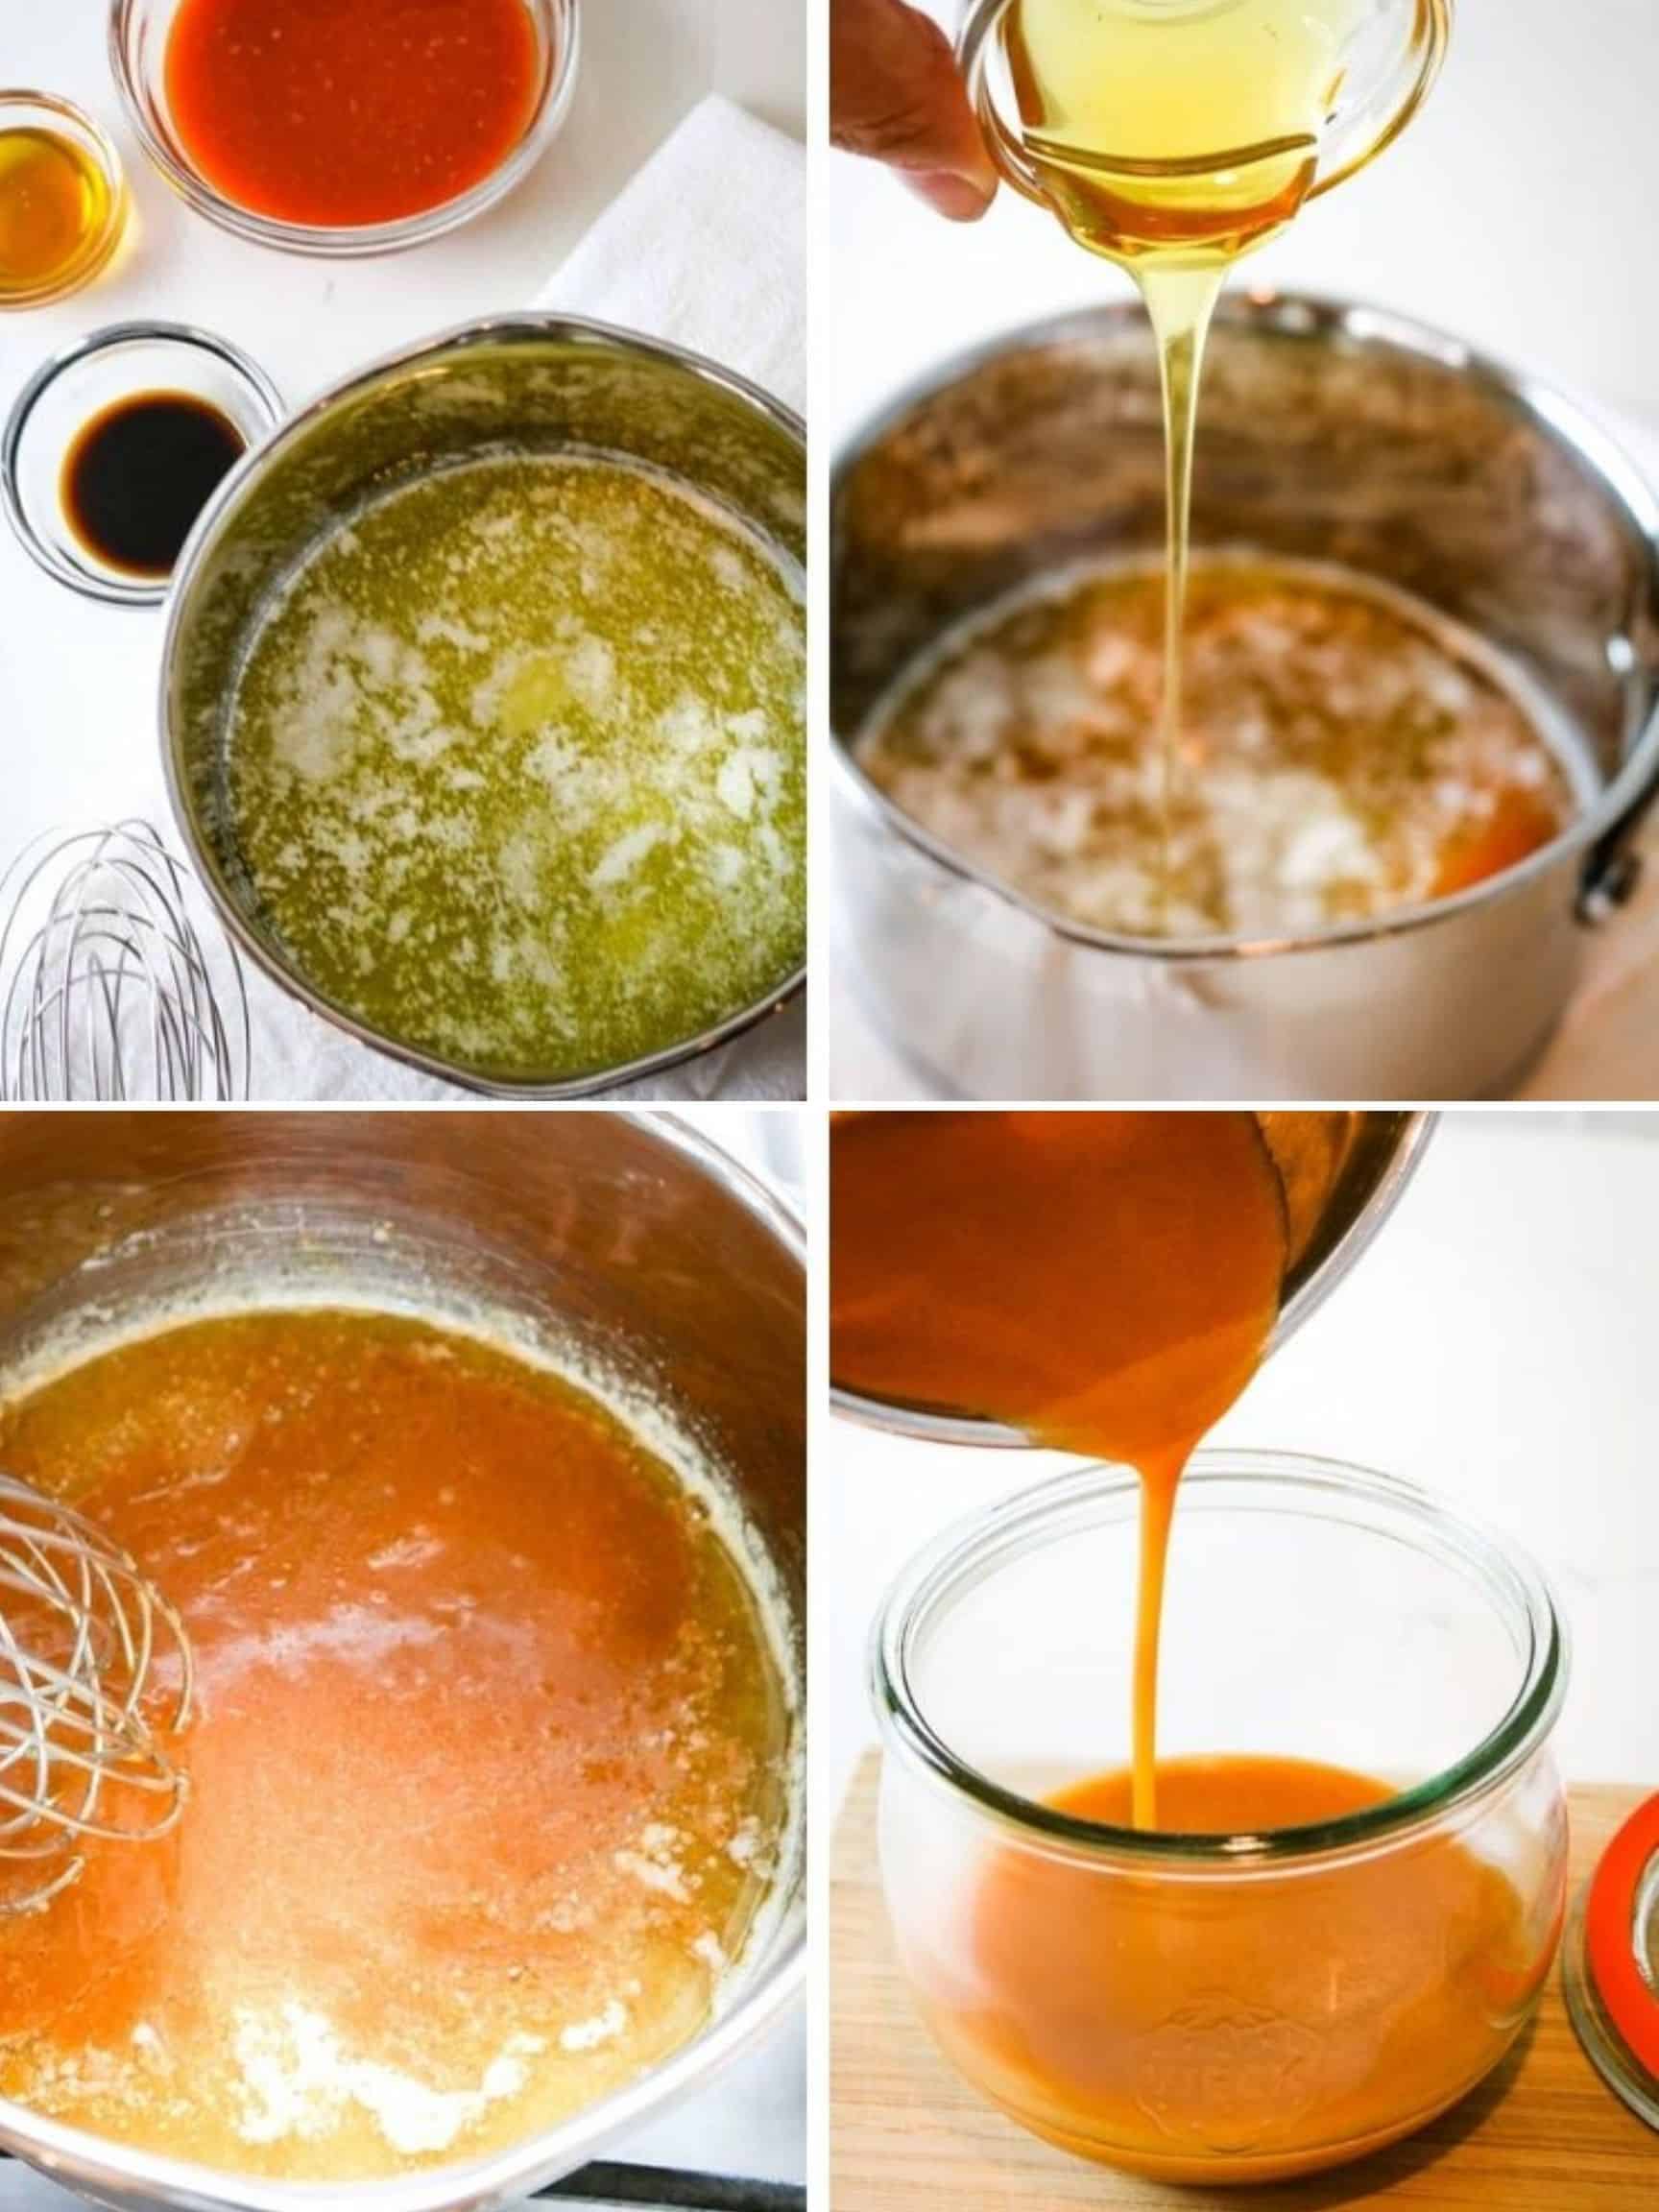
Step 1. Making strawberry jam: cook strawberries and lemon juice over medium heat until all berries are softened and cooked through. Add honey and blend well using an immersion blender.
Step 2. "Bloom" gelatin: In a small bowl, bloom gelatin by adding it to ½ cup of water and quickly whisking it. Set aside.
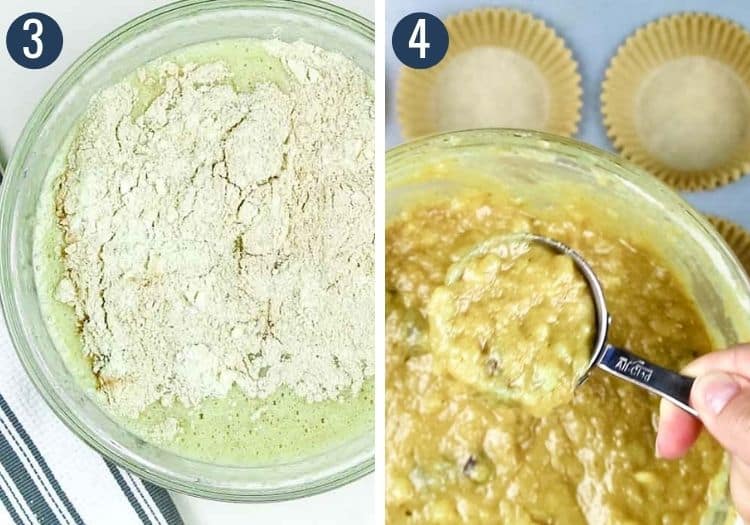
Step 3: Making the strawberry jello: Though optional, straining the strawberry puree through a sieve will get rid of the unwanted seeds and produce a more smooth product. Return the strained puree back to pot and bring to a gentle simmer on low heat. Add bloomed gelatin and stir well to dissolve the gelatin and combine well. Take off heat.
Step 4. Simple math: Divide roughly ⅔ of the strawberry gelatin mixture between 4 serving cups, reserving the remaining (⅓) mixture for the middle "cream" layer and the top strawberry layer. Transfer the cups to the refrigerator to begin setting.
Step 5. Make the cream layer: Transfer half of the remaining ⅓ of the strawberry mixture into a small bowl. Add yogurt and combine well until smooth. Spoon prepared yogurt gelatin mixture evenly into cups on top of the strawberry layer. Transfer back to the refrigerator.
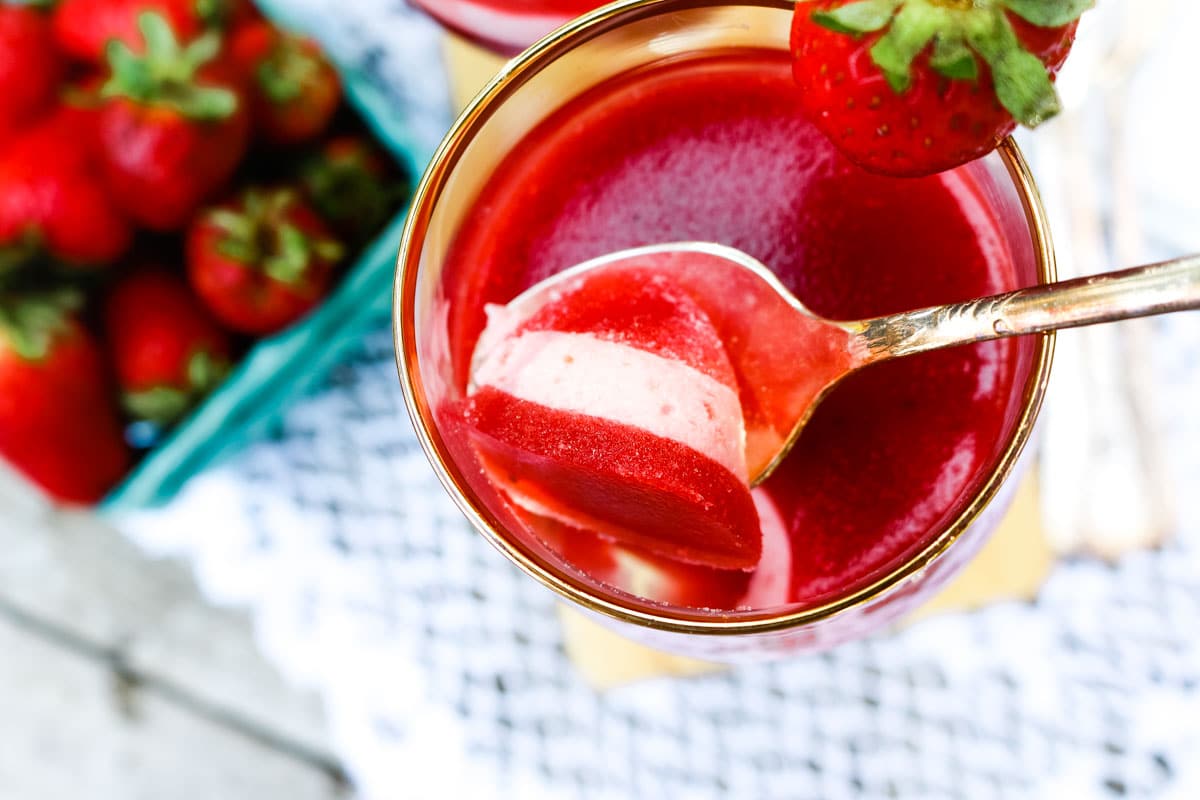
Step 6. Make the top strawberry layer: Pour the remaining strawberry gelatin mixture on top of the yogurt mixture creating three distinct layers. If this reserved strawberry gelatin mixture inadvertently sets in the pot, gently warm on low heat until it becomes pour-able. Transfer the cups to the refrigerator for 30 minutes to set well.
Helpful Tools for Strawberries and Cream Gelatin Cups
- Small stainless steel pot: to make the strawberry jam
- Mixing bowls: I love this set but use whatever small and medium bowls you have to divide the various layers
- Sieve: to catch the strawberry seeds after the jam
- Serving cups: use fancy wine glasses or small mason jars
- Gelatin: use good quality gelatin to maximize nutrition in these snack cups
Want more healthy gelatin recipes?
In an effort to make healthy snacks and treats, I have more recipes that call for grass-fed gelatin. Check these out:
- Bedtime Gummies
- Homemade Mango and Cream Gummy Recipe
- Real Food Patriotic Jello Cake
- Homemade Marshmallows
- Aspic Recipe - Meat Jello
Did you make this? Please leave a ⭐ recipe rating in the recipe card below and leave a review in the comments. Thank you!💚
Printable Recipe
Strawberries and Cream Gelatin Cups
Ingredients
Instructions
- In a small saucepan, cook strawberries and lemon juice over medium heat until all berries are softened and cooked through. Add honey and blend well using an immersion blender.
- In a small bowl, bloom gelatin by adding it to ½ cup of water and quickly whisking it. Set aside.
- Strain the strawberry puree through a sieve to catch all the seeds. Return strained puree back to pot and bring to a gentle simmer on low heat. Add bloomed gelatin and stir well to combine. Take off heat.
- Divide roughly ⅔ of the strawberry gelatin mixture between 4 cups, reserving the remaining (⅓) mixture for the other layers. Transfer the cups to the refrigerator to begin setting.
- Transfer half of the remaining ⅓ of the strawberry mixture into a small bowl. Add yogurt and combine well (this will be the middle layer). Spoon prepared yogurt gelatin mixture evenly into cups on top of the strawberry layer. Transfer back to the refrigerator.
- Pour the remaining strawberry gelatin mixture on top of the yogurt mixture creating three distinct layers. Transfer the cups to the refrigerator for 30 minutes to set well.

Notes
- If using frozen strawberries, allow more cooking time to reduce water content.
- To sub sugar for honey, use ½ cup of sugar in place of ¼ cup of honey.
- If the reserved strawberry puree sets before finishing the layers, gently re-heat in the small saucepan on medium-low heat.
Nutrition
This post was originally published April 2016 but has since been updated to include helpful information.