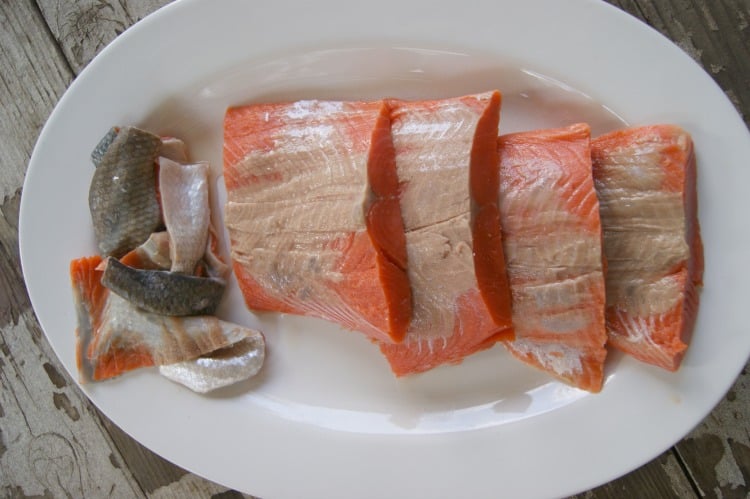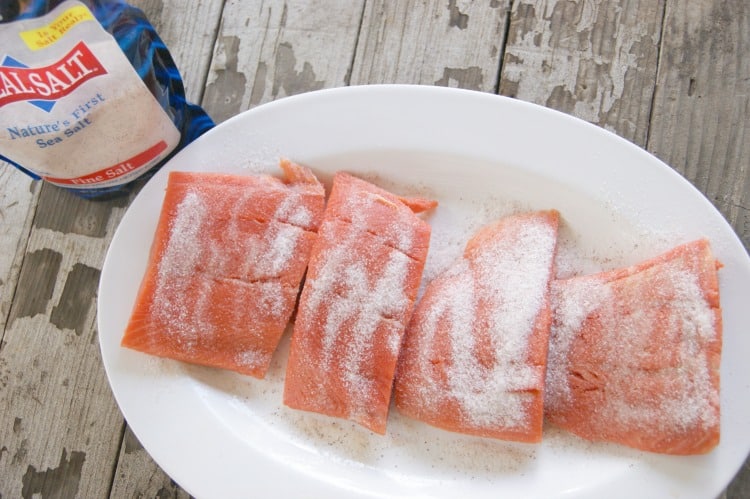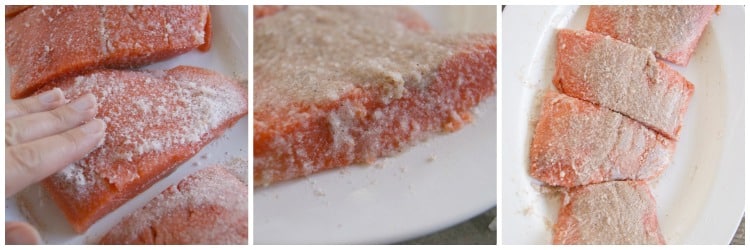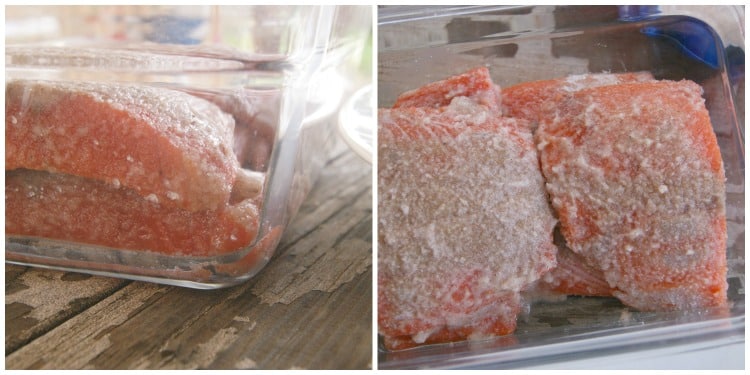
You're probably far too familiar with the health benefits of wild seafood, but sadly, sardines seem to be the odd one out. The black sheep in the seafood realm. The one overlooked because of the wild Atlantic salmon being perfect for this recipe and white sturgeon being delicious in this comforting soup.
But what can you do with a can of sardines? Turns out...a lot. For starters, they make a perfect snack. My oldest loves it in his lunch box, especially if he gets to pull the spine out of the fish as other junior-highers gaze with bewilderment. Sure beats a boring ham and cheese sandwich. I mean, every school-age child knows a sandwich. From classic PB&J to grilled cheese to ham sandwich. But sardines, with skin and bones...now, that's no ordinary lunch.
If you love sardines as much as we do, you must try this sardine toast. So delish!
Apparently, sardines are even better for breakfast. As in this breakfast salad.
Wilting Spinach
Start with cleaning the spinach. If your spinach came from the farmer's market or your garden, I always prefer to soak it in a bowl full of water. The spinach tends to rise to the surface while the dirt and grime sink to the bottom. Rinse the leaves and pat dry.
In a skillet over medium heat, melt tablespoon of butter. Add spinach, sprinkle some salt and desired fixings. You can get pretty creative with how to prepare your wilted spinach. Basil, cilantro, chives and parsley are all great herbs to add to the wilted spinach on this dish. Or just leave it plain with butter and a dash of salt.
[Tweet "Change up your breakfast. Spinach & Sardine Breakfast Salad with Hollandaise Sauce"]
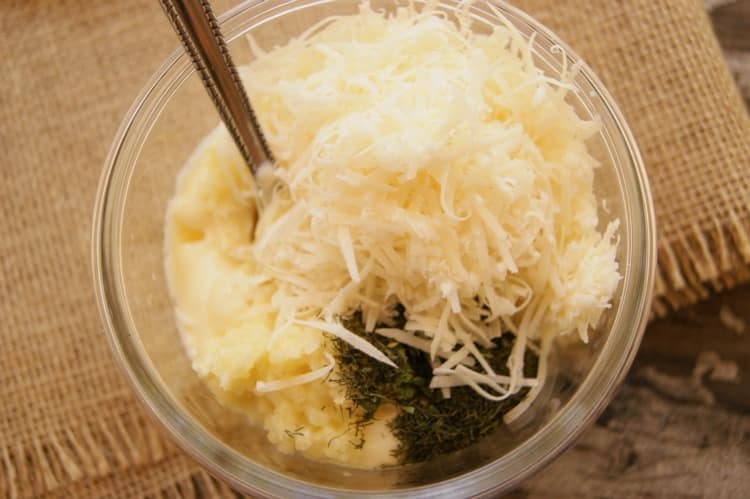
Hollandaise Sauce
This is by far the best breakfast sauce in our home. Creamy and rich - it is the best topping for this breakfast salad.
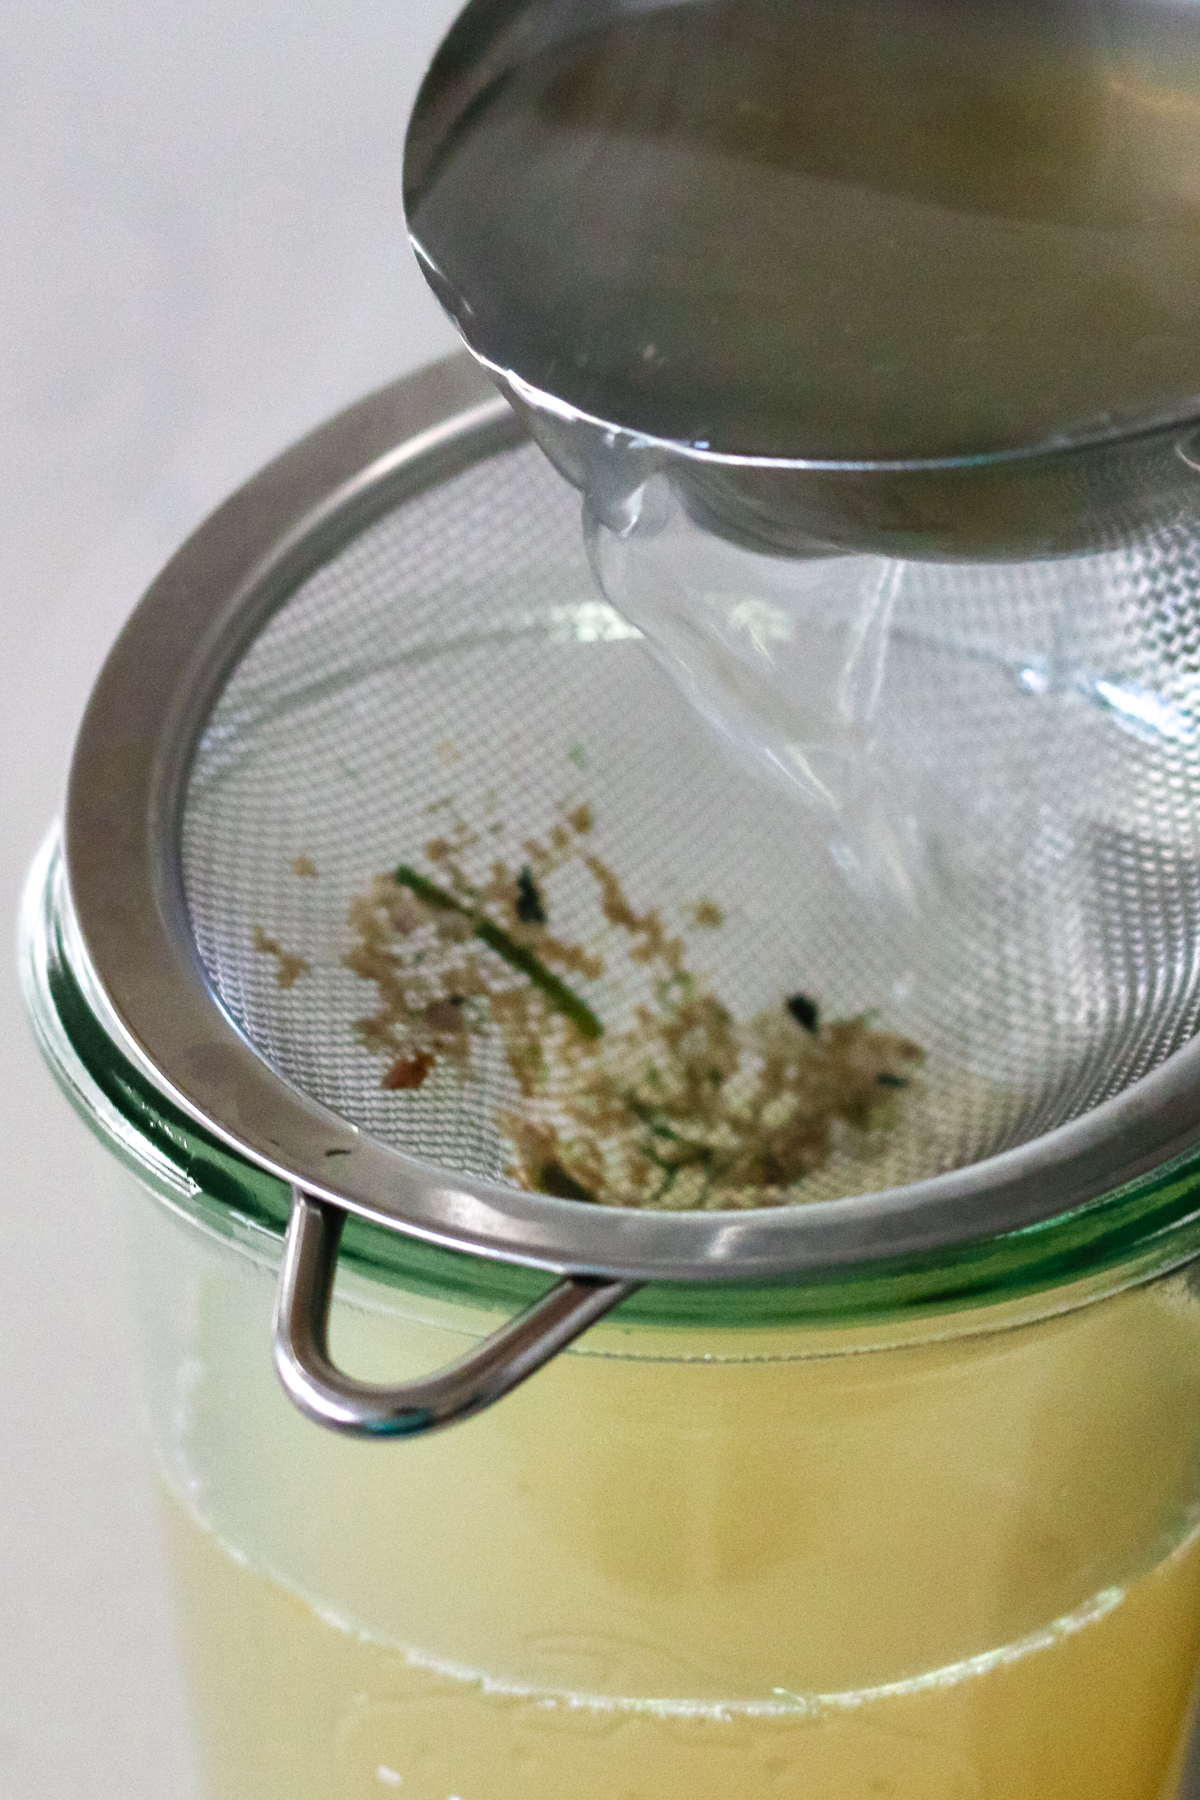
 Vigorously whisk egg yolks, lemon juice and water in a small glass bowl. Place the bowl over a saucepan (or double broiler) with an inch of simmering water on low heat making sure bowl does not touch the water. Continuously whisking, the sauce should double in volume as the heat from the water gently thickens the egg yolks, approximately 5 minutes. Add butter, combining well after each tablespoon. If it gets too thick, add another teaspoon or so of warm water and whisk rapidly.
Take off heat, add turmeric, paprika and real salt. Keep covered in a warm area until ready to spoon over the breakfast salad.

Assembling Breakfast Salad
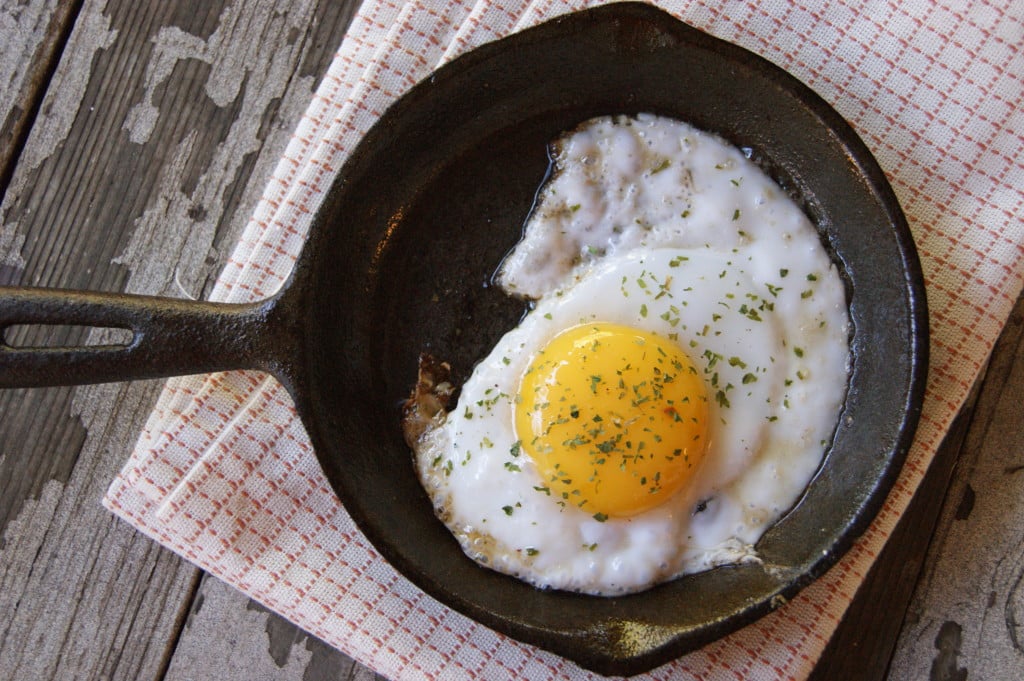
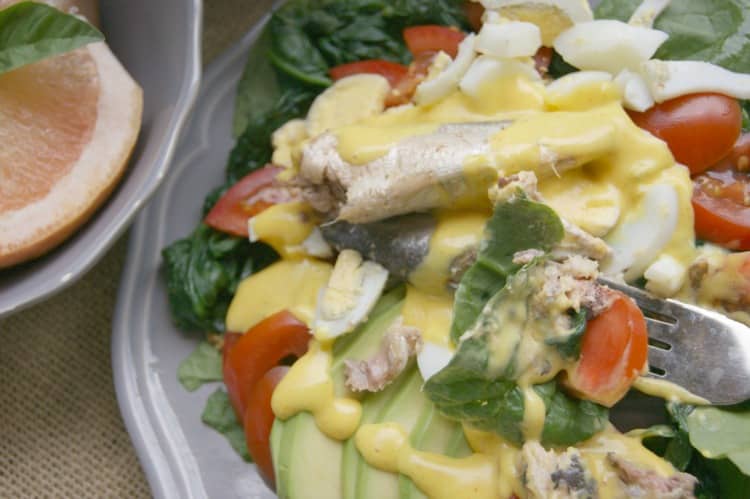
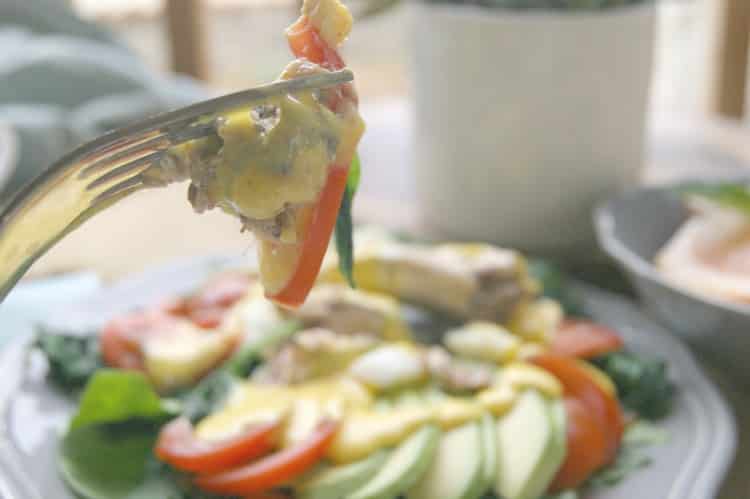
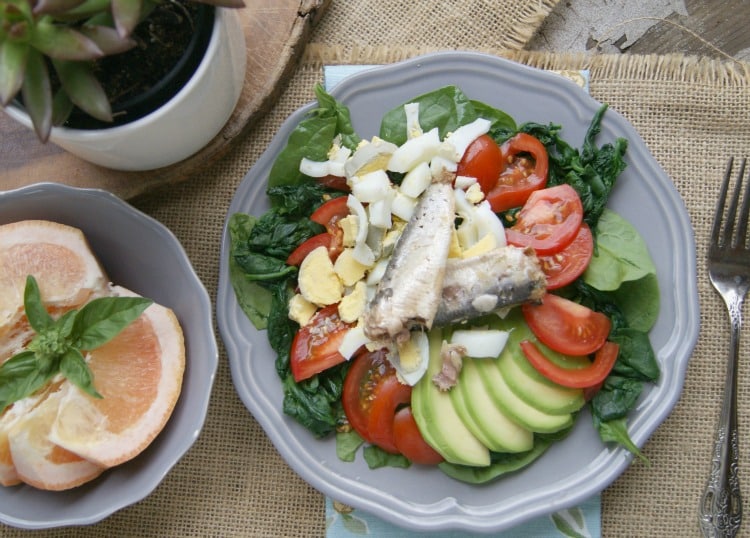
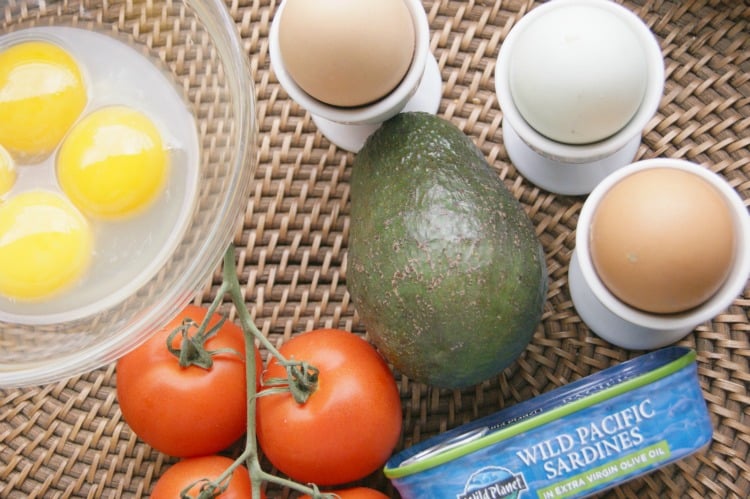
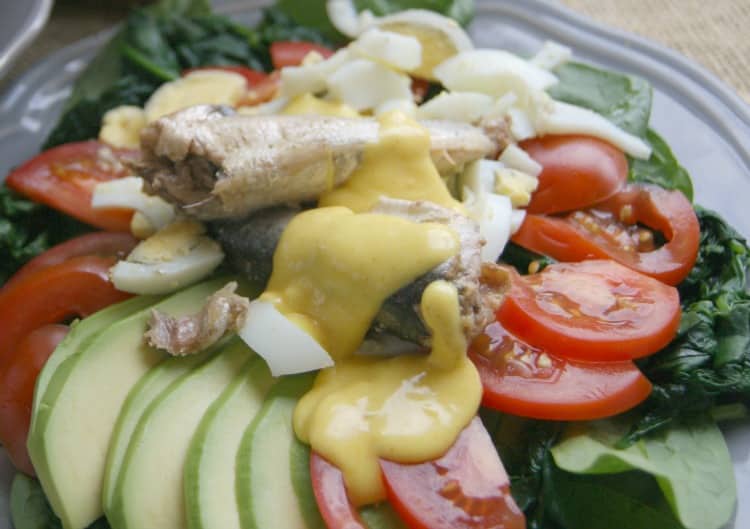
Spread a handful of raw spinach or sping mix on the bottom of the plate, followed by the wilted spinach. Add sliced tomatoes, avocados, and chopped hard-boiled eggs.
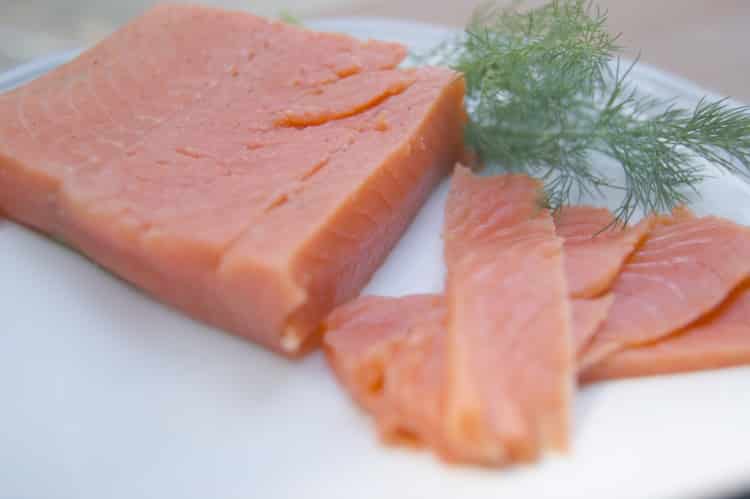
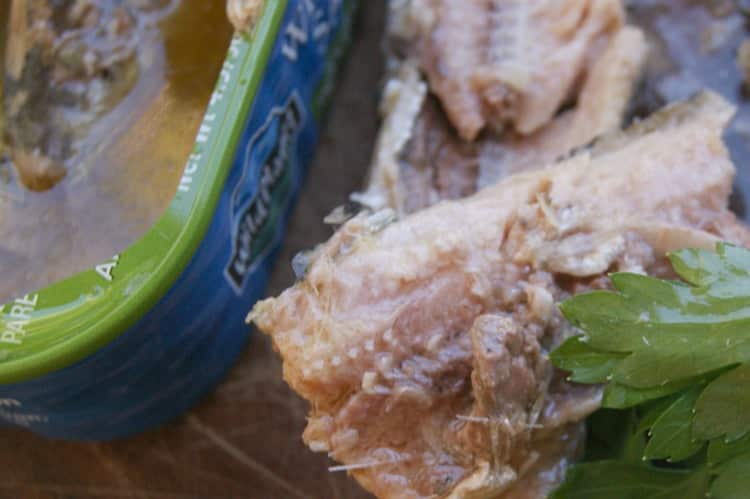
Top with sardines. We love these from Wild Planet for their use of BPA free cans and sustainable fishery.
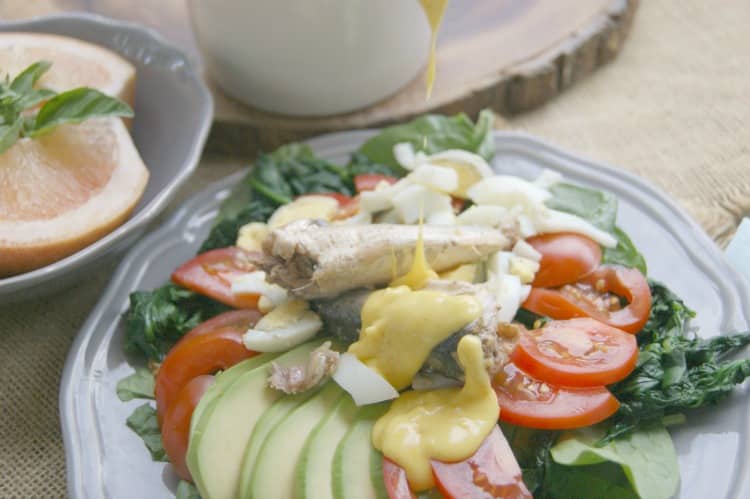
Spoon hollandaise sauce over the breakfast salad. You may further garnish with fresh dill or chives.
Printable Recipe

Spinach and Sardine Breakfast Salad with Hollandaise Sauce
Ingredients
Wilted Spinach:
- 4 cups baby spinach
- 1 T butter
- pinch of salt
- herbs: parsley basil, chives (optional)
Hollandaise Sauce:
Salad:
- 2 cups fresh baby spinach or mix greens
- 2 hard boiled eggs chopped
- 2 md tomatoes sliced
- 1 avocado pitted and sliced
- 1- 4 oz. wild lightly smoked sardines in olive oil
Instructions
Wilting Spinach:
- Start with cleaning the spinach. If your spinach came from the farmer's market or your garden, I always prefer to soak it in a bowl full of water. The spinach tends to rise to the surface while the dirt and grime sink to the bottom. Rinse the leaves and pat dry.
- In a skillet over medium heat, melt tablespoon of butter. Add spinach, sprinkle some salt and desired fixings. Or just leave it plain with butter and a dash of salt.
Hollandaise Sauce:
- Vigorously whisk egg yolks, lemon juice and water in a small glass bowl. Place the bowl over a saucepan (or double broiler) with an inch of simmering water on low heat making sure bowl does not touch the water.
- Continuously whisking, the sauce should double in volume as the heat from the water gently thickens the egg yolks, approximately 5 minutes.
- Add butter, combining well after each tablespoon. If it gets too thick, add another teaspoon or so of warm water and whisk rapidly.
- Take off heat, add turmeric, paprika and salt. Keep covered in a warm area until ready to spoon over the breakfast salad.
Assembling Breakfast Salad:
- Spread a handful of raw spinach or sping mix on the bottom of the plate, followed by the wilted spinach.
- Add sliced tomatoes, avocados, and chopped hard-boiled eggs.
- Top with sardines. Spoon hollandaise sauce over the breakfast salad. You may further garnish with dill or chives.
Nutrition
 This post has been shared on Thank Goodness It's Monday, | Wednesday Showcase | FoodieFriDIY | Gluten Free Fridays | Funtastic Friday | Let's Get Real Friday |


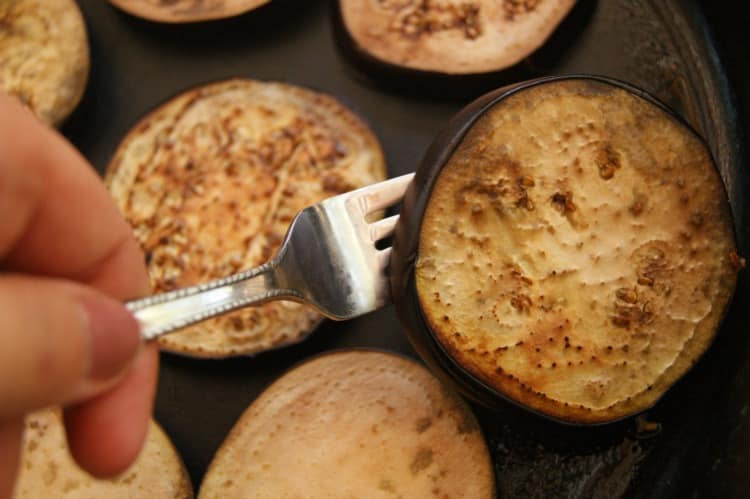 Flip the eggplant slices and continue to brown the other side for additional 2 minutes. Using a metal spatula or fork, remove the roasted eggplant slices off the pan and lay them out on a cookie rack to cool.