Sometimes, the best meals come from the least amount of ingredients from a nearly empty refrigerator. This is one of those meals. The kids were at their grandparent's for a sleepover and the house was quite as I whipped up this simple dinner for just the two of us.
{This post contains affiliate links. The cost remains the same for you.}
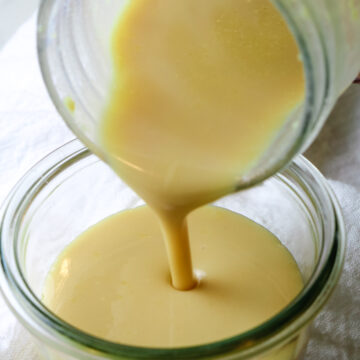
The star of this dish has to be my favorite soy-sauce replacement, Coconut Aminos. We're not stricly soy-free, but I do try to limit the soy my family consumes for several reasons and it deserves it's own post but I especially avoid it for the boys as its highly estrogenic. Soy contains plant estrogens in the form of isoflavones which increase your estrogen level, thus lowering testosterone. And we all know estrogen is a "female hormone." And just because you're a woman, doesn't mean more estrogen is a good thing. Majority female population is estrogen-dominant, creating hormone imbalances, weight gain and a host of other problems. For that reason, we avoid soy whenever we can.
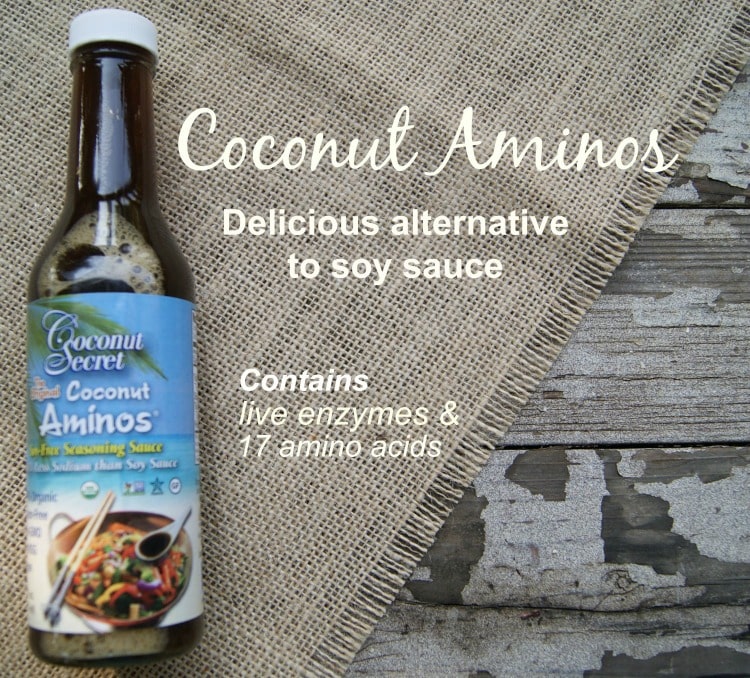
Thankfully, there has been a great product on the market that is not just a wonderful replacement but is also chock full of nutrients. The Original Coconut Aminos are abundant with raw enzymes, amino acids, Vitamin C and other nutrients. Coconut Aminos are produced from a nutrient-rich sap that exudes from the coconut blossoms when a coconut tree is tapped. It tastes crazily similar to regular soy sauce and I may or may not have been caught sneaking it in to our favorite sushi place.
Take care not to heat the Coconut Aminos so as not to destroy the raw enzymes. I like to add this at the very end, when the pan is off the stove and on the table.
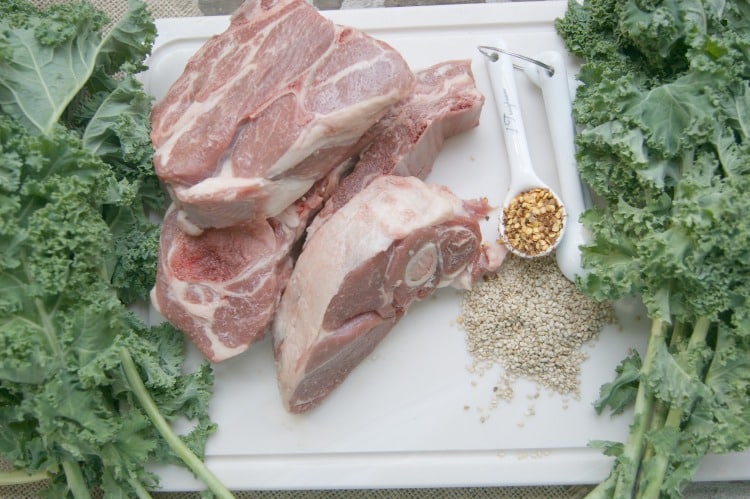
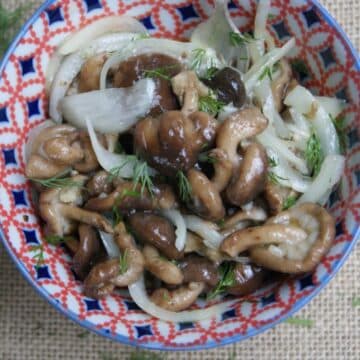
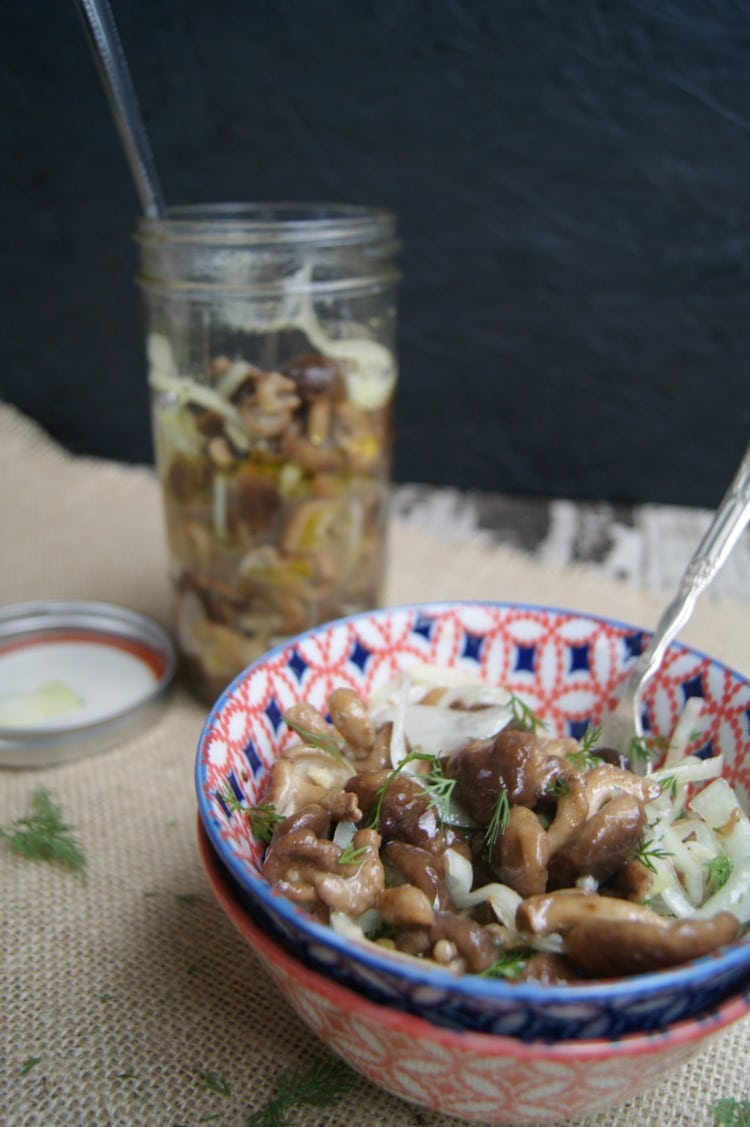
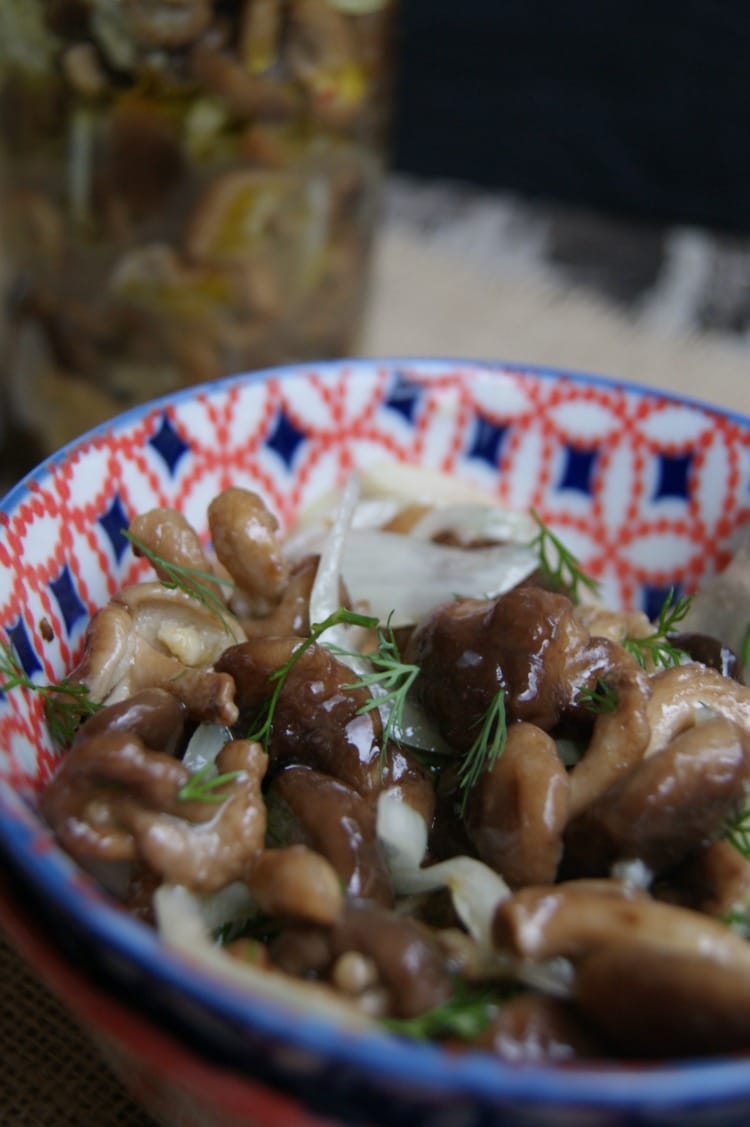
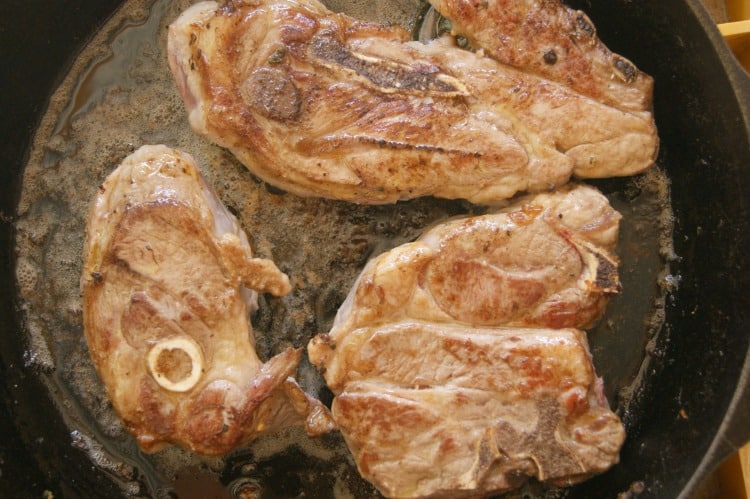
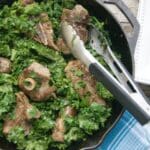
I used assorted cuts of shoulder chops, but you can use boneless cut of lamb. Brown your chops on each side on medium-high heat until they can easily come off the pan (3 minutes each side). Season with salt and red pepper flakes and close the pan and allow to braise for 30 minutes. You can cut them into smaller pieces now or wait until they are cooked.
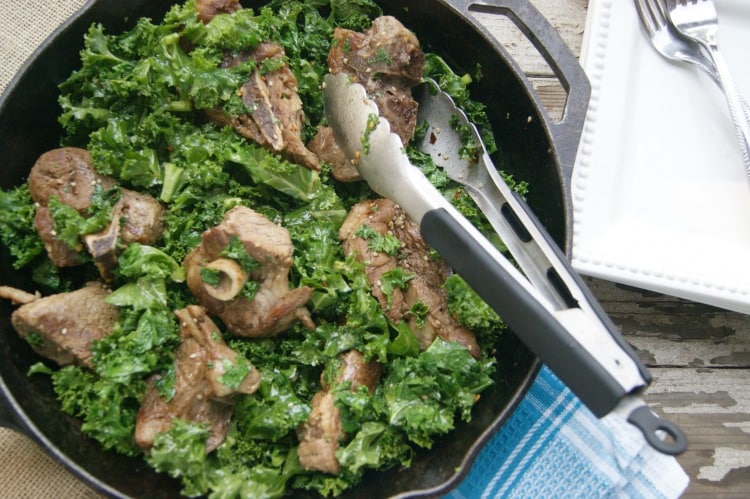
Lamb will release its own juices in which we'll be cooking the kale. Bring heat to low and add chopped kale to pan and sesame seeds. Remove from heat and allow to cool slightly. Add Coconut Aminos.
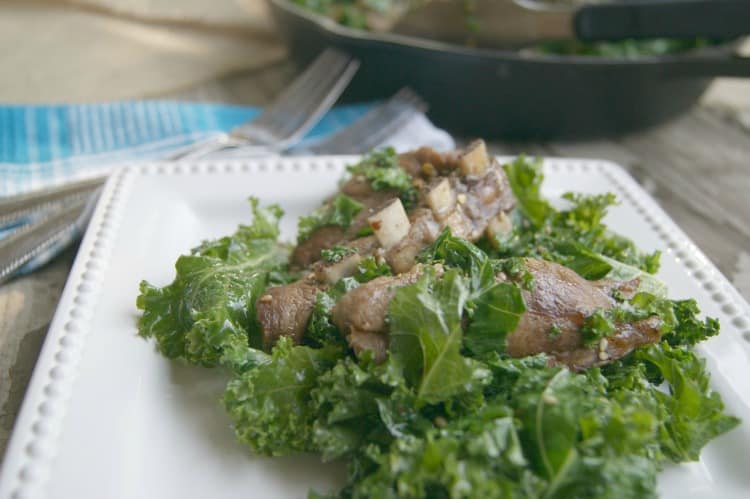
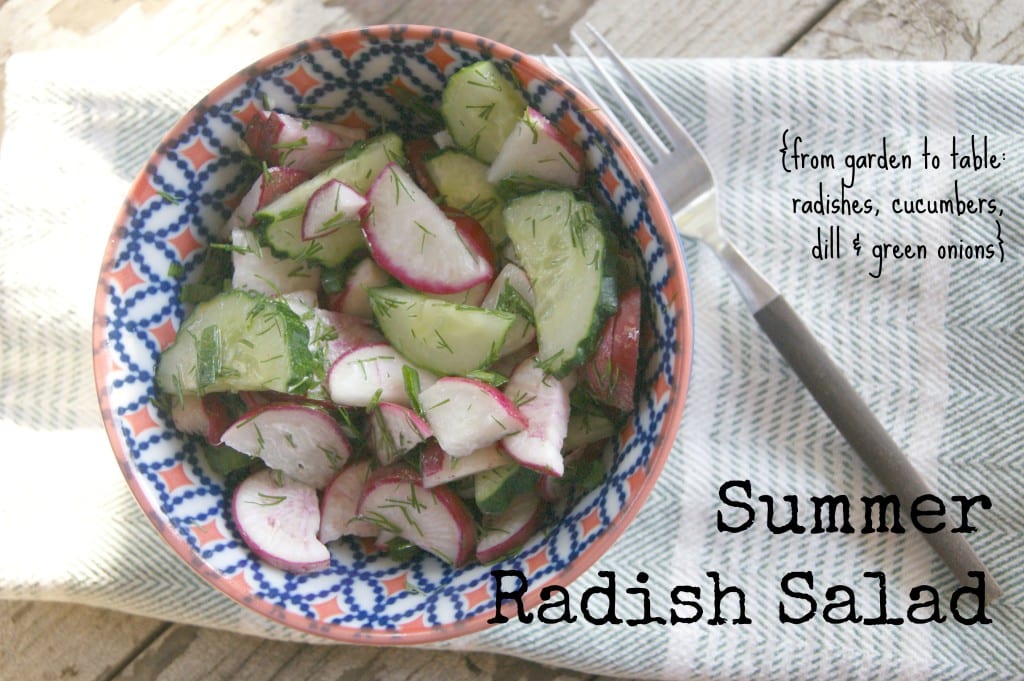
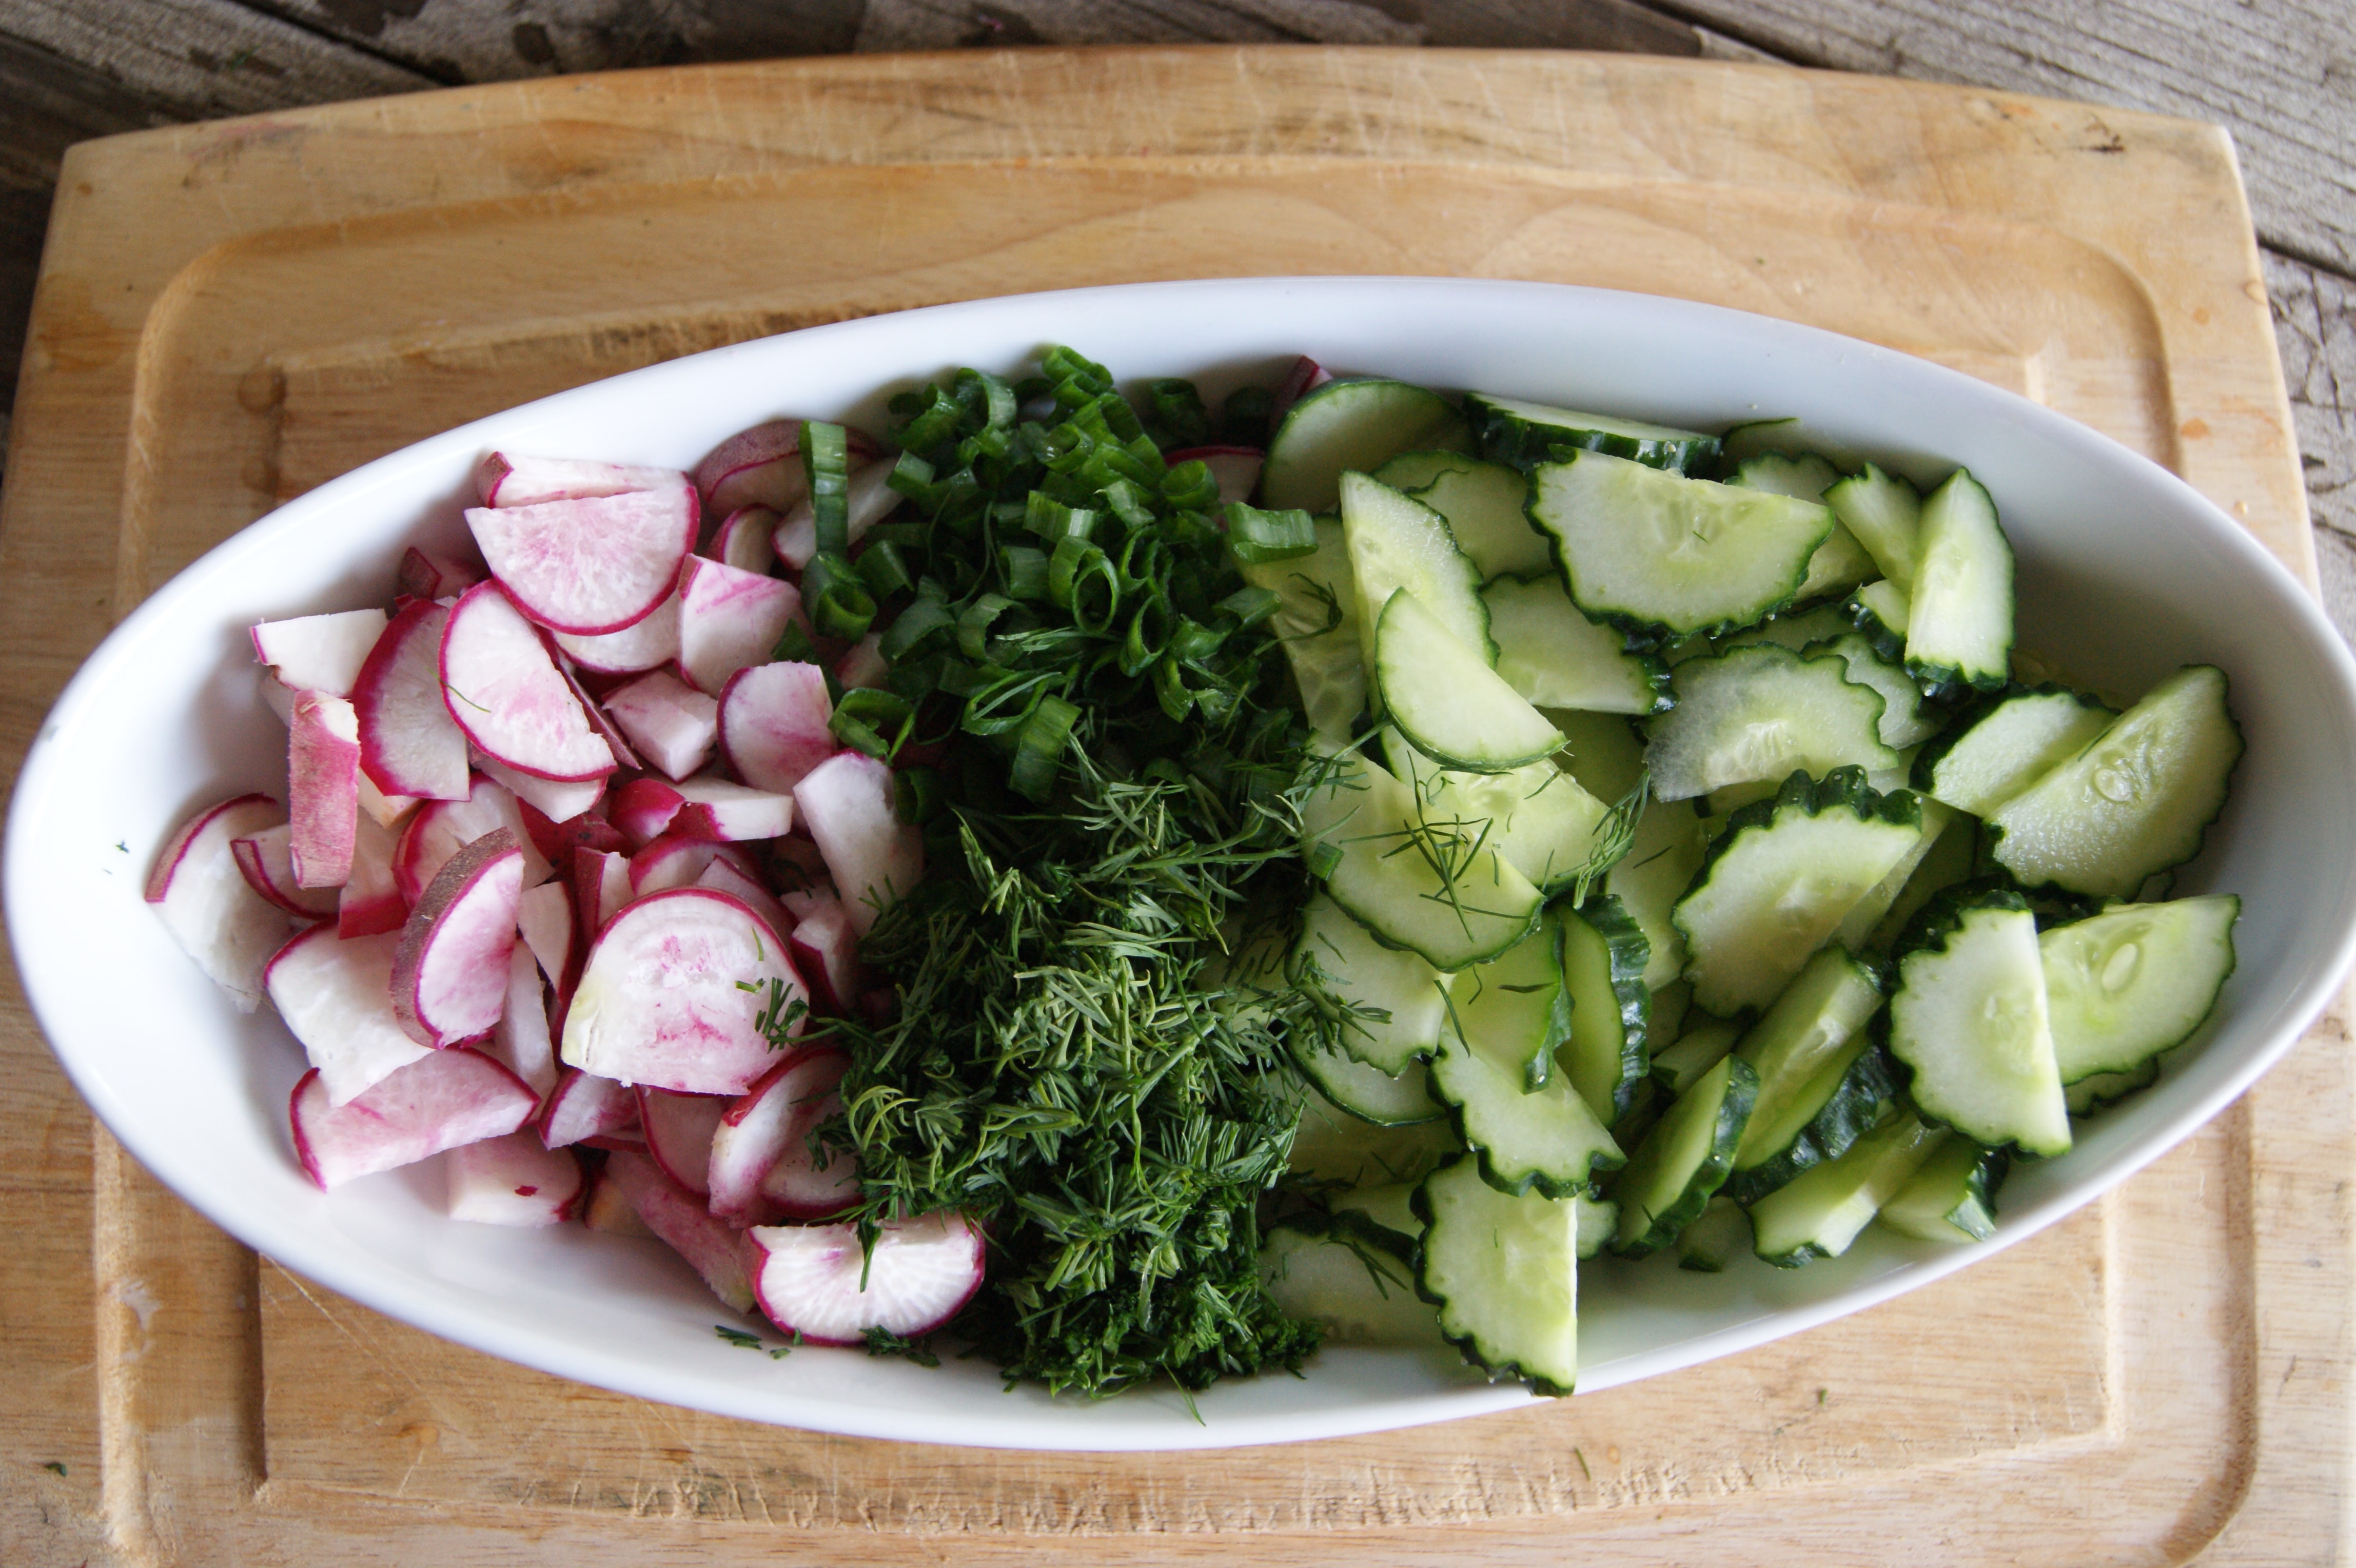
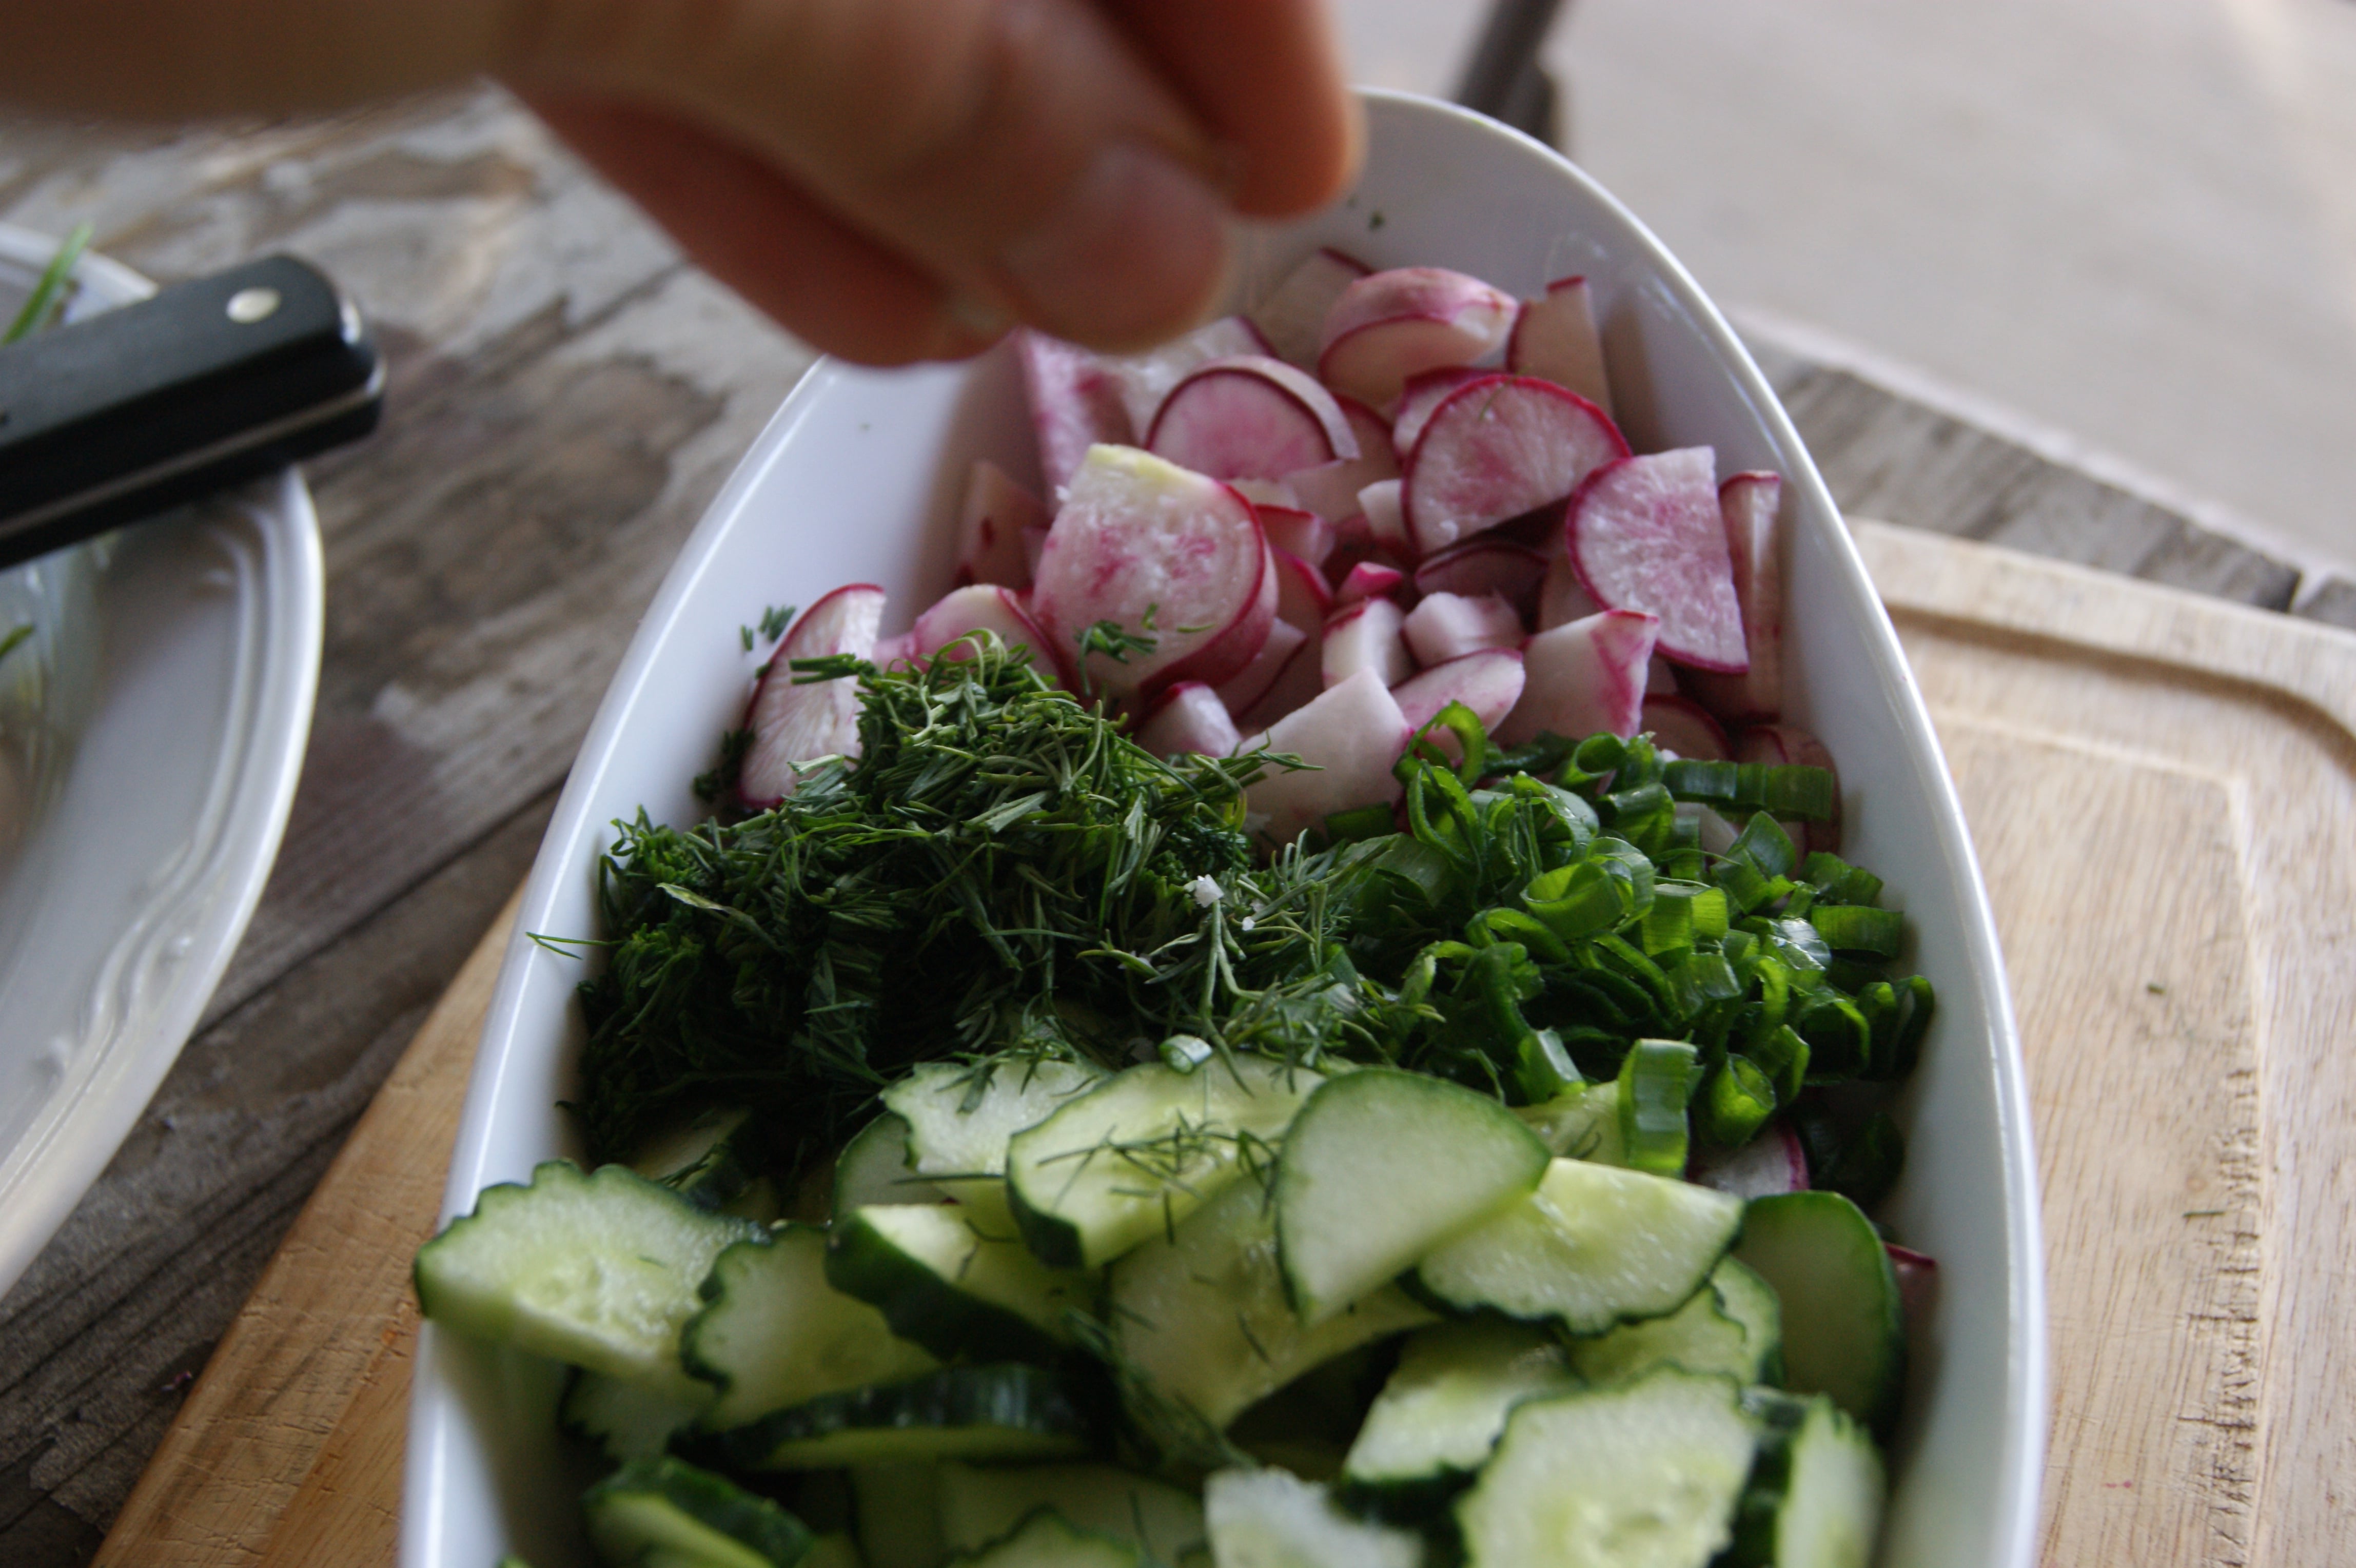
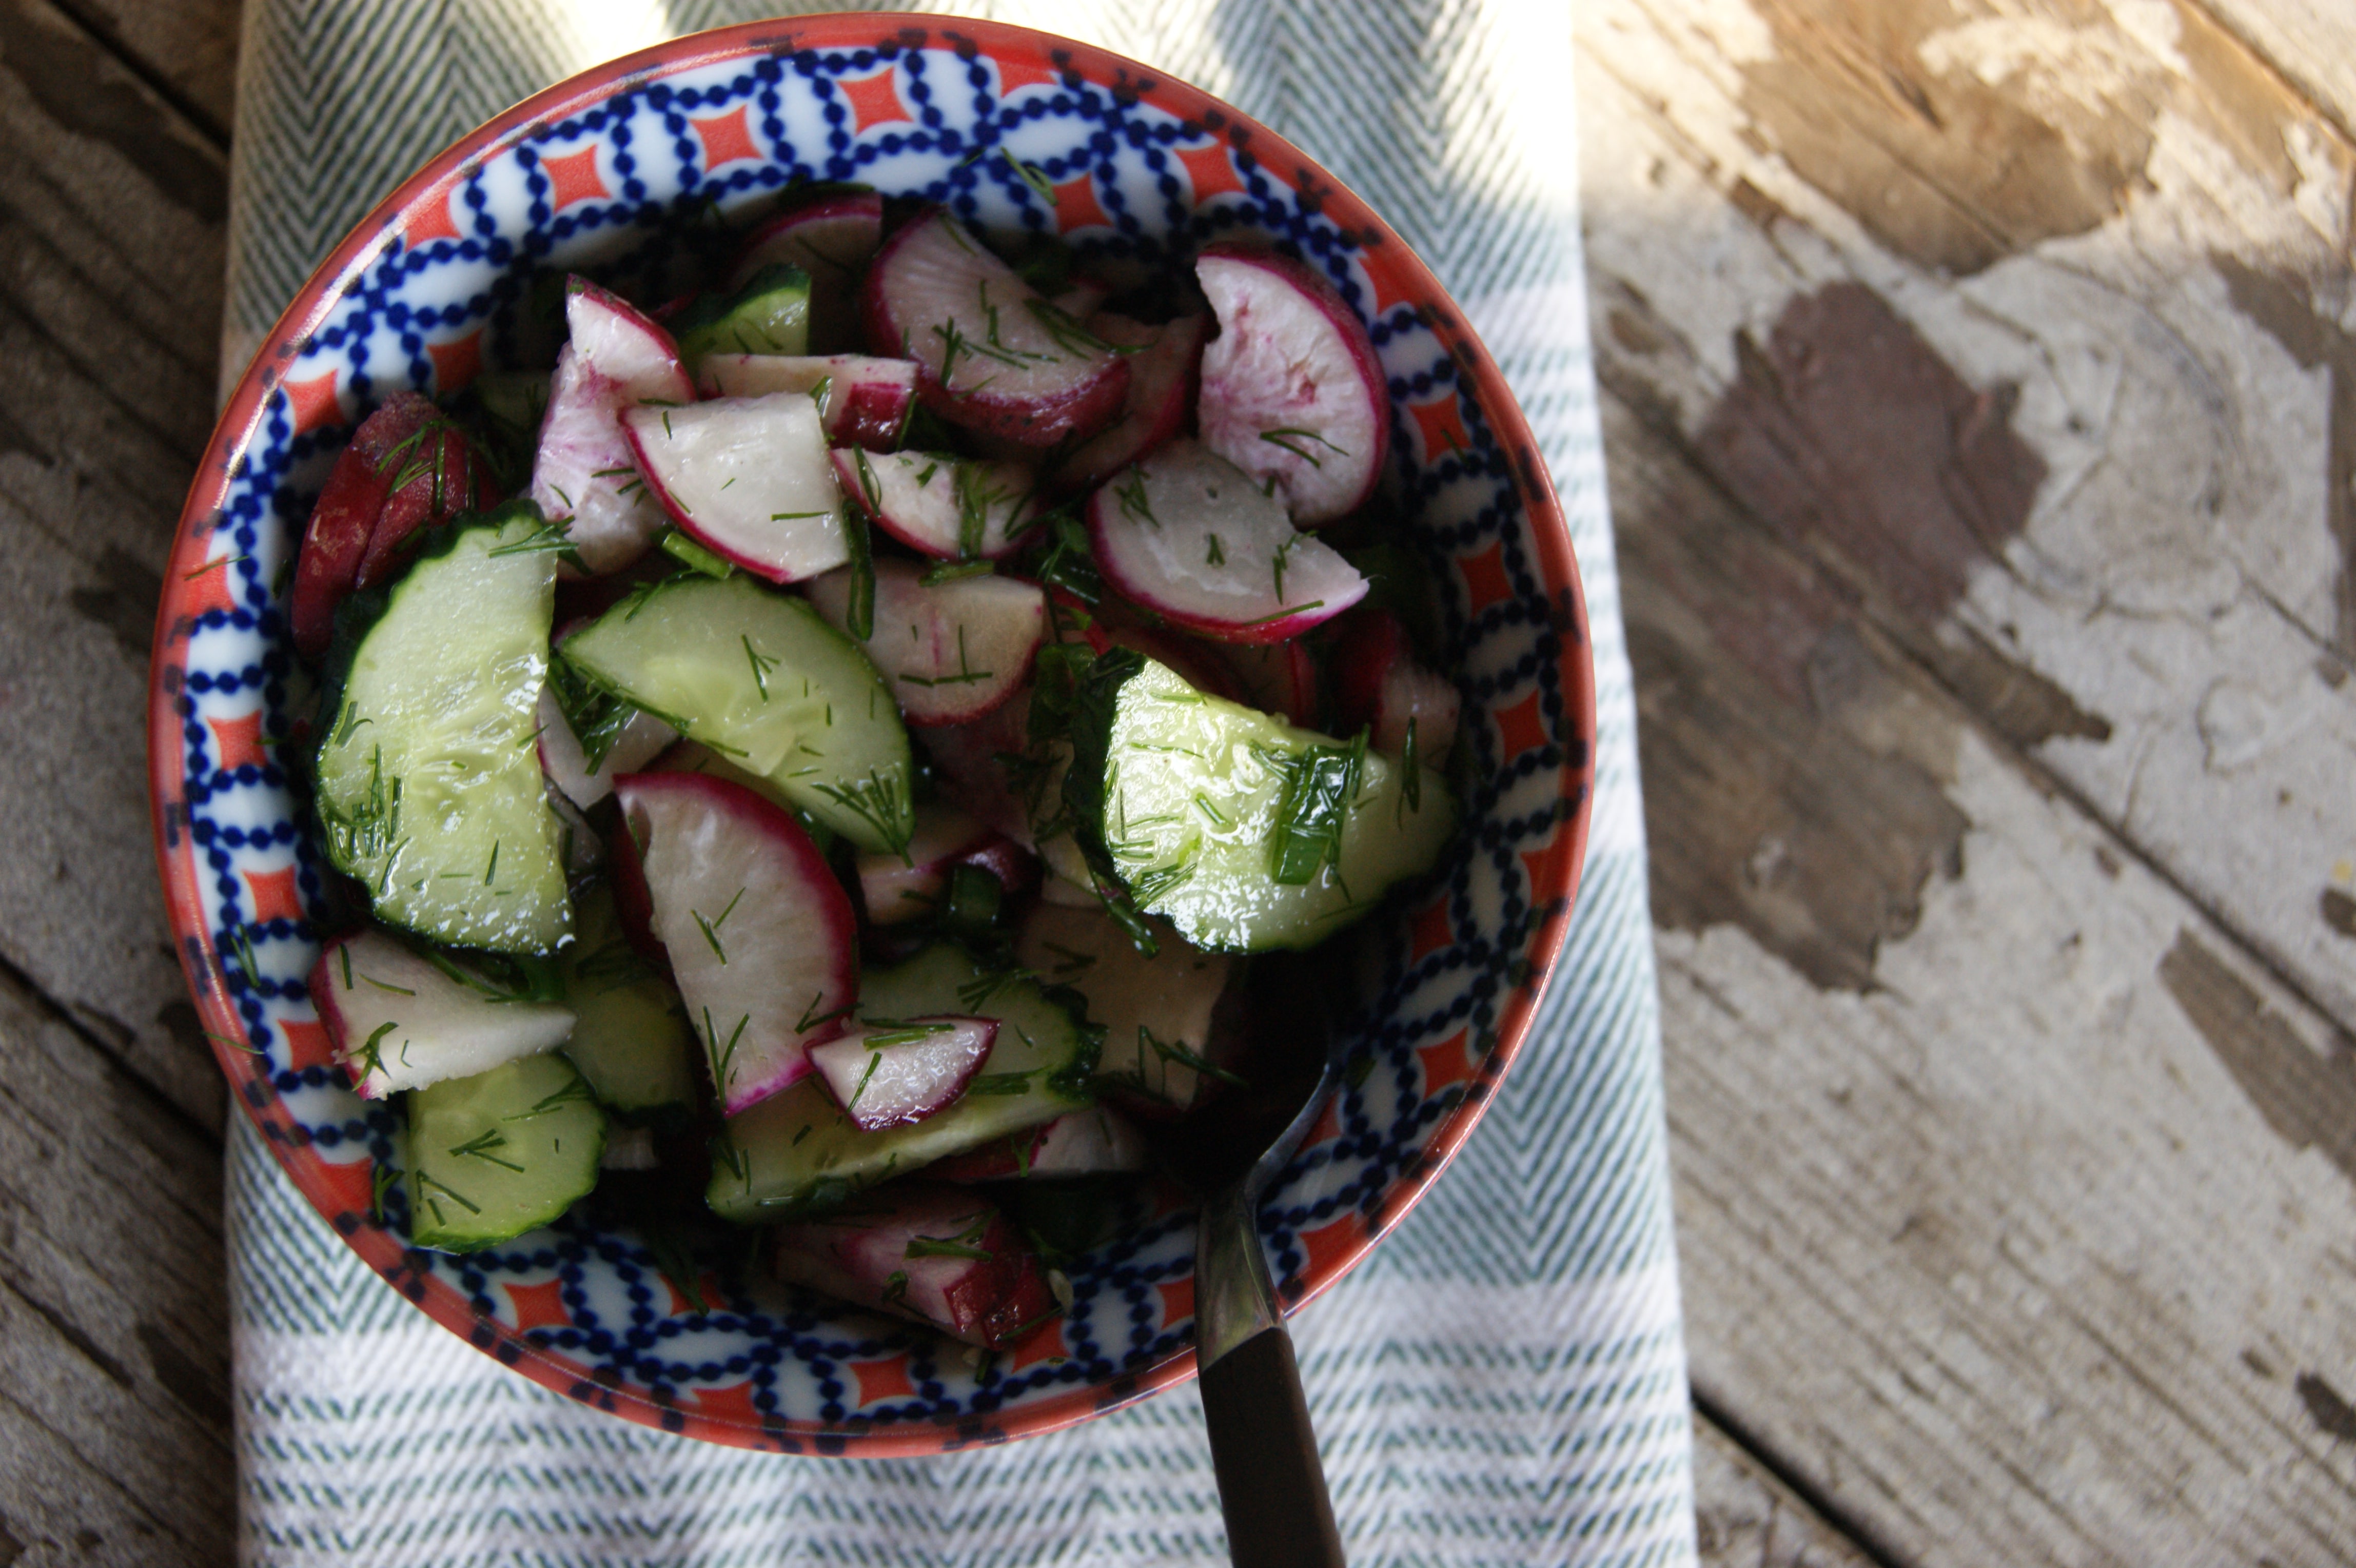
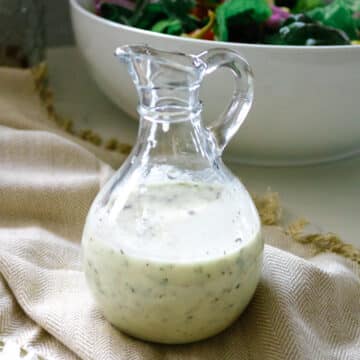
Quick and easy, this comes together in 40 minutes flat. Pair it with a nice salad, like this Summer Salad folded with fragrant sunflower oil, and you've got your self a well-rounded meal.
Printable Recipe
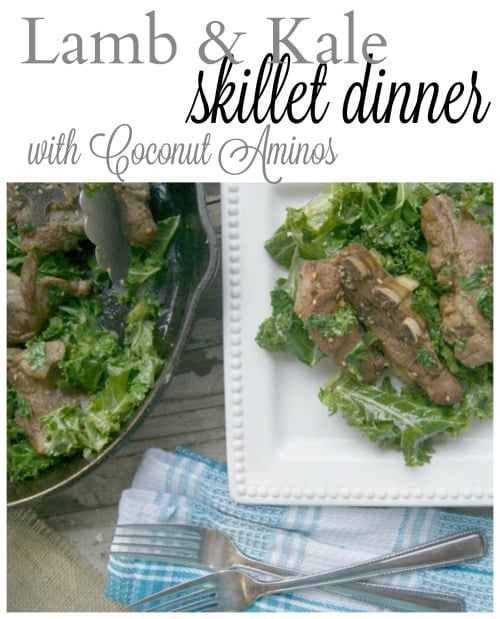
Lamb and Kale Skillet Dinner
Ingredients
- 1 T ghee lard, tallow, or butter
- 1.5-2 lbs. lamb
- 1 bunch kale chopped thinly
- 1 t <a href="http://amzn.to/24CLgIB"_blank">Celtic Sea Salt</a>
- 1 T <a href="http://amzn.to/24CLeR0"_blank">sesame seeds</a>
- ¼ t <a href="http://amzn.to/1LzTZ82"_blank">red pepper flakes</a>
- 3 T <a href="http://amzn.to/1niHjqE"_blank">Coconut Aminos</a>
Instructions
- On medium-high heat, brown the meat on each side until it can easily come off the pan (3 minutes each). Season with salt and pepper.
- Close the pan and cook for another 25 minutes.
- Reduce heat to low and add kale and sesame seeds. Toss to combine.
- Remove from heat and allow to cool slightly.
- Add Coconut Aminos and toss once more. Serve off the pan.

Let's connect! I share more personal, daily snippets of life on Instagram, insightful articles and awesome recipes on Facebook and pin away like it's going out of style on Pinterest.