This Easy One Pan Balsamic Chicken and Asparagus recipe is the perfect dinner solution for busy weeknights. It's easy to make, healthy, and packed with flavor. With minimal prep and cleanup, you’ll have a nourishing dinner on the table that the whole family will love.
If you love hassle-free meals, sheet pan dinners are the perfect solution. They offer a delicious meal with hearty protein, healthy starch, and fiber-rich veggies - all in one pan.
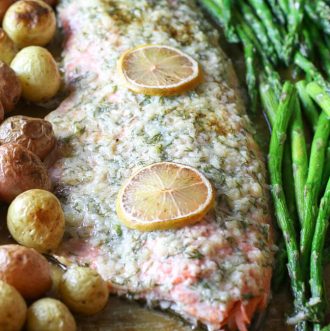
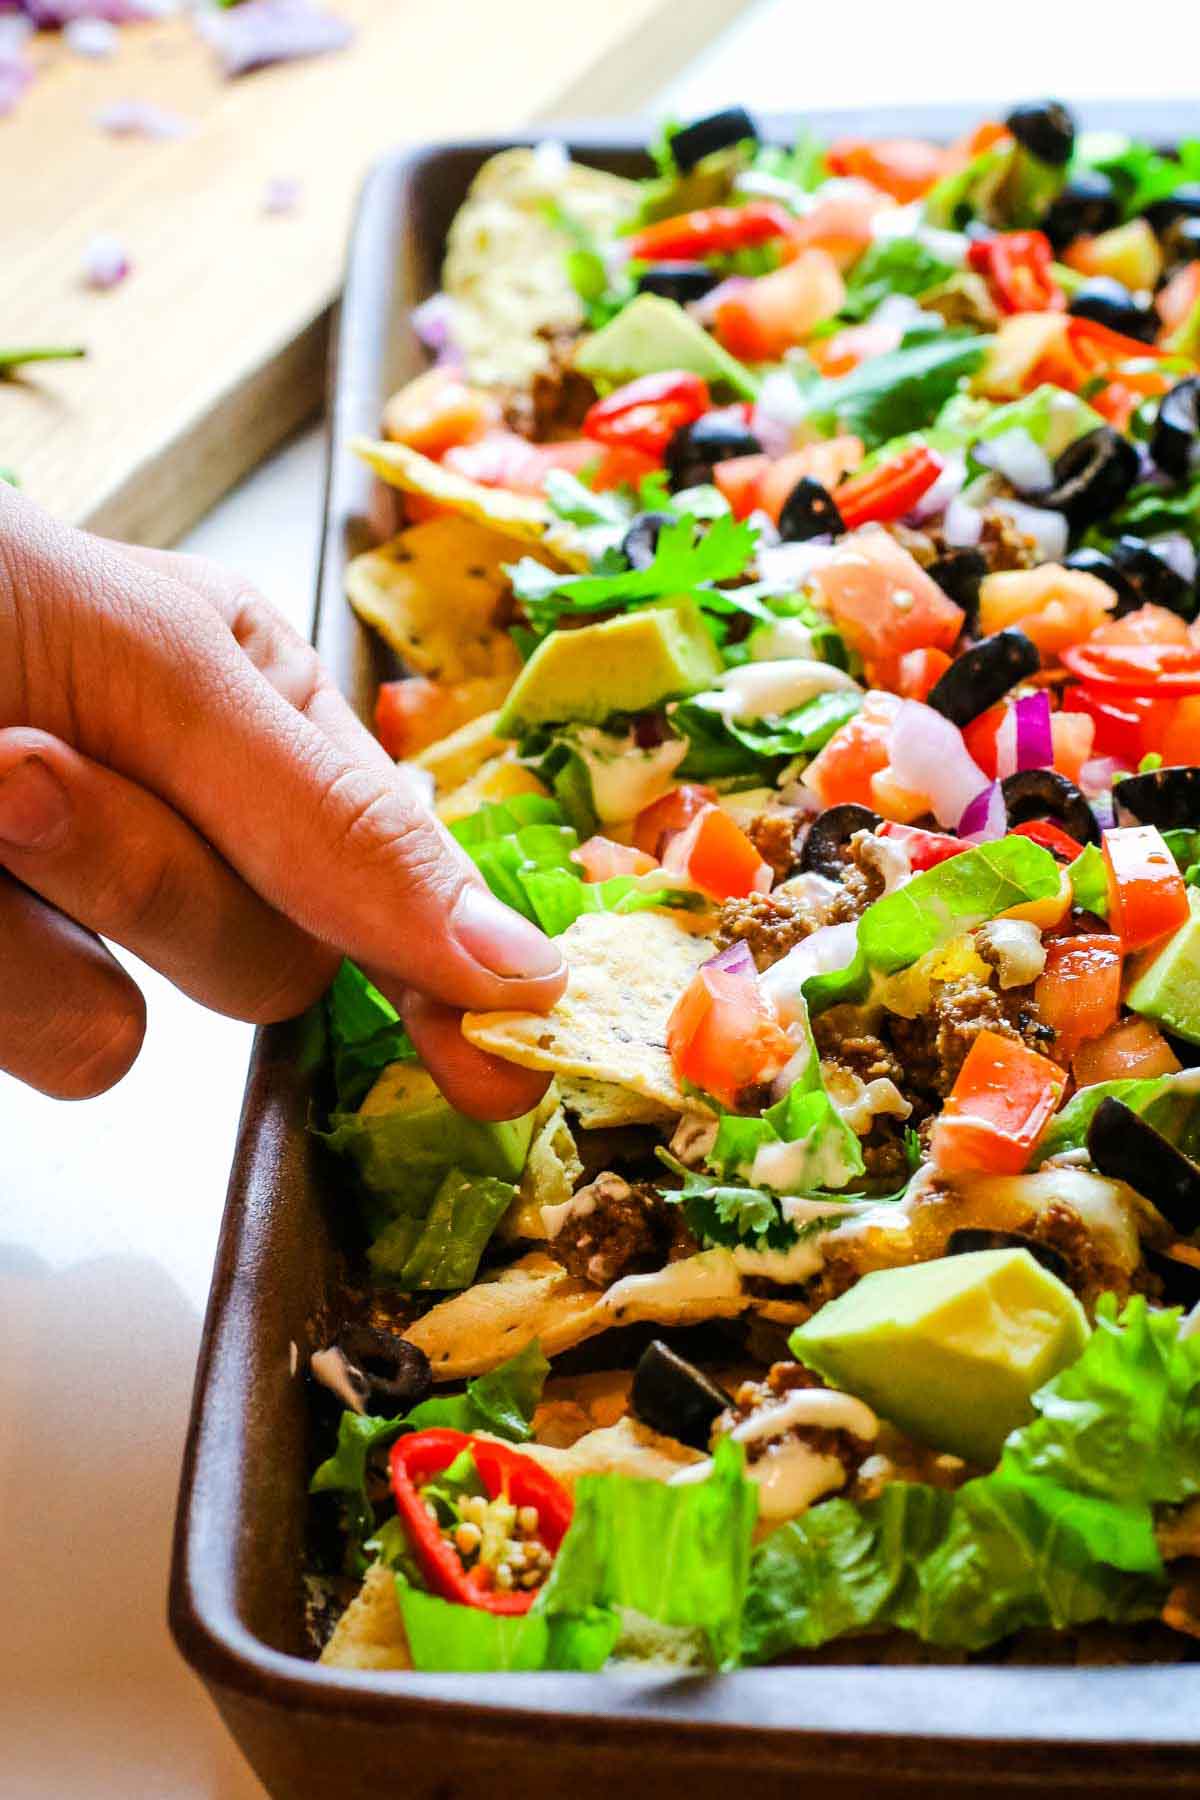
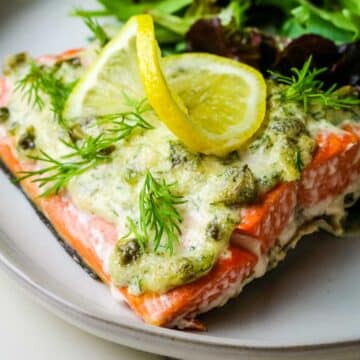
One of our absolute favorites is the Sheet Pan Nachos which is always a crowd-pleaser. And the Sausage and Peppers come a close second with succulent chunks of sausage and tasty bell peppers. Let's not forget this Salmon with Potatoes comfort food that hits all the right spots.
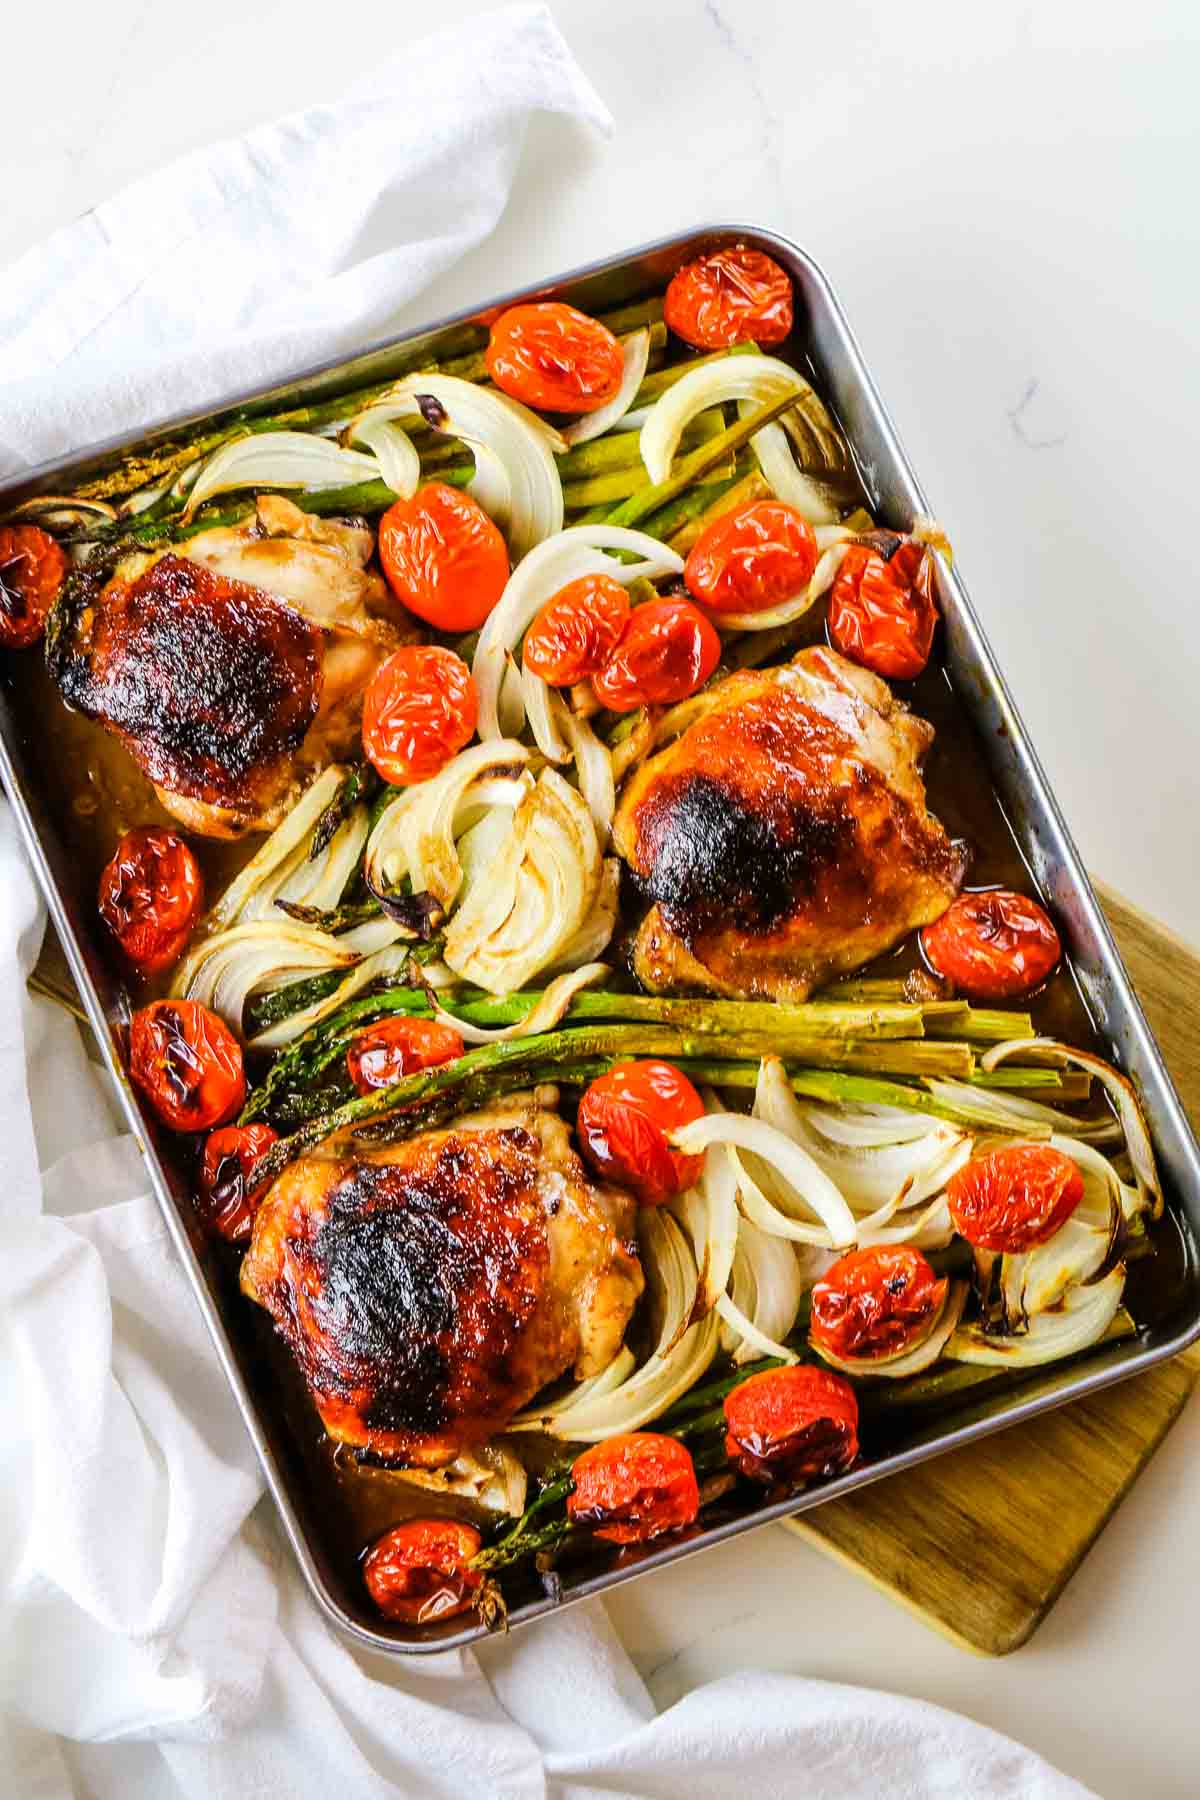
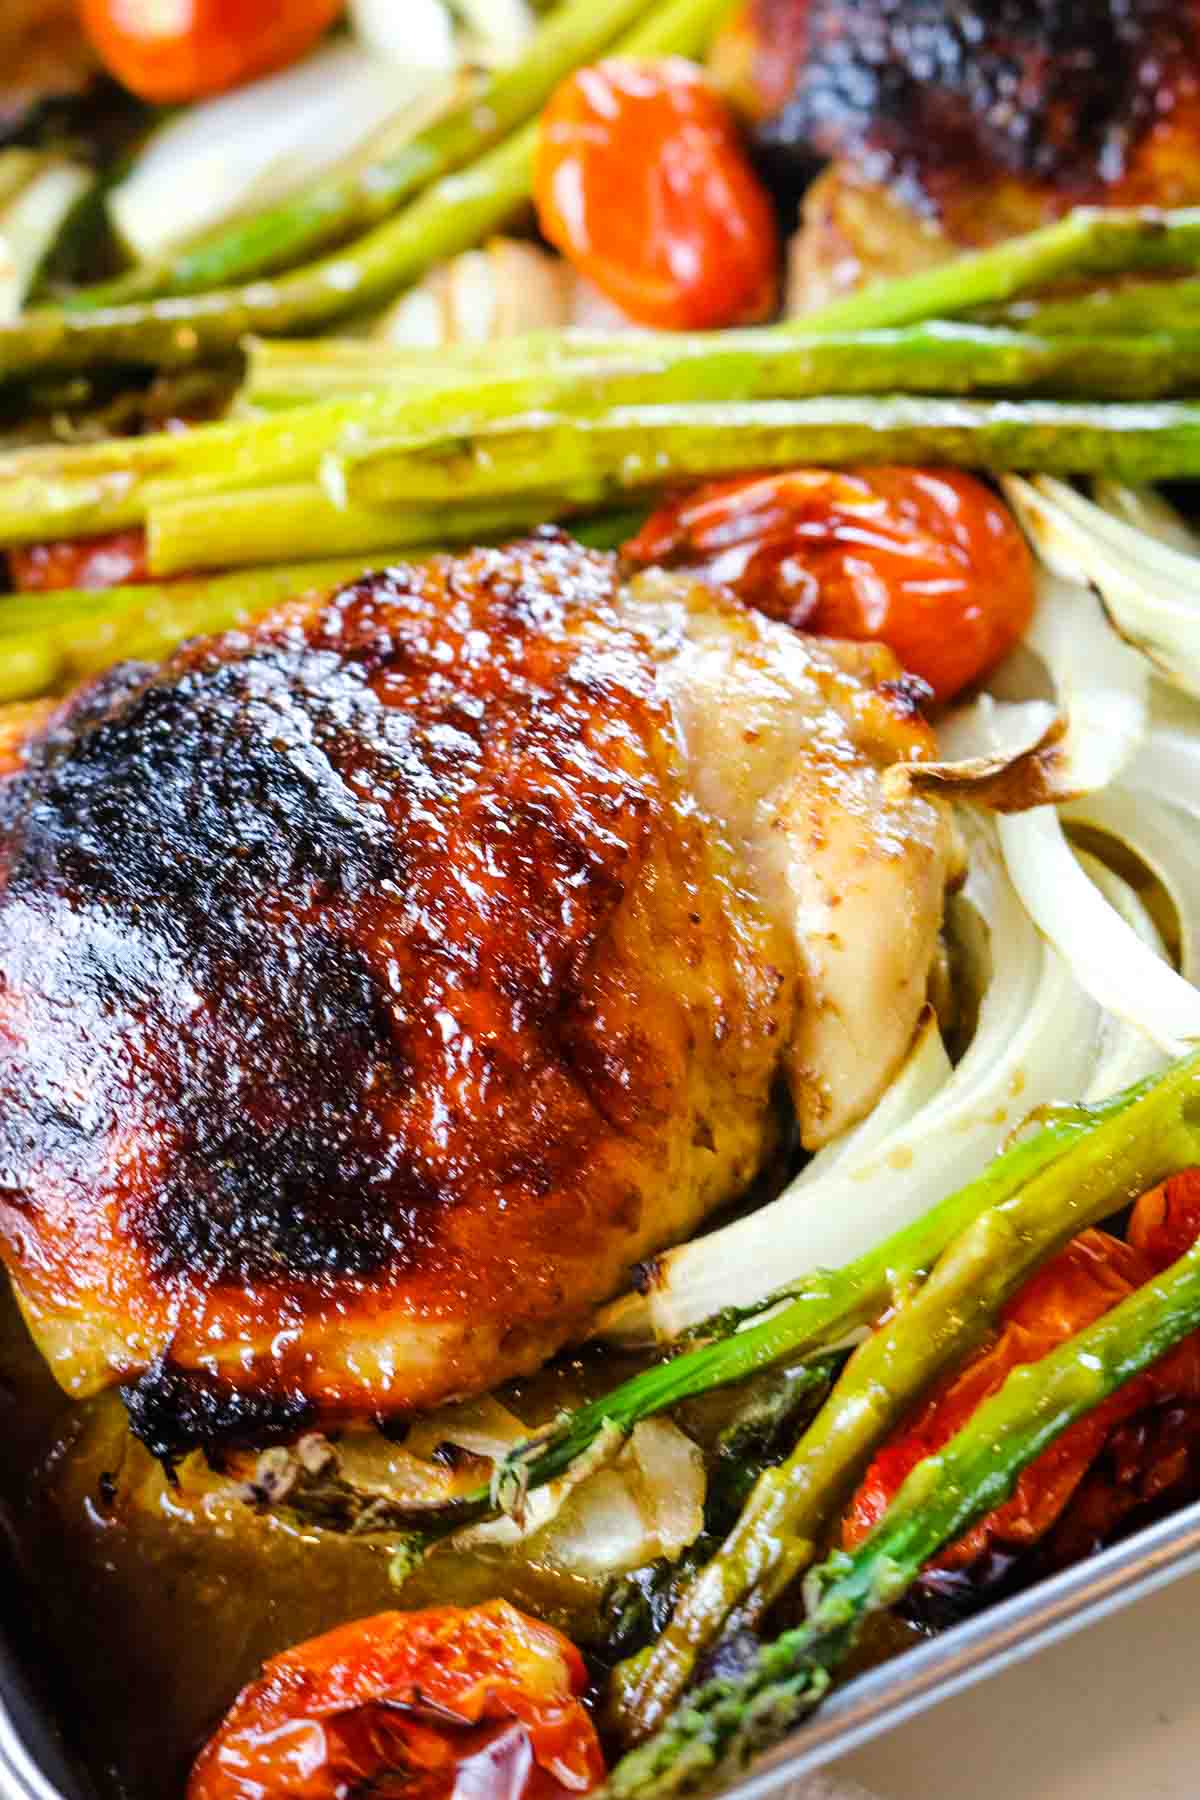
And now you can cozy up to this easy balsamic chicken and asparagus. It features juicy chicken thighs coated in a tangy balsamic glaze and roasted alongside your favorite seasonal vegetables for a complete and satisfying meal that the entire family will love.
The best part? It’s all cooked on one sheet pan, which means less time in the kitchen and more time for what matters. And you will love how customizable this recipe is - so feel free to swap in your favorite veggies or protein depending on what’s in season and your refrigerator.
[feast_advanced_jump_to]Why you'll love this one-pan wonder
- Perfect for busy weeknights. This one-pan chicken dinner comes together quickly with only a handful of simple ingredients. Also, cleanup is a breeze making mealtime even more enjoyable.
- Fresh and flavorful. Chicken thighs are coated in a delicious balsamic marinade and roasted with seasonal veggies, resulting in a well-rounded and nutritious meal.
- Change it up. Have picky eaters? No problem - this dish is easy to customize based on personal tastes, preferences, and even the seasonality of veggies.
- Scale up or down. This is a great recipe to double if serving for a large family or make as is and pop it in your air fryer convection oven as I did. It’s also a great option for meal prep.
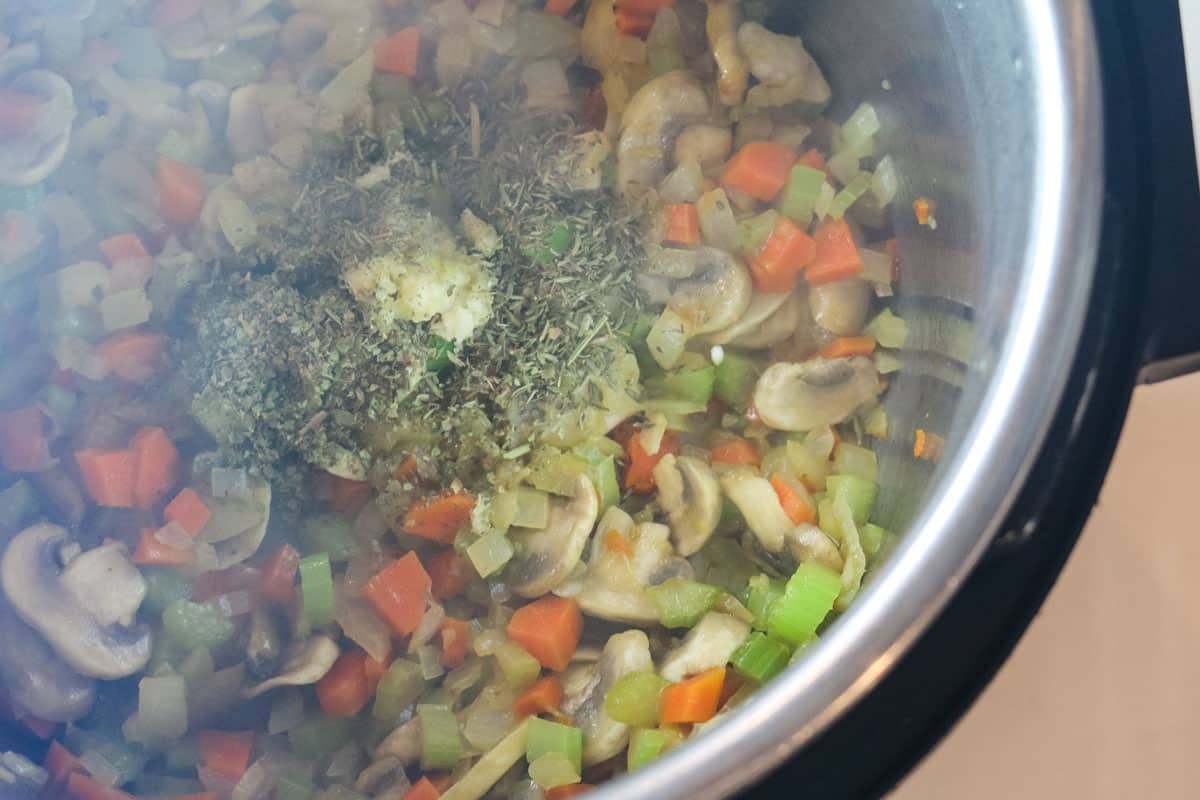
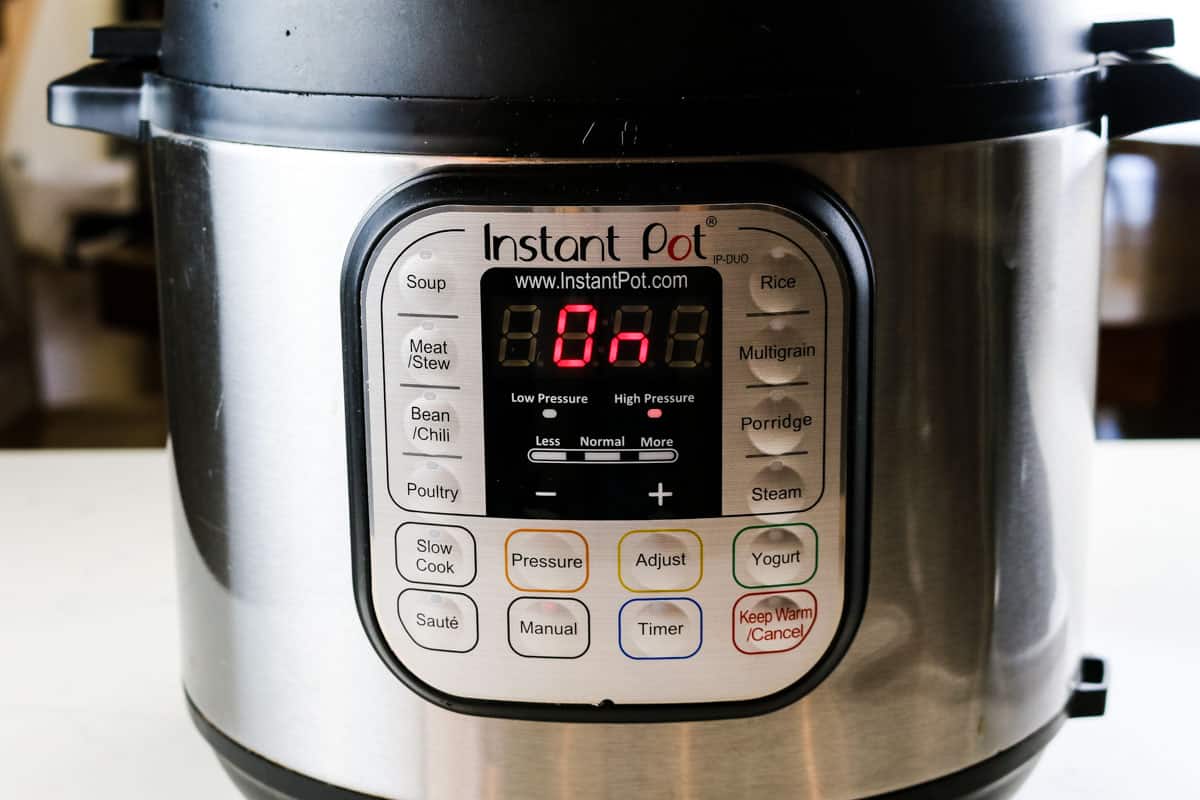
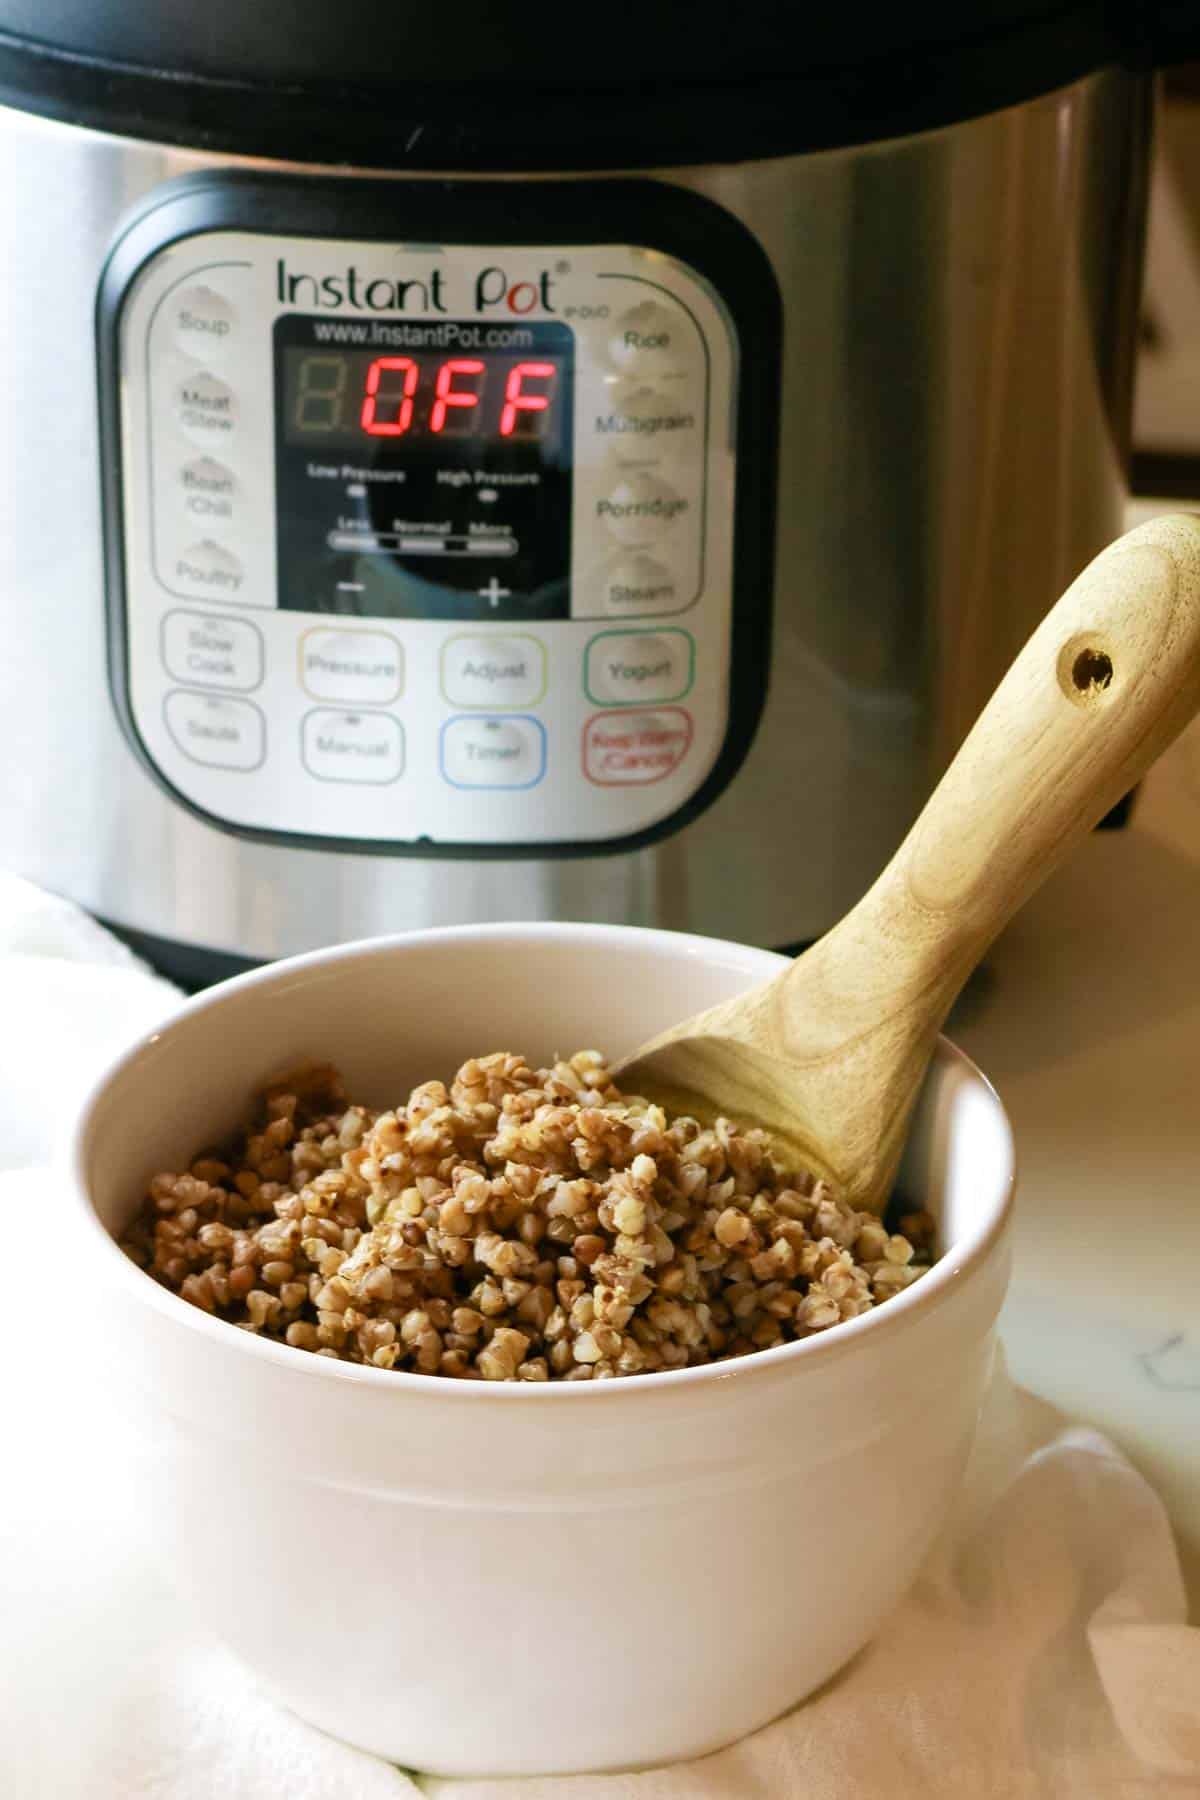
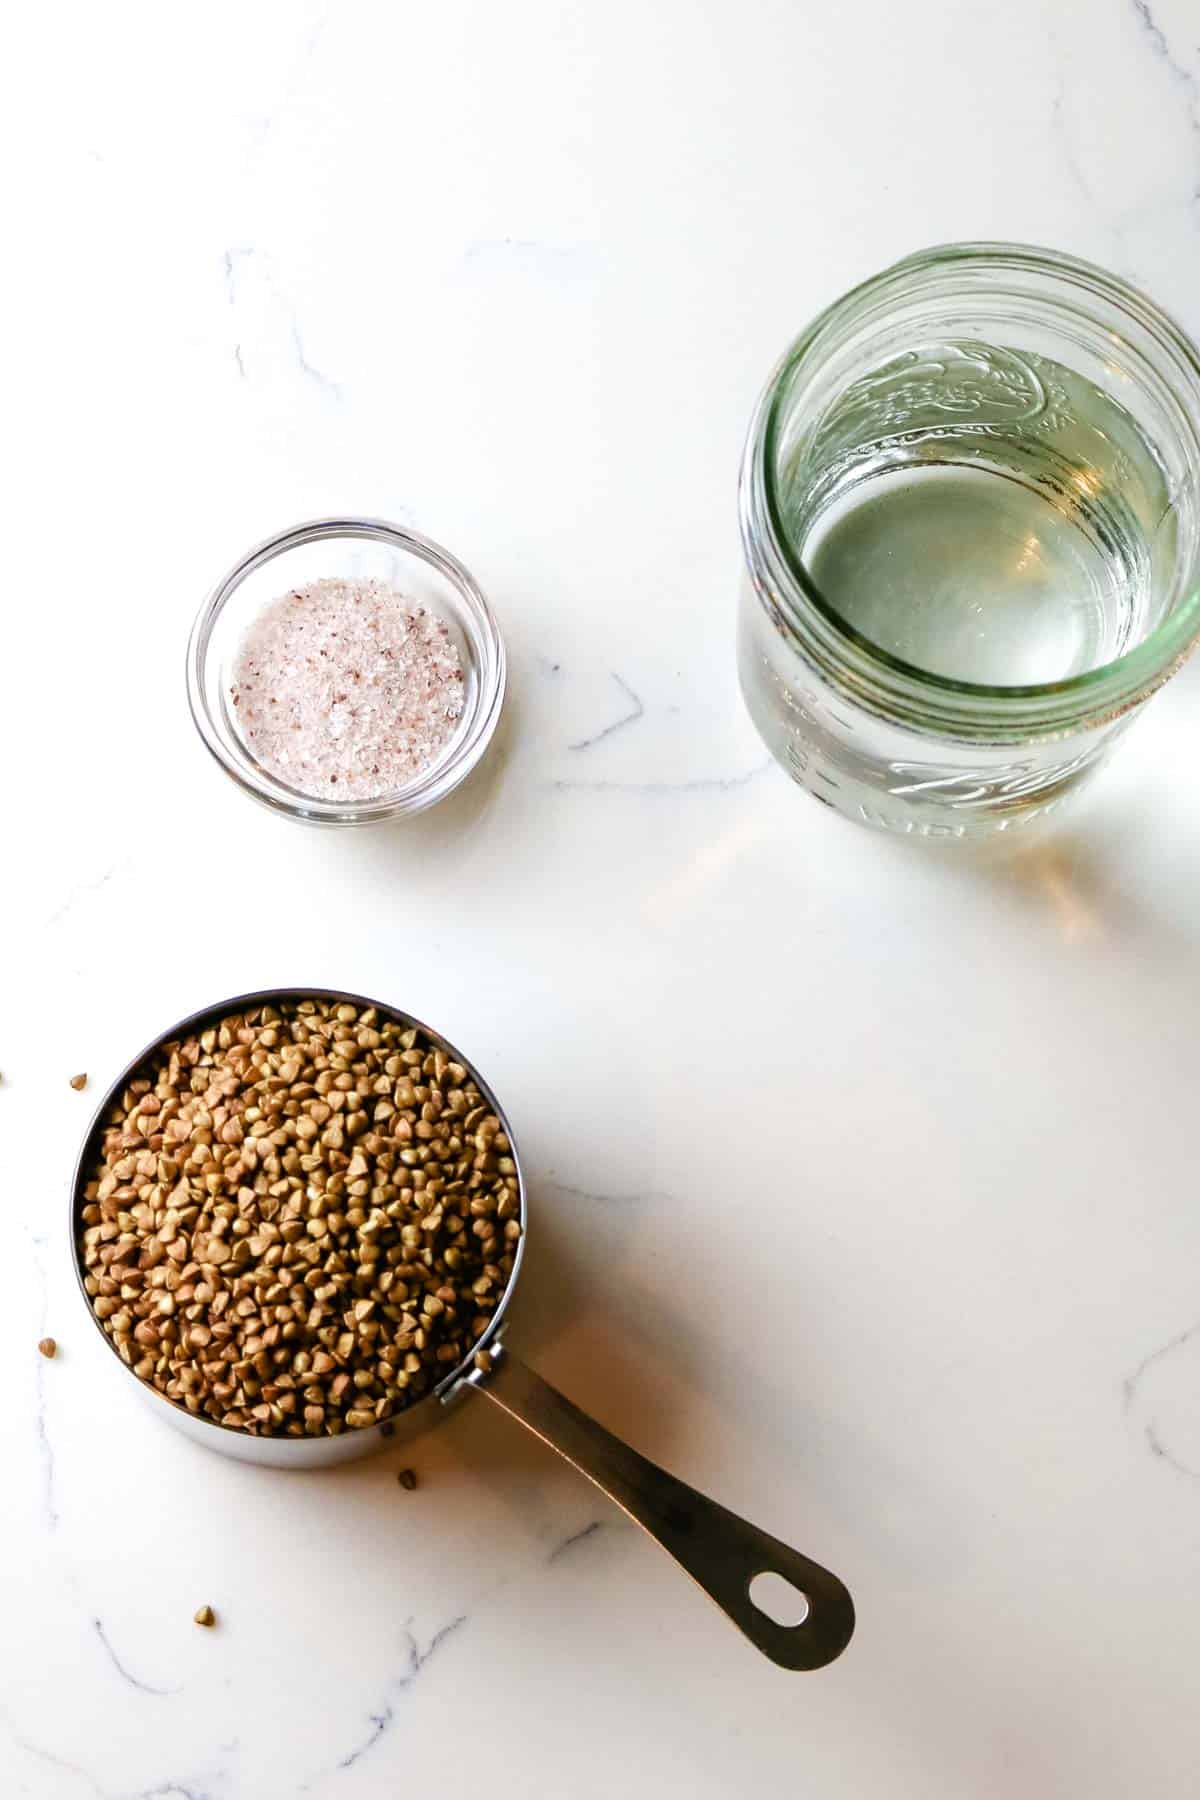
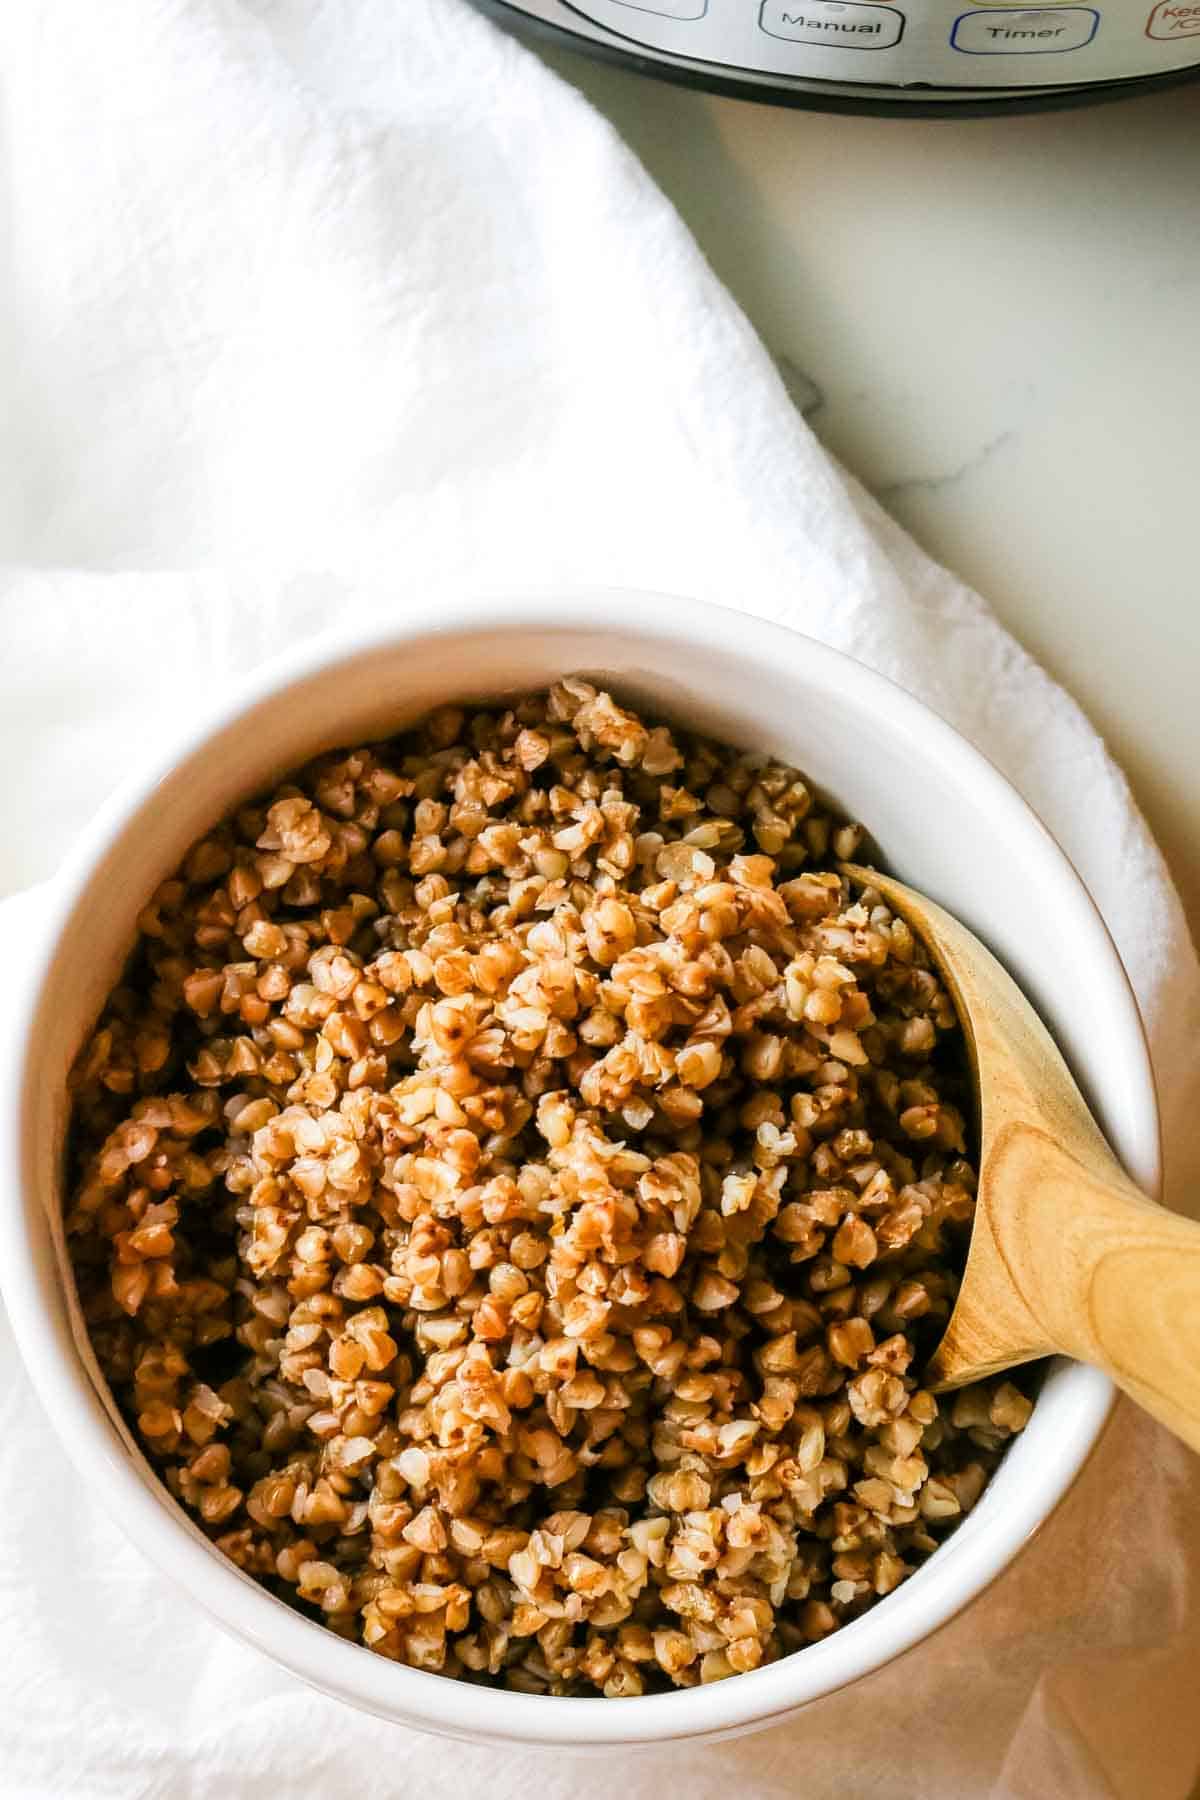
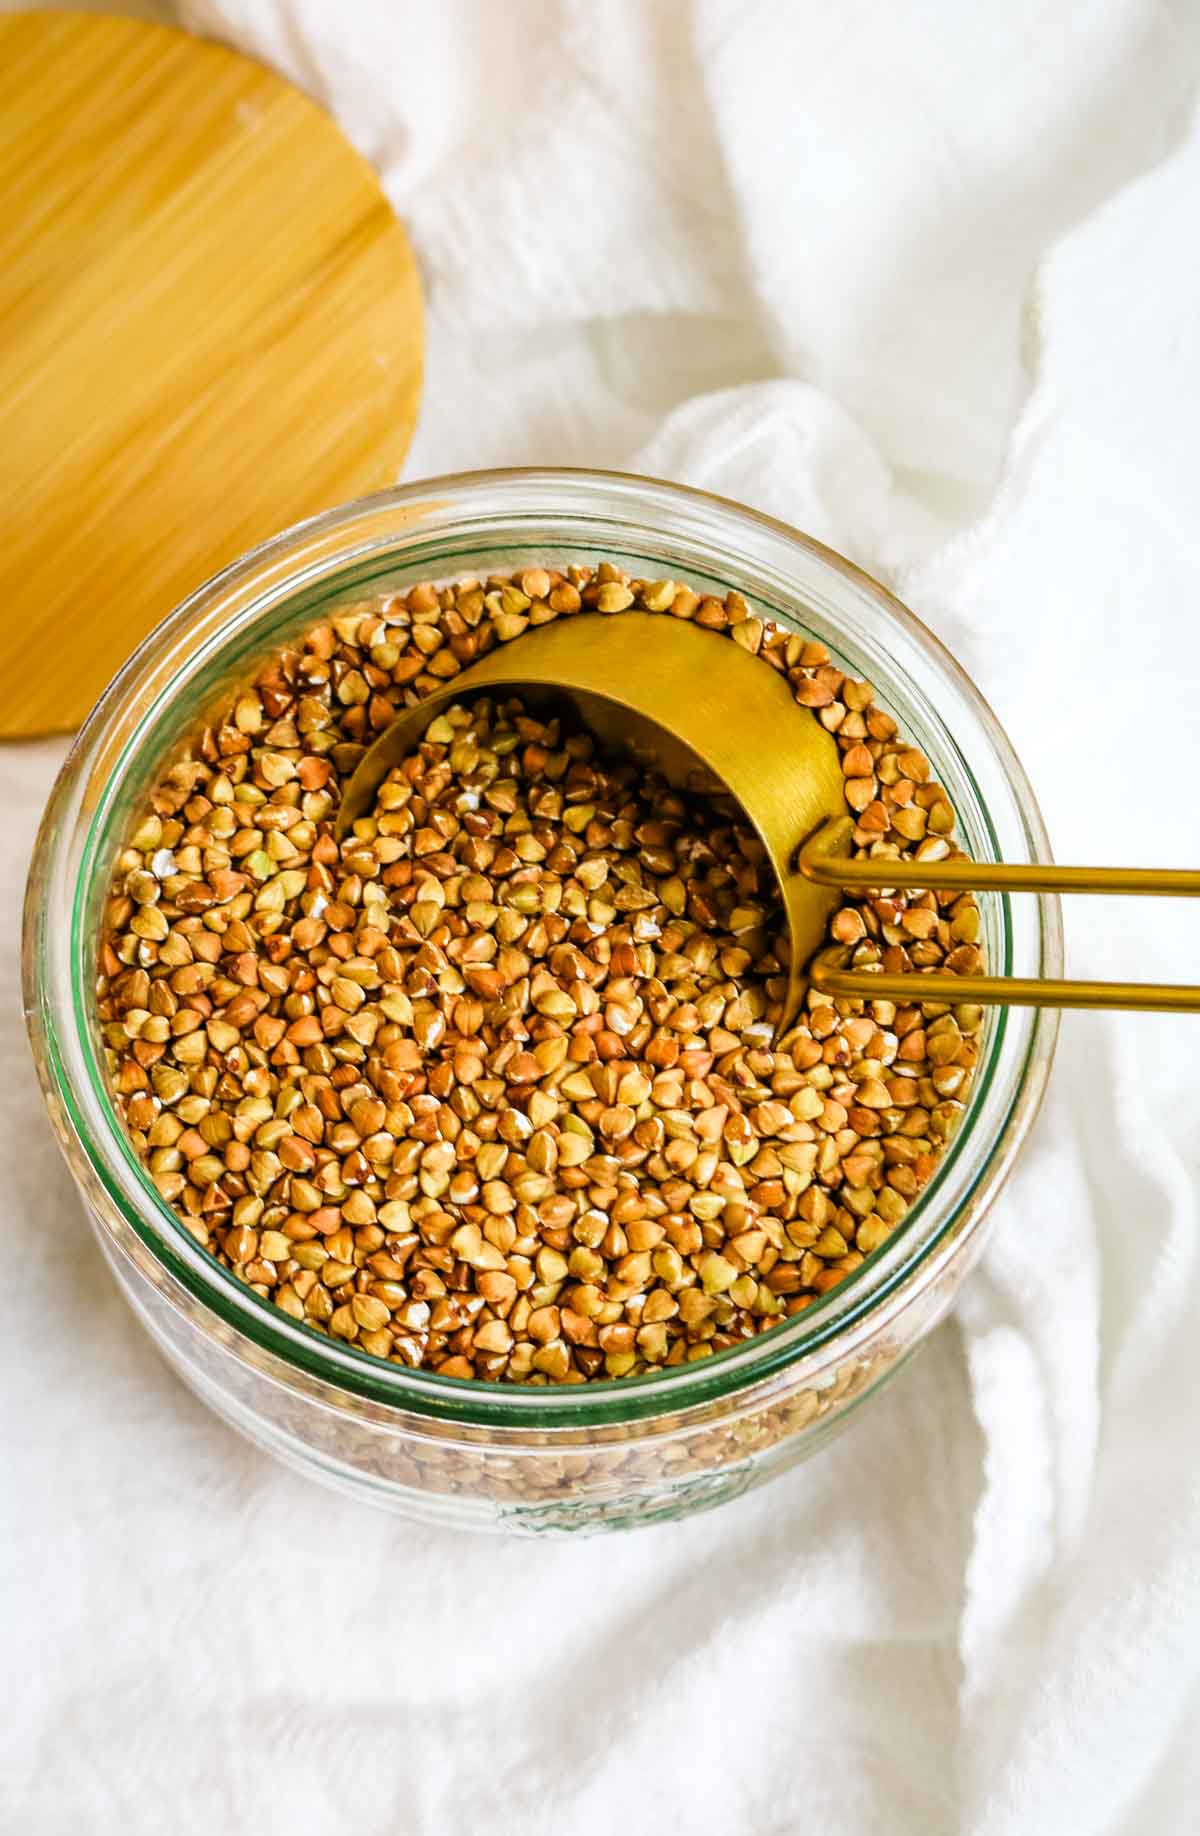
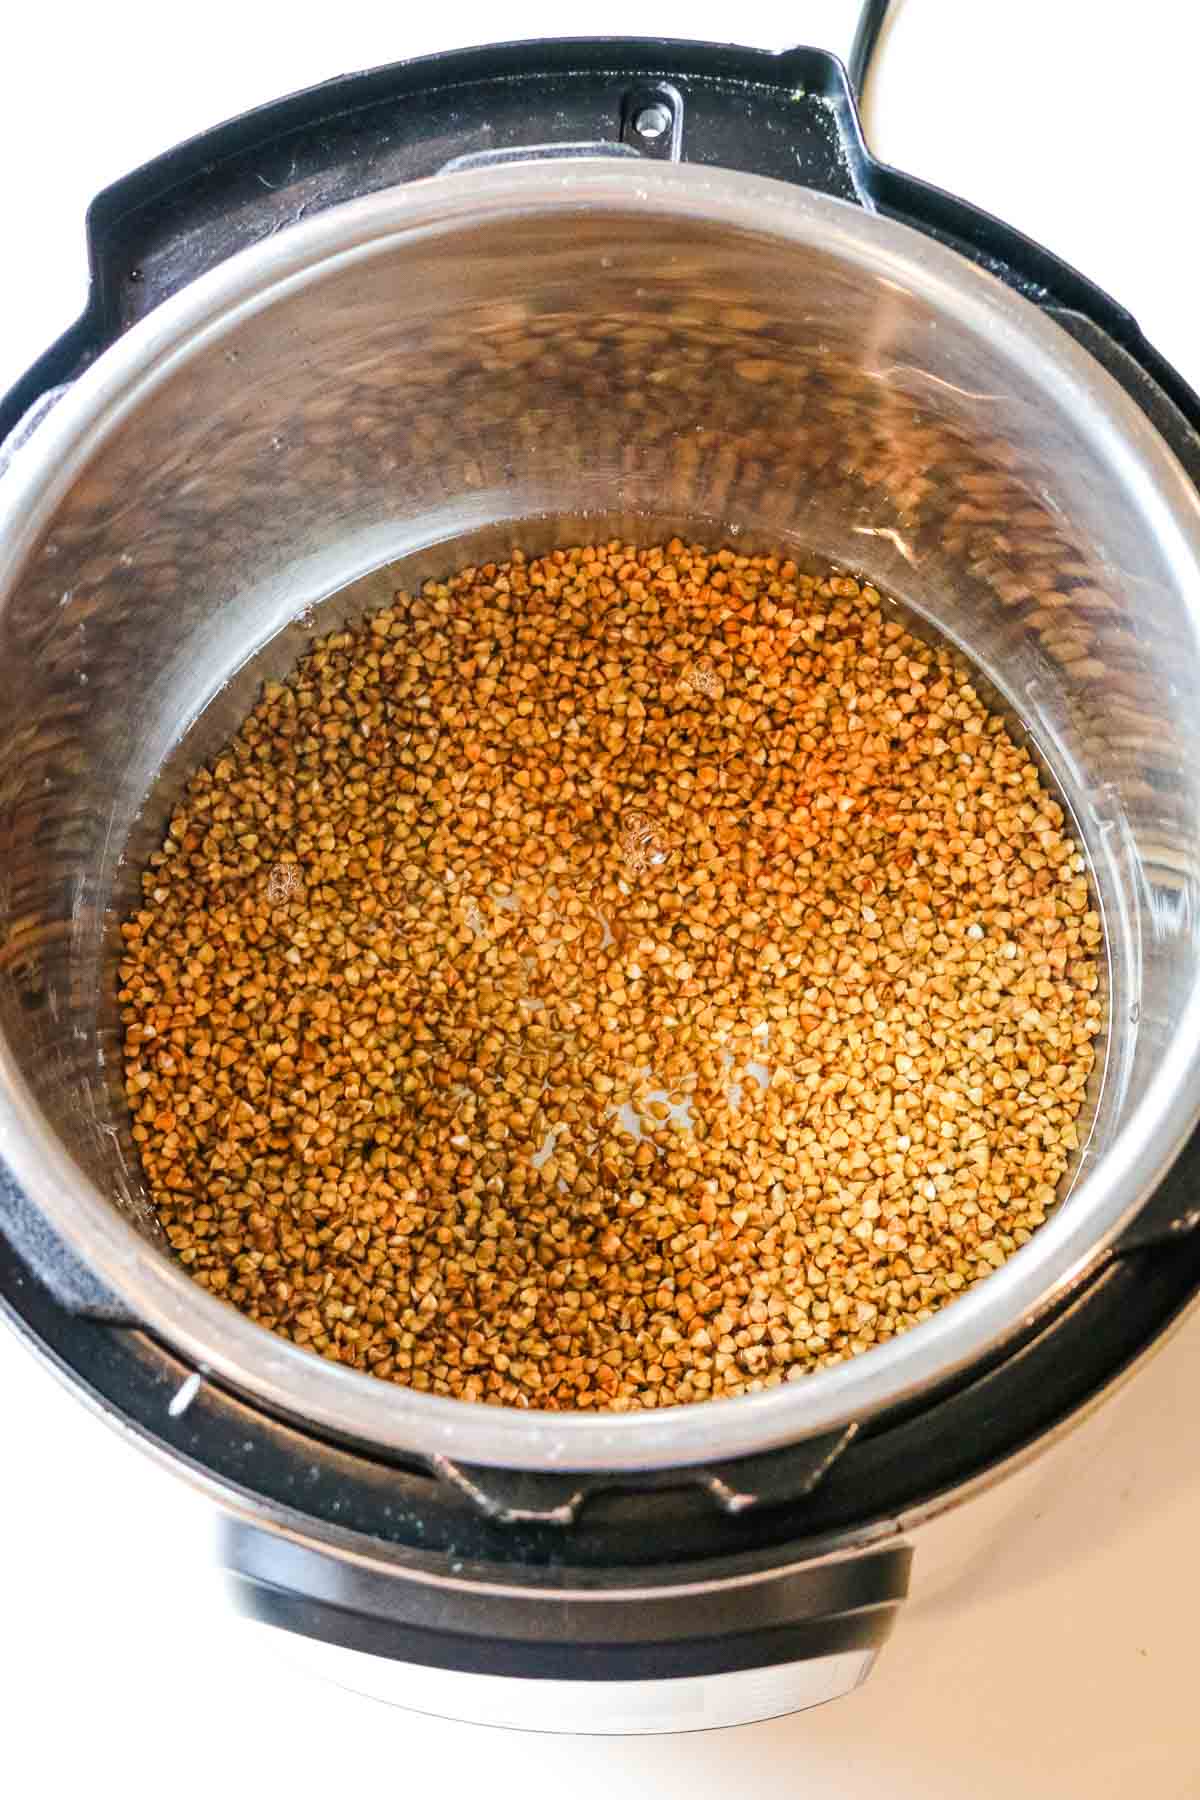
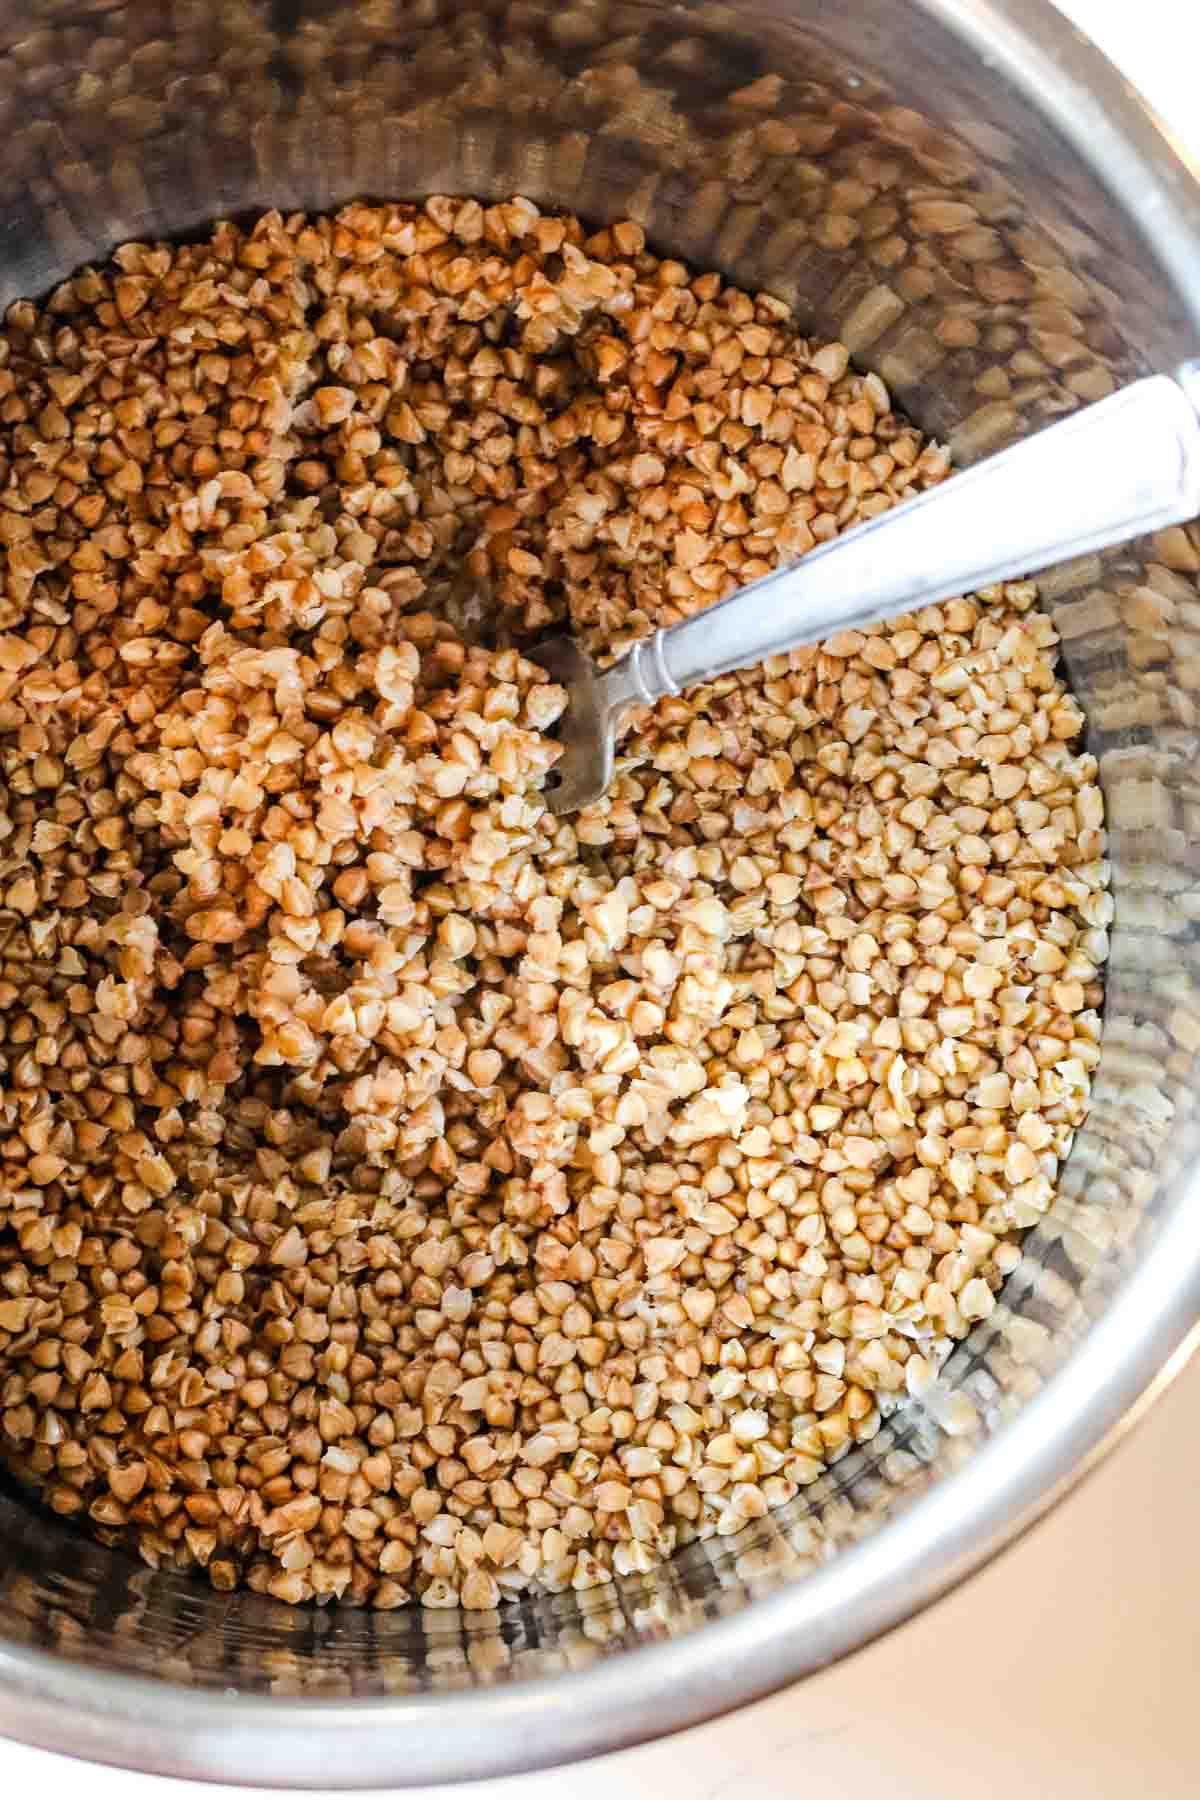
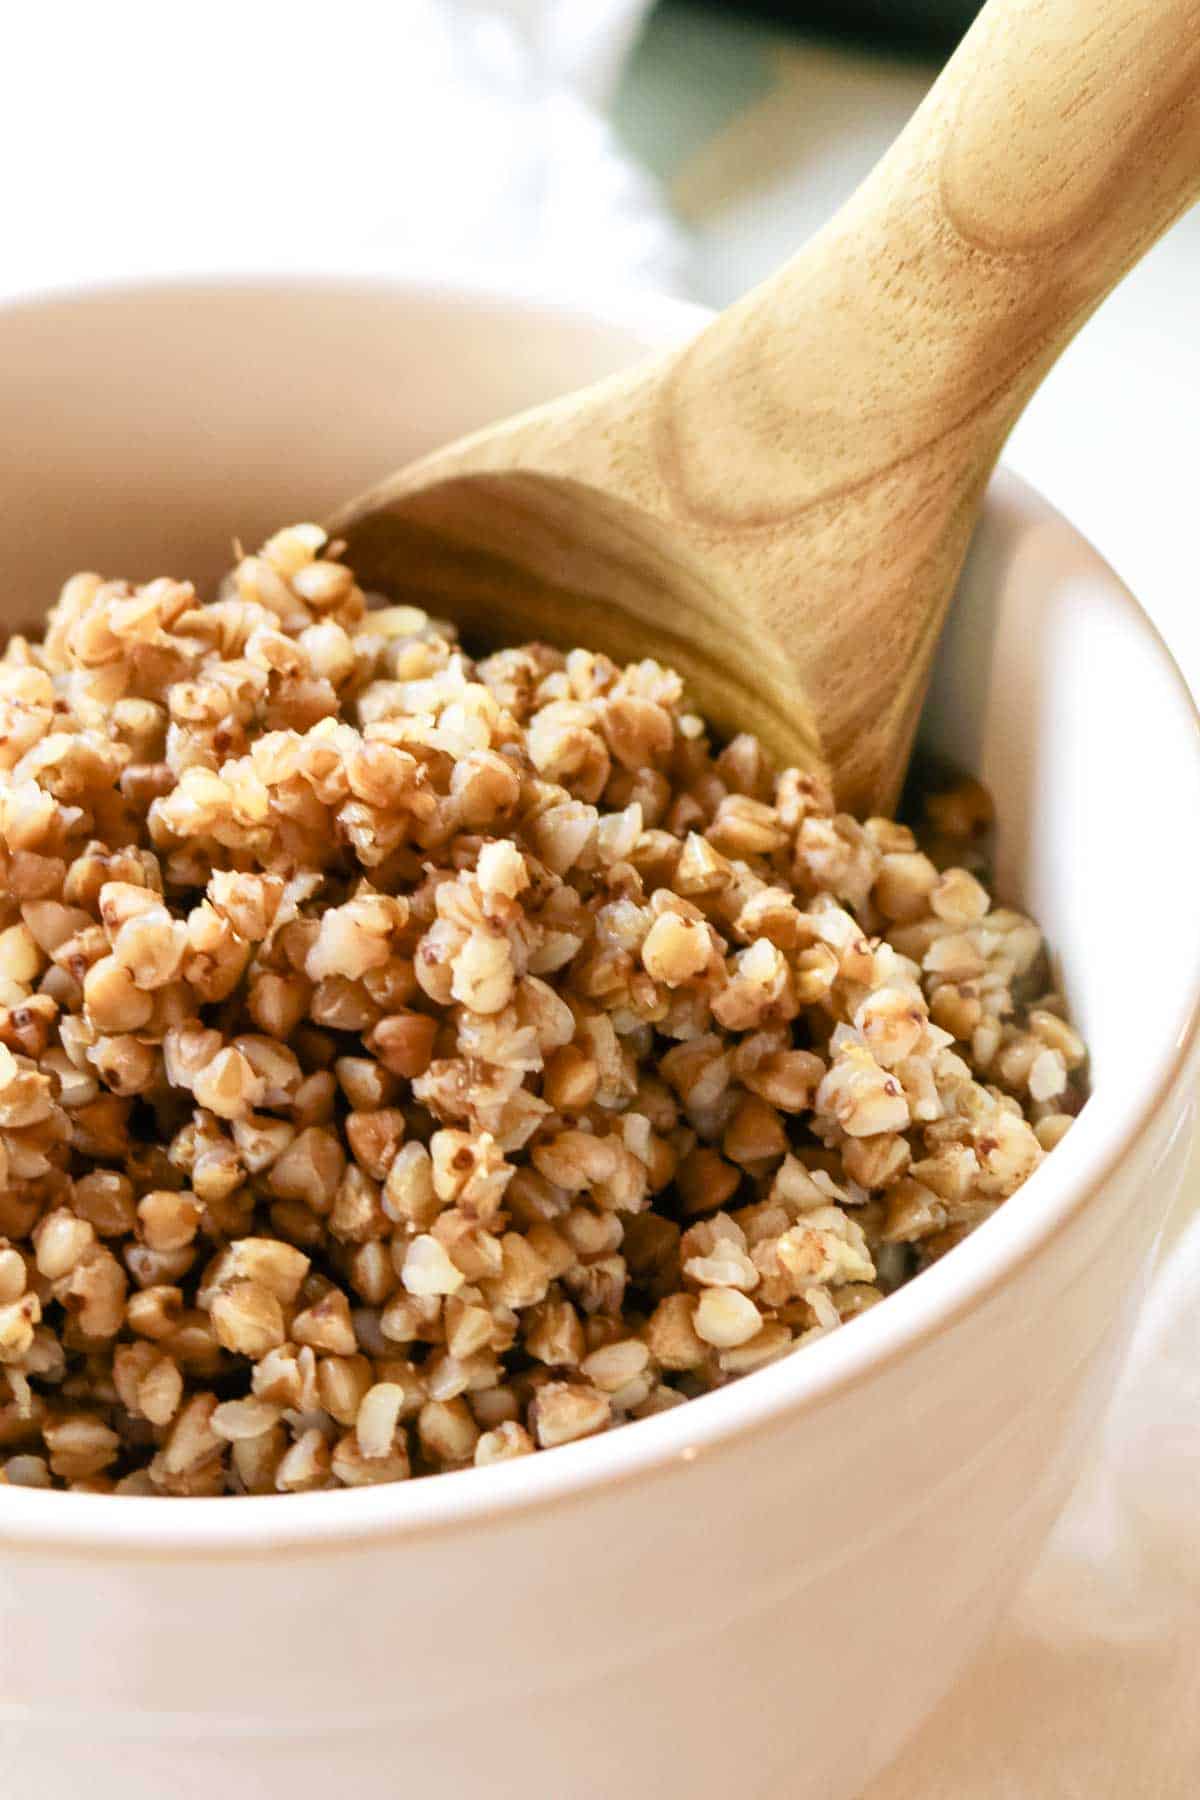
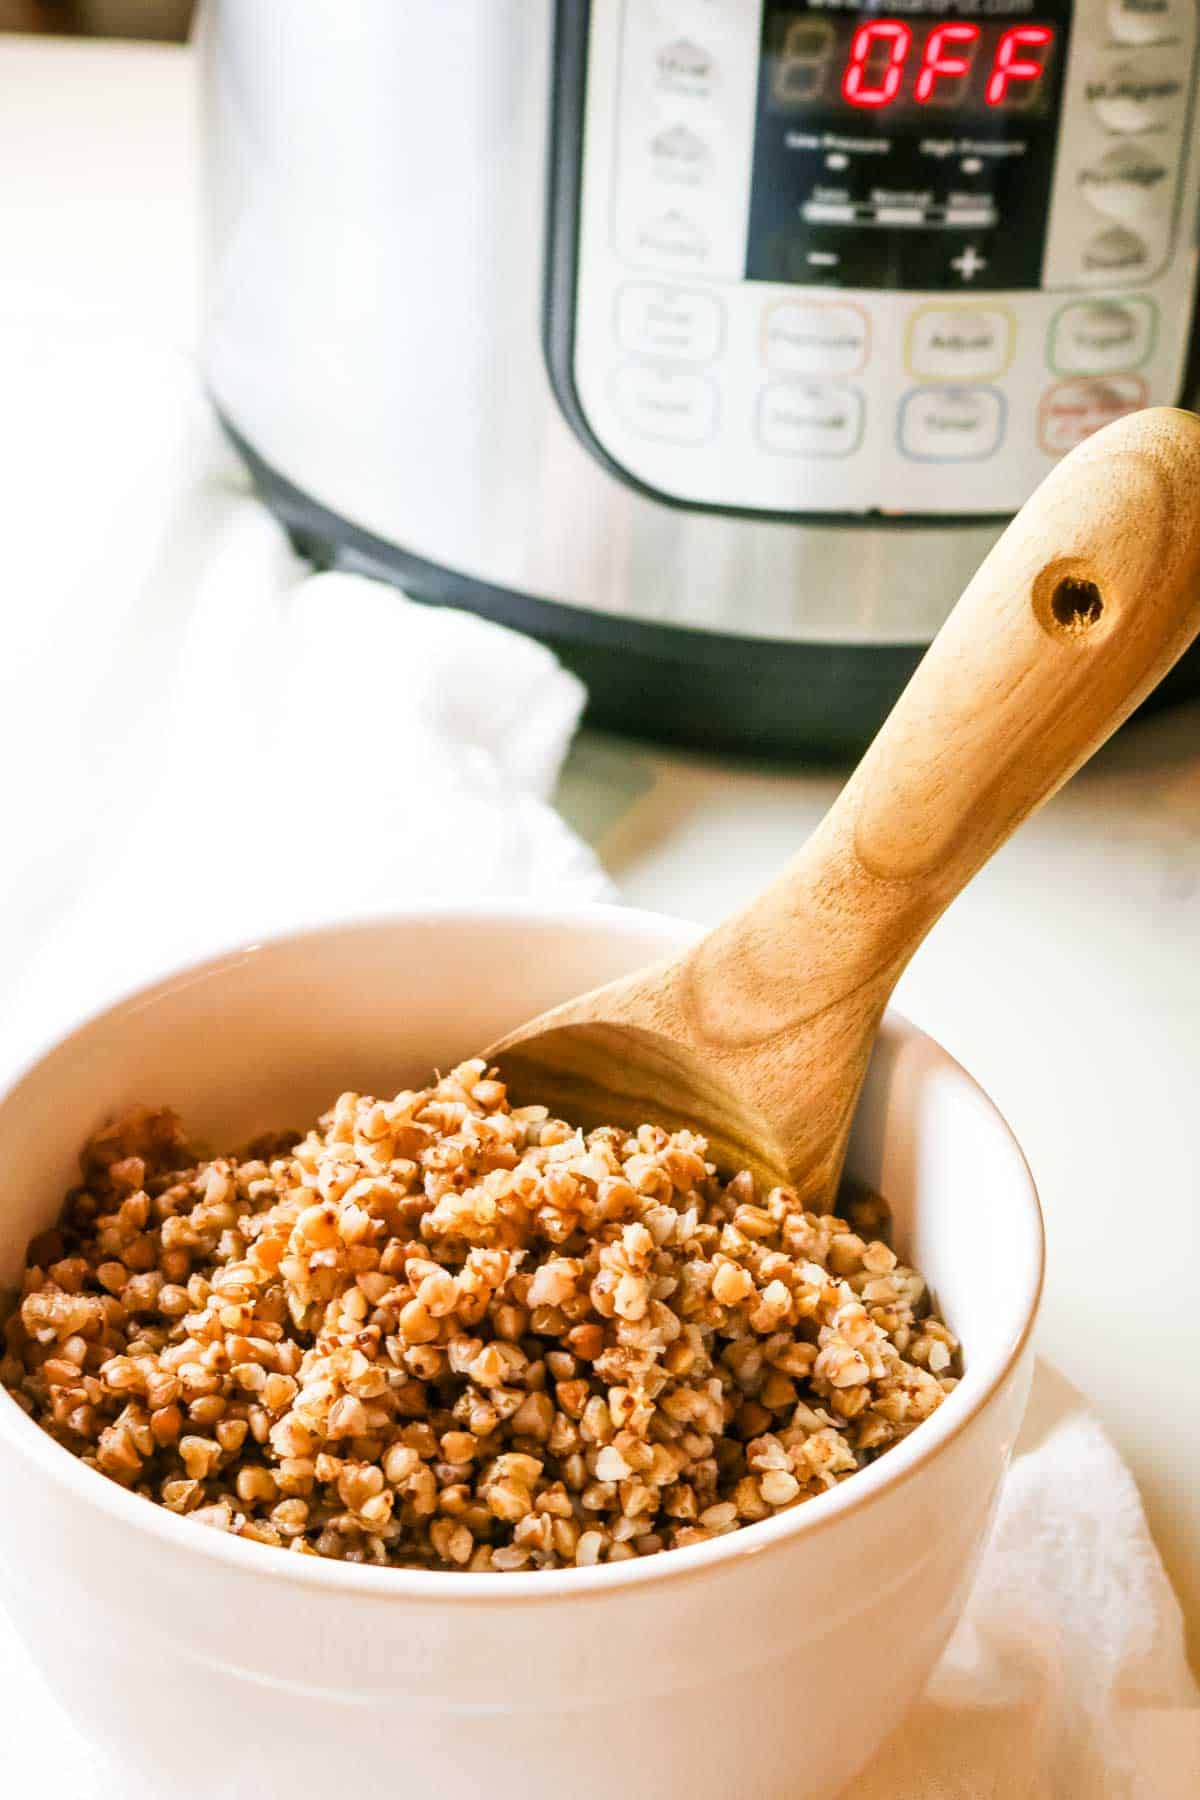
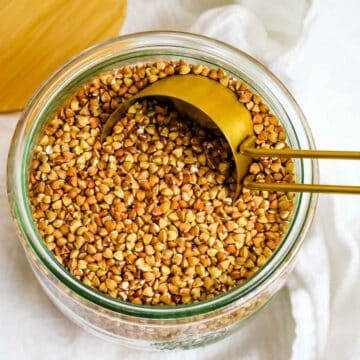
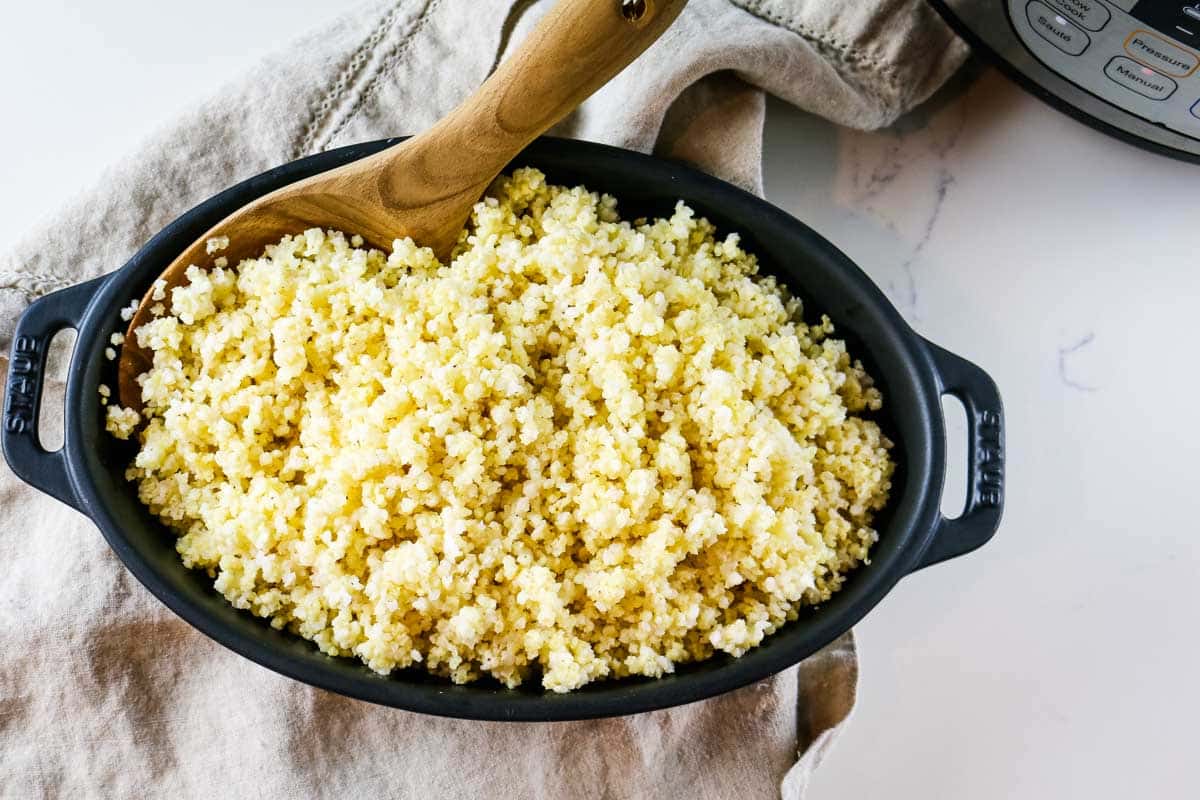
💭Make it Nutrient Dense: Consider serving this easy sheet pan meal with an ancient grain like buckwheat that is cooked in bone broth.
Ingredients
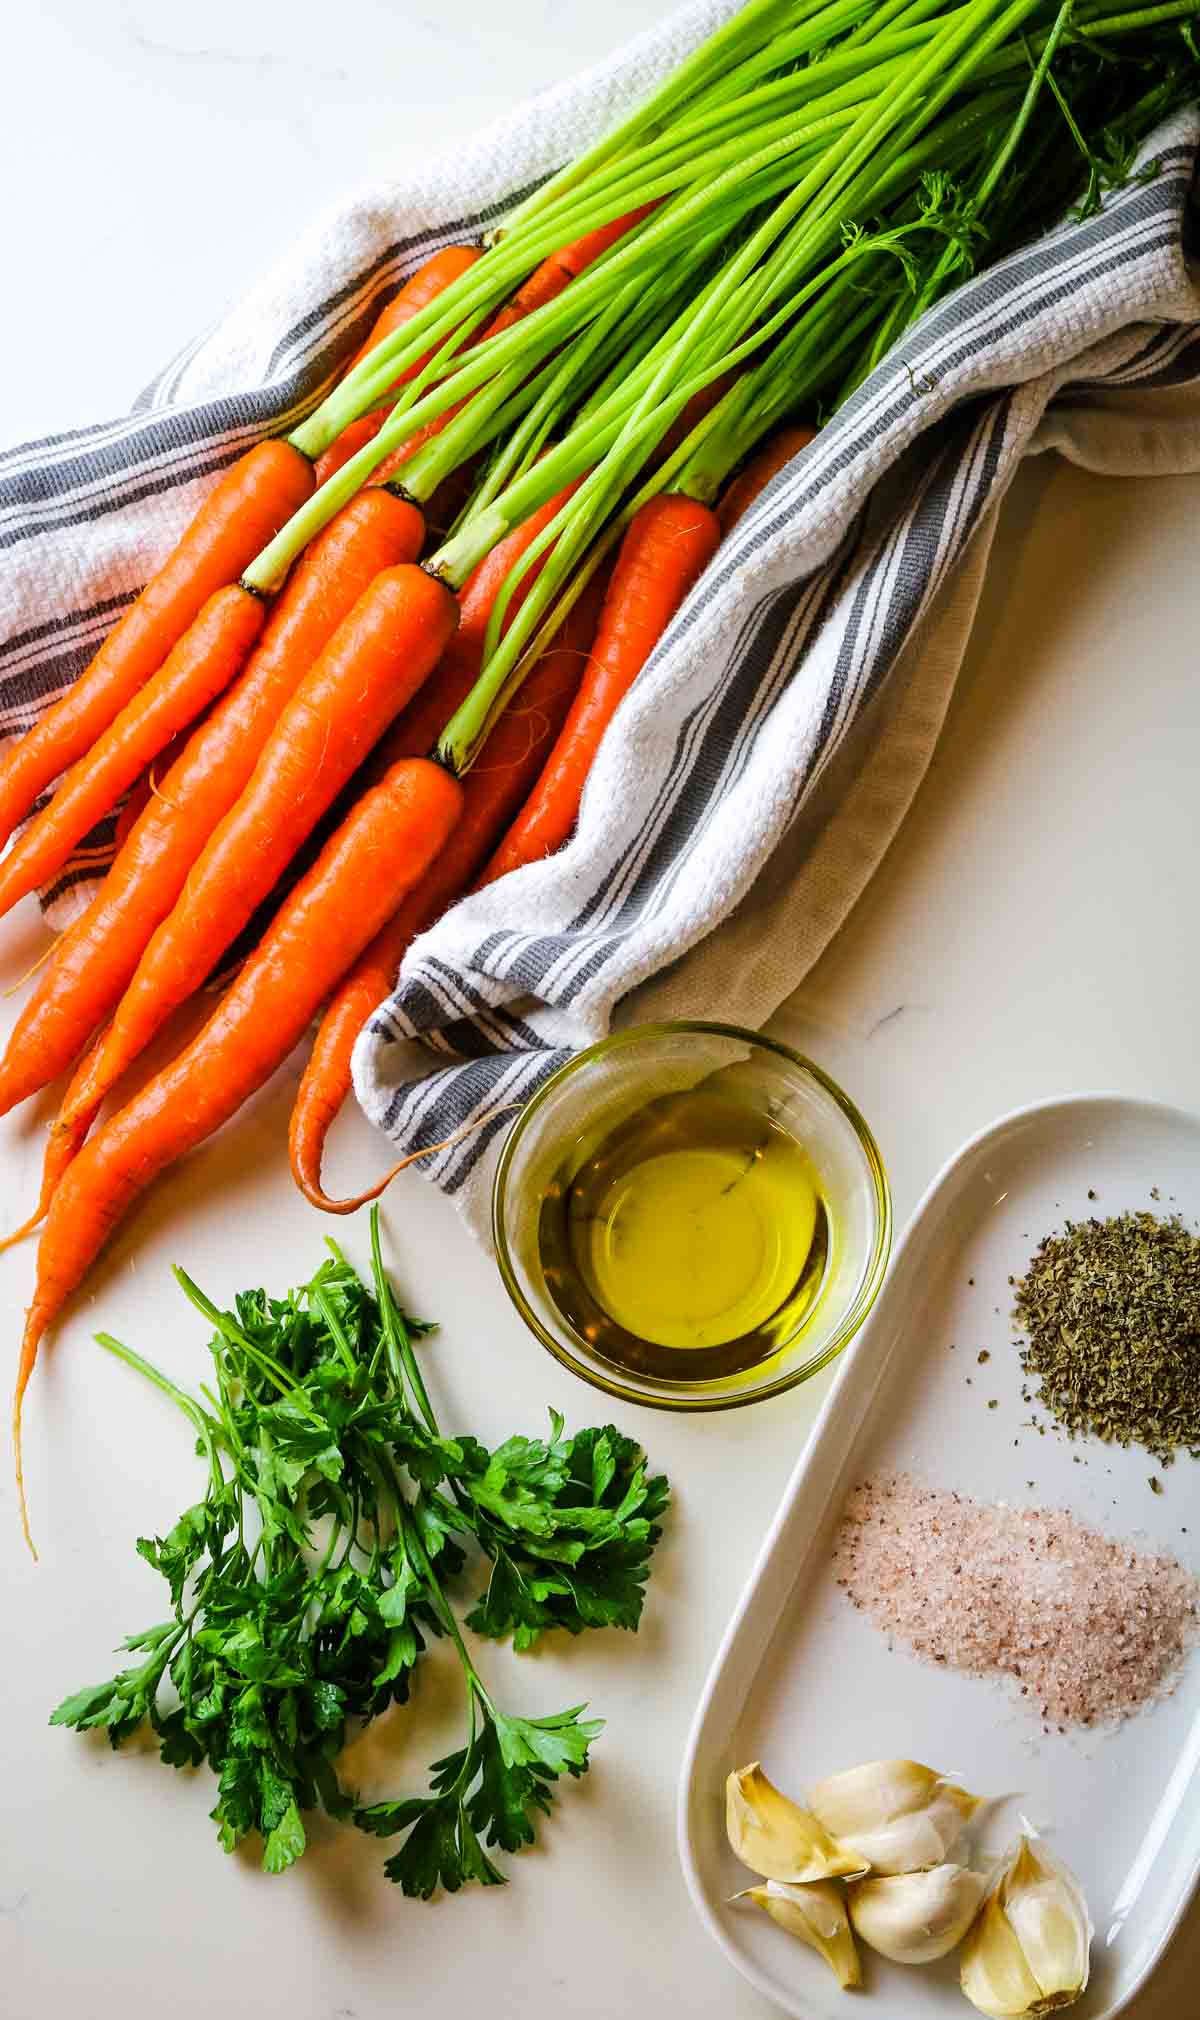
This easy one pan balsamic chicken with asparagus recipe requires nine simple ingredients. Aside from the chicken and fresh veggies, you likely have all the marinade ingredients in your pantry.
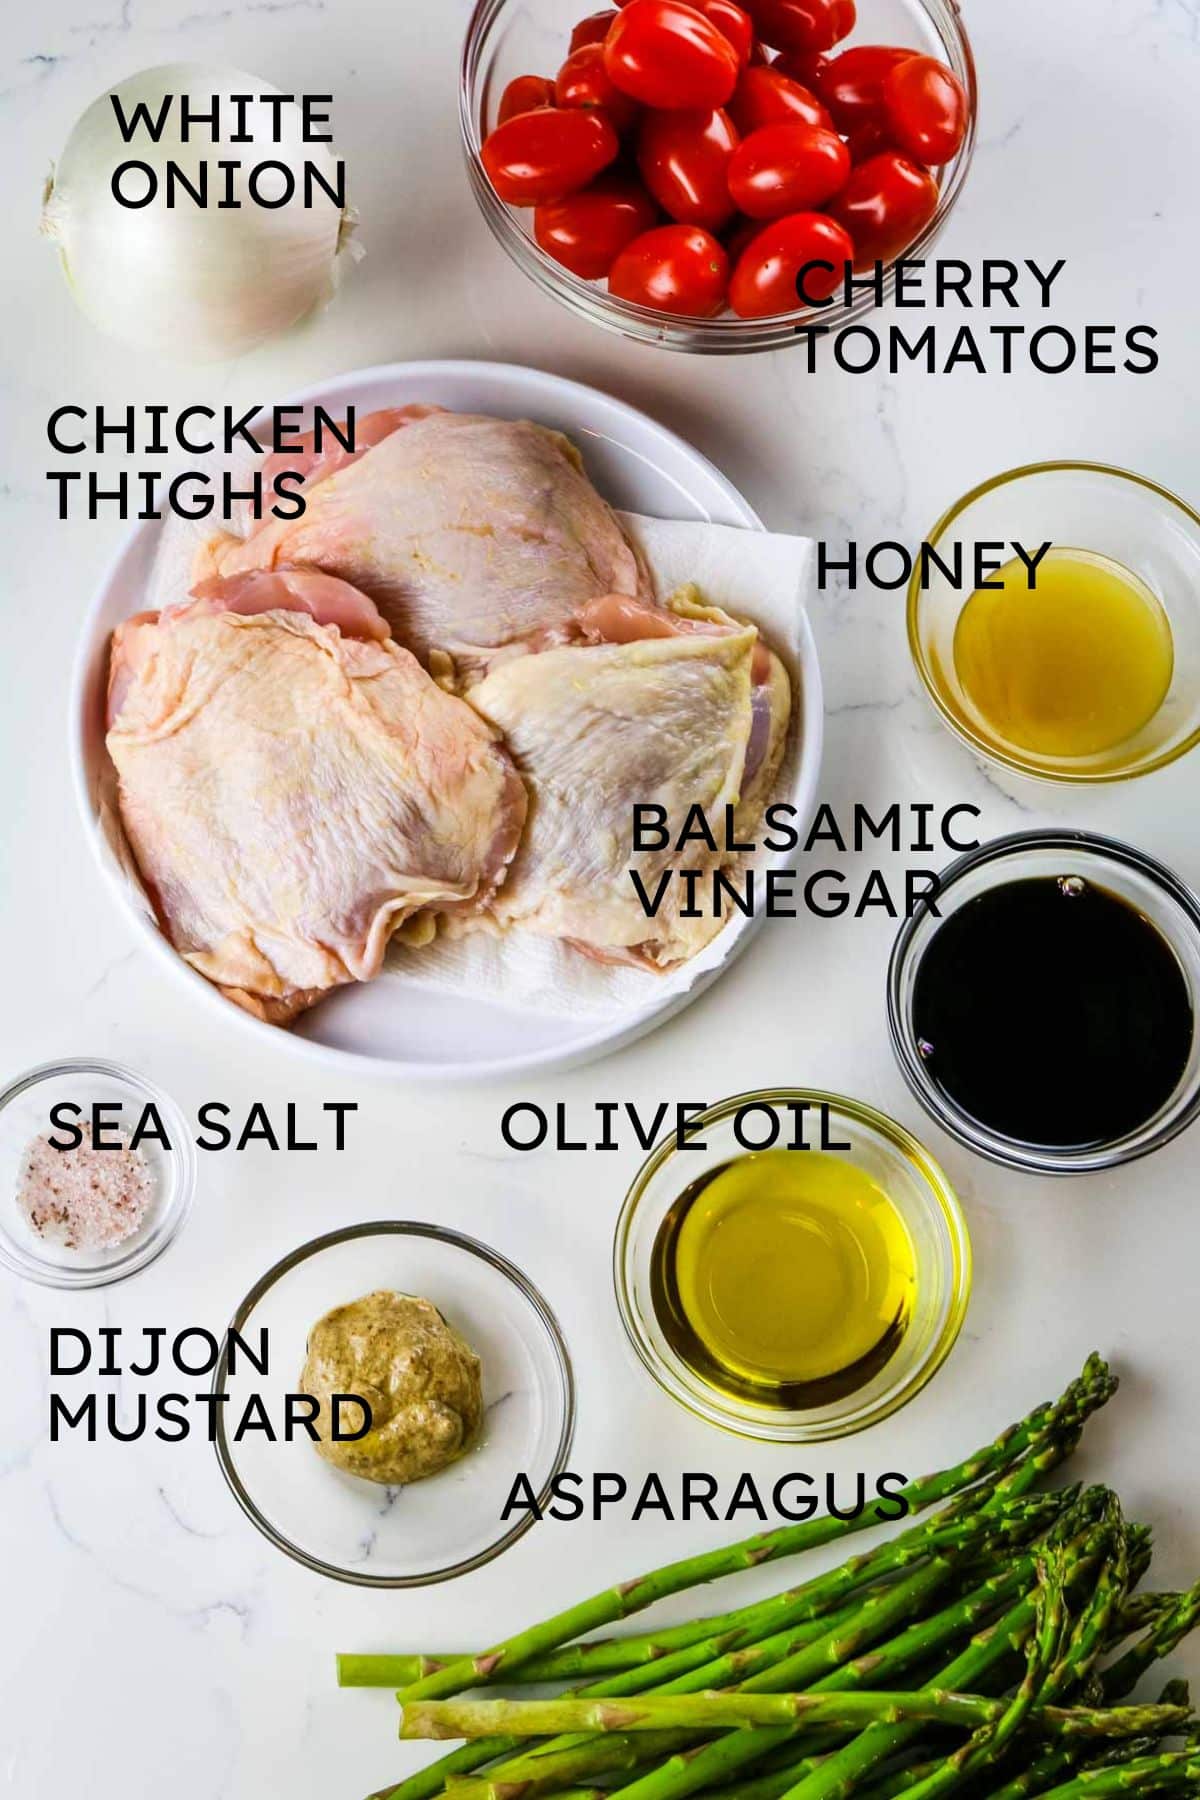
- Chicken thighs: Go with skin-on bone-in chicken thighs for the best flavor and texture.
- Marinade ingredients: A simple balsamic marinade consisting of balsamic vinegar, extra-virgin olive oil, Dijon mustard, honey, and sea salt.
- Vegetables: Fresh asparagus, white onion, and cherry tomatoes add fantastic falvor and different texture to this one-pan dish. Choose stalks that are firm and straight with tightly closed tips. Also, go with thicker asparagus stalks for best results.
See recipe card for exact quantities.
Variations
- Use chicken breasts: Fat is flavor but if you prefer a leaner dish, try boneless skinless chicken breasts. Or use boneless chicken thighs or even chicken drumsticks but keep in mind those cuts may require different cooking time so adjust accordingly.
- Change up veggies: Feel free to swap out the asparagus with another hardy vegetable like green beans, Brussels sprouts, or bell peppers. Sub sliced zucchini for tomatoes and red onions for white onions.
- Variable serving size: If making this for a few people, you can use a countertop convection oven and make air fryer balsamic chicken. Alternatively, double the recipe and bake in a regular oven. You may need to add a few extra minutes to cook time to ensure all chicken is cooked through.
Helpful Tips
- Marinating chicken: Marinating the chicken overnight in the refrigerator will produce the best flavored and juicy chicken, but if you’re short on time, 30 minutes will suffice.
- Selecting asparagus: When buying asparagus at the grocery store or farmer’s market, look for thicker stalks that are firm and straight, with tightly closed tips. Avoid thin asparagus as that will result in overcooked and mushy veggies.
- Cut vegetables into similar size: This will ensure even cooking. Remove the woody ends off the asparagus but keep the length so it doesn’t dry out during cooking.
- Food safety: To accurately check for chicken doneness, use an instant-read meat thermometer and insert it into the thickest part of the chicken. Cook until internal temperature registers 165 degrees Fahrenheit (74 degrees Celsius).
- Let the chicken rest: For maximum flavor, rest the chicken for a few minutes after taking it out of the oven. That will help the juices to redistribute back into the chicken thighs.
💭Pro tip: Use a rimmed baking sheet to contain the juices from the meat and vegetables. Better yet, a heavy-duty sheet pan will prevent the pan from warping or bending under heat
How to Make One Pan Balsamic Chicken
Follow these easy step-by-step instructions. The complete printable recipe is below in the recipe card for your convenience.
This balsamic chicken recipe comes together quickly with just a few ingredients and steps.
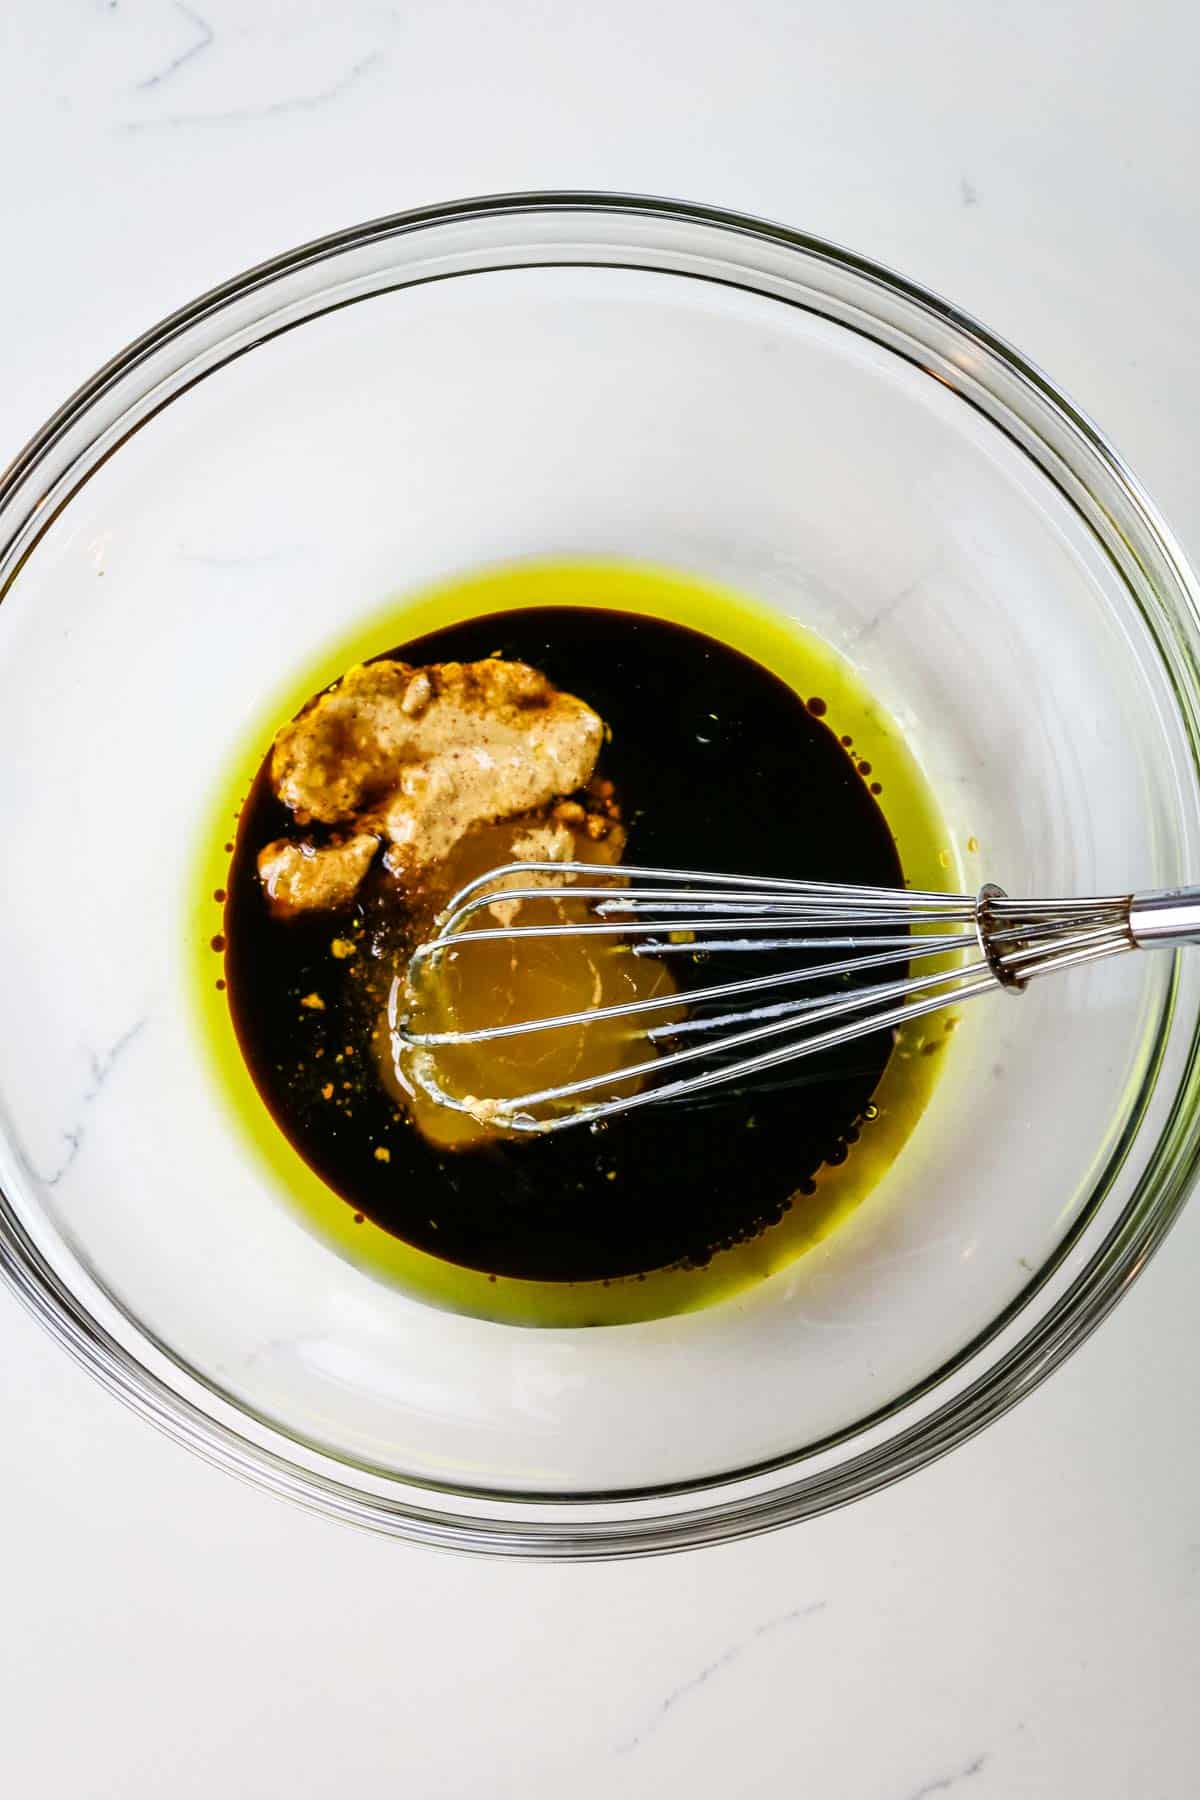
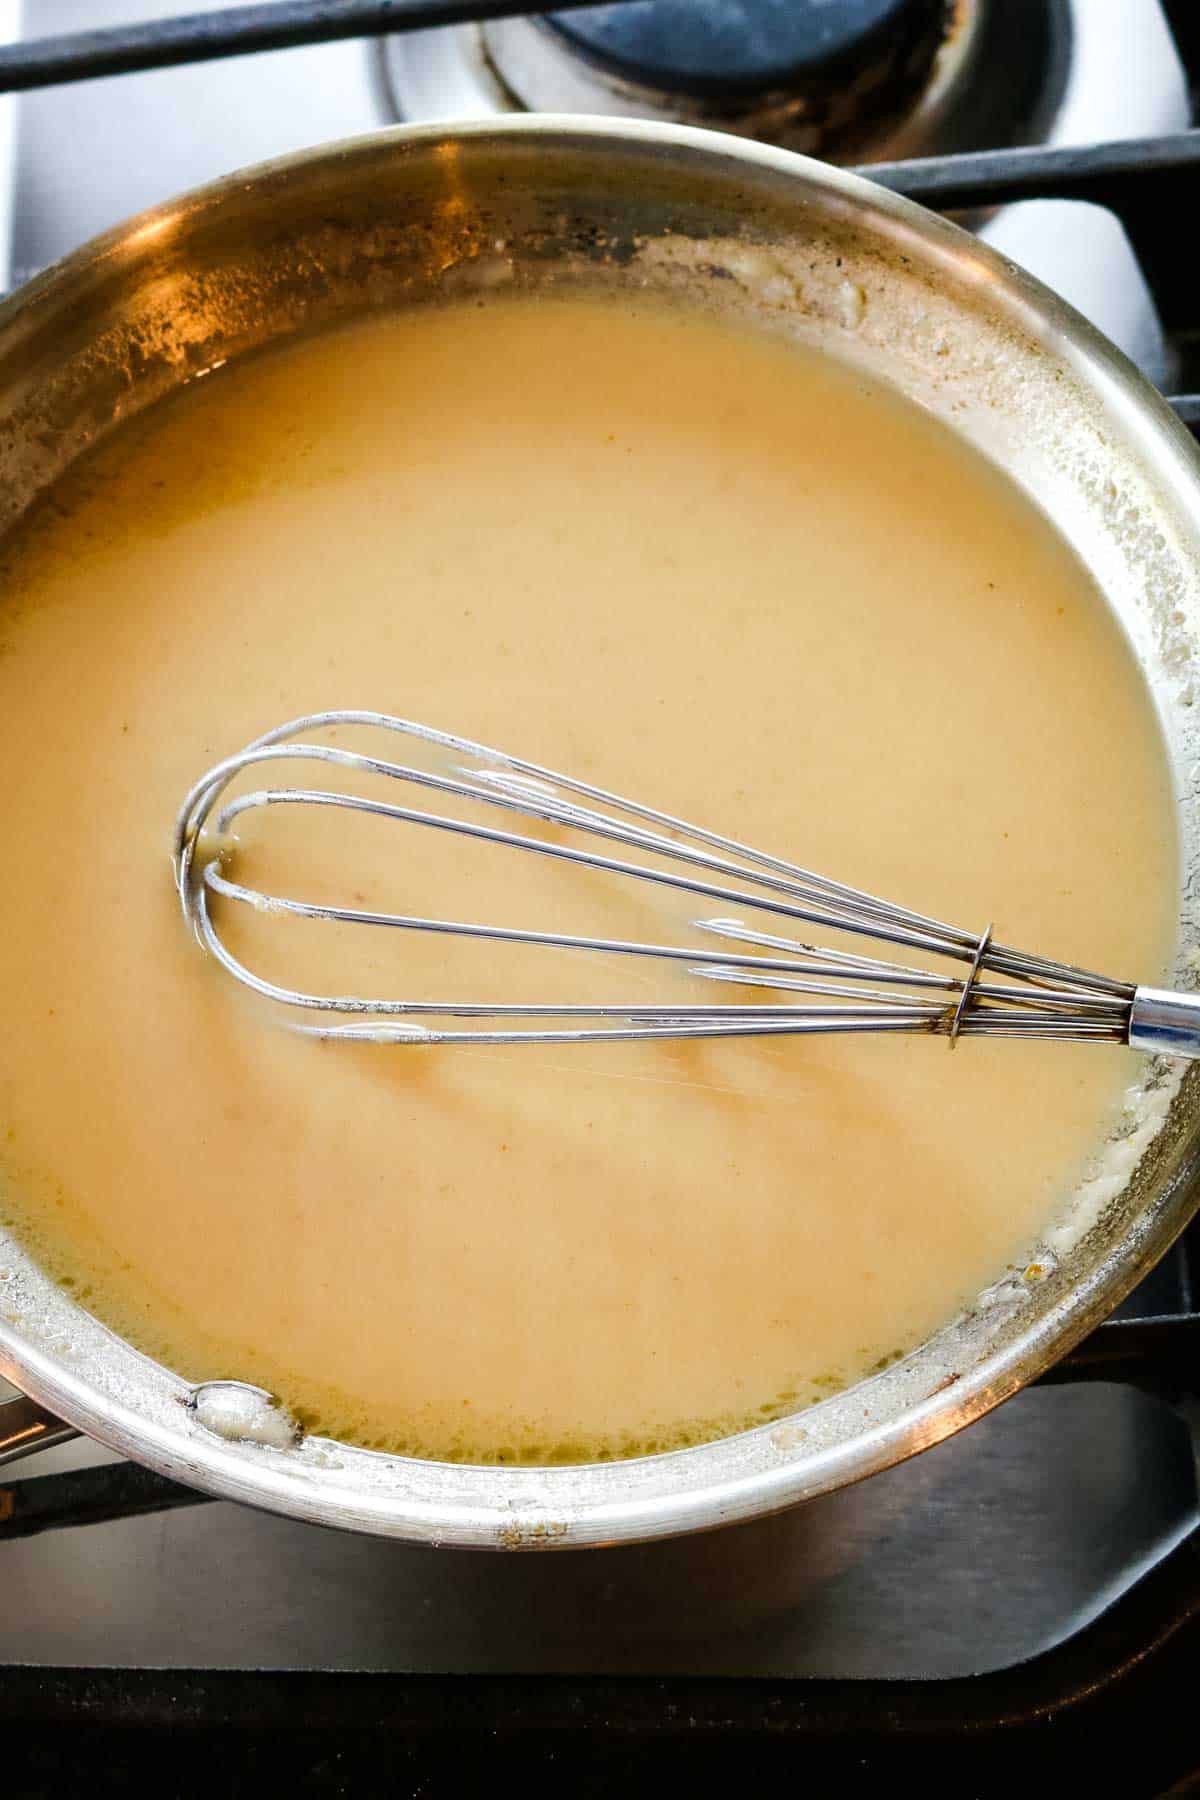
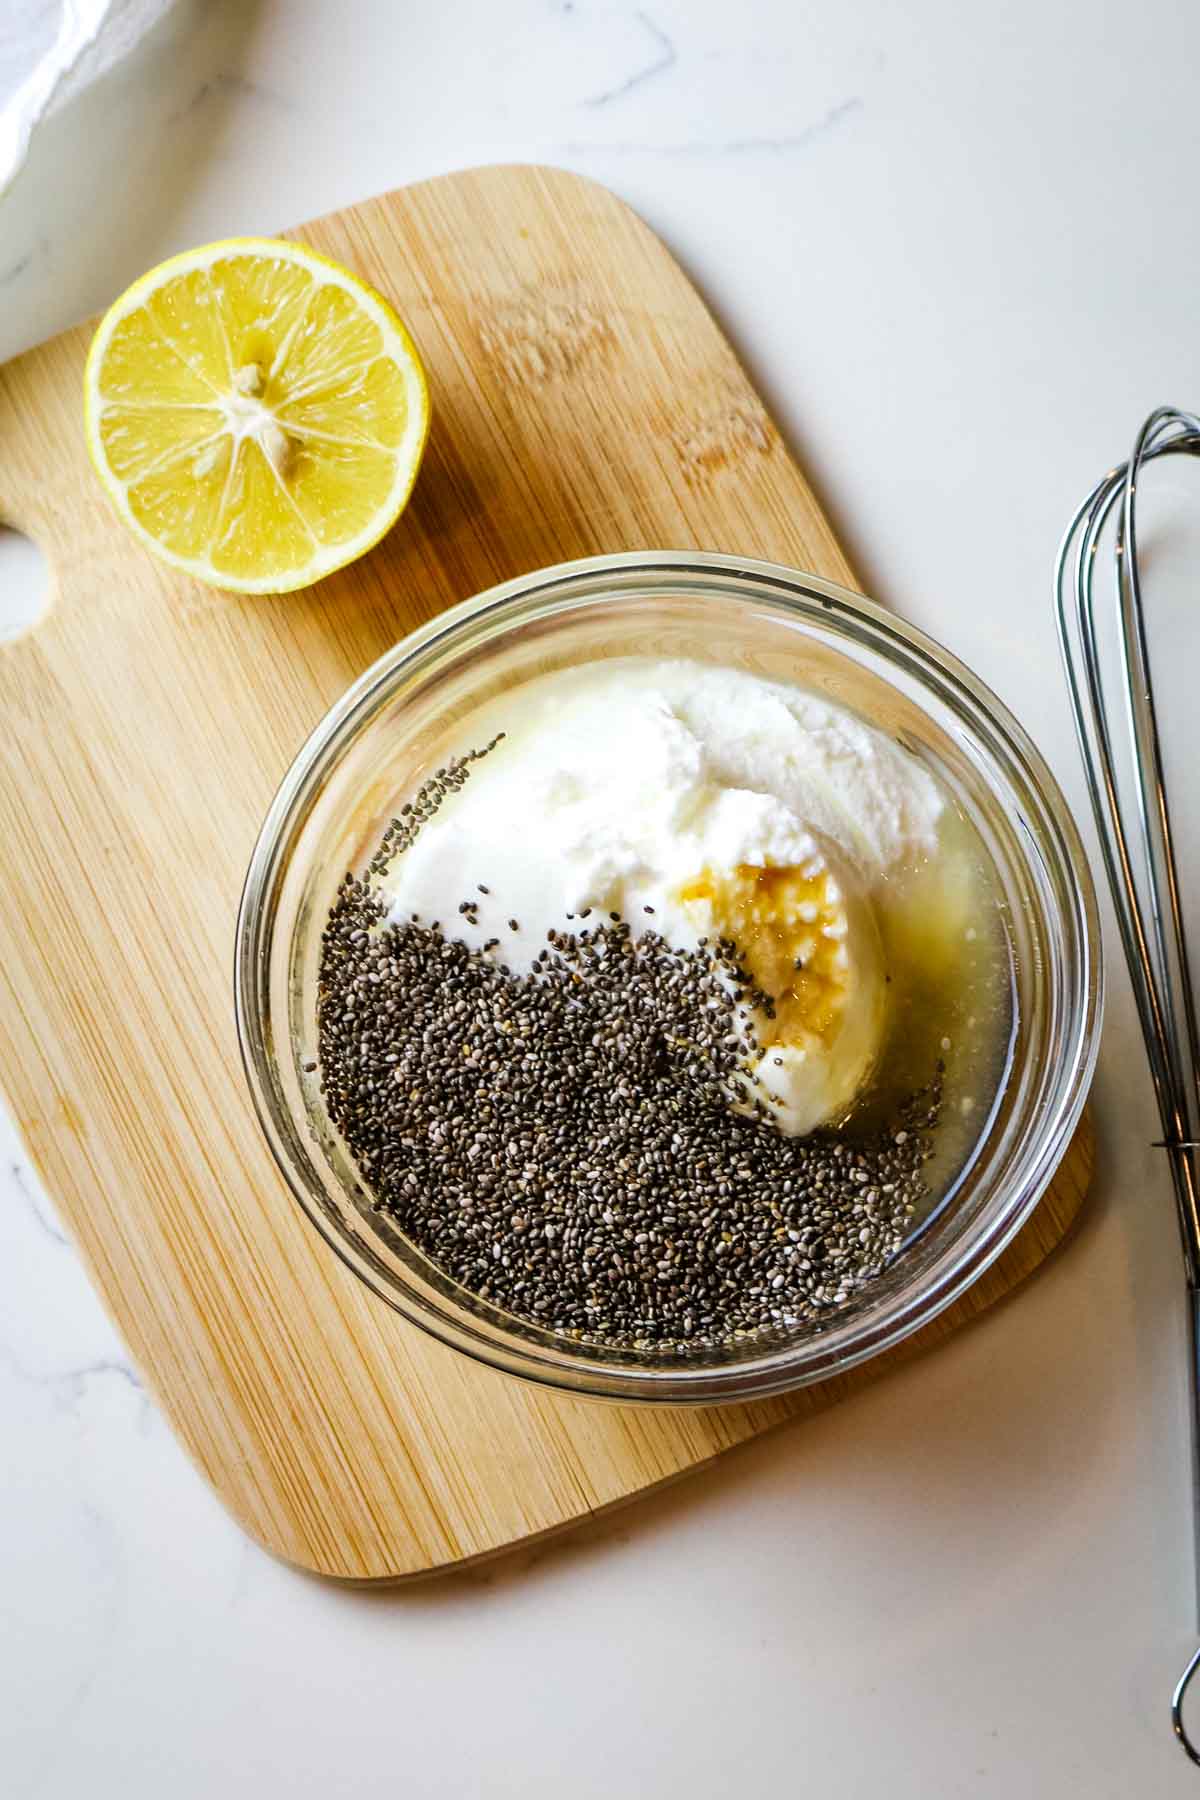
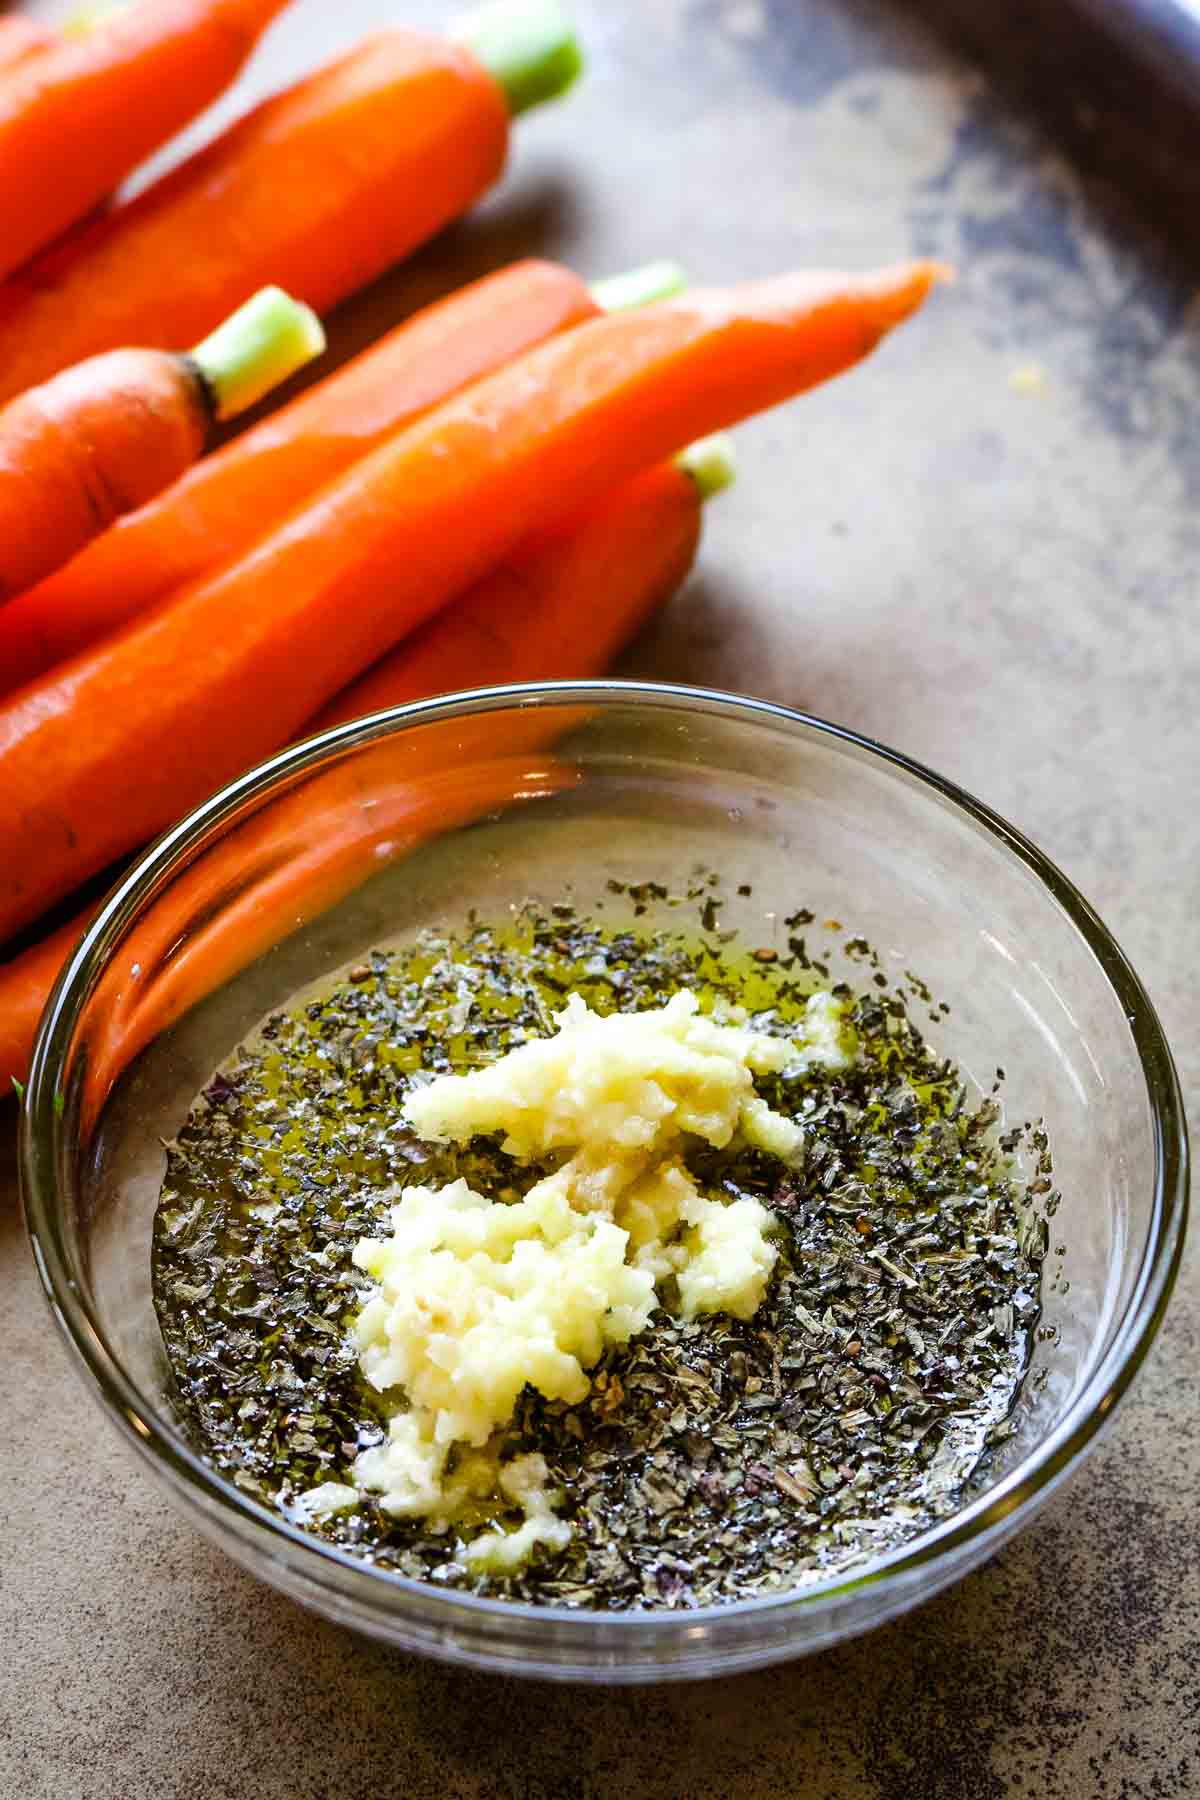
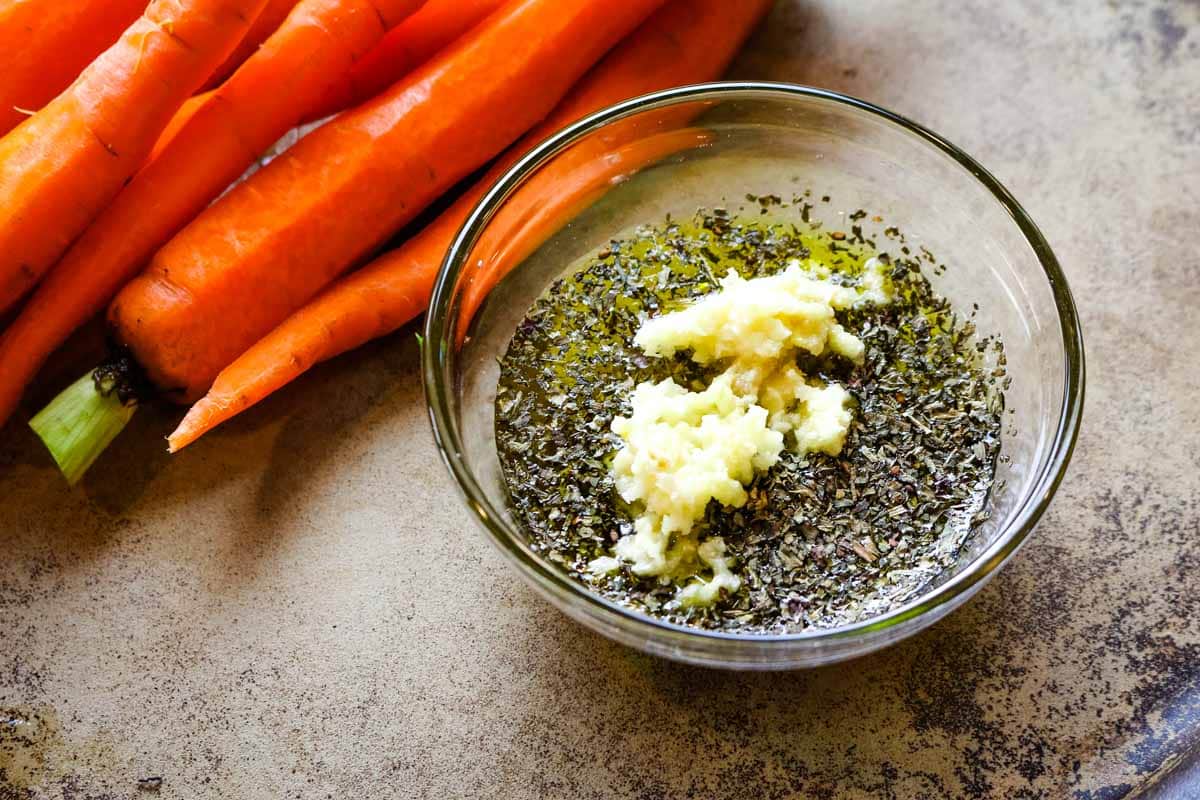
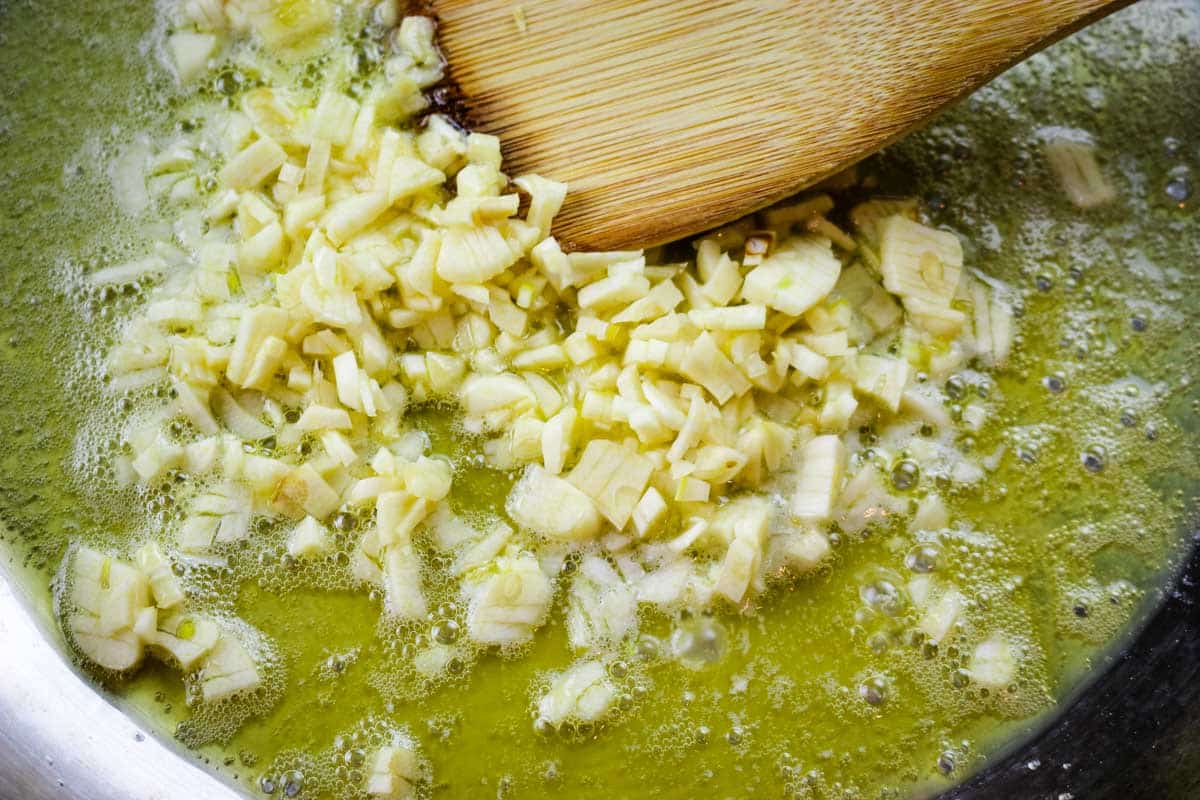
Step 1. Whisk
Add all marinade ingredients to a medium bowl and whisk vigorously until combined well.
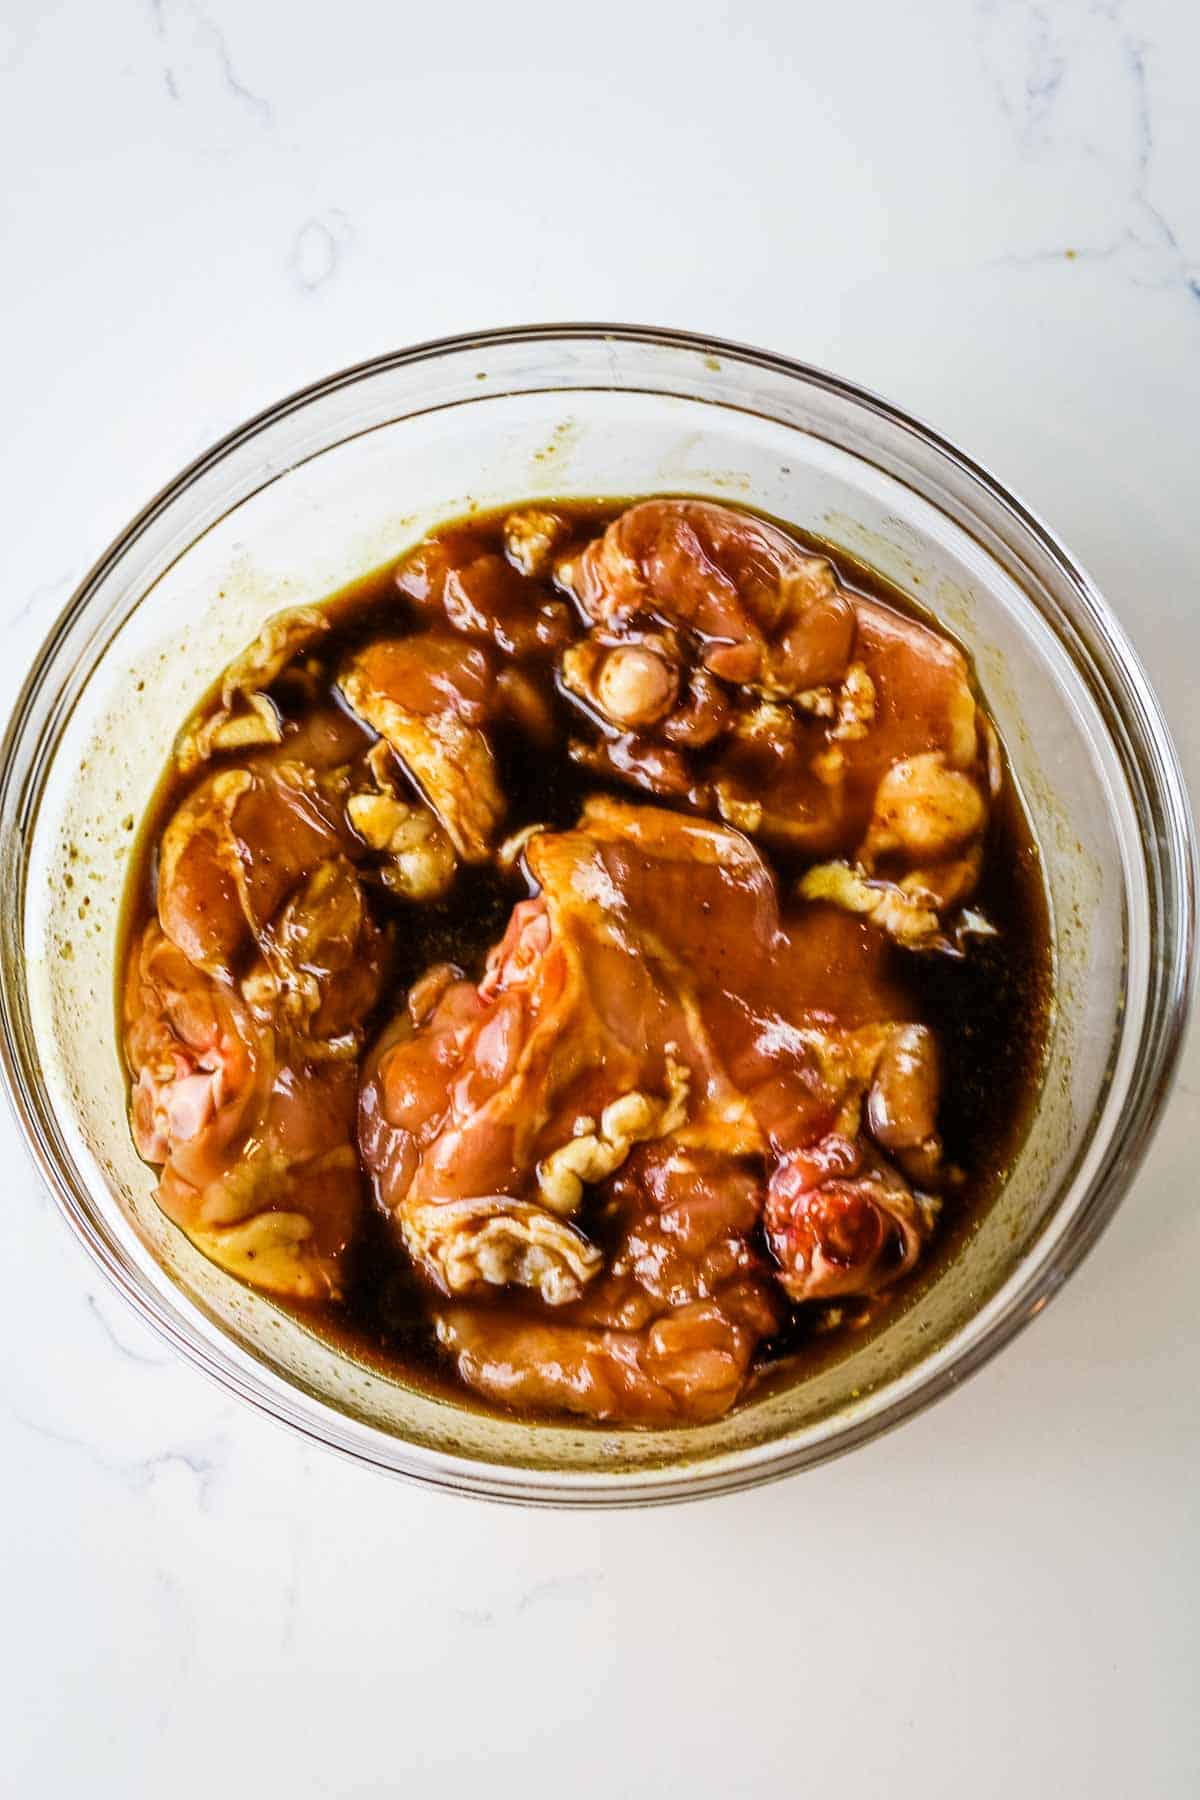
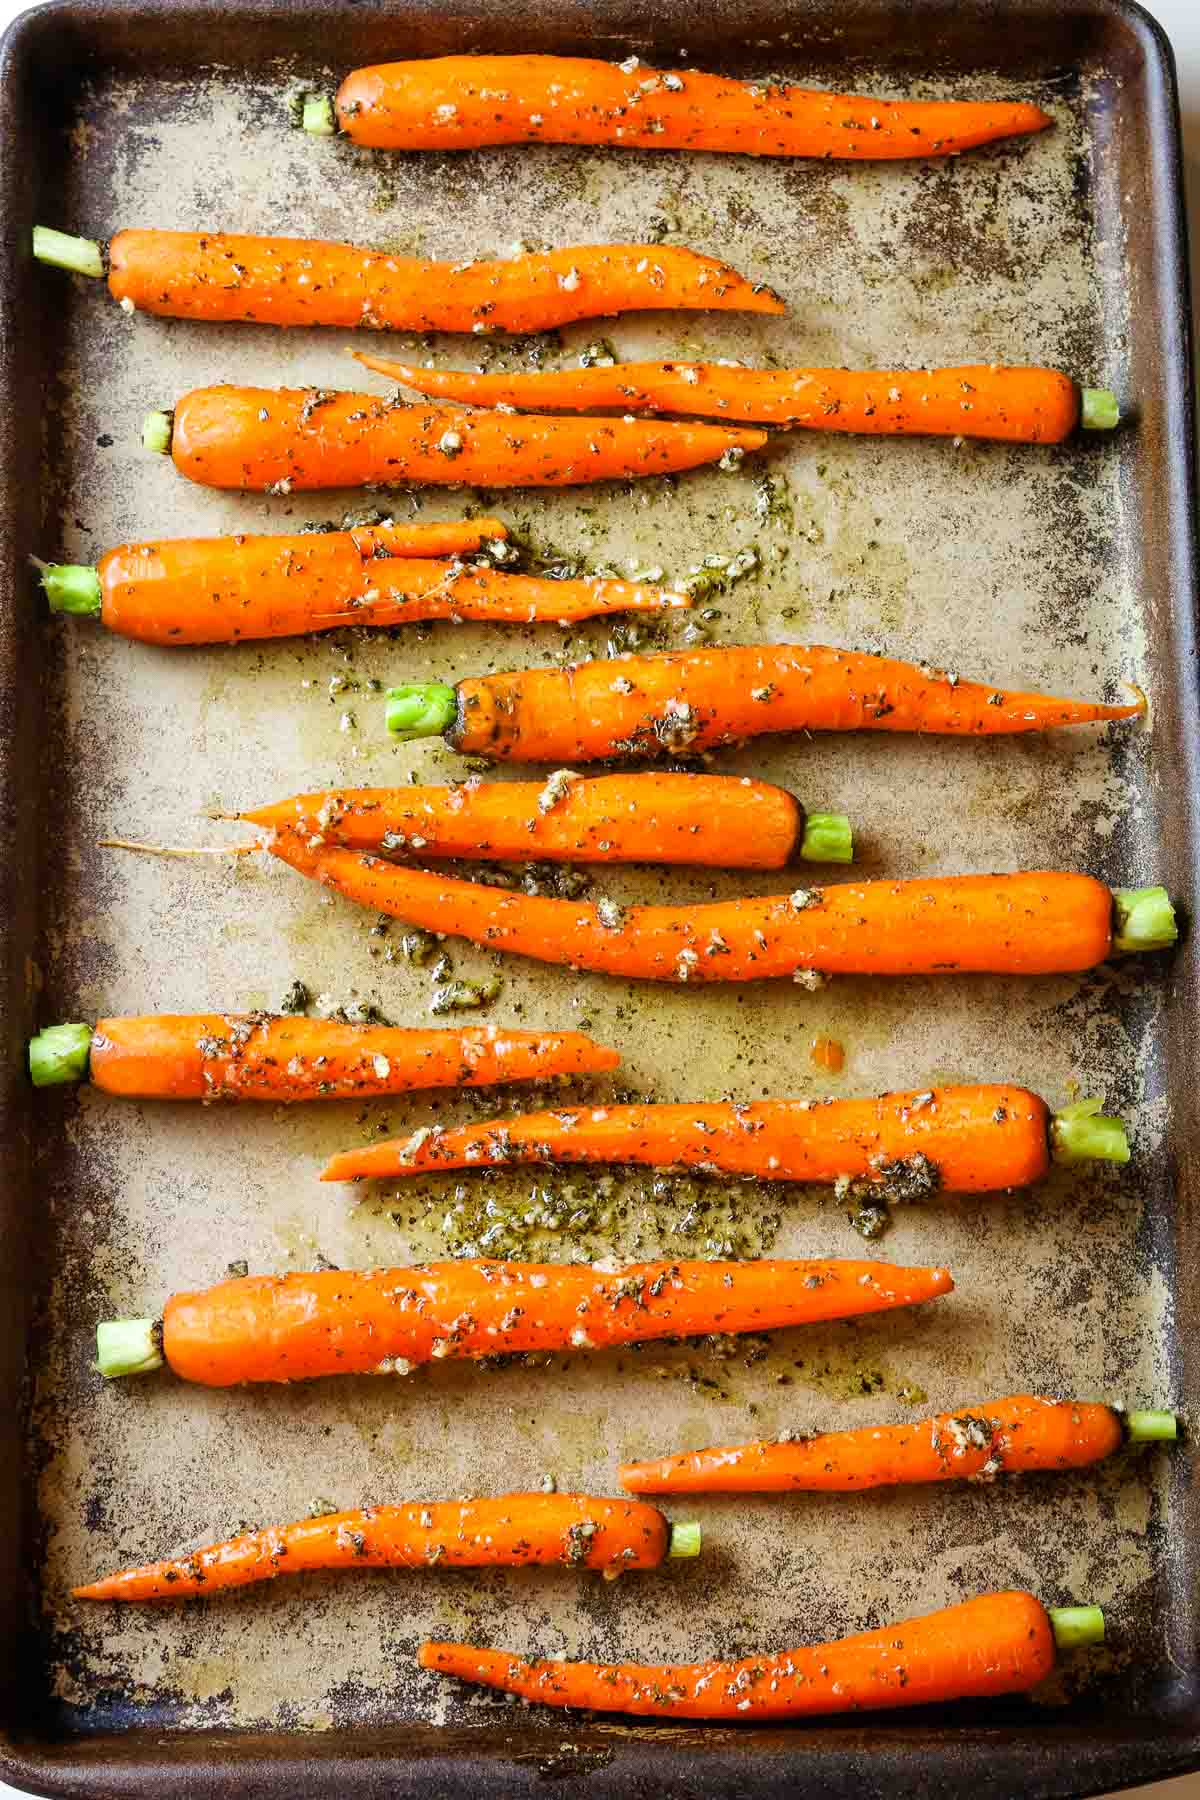
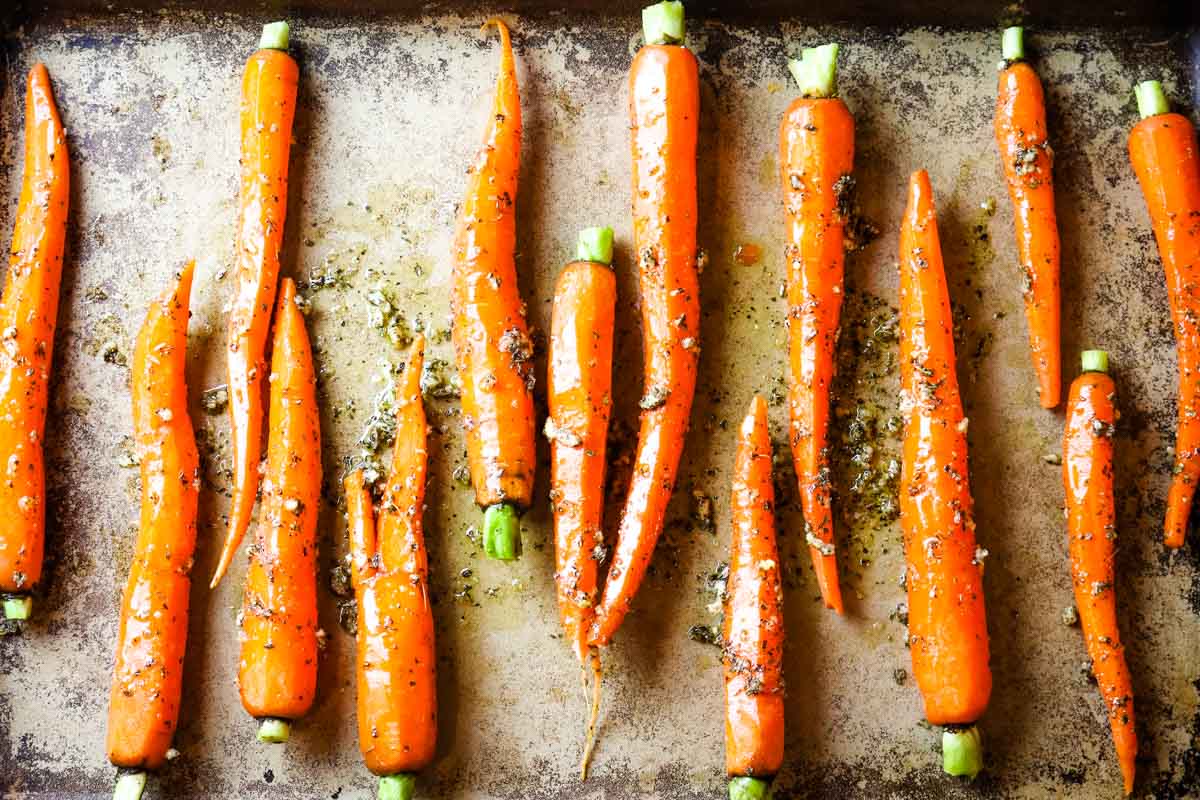
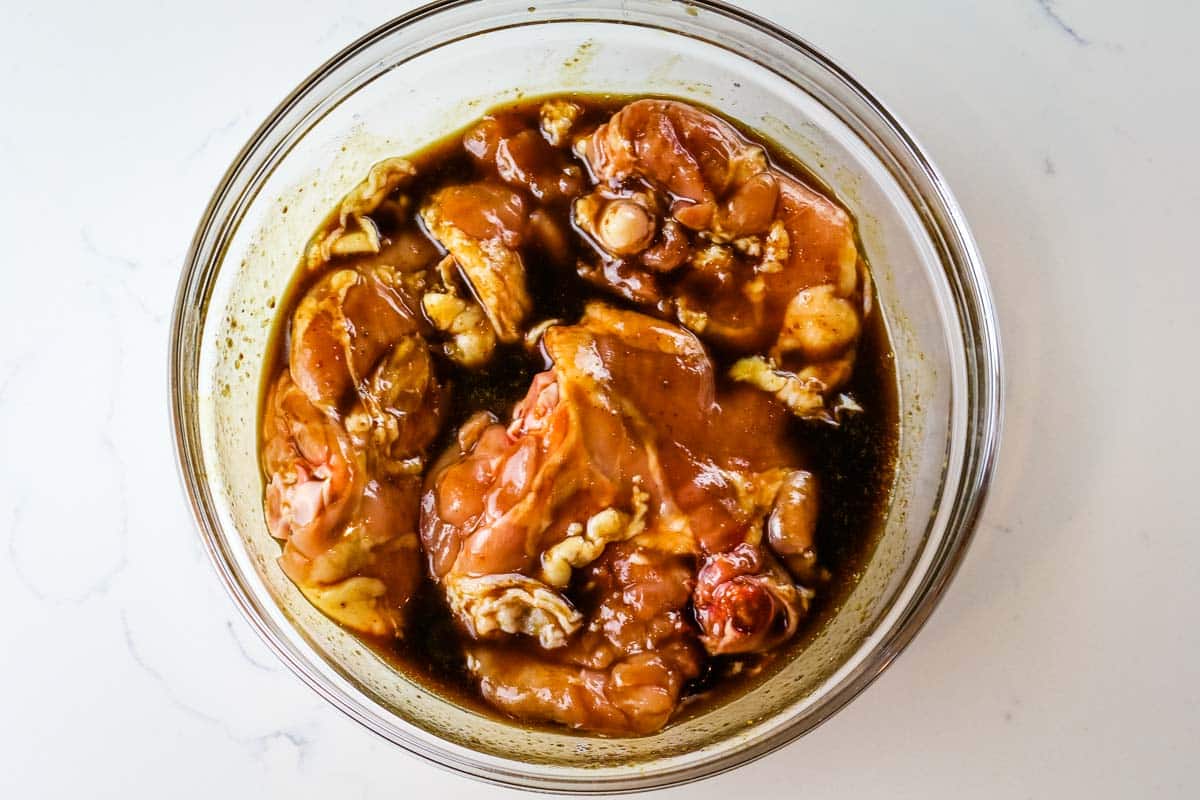
Step 2. Marinate
Add chicken to the marinade and toss to coat. Set aside for 30 minutes or overnight.
💭Pro tip: Pat dry the chicken with paper towels to remove excess moisture.
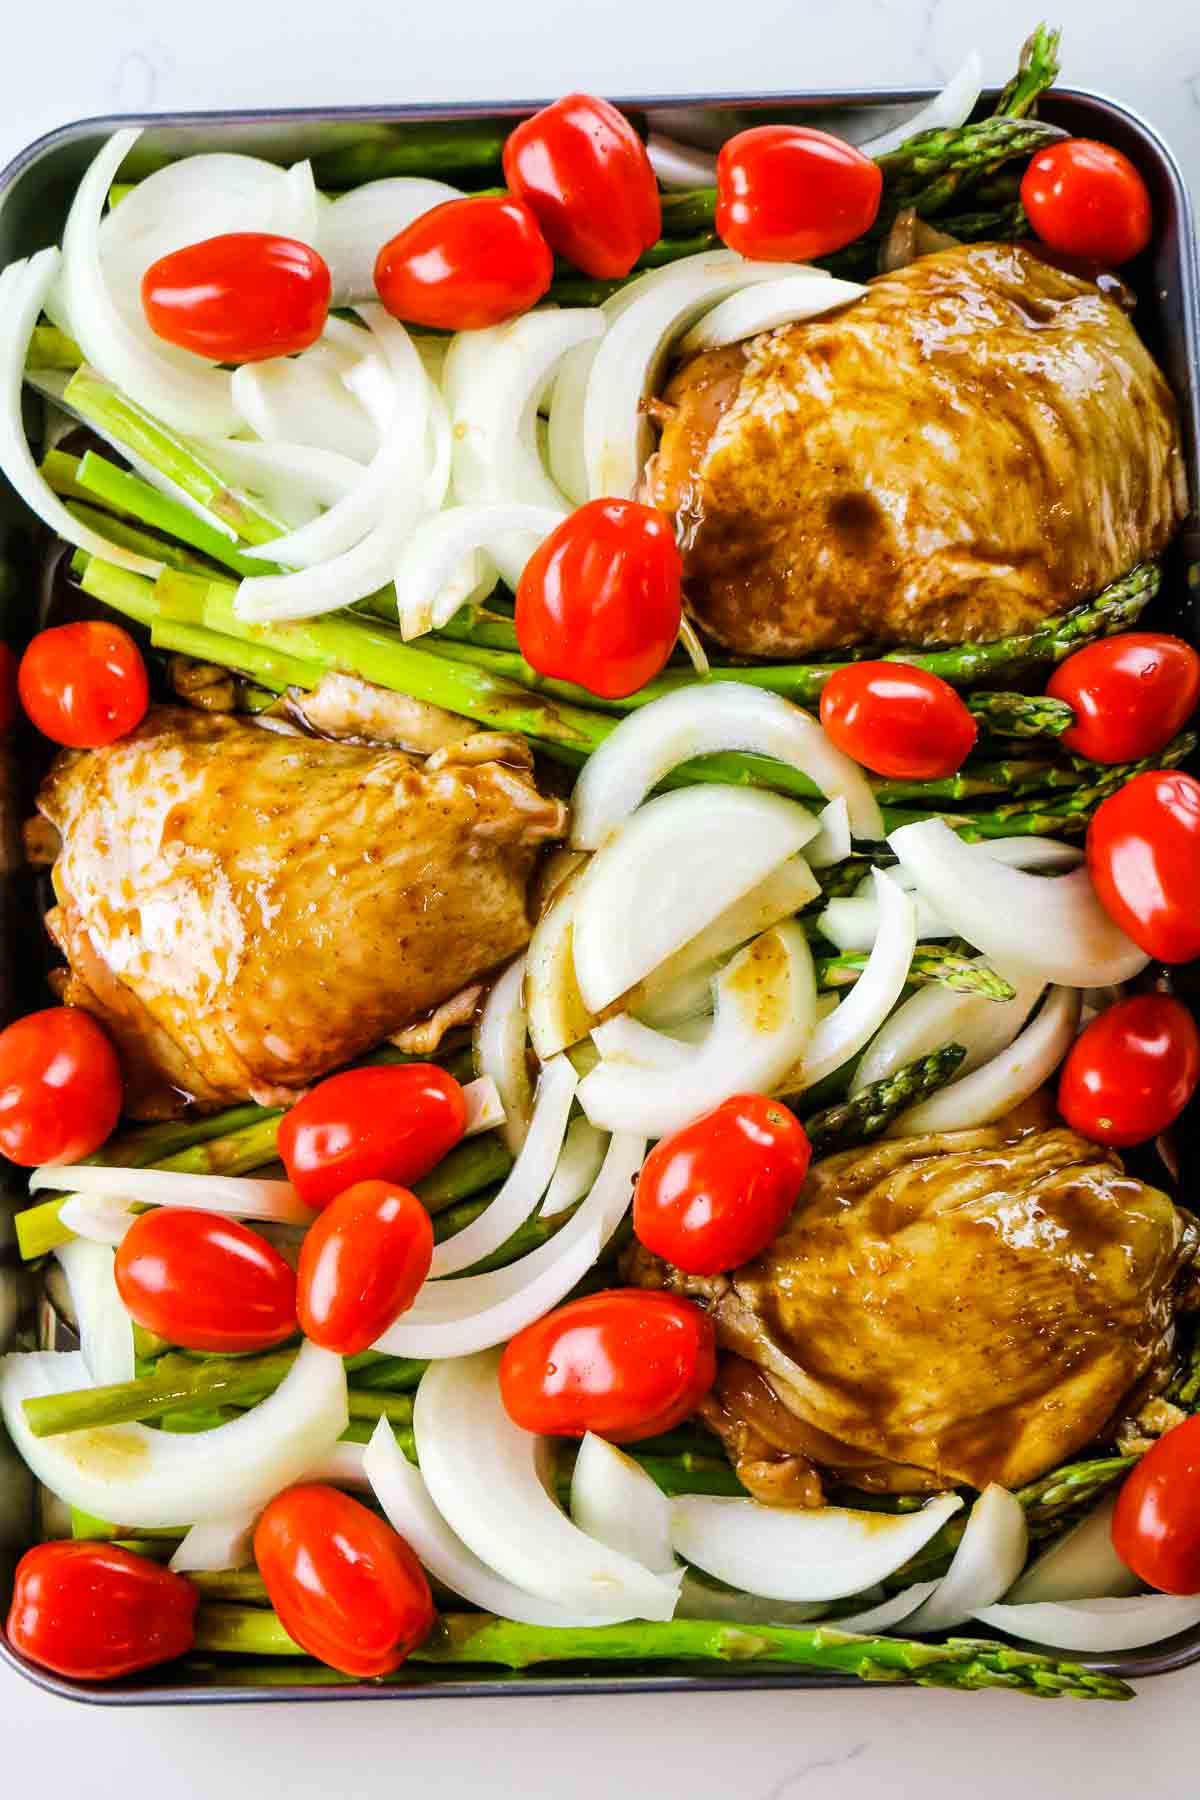
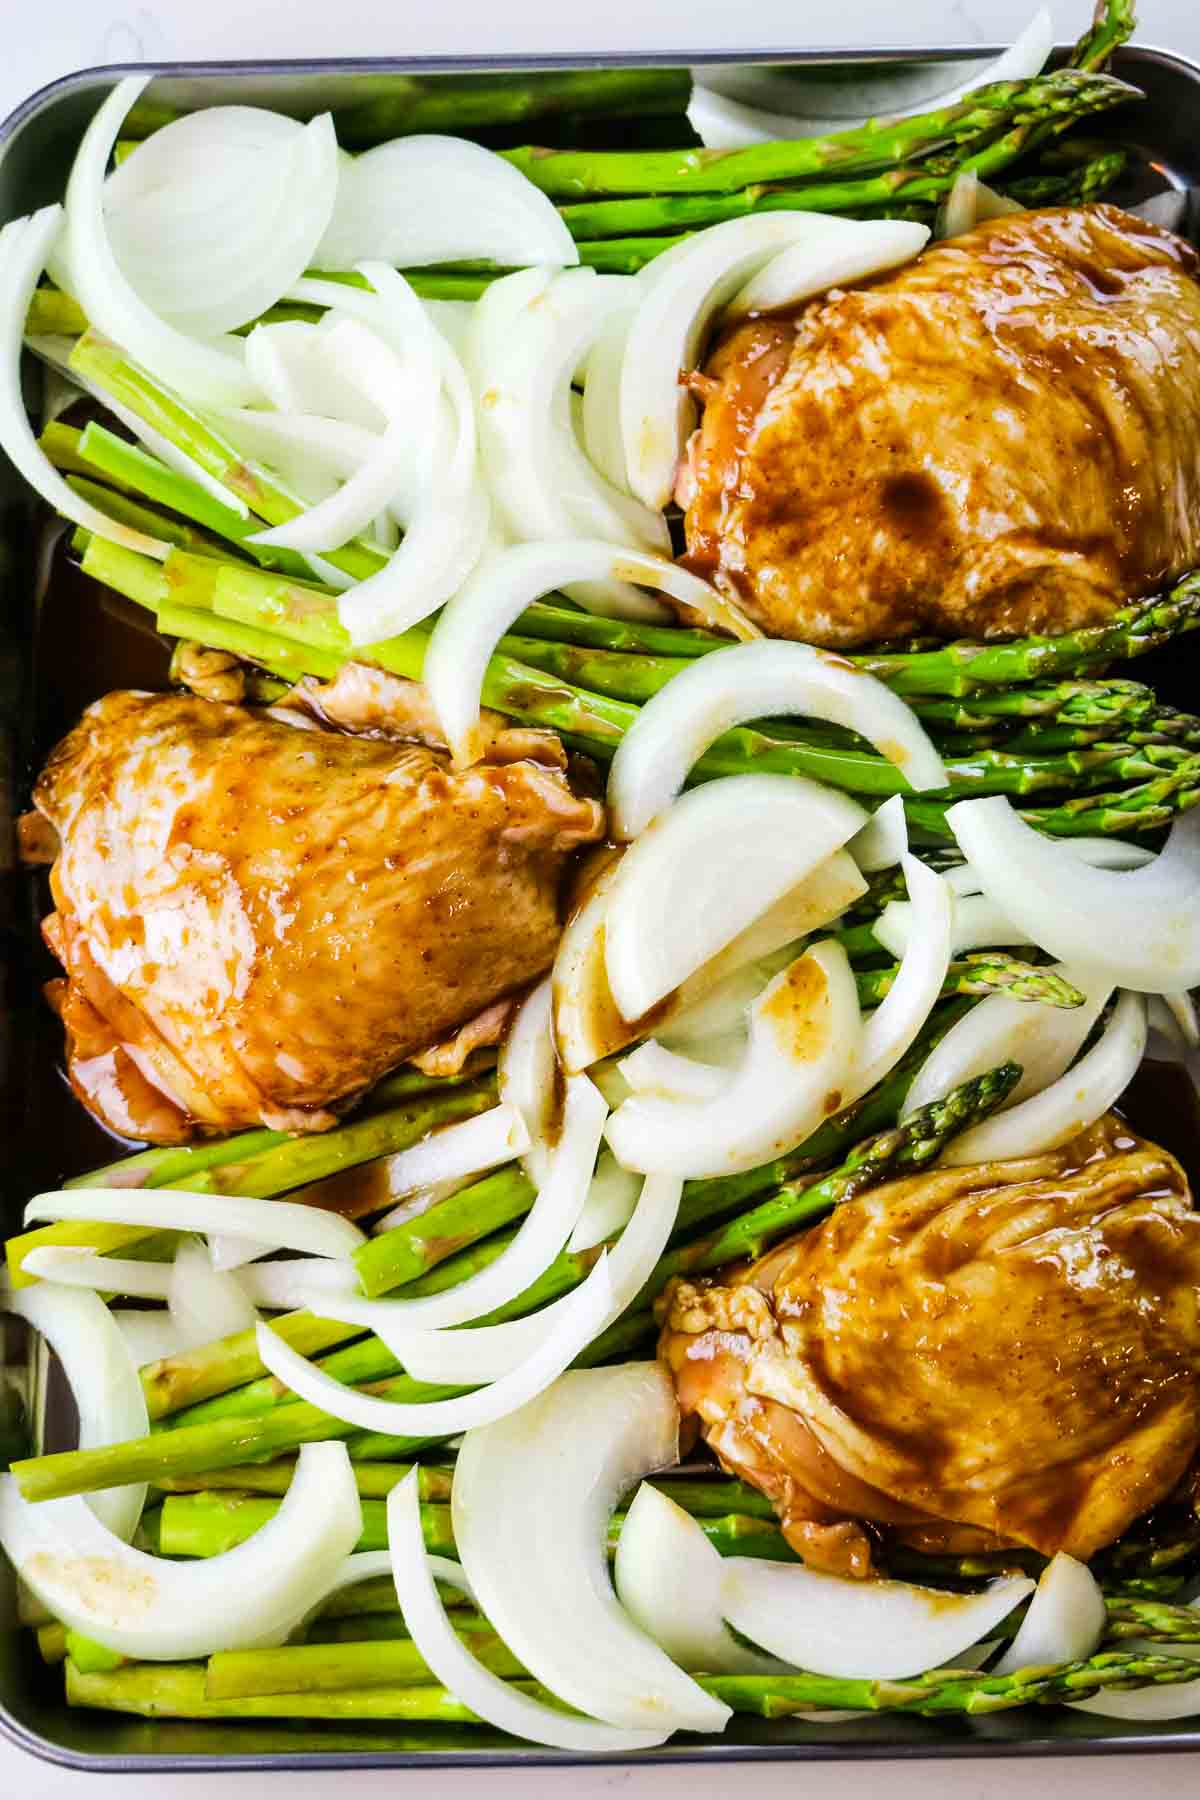
Step 3. Add
Spread the asparagus and sliced onions across a sheet pan. Arrange the marinated chicken, moving the veggies slightly to create room. Top with tomatoes.
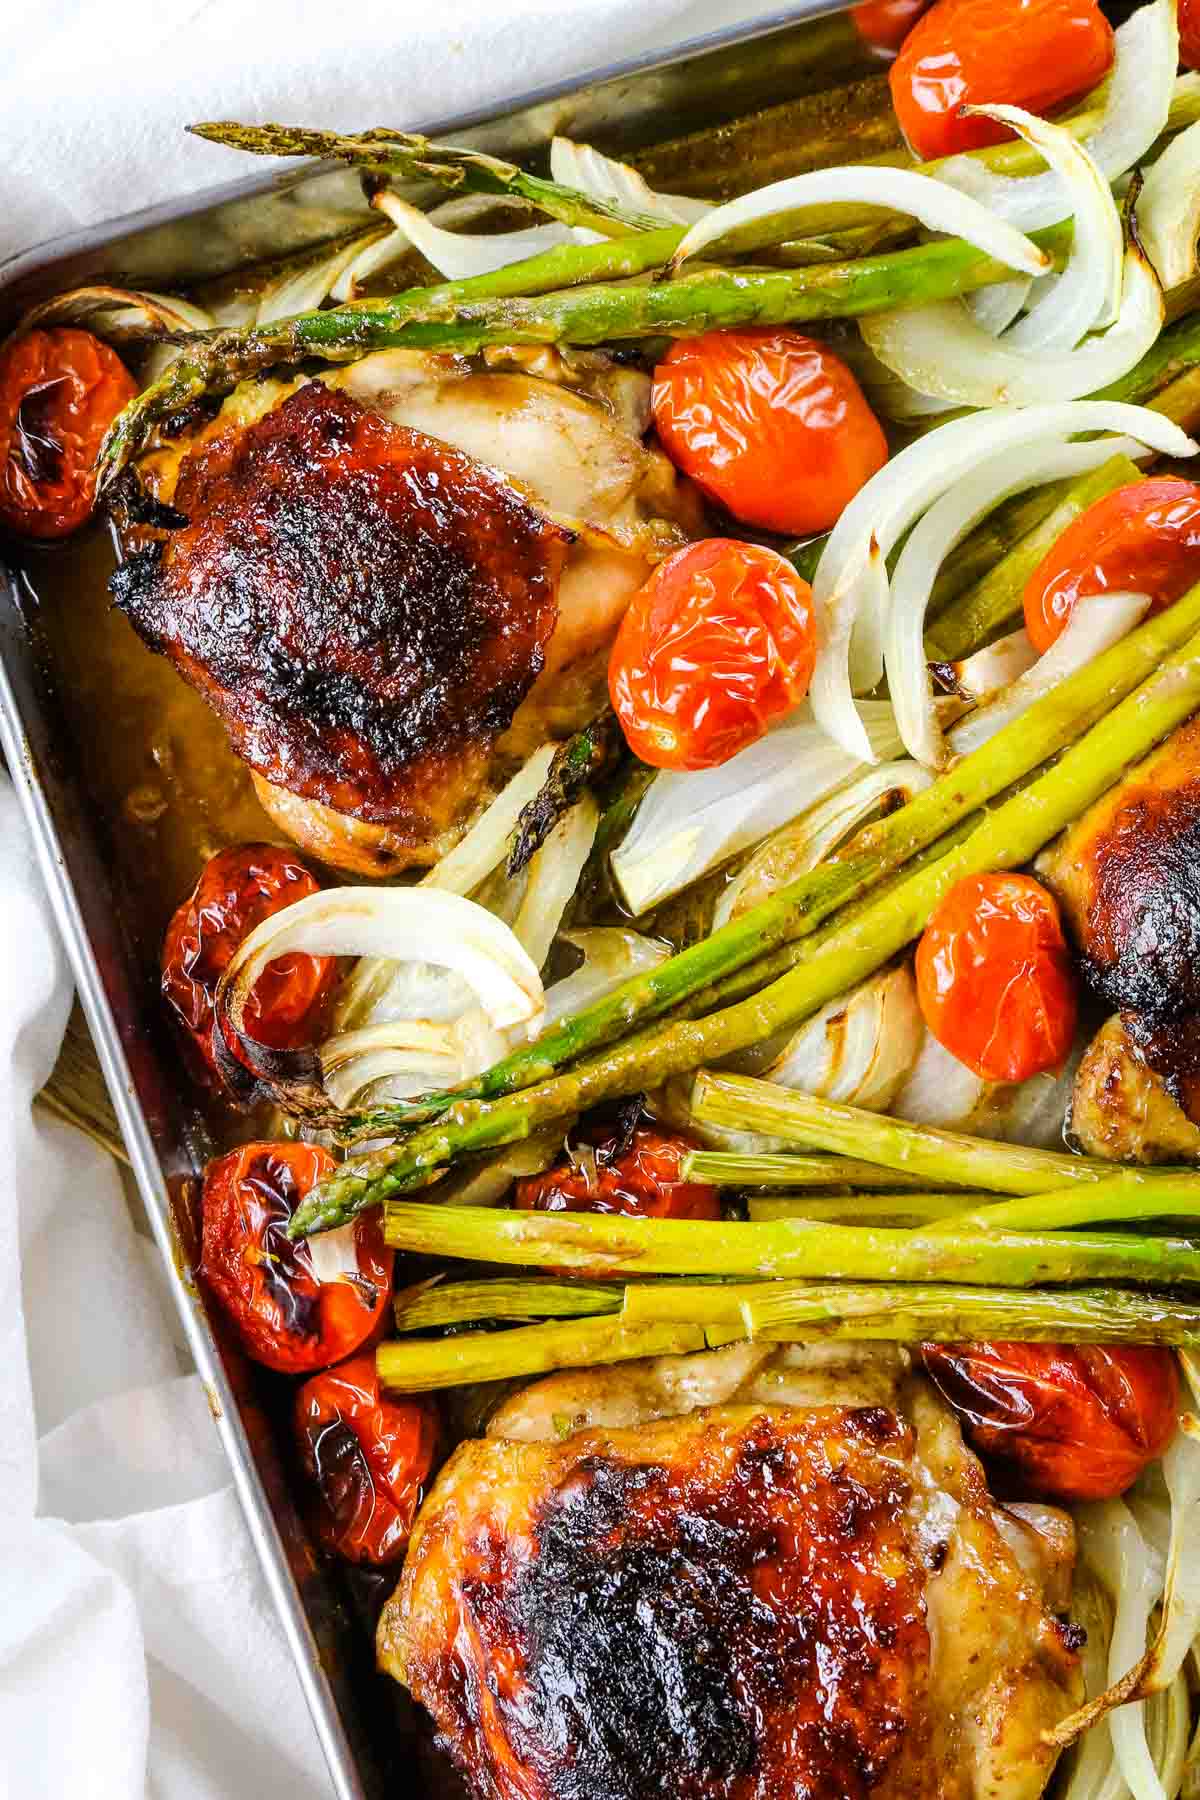
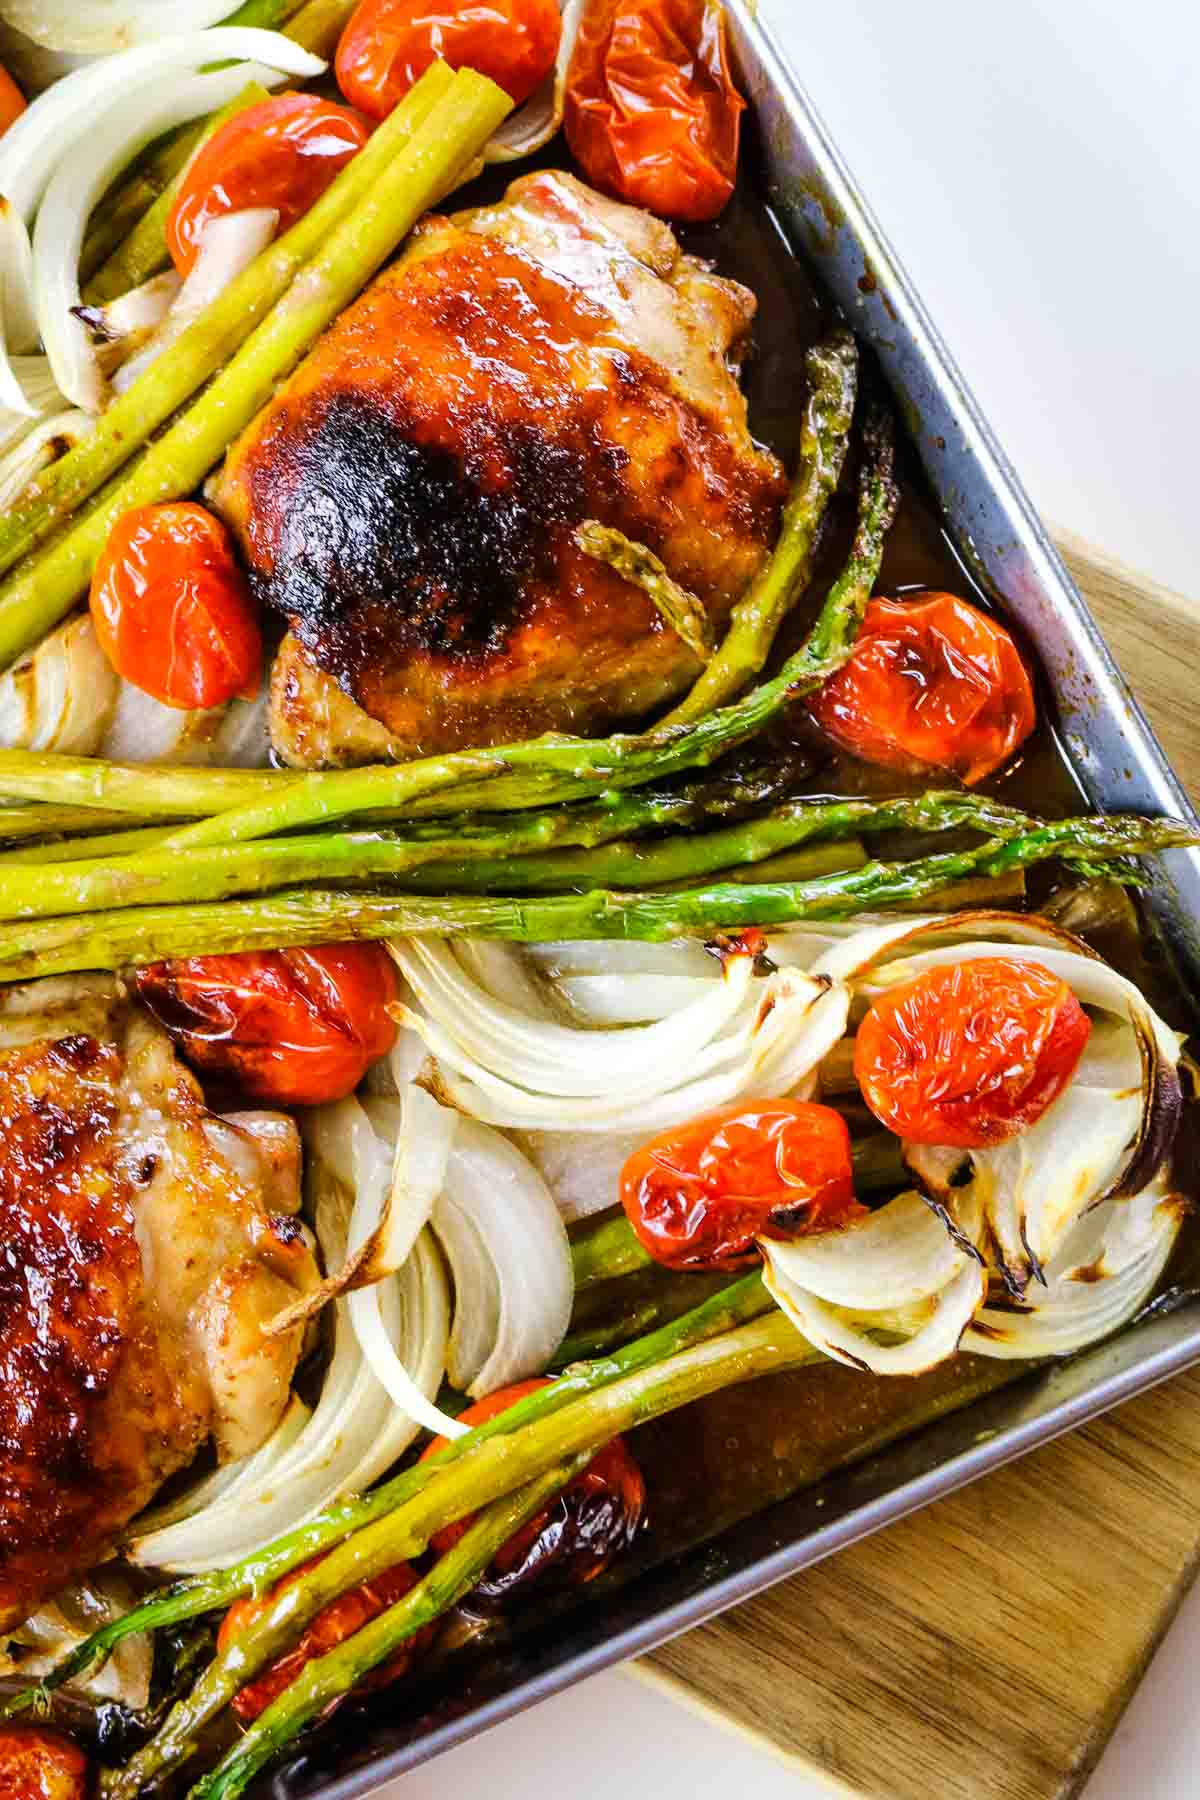
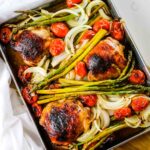
Step 4. Bake
Bake the sheet pan chicken meal in a preheated oven for 25-30 minutes or until the chicken is cooked through. Remove from heat and rest for 10 minutes.
💭Pro tip: Don’t worry if the chicken and vegetables are not in a single layer. You can pile the ingredients on top of each other as long as the chicken skin is exposed to heat.
Helpful Tools & Links
Below are some affiliate links that may be helpful to you as you make this recipe. You can find some of these items cheaper at your local store, but having a link helps you know what you're looking for.
- Tools: stainless steel air fryer, stainless steel baking sheets, mixing bowls
- Ingredients: balsamic vinegar, extra virgin olive oil, Dijon mustard, honey, real salt,
- Storage Supplies: glass snap containers
Serving Suggestions
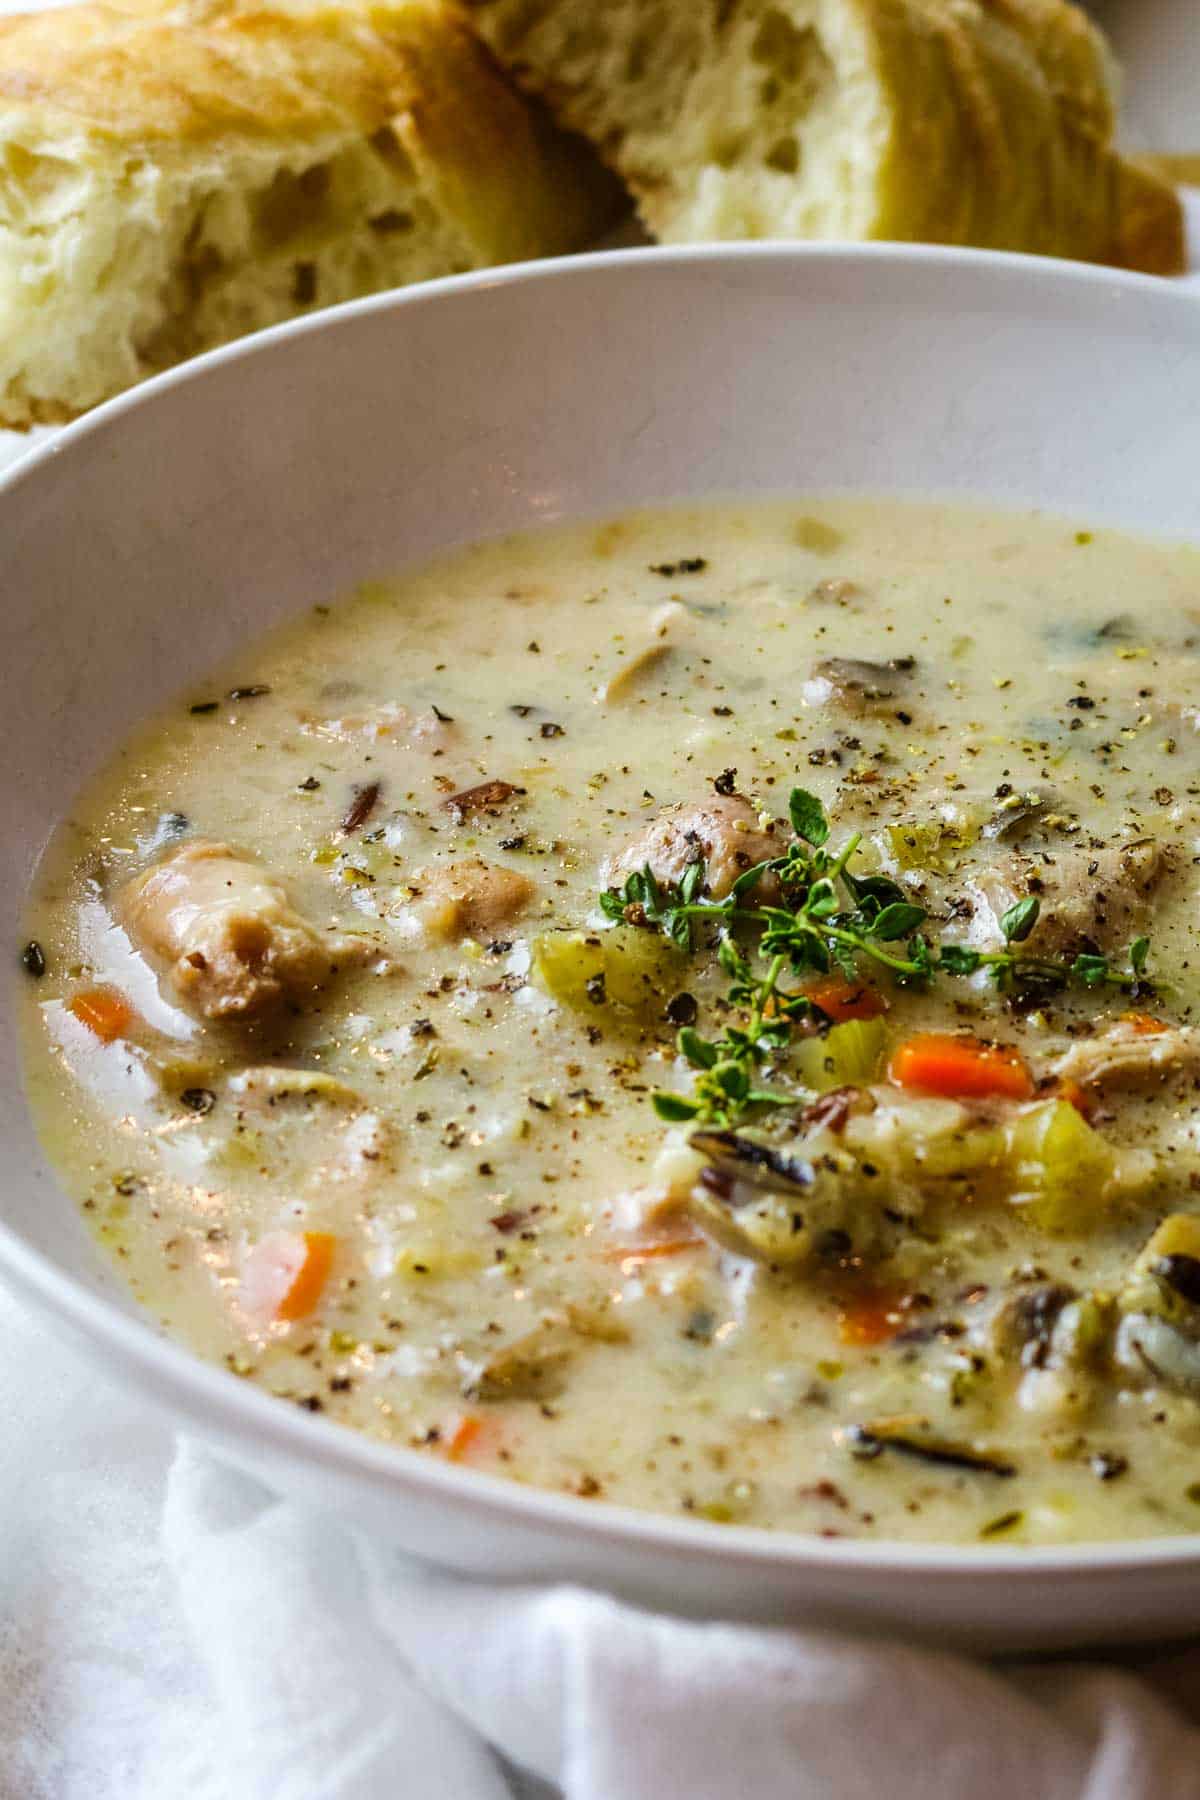
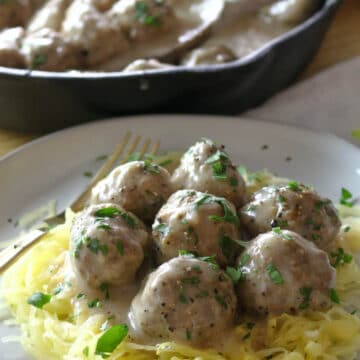
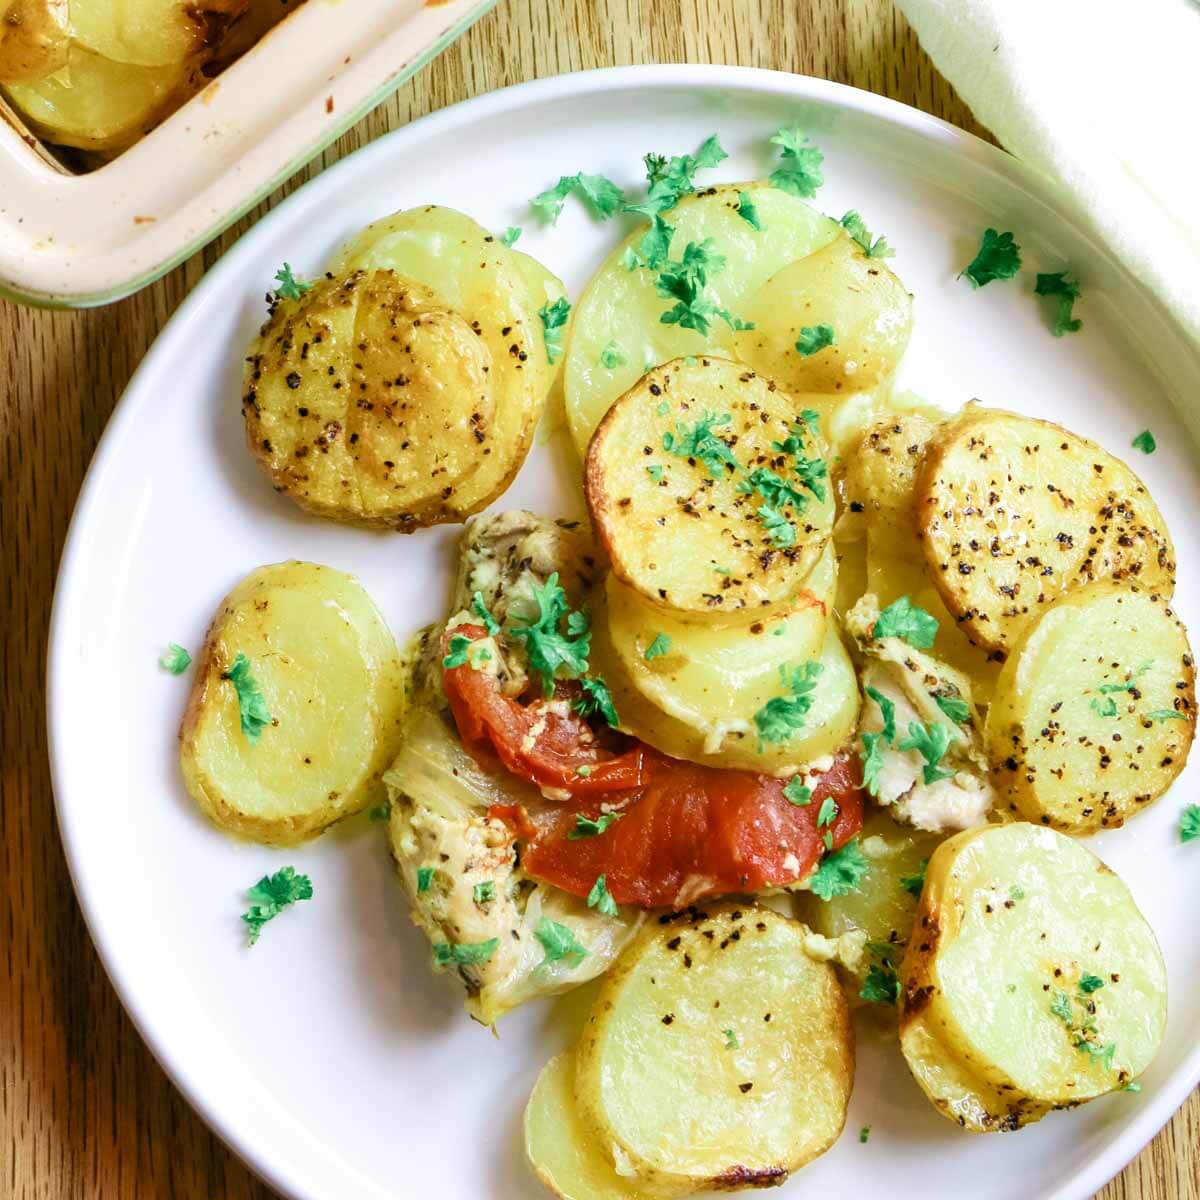
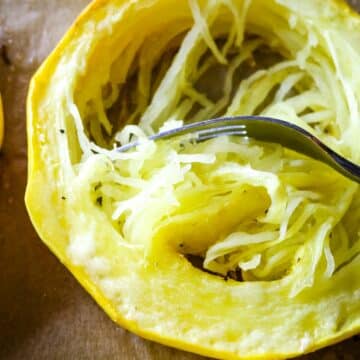
Sheet pan balsamic chicken is a versatile and flavorful dish that can be enjoyed in a variety of ways. You can serve it with roasted vegetables like roast potatoes or spaghetti squash.
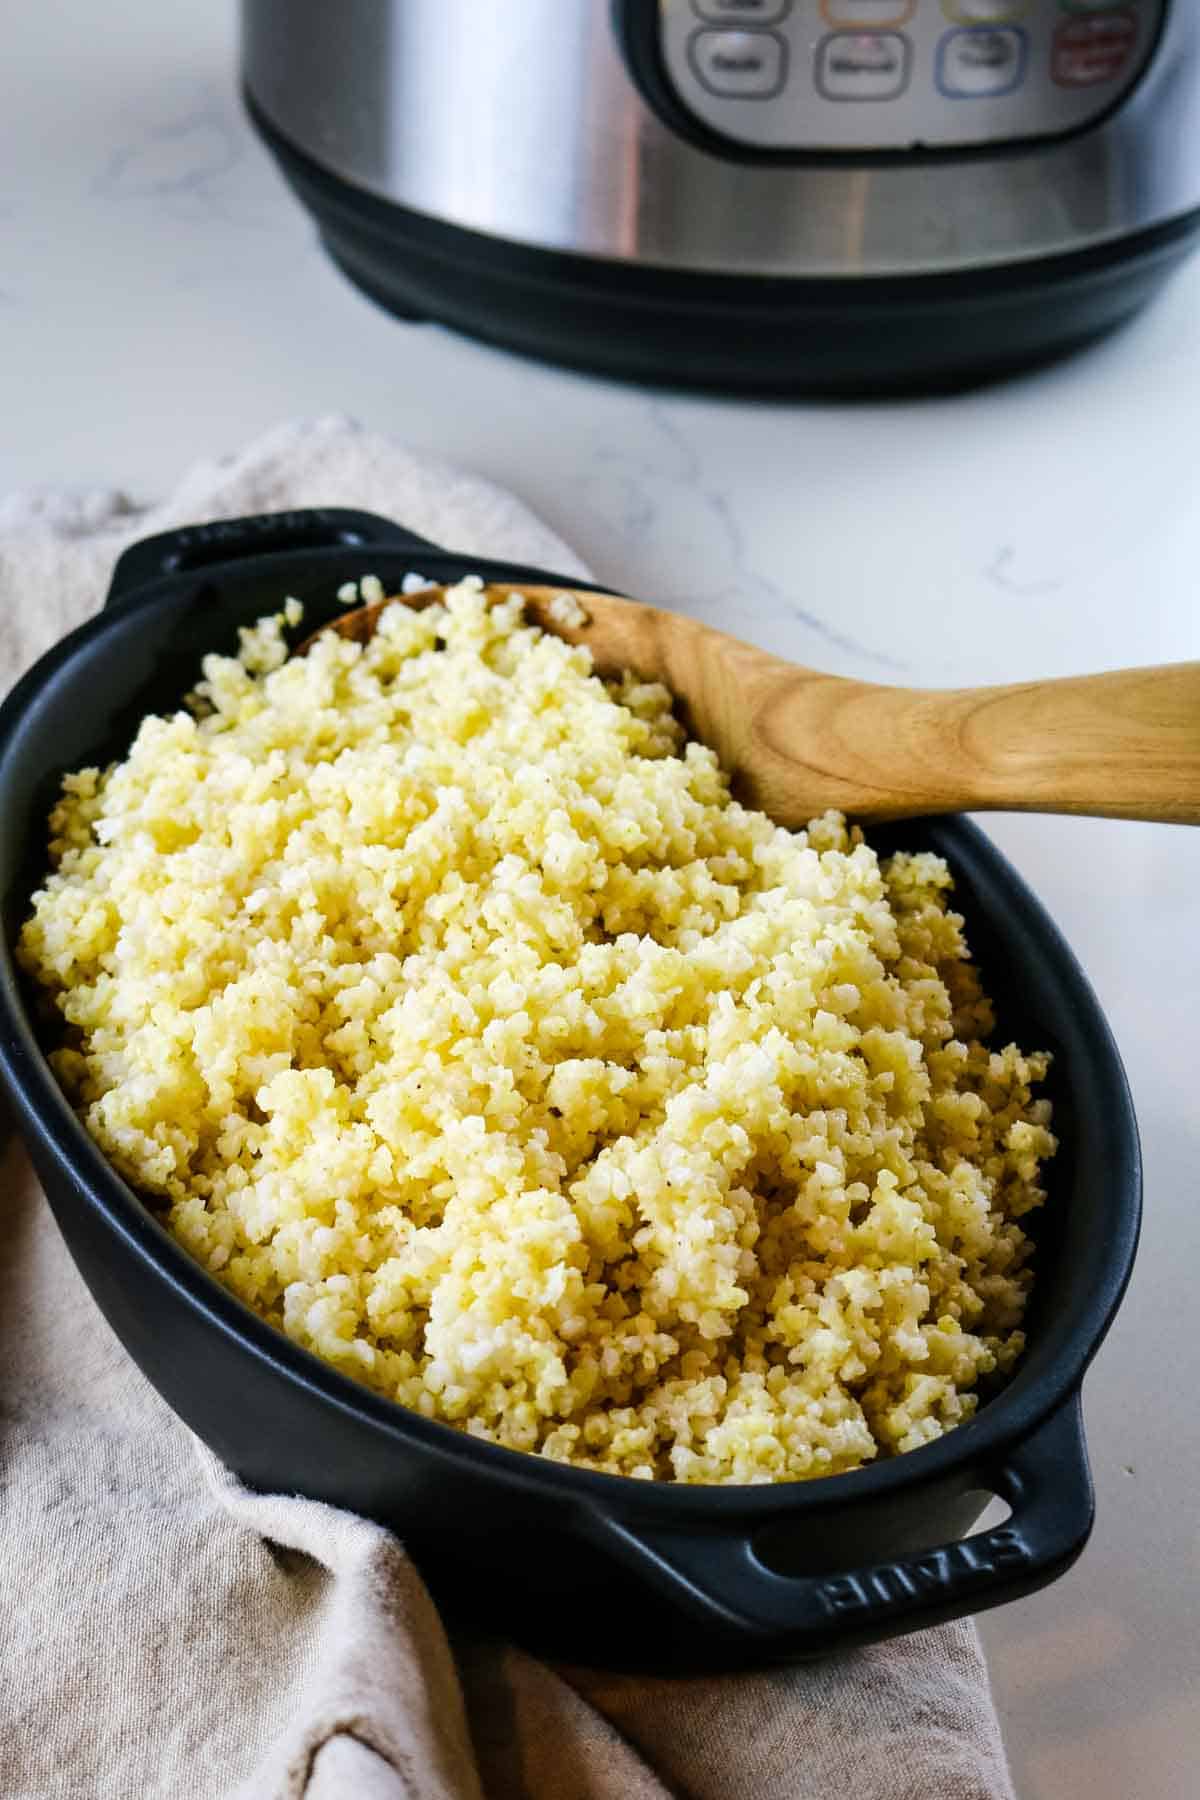
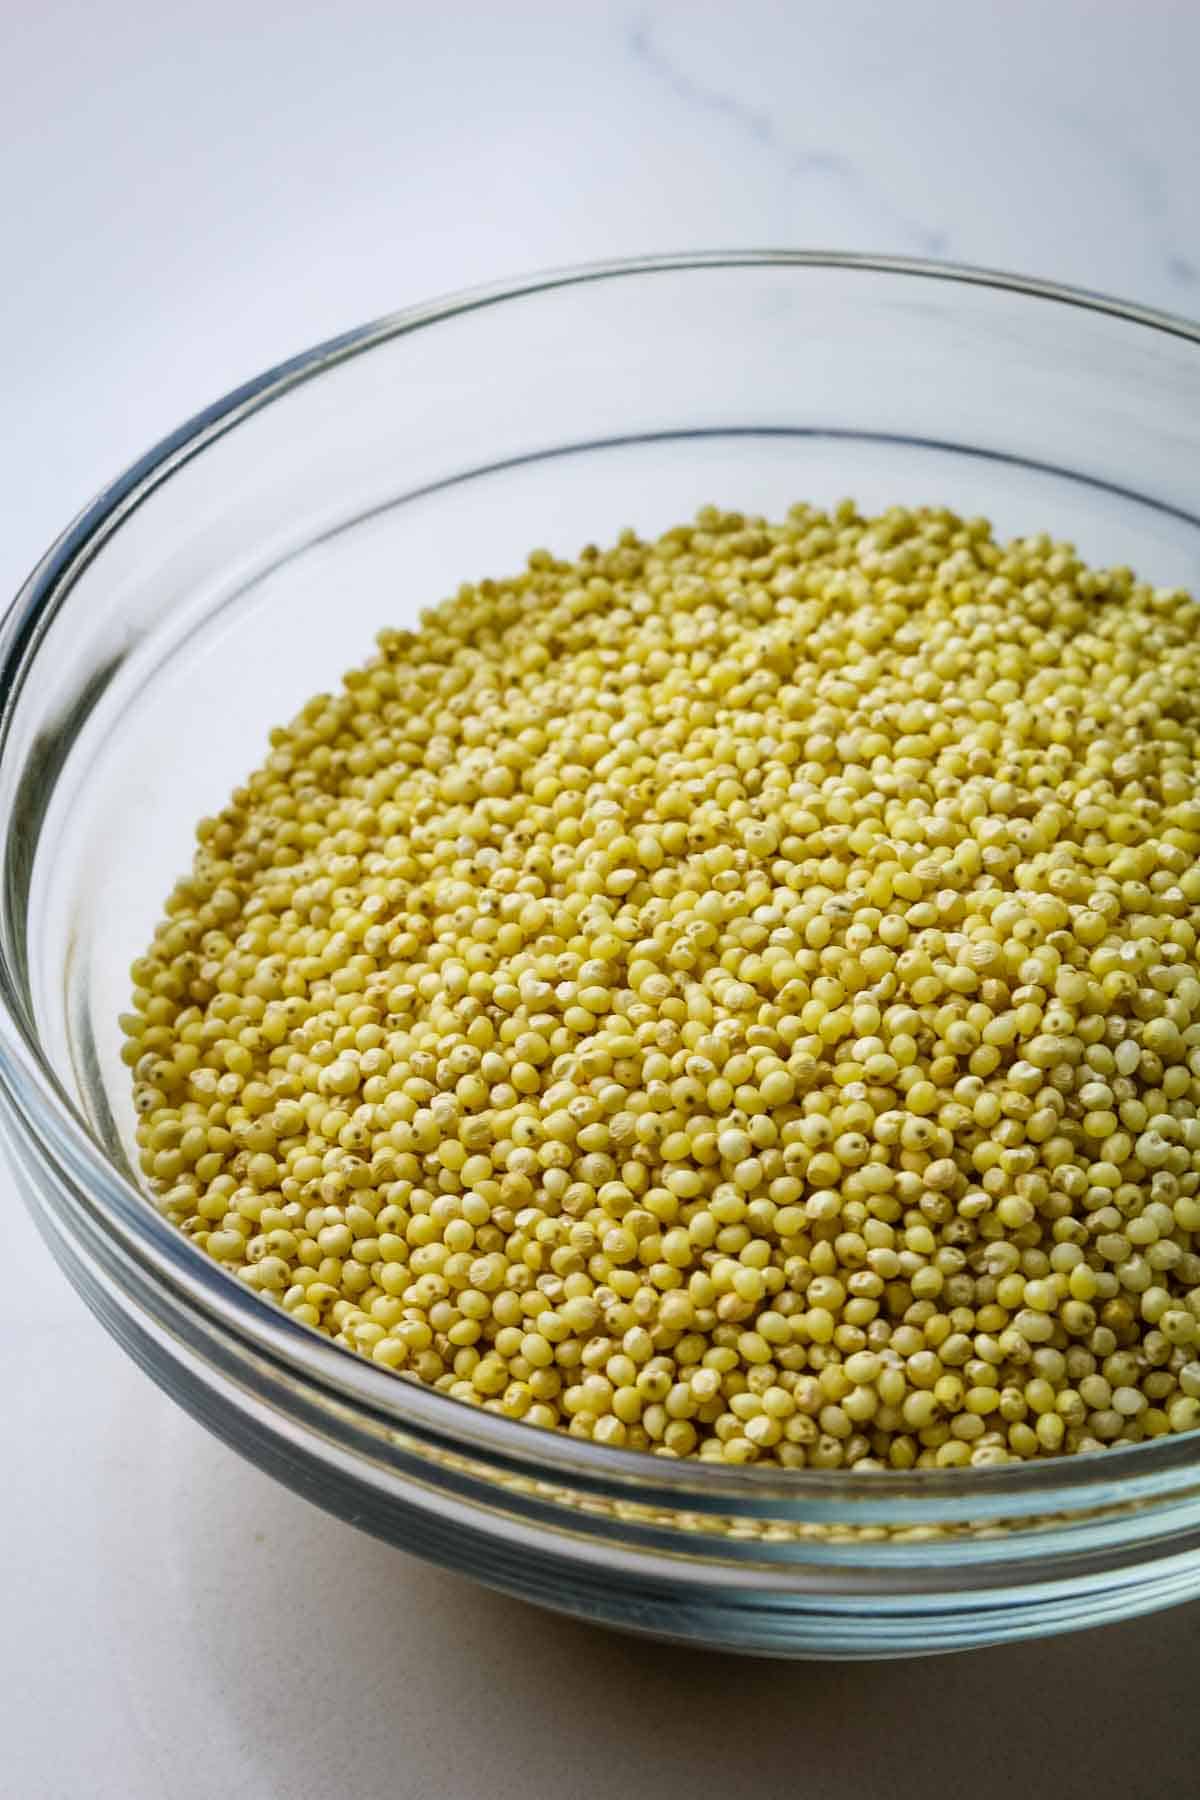
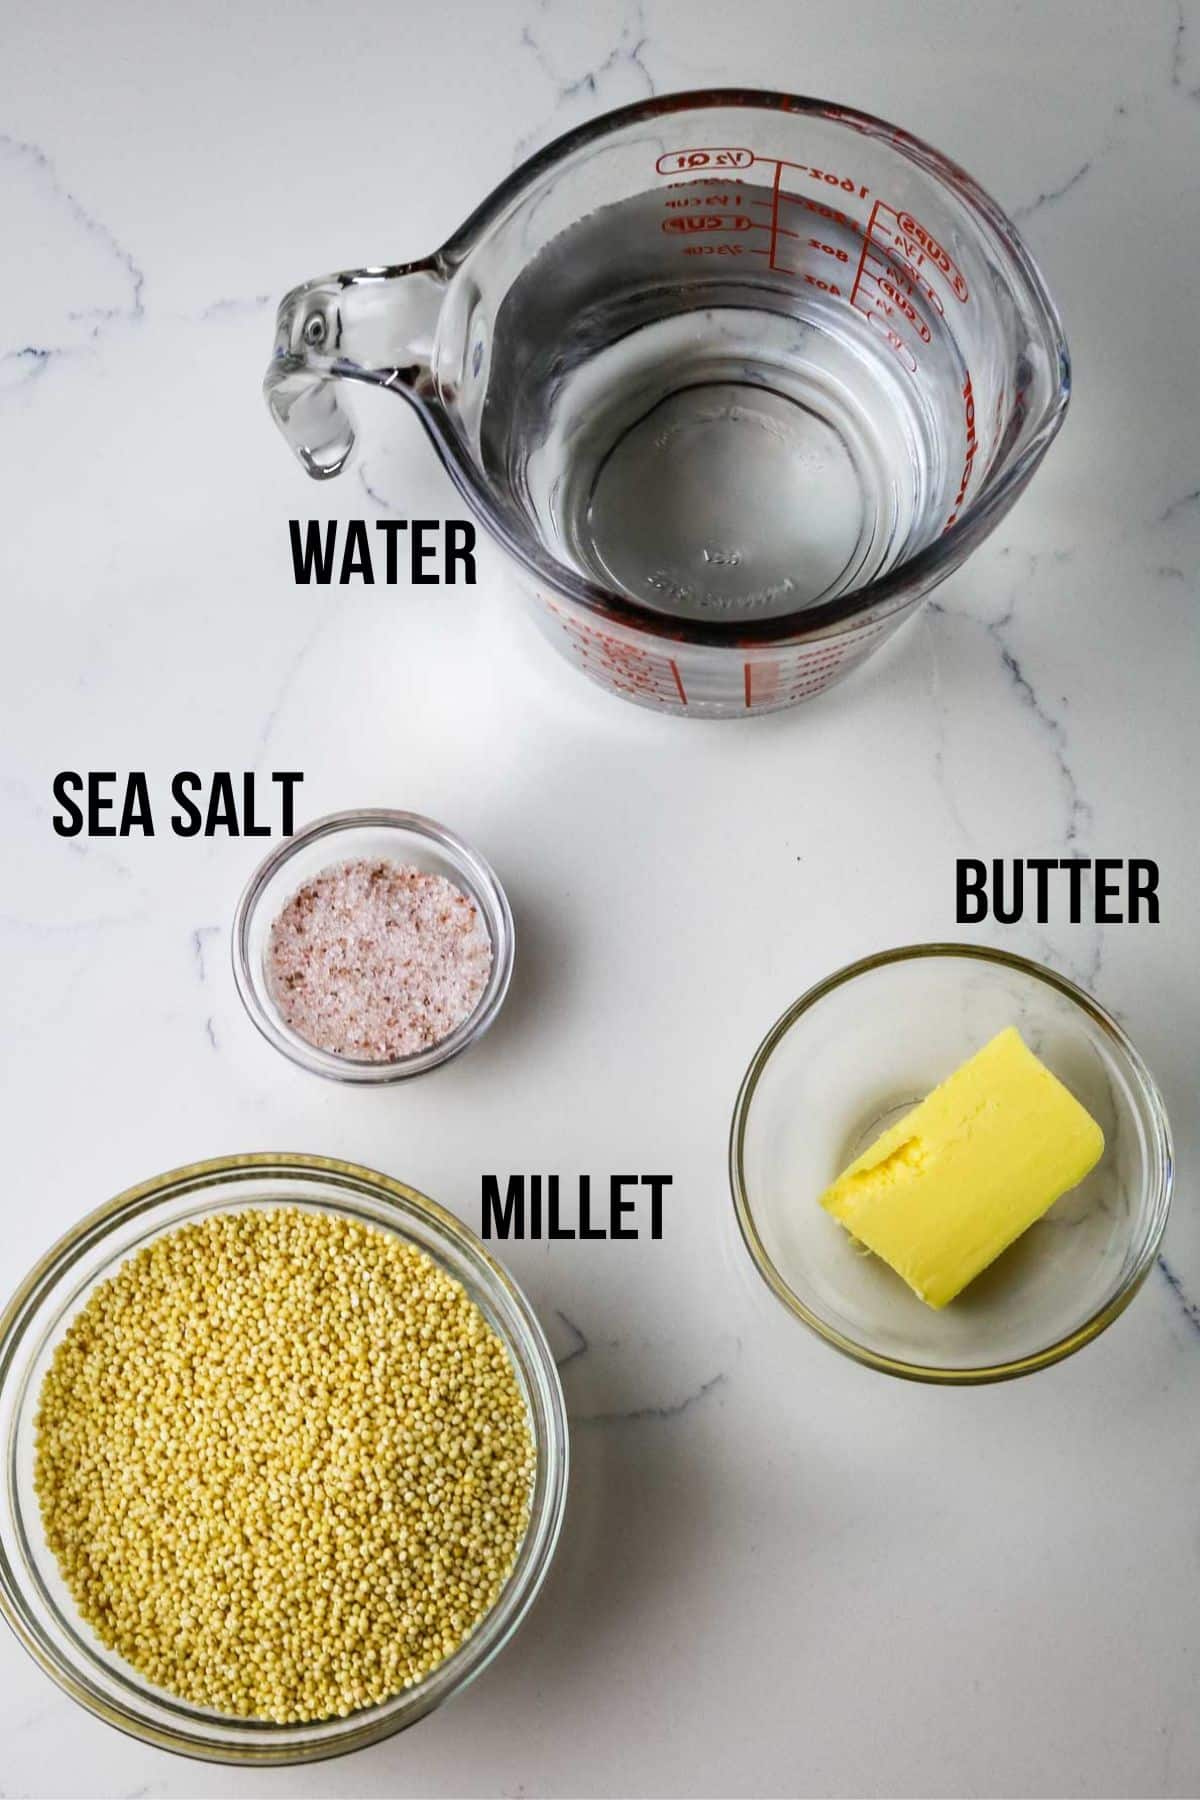
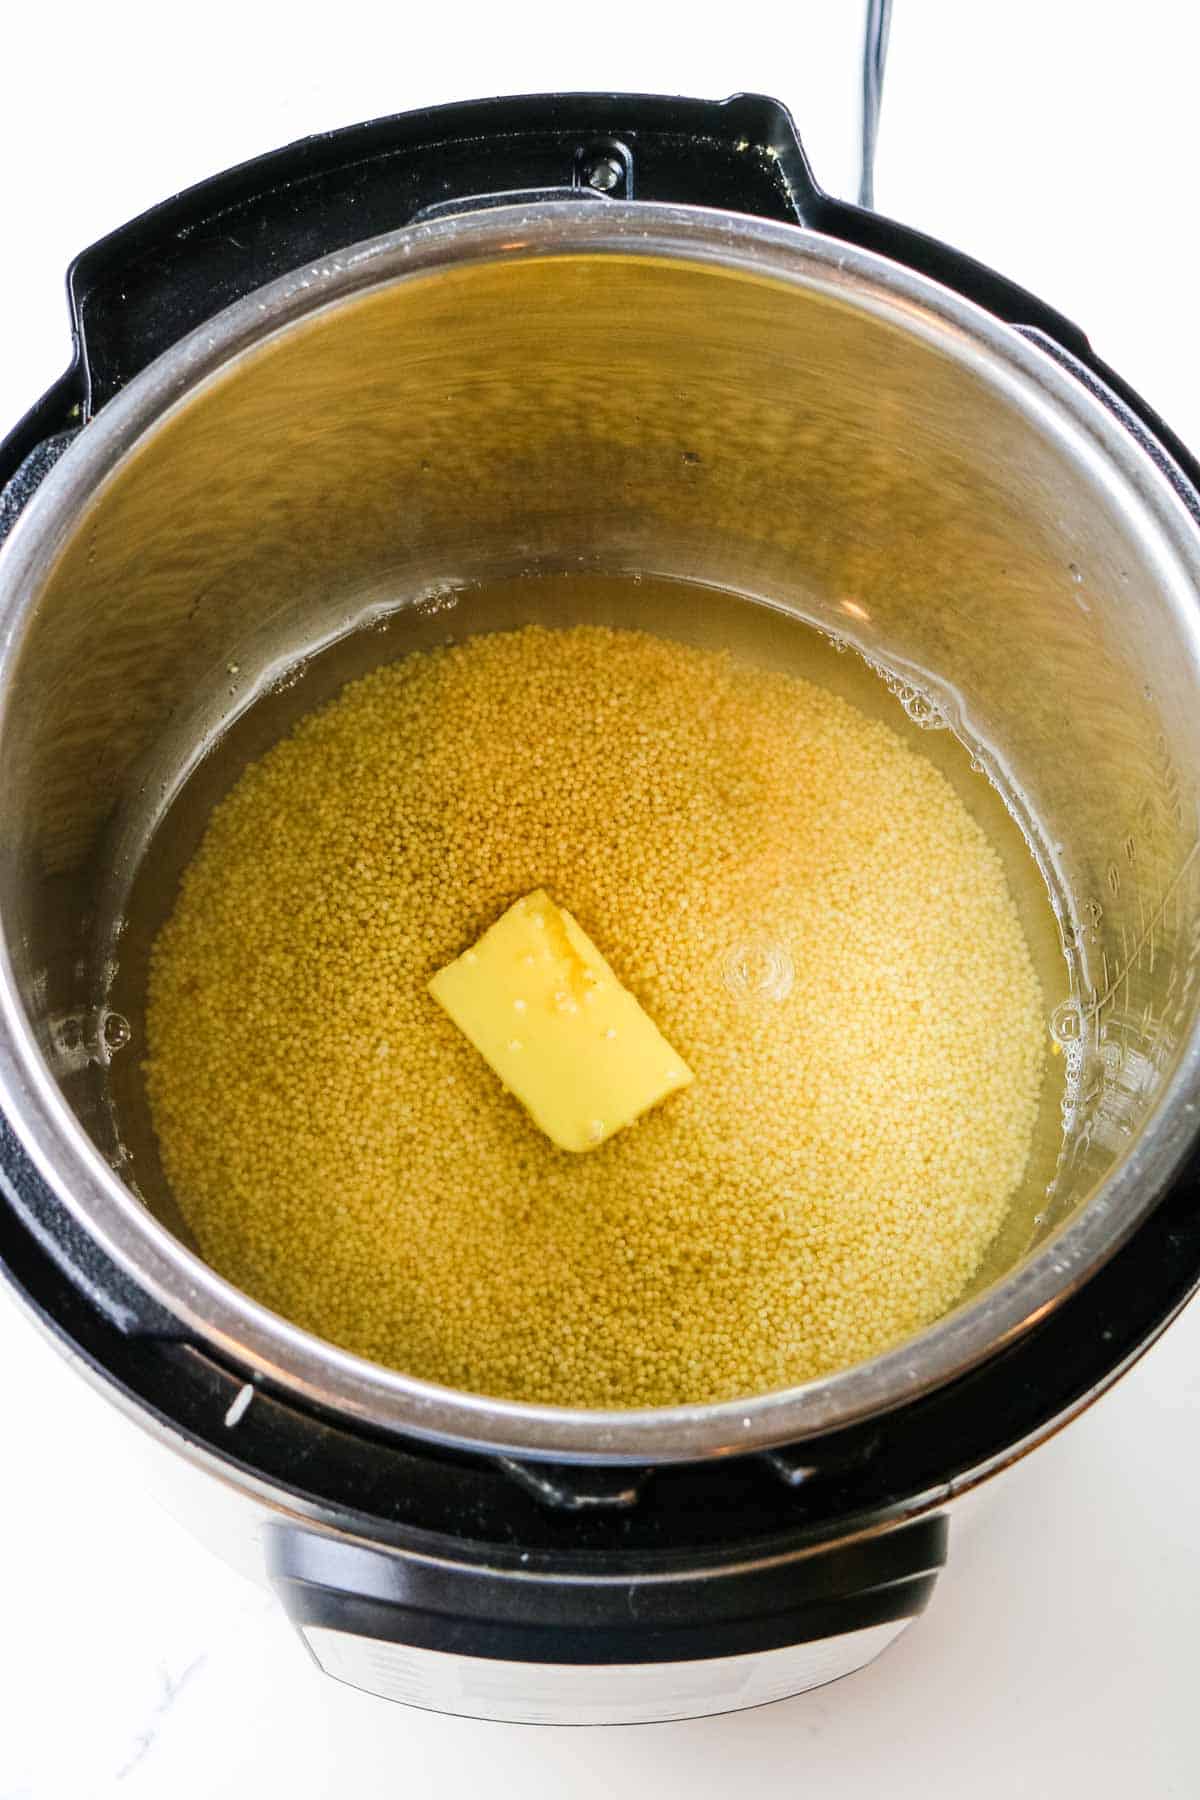
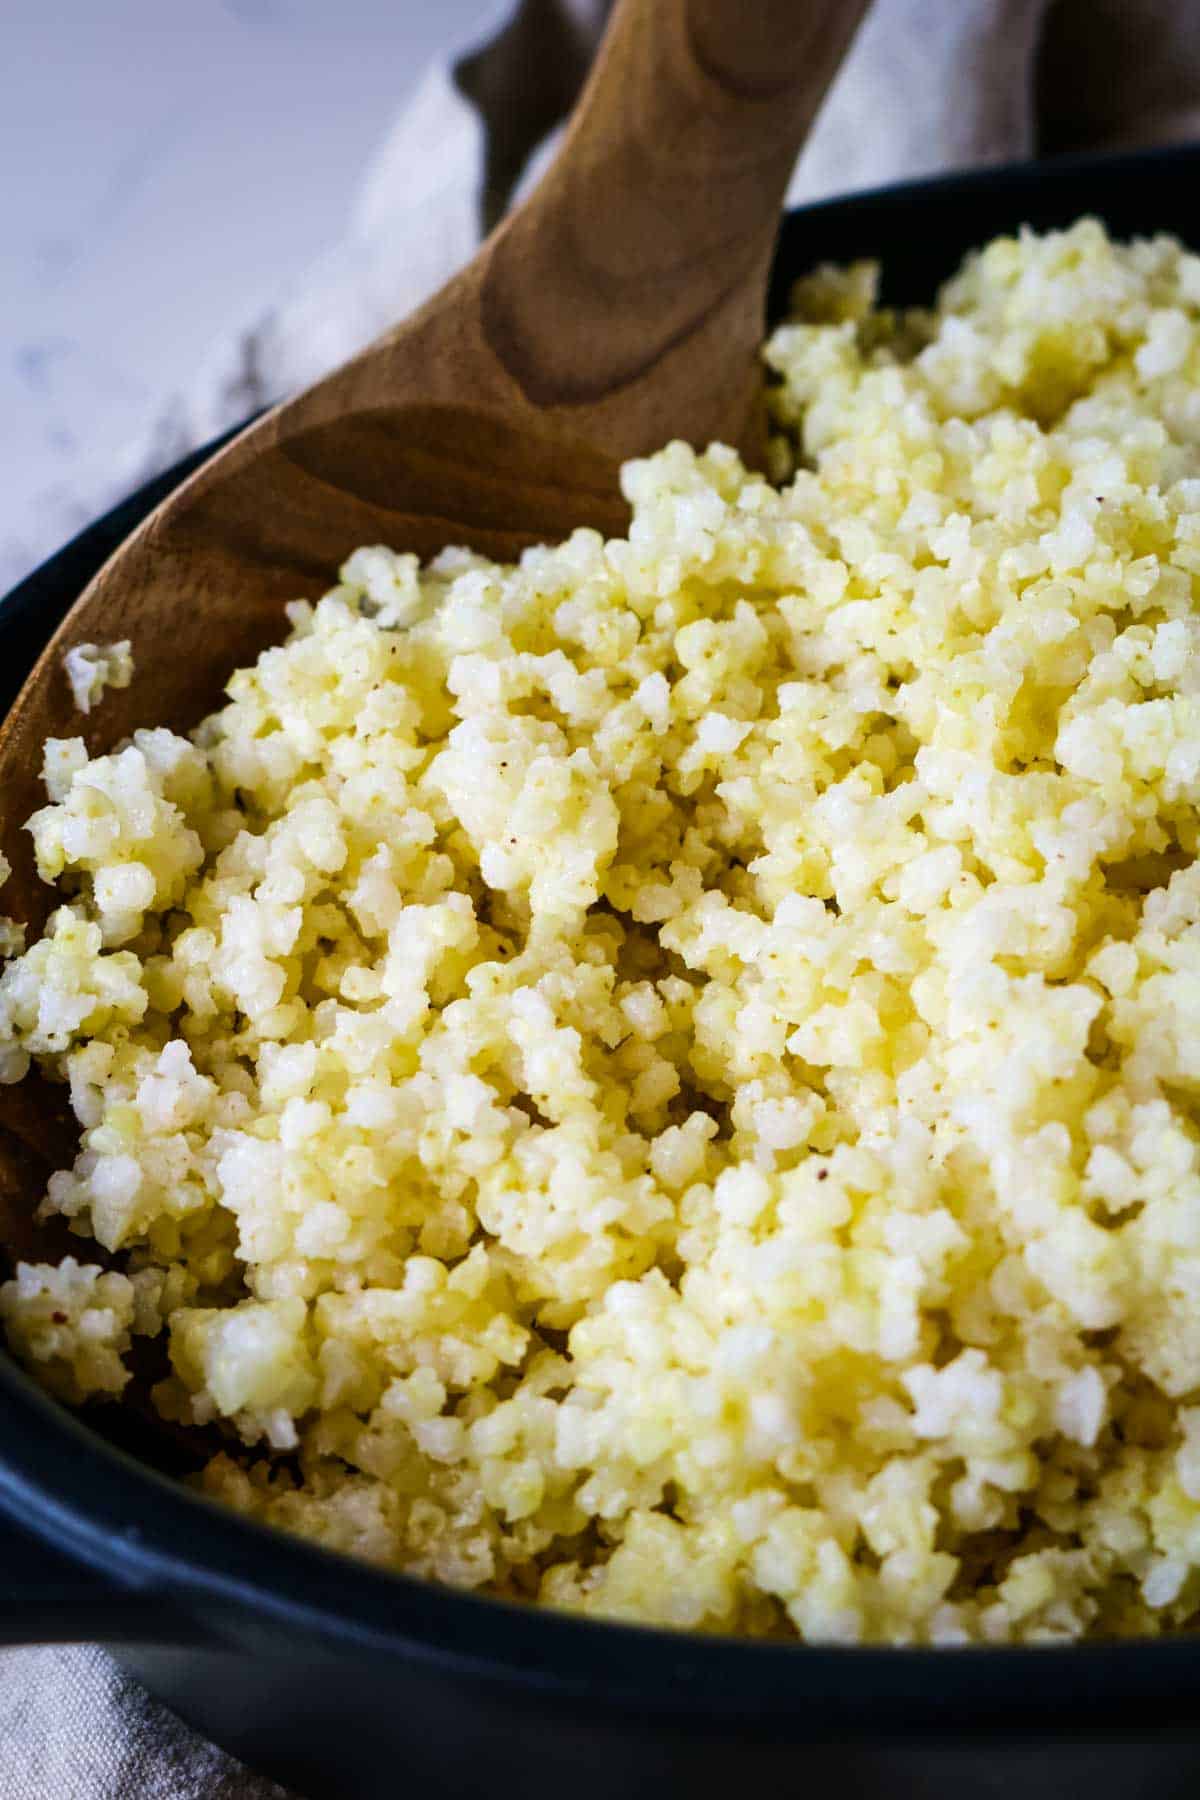
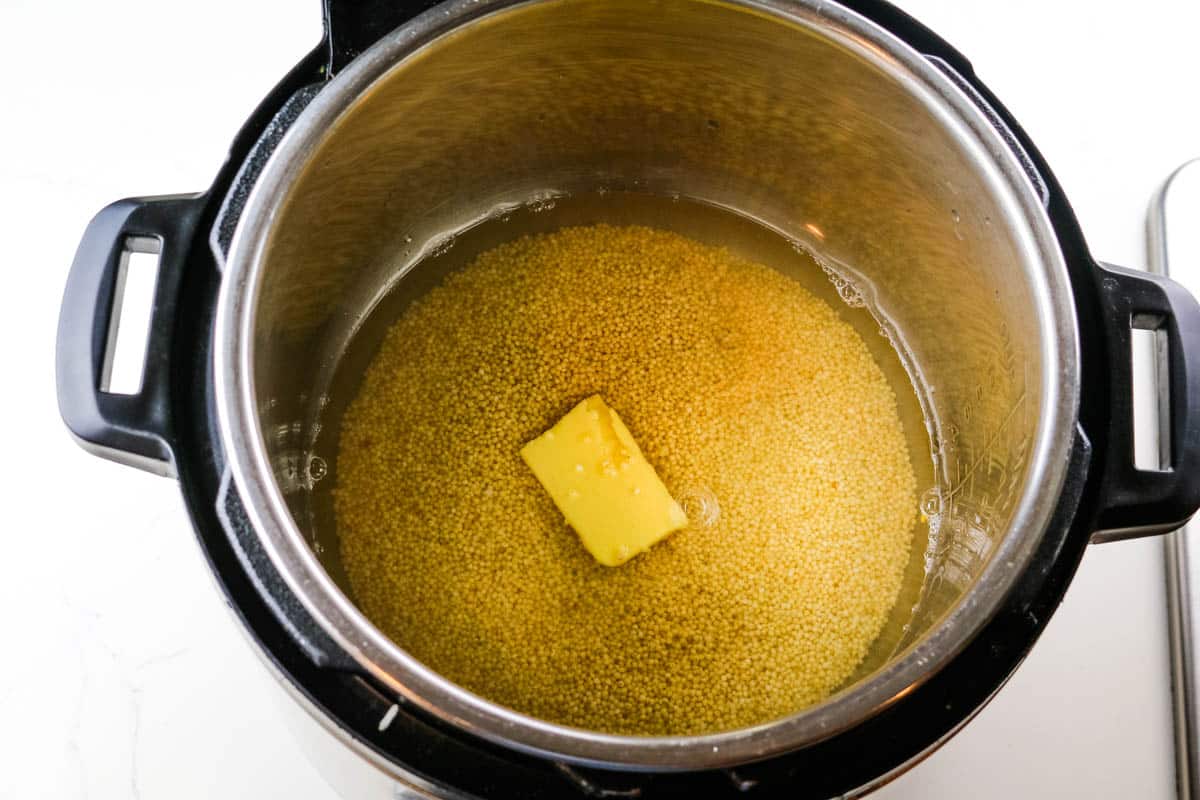
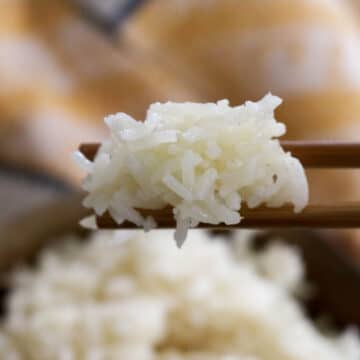
My favorite way to add some sustenance to this easy meal is to pair it with a healthy side such as buckwheat, millet, or rice. Cook it in broth for extra nutrition!
Sheet Pan Balsamic Chicken with Asparagus pairing suggestions

Storage and Reheating Instructions
To store: Leftover balsamic chicken can be stored in an airtight container or a covered dish in the refrigerator for up to 4 days.
Storage containers: These glass snap containers are perfect for leftovers.
To reheat: Transfer balsamic chicken and vegetables to a small skillet with a lid. Cover and reheat over medium-low heat until warmed through. If there is not enough natural juices from the chicken and veggies, add a splash of water or broth to help create steam.
FAQs
The best way to check if the chicken is fully cooked through is to check the internal temperature of the chicken using an instant read meat thermometer. To be thoroughly cooked, the chicken should reach an internal temperature of 165 degrees Fahrenheit (74 degrees Celsius).
Yes, you can prepare this dish ahead of time. Marinade the chicken and keep it in the refrigertoar for up to one day or freezer for up to 3 months. Prep the veggies up to 24 hours before and store them in separate containers until ready to make the dish.
The marinated uncooked balsamic chicken freezes beautifully in a large freezer bag. It’s best to avoid freezing vegetables as they may lose structure upon thawing. If you do decide to freeze vegetables, choose hardier options like onions, bell peppers, asparagus, and green beans. Avoid freezing mushrooms, tomatoes, and zucchini.
Looking for more sheet pan meals? Here are some ideas:


Did you make this? Please leave a ⭐ recipe rating in the recipe card below and leave a review in the comments. Thank you!💚
Printable Recipe
Easy One Pan Balsamic Chicken and Asparagus
Ingredients
- 1.5 pounds bone-in, skin-on chicken thighs approximately 3-4 chicken thighs
- ¼ cup balsamic vinegar
- 2 tablespoons extra virgin olive oil
- 1 tablespoon Dijon mustard
- 1 tablespoon honey
- ½ teaspoon sea salt
- 1 pound fresh asparagus approximately 12-16 ounces; woody ends trimmed
- 1 pint cherry tomatoes approximately 12 ounces
- 1 white onion, medium sliced into half moons
Instructions
- Marinate chicken: Add balsamic vinegar, olive oil, Dijon mustard, honey, and salt to a large bowl and whisk vigorously until combined. Add the chicken and toss to coat. Set aside for 30 minutes or overnight in the refrigerator.

- Arange veggies: When ready to bake the chicken, preheat the oven to 425 degrees Fahrenheit (218 degrees Celsius). Spread asparagus and sliced onions across a sheet pan. It may be tight but that's okay.
- Add chicken: Tuck in the marinated chicken, slightly moving the veggies to create room. Top with tomatoes.
- Bake chicken meal: Bake in the preheated oven for 25-30 minutes or until the chicken is cooked through. Rest for 10 minutes before serving.
Notes
- Chicken: Pat dry the chicken first with paper towels to remove excess moisture and avoid watering down the marinade.
- Asparagus: Buy asparagus with thicker stalks that are firm and straight with tightly closed tips. Avoid thin asparagus. Trim the woody ends before adding to sheet pan.
- Food safety: To accurately check for chicken doneness, insert an instant-read meat thermometer into the thickest part of the chicken and cook until the internal temperature registers 165 degrees Fahrenheit (74 degrees Celsius).
- Avoid dry chicken: Ensure you are not overcooking the chicken by using a meat thermometer and allow the chicken to rest for 10 minutes after cooking.
- Variations: Feel free to use chicken breast, boneless chicken thighs, or drumsticks but adjust the cooking time. Swap the asparagus and tomatoes for Brussels sprouts, green beans, and red onions.
- Scale the recipe: Using these amounts, use a quarter-sheet pan and your convection countertop oven. But you can also double the recipe and make a large sheet pan in a regular oven. You may need to add a few extra minutes to cook time.
- Serving suggestions: Serve with a healthy side dish like rice, millet, or buckwheat.