Learn how to reheat roast potatoes in air fryer, oven, and more without drying out the spuds, keeping them crispy and delicious.
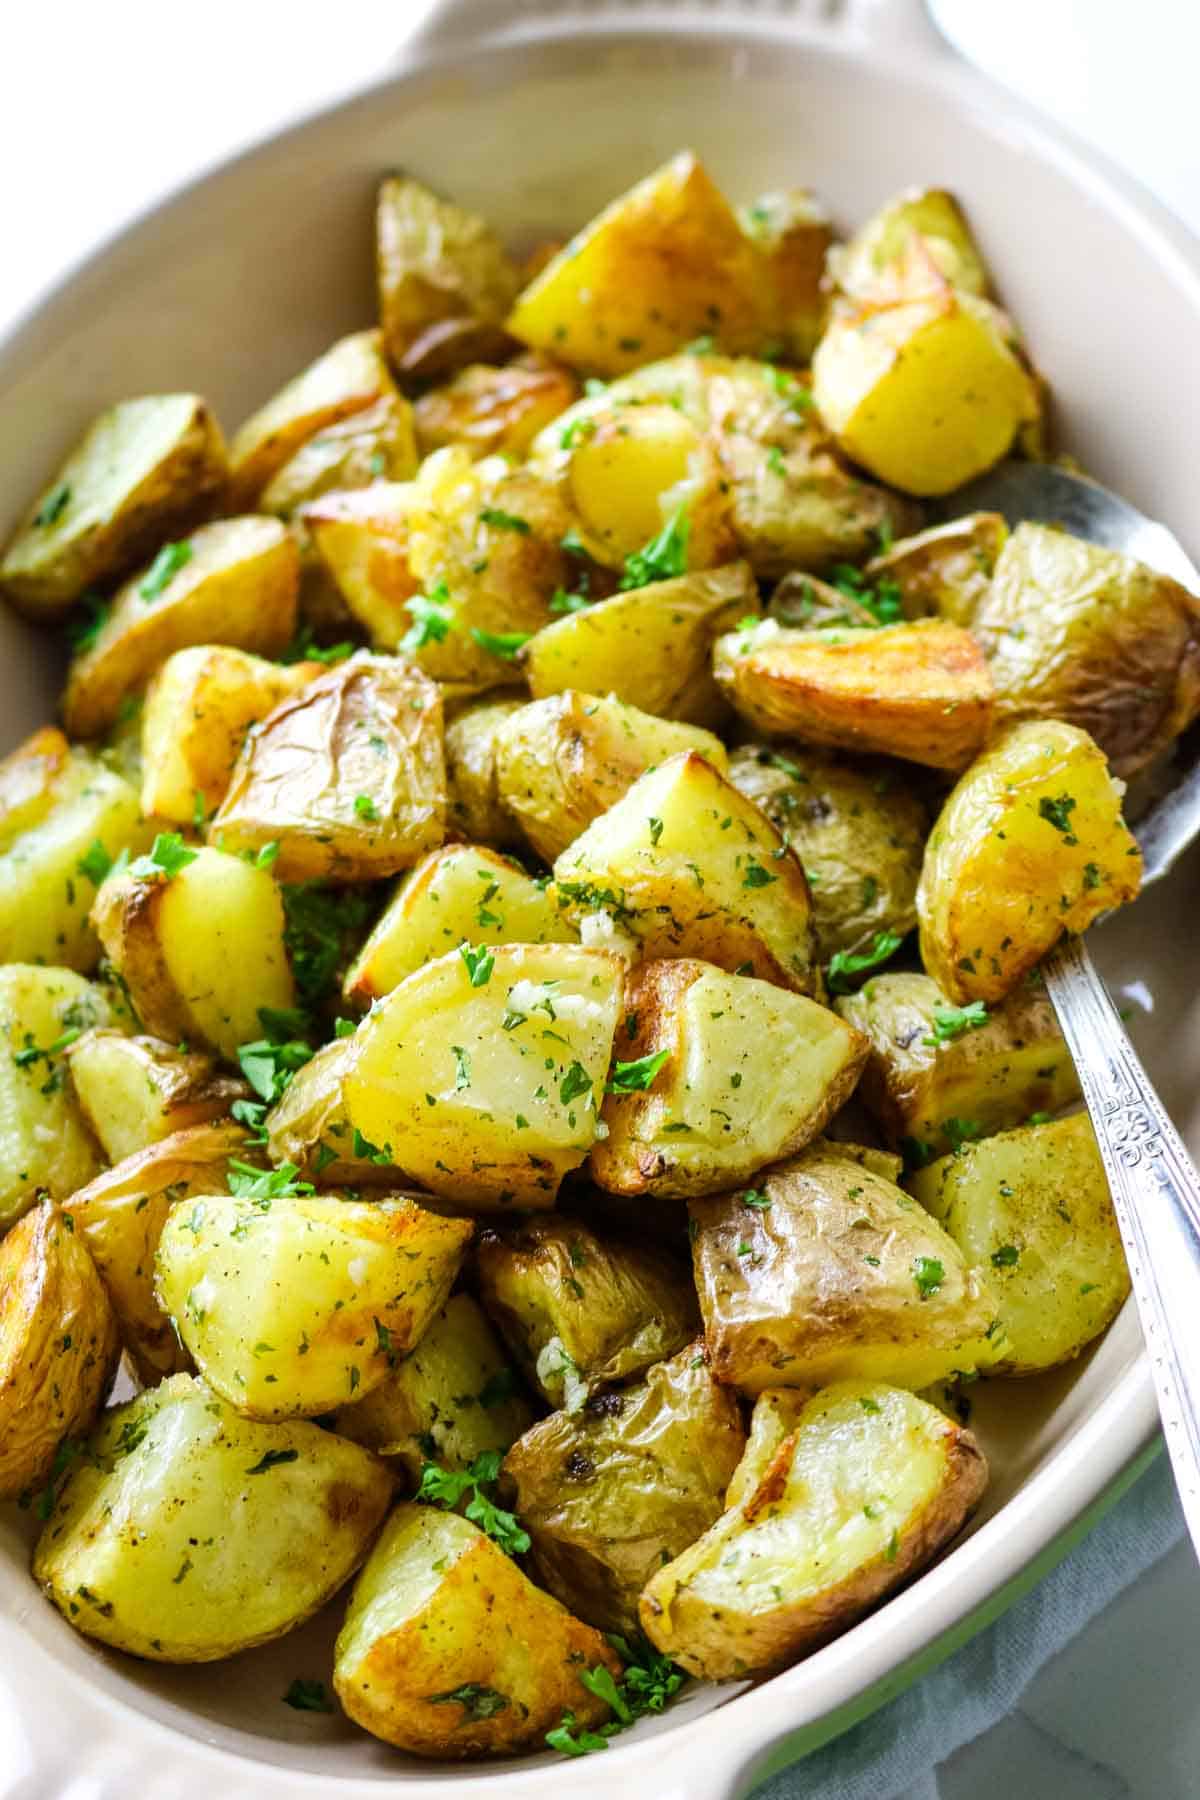
Everybody loves roasted potatoes.
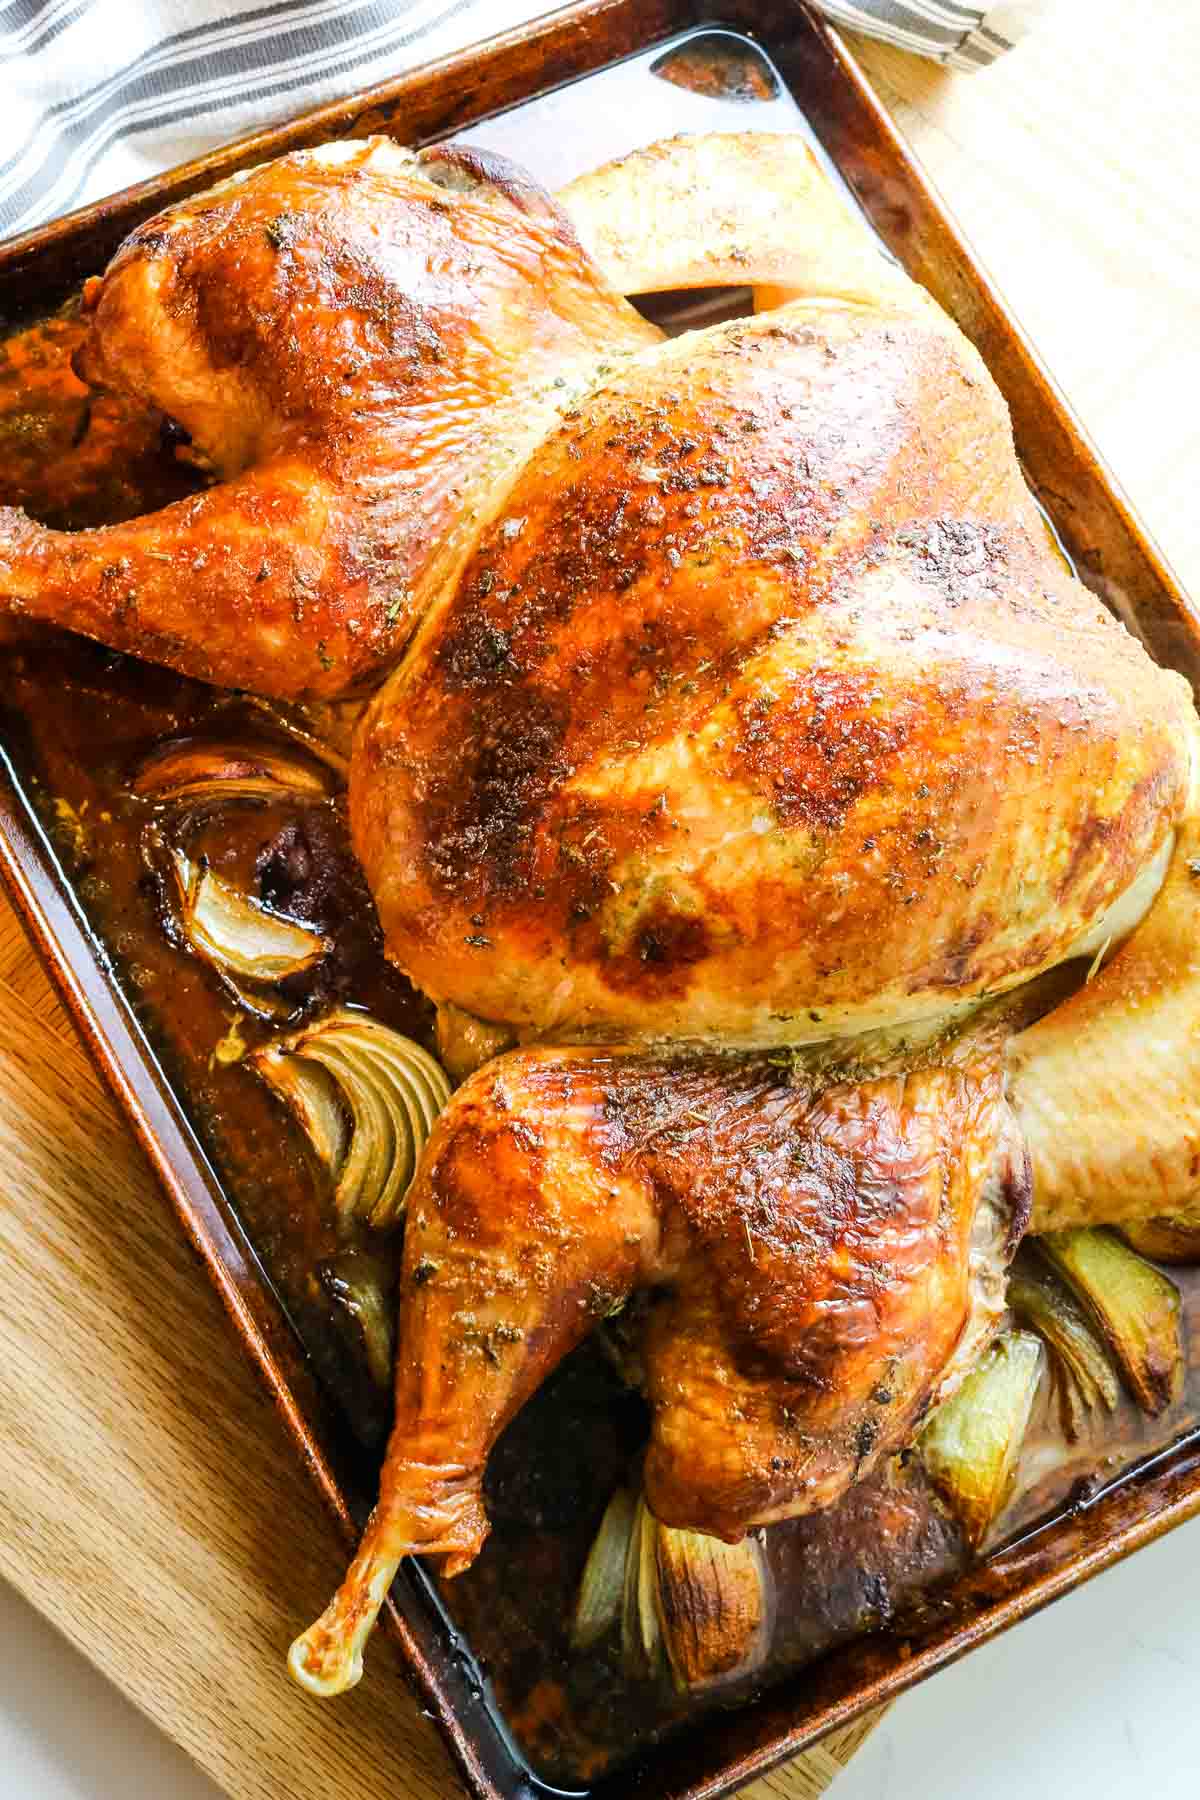
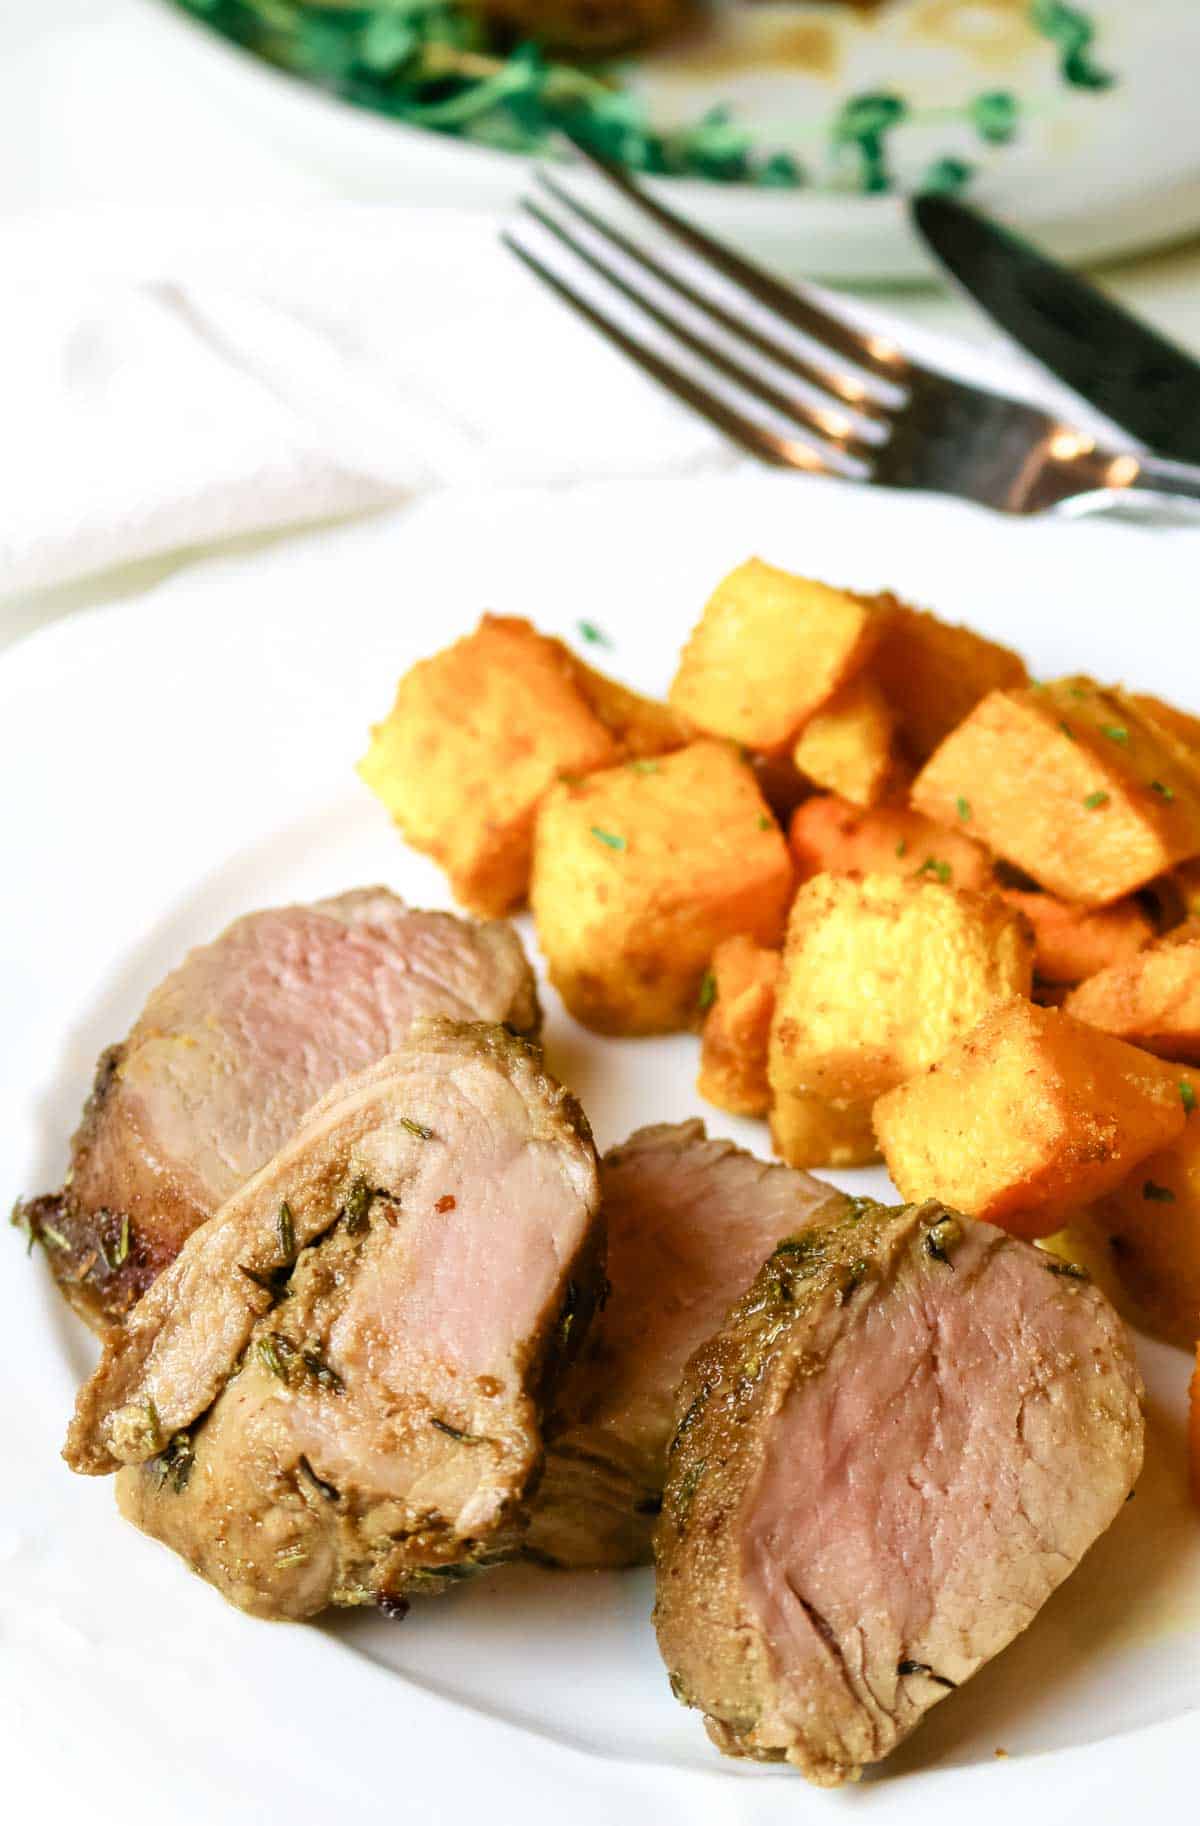
These humble spuds goes with any protein - steak, chicken, fish, or pork. It's the unicorn side dish because it's easy, versatile, and healthy.
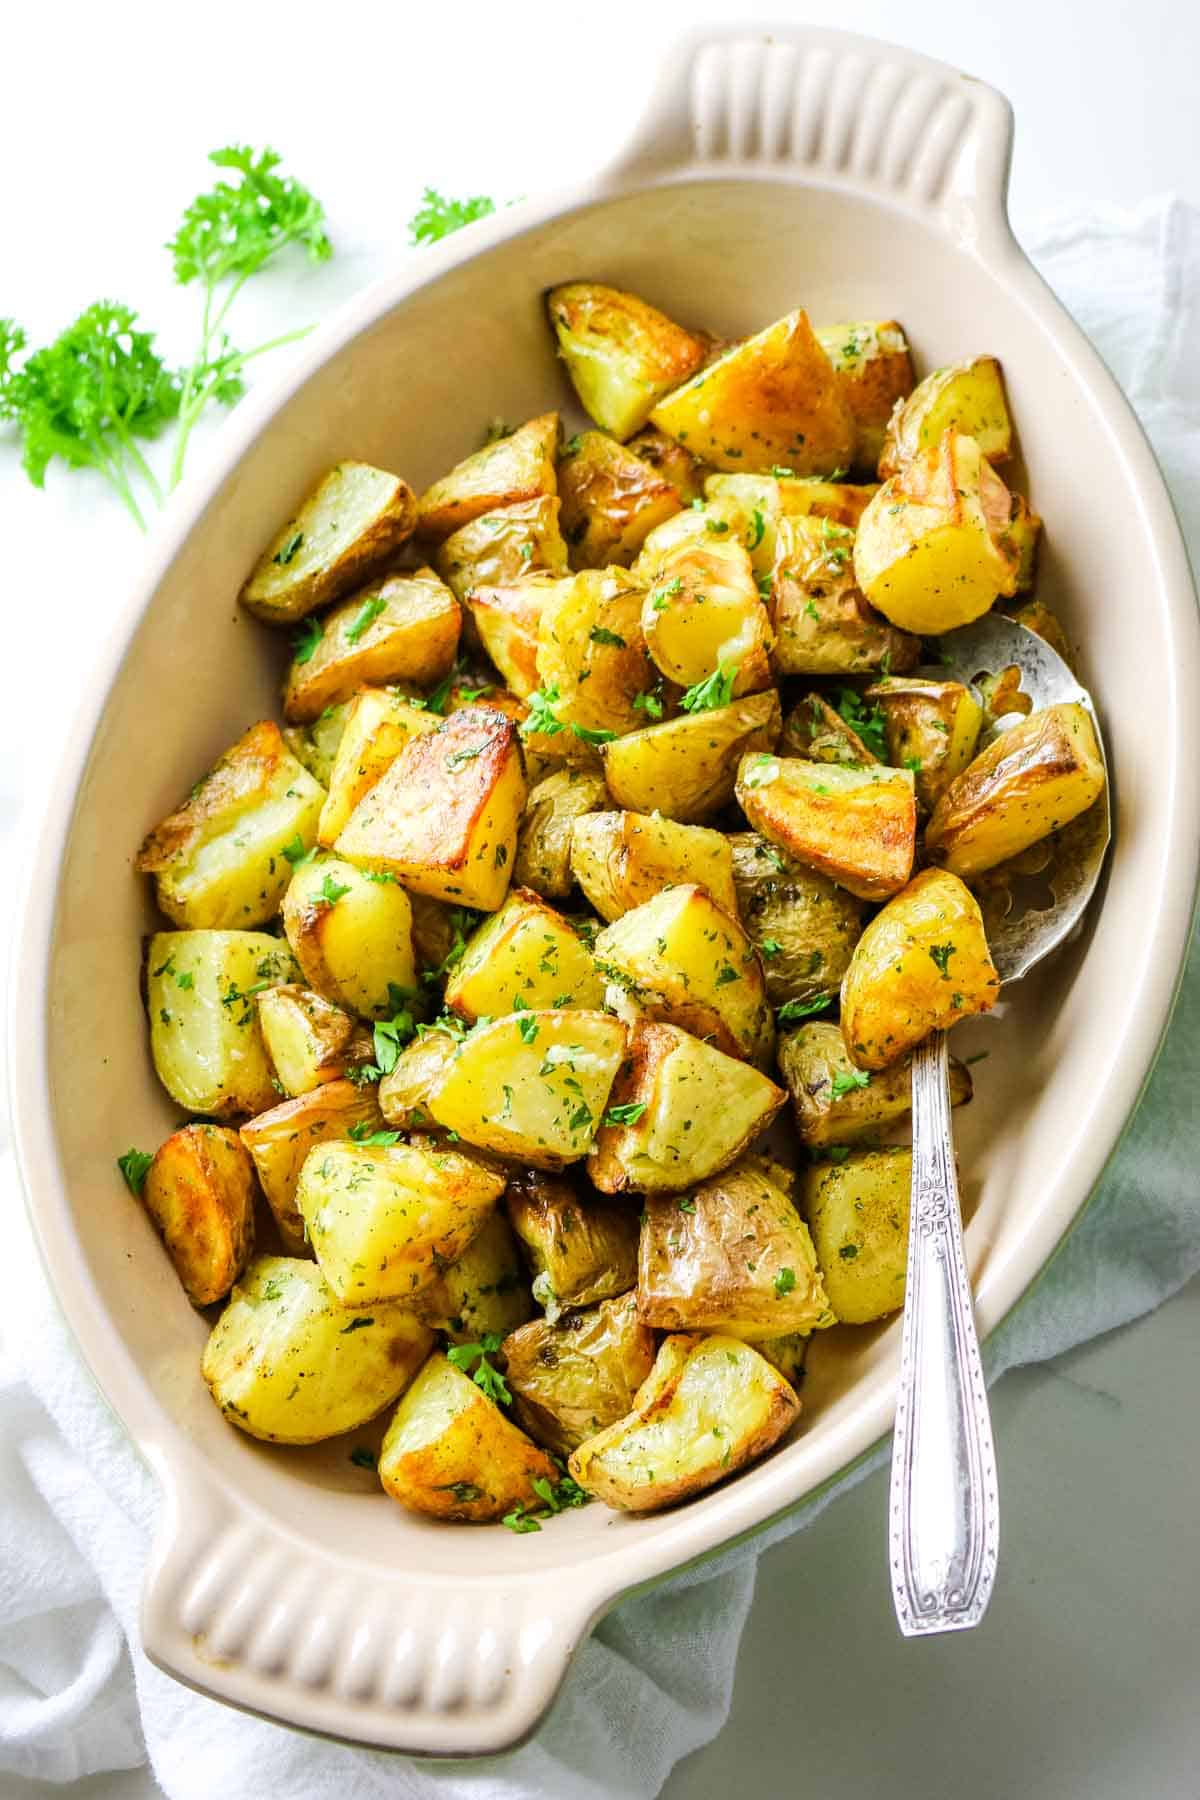
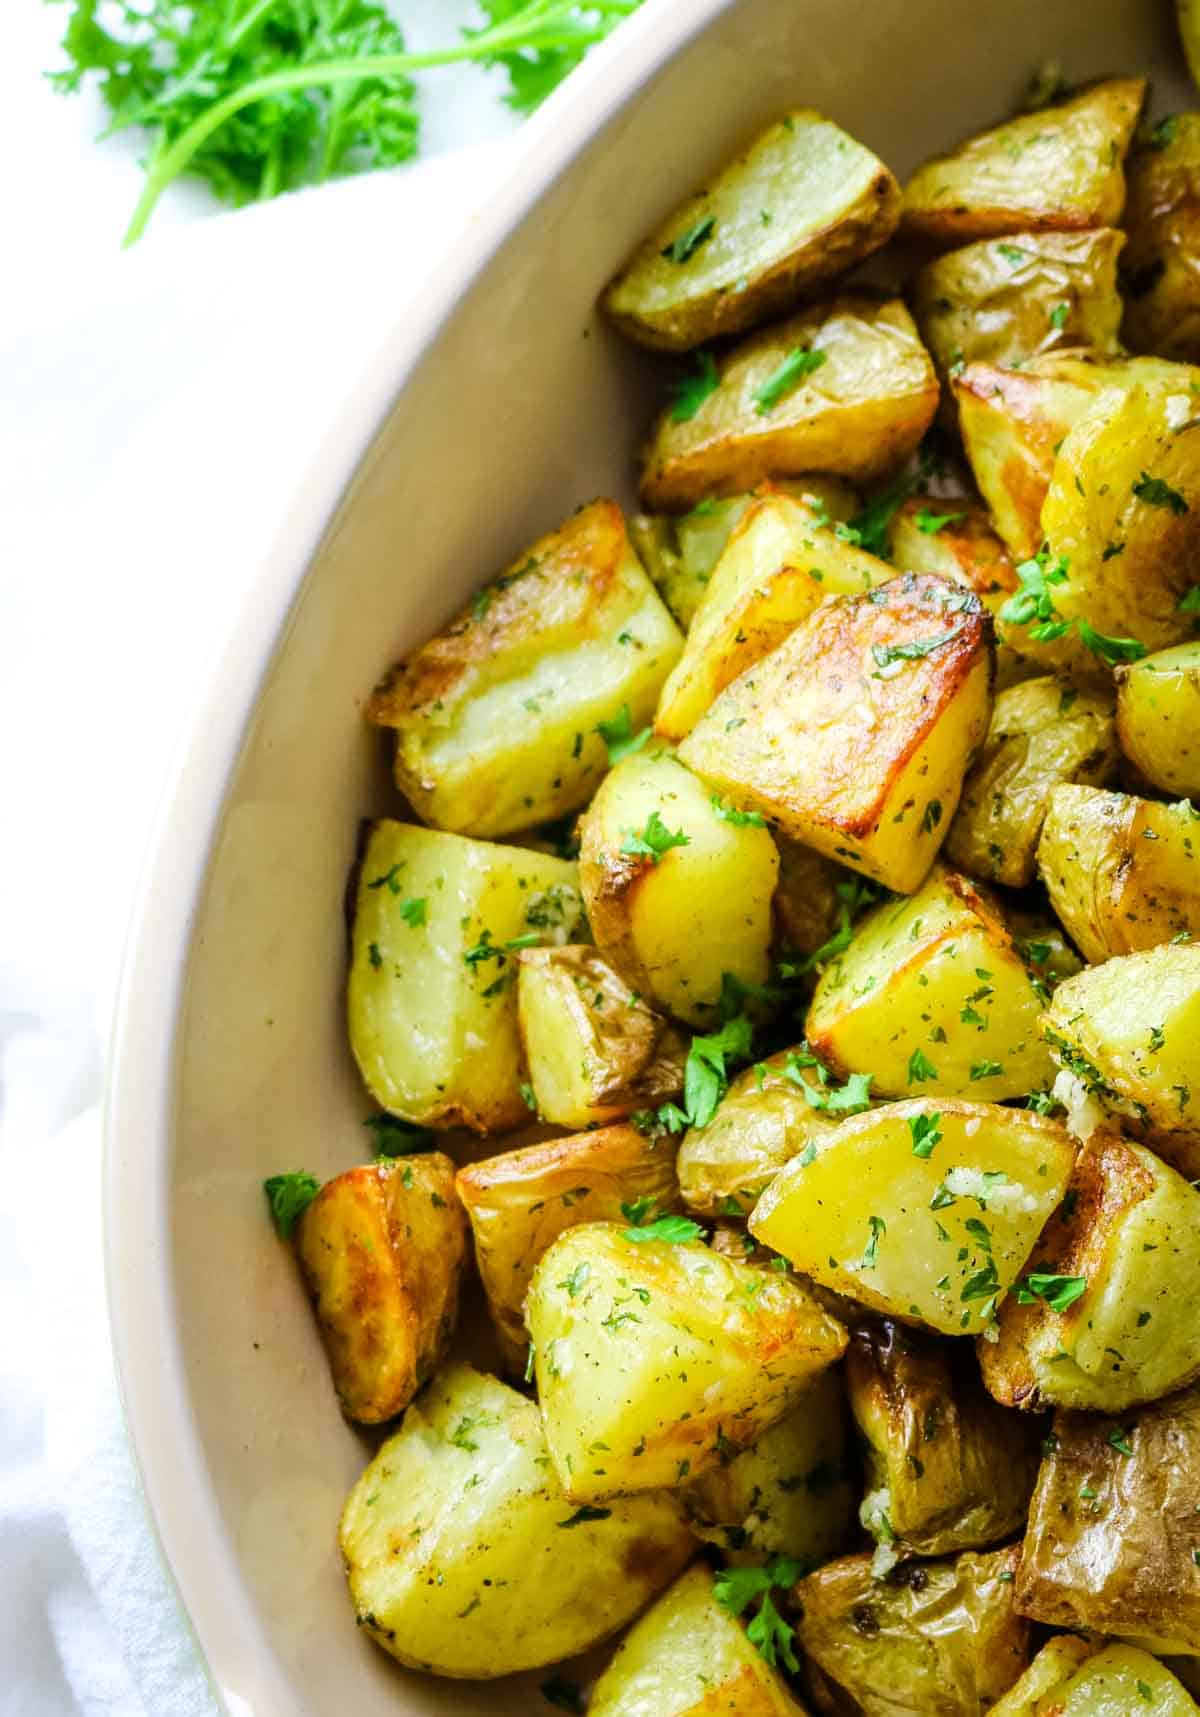
If you're looking for a good oven-roasted potatoes recipe, try these Crispy Oven-Roasted Garlic Potatoes. They're golden on the outside and creamy on the inside with only 4 ingredients and very little prep time.
Every time I make this easy recipe, the roast potatoes are always the first to go.
If by some wonder you happen to have leftover roast potatoes, you may be wondering how to best reheat them for best results and maximum flavor.
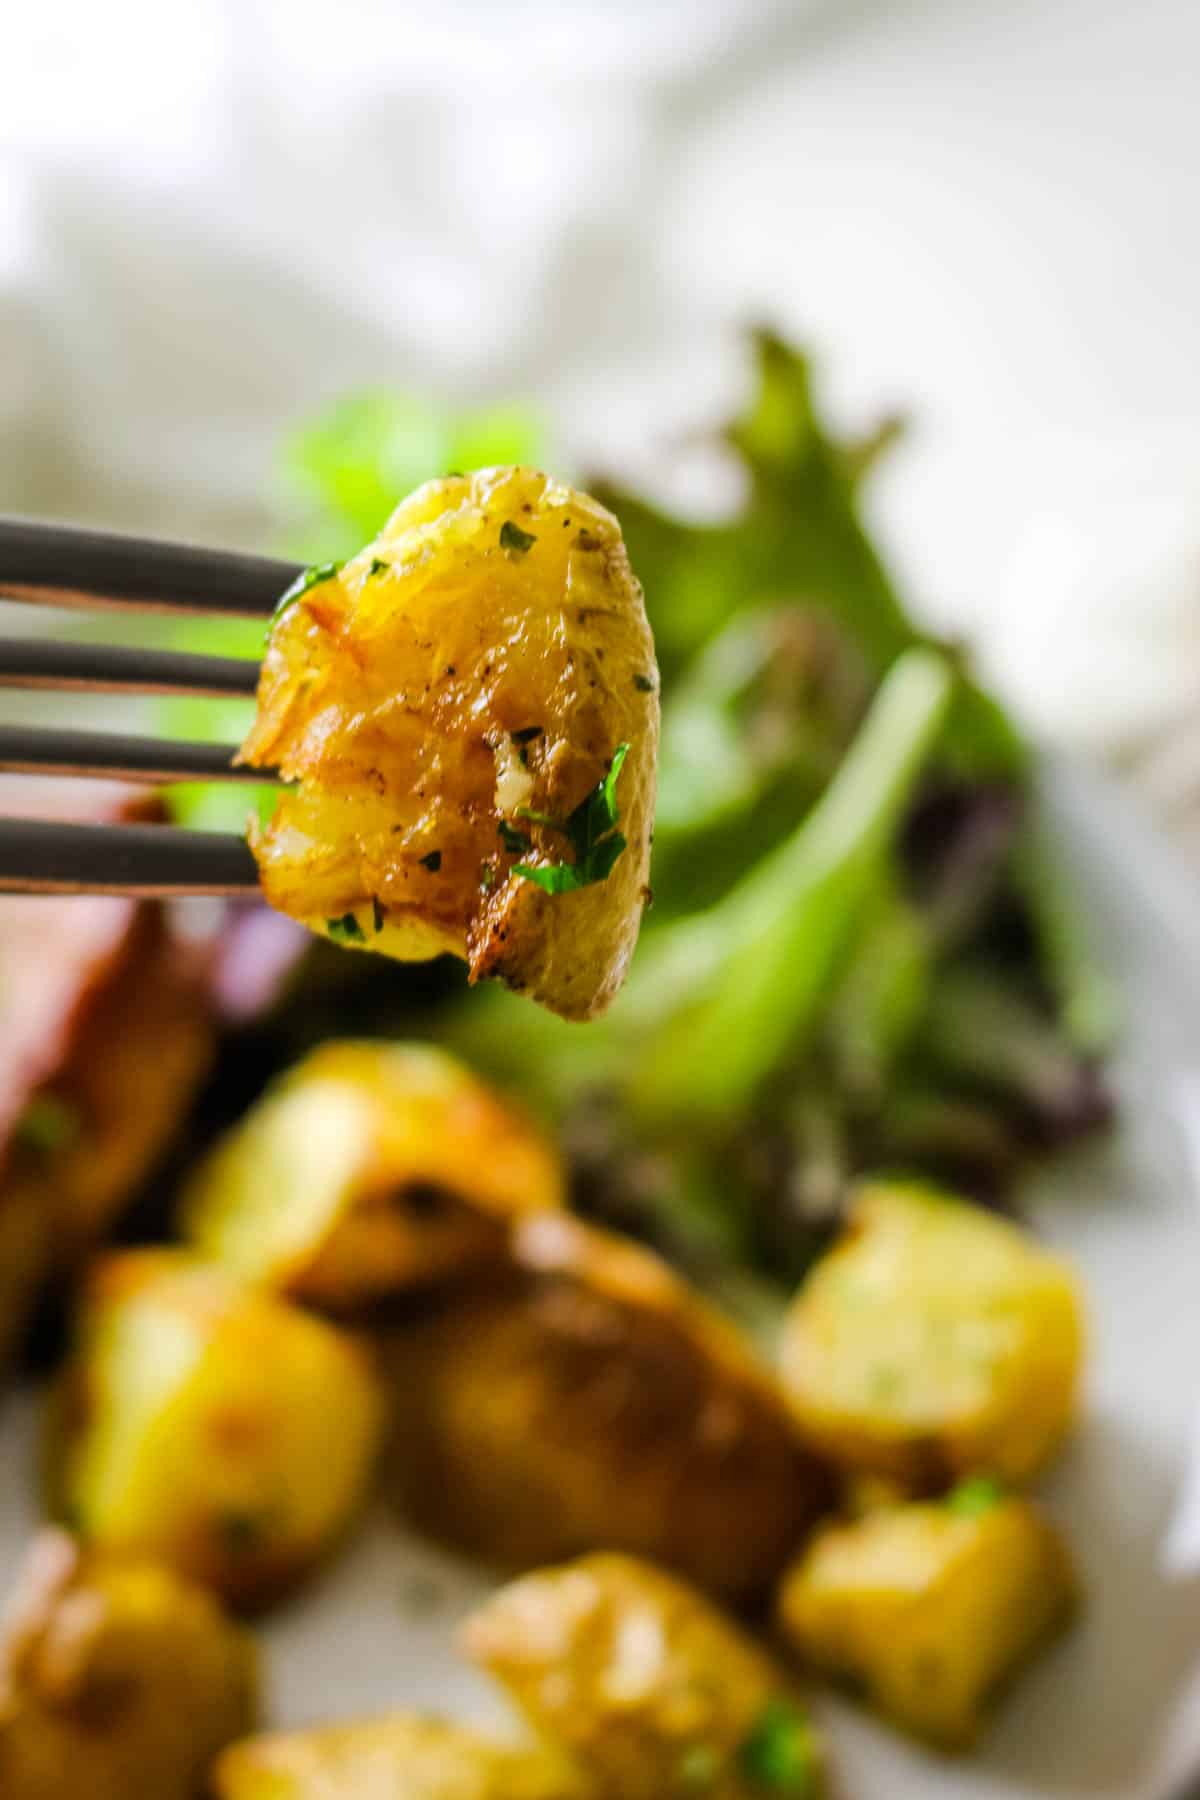
Turns out, you can reheat them without sacrificing their lovely texture. We'll cover 3 different reheating methods that takes leftover food and turns them into perfect roast potatoes with a delicious crispy skin.
[feast_advanced_jump_to]Ingredients
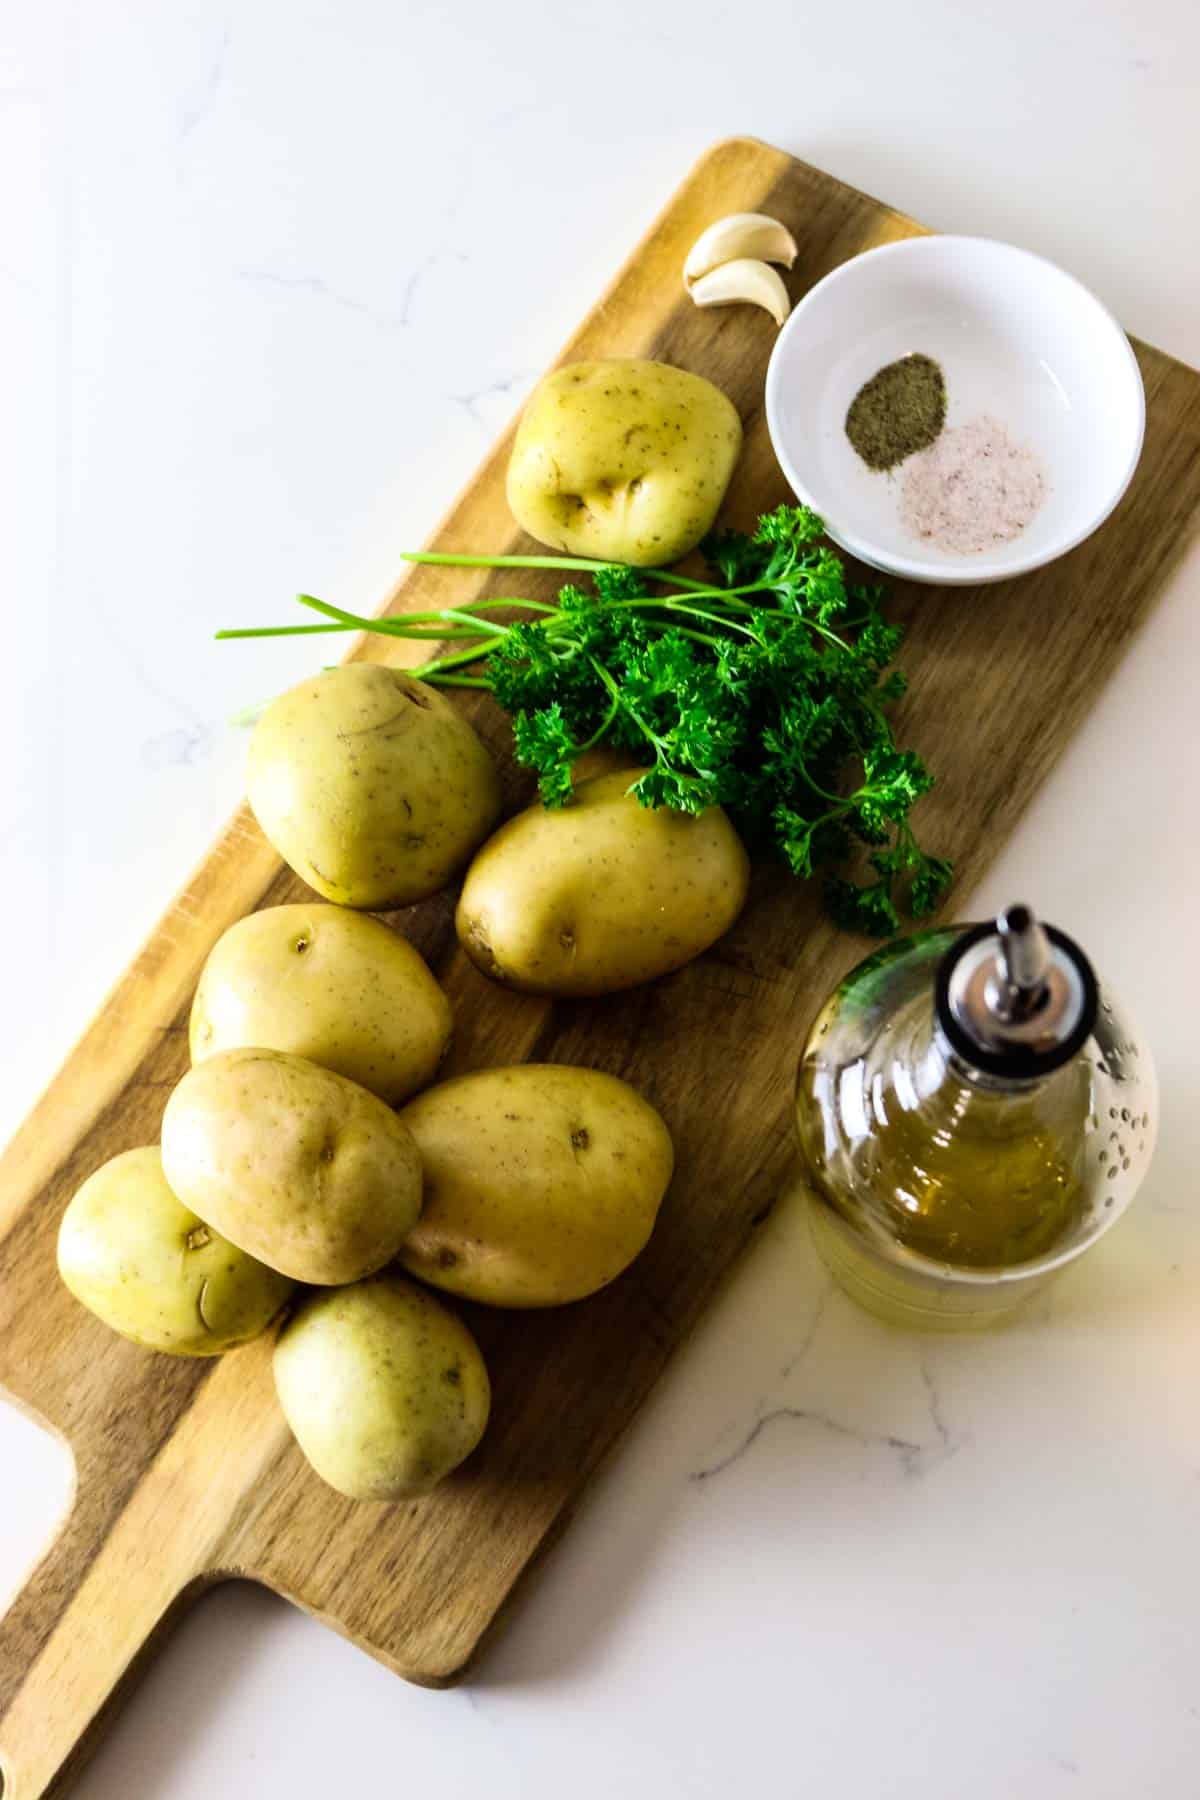
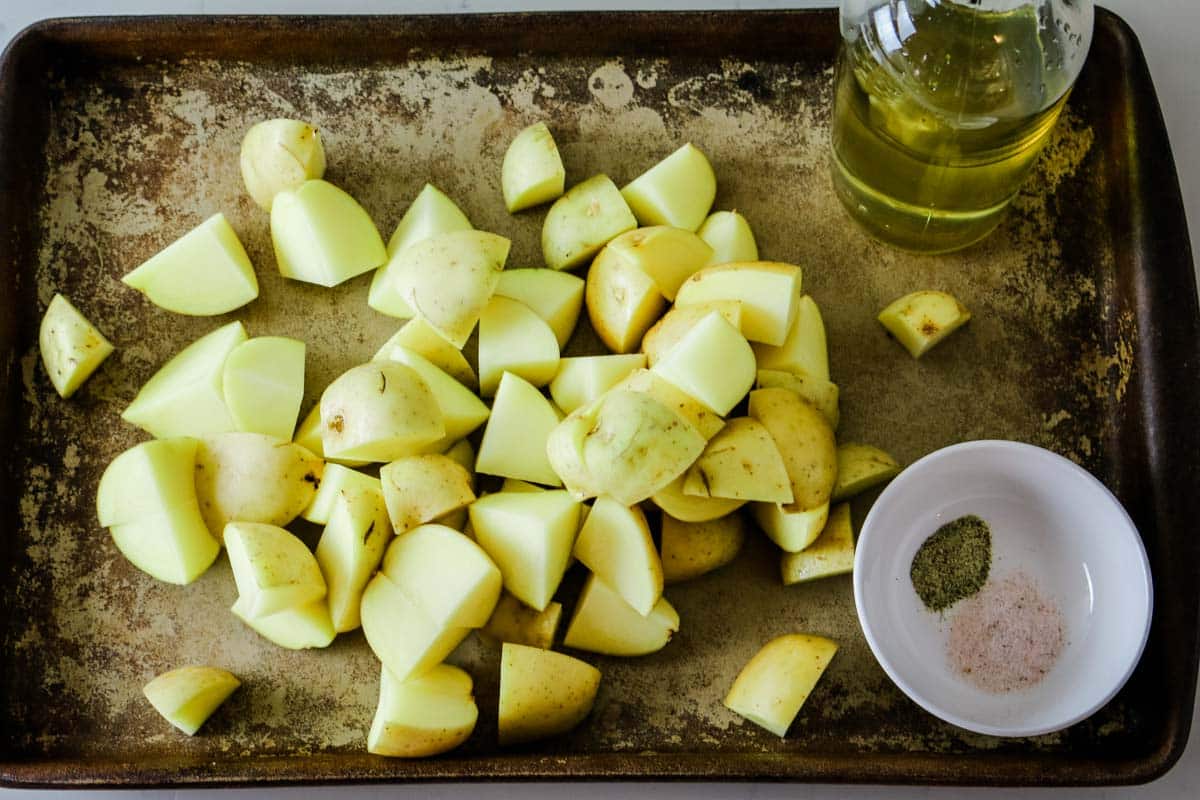
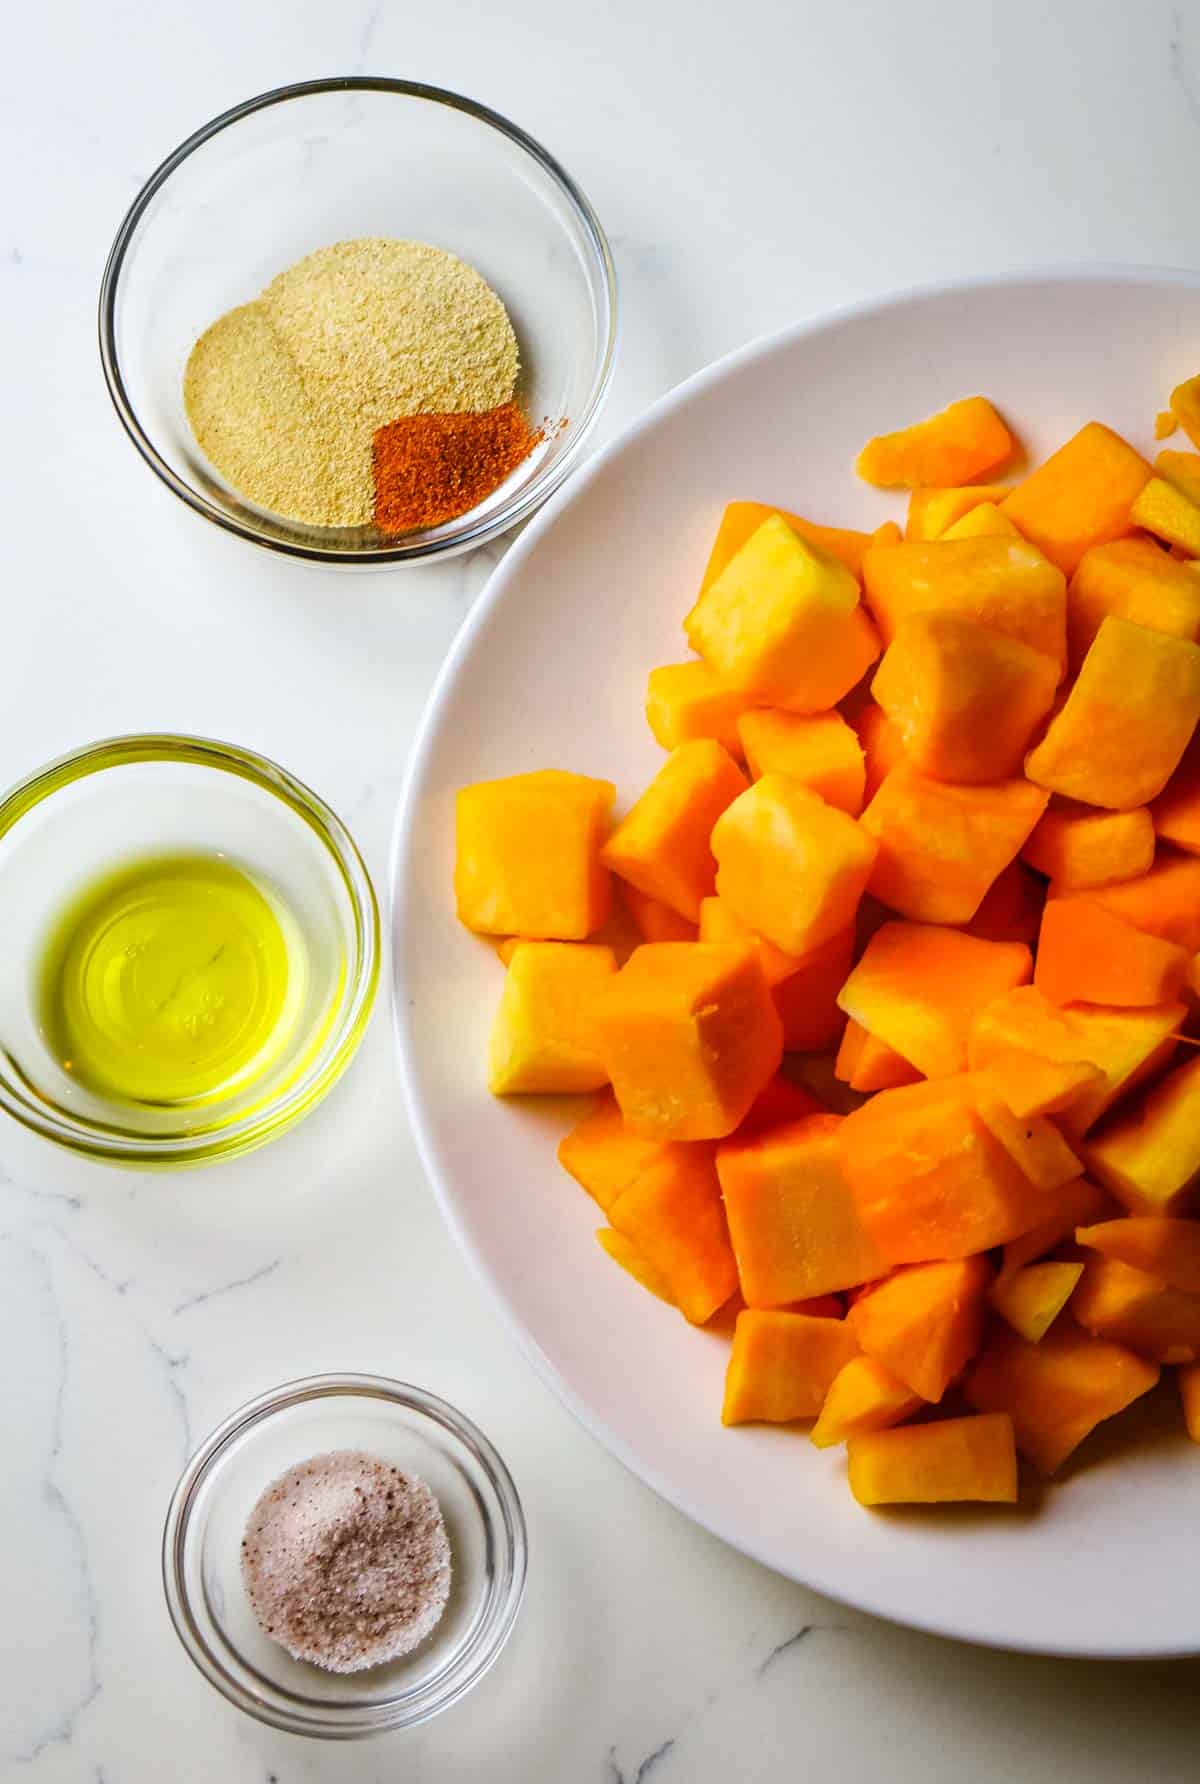
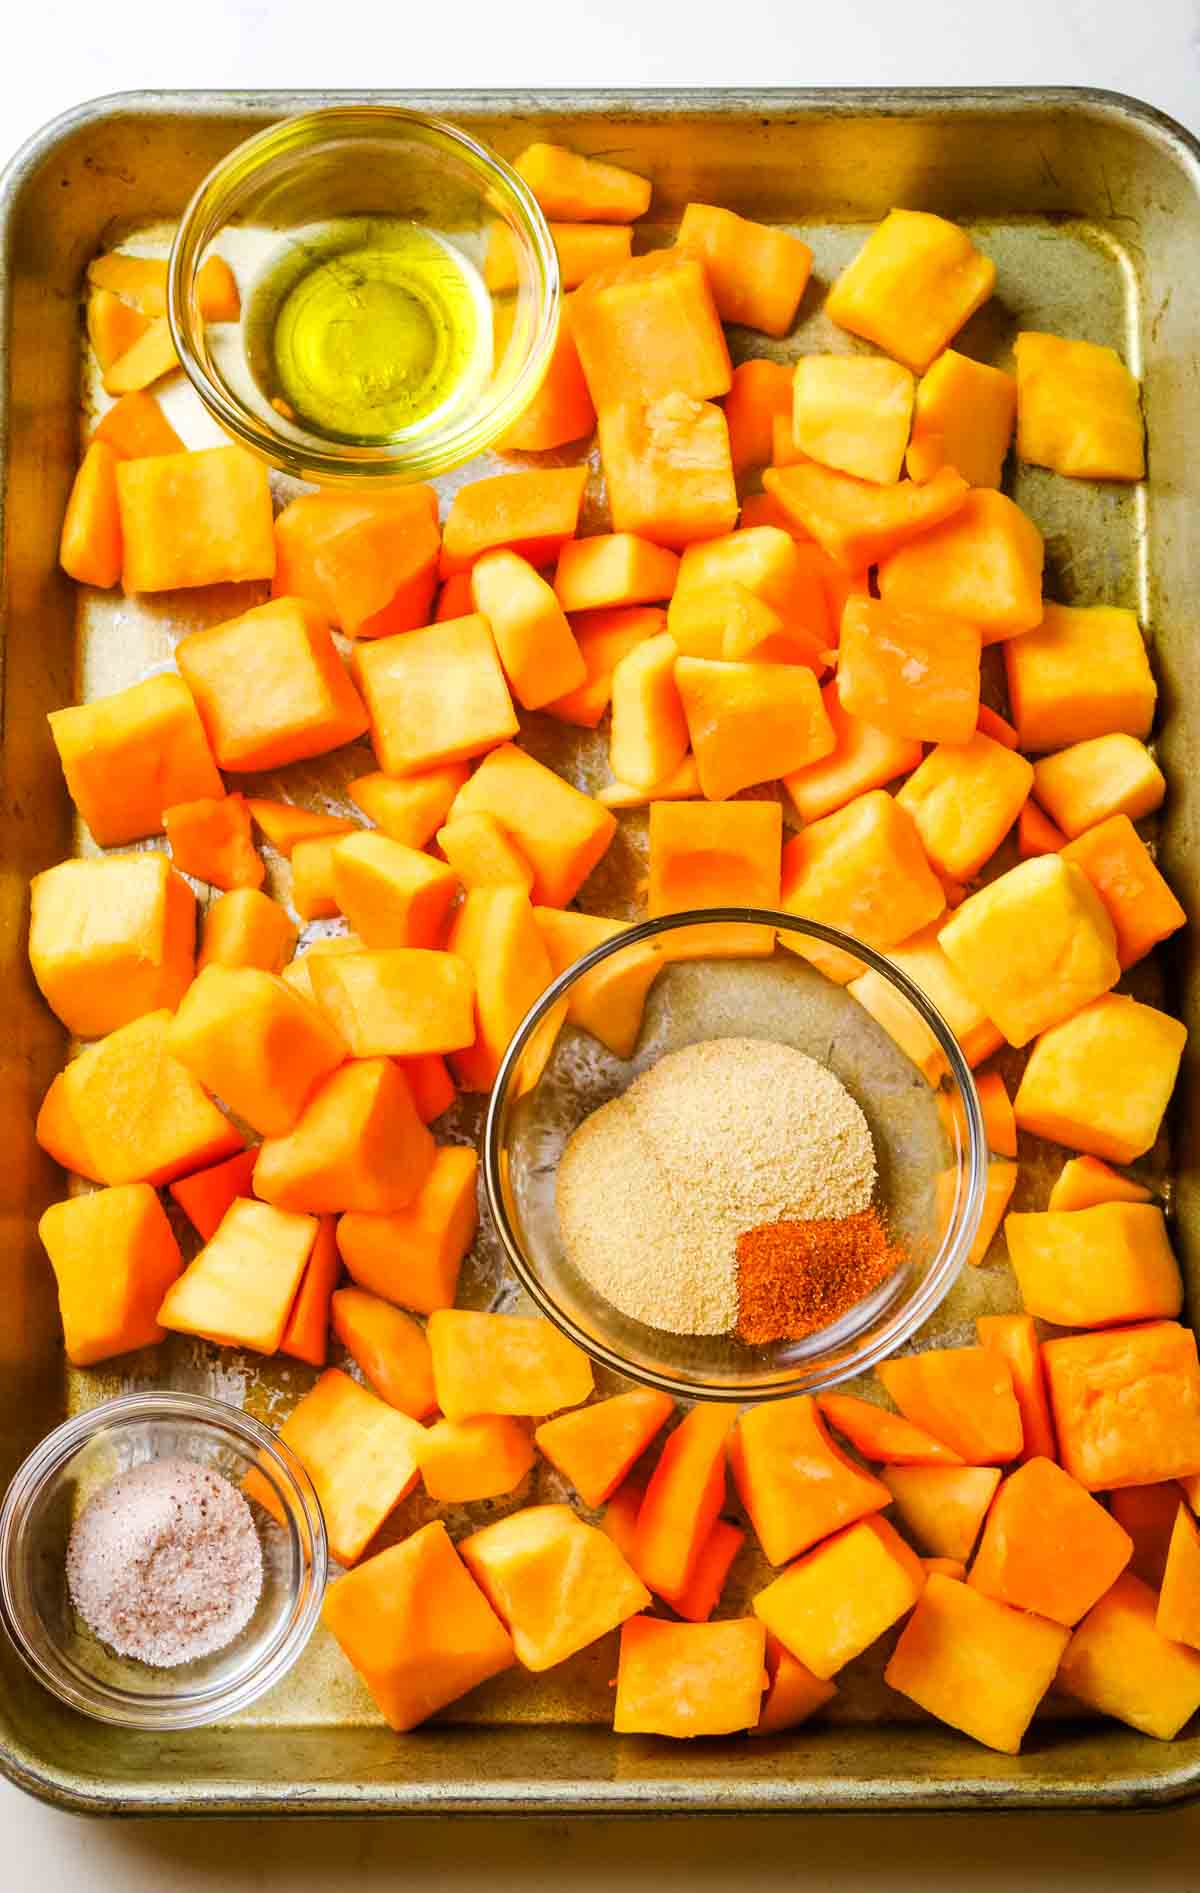
All that is needed for this is your favorite leftover roast potatoes. These methods work great with russet potatoes, red potatoes, and even fingerling potatoes.
I am partial to Yukon gold for roasting because they always give me the best texture with a golden crisp.
But reheating potatoes using any of these three different ways works beautifully with any kind of potatoes.
Helpful Tips
- Best at room temperature: All these methods work great with room temperature cooked potatoes. Pull out your leftover potatoes from the refrigerator up to 30 minutes before reheating them and keep them in the airtight container.
- Avoid food waste: Tossing leftover potatoes in breakfast scrambles, skillet hashes, or breakfast burritos is a always a good idea.
- Quick reheat: If you're short on time, reheating potatoes in the air fryer is your best option.
💭Pro tip: A common method in reheating any food is using a microwave. This is not advisable as it will produce very unsavory soggy potatoes and destroy what health benefits remain.
Reheat roast potatoes in air fryer
This is my favorite method for these reasons:
- Fast - air fryers are known for their speed cooking and same is true to reheat leftovers. You can have your crispy potatoes reheated in no time thanks to the hot air circulating in a smaller area. A toaster oven type air fryer is your best bet.
- Easy - reheated in one basket (or tray if using convection-type air fryer)
- Retains texture - air fryer at high temperature keeps the crispy texture in tact resulting in delicious crispy air fryer potatoes
💭Pro tip: Air frying potatoes is a great option when you are short on time and want hands off cooking. It's also great because you don't need additional oil.
Air Fryer Method
- Step 1. Preheat air fryer to 400 degrees Fahrenheit.
- Step 2. Arrange leftover small cubes of potatoes in single layer on crisper tray of convection-type air fryer or on the bottom of an air fryer basket (depending on your particular air fryer appliance).
- Step 3. Heat the potatoes for 4 minutes or until warmed through. No need to flip them.
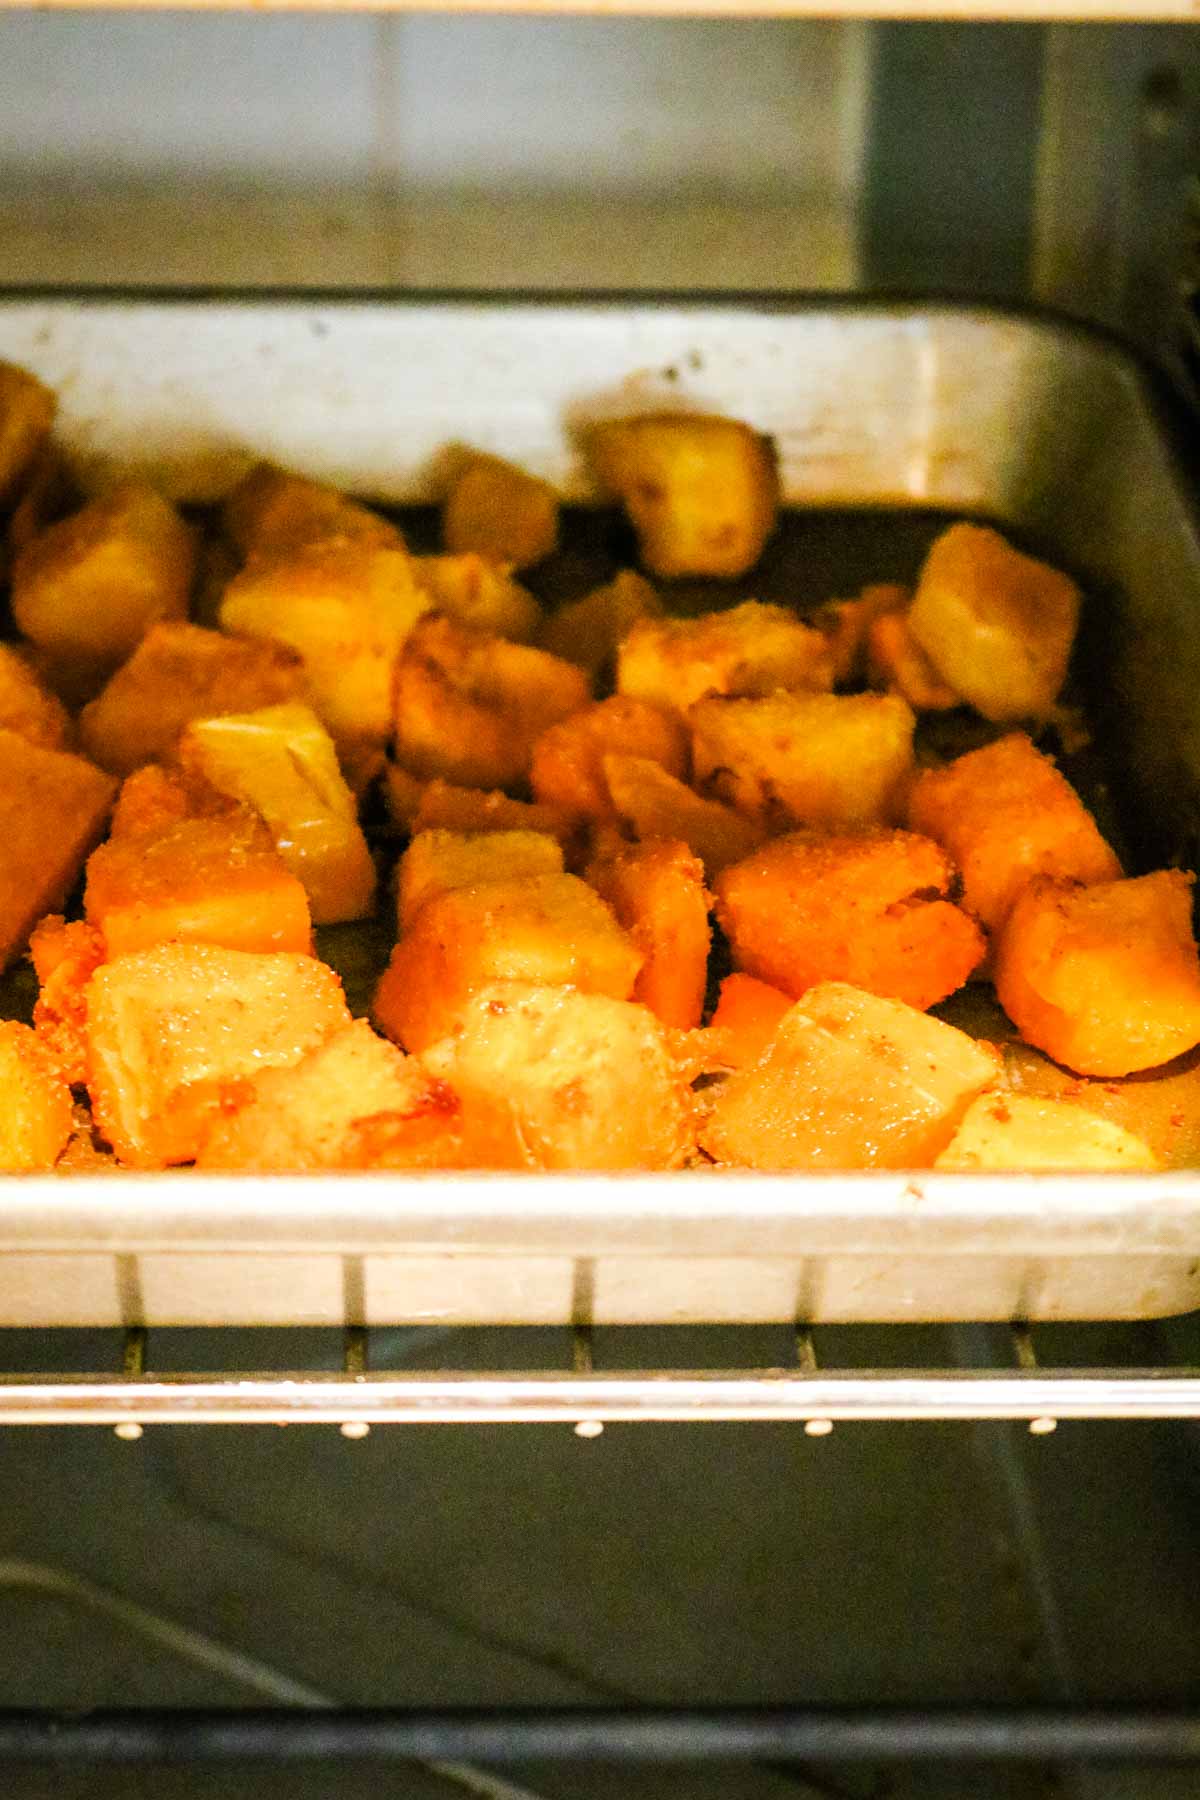
Reheat roast potatoes in oven
This is another great way to reheat leftover potatoes. It works similarly to an air fryer only a regular oven is much larger than an air fryer which also means reheating time will be longer.
- Medium speed - The larger the appliance, the longer it will take to preheat and an oven is a classic example of that.
- Moderately easy - reheated on sheet pan and almost hands off
- Retains texture - oven keeps the crispy texture in tact
💭Pro tip: Reheating in the oven does require a few extra steps but is the next best method following air frying.
Oven Method
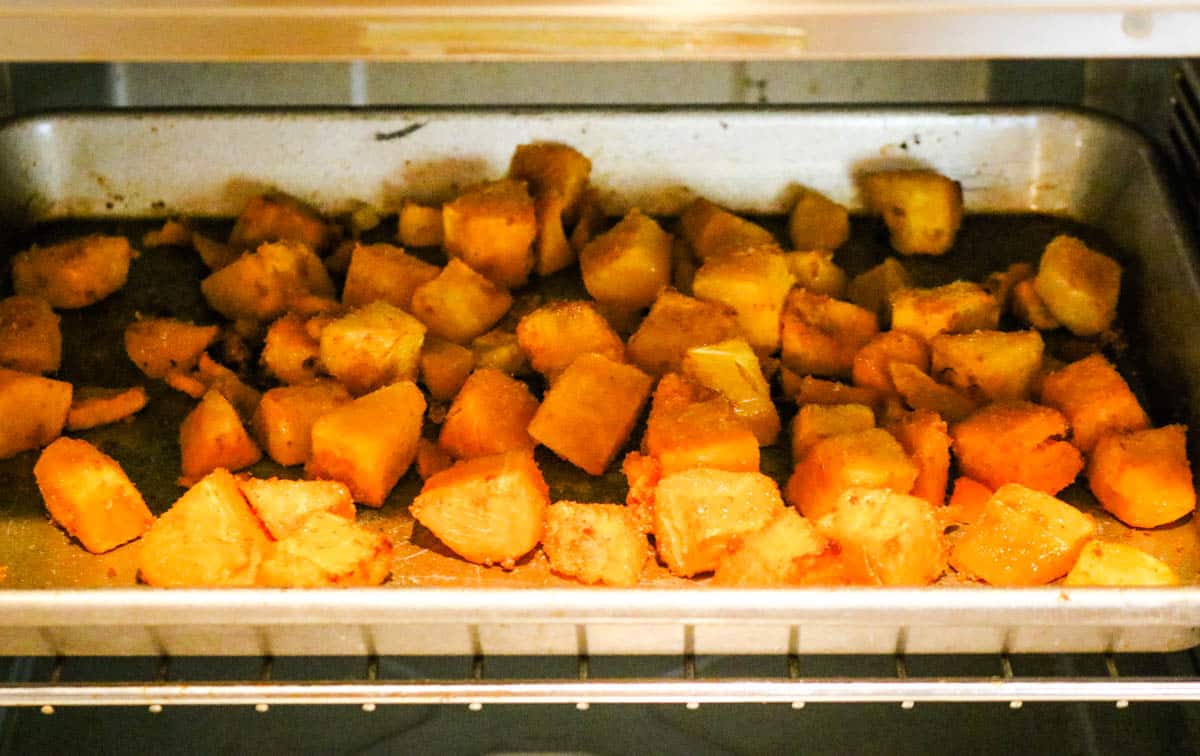
- Step 1. Preheat oven to 400 degrees Fahrenheit.
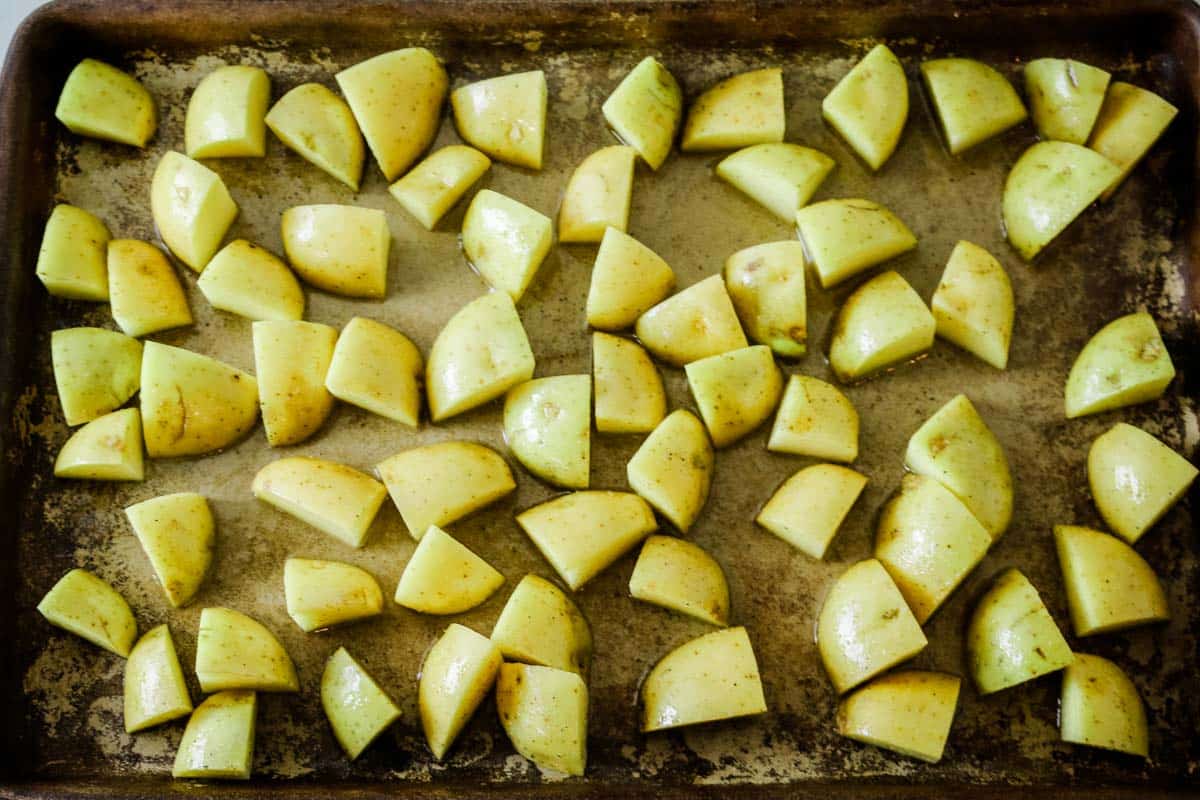
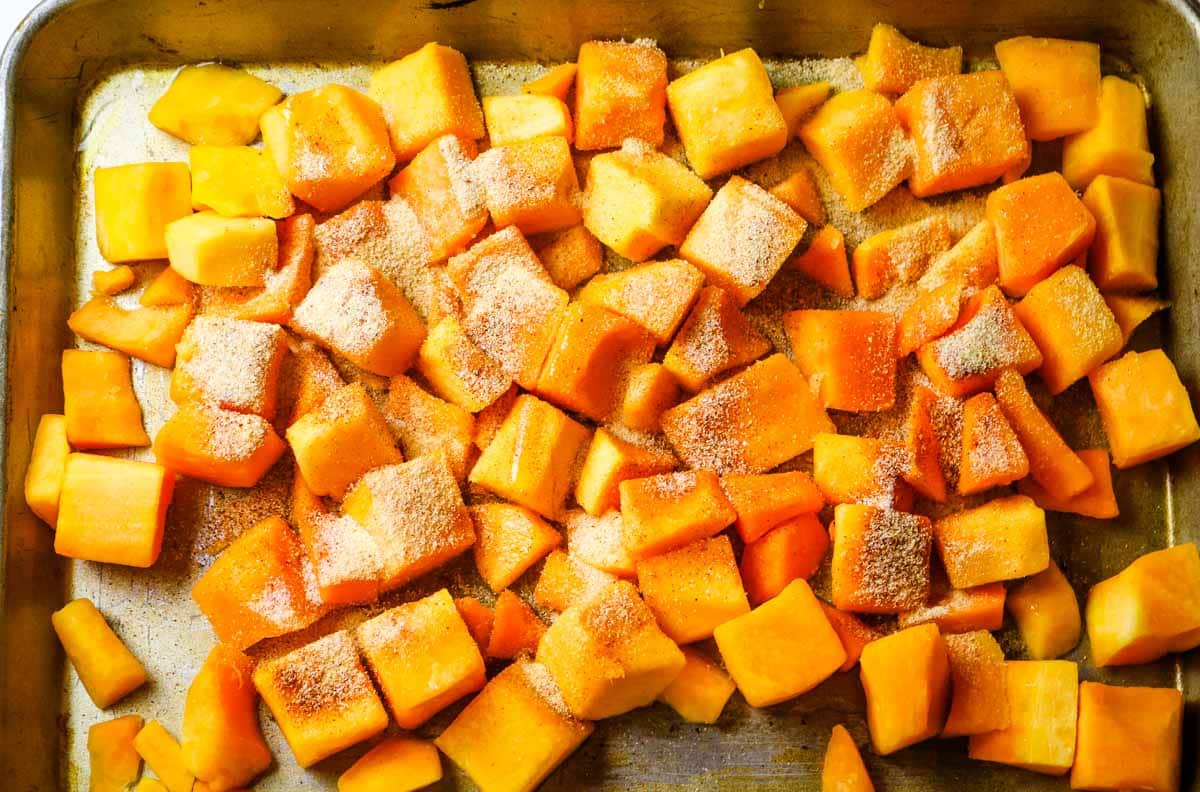
- Step 2. Arrange leftover cubes of potatoes in single layer on sheet pan.
- Step 3. Cover the potatoes completely with parchment paper, then with aluminum foil.
- Step 4. Heat the potatoes in the preheated oven for 8-10 minutes or until warmed through.
- Step 5. Remove foil and bake for additional 4 minutes. No need to flip them.

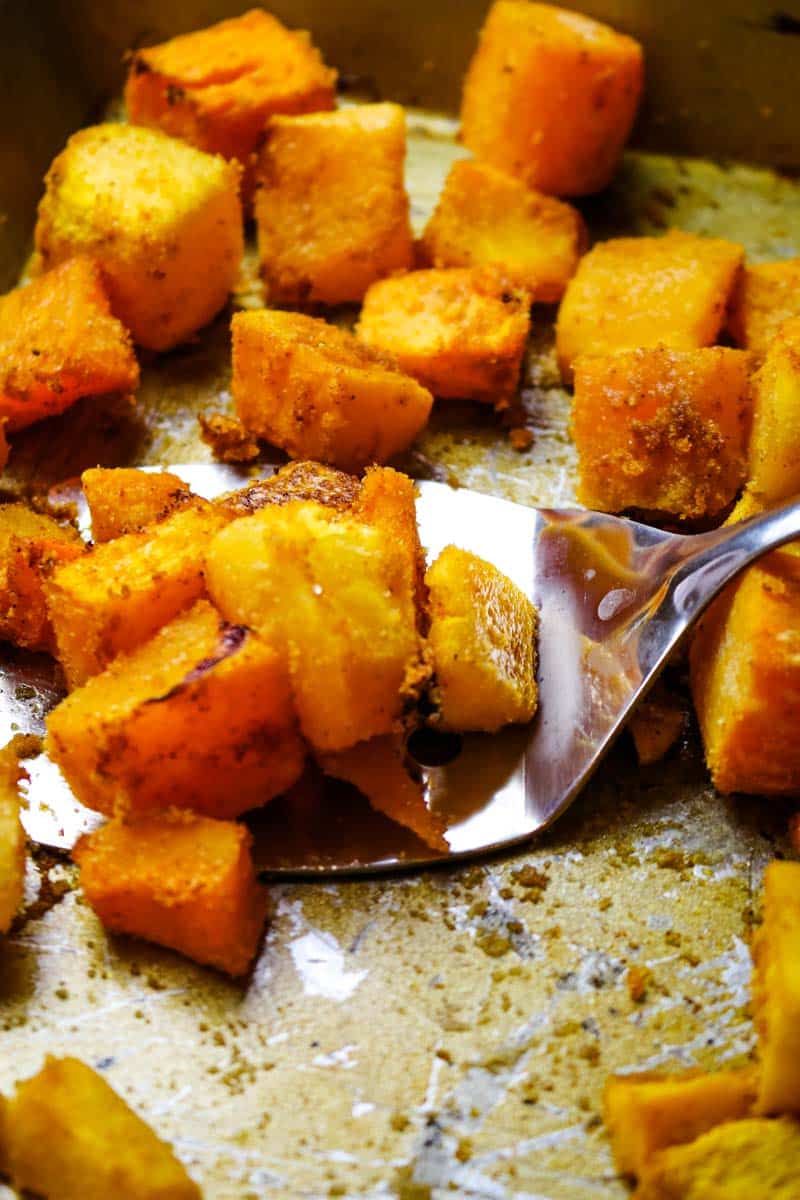
Reheat roast potatoes in frying pan
Out of all the easy ways to reheat crispy roasted potatoes, on the stove-top is my least favorite. You can still achieve great results though.
Reheating your leftover roasted potatoes in a frying pan is another way to revive these spuds to avoid food waste.
This method works great with small amount of leftover potatoes. I typically reheat my leftover roast potatoes in my cast iron skillet when I'm using additional ingredients to bulk up a meal like breakfast egg hash.
- Fast - This reheating process is fairly fast.
- Moderately easy - you'll need to keep an eye on these taters so they don't burn
- Need additional oil - because this is stove top cooking, we will need to add a little olive oil or butter to the pan
- Texture may change - this may inadvertently strip of it's crispy characteristics but will still be very delicious (and we're avoiding food waste!).
💭Pro tip: Skip the non-stick pans and use cast iron skillet or stainless steel pan for reheating potatoes.
Frying Pan Method
- Step 1. Heat a large cast iron skillet over medium heat.
- Step 2. Melt a tablespoon of butter or small amount of olive oil.
- Step 3. Add potatoes and stir around to coat with the fat. Cover pan and cook for 2-3 minutes or until warmed through.
- Step 4. Increase to medium-high heat and cook potatoes undisturbed for an additional 3 minutes. This should bring some crispy texture back to the potatoes.
Helpful Tools & Links
Below are some affiliate links that may be helpful to you. You can find some of these items cheaper at your local store but it helps to have a link so you know what you're looking for.
- Tools: extra-large air fryer, stainless steel baking sheet, cast iron skillet, stainless steel frying pan
- Ingredients: extra virgin olive oil

💬FAQs
Reheating any kind of food in the microwave depletes it off its nutrients. Furthermore, reheating roast potatoes in the microwave will render them soggy and unpleasant. Therefore, it is best to reheat potatoes in the air fryer, oven, or over stove top in a frying pan.
The best reheating method is using a toaster oven type air fryer. The high heat circulation makes it quick, easy, and produces deliciously crispy potatoes.
You can roast these Crispy Oven-Roasted Potatoes in advance up to 3 days and store them in the refrigerator. Skip the garlic and fresh parsley until just before serving. When ready to serve, reheat them in the oven using oven instructions above. Toss with minced garlic and fresh parsley.
Looking for more related recipes? Here are more ideas:


Did you make this? Please leave a ⭐ recipe rating in the recipe card below and leave a review in the comments. Thank you!💚
Printable Recipe

Reheating Roasted Potatoes
Ingredients
- 1 serving leftover roast potatoes
- 1 tablespoon unsalted butter or extra virgin olive oil
Instructions
Reheat Roast Potatoes in Air Fryer
- Preheat air fryer to 400 degrees Fahrenheit.
- Arrange leftover small cubes of potatoes in single layer on crisper tray of convection-type air fryer or on the bottom of an air fryer basket (depending on your particular air fryer appliance).
- Heat the potatoes for 4 minutes or until warmed through. No need to flip them.
Reheat Roast Potatoes in Oven
- Preheat oven to 400 degrees Fahrenheit.
- Arrange leftover cubes of potatoes in single layer on sheet pan. Cover the potatoes completely with parchment paper, then with aluminum foil.
- Heat the potatoes for 8-10 minutes or until warmed through. Remove foil and bake for additional 4 minutes. No need to flip them.
Reheat Roast Potatoes on Stove Top
- Heat a large cast iron skillet over medium heat and heat butter or olive oil.
- Add potatoes and stir around to coat with the fat. Cover pan and cook for 2-3 minutes or until warmed through.
- Increase heat to medium-high and cook potatoes undisturbed for an additional 3 minutes or until potatoes are crispy and warmed through.
Notes
- Use room temperature potatoes: These methods work great with room temperature roast potatoes. Pull out your leftover potatoes from the refrigerator up to 30 minutes before reheating them.
- Avoid food waste: Toss leftover potatoes in breakfast scrambles, skillet hashes, or breakfast burritos.
- Quick reheat: If you're short on time, reheating potatoes in the air fryer is your best option.
- Nutrition Facts: are based on this recipe: Oven Roasted Potatoes.