Learn how to roast buckwheat groats in the oven to make them into kasha. This buckwheat roasting method is quick and easy.
Buckwheat is a nutritional powerhouse that originated in Eastern Europe. It's known for its lovely nutty flavor that you can't get from any other grain.
It's naturally gluten-free and is incredibly versatile as it can be served sweet or savory, as porridge or a healthy side.
But roasted buckwheat is different than raw buckwheat groats in both flavor and texture. It's essential to know what product you're working with because preparation will be different.
This post is specifically on how to roast buckwheat groats in the oven. We're transforming raw buckwheat groats into toasted buckwheat kasha.
[feast_advanced_jump_to]Why you'll love roasted buckwheat
- Taste: boasting nutty and earthy flavor, roasted buckwheat is more intense than raw buckwheat groats
- Texture: unlike buckwheat groats, roasted buckwheat retains it's texture and shape
- Level of difficulty: roasting raw buckwheat groats in bulk in the oven is much simpler than over a stove top
💭Good to Know: Buckwheat has no wheat or gluten and is a great choice for those with gluten sensitivity.
What is buckwheat?
Buckwheat is not technically a grain but rather a seed from an herb related to rhubarb. These seeds, or groats, are a staple carbohydrate food used in numerous dishes in Asia and norther climates.
Buckwheat is used in everything from soba noodles in Japan to buckwheat flour and buckwheat pancakes in the US to blini in Russia.
Interestingly, buckwheat can also be used to make pillows giving us that perfect night's sleep. Obviously, this seed is incredibly versatile.
Is buckwheat healthy?
Contrary to what the name suggests, it has no relation to wheat and is naturally gluten-free, making it a wonderful substitution for gluten products.
For a grain, or seed rather, it's supremely nutrient-rich. High in fiber and packed with protein clocking in at 13 grams per serving.
It's also rich in a whole spectrum of vitamins B, as well as lysine, calcium, magnesium, and vitamin E. Its high quercetin content also makes it a superb seed for those allergy sufferers.
Despite it's classification, buckwheat is considered a whole grain by the USDA. Whether you consider buckwheat a seed or grain, it's clearly a good choice.
💭Did you know? Buckwheat has many health benefits. It's a good source of fiber, high in essential amino acids, and a great source of potassium.
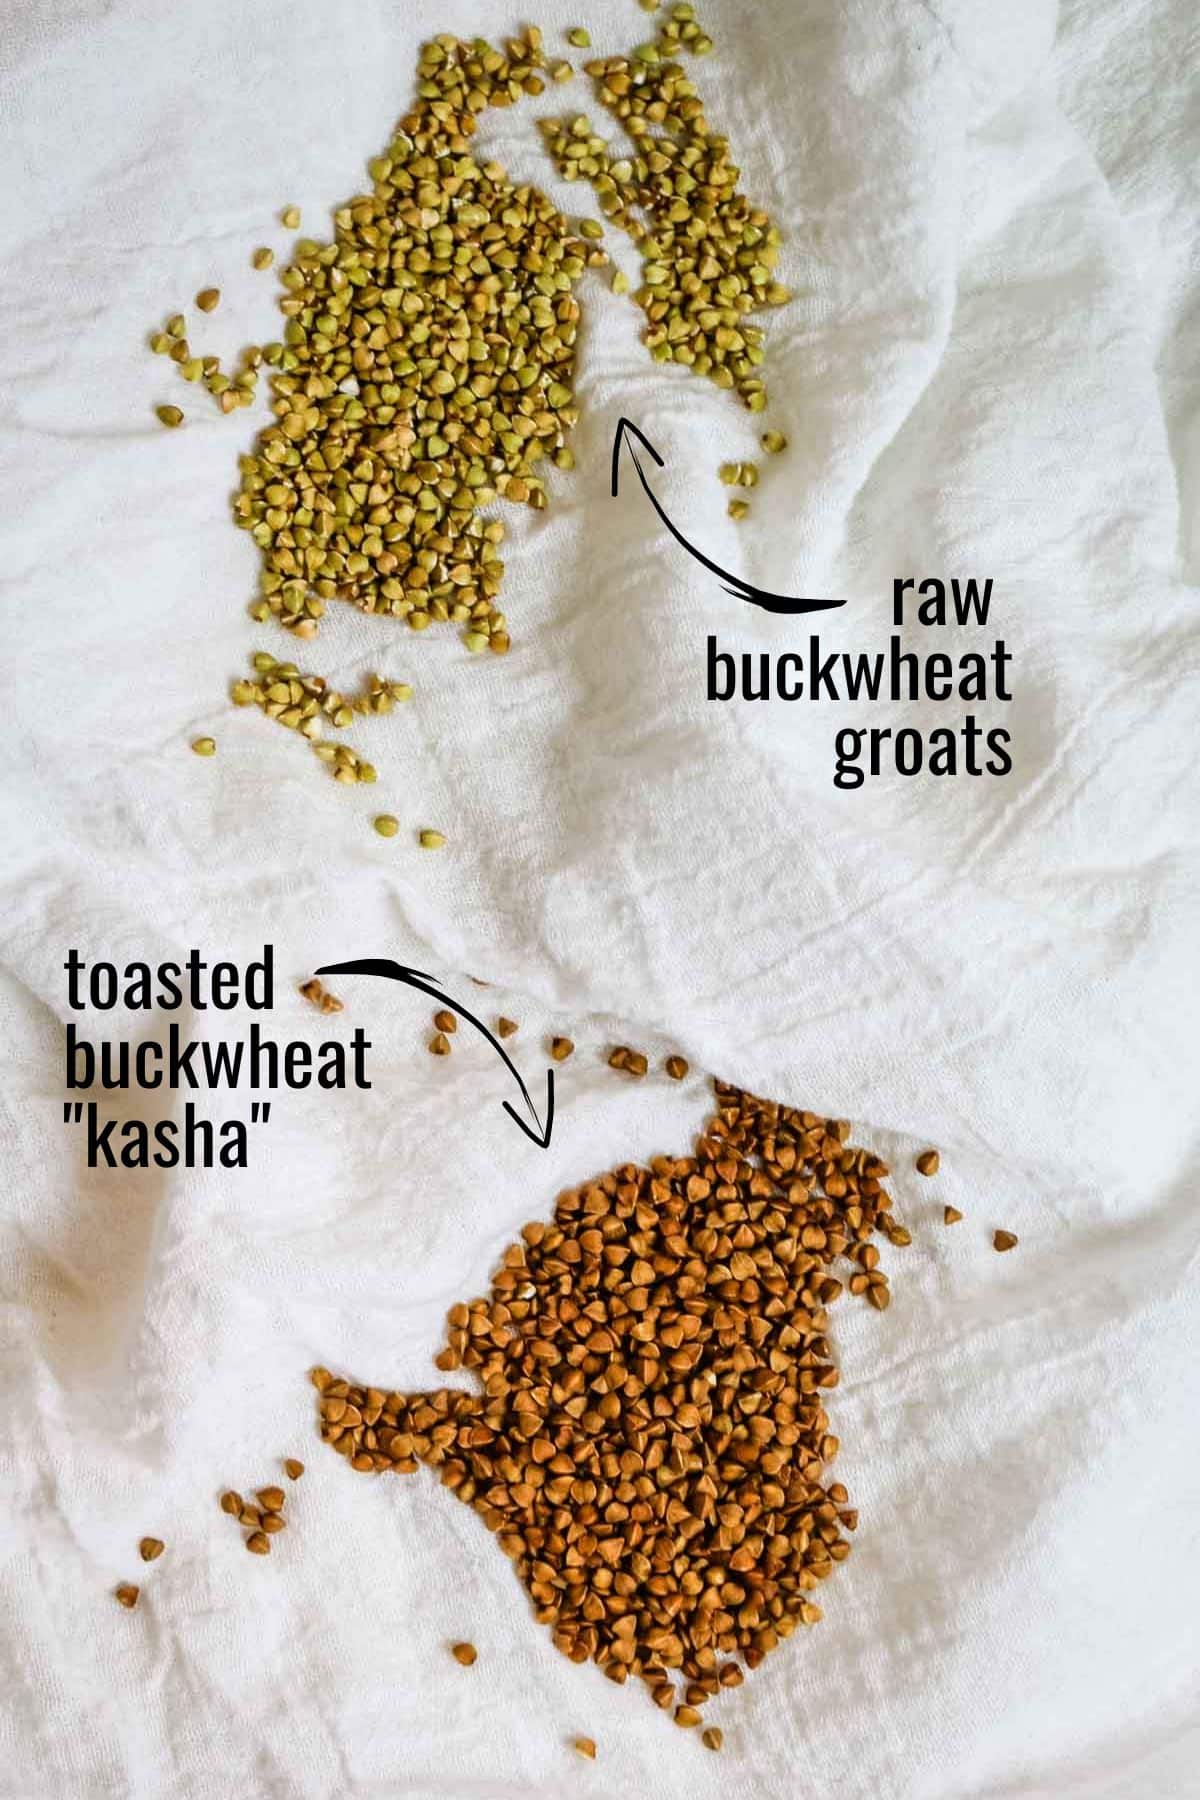
Difference between kasha and buckwheat groats
You may have noticed that buckwheat, buckwheat groats, and kasha are used interchangeably. But it's important to know that they have very important distinctions.
Though buckwheat is generally referred to as the culinary pseudo-grain, it's actually the flowering plant in the knot weed, sorrel, and rhubarb family. It's cultivated for it's edible seeds as well as grown as cover crop.
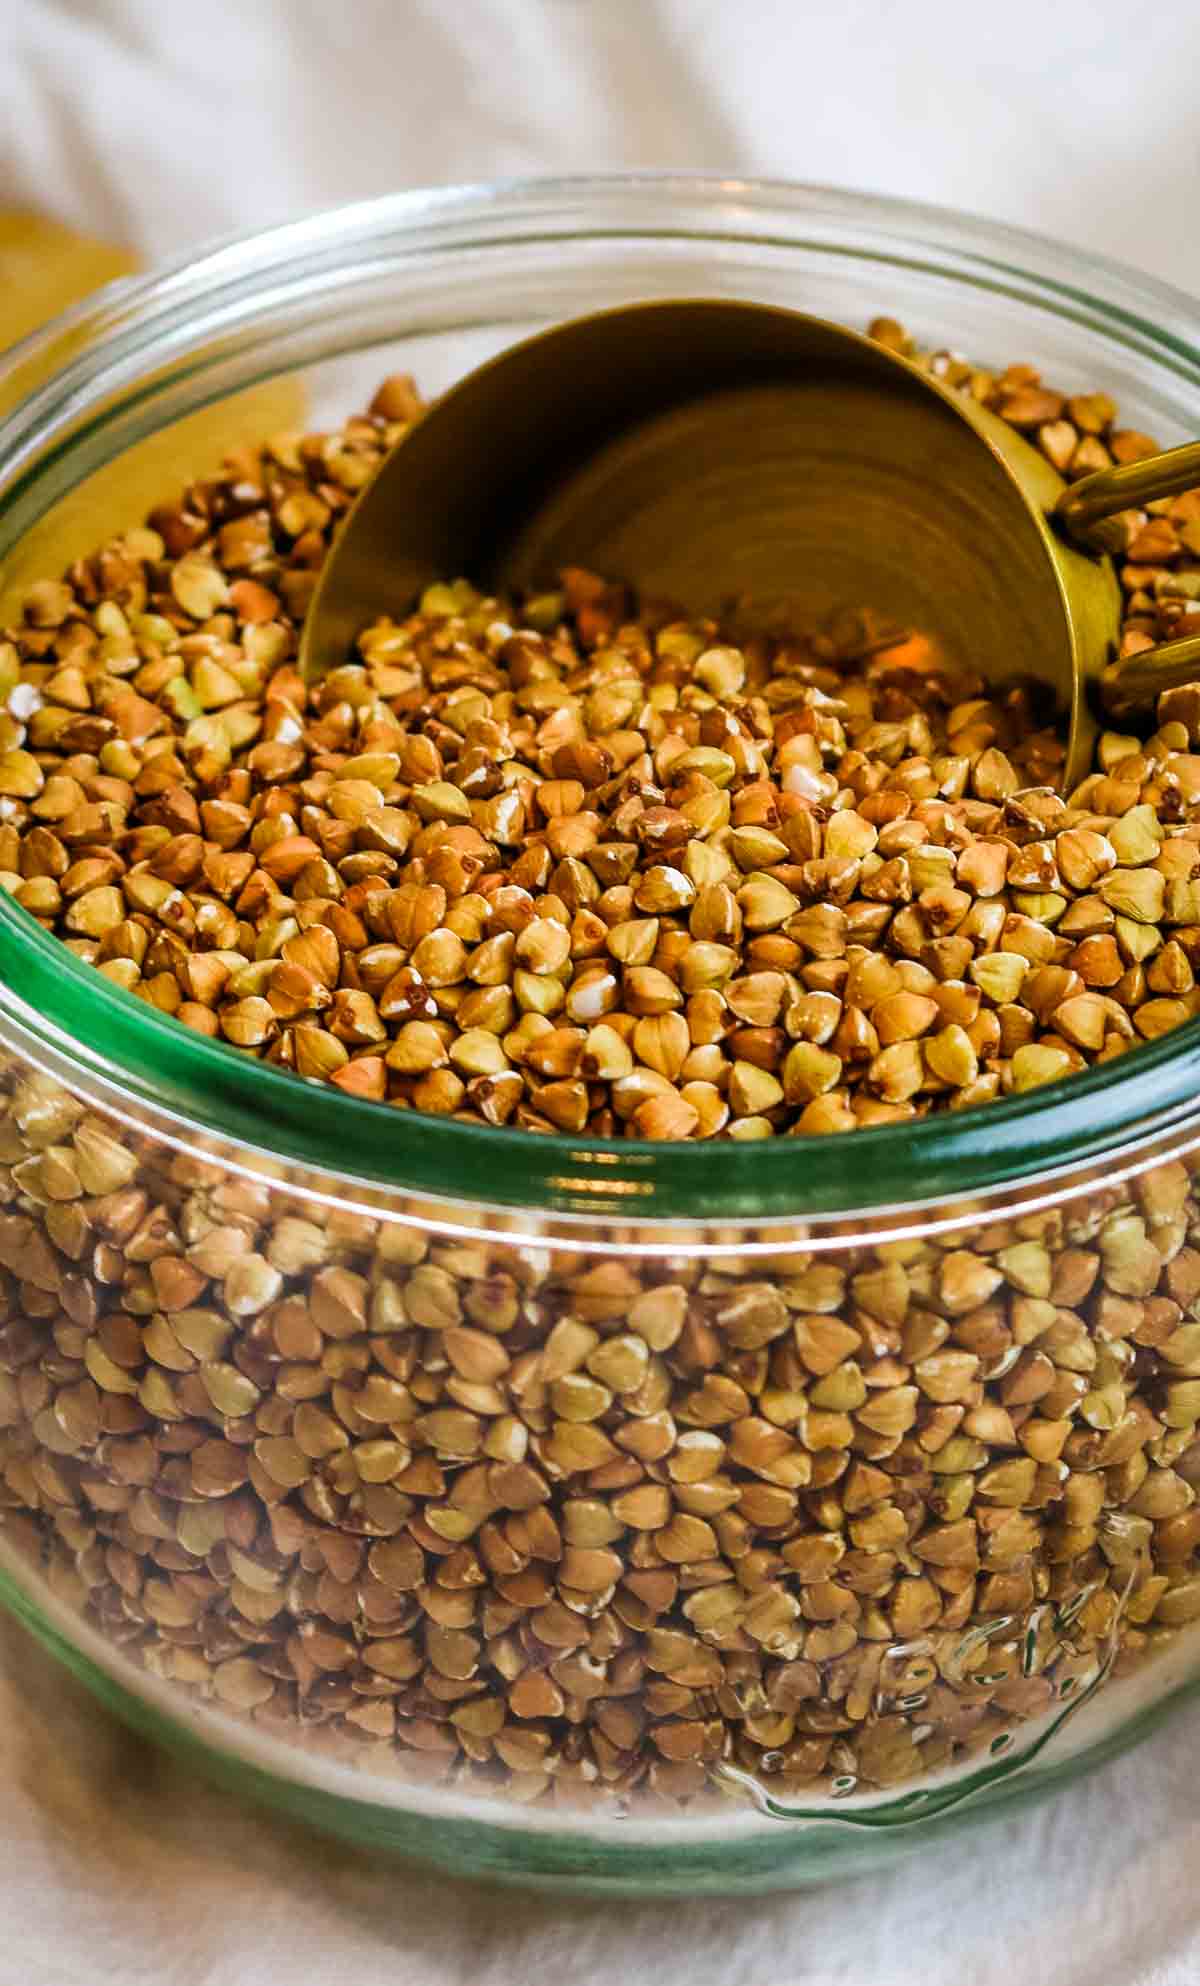
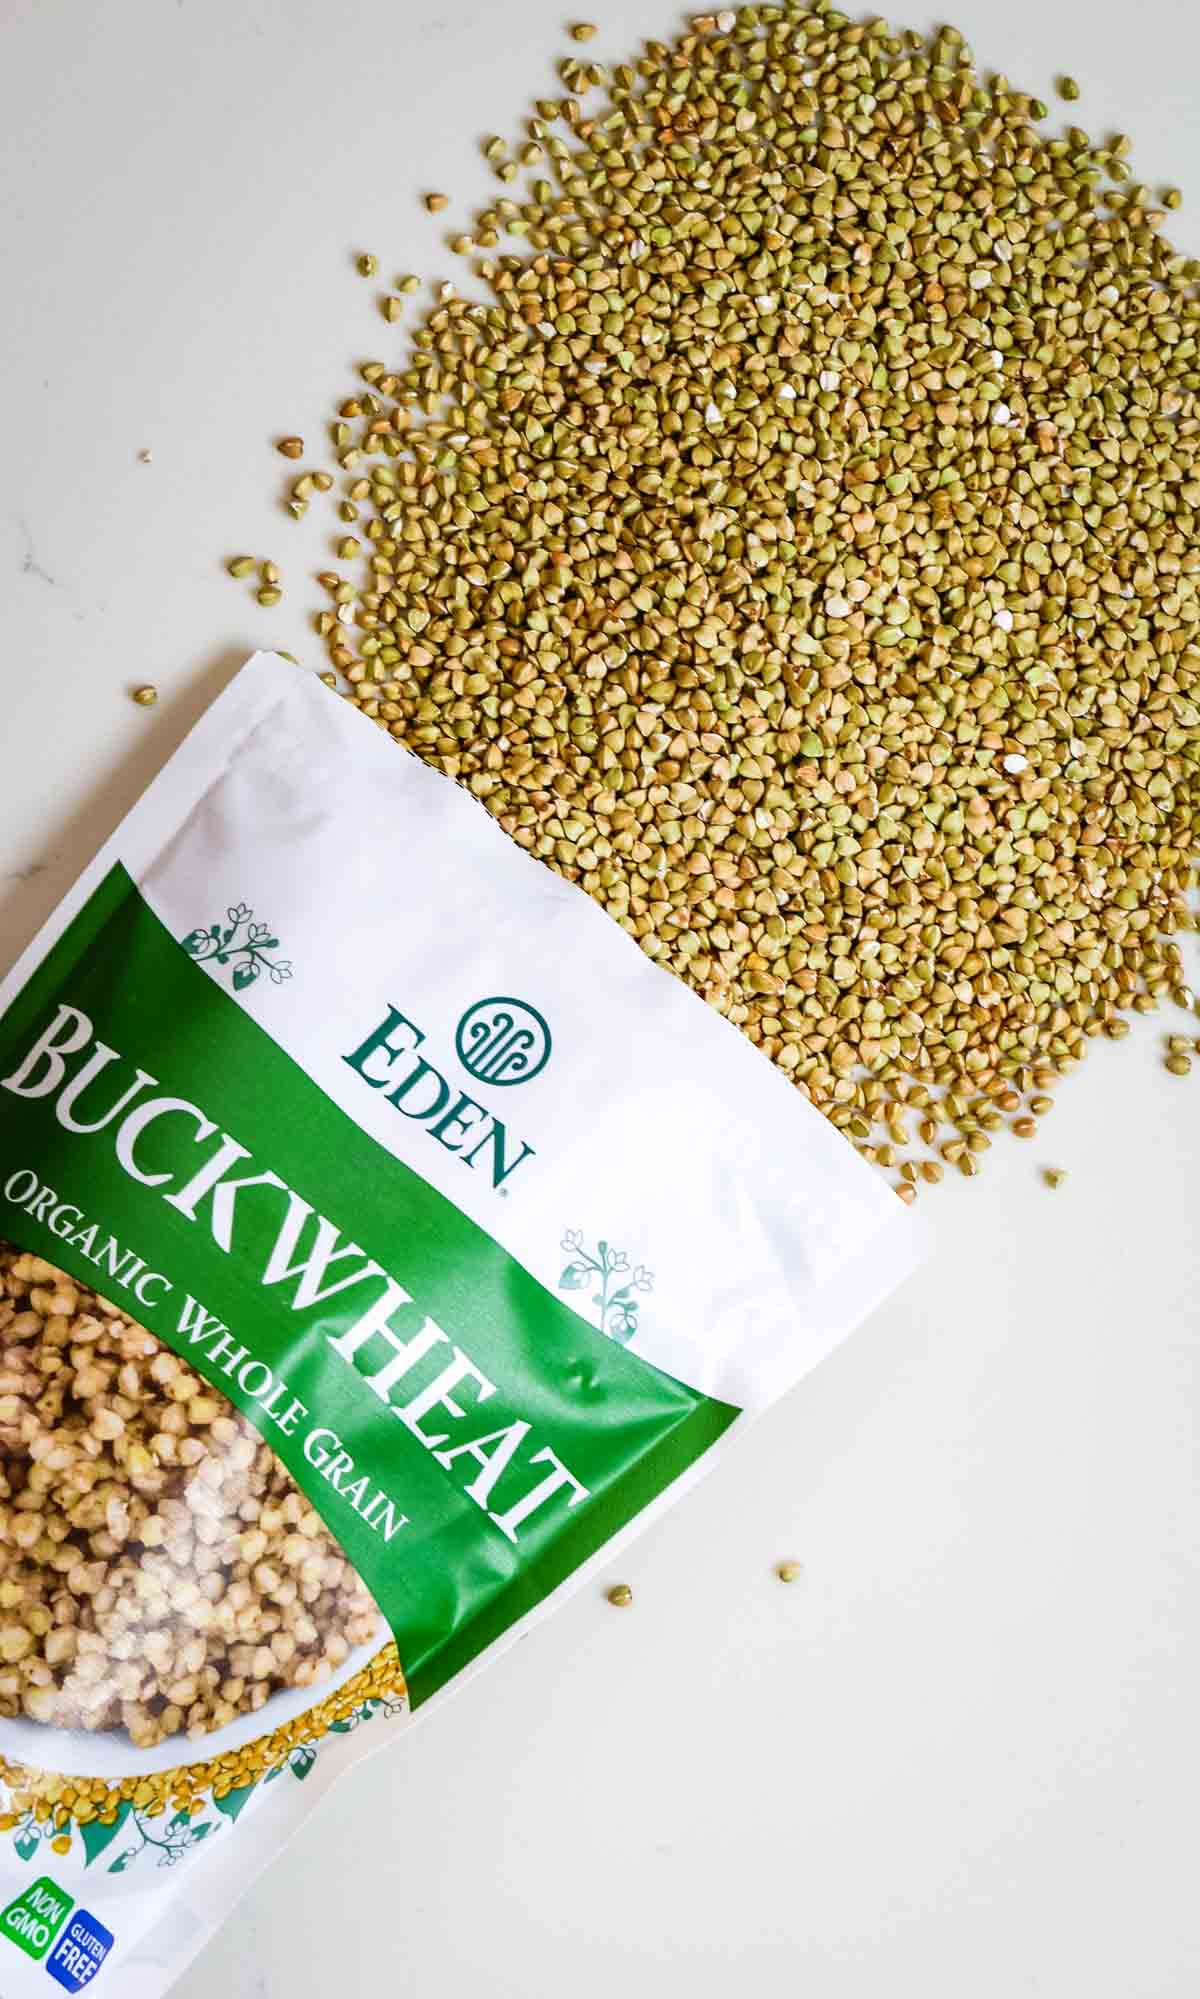
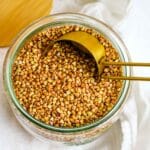
Buckwheat groats are simply the hulled grain-like seeds of buckwheat plant. The outer husk is stripped away, exposing these seeds to be harvested and cooked. Groats are raw buckwheat with a slightly green or tan tint to them.
Kasha, in English terminology, is roasted buckwheat grains. It's actually a misnomer considering that the Russian word kasha is translated as "porridge", which is the consistency of cooked buckwheat groats. Packaged kasha can be found at your local Eastern European market. But it's just as easy to roast buckwheat with a rimmed baking sheet and an oven.
💭Helpful Tip: You may have a hard time finding raw buckwheat groats in your neighborhood grocery store. Instead, check out health food stores for this pseudo grain.
Roasted Buckwheat Benefits
In short, roasting brings out the rich, nutty flavor of the buckwheat. But there is also a functional reason to roast buckwheat.
Roasting buckwheat hardens the shell of whole buckwheat grains giving more structure. As a result, the grains retain their texture and shape.
Think of it this way: untoasted buckwheat groats gives you more porridge like product while buckwheat kasha will produce separate kernels.
Do you see why kasha shouldn't be used to describe roasted buckwheat? It's the raw groats that makes buckwheat porridge.
Kasha is great in any recipe that calls for long-grain fluffy white rice. And yet it also works great as a replacement for mashed potatoes. Kasha can easily be used as groats but buckwheat groats won't always work as kasha.
Step-by-Step Instructions
The printable instructions are below in the recipe card for your convenience.
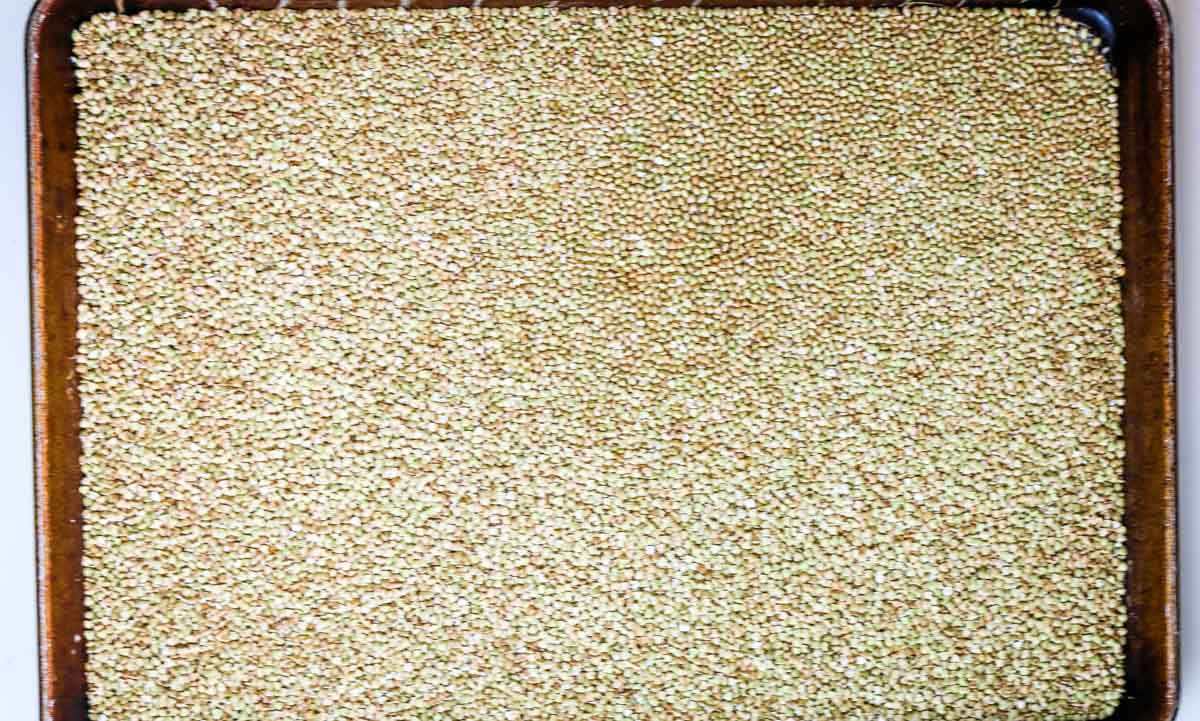
It's so easy to roast buckwheat in the oven. All you need is a pound of raw buckwheat groats and a large rimmed baking sheet. This is the easiest way that garners the best results.
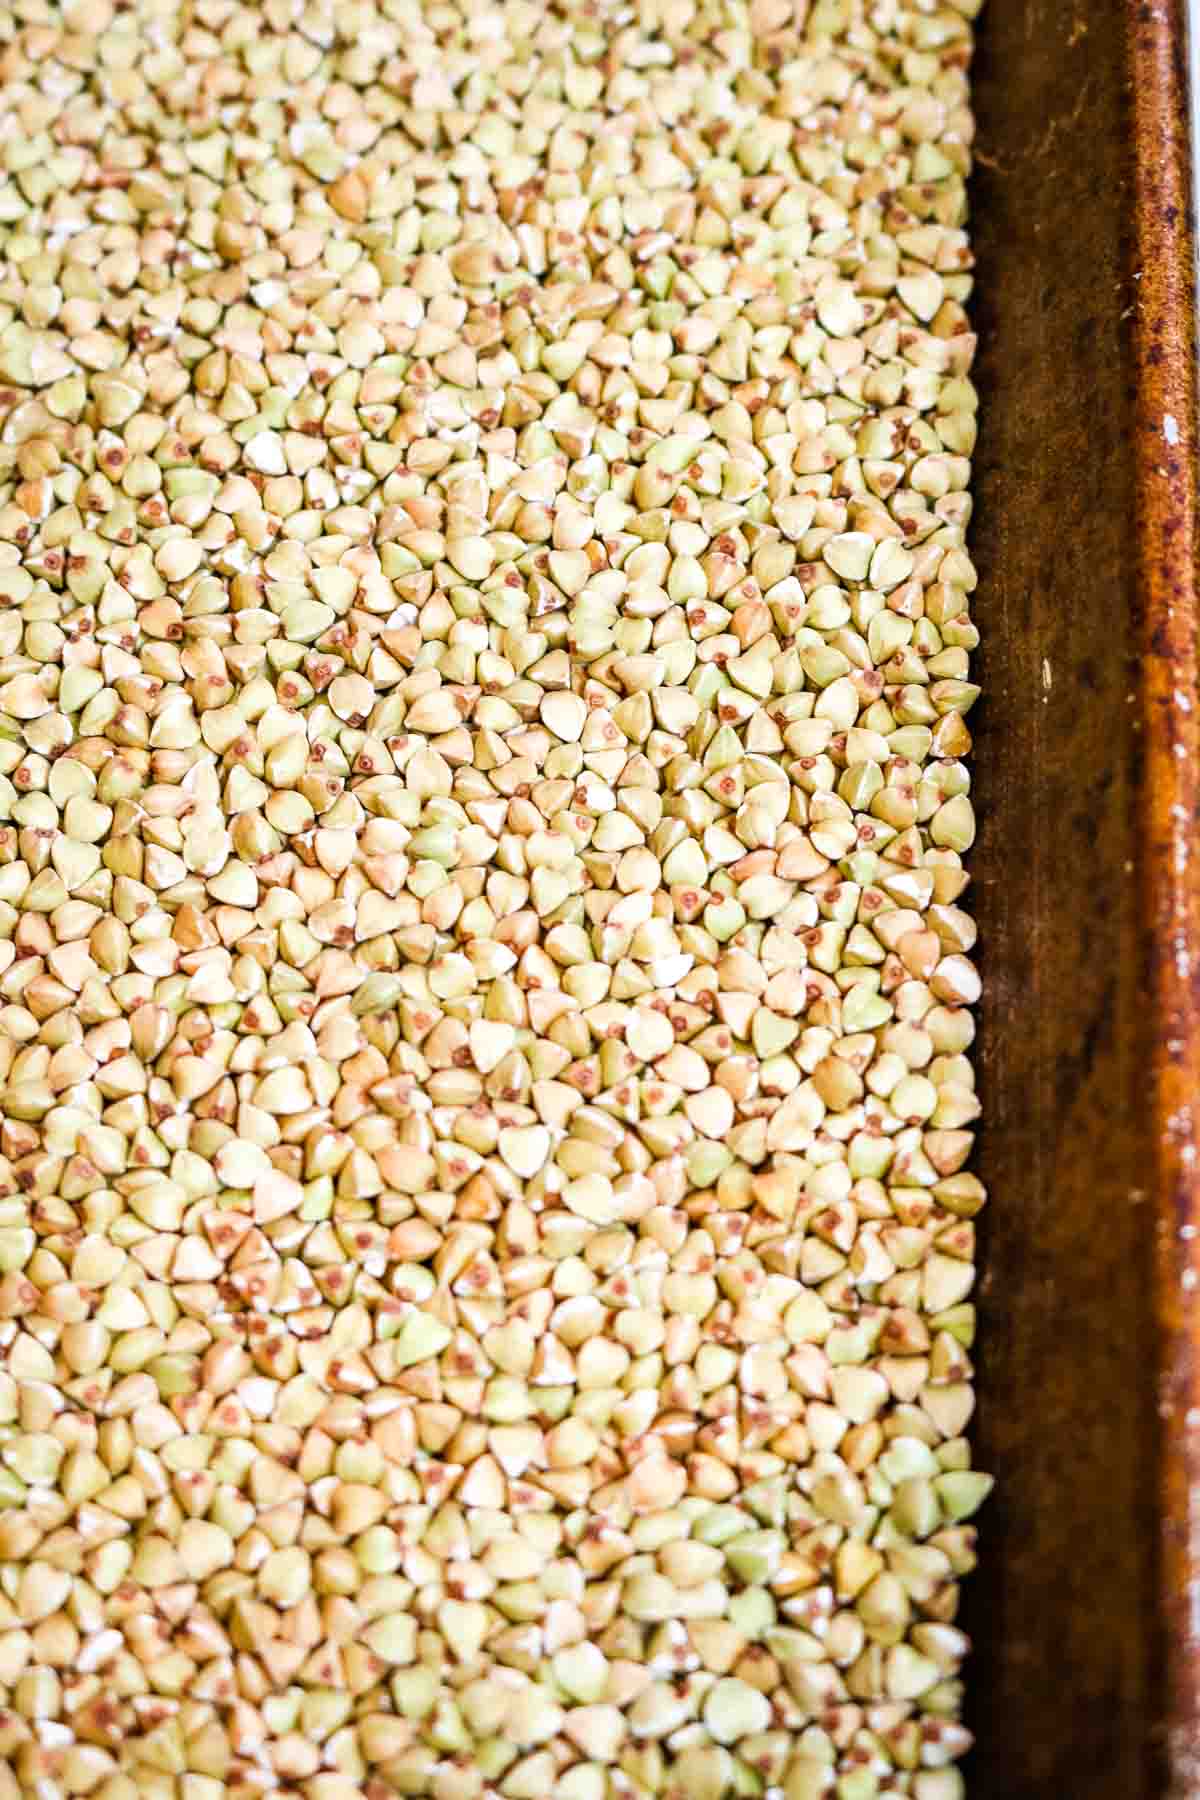
Step 1. Spread raw buckwheat groats on a rimmed baking sheet in a single layer. Roast in a preheated oven at 325 degrees Fahrenheit for 25 minutes. Shake to shuffle the grains halfway through the cooking.
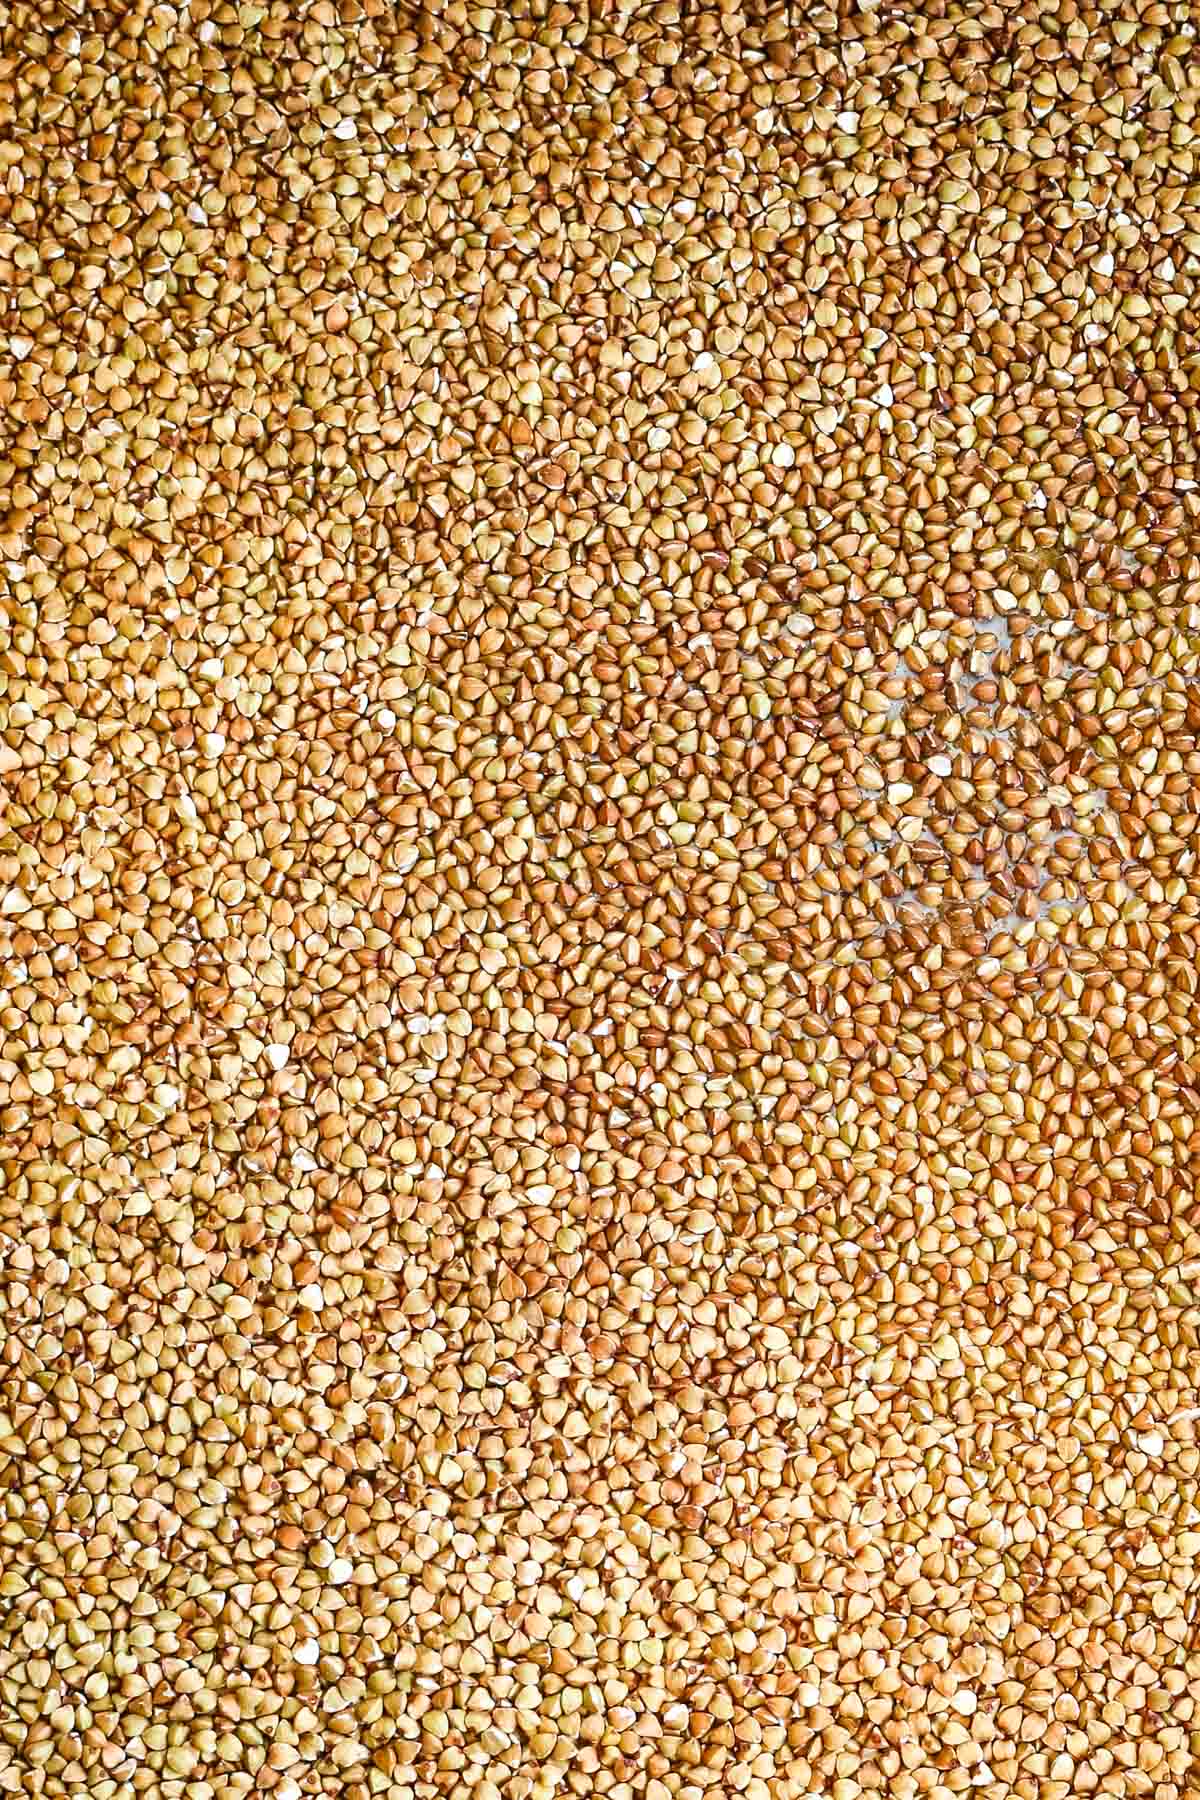
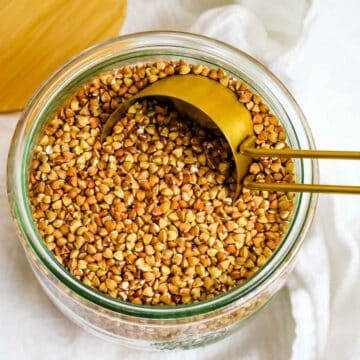
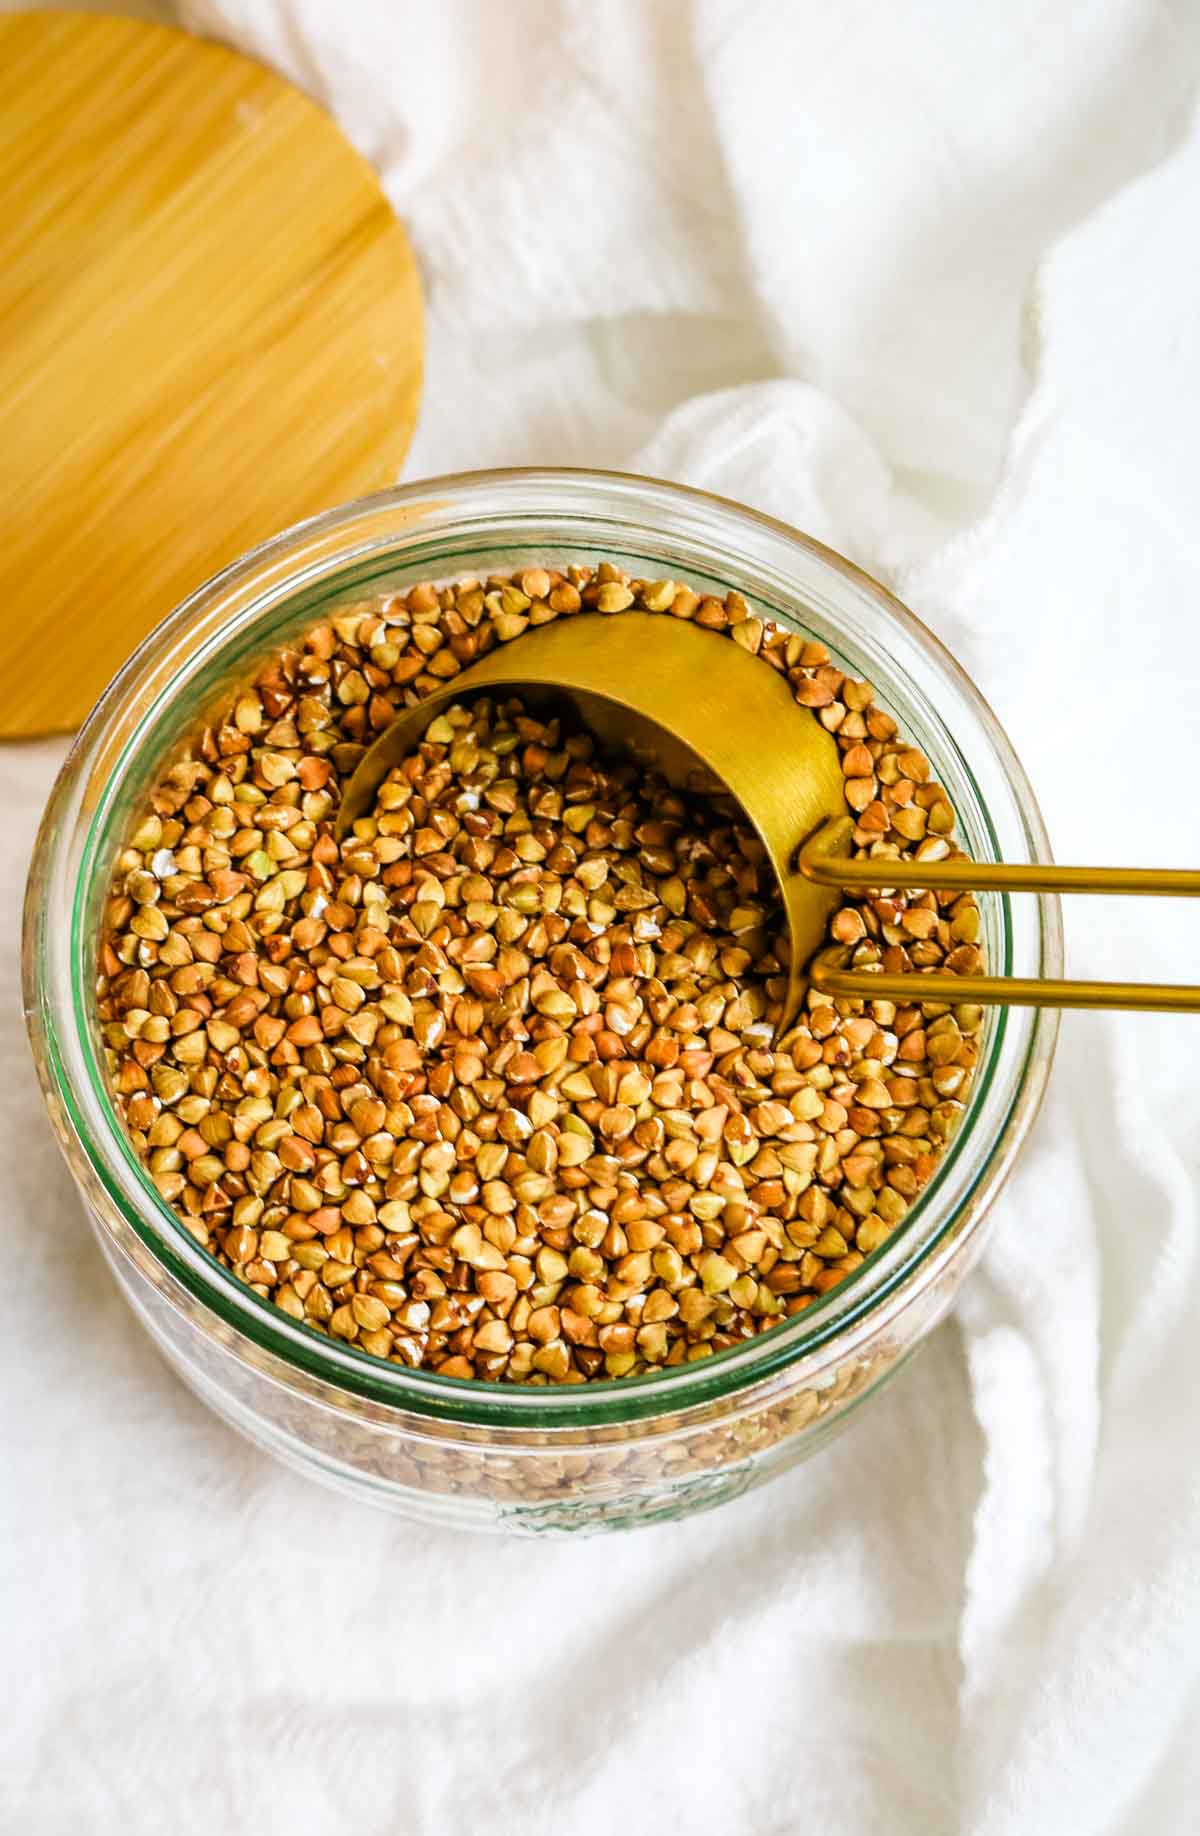
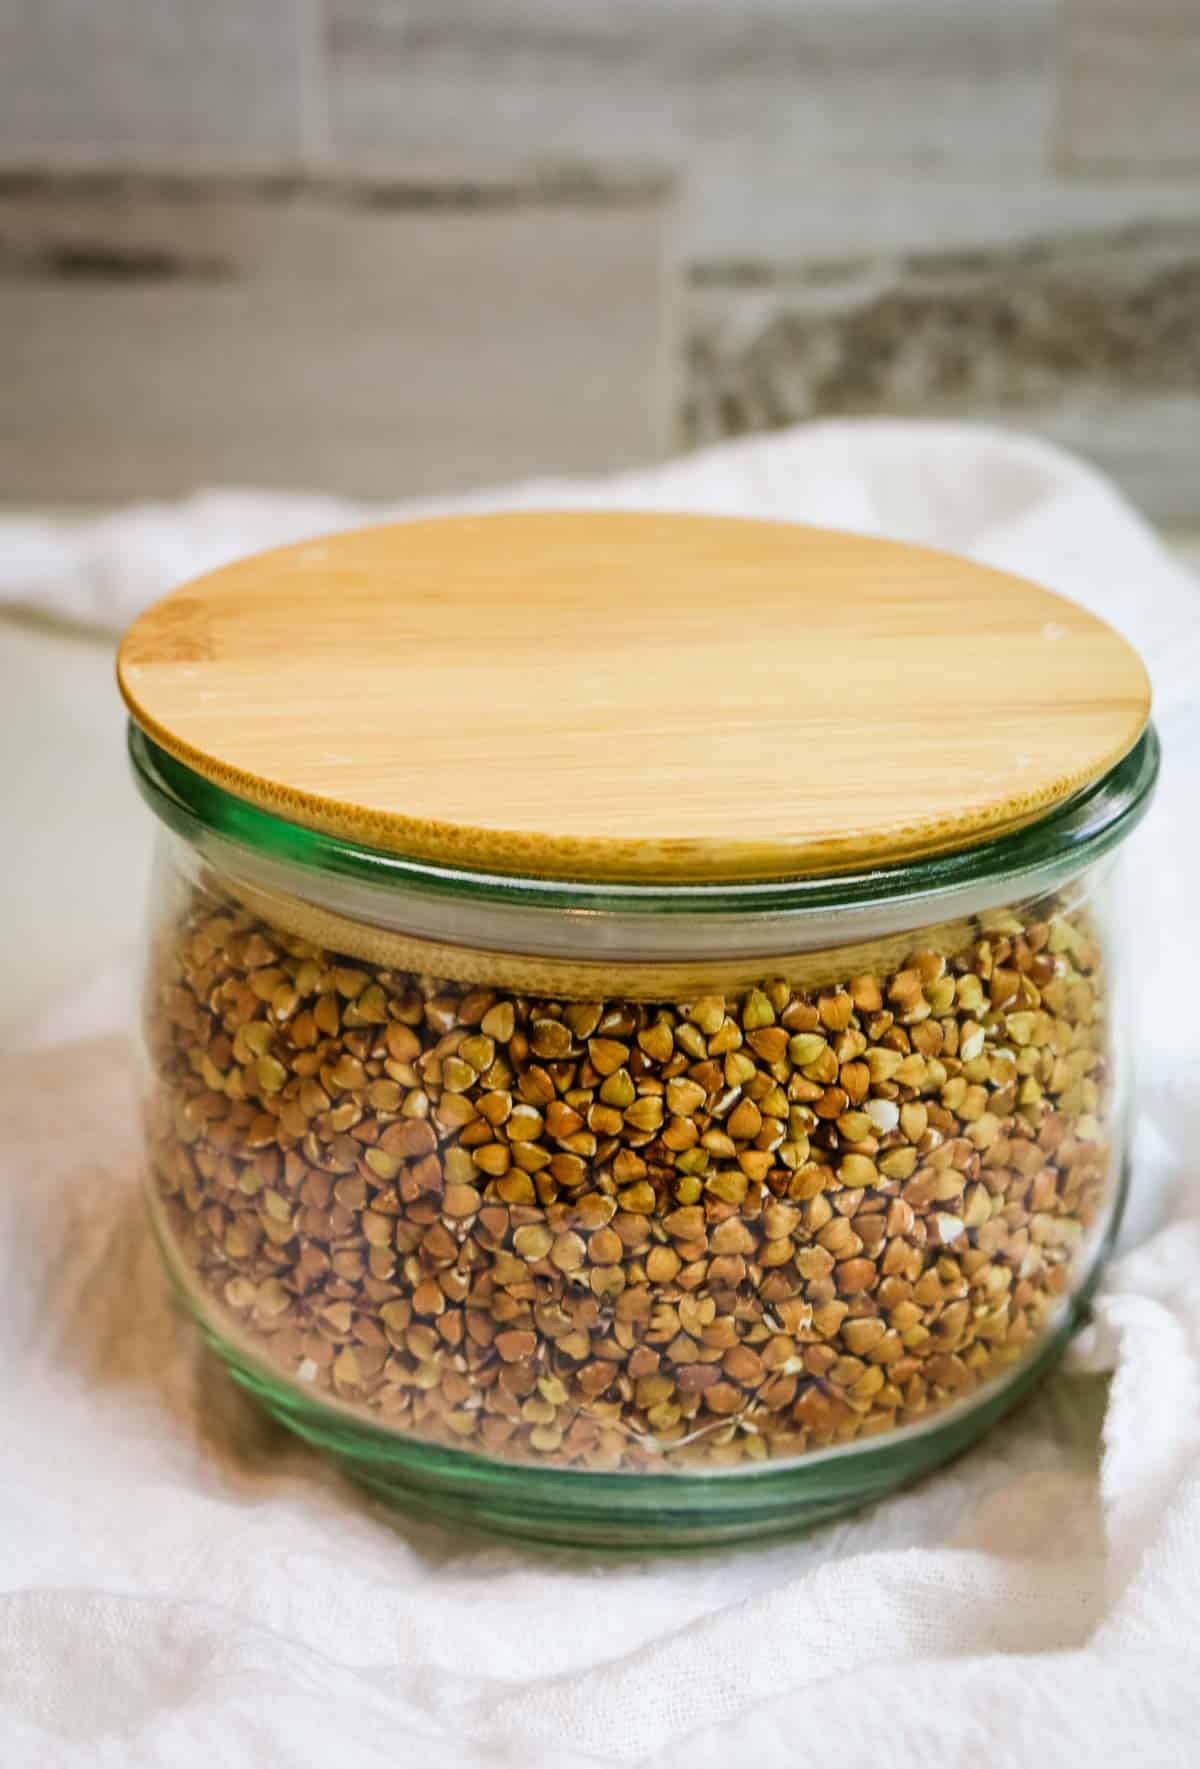
Step 2. You'll notice the buckwheat will start turning from green to golden brown. After toasting, remove from oven and allow to completely cool before transferring to an airtight container.
Storage Instructions
How do you store roasted buckwheat?
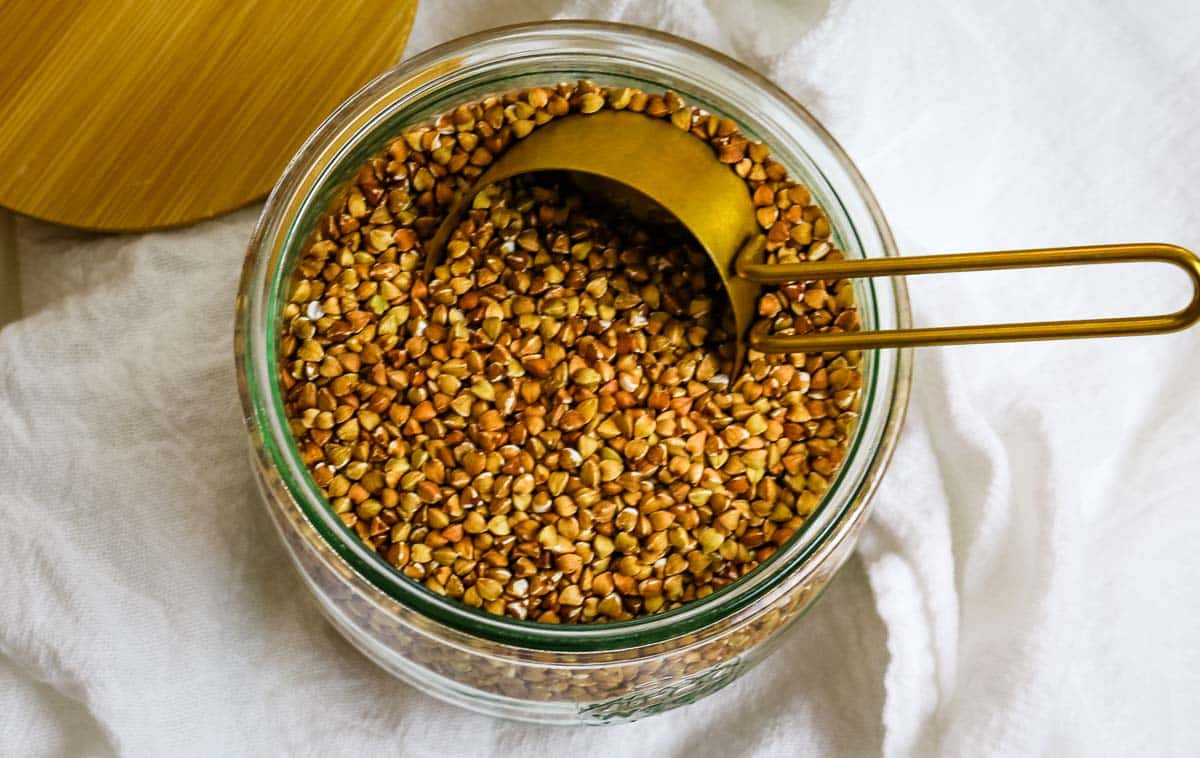
Storing buckwheat is just as easy as storing any other types of grain. Transfer the completely cooled buckwheat grains into an airtight container like mason jar and store in a cool, dark, and dry place.
It will be good for up to 6 months.
To extend shelf life, make sure it's kept away from heat, moisture, light and air.
Helpful Tools & Links
Below are some affiliate links that may be helpful to you as you make this recipe. You can find some of these items cheaper at your local store but it helps to have a link so you know what you're looking for.
- Tools: stainless steel baking sheet
- Ingredients: raw buckwheat groats
- Storage Supplies: wide-mouth mason jars, glass snap containers
Buckwheat Serving Suggestions
If you're ready to add buckwheat to your meal planning list - you won't regret it.
Our favorite way to serve buckwheat is as a side dish like any other whole grains. Buckwheat is extremely versatile and can often be used to replace rice, potatoes, pasta, and more.
It can be enjoyed as morning breakfast cereal with some warmed raw milk, unsalted butter, and a maple syrup. But if mushy buckwheat isn't your thing, a great way to add extra nutrient punch is toss some buckwheat kernels into a salad.
Either way, it's clear that we need more buckwheat in our lives. There are so many different ways to enjoy it. And it's especially great as a regular part of a healthy gluten-free diet.
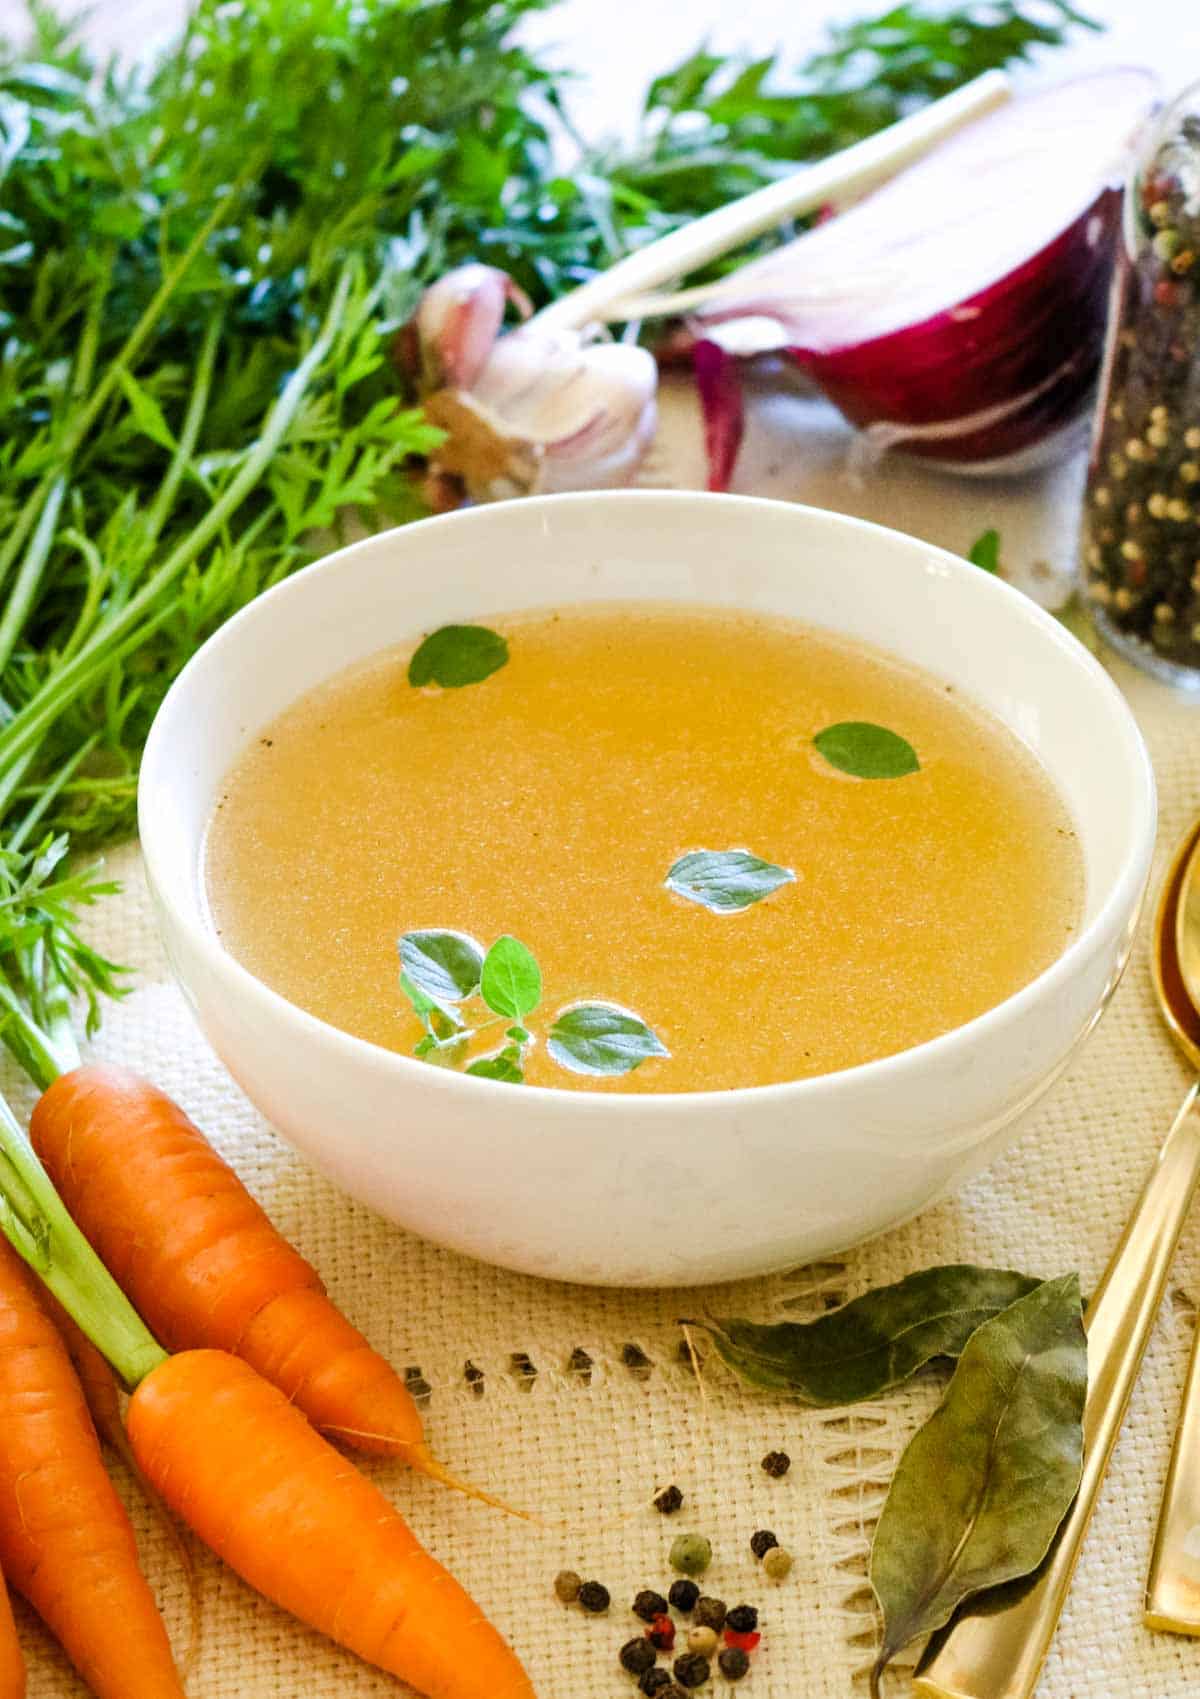
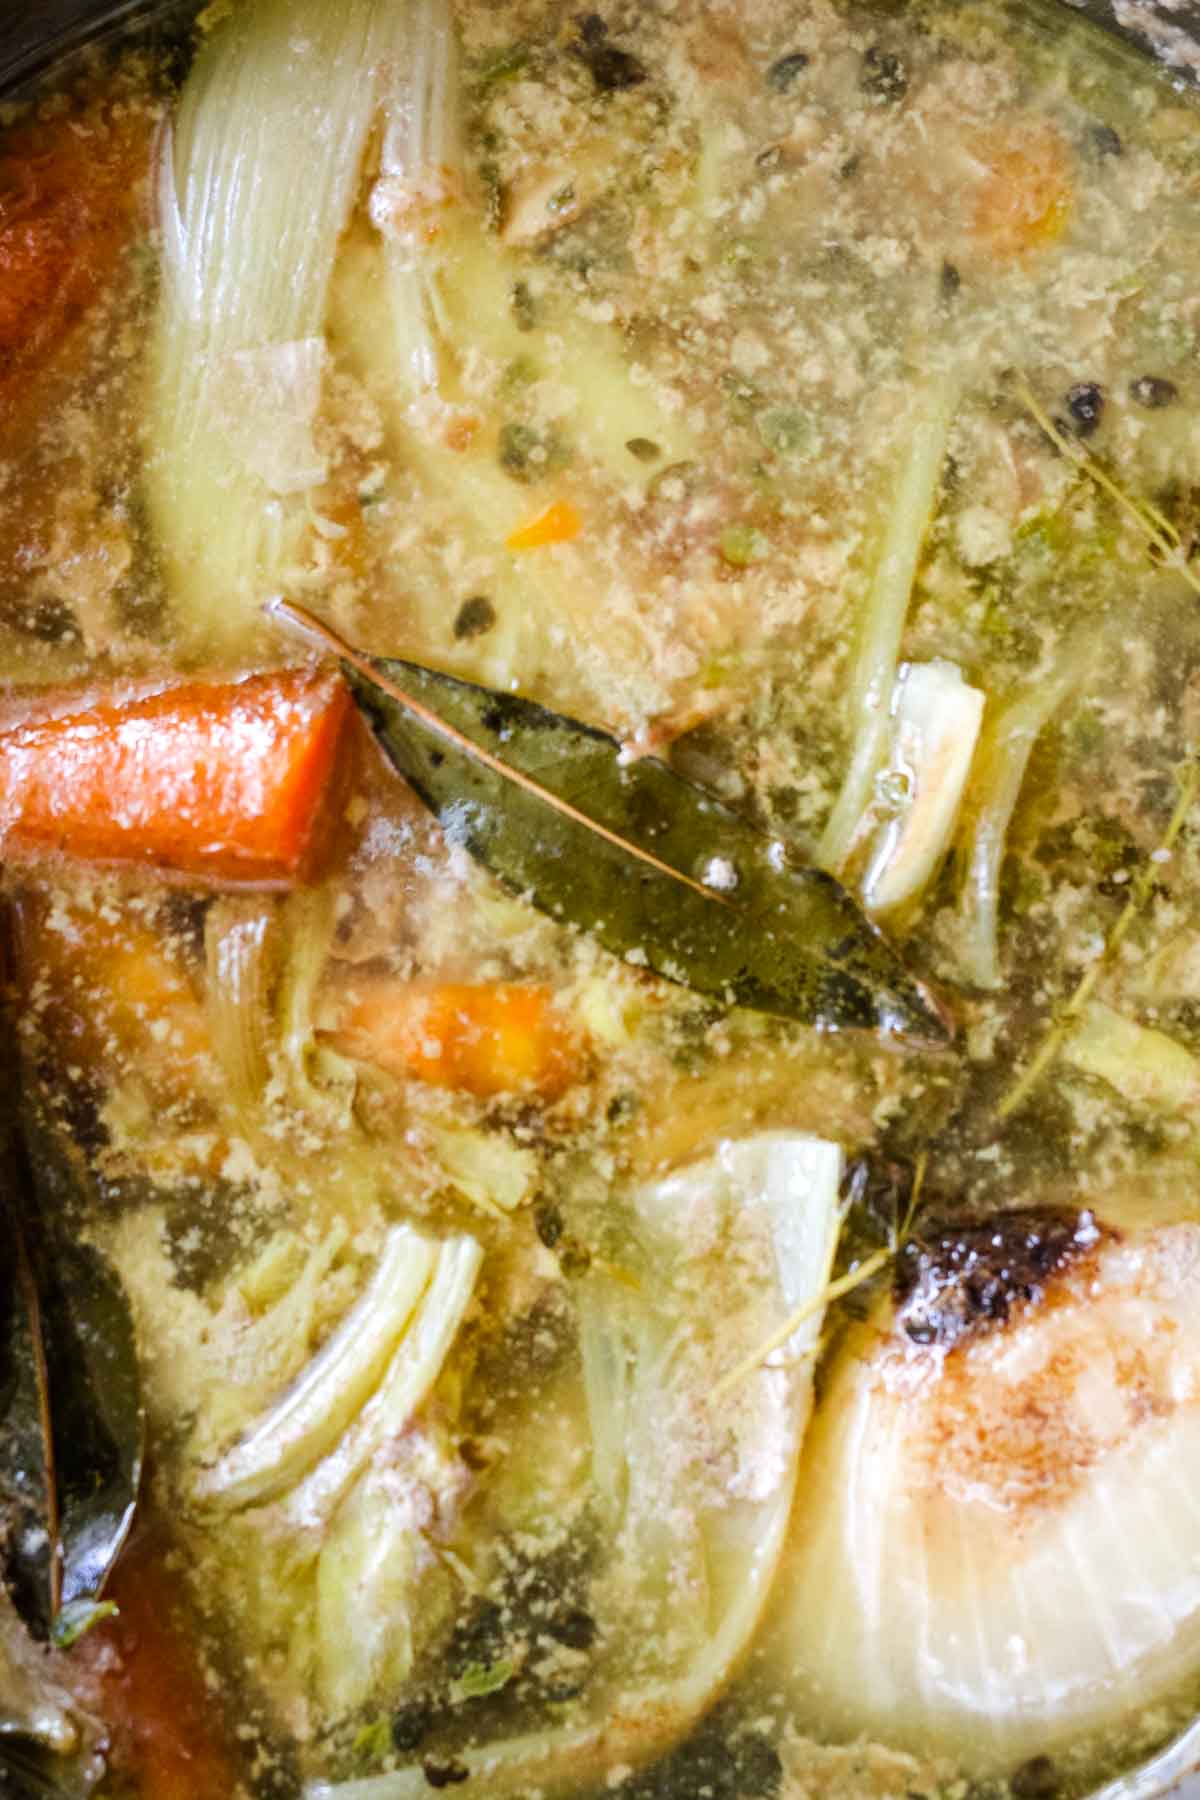
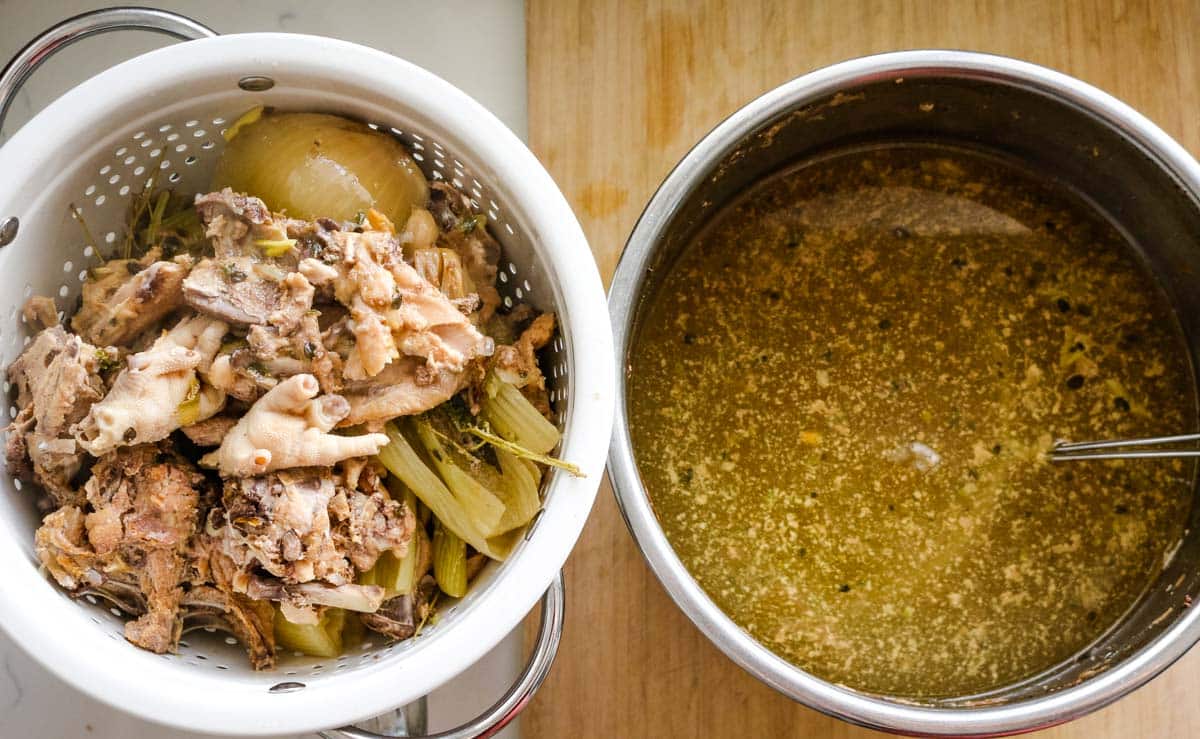
💭Make it Nutrient-Dense: Cook buckwheat in bone broth to increase nutrient content. Here's an easy Instant Pot Chicken Bone Broth recipe.
FAQs
Roasted buckwheat is commonly described as having a nutty flavor much like rye or wheat. Raw buckwheat or buckwheat groats is milder in flavor and can often be eaten as porridge, similar to oatmeal. Raw or toasted, buckwheat can be served sweet as well as savory.
Traditionally, sprouting grain was a common practice done to increase nutrients and neutralize phytic acid found in grains. Although it's ideal to soak the buckwheat groats first before toasting them, that isn't always possible in our fast-paced life. It is a matter of personal preference and time commitment. This kasha was roasted with non-soaked buckwheat groats.
Raw grains, toasted or not, should not be consumed regularly. Grains, including pseudograin like buckwheat, contain substances that are irritating to the gut. These substances are neutralized during cooking.
Looking for more healthy basics? Here are some ideas:


Did you make this? Please leave a ⭐ recipe rating in the recipe card below and leave a review in the comments. Thank you!💚
Printable Recipe
How to Roast Buckwheat in Oven
Equipment
Ingredients
- 1 pound buckwheat groats
Instructions
- Preheat oven to 325 degrees Fahrenheit. Spread buckwheat groats on a rimmed baking sheet in a single layer. Toast for 25 minutes, shaking to mix the kernels halfway during cooking.

- Remove from oven and allow to cool completely. Transfer to an airtight container.

Notes
- Store roasted buckwheat in a dry and dark place for up to 6 months.
- Recipe makes 1 pound of roasted buckwheat. Nutritional information is calculated for the entire batch of buckwheat, not per serving.