Ancient grains like spelt, einkorn, and teff are making a comeback in kitchens everywhere. Discover how these nutrient-dense grains can boost your health, provide unique flavors, and offer a more sustainable alternative to traditional white flour.

For years, all-purpose flour has been the go-to in baking, but ancient grains are making a major comeback. Grains like spelt, einkorn, and buckwheat are gaining traction, and the market for them is expected to grow by $50 million by 2028. People are turning to these grains instead of white flour because they offer more flavor, better health benefits, and a more sustainable option.
Embracing ancient grains: from grain-free to nutrient-rich
If you've been following me for a while, you know that I’ve spent time (and I mean tiiiime) experimenting with Paleo, GAPS, and Whole30 diets and many of my recipes still reflect these healing dietary principles. I've been gluten-free for over 10 years in the past, not because I’m celiac—but because grains were deemed "bad" by diet culture, and I fell for it.
But here’s the thing: after years of being grain-free-ish, I’ve finally decided to dive deep into ancient grains, and I’m honestly blown away by the nutrition packed into these little powerhouses.
There’s so much more to them than I ever realized, and I’m excited to explore their richness, flavor, and health benefits. It’s been a real game-changer for me, and I can’t wait to share what I’m discovering!

What are ancient grains?
For millennia, grains have been a key ingredient in baking across cultures. All-purpose flour, made from wheat, forms the basis of many breads, pastries, and sweets in America and Europe. In the past decade, however, ancient grains like buckwheat, amaranth, teff, and Kamut have been significantly reintroduced into baking recipes.
As defined by the Whole Grains Council, ancient grains are those that have not been changed through breeding. While wheat has been consistently bred to create more resistant and productive crops, ancient grains are the same today as they were hundreds of years ago. The result is grains that are packed with flavor, texture, and nutrients.

Make it Ancestral
To me, these grains feel like a return to the roots of true nourishment—unhybridized, nutrient-dense, and often easier to digest. It’s no wonder that many of these grains are celebrated by organizations like the Weston A. Price Foundation (WAPF), which promotes the wisdom of traditional diets. You can read about my 8 pillars of truly nourishing food.

A growing market for ancient grains
Many of these grains have been popular in non-Western cultures. World Grain noted that teff has grown in the mountains in present-day Ethiopia, where it is a key ingredient in the flatbread injera. Sorghum flour is a common ingredient in Indian roti or susu bukkumi cakes in Korea, according to Schär.
Flours from these whole grains are also gaining popularity in American baking. Food Business News reports that the United States ancient grains market will grow from $90.4 million in 2022 to $142.3 million by 2028, a nearly 8% growth every year.
Meanwhile, the all-purpose flour industry is only expected to grow by about 3% per year, according to a 2024 Dataintelo study. Even among all-purpose flour, consumers seek healthier organic and non-GMO varieties as they turn toward more nutritious and sustainable options for baking.
What’s exciting is that this isn’t just a trend - it’s a revival of traditional wisdom. More people are rediscovering the value of diverse, heritage grains that were long staples in traditional cultures worldwide.
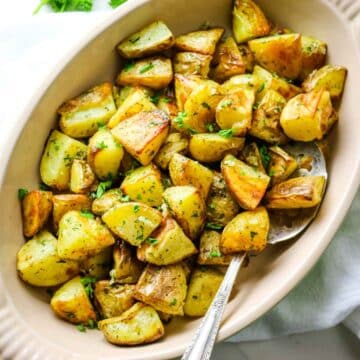
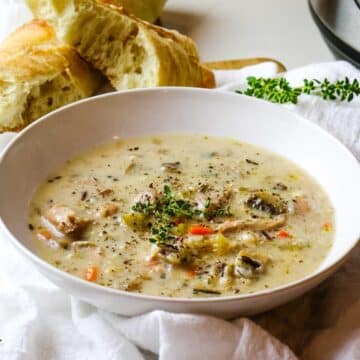
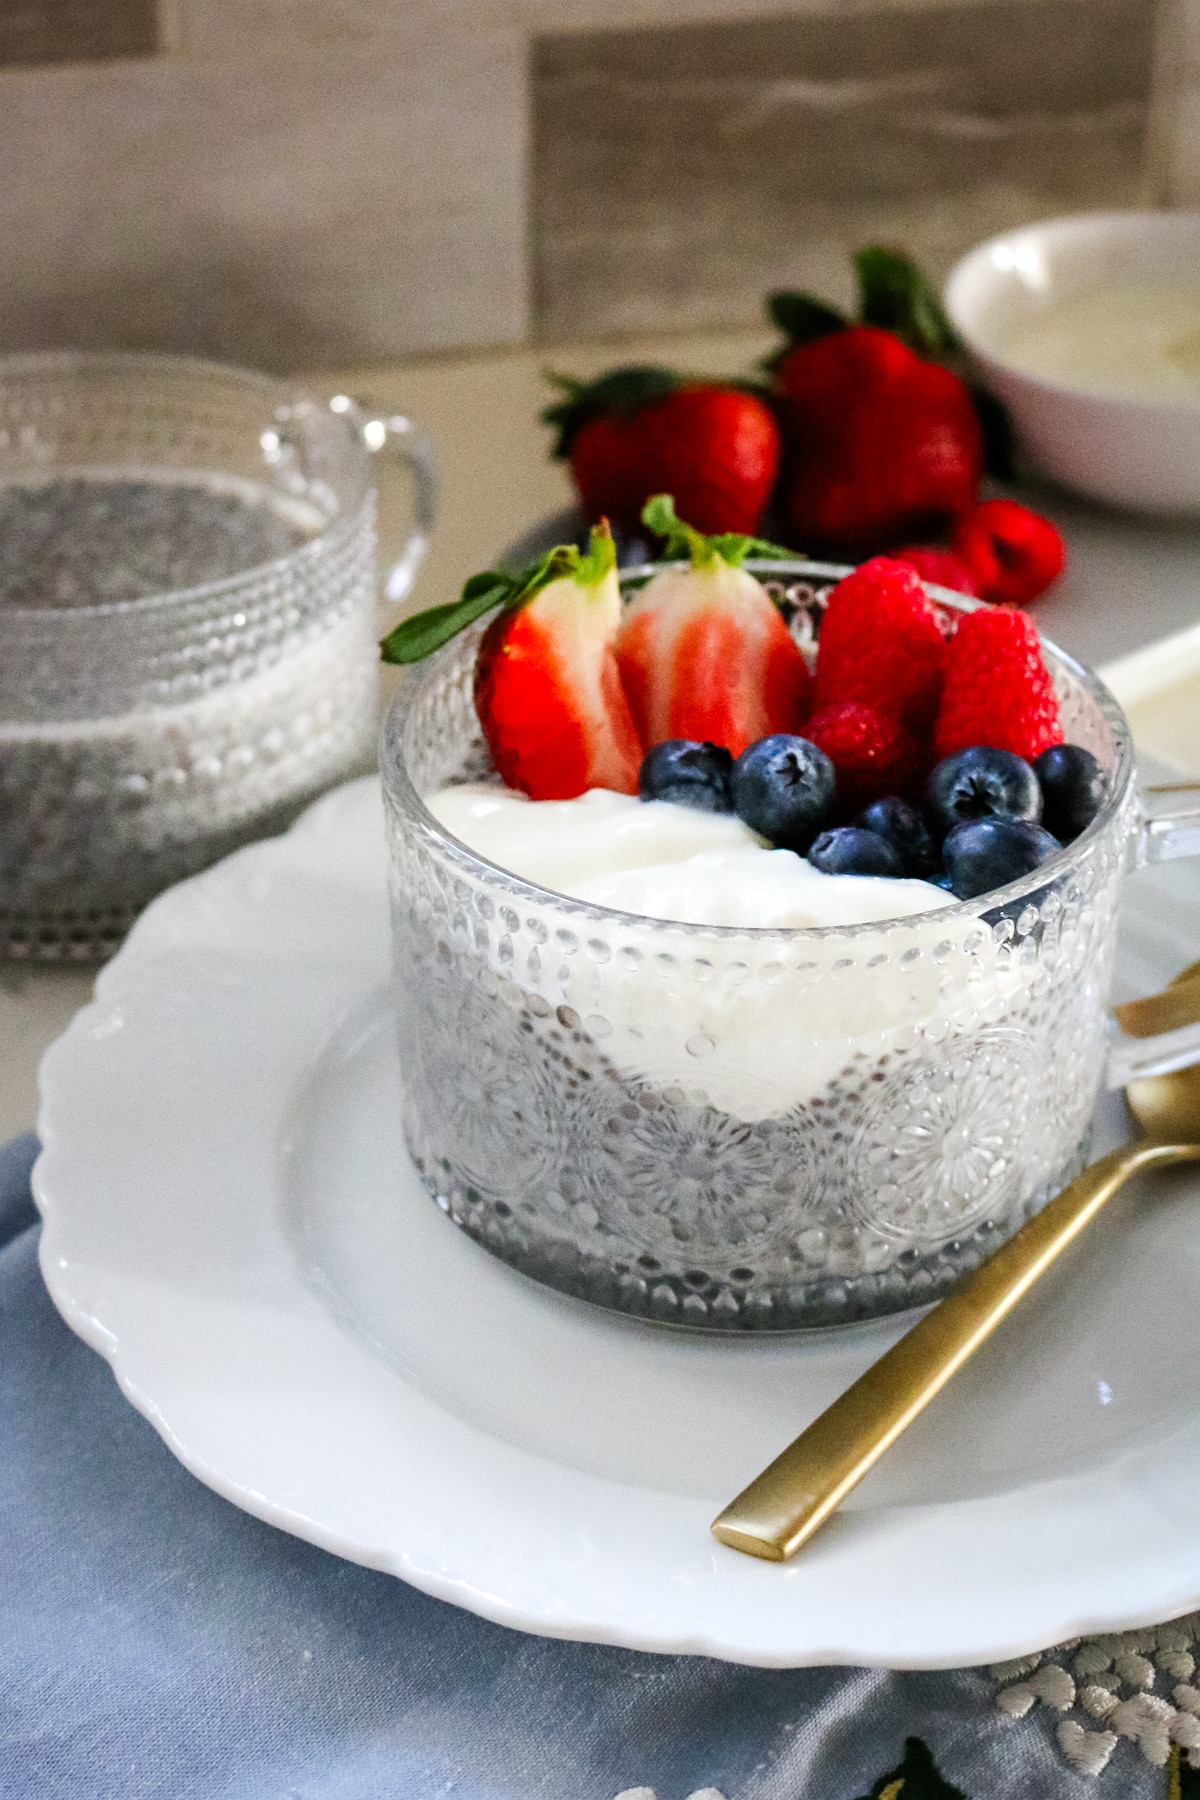
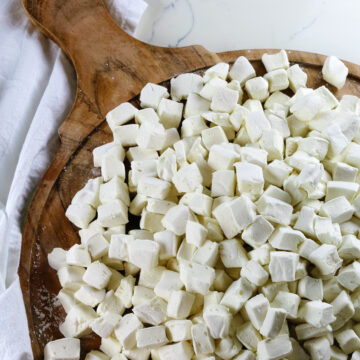
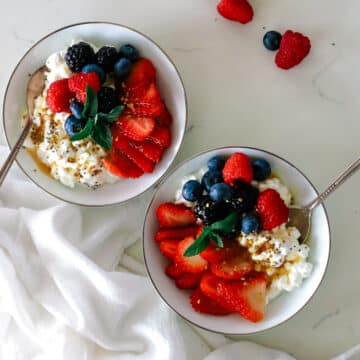
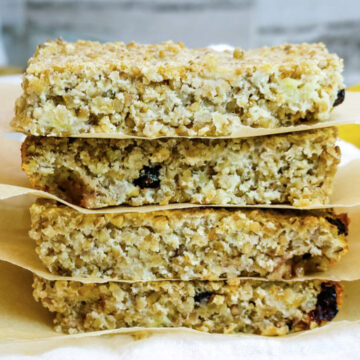
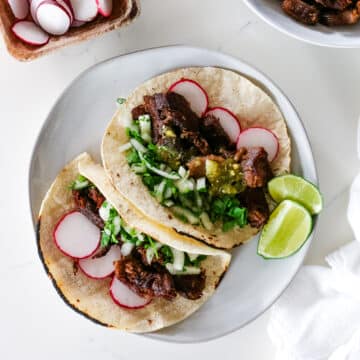
Here's a few recipes to get your started with ancient grains:
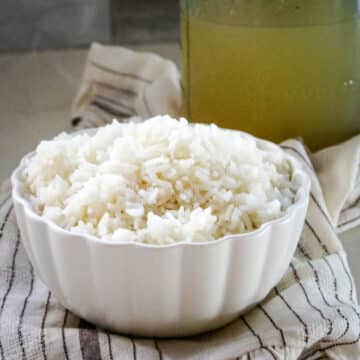
Okay, okay, bone broth rice isn't exactly ancestral but did I mention I'm new to this?
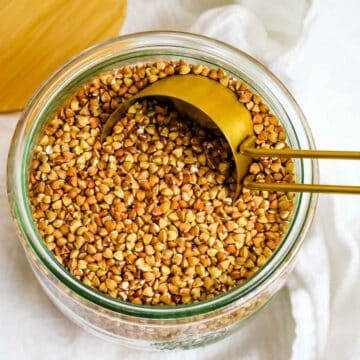
- How to Roast Buckwheat in Oven30 Minutes
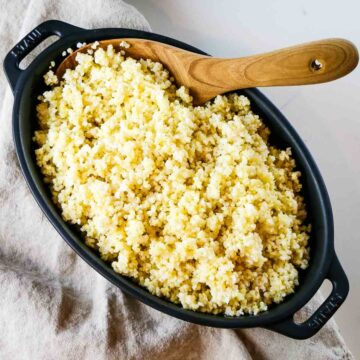
- Instant Pot Millet (Quick and Fluffy!)35 Minutes
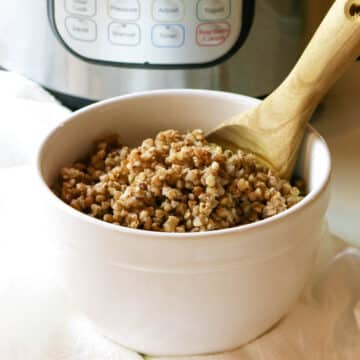
- Instant Pot Buckwheat27 Minutes
- Bone Broth Rice20 Minutes
How ancient grains weigh up against all-purpose flour
The switch to ancient grains follows some larger trends in food and baking. Among these reasons, a curiosity about innovative flavors, healthier alternatives, and eco-friendly choices has been key in boosting ancient grains’ popularity despite the higher cost.
Add flavor and texture with ancient grains
The predictable, neutral taste of all-purpose flour is a large part of what has made it so useful in baking, as it lets other flavors shine. Ancient grains offer more complex flavors and, depending on the way they are milled, a distinct texture that can enhance baked goods.
King Arthur Flour describes amaranth and teff as earthy. Kamut is buttery, and sorghum is slightly sweet. Spelt and buckwheat flour can also bring extra tenderness to baked goods in small amounts or make them drier in large quantities.
These tastes and textures add complexity to breads and desserts. Bakers can create exciting flavor combinations with the right recipe or for simply being adventurous. Professional bakers at Carlisle Bakery explain how ancient grains like rye enable them to make more unique baked goods.

Ancient grains for nutrient-packed baked goods
Consumer awareness is shifting towards more wholesome and nutrient-dense ingredients. Healthy eating app Lifesum reported in their 2024 State of Healthy Eating and Wellness Report that 62% of millennials and Gen Z are willing to sacrifice spending on fashion for healthy food, while 55% would sacrifice tech spending to eat healthier.
Ancient grains deliver when it comes to health. Brown University Health notes that, as whole grains, ancient grains have more protein, fiber, vitamins, minerals, and antioxidants than refined all-purpose flours. Substituting ancient grain flours can help manage weight and reduce the risk of heart disease, diabetes, and stroke.
These grains are nutrient-dense by nature, not by fortification. They come with their bran and germ intact, providing essential vitamins and minerals as nature intended. It aligns perfectly with the WAPF approach of choosing whole, unprocessed foods rich in naturally occurring nutrients.
Some ancient grains are naturally gluten-free. Buckwheat, amaranth, teff, and sorghum contain no gluten, making them excellent gluten-free flours for those with celiac or gluten intolerance. In 2024, Tarrand Fiesel of flour miller and blender DakotaMB described to Snack Food & Wholesale Bakery how bakeries seek gluten-free, ancient grain blends to use in their pastries.
Sustainable farming with whole grains
Ancient grains are more sustainable, requiring less water, fertilizer, and pesticides. Grains like millet grow well in harsh conditions, enabling them to thrive as global warming creates more intense climates.
Many ancient grain farmers and millers are also small businesses. Unlike the industry farming and monoculture of wheat production, the wide variety of ancient grains can yield healthier soils and more sustainable growth.
Supporting ancient grains often means supporting regenerative and small-scale agriculture. These are the kinds of farmers who prioritize soil health, seed preservation, and biodiversity—values that resonate deeply with those of us following traditional food principles.

Ways to incorporate more ancient grains into everyday cooking
Baking with ancient grains takes a little practice but can yield fantastic results. When it comes to flour for baking, most whole-grain flours are not a 1-to-1 replacement with all-purpose flour. Too much ancient grain flour can make a bake dry, for instance. Ancient grains also have weaker or no gluten, which can negatively impact the structure of bread.
Substitute gradually to avoid these challenges with ancient grains. Replace a portion of the all-purpose flour in your cookies, muffins, or pancake recipes. You can continue to increase the ratio in future bakes until you’re satisfied with the balance of taste and texture.
Use flours like teff or buckwheat to boost the richness of chocolatey desserts or sorghum to create airy crepes. Glutinous einkorn can go well in your favorite bread recipes. In exploring new recipes, look to other cultures. Ancient grains may be seeing a resurgence in the U.S. now, but they’ve always been a part of cuisine in other areas. These recipes can give you a starting point for melding flavors.
Experiment with a variety of flours as you start to explore ancient grains. Over a few recipes, you’ll see which ones match your style of baking and should become pantry staples.
I recommend starting with spelt or einkorn in muffins or pancakes - easy recipes where you can still get great results even if you're new to ancient grains. (Personally, that's where I am at right now and it's so fun experimenting!) Soak or sour your grains whenever possible, especially for longer-fermented sourdoughs, to make nutrients more bioavailable and improve digestibility, just as traditional cultures did.
Ancient Grains Essential Tools
After stepping away from the grain-free diet culture, I'm just now starting to explore ancient grains - and I learned that having the right tools on hand makes all the difference. Here's a list to get you started.
- Electric grain mill: A home grain mill lets you grind ancient grains fresh at home, preserving nutrients that begin to degrade quickly after milling and giving you the best flavor and maximum nutrition.
- Large glass airtight containers: Essential for keeping ancient grains fresh by protecting them from moisture, pests, and oxidation.
- Digital scale: Ancient grains in baking can behave unpredictably. Measuring by weight (rather than cups) gives more consistent results when swapping or combining flours.
- Fine mesh strainer: Or a sifter to help create a lighter texture, especially in cakes or muffins.
Make the switch: ancient grains are the better choice
As more bakers seek alternatives to refined white flour, ancient grains are reclaiming their place in kitchens as a flavorful and nutrient-rich alternative. Whether for health reasons, sustainability, or the simple pleasure of exploring new flavors, these time-honored grains offer a fresh take on baking and cooking, making them a worthwhile addition to any pantry.
In a world of fast food and factory farming, ancient grains remind us that food can be both nourishing and meaningful. They’re not just ingredients—they’re heirlooms.

Looking for more helpful articles? Here are some ideas:
Jere Cassidy is the writer and recipe developer behind the blog One Hot Oven. A passion for all things food related led her to culinary school to expand her baking skills and now to share easy recipes for all home cooks and bakers of all skill levels. When not in the kitchen, Jere’ likes to travel far and wide to find delicious food. Article slightly edited to reflect Anya's commentary and notes.
This article originally appeared on Food Drink Life.
Disclaimer: These statements have not been evaluated by the Food and Drug Administration. The contents of this article, made available via Food Drink Life, are for informational purposes only and do not constitute medical advice. The content presented here is not intended to be a substitute for professional medical advice, diagnosis or treatment. Always seek the advice of a qualified healthcare provider with any questions you may have regarding a medical condition or dietary changes. Reliance on any information provided by this article is solely at your own risk.