

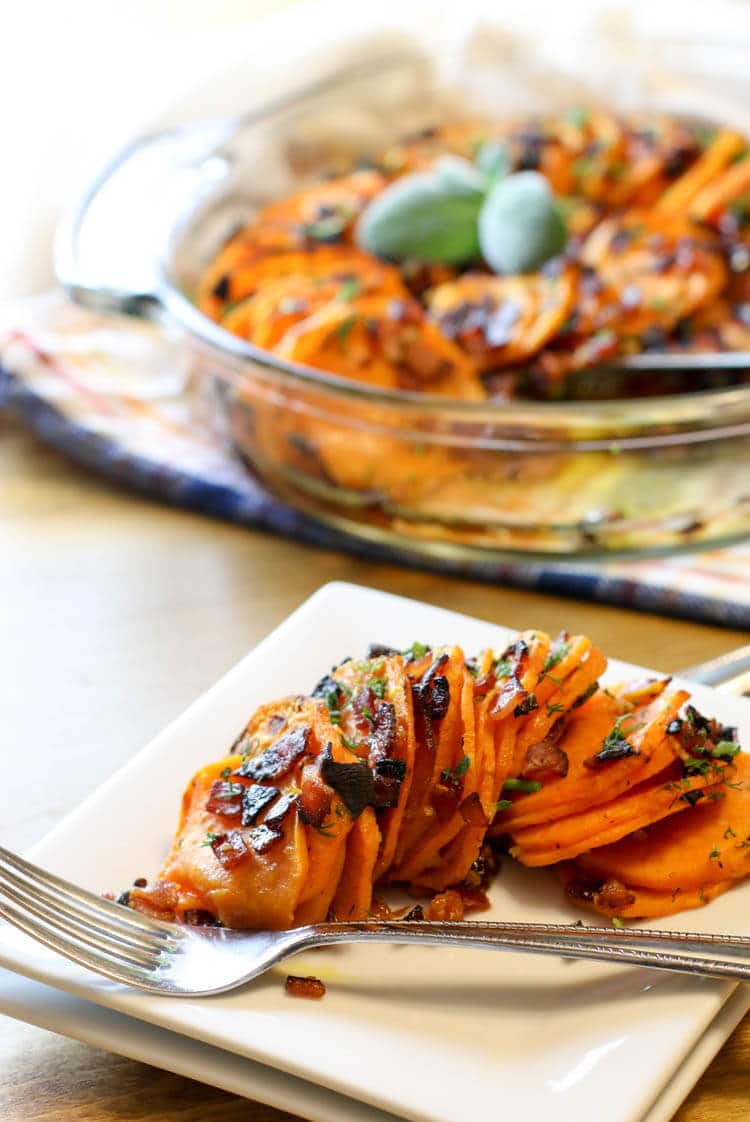
Make this for an easy weeknight side dish or a fancy dinner party. Either way, these Scalloped Sweet Potatoes with Bacon are Whole30 and Paleo and require only 4 ingredients.
If you're not a big sweet potato fan, you have to give this dish a try. I don't particularly care for sweet potatoes myself but when bacon and garlic is involved, I'm in!
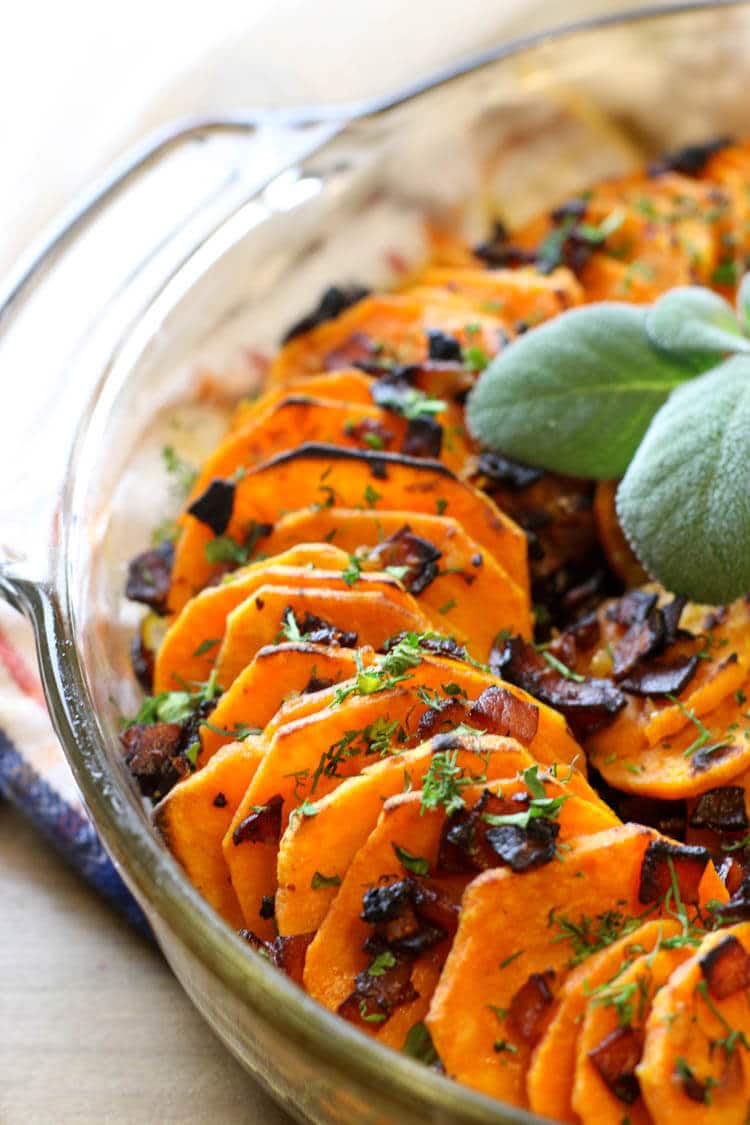
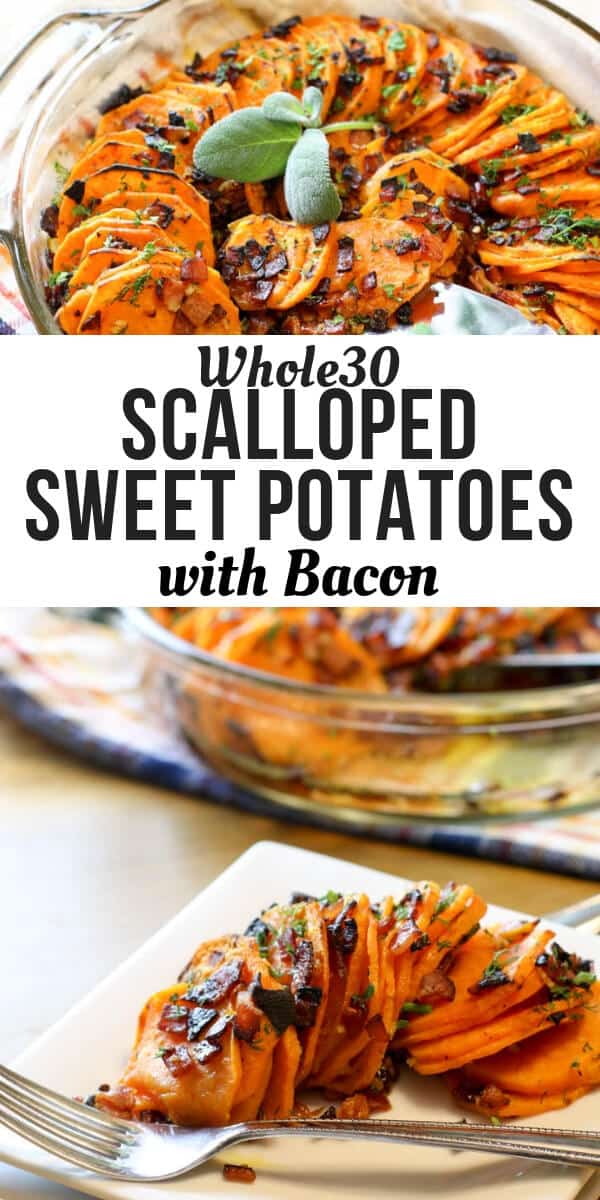
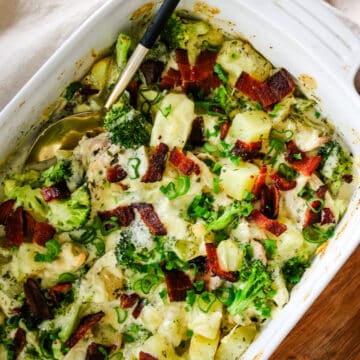
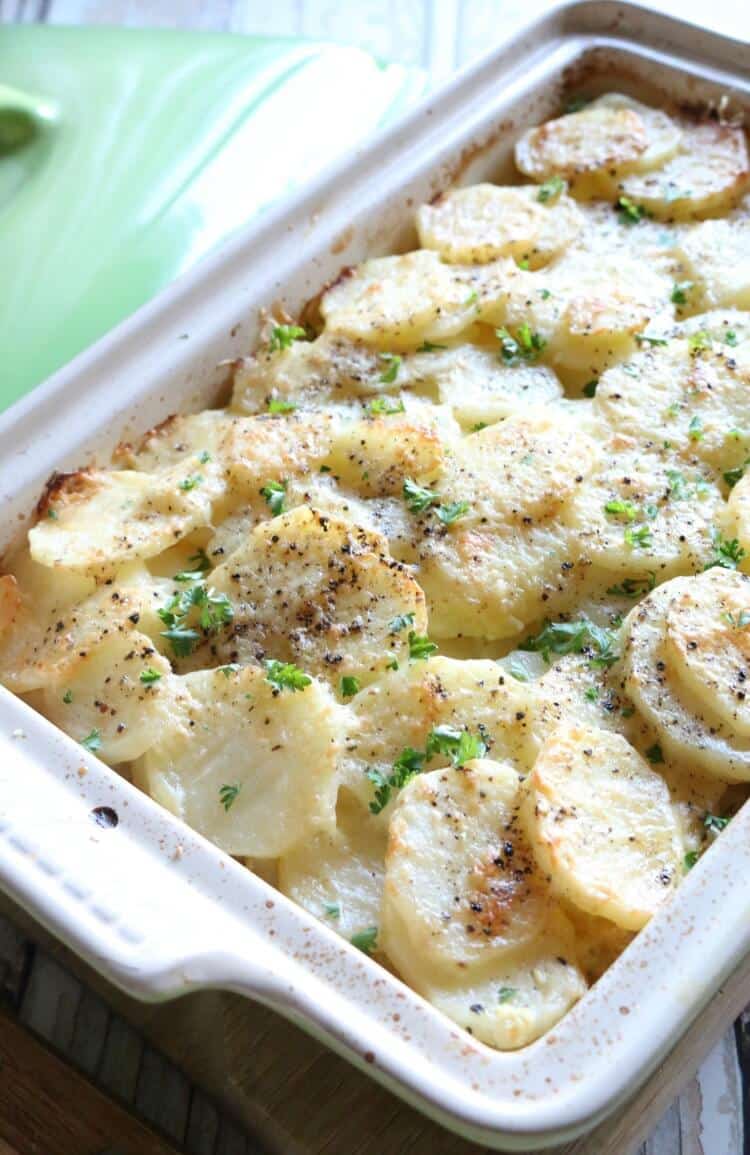
Scalloped Sweet Potatoes with Bacon (Whole30, Paleo)
These Scalloped Sweet Potatoes with Bacon make an easy side dish to pair a roast chicken on a busy weeknight. Or whip this up to grace your holiday table for a festive side vegetable. Either way, you'll satisfy the tastebuds of your Whole30 and Paleo folks.
Traditionally, scalloped potatoes involved a creamy, cheesy sauce poured over the potatoes for a luscious side dish. To make this simple, yet flavorful and simple, we're just going with four ingredients: bacon, sage, garlic and of course the sweet potatoes.
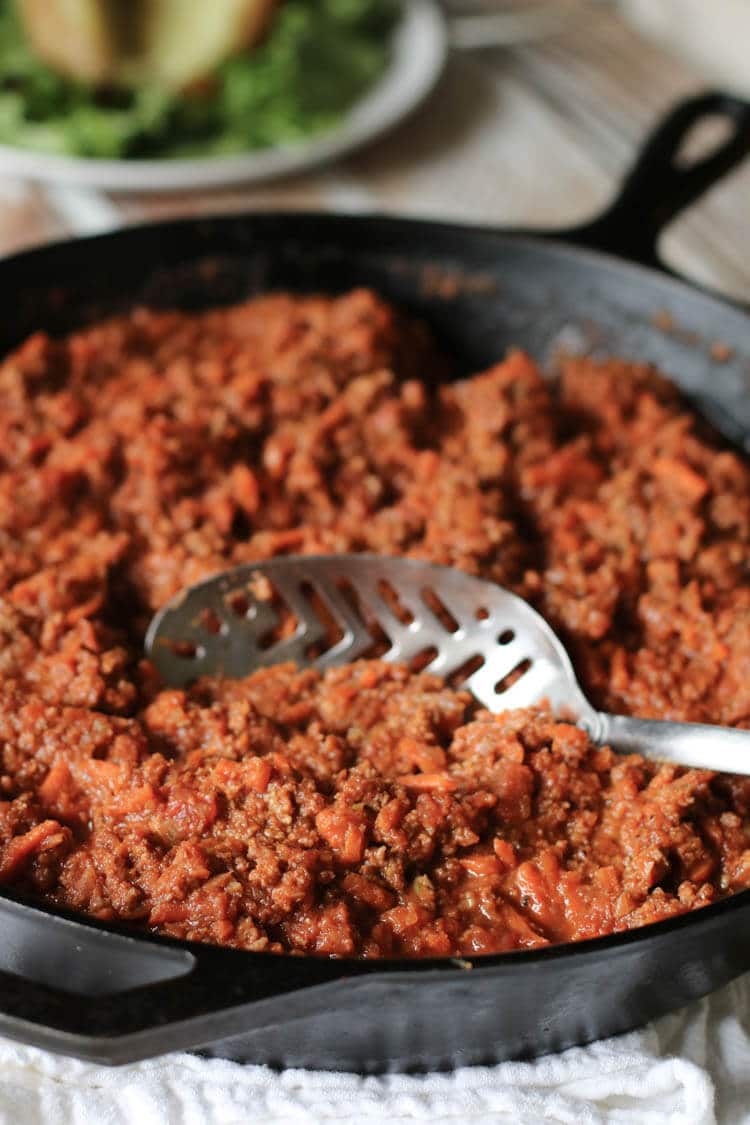
Related: Scalloped Butternut Squash and Onions (Low Carb, GAPS, Primal) + VIDEO
To be compliant with Whole30 and Paleo, we will skip the cream and cheese altogether and keep these taters naked. But don't worry, the amazing aroma of sage and garlic will keep them plenty flavorful. And who can say no to bacon.
Related: 5 Ingredient Easy Chicken Scalloped Potatoes (Whole30)
Helpful Tips for Scalloped Sweet Potatoes with Bacon
- In order to get the perfect sweet potato slices, I recommend you use a mandolin slicer. I used a sharp chef's knife so, by all means, use that if you're comfortable slicing uniformly thin slices of the potatoes.
- To bring out the flavor of sage, rub it between your palms first before throwing them into the skillet along with the bacon.
- No oil is needed: we are using the rendered bacon fat to drizzle over the potatoes for our "oil." This will impart incredible flavor throughout the dish.
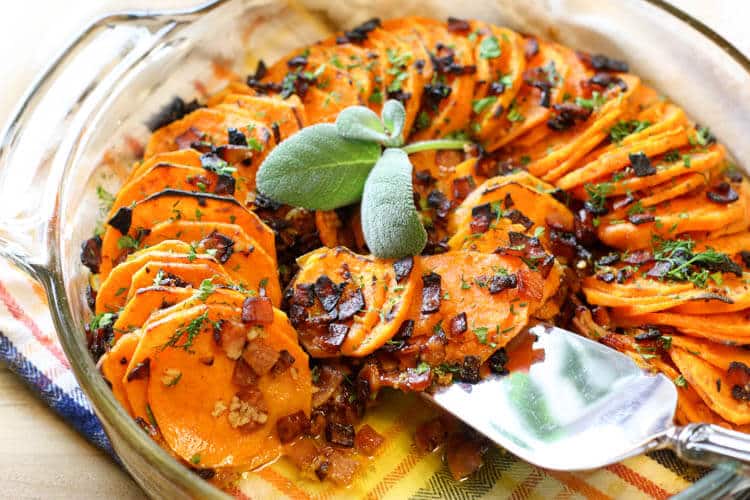
- When stacking up the sweet potato slices vertically in your dish, start with the the outside and work your way inside the circle, eventually ending with a handful of slices right in the center. Spread them out as necessary for a uniform appearance.
Helpful Products for Scalloped Sweet Potatoes with Bacon
- Mandolin Slicer or sharp Chef's Knife to make those uniform thin sweet potato slices.
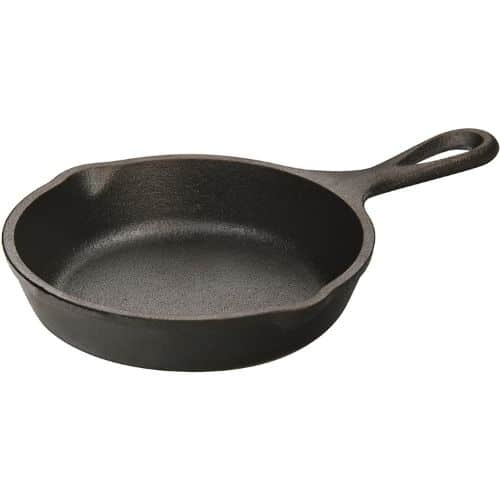
- Cast Iron Skillet to brown that bacon and infuse the garlic and sage.
- Round or oval baking dish to go all fancy or a regular glass square casserole dish will do just as well. I prefer to use either Le Creuset or glass dishes for my baking needs to reduce lead contamination.
Printable Recipe

Scalloped Sweet Potatoes with Bacon
Ingredients
- 8 slices of thick-cut bacon
- 6 fresh sage leaves
- 4 large sweet potatoes
- 8 garlic cloves minced
Instructions
- Preheat oven to 425 degrees Fahrenheit.
- Cut bacon into ½" pieces using kitchen shears and cook them in the cast iron skillet over medium-high heat for 6-8 minutes, stirring often. Toss the sage leaves into the bacon.
- Meanwhile, prepare the sweet potatoes. Peel and slice them very thinly with a sharp knife or using a mandolin.
- Arrange the sweet potato slices vertically in a 10" round or oval baking dish.
- Once bacon is cooked, remove bacon bits from skillet with a slotted spoon and spoon it over the sweet potato slices. Remove sage leaves and discard.
- Reduce heat of skillet to medium-low. Add minced garlic to bacon fat and cook for 1-2 minutes.
- Pour garlic infused bacon fat evenly over the sweet potatoes. Cover loosely with parchment paper then foil so the aluminum doesn't touch the food.
- Bake for 40 minutes or until potatoes are tender. Remove the foil and parchment paper halfway. If after baking, you find that the potatoes have not browned to your liking, simply set your oven to broil for 2 minutes but watch closely so the dish doesn't burn.
Nutrition
If you liked the recipe above, please consider rating the recipe and leaving a comment below. Also, be sure to follow me on Facebook, Instagram, and Pinterest.
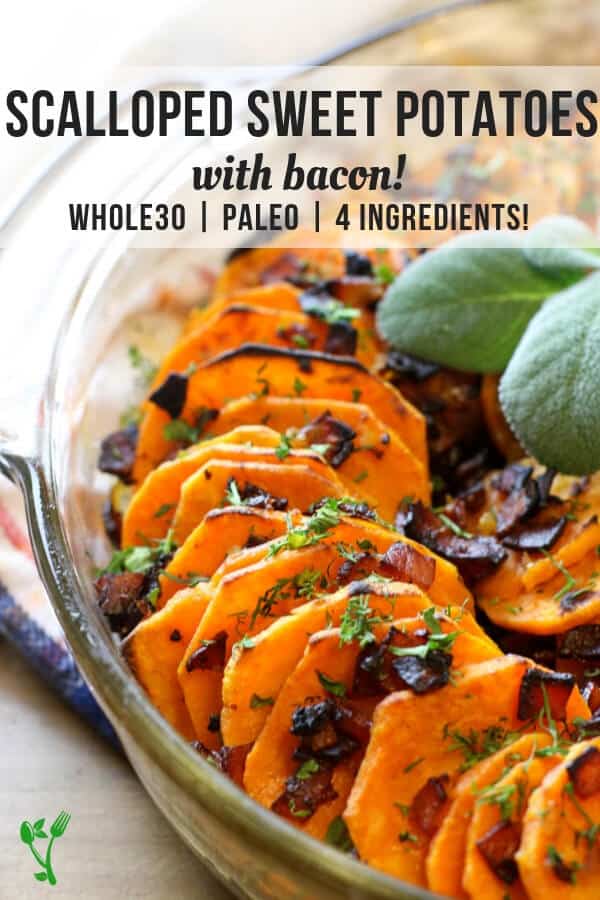
>>> Pin This <<<


 Tools Used in This Recipe:
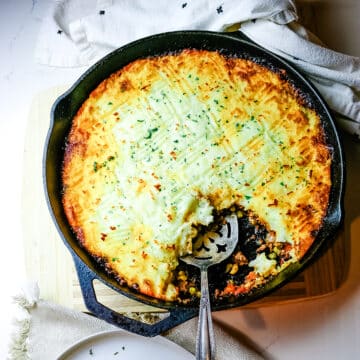
 Easy Chicken Scalloped Potatoes (Whole30)
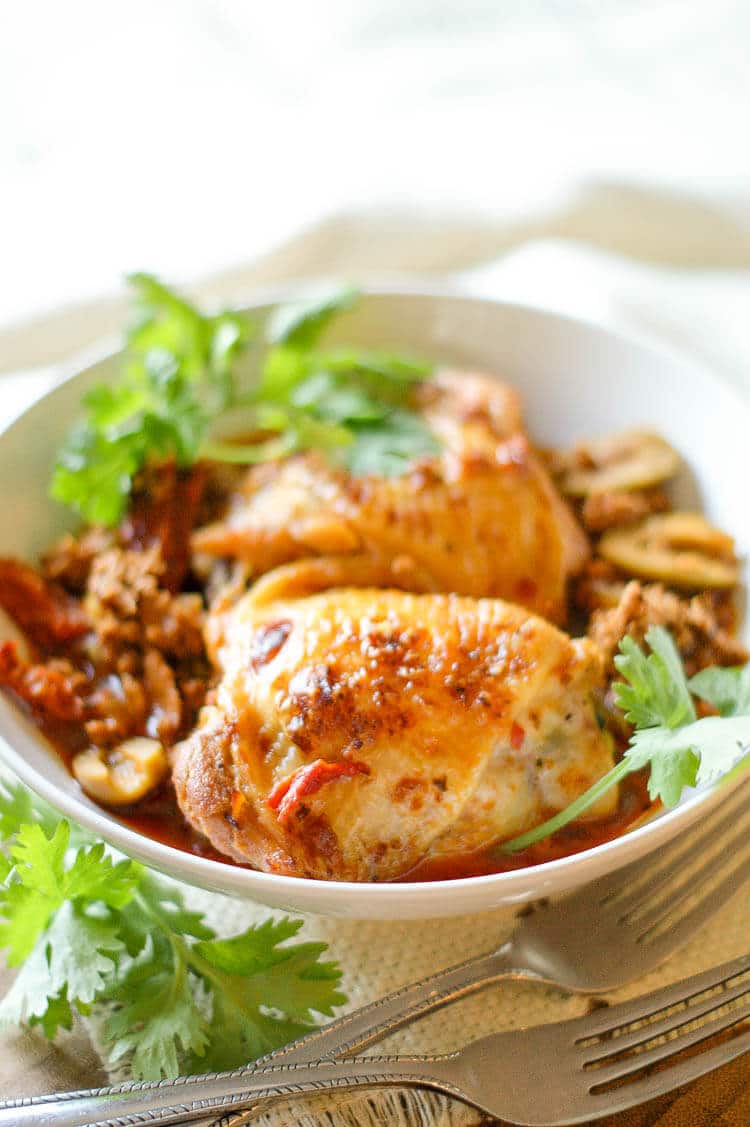 Instant Pot Citrus-Herb Basque Chicken (Paleo, Whole30)


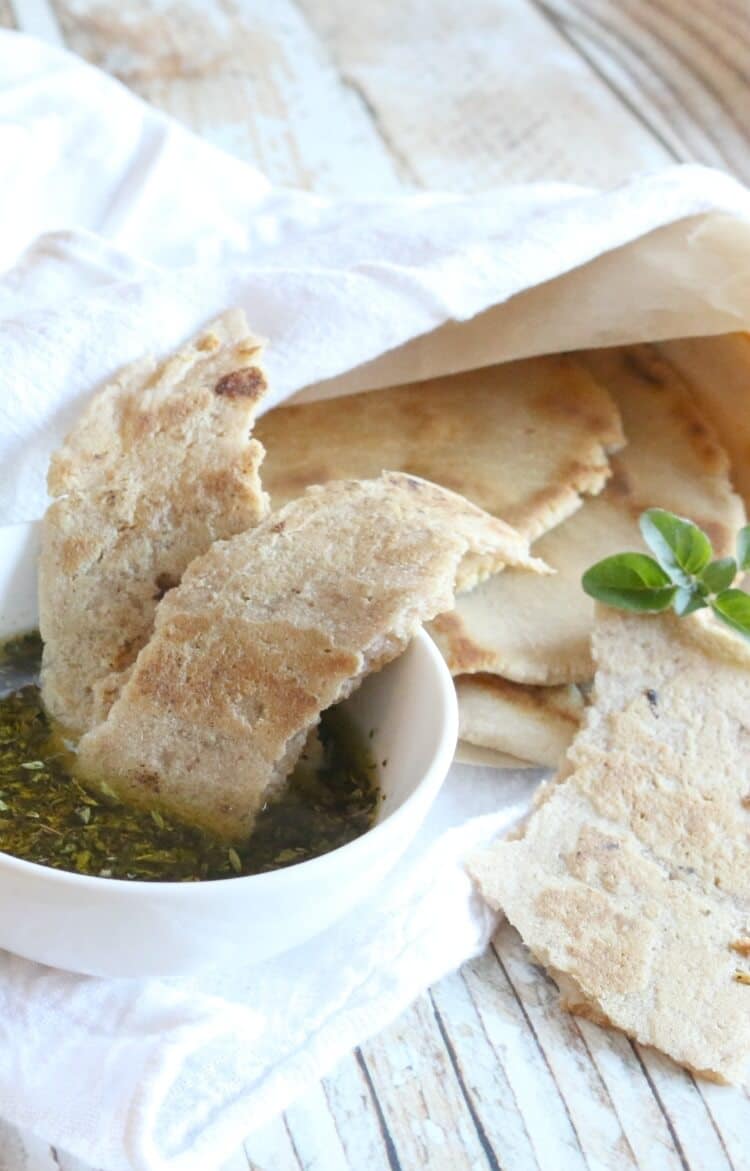 Gluten-Free Flatbread with Dipping Oil