This easy Garlic Confit recipe is a wonderful way to add flavor to your meals. And it's as easy as roasting the garlic in olive oil in the oven.
If you're looking for ways to elevate your meals, garlic confit may be your answer. It's also a great way to use up and preserve garlic should you have an oversupply.
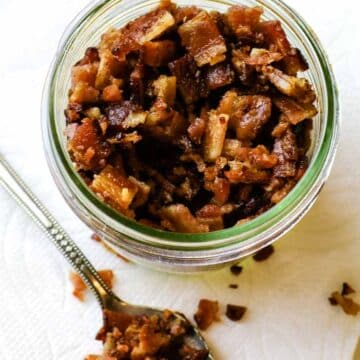
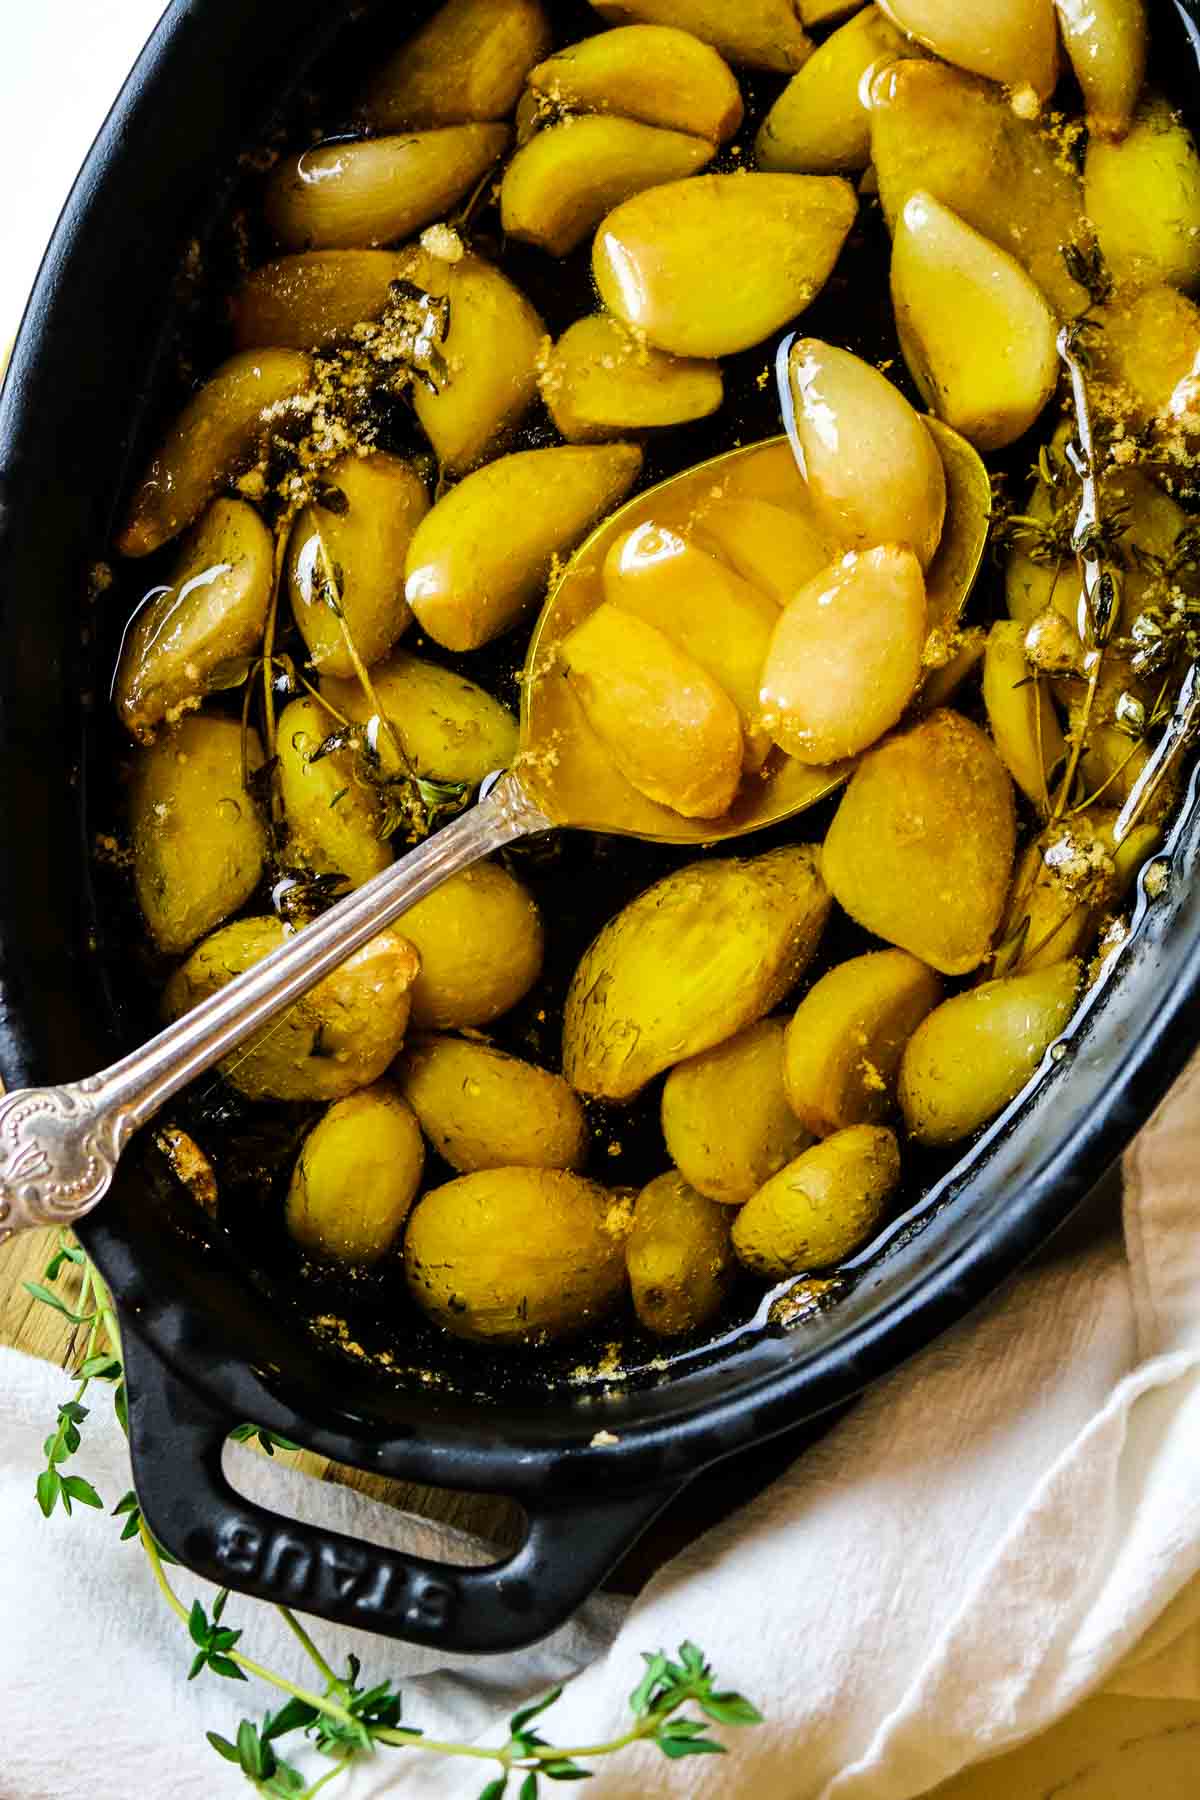
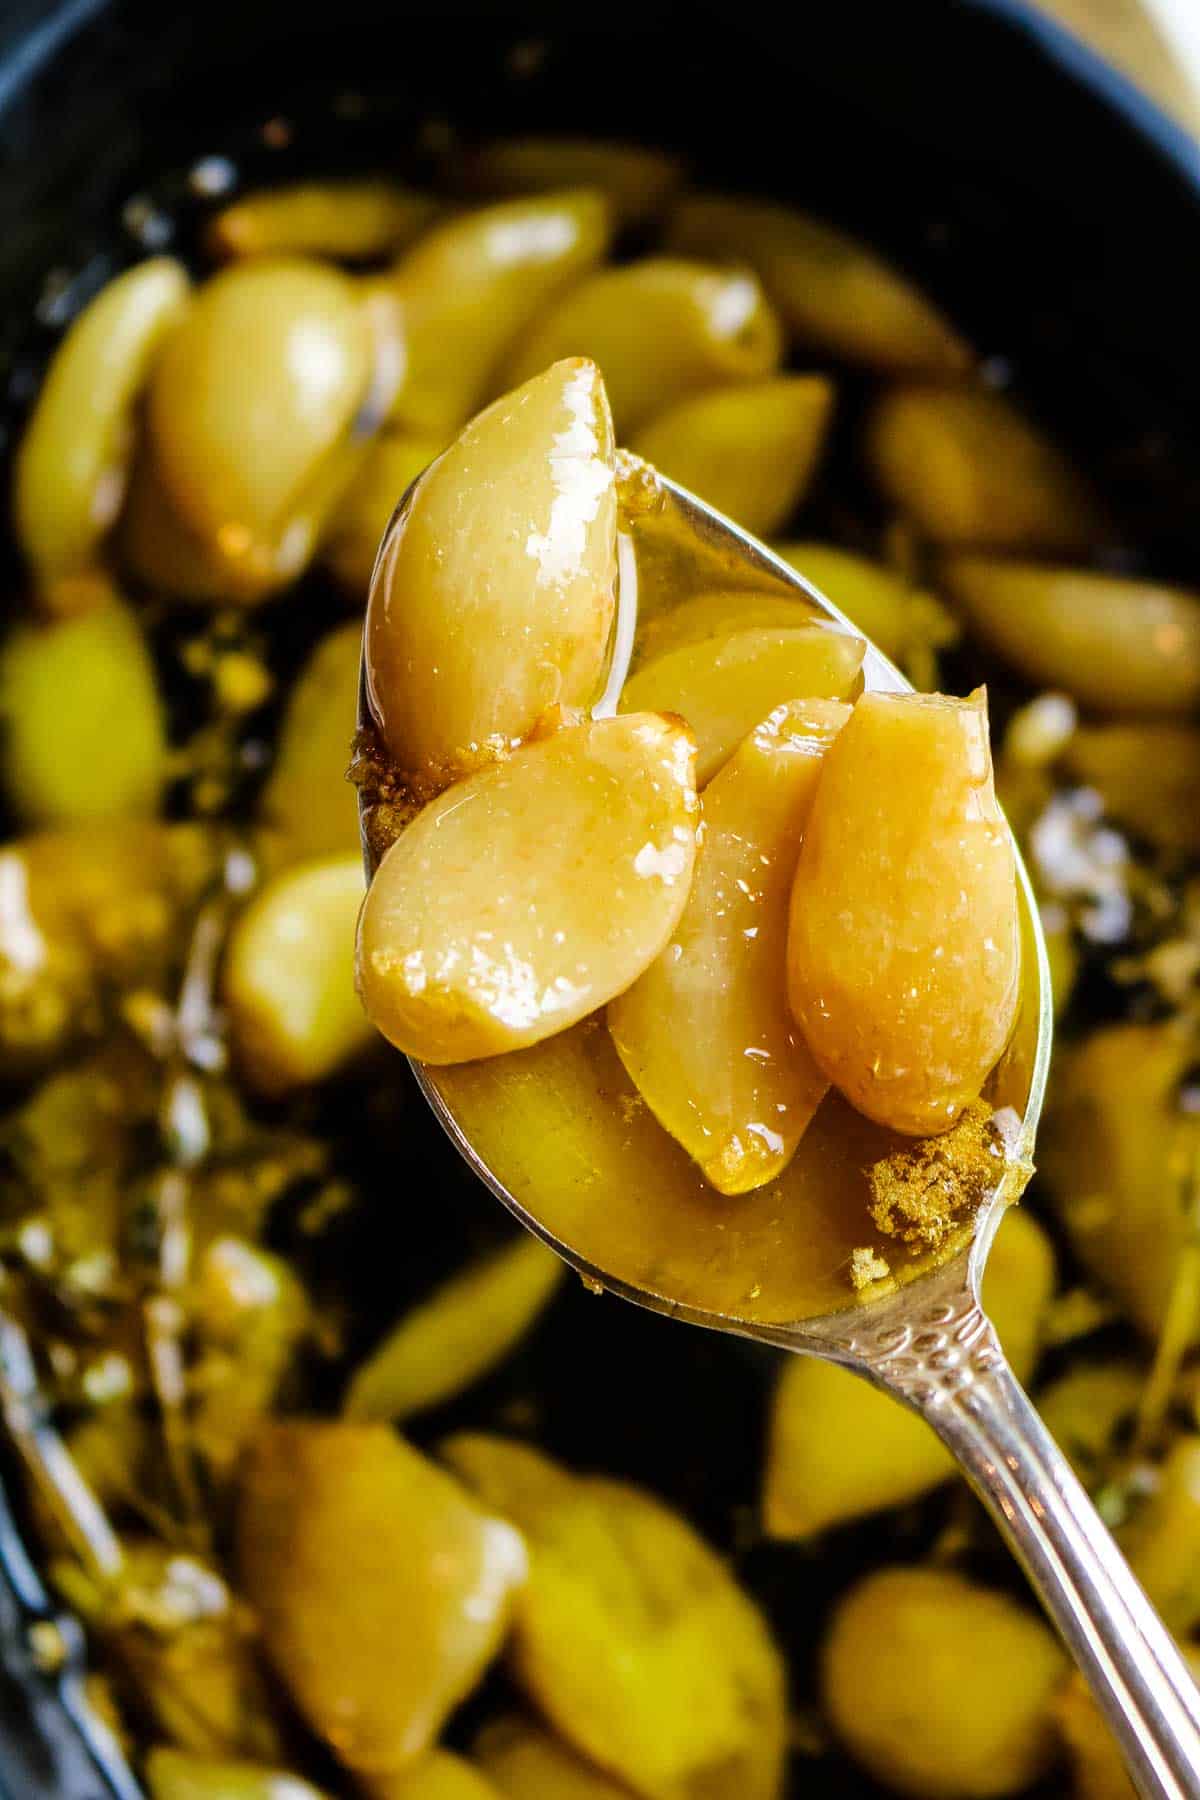
Garlic confit starts with slowly cooking the garlic cloves in oil transforming them into subtly sweet and soft spreadable cloves.
This easy garlic confit recipe is made in the oven with 2 simple ingredients. There's very little hands-on time needed and you don't have to babysit a pot of hot oil on the stovetop.
[feast_advanced_jump_to]What is garlic confit?
Garlic confit is a fancy term for garlic roasted in oil.
Confit is most commonly known as the process of very slowly cooking something in its own fat. For example, duck confit starts with seasoning the duck and then cooking at a low temperature for an extended period of time. This helps destroy any harmful microorganisms and preserves the meat when submerged in that cooking fat.
In the same way, confit can be made from vegetables. However, most vegetables don't produce enough of their own fat to be cooked in. So in the case of garlic confit, for example, we would have to use other fat like extra virgin olive oil.
Why you'll love this recipe
- Always appetizer-ready: There are so many ways garlic confit can become the star of your appetizer spread.
- Versatile uses: Puree or mash into vegetables like mashed potatoes; blend into soups; spoon over roasted meats and fish; add to salad dressings, the options are endless!
- Level of difficulty: EASY! It's as easy as literally throwing everything into a baking dish and setting it to bake low and slow in oven.
- Unites all levels of garlic lovers: Roasting garlic significantly mellows out the pungency, making this a nice way to consume garlic without the sharp flavor.
💭Pro tip: Here's an easy appetizer using garlic confit: spoon some garlic cloves along with the olive oil to a ramekin, mash the garlic gently with the back of a fork, add fresh thyme leaves and season with coarse salt and pepper. Drizzle with balsamic vinegar and enjoy dipping toasted sourdough slices or crackers.
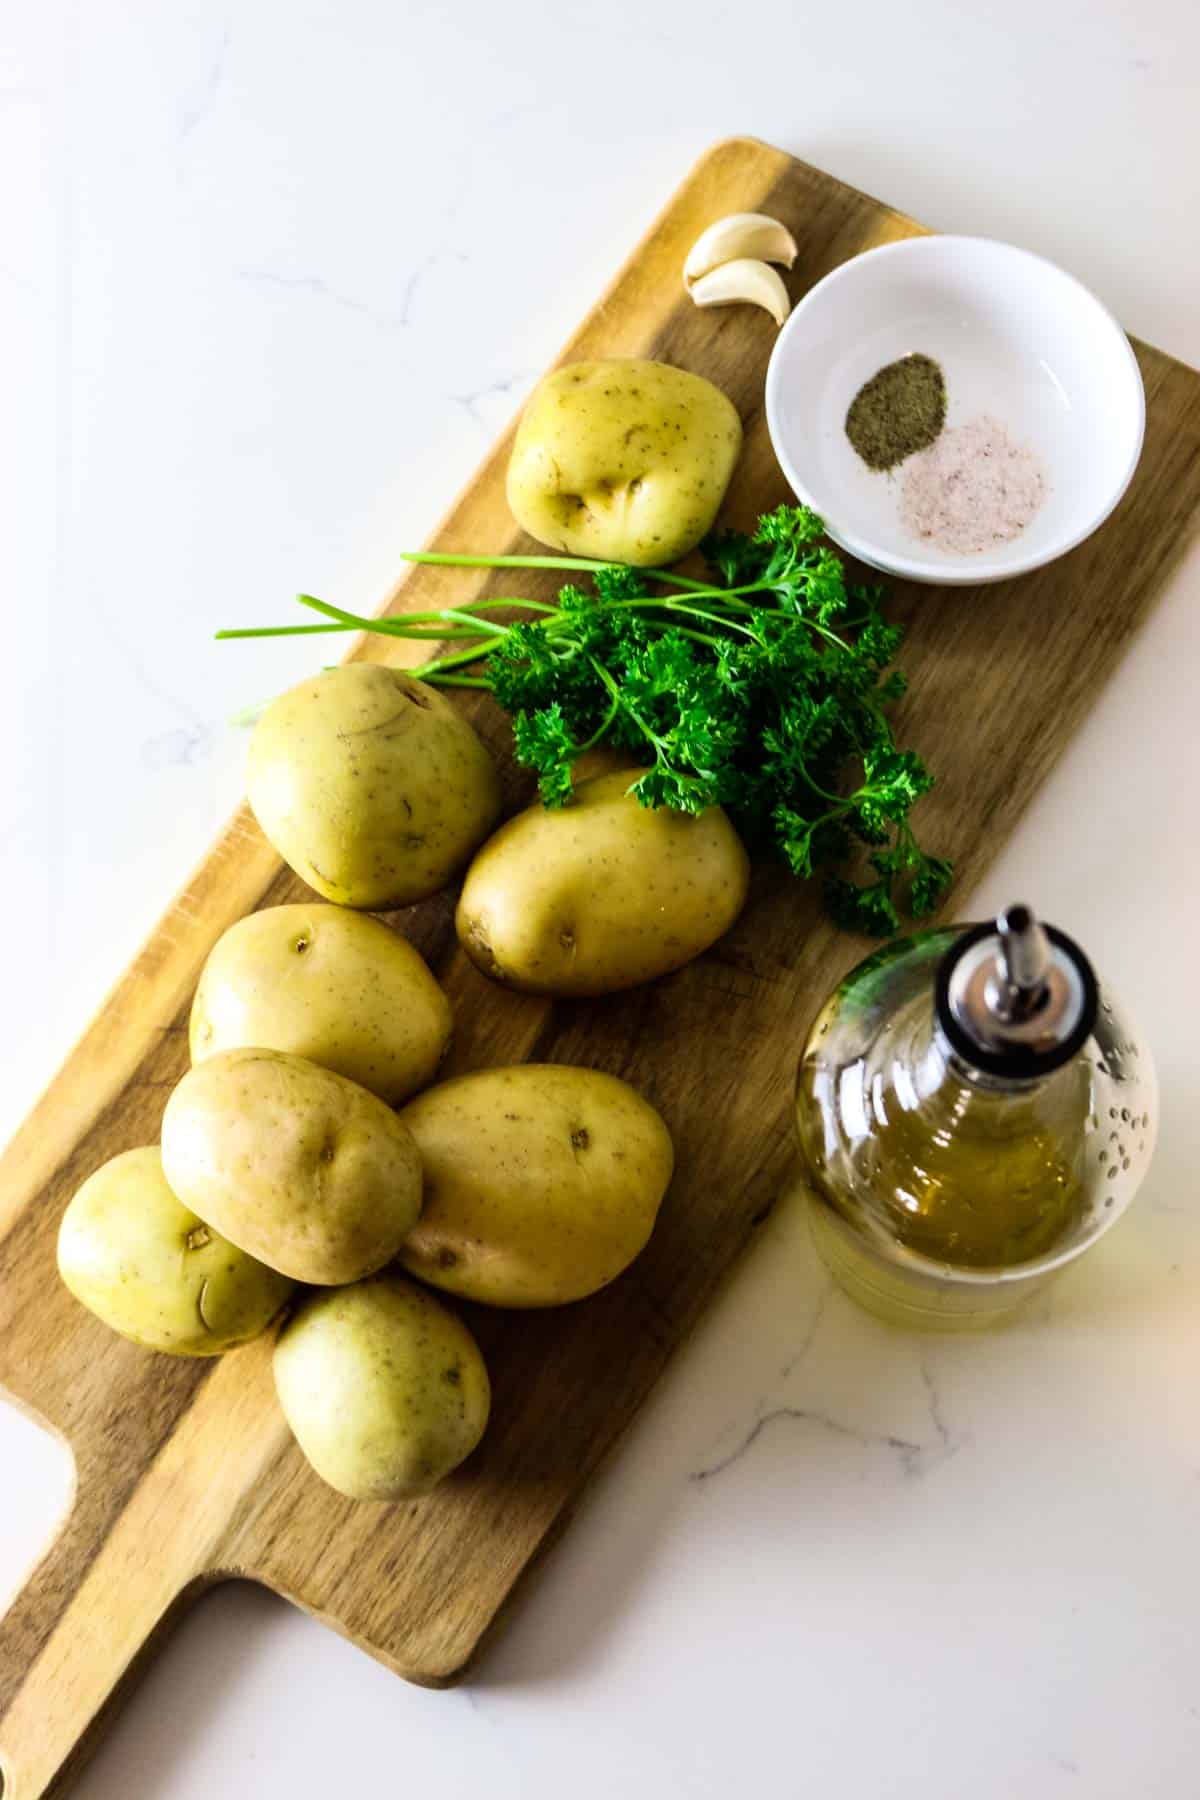
Ingredients
Making garlic confit uses very simple ingredients. You'll also need a small oven-safe dish and a jar to store the garlic oil.
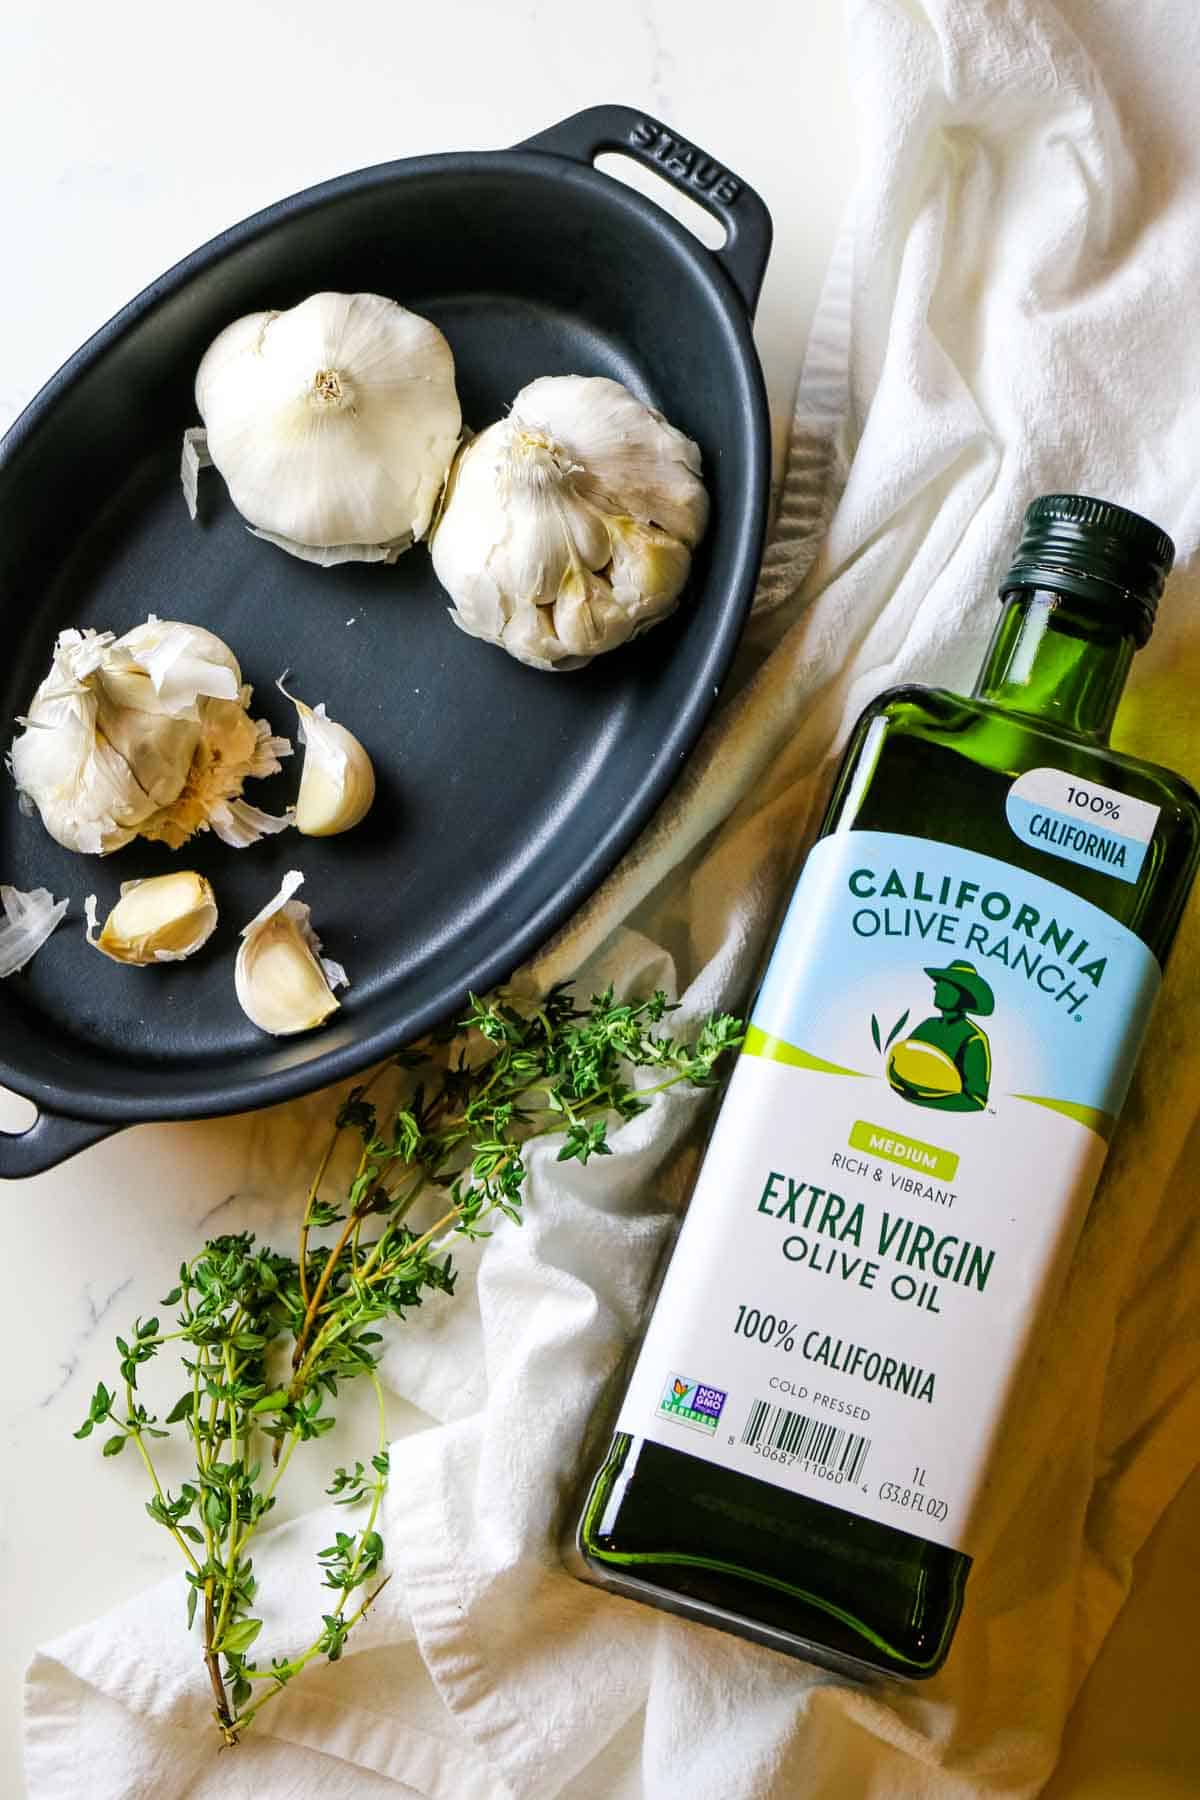
- whole garlic cloves: you'll need about 2 heads of garlic cloves
- extra-virgin olive oil
See recipe card for exact quantities.
💭Make it Nutrient-Dense: Skip the rancid vegetable oils like canola oil and corn oil. And use good quality extra-virgin olive oil or avocado oil for a milder flavor.
Substitutions and Variations
This roasted garlic recipe is good with just the two main ingredients: fresh garlic and good quality olive oil. But there are different ways to add more flavor.
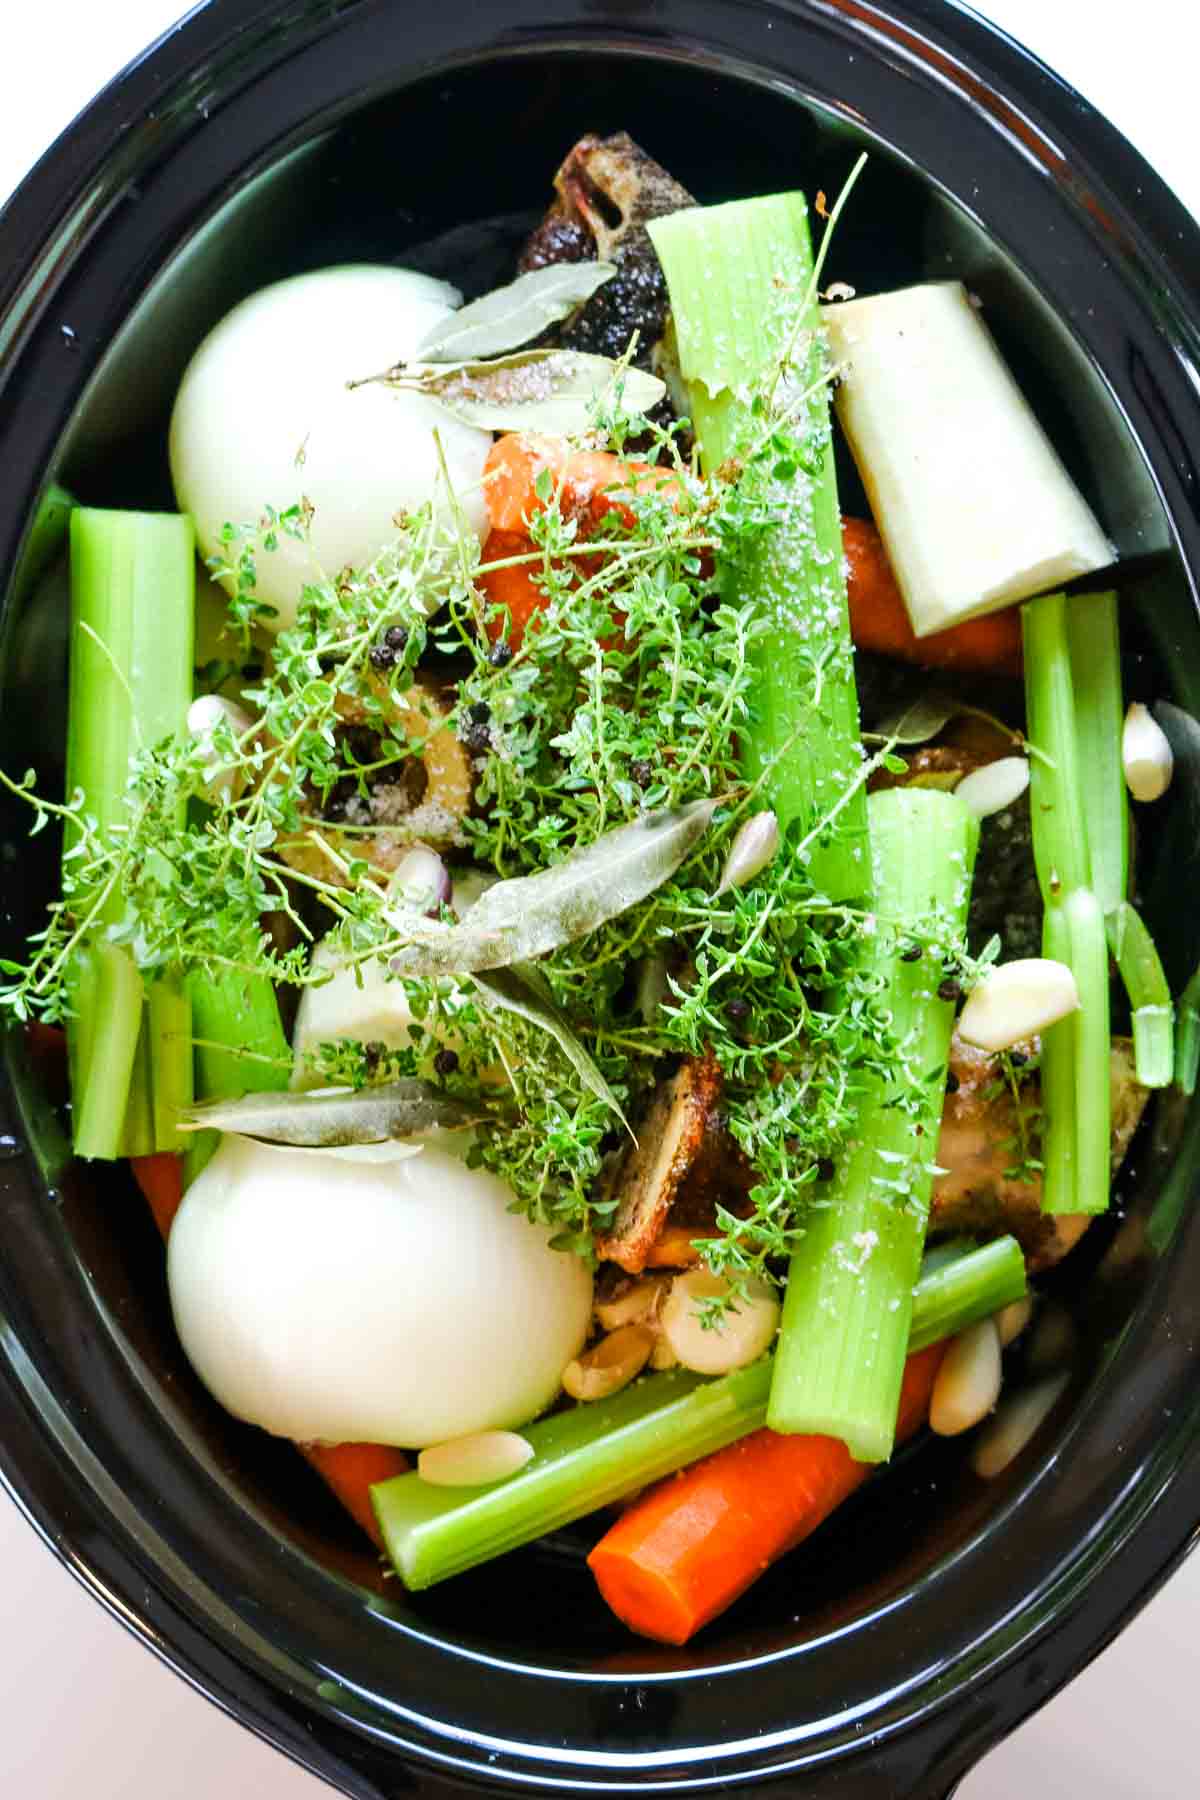
Add a sprig or two of fresh thyme or sage leaves or other fresh herbs of your choosing. Some dried bay leaves and peppercorns would add a nice touch of peppery flavor.
Or spice things up with dried chili pepper for some heat.
There are so many ways to flavor it beyond the basic garlic and oil flavor.
Garlic Confit Food Safety
Is garlic confit safe to eat? As with most foods, this homemade garlic confit is safe as long as it's handled and stored properly.
The main concern with garlic confit is botulism, a food-borne illness that you most certainly want to stay clear from. And fresh garlic in oil particularly is at risk of botulism development due to its low acid, low oxygen environment.
However, garlic confit requires roasting garlic, thereby significantly reducing the risk of botulism, and a temperature of 185 degrees Fahrenheit is enough to destroy the toxin.
In light of this, consider these tips when making this roasted garlic recipe:
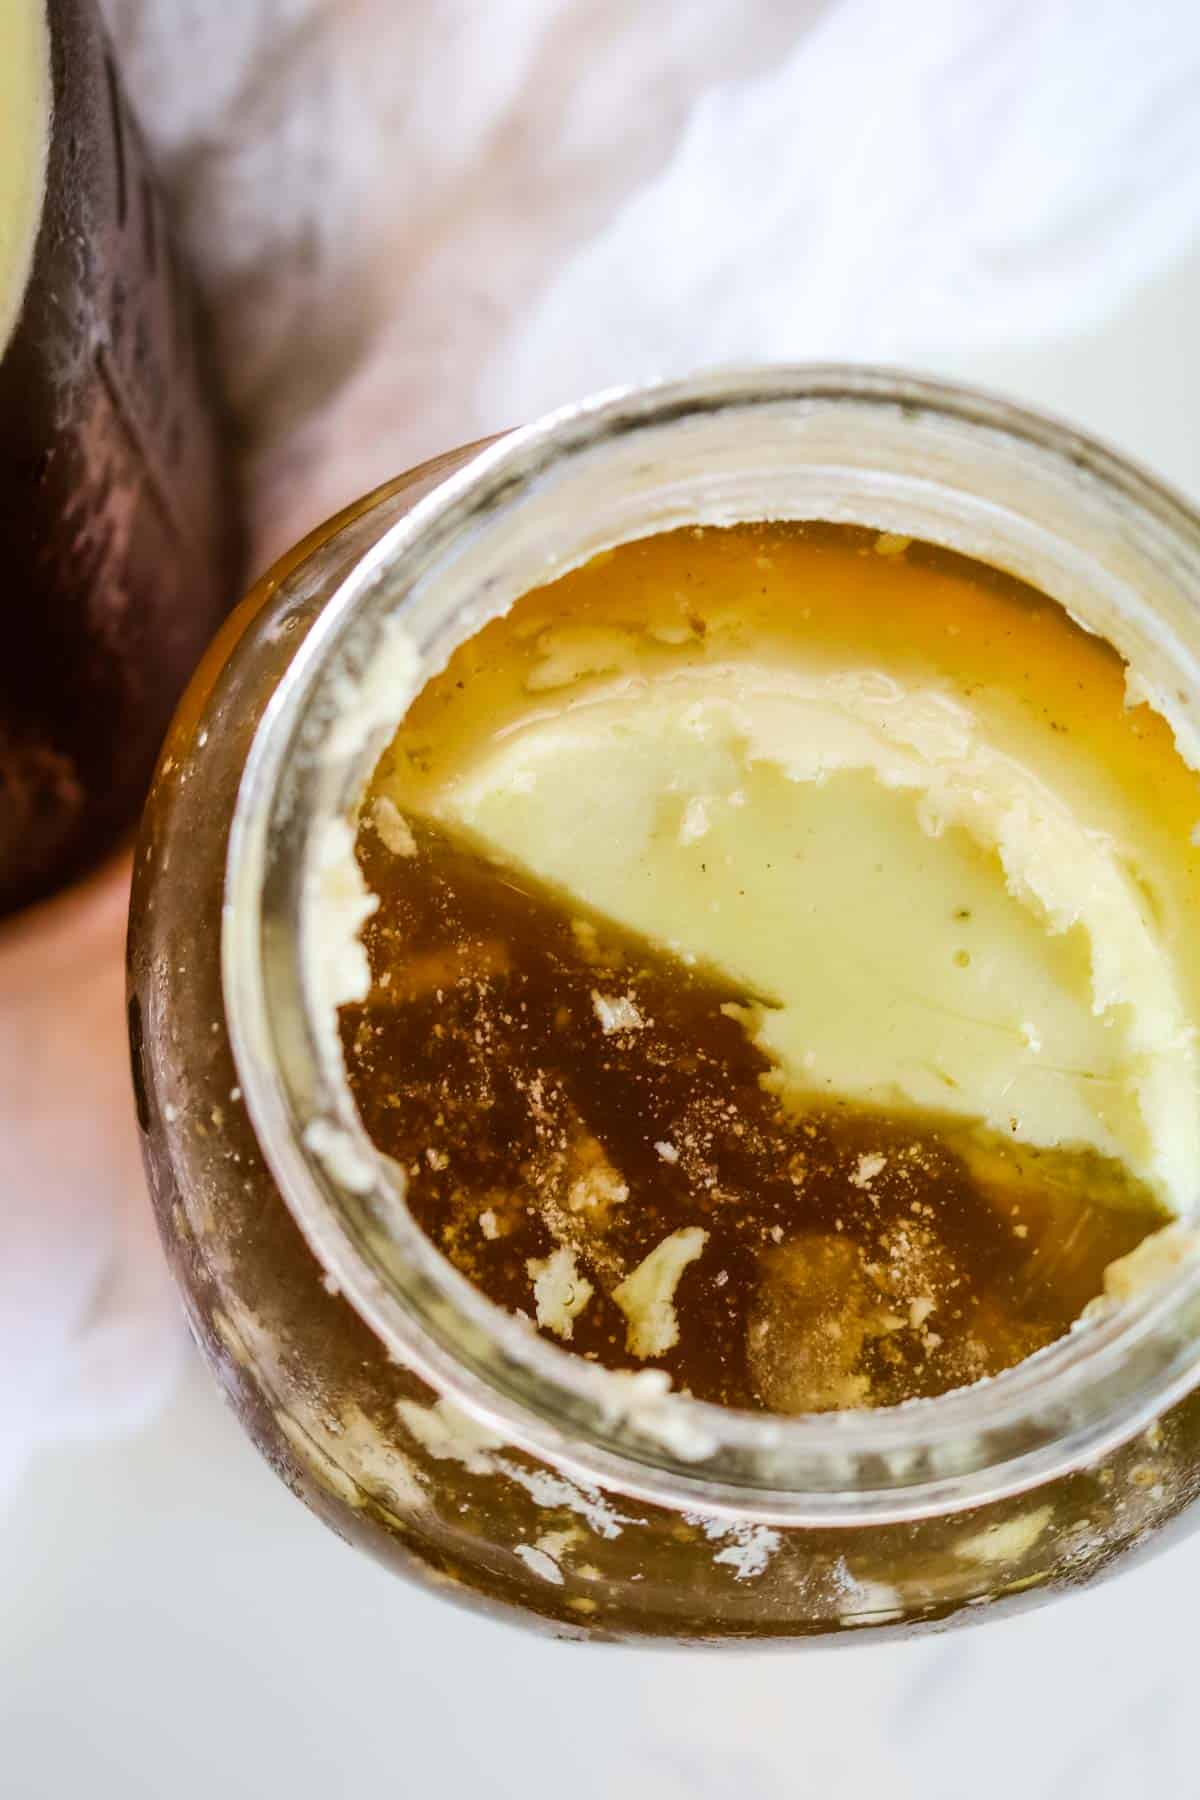
- Chill immediately: Chill the confit quickly (setting it into an ice bath helps speed this step up) and transfer to the refrigerator as soon as it's chilled.
- Consume within reason: When properly stored in the refrigerator, garlic confit is good for up to 2 weeks.
- Never store garlic confit at room temperature.
Garlic confit can be a wonderful addition to your meals or appetizer spread, but as is the case with most foods, there are certain rules you have to respect to safely enjoy it.
Step-by-Step Instructions
The complete printable recipe is below in the recipe card for your convenience.
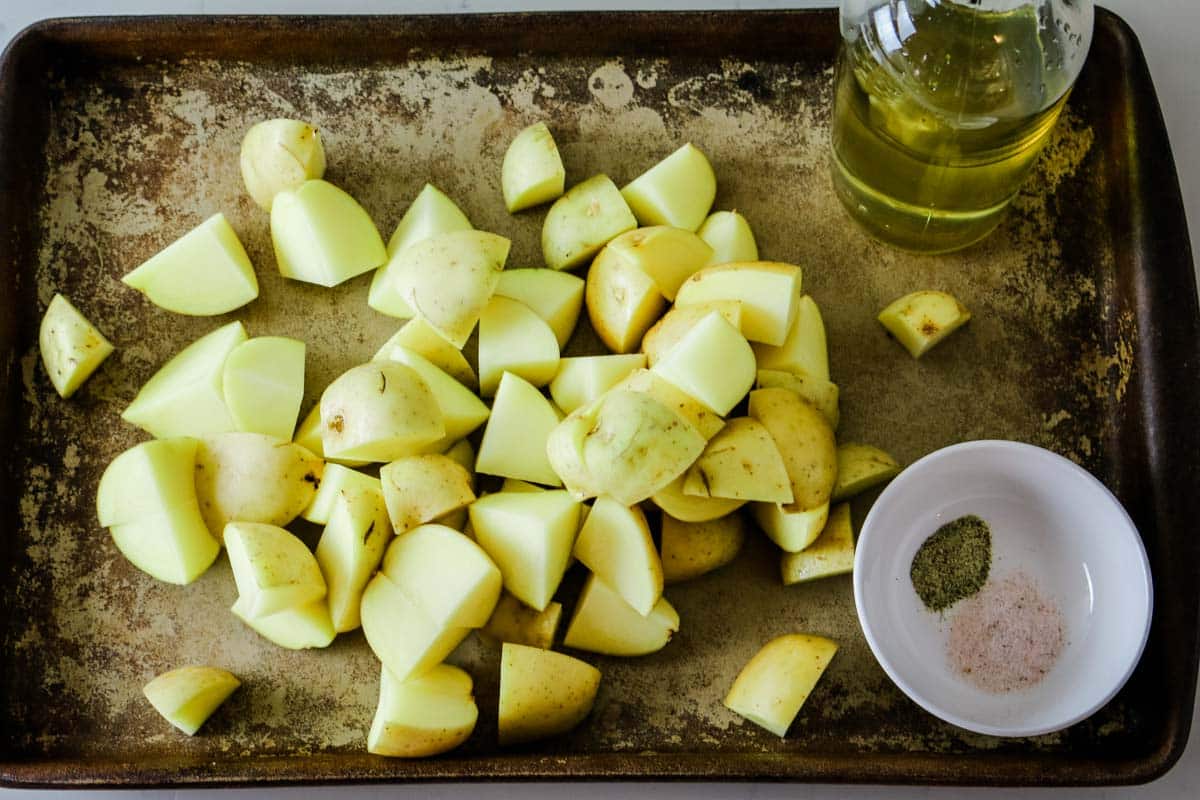
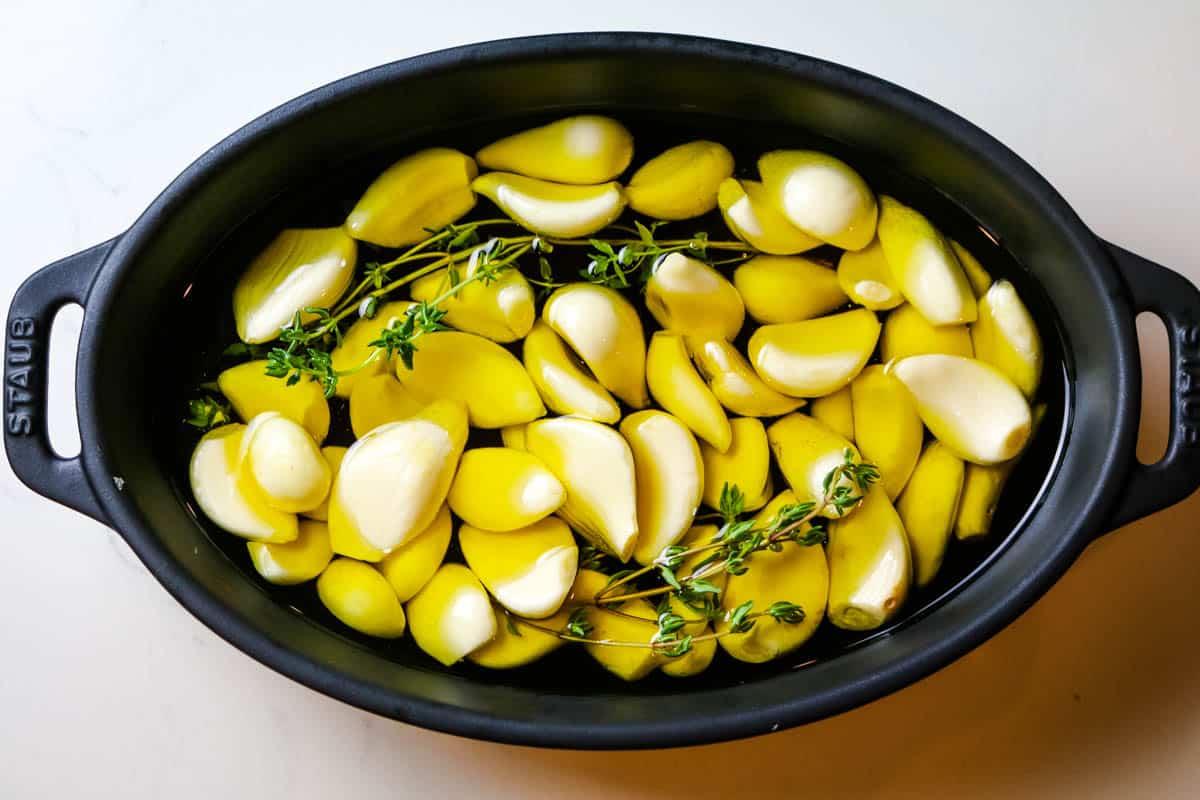
This garlic confit recipe calls for these ingredients: 2 whole heads of garlic and extra-virgin olive oil.

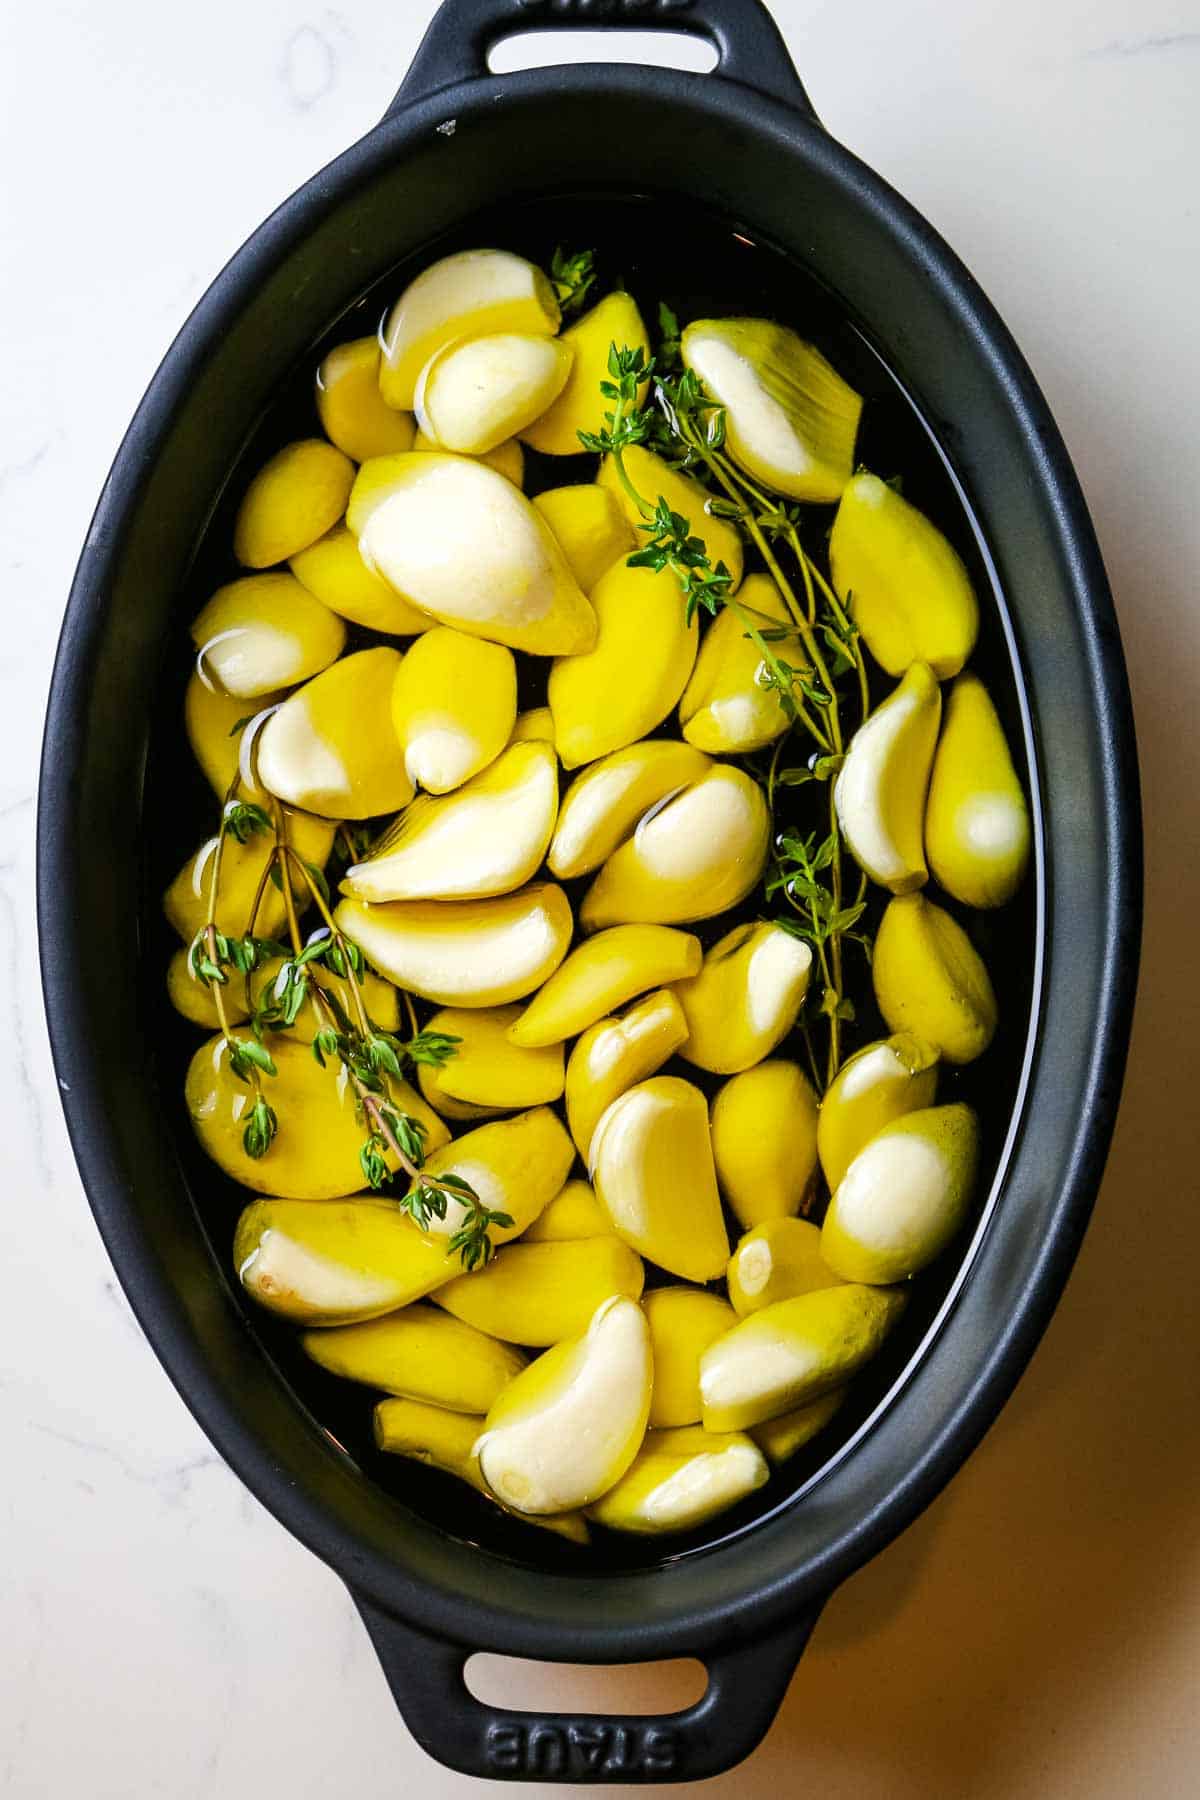
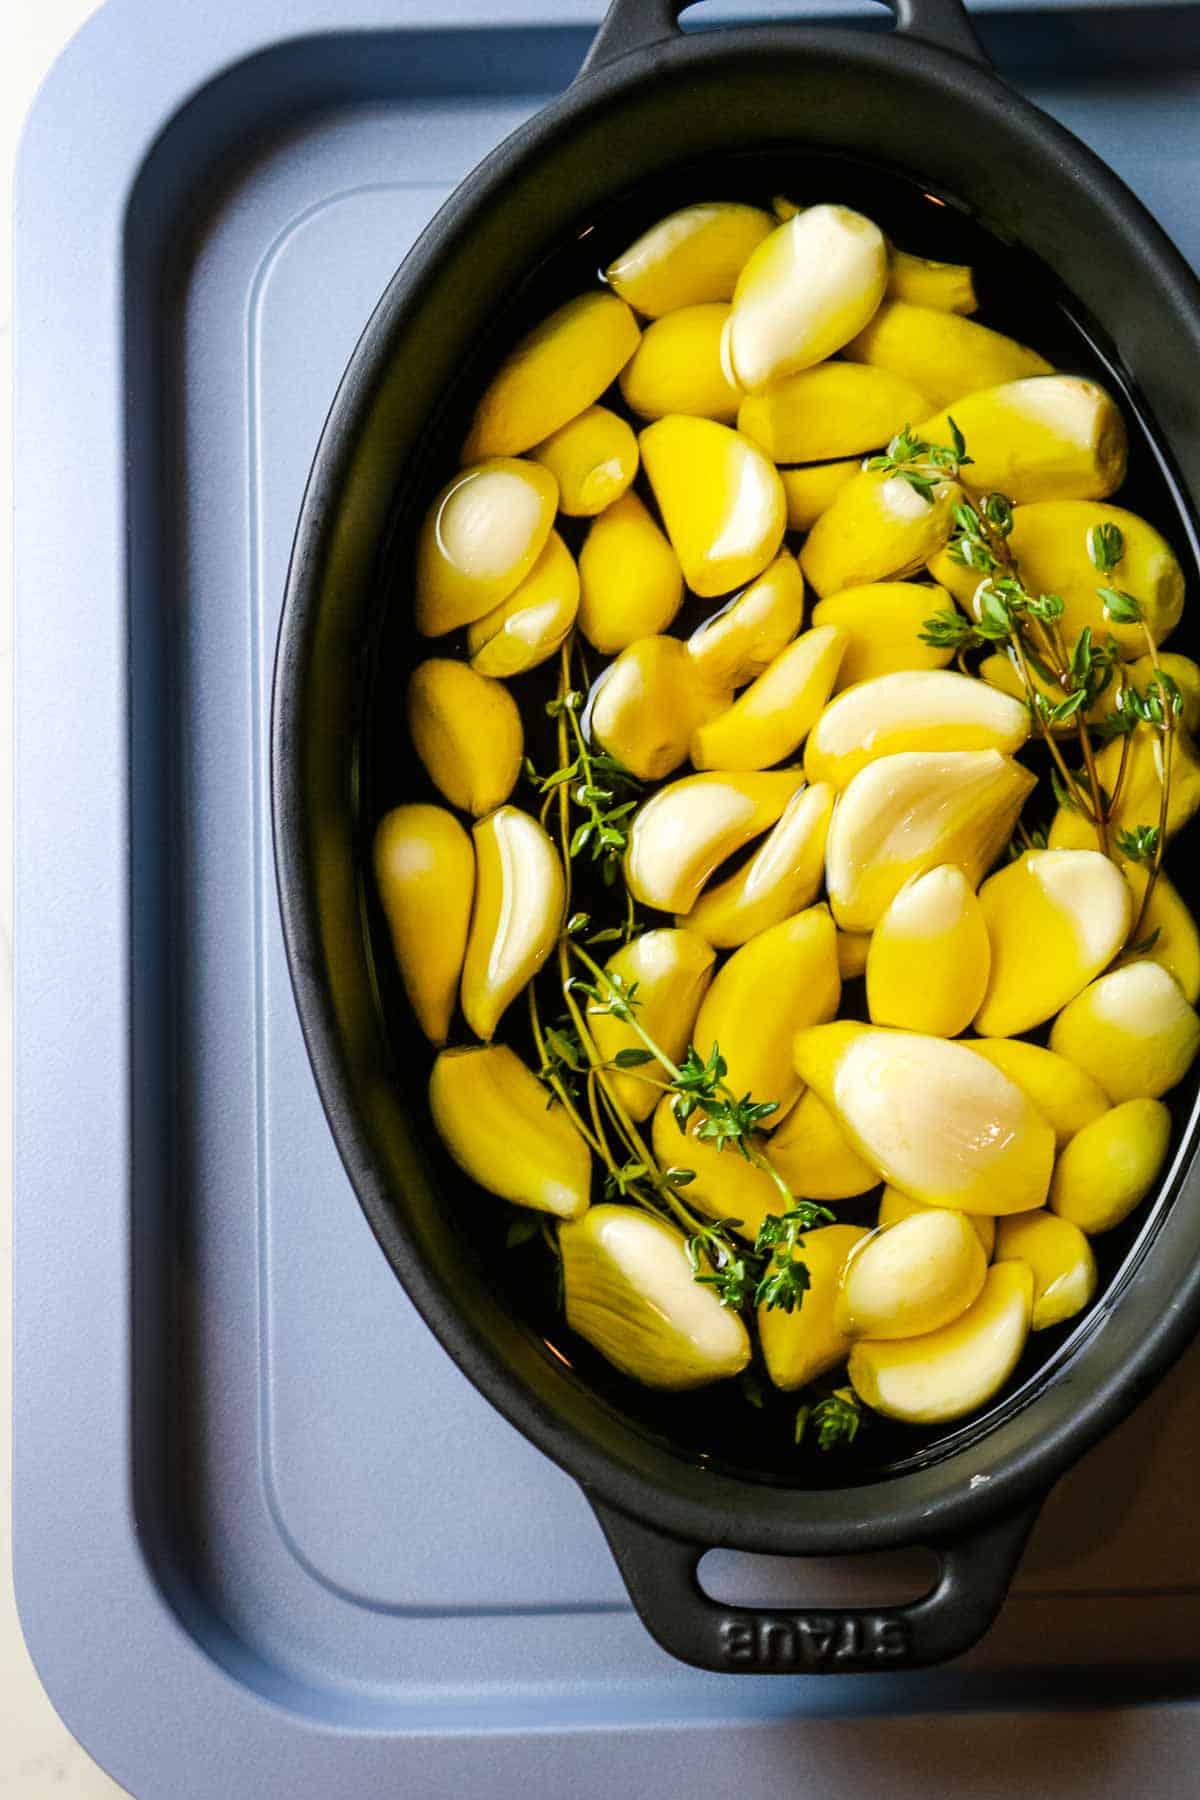
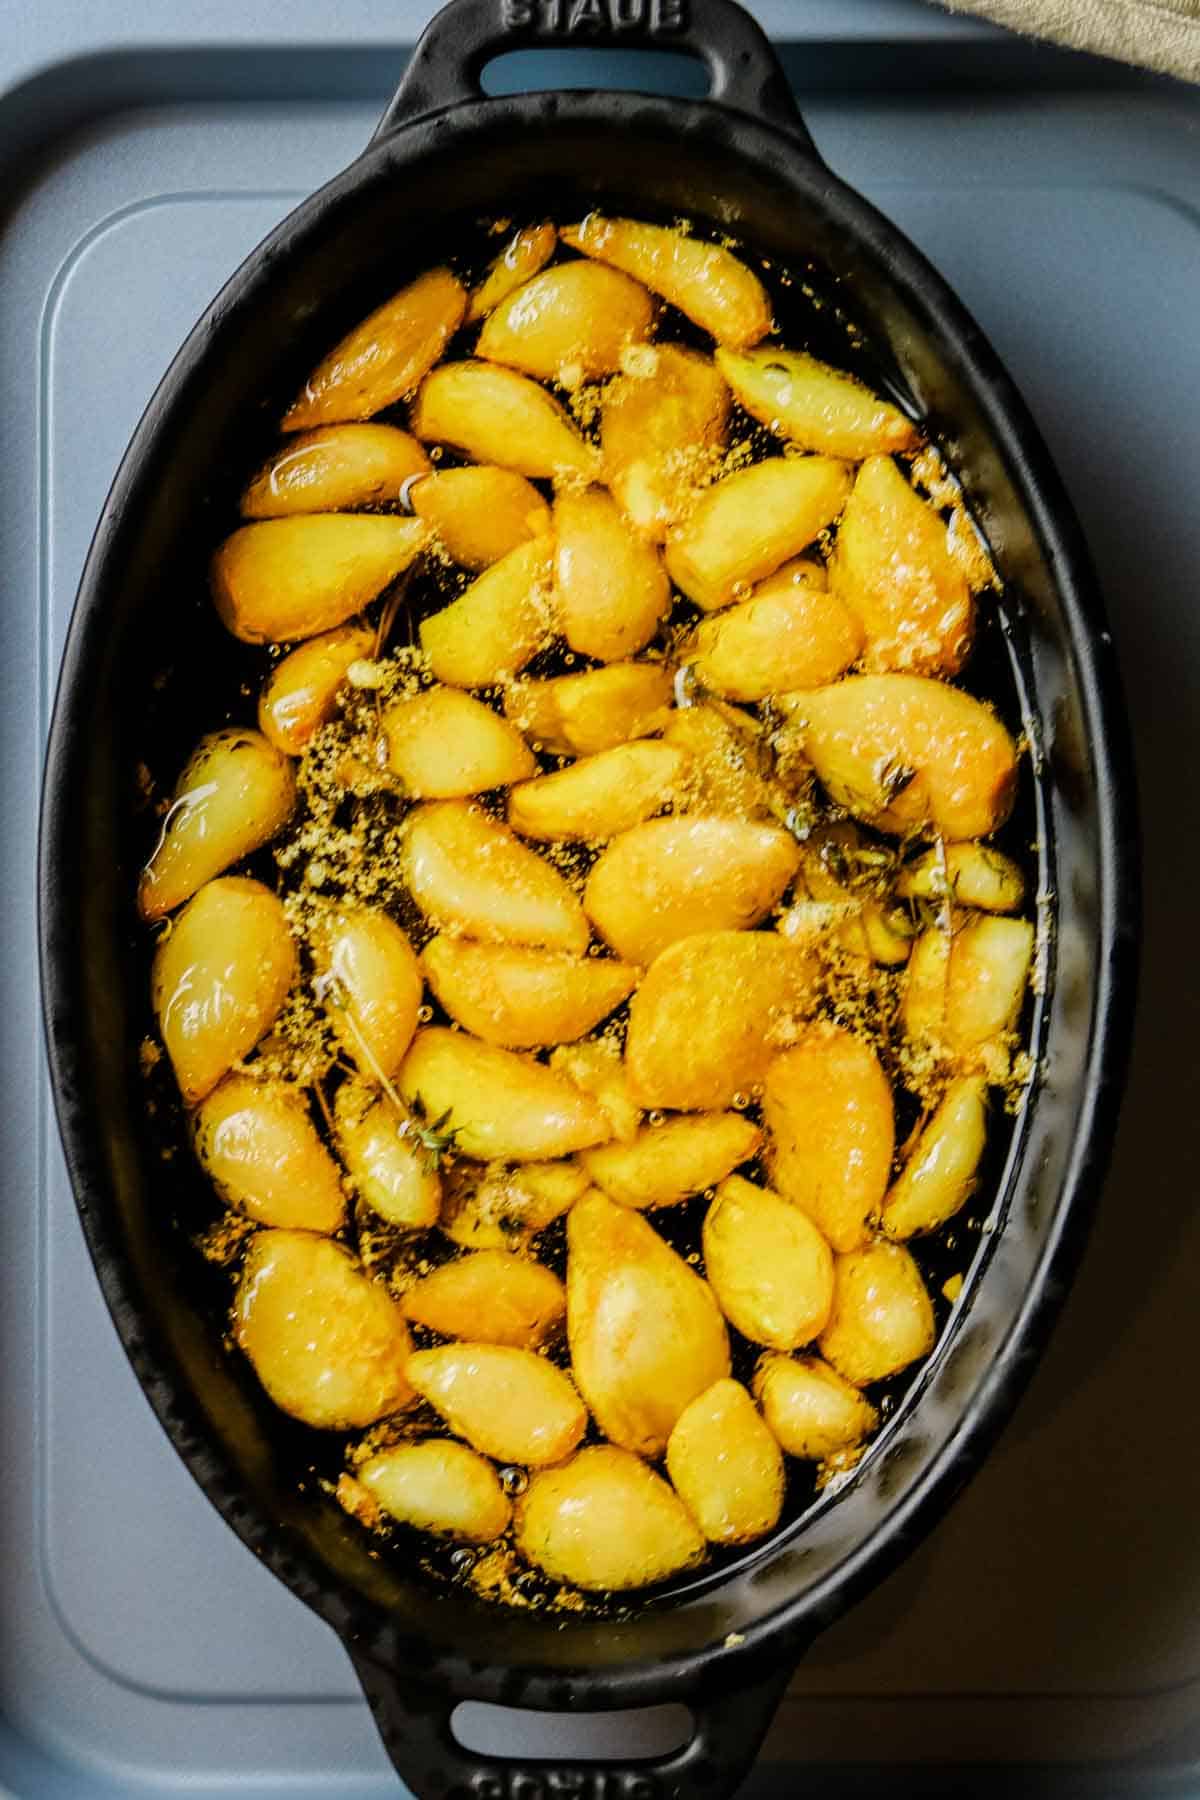
Step 1. Add all ingredients
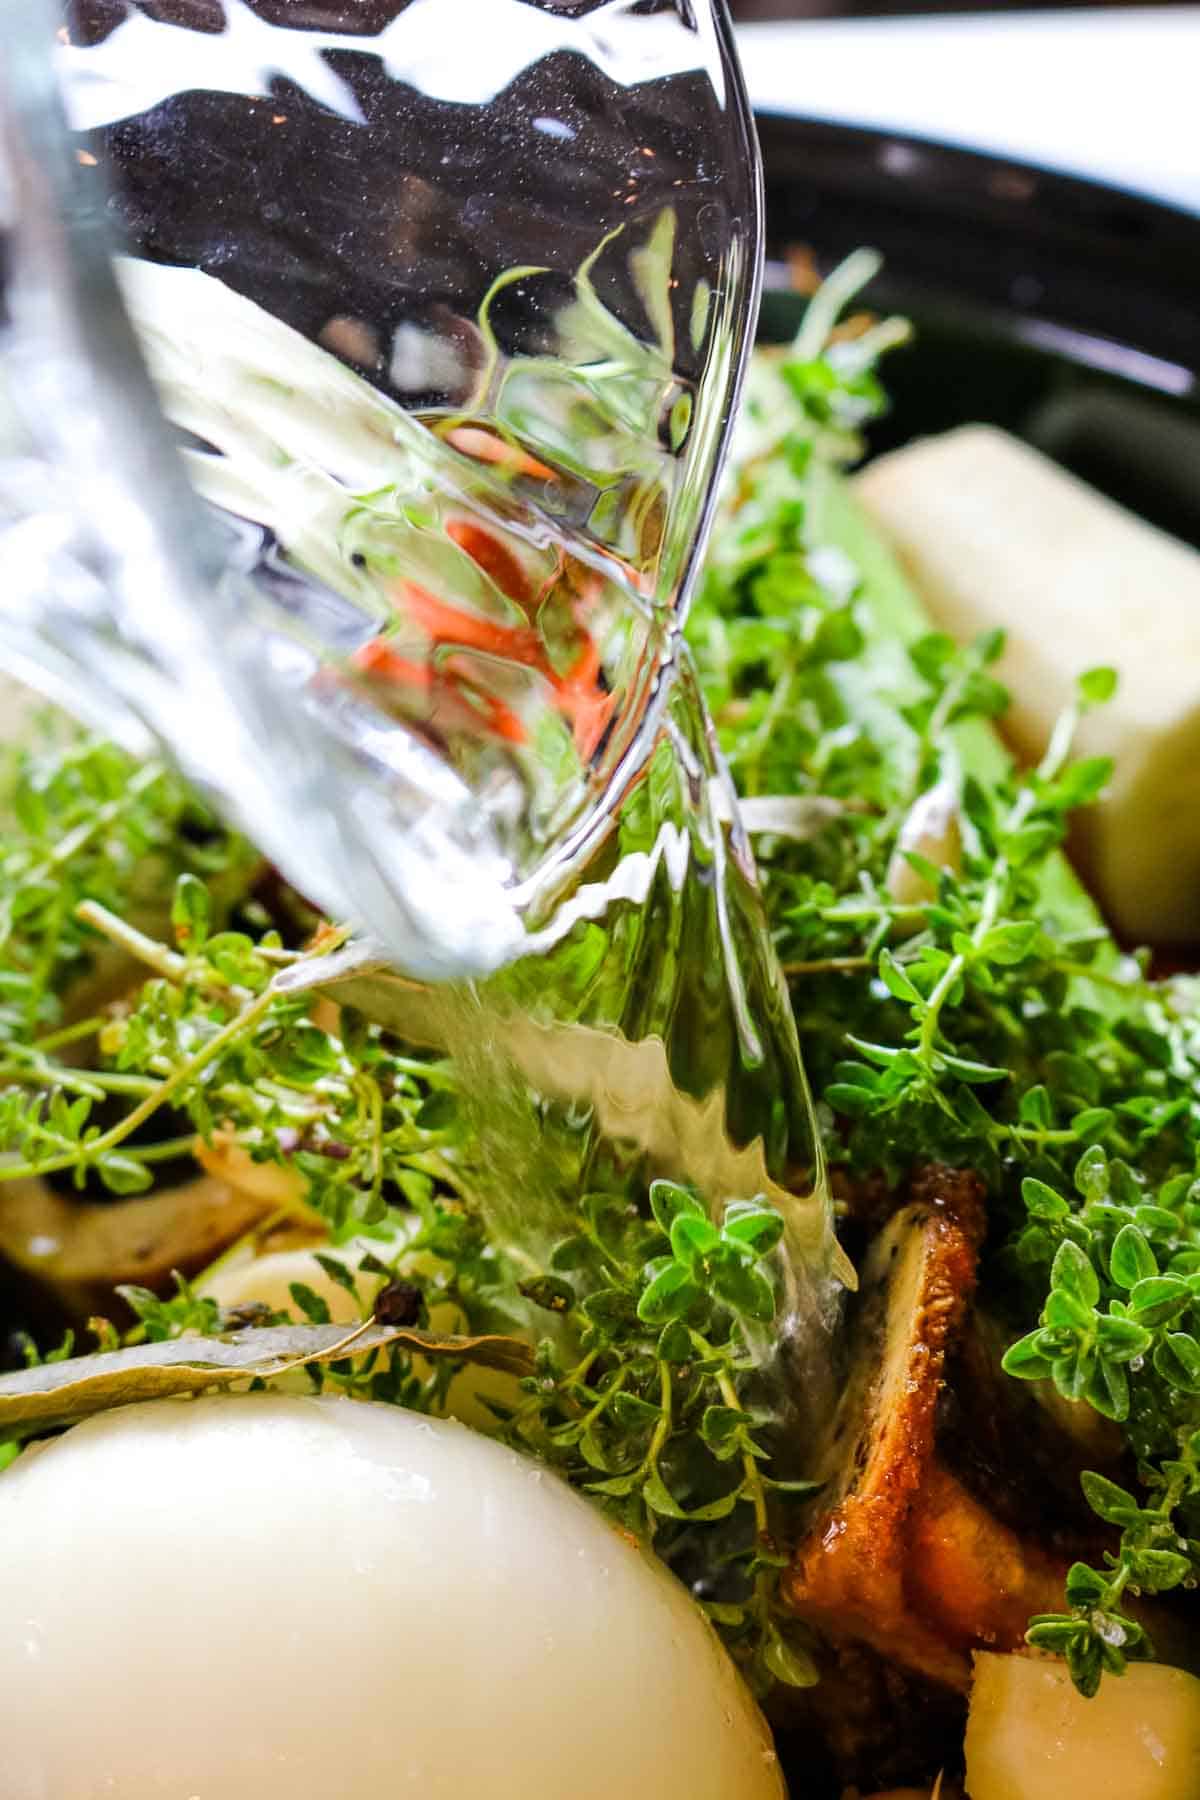
Preheat oven to 275 degrees Fahrenheit. To a small baking dish, add whole cloves of garlic, thyme (or any other flavorings) and olive oil.
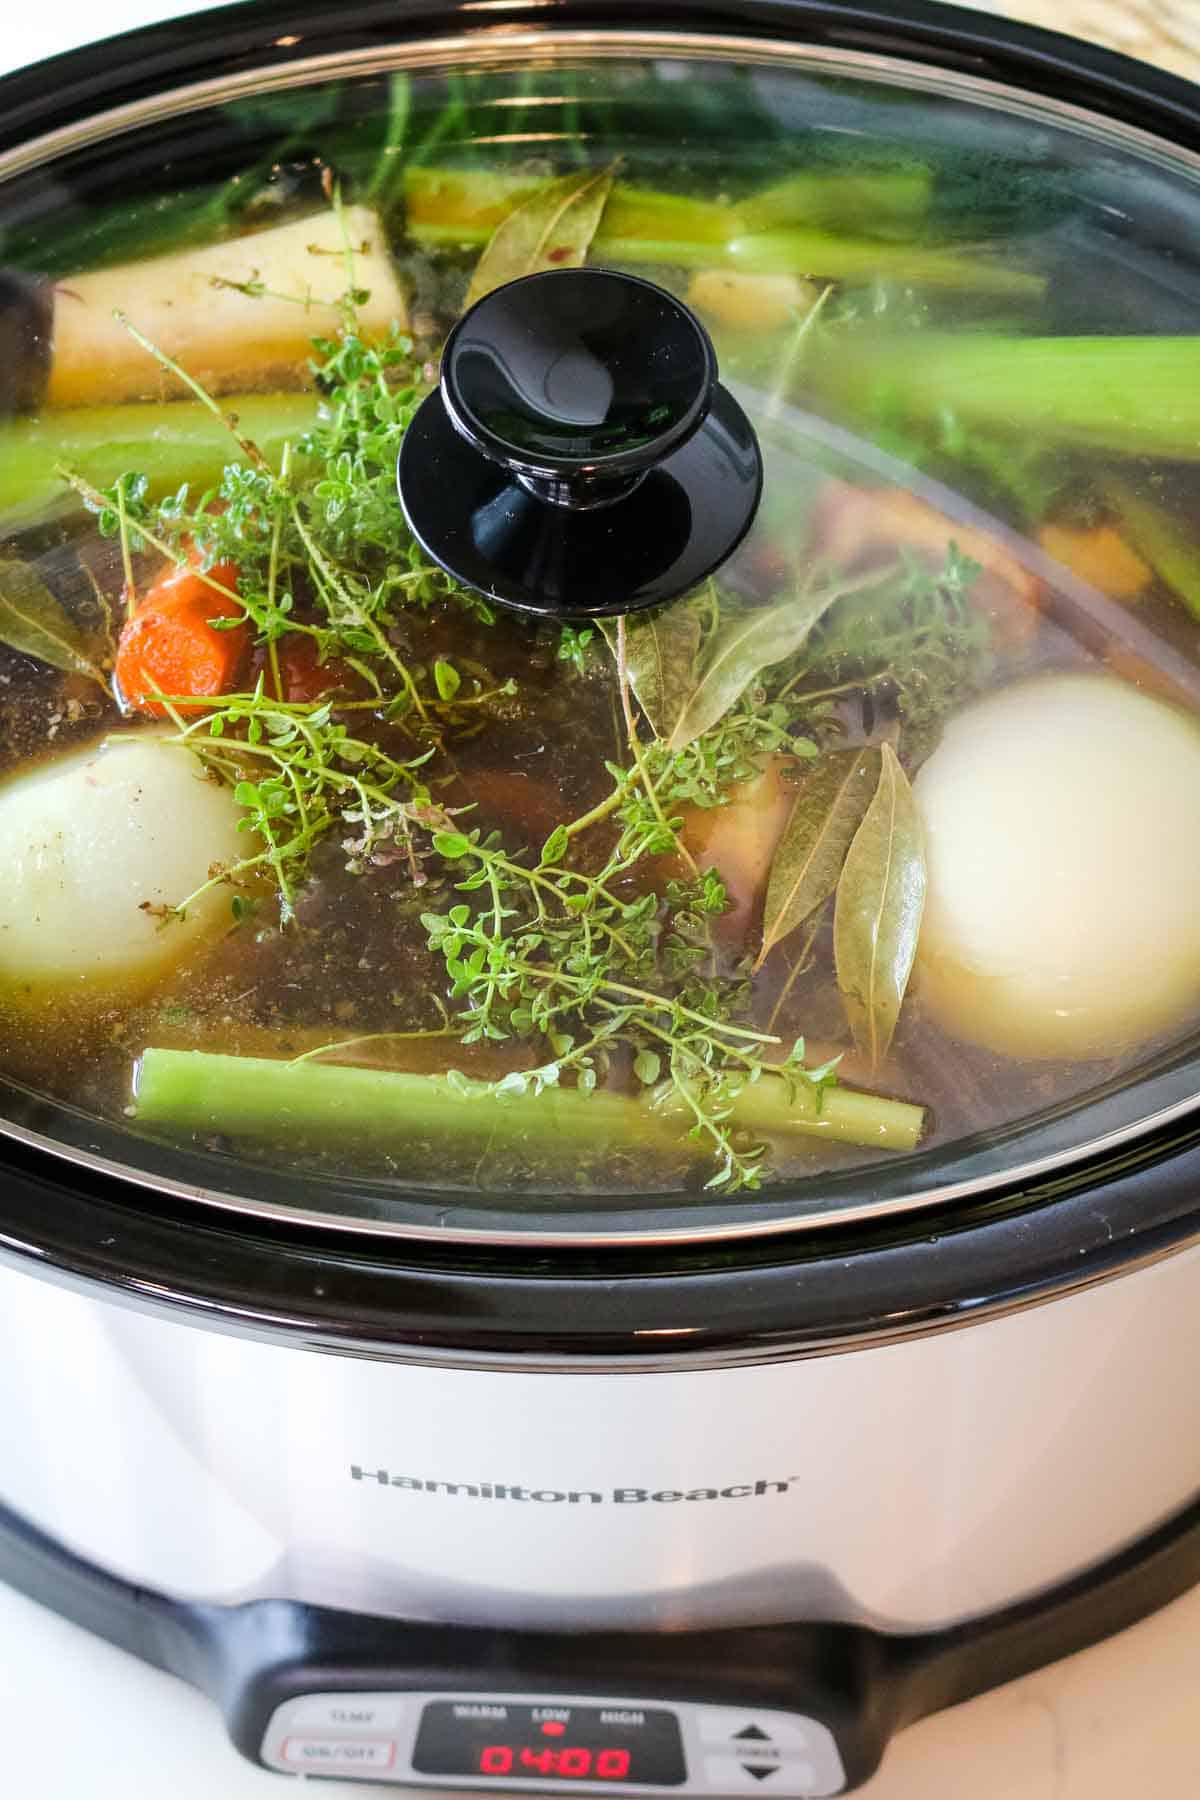
Step 2. Bake
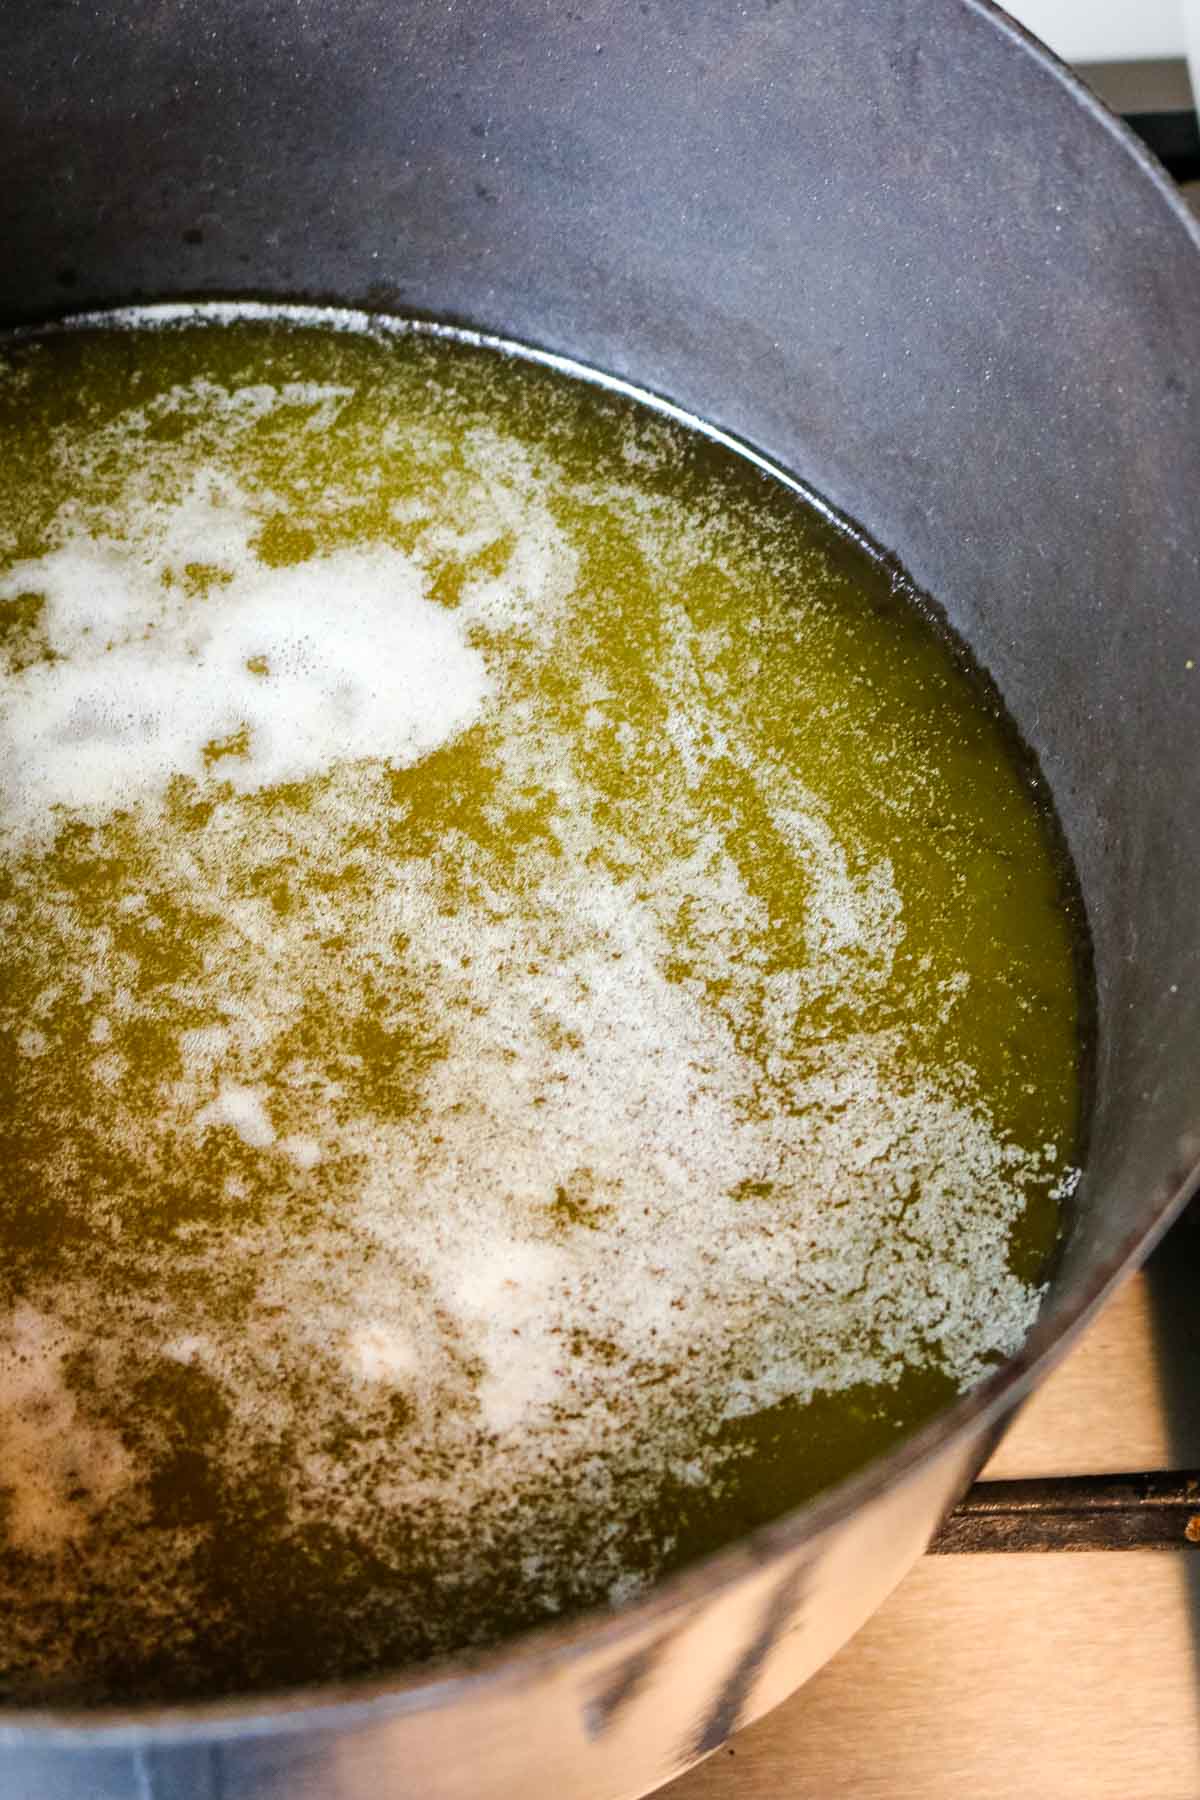
Set the baking dish on a small baking sheet. This will hugely help with transferring the dish from the hot oven. Roast in the oven until garlic cloves are golden and soft.
💭Pro tip: Be sure to use peeled garlic cloves with root ends trimmed.
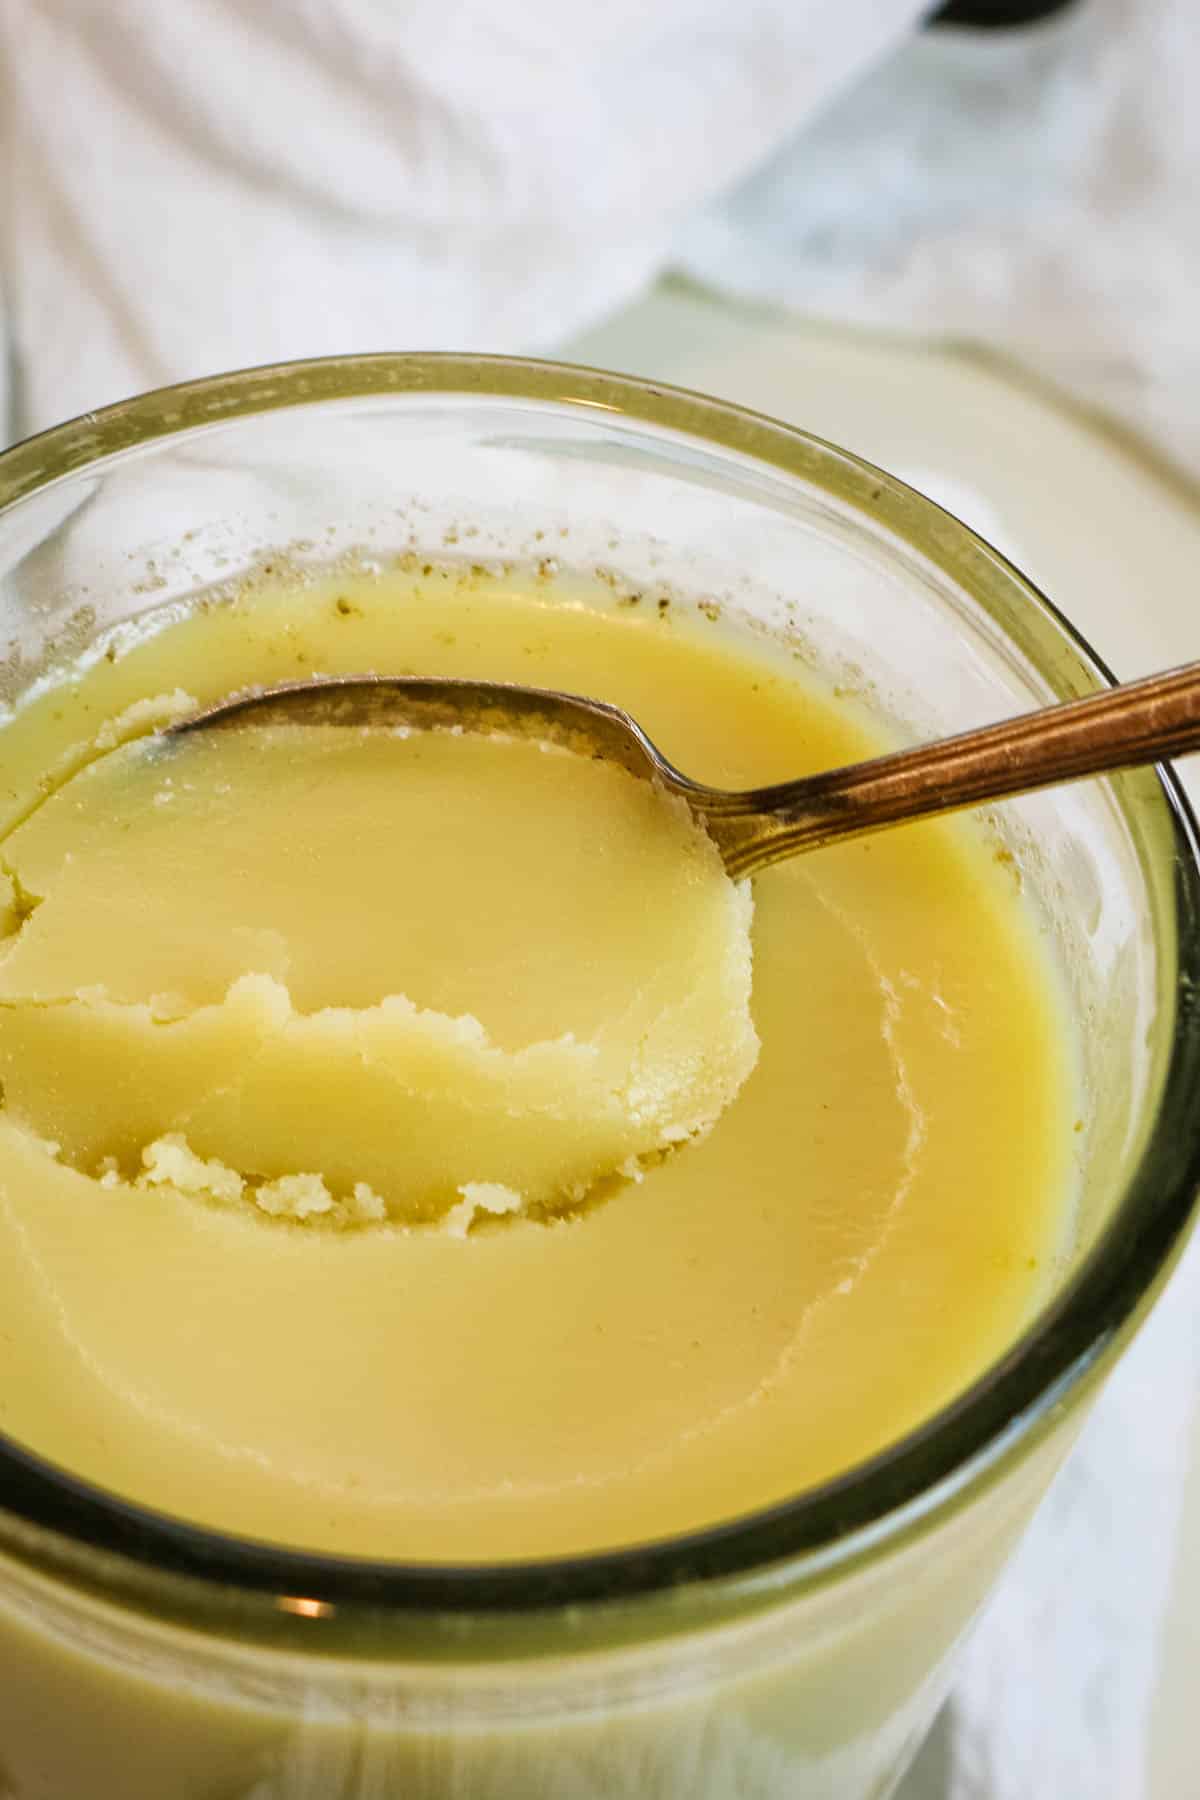
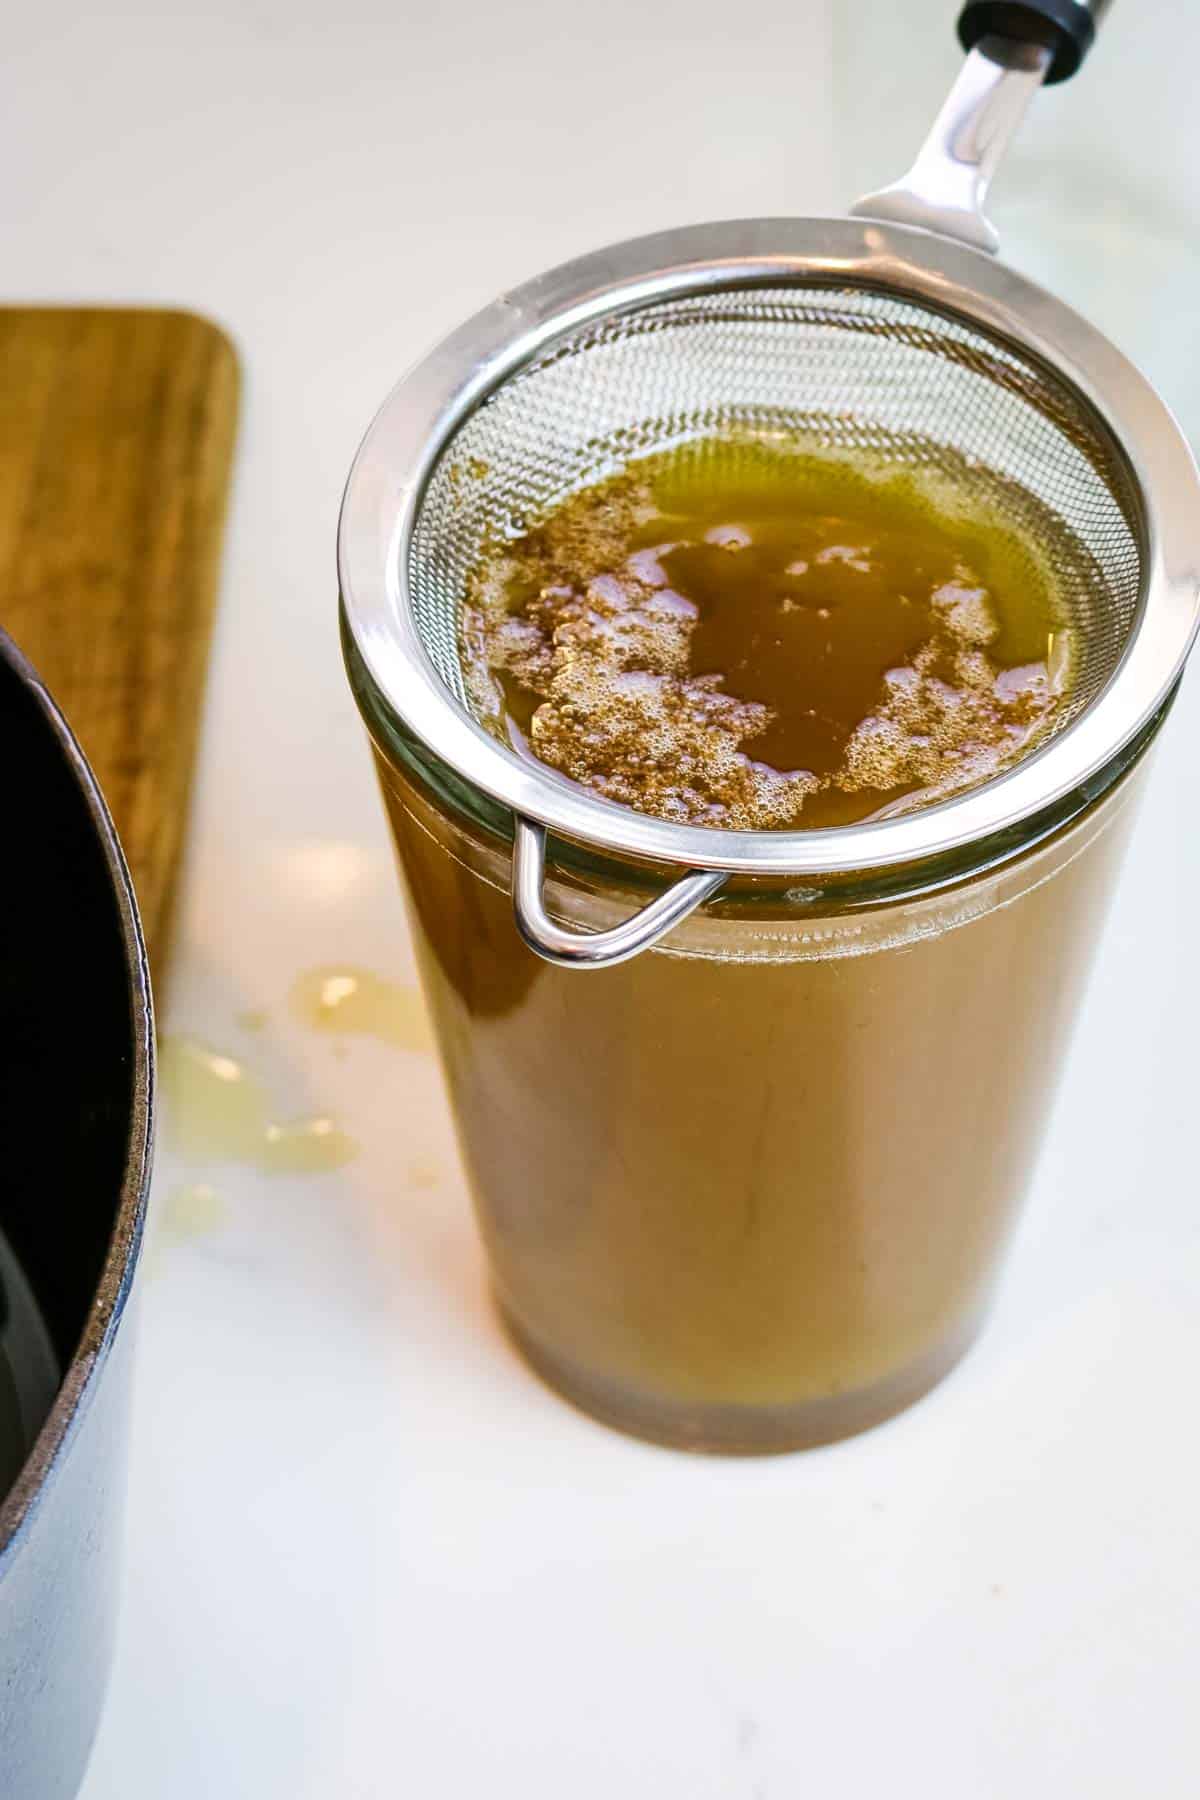
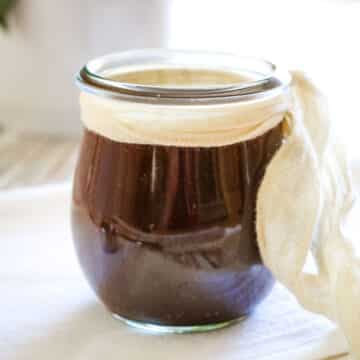
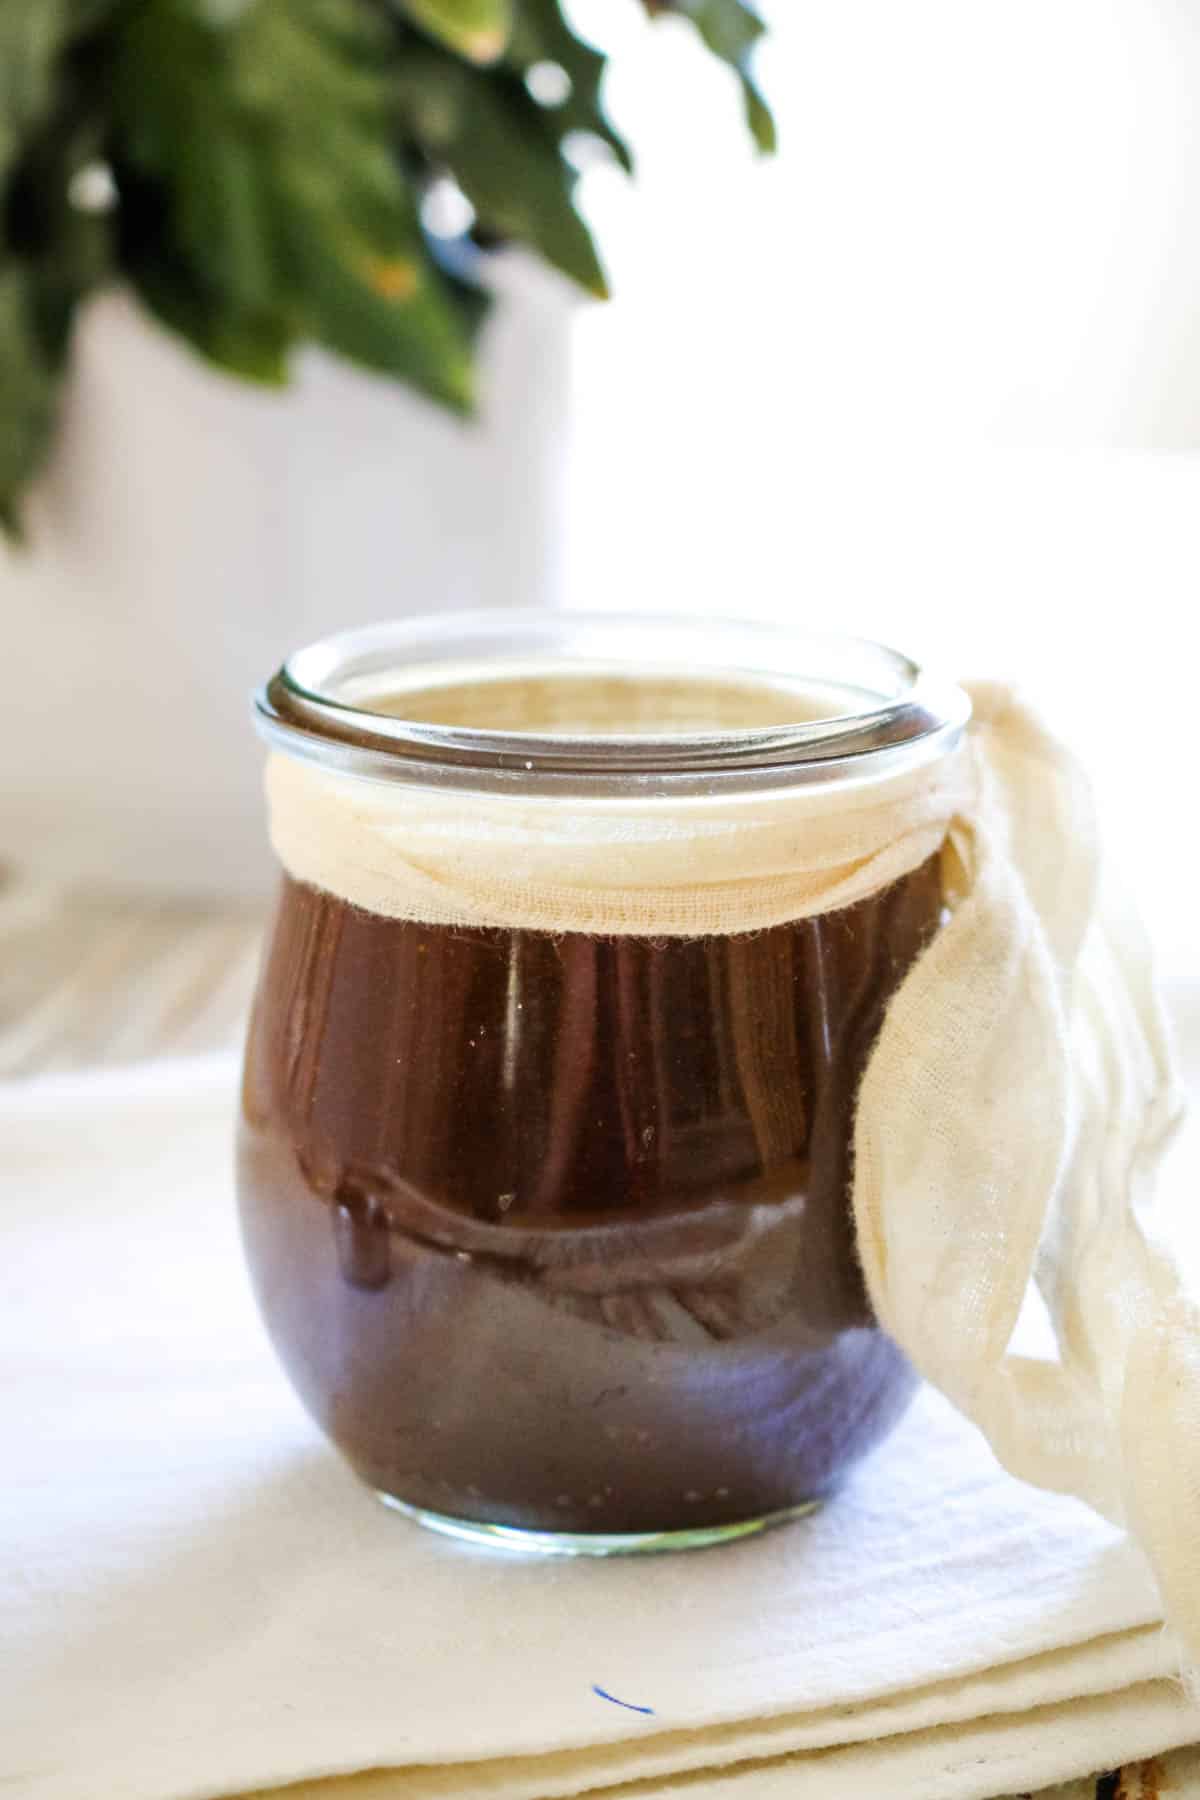
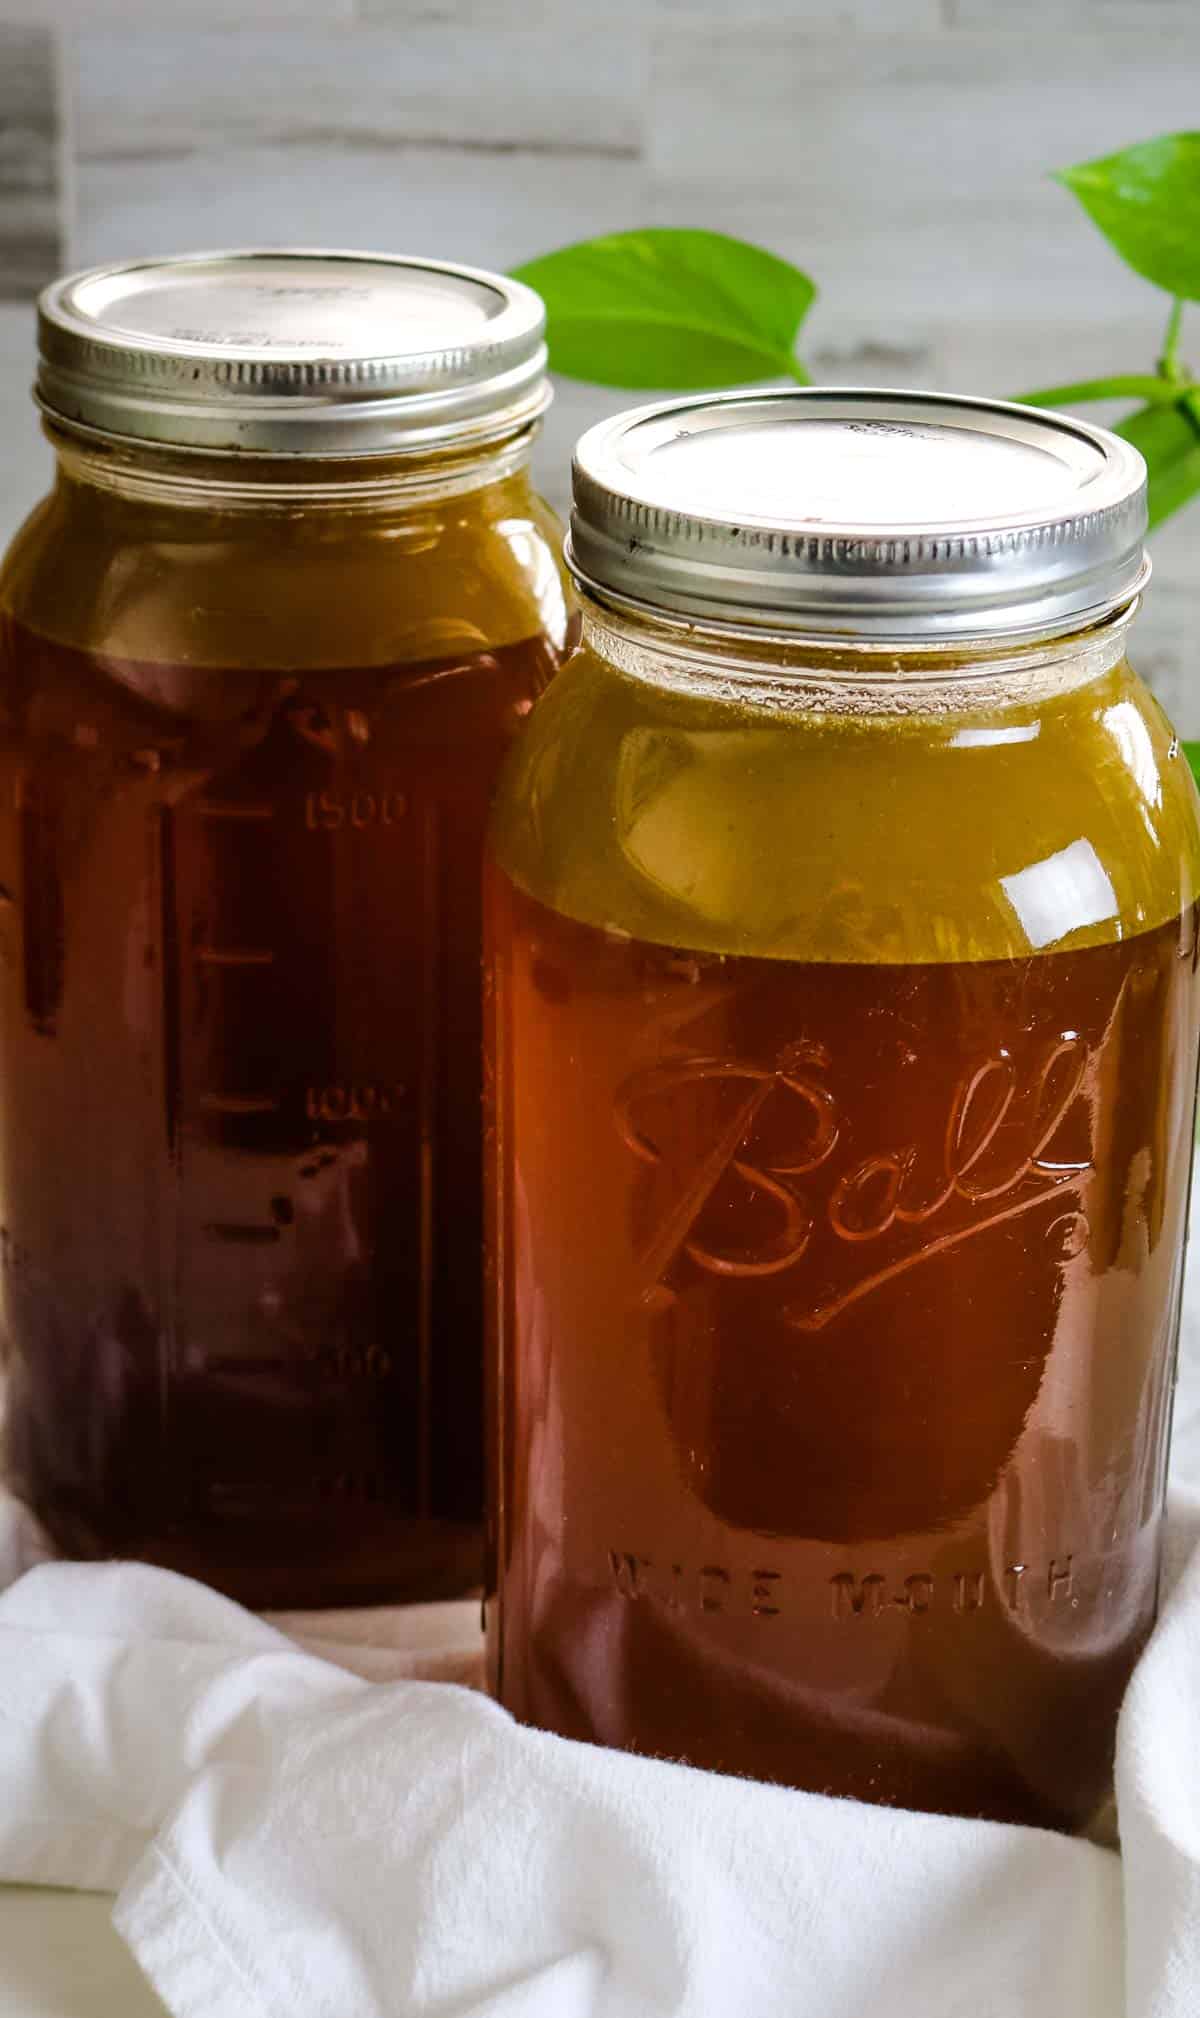
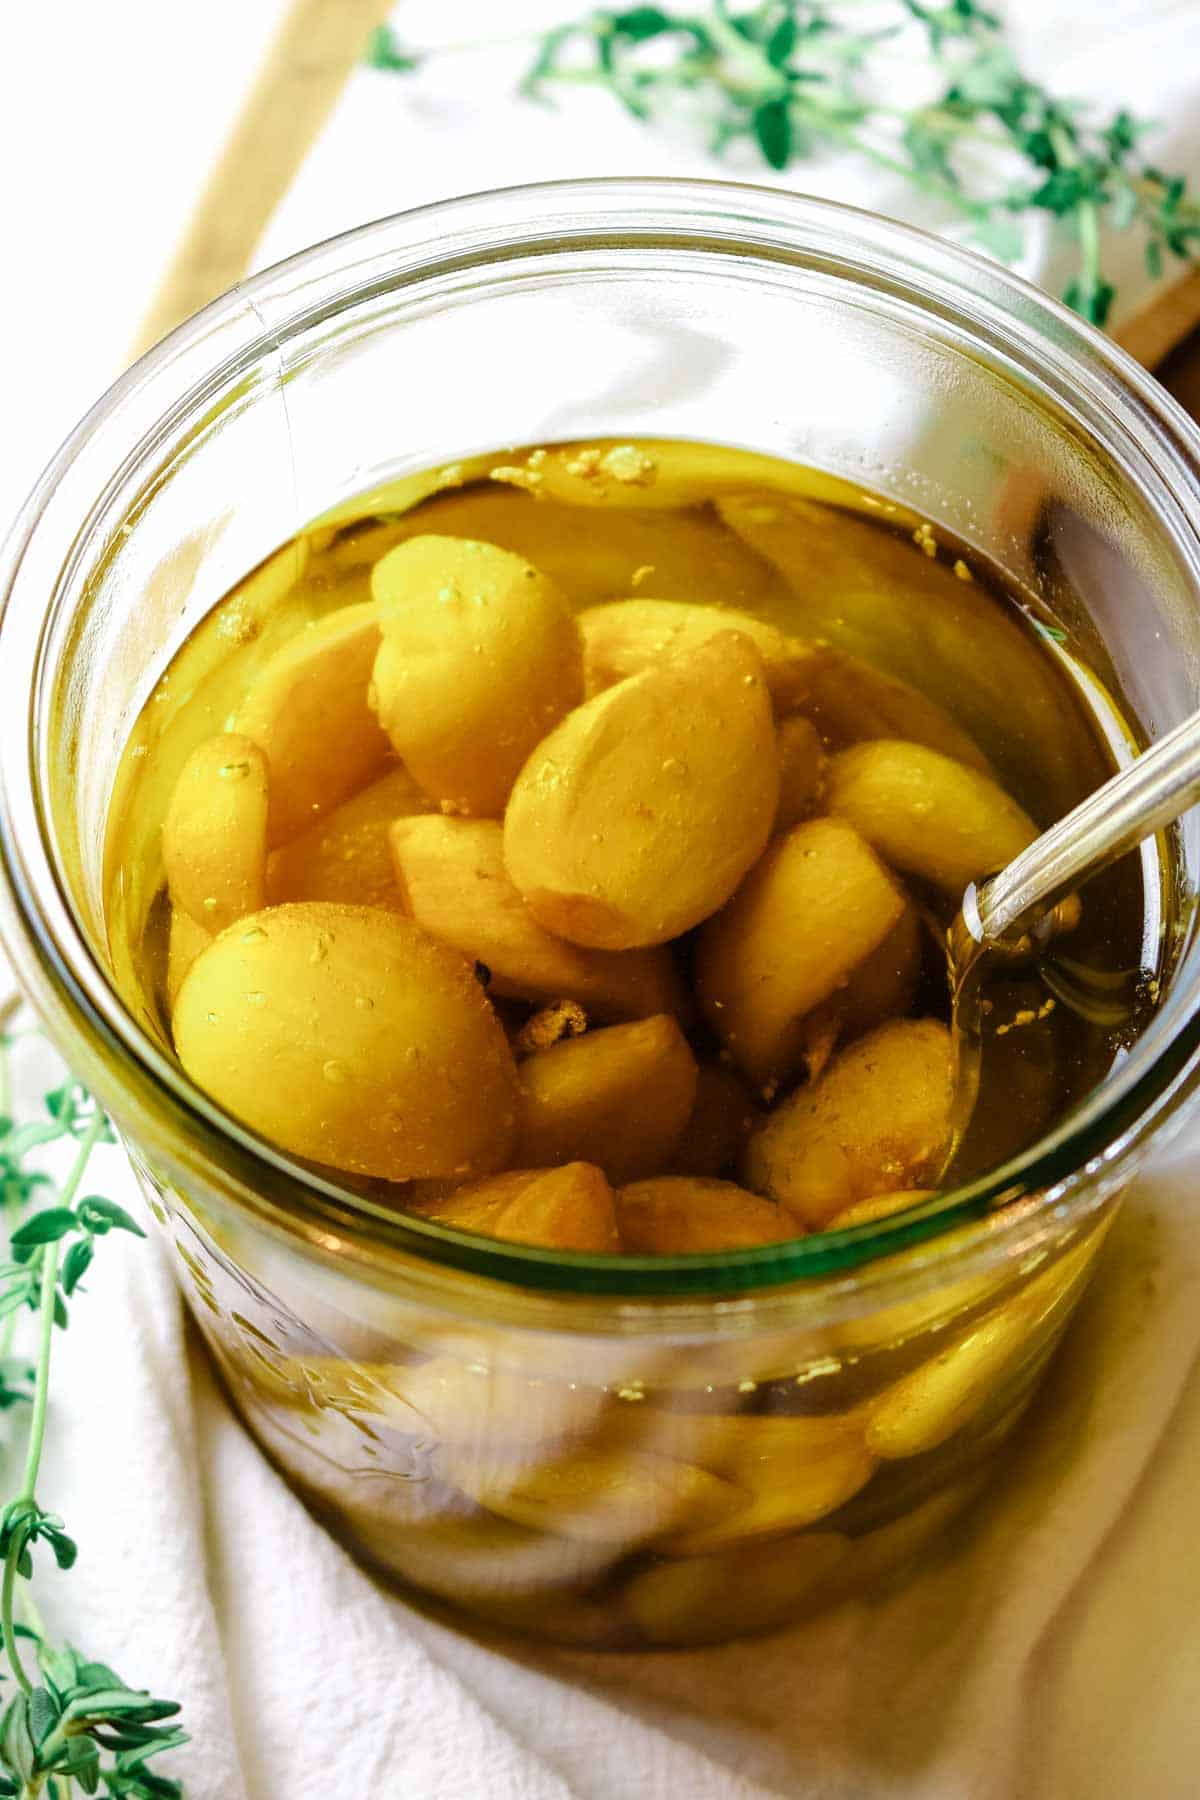
Step 3. Transfer to jar
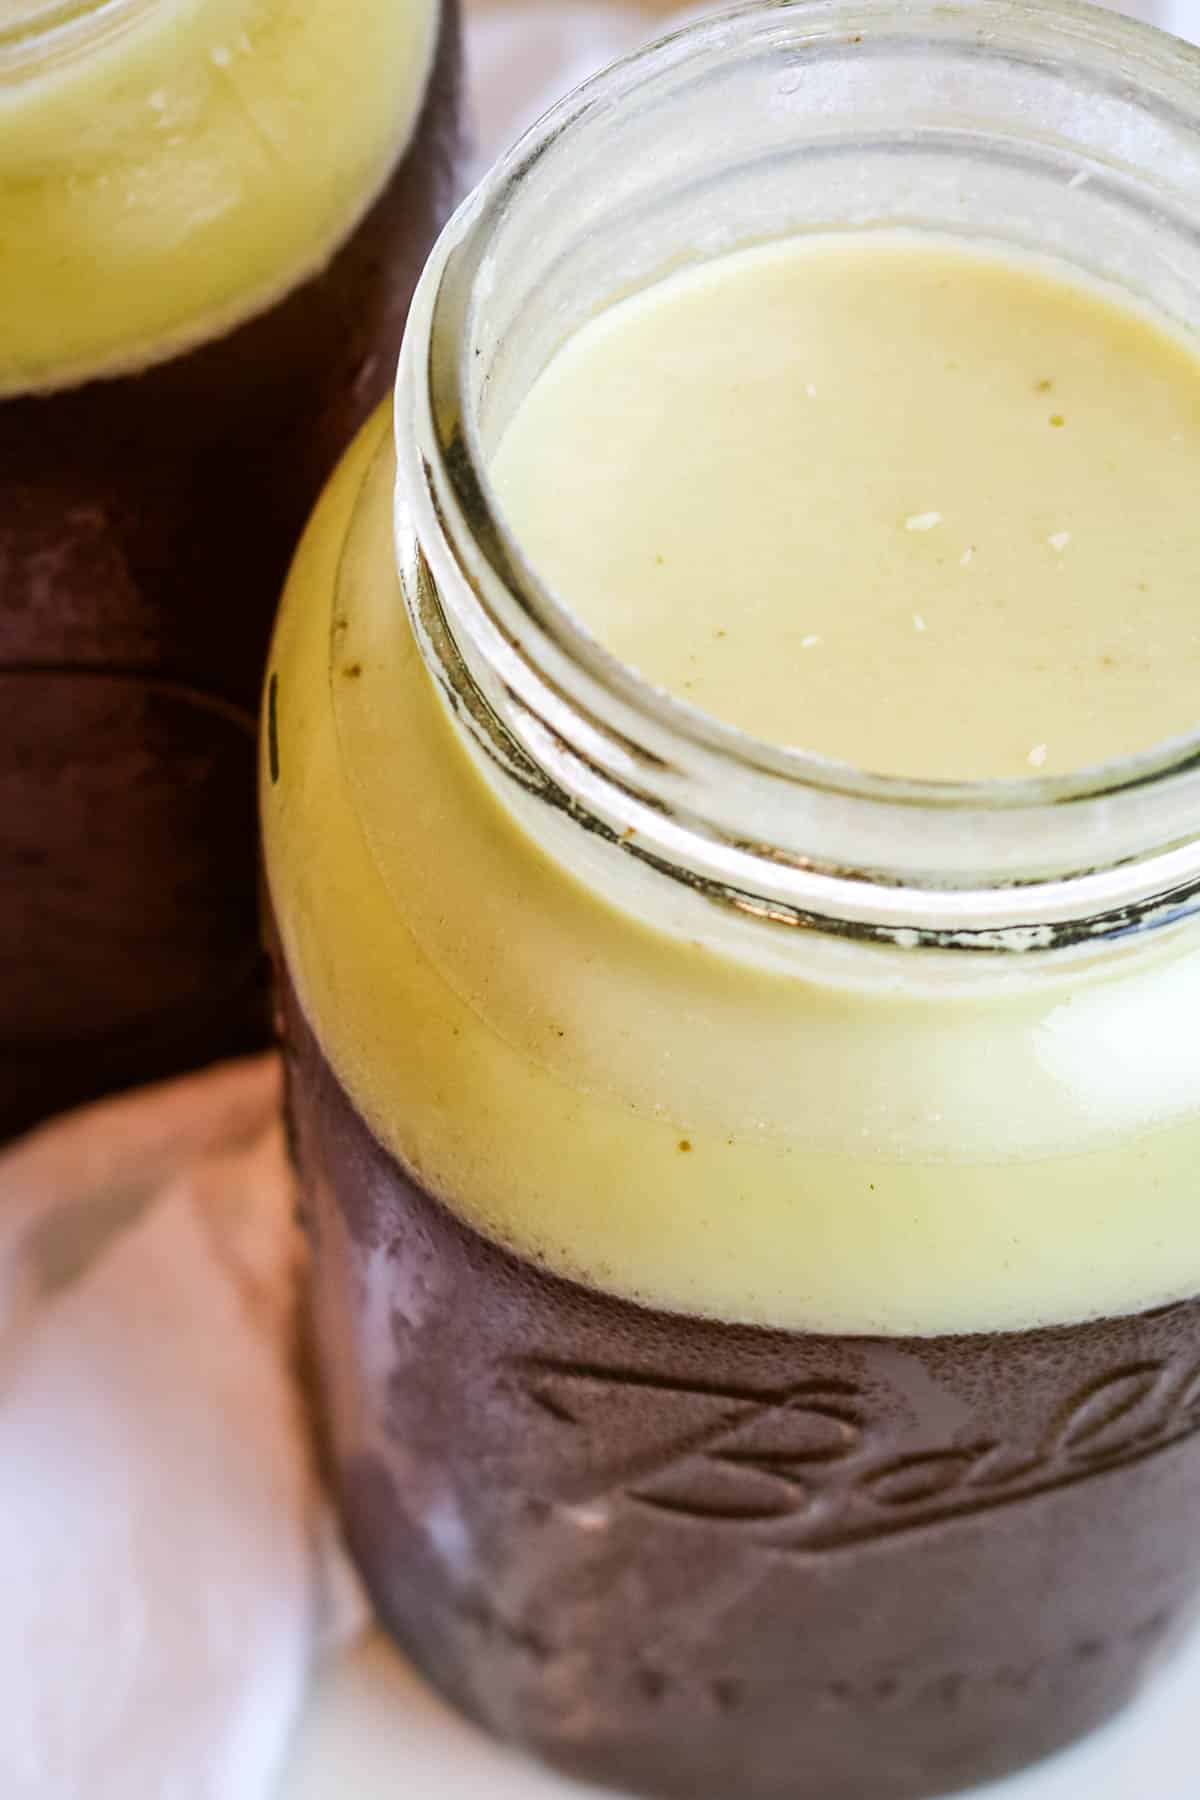
Remove the garlic confit and pull out any thyme leaves or other herbs. As soon as safe to do so, transfer the garlic and olive oil into a glass jar.
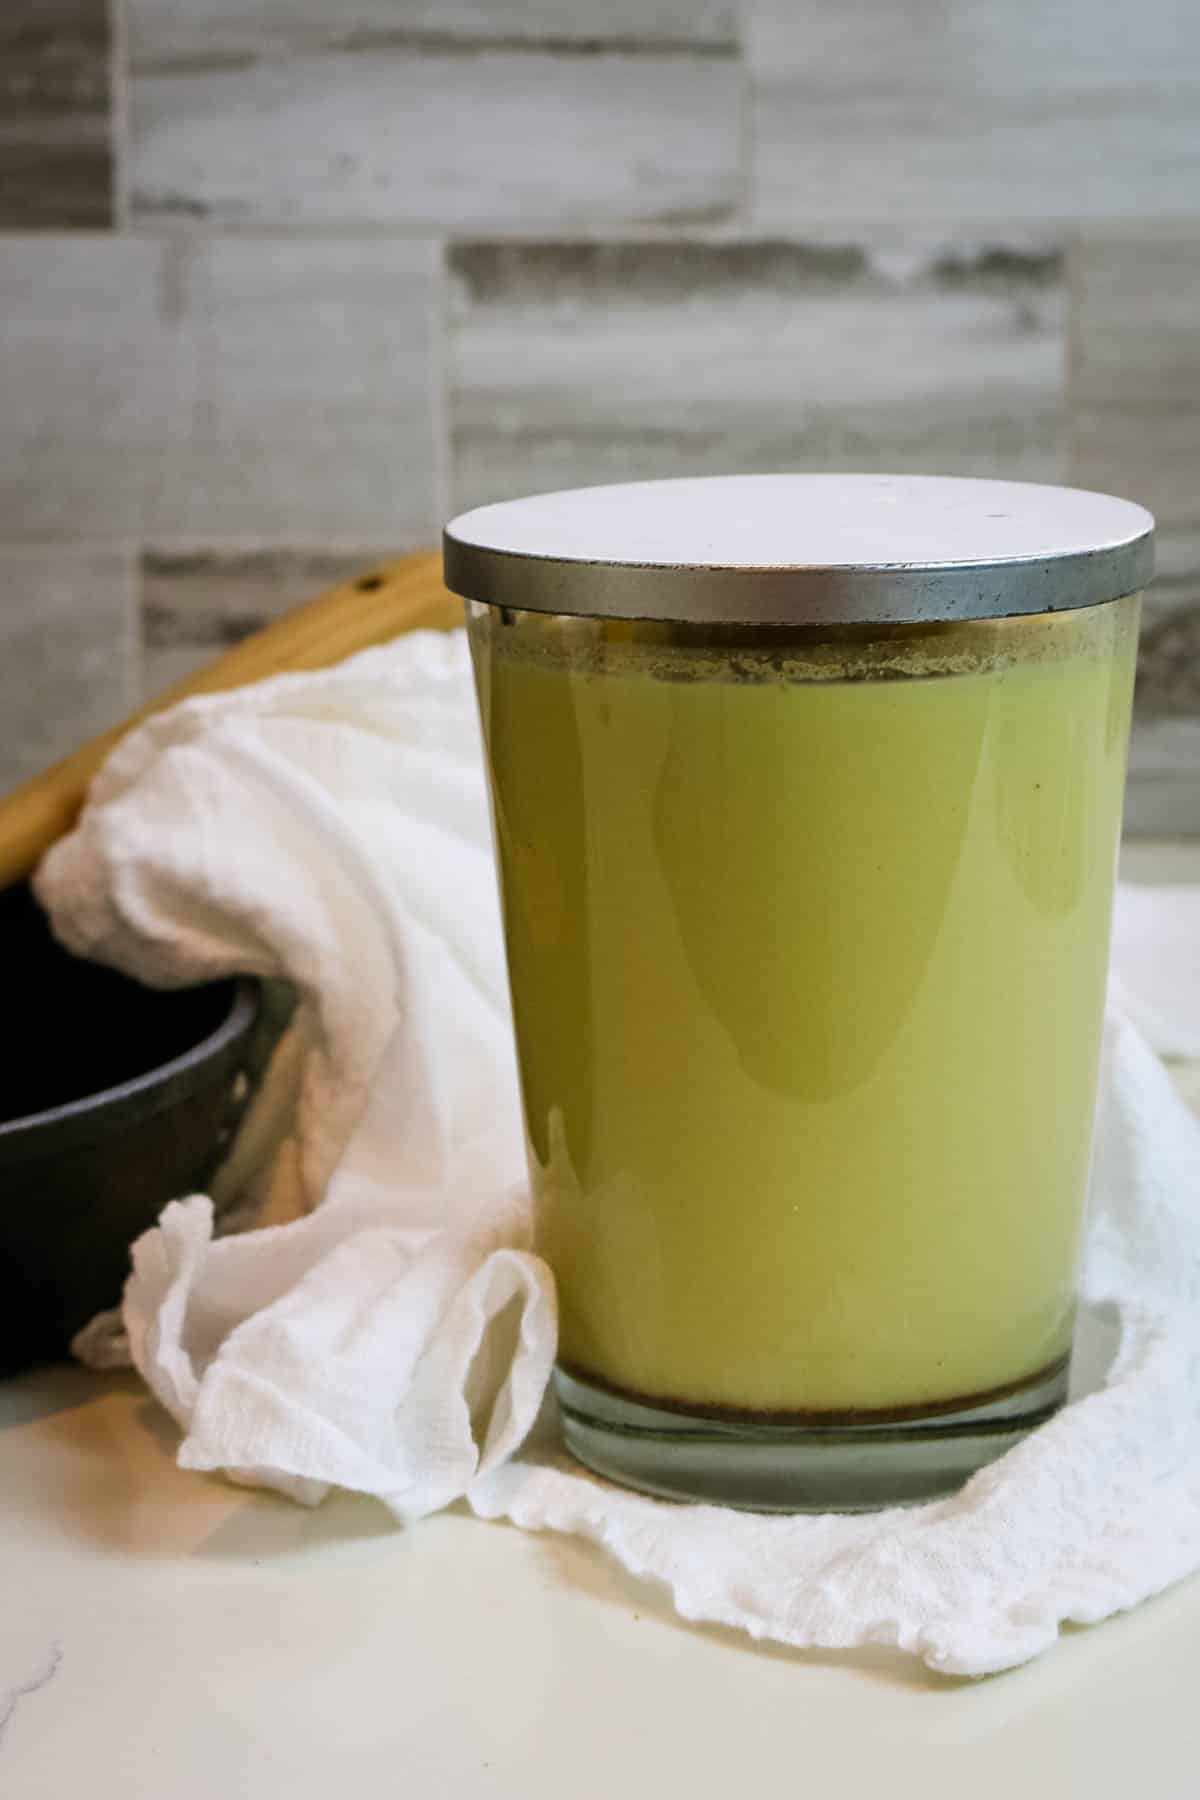
Step 4. Chill
Chill garlic confit either in an ice bath or setting it outside during cooler temperatures. Transfer to the fridge as soon as it's chilled.
Helpful Tools & Links
Below are some affiliate links that may be helpful to you as you make this recipe. You can find some of these items cheaper at your local store but it helps to have a link so you know what you're looking for.
- Tools: 9-inch oval baking dish
- Ingredients: extra-virgin olive oil
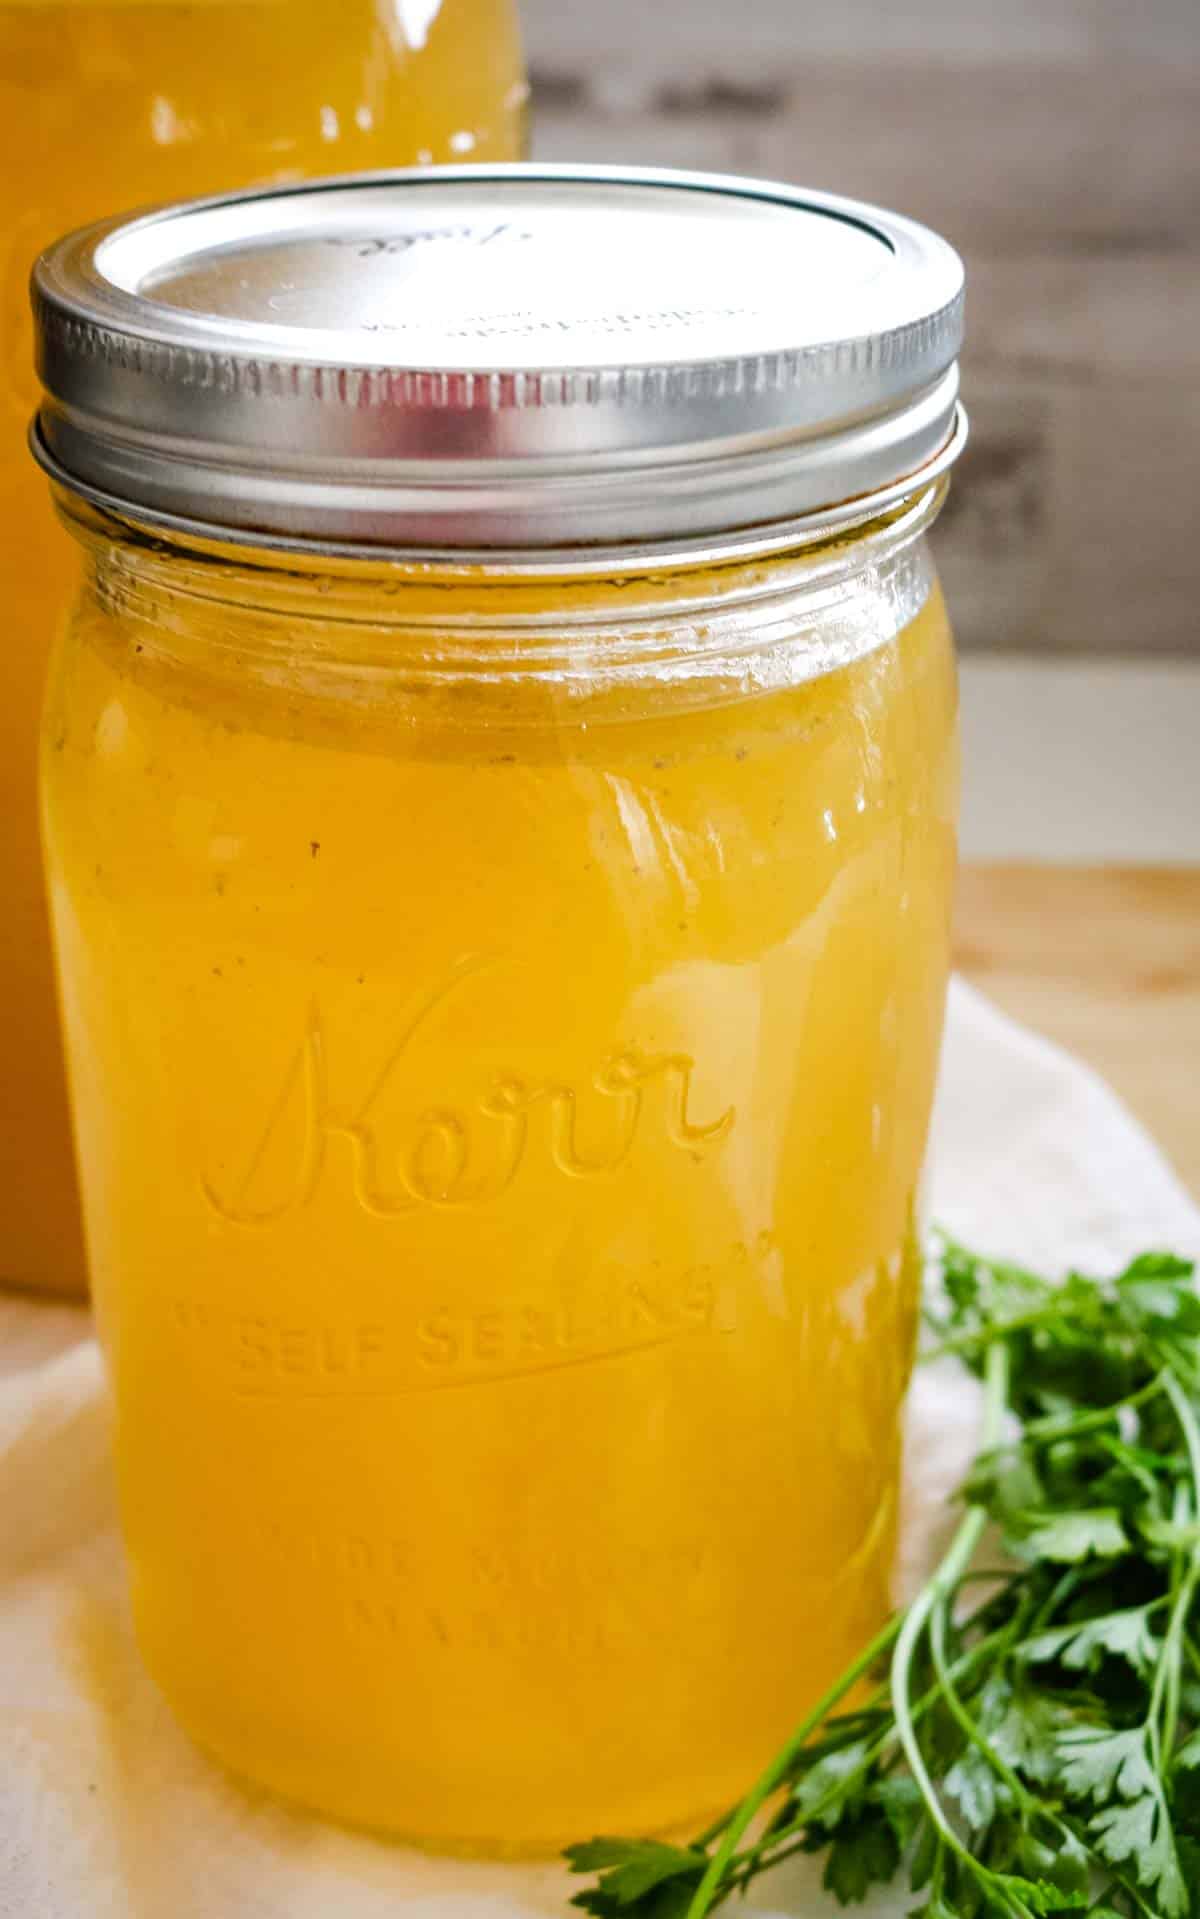
- Storage Supplies: wide-mouth mason jars, Weck preserving jars,
Serving Suggestions
As mentioned already, use confit garlic to take your meals to the next level. We do everything here with lots of garlic so if the pungency is a little off-putting to you, roasting this strongly flavored vegetable brings down some of that
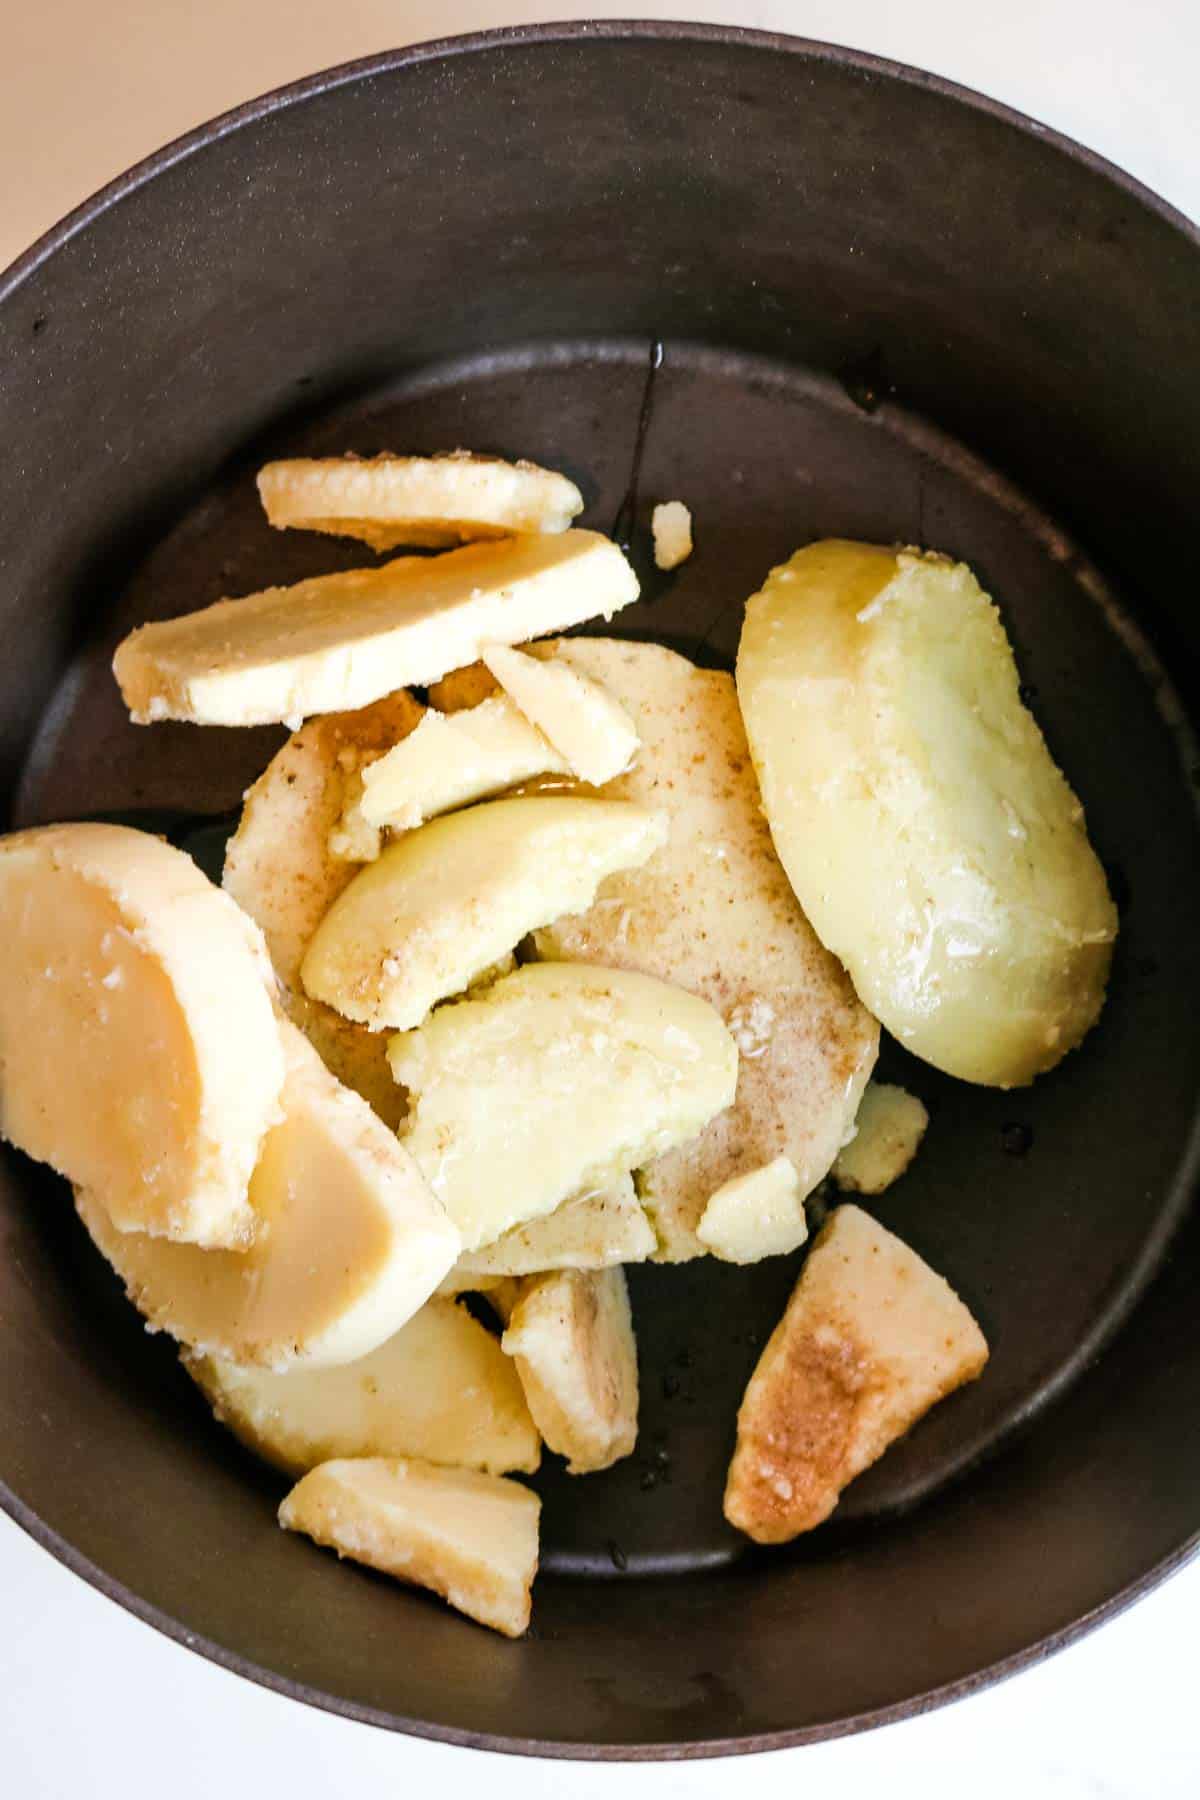
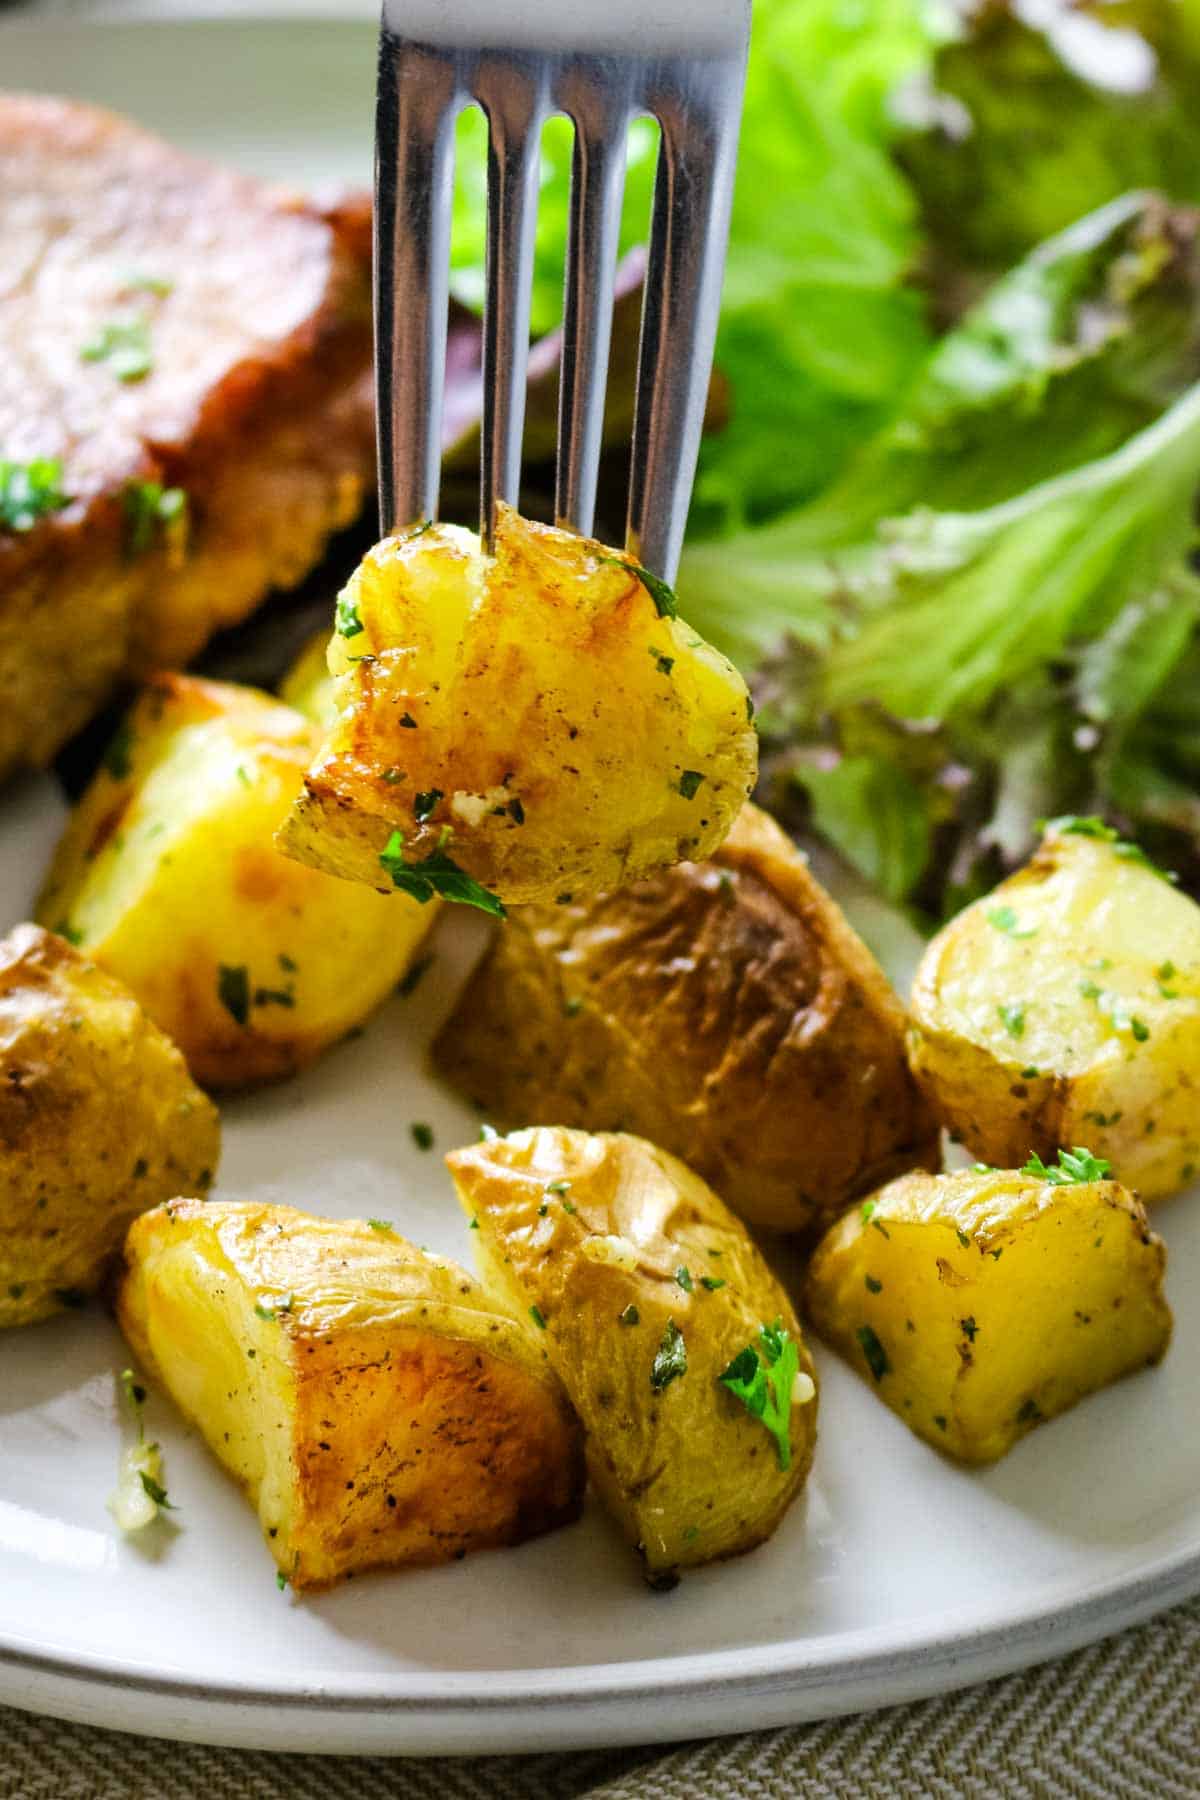
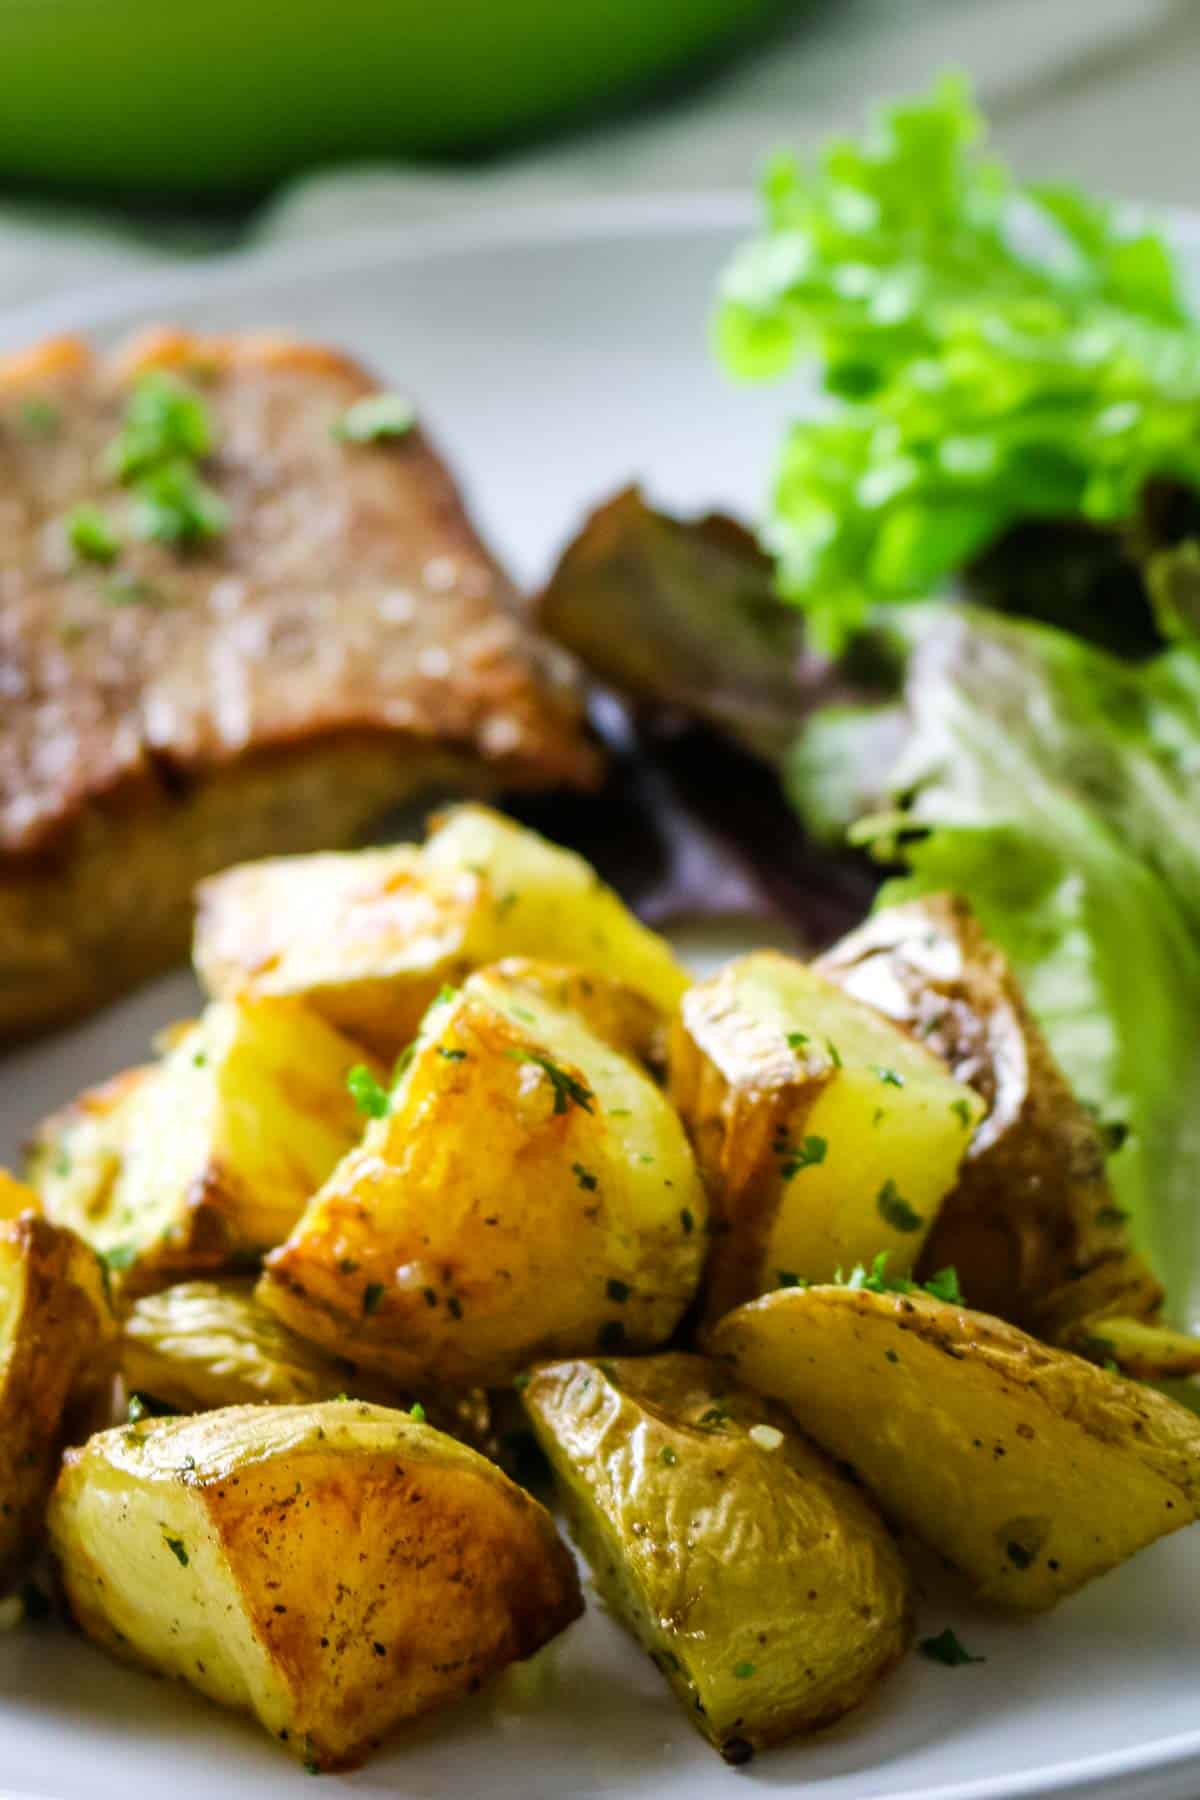
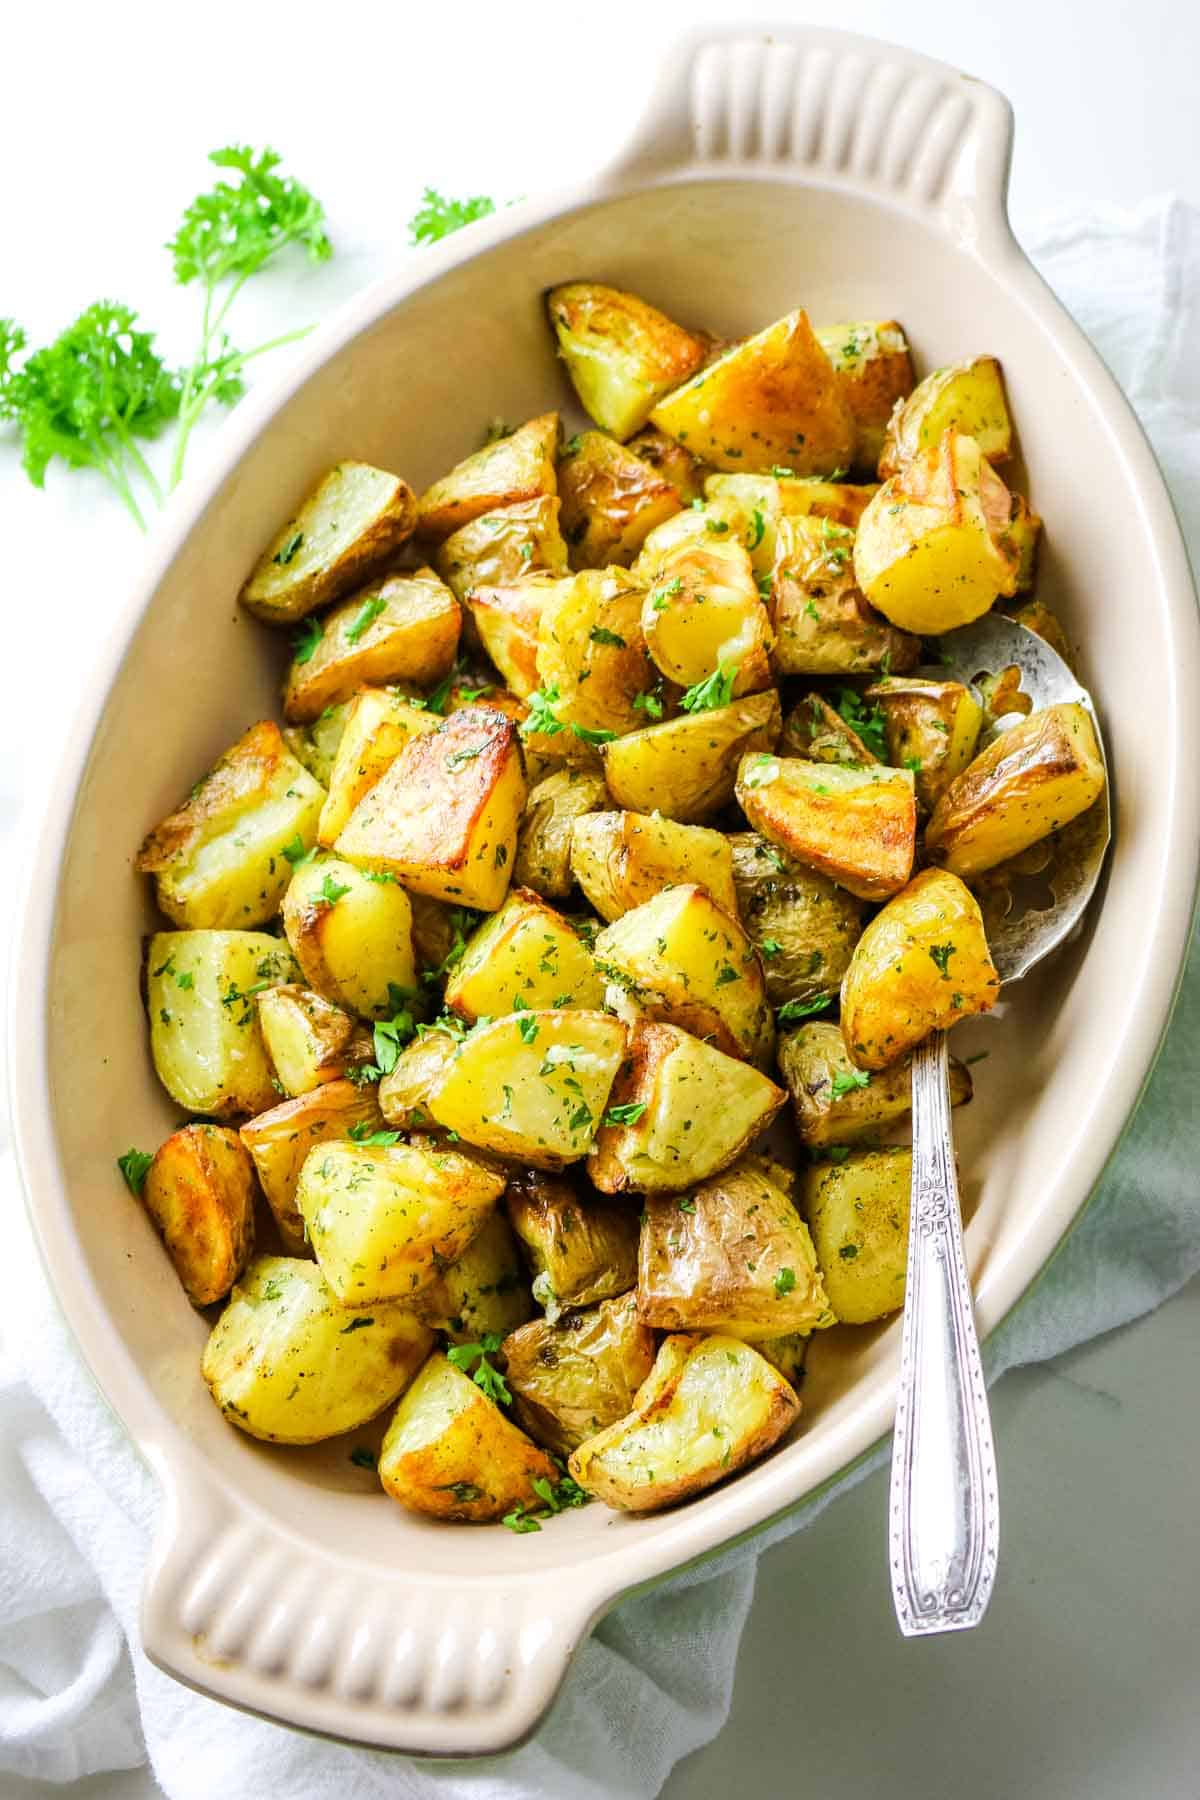
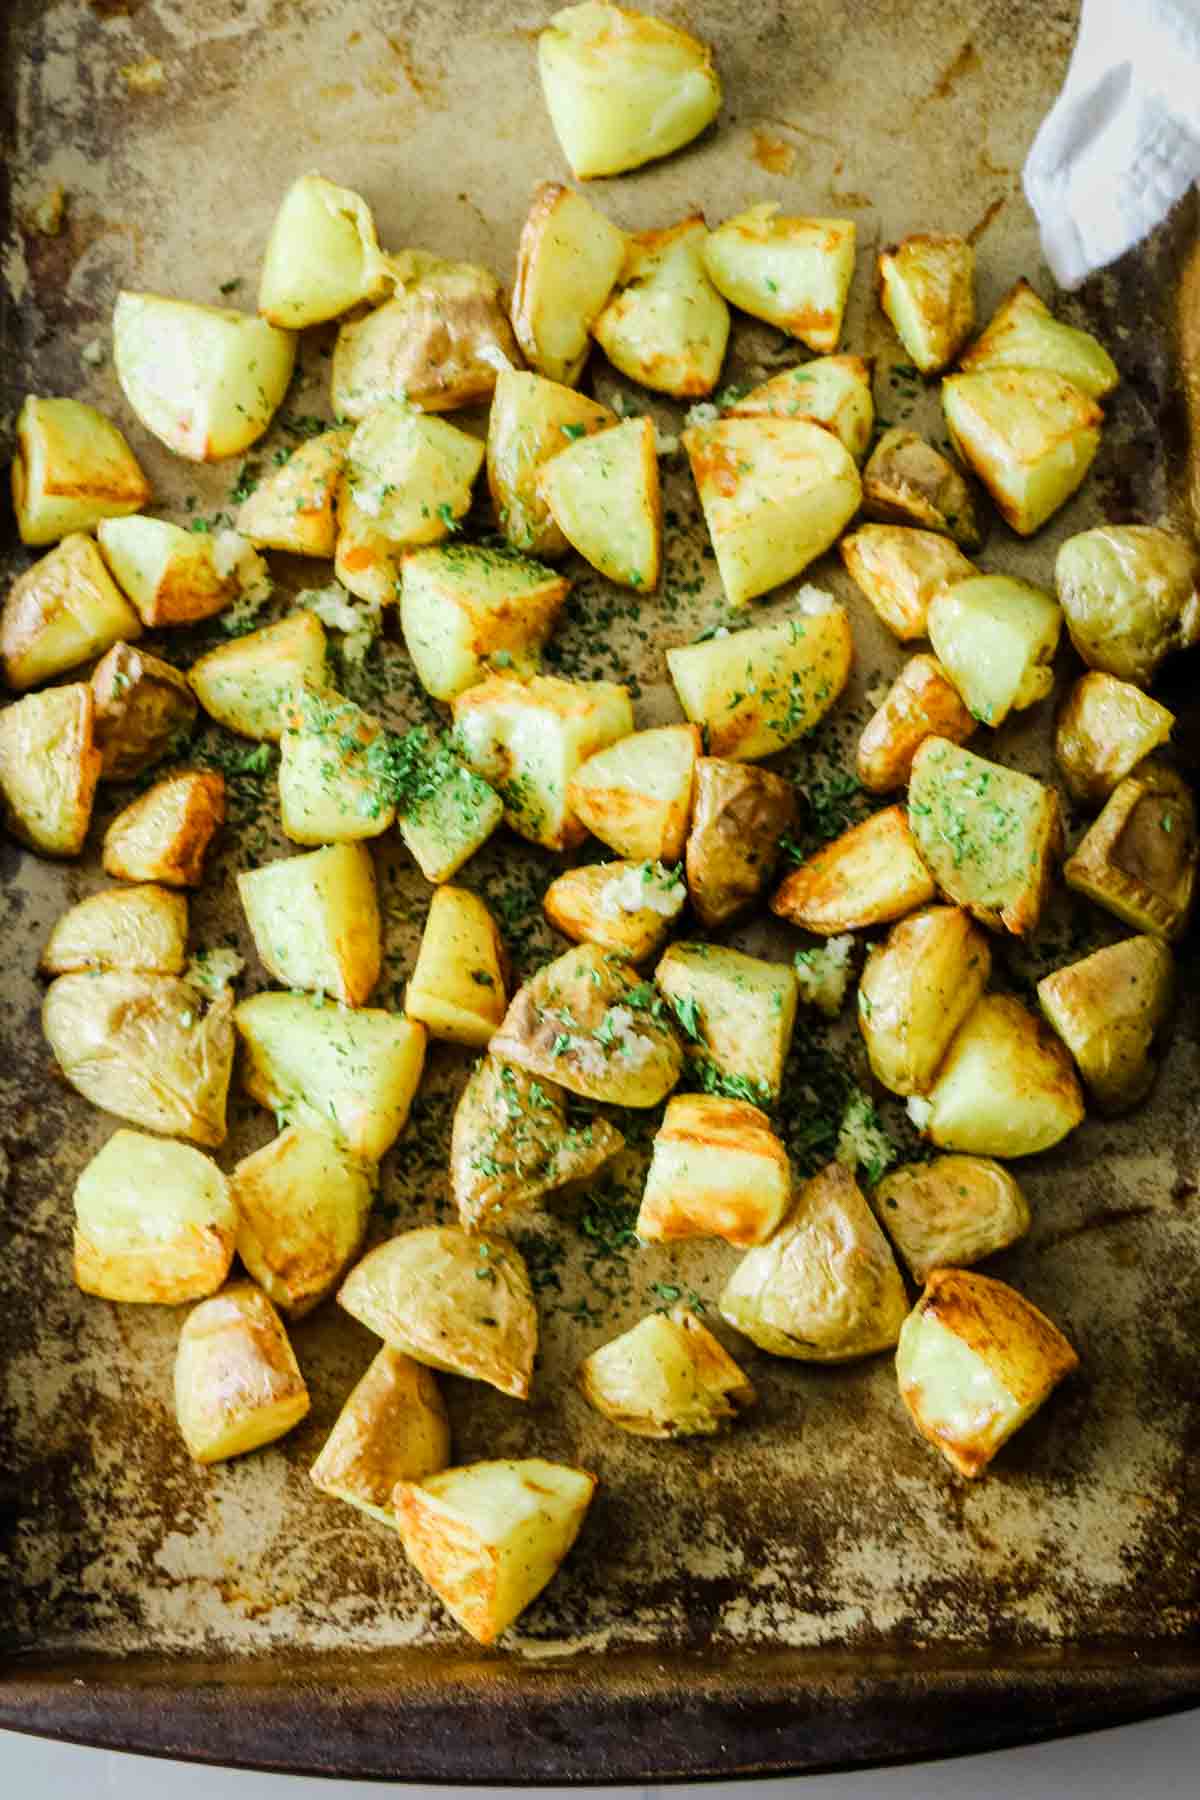
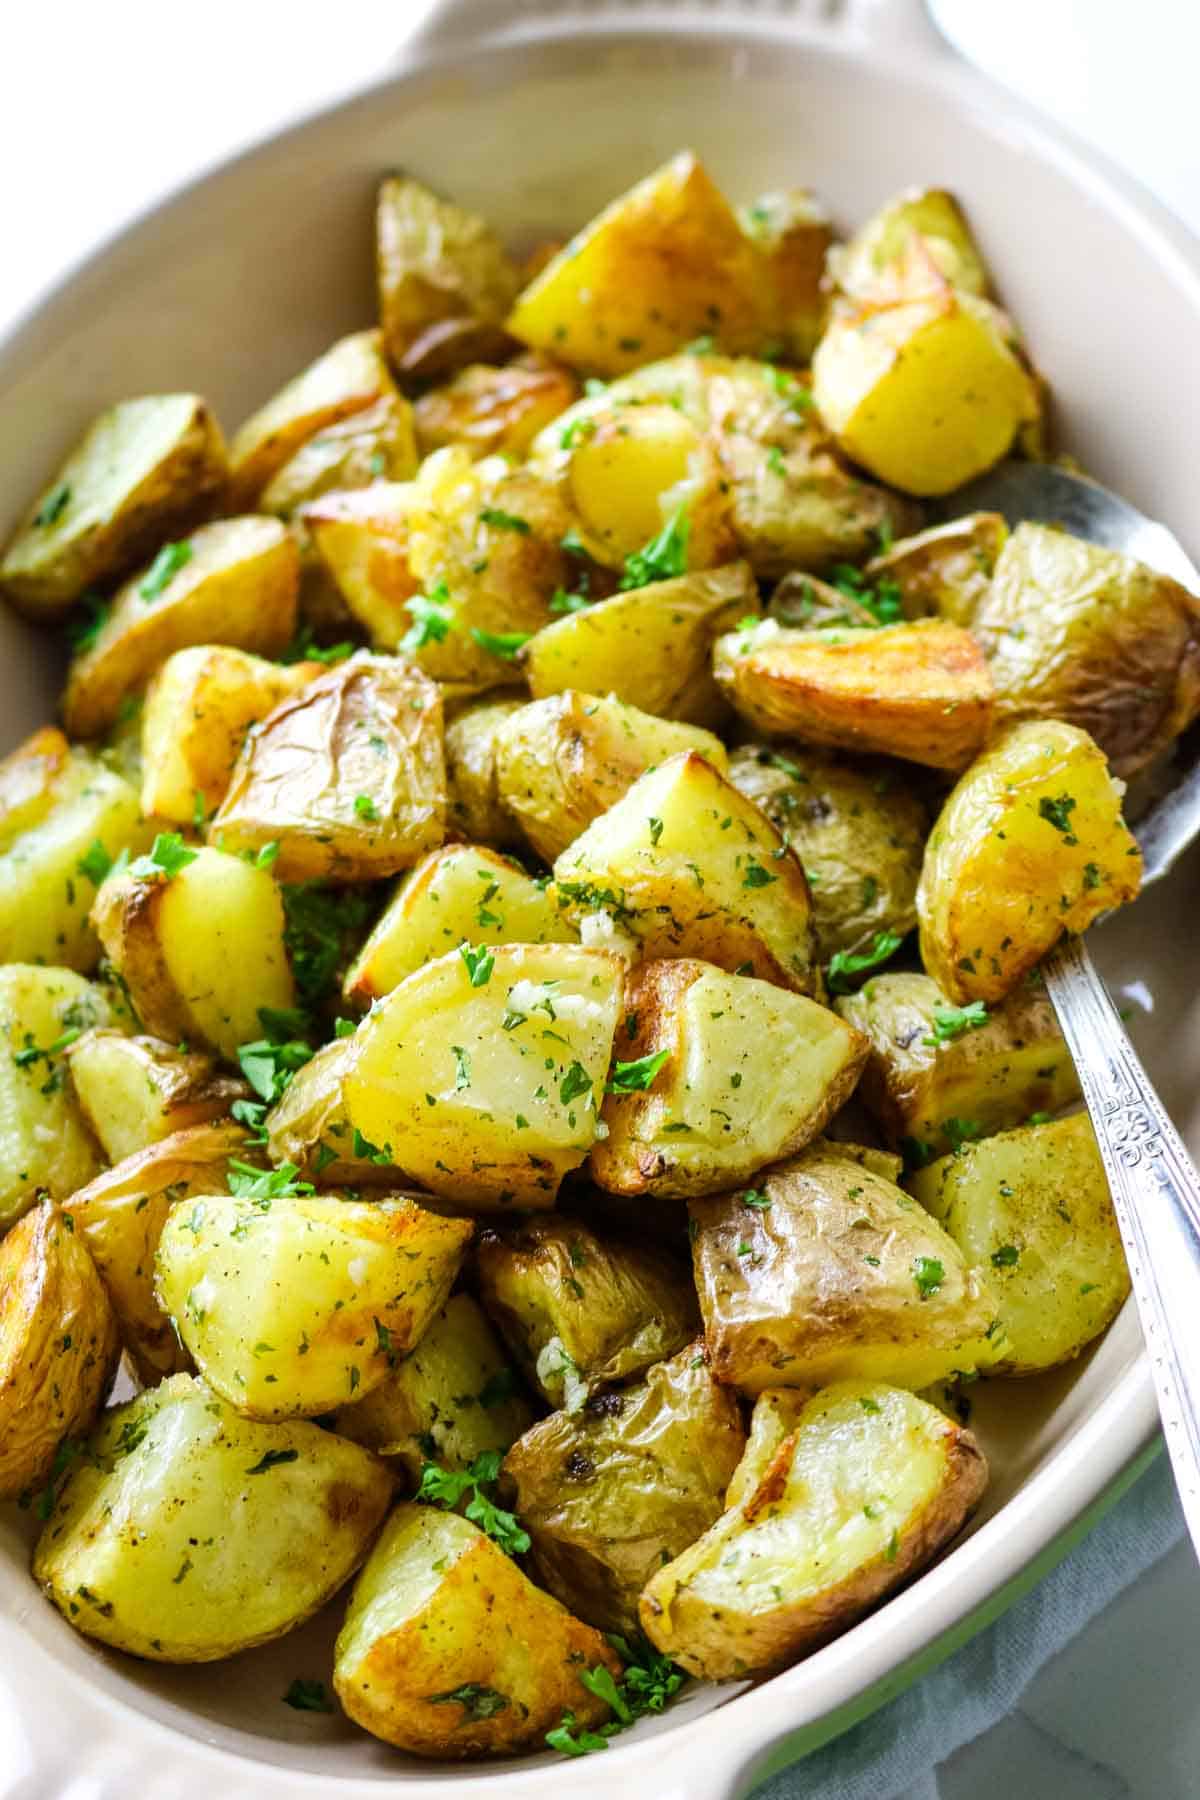
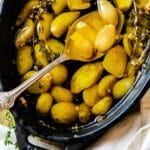
It's a great way to add more flavor to side dishes like roasted potatoes or butternut squash.
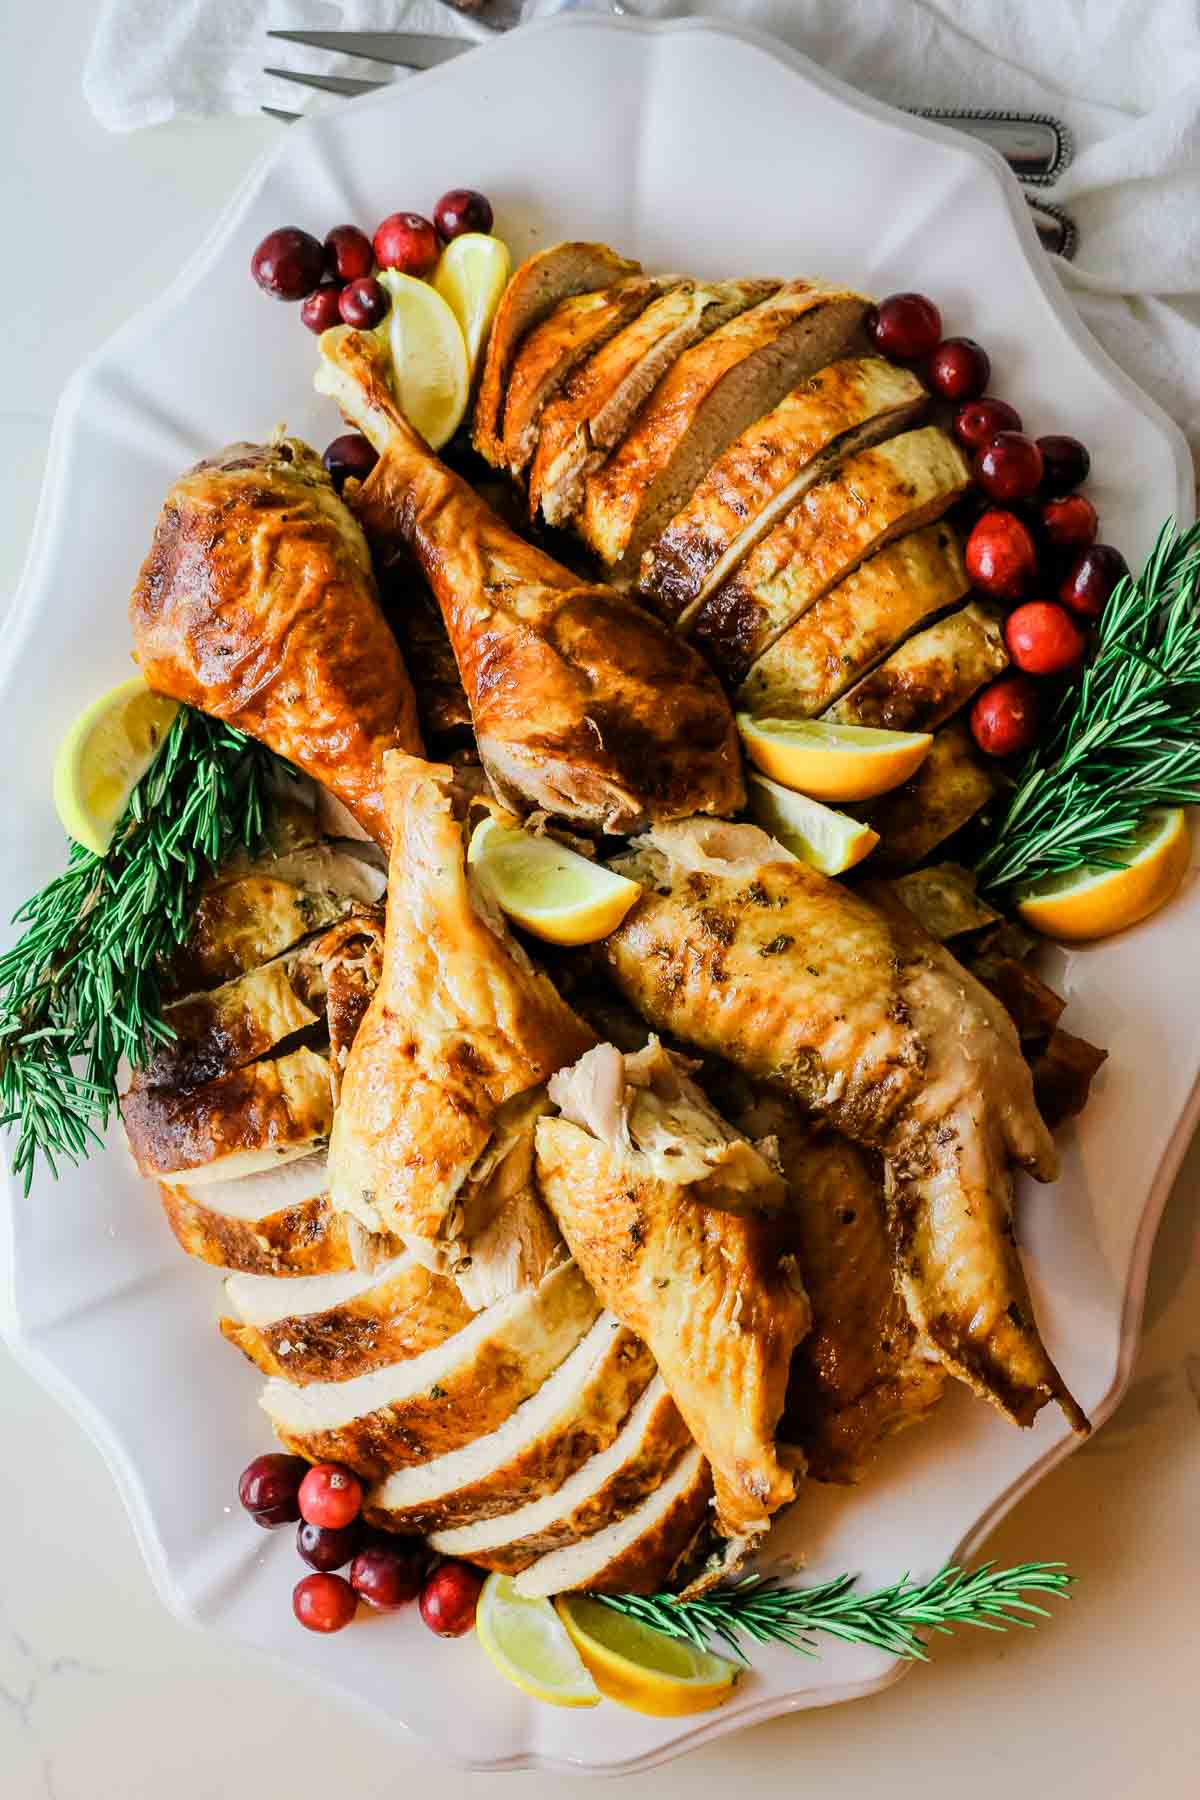
You can also mash the roasted garlic cloves atop meats like pork tenderloin or sausage and peppers. It would be a lovely addition with Air Fryer Duck or Spatchcock Turkey.
My favorite way to enjoy garlic confit is to mash the garlic cloves over crusty bread and top with flaky salt and black pepper. Instant amazing appetizer idea here!
And don't forget to use the infused oil in salad dressings.
💭Easy Recipe: Make instant garlic bread by mashing garlic to form a paste. Spread the garlic paste over warm bread. Top with parmesan cheese and parsley and broil for 4 minutes.
Storage Instructions
To store: Roasted garlic should be stored in an airtight container in the refrigerator for up to 2 weeks.
Storage containers: wide-mouth mason jars, Weck preserving jars,
FAQs
Garlic confit can safely be stored in an airtight container like a mason jar in the refrigerator for up to 2 week.
Yes! To prevent the risk of botulism, a rare but fatal food-borne illness, never keep garlic confit at room temperature.
You will know that garlic confit is done when the roasted garlic cloves are golden and soft making them easy to mash and spread.
Looking for more garlic recipes? Here are some ideas:


Did you make this? Please leave a ⭐ recipe rating in the recipe card below and leave a review in the comments. Thank you!💚
Printable Recipe
Easy Garlic Confit Recipe
Ingredients
- 1 cup whole garlic cloves, peeled with root ends trimmed approximately 2 whole garlic heads
- 1 cup extra-virgin olive oil
Instructions
- Preheat oven to 275 degrees Fahrenheit. In a small baking dish, add garlic cloves and extra virgin olive oil.

- Bake in the oven for 90 minutes or until the garlic cloves are golden and soft and easy to spread with the back of a fork.
- Transfer the garlic and olive oil into a glass jar. Chill garlic confit in an ice bath or another cool area. Transfer to refrigerator.


Notes
- Recipe makes approximately 2 cups.
- Flavor variations: add a sprig or two of fresh thyme, sage leaves, or other herbs; bay leaves and peppercorns; or dried chili pepper for some heat.
- Never store garlic confit at room temperature. Transfer to the refrigerator as soon as it's chilled and store in the fridge for up to 2 weeks.
- Serving suggestions: great mashed in vegetables or over meats or as an easy instant garlic bread.