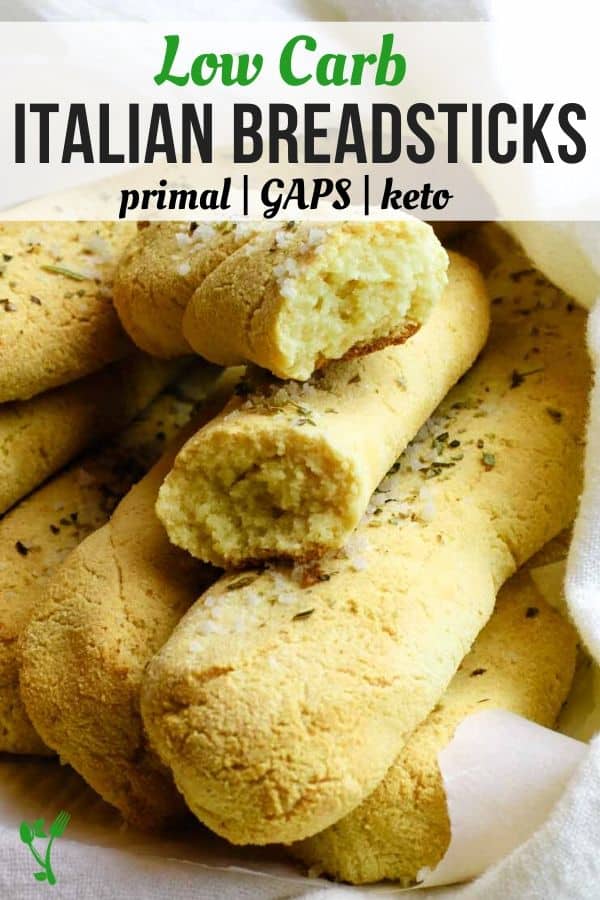
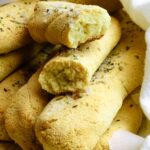
These bread sticks are keto, low carb and gluten free. They are made with 5 simple ingredients and few seasonings to add Italian flavor.
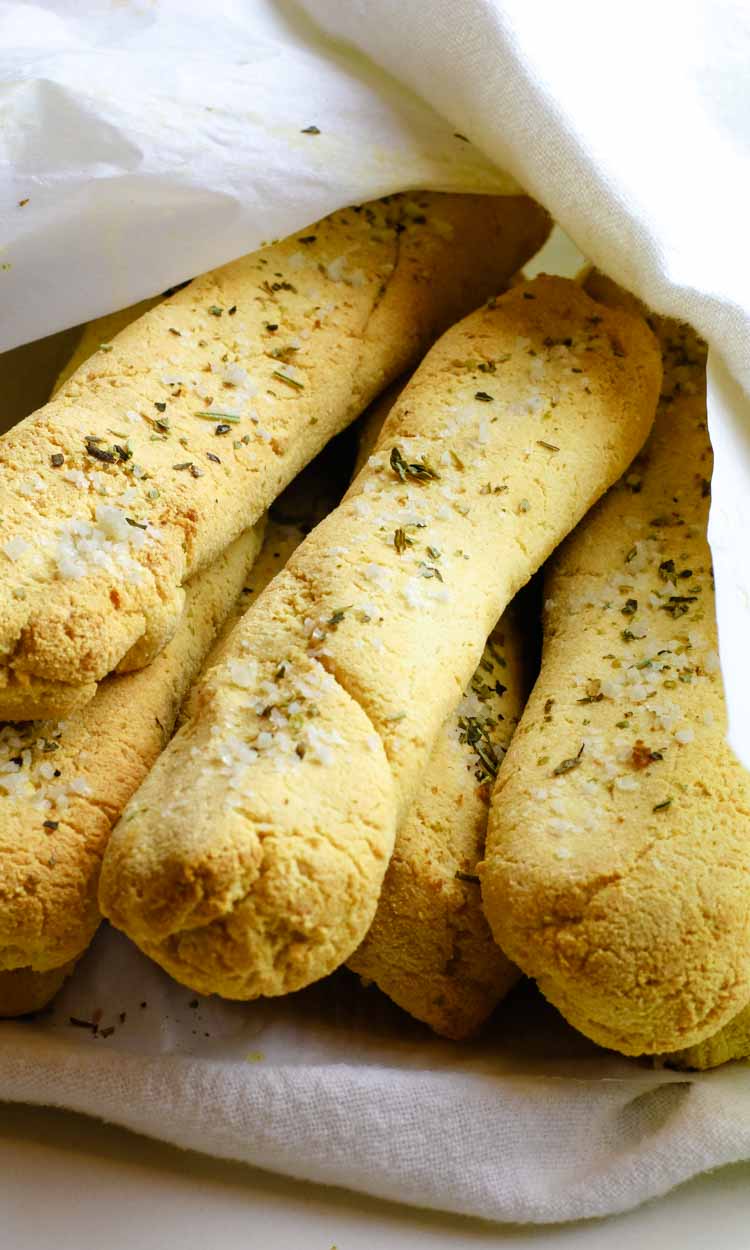
If you have been skipping that basket of bread sticks for awhile, you're in luck! These keto bread sticks are naturally gluten-free and are perfect to dunk into soups or enjoy just because you have a hankering for.... bread sticks!
Keto Bread Sticks
These keto bread sticks are made with mozzarella dough or what is commonly known as Fathead dough.
You'll find many low carb breads use a basic fathead dough as a template. Fathead dough consists of very simple naturally low carb ingredients like mozzarrella cheese, cream cheese, almond flour or coconut flour and sometimes a leavening agent such as baking powder if needed.
From there, you can add ingredients to adjust the taste of the dough depending on what it is you're making.
So, yes, these bread sticks have cheese and lots of it. But even though these are far from Whole30 and Paleo, these keto bread sticks are a great alternative to traditional bread sticks and are totally gluten-free.
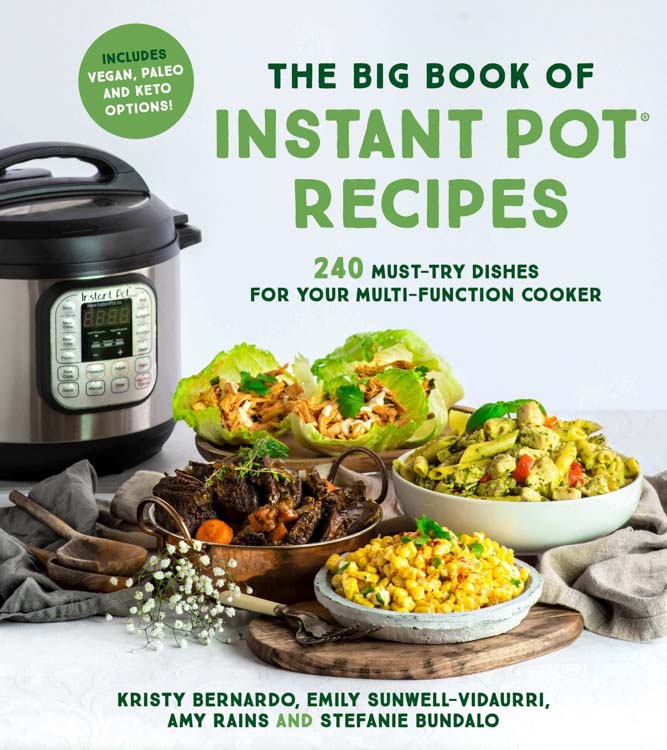
The Wholesome Yum Easy Keto Cookbook
This recipe is one of 100 from The Wholesome Yum Easy Keto Cookbook by my friend Maya Krampf. I was so excited to receive my copy because I knew it would be loaded with not only tasty low carb recipes but also amazing information to help everyone succeed on a keto diet.
If you haven't bought your copy yet - be sure to do that so you can have access to 100 simple low carb recipes with 10 ingredients or less! It has recipes for everyone, from sweet breakfasts to hearty soups and salads to one-pan meals and quick bites & snacks.
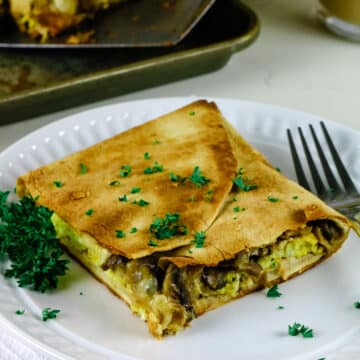
My favorites are the Jalapeno Popper Stuffed Omelette, Taco Stuffed Avocado, Pan-Fried Baja Fish Tacos and Italian Antipasto Skewers.
Maya has generously given her permission to share this keto Italian Garlic Bread Sticks recipe with all of you.
Low Carb Bread with Coconut Flour
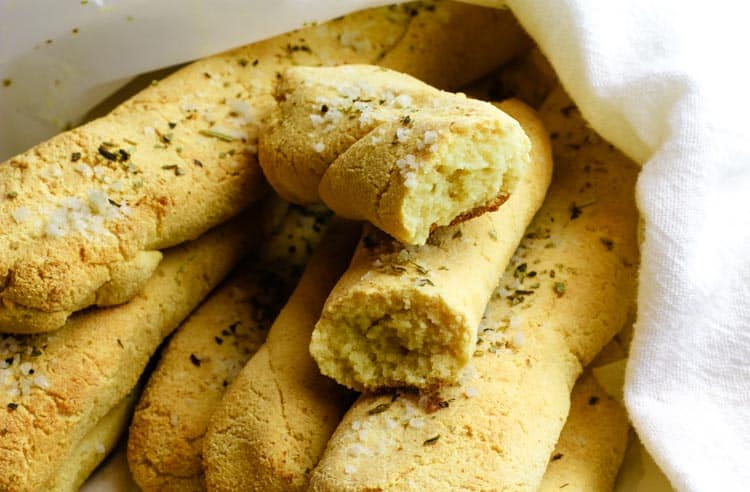
These Keto Bread Sticks make a great low carb bread alternative. Though it's not a traditional loaf of bread, it's still just as delicious and works perfectly to dunk in soups or dips.
These low carb bread sticks are seasoned with an Italian flare: the Italian seasoning and some garlic powder. If you choose to go with neutral flavored bread sticks, simply omit the Italian seasoning and garlic powder.
It's helpful to know that these keto bread sticks are made with coconut flour. Almond flour is a common ingredient in many fathead dough recipes. The Wholesome Yum Easy Keto Cookbook has variations for using both the almond flour and coconut flour.
For the sake of simplicity, the recipe card below lists only the coconut flour option. There is a sutble sweetness of the coconut in the finished bread sticks but it wasn't too overpowering and overall was very delicious.
Helpful Tools for Keto Bread Sticks
- Food Processor - Because the dough is a little finicky to work with, I recommend enlisting a food processor with a dough hook or an "S" blade to do the job.
- Baking Sheet - I love these stainless steel sheets. I do my best to avoid aluminum and for that reason always use parchment paper in place of aluminum foil.
- Coarse Salt - What could be better to top these bread sticks that some mineral-rich coarse salt. My favorite to use is Celtic Sea Salt.
How to Make Low Carb Bread Sticks
The recipe may seem intimidating because there are several moving pieces. But trust me, it will be worth it. Once you get the hang of making the fathead dough, it's quite simple to make these keto bread sticks.
And it also helps that this Italian Garlic Bread Sticks recipe only calls for 5 basic ingredients plus 2 more for seasonings.
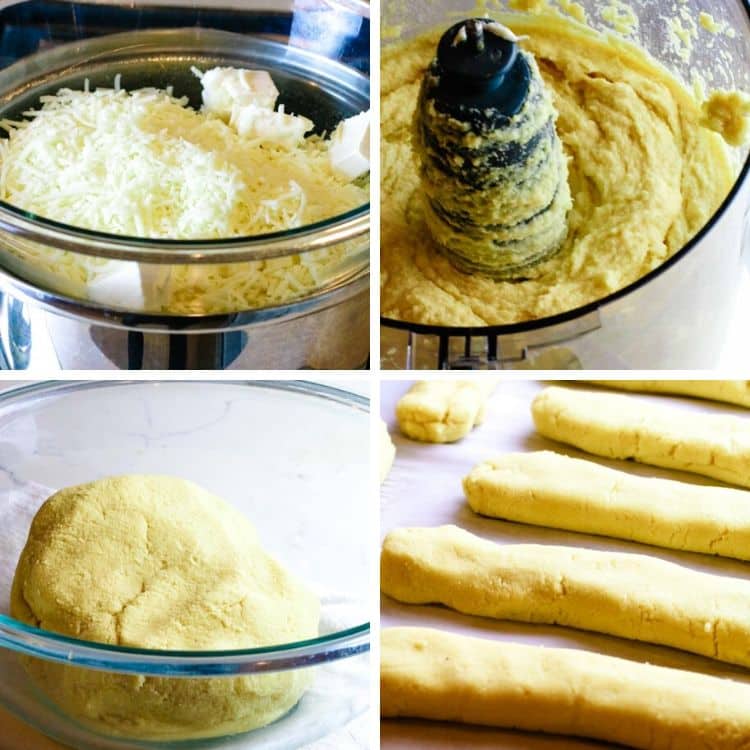
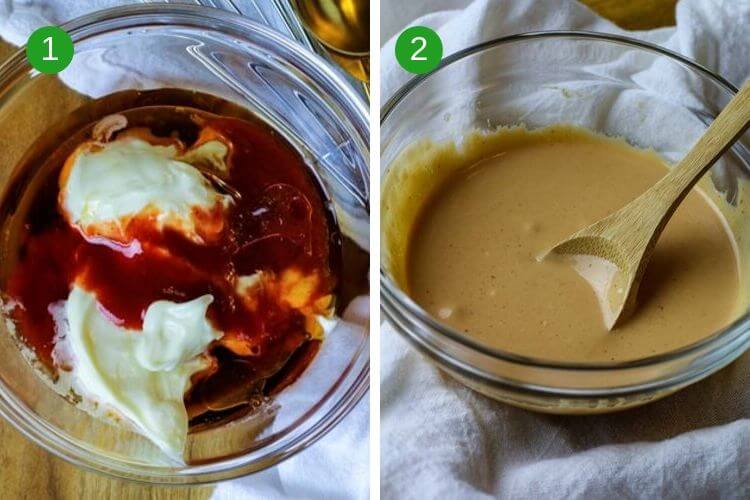
Since I don't own a microwave, I melted the cheeses in a double boiler. But if you want to cut the time and hassle, simply melt the cheeses in the microwave for 90 seconds, stirring halfway. I always recommend avoiding microwave use when possible but if that is your personal preference - go for it!
While the cheeses are melting, mix the flour, garlic powder and baking powder in the food processor and add whisked eggs to the flour mixture. Mix that until uniform. Then add the melted cheeses (while still hot) and turn on the processor again and keep it running until the dough forms.
My favorite method to mix the fathead dough is with a food processor. The dough will be a bit on the sticky side so it's hard to mix by hand. My food processor doesn't come with a dough blade but I've found that the regular "S" blade works just as well.
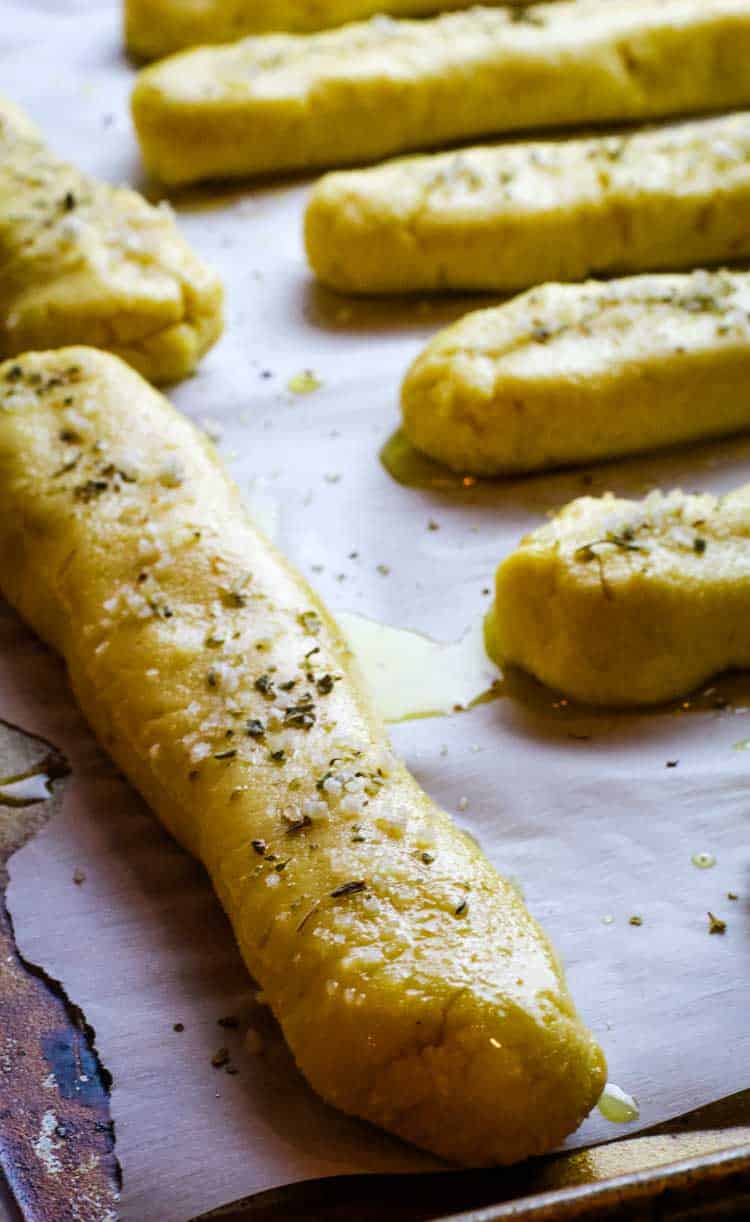
Divide the dough into 9 portions and using oiled hands, shape or roll them into logs. Place them 2 inches apart on a baking sheet. Brush the tops of the bread sticks with butter. Sprinkle with Italian seasoning and coarse salt and bake until golden brown.
What to serve with Keto Bread Sticks
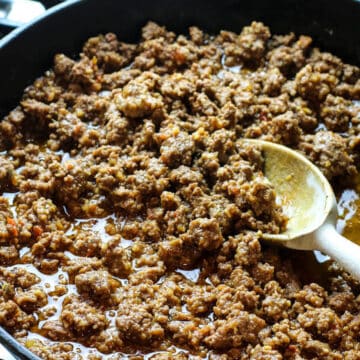
Low Carb Hamburger Soup (Paleo, Whole30, Keto)
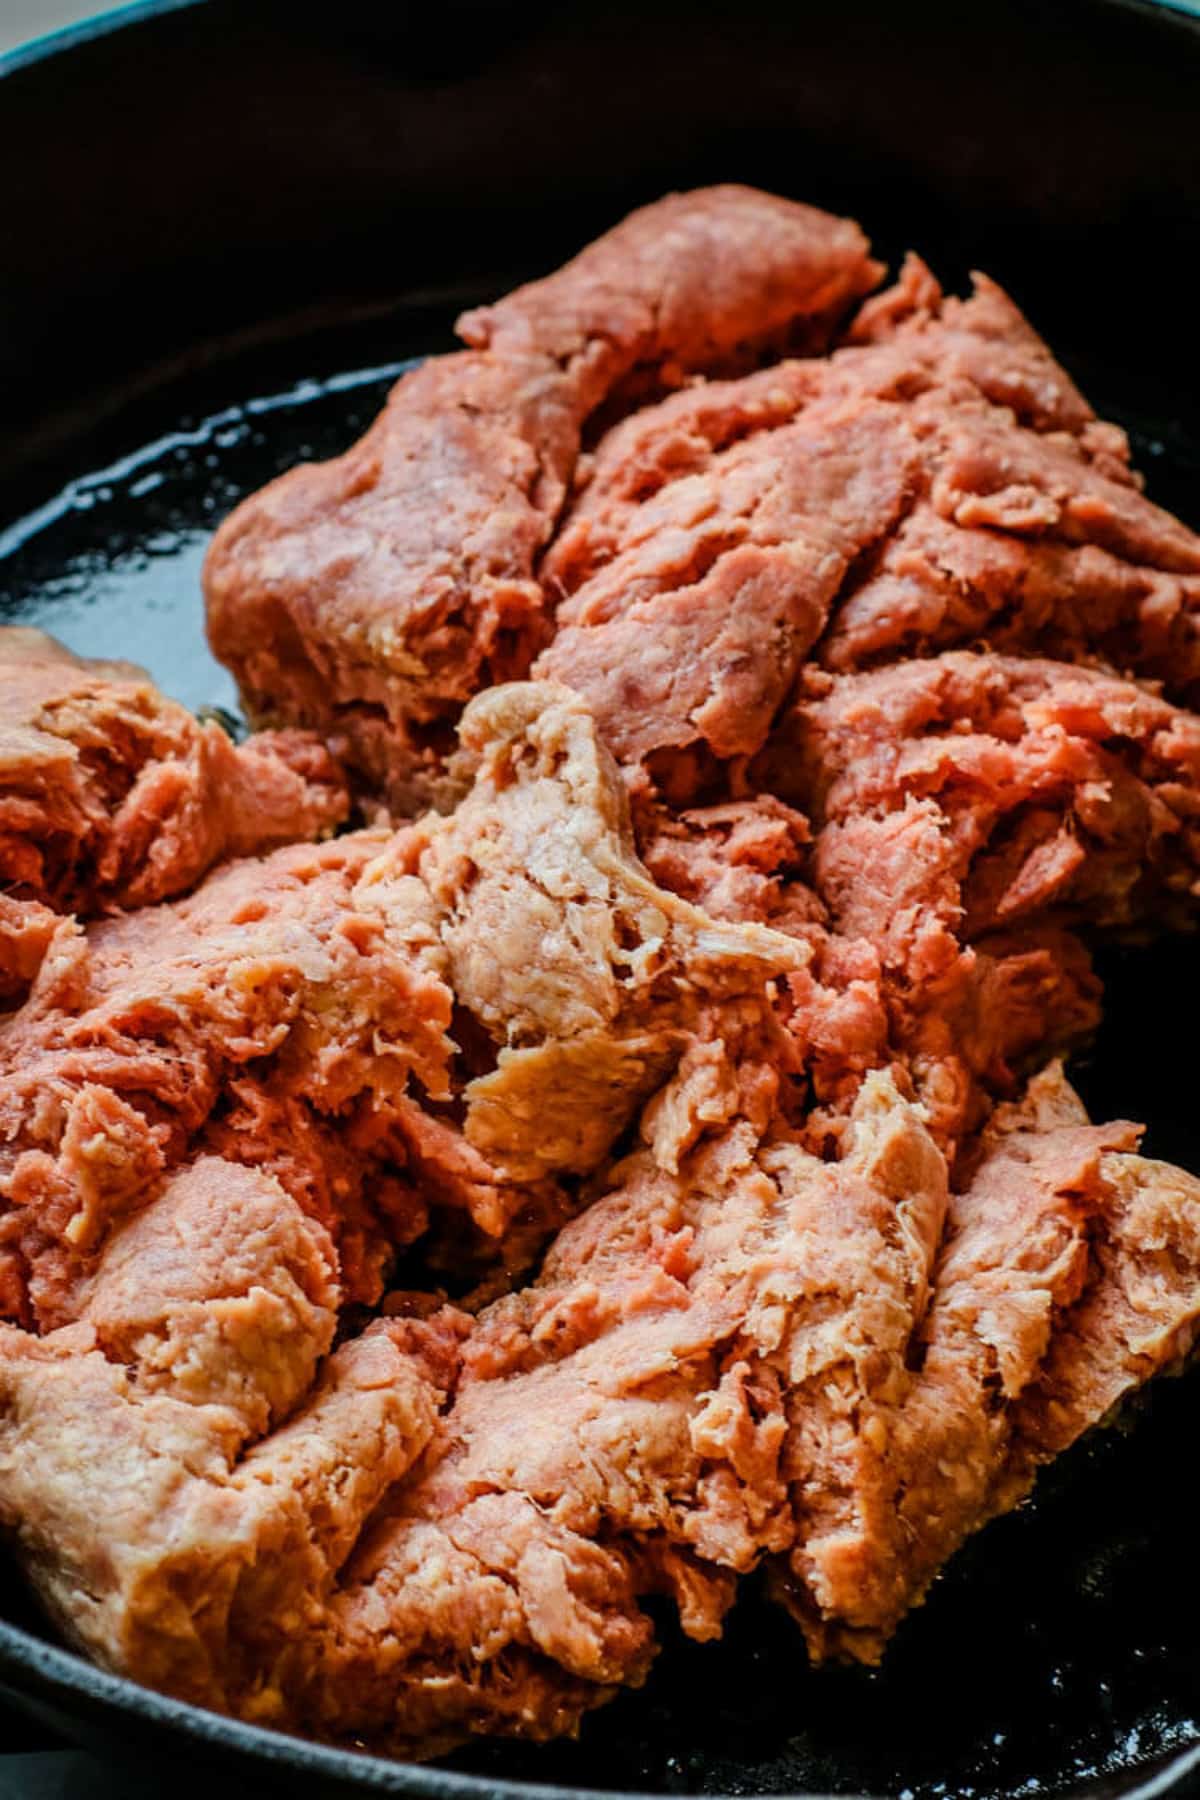
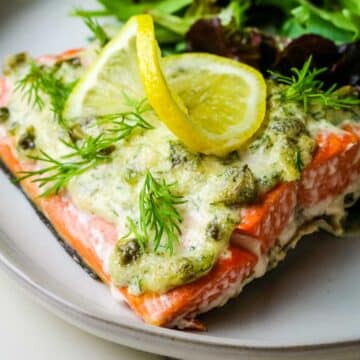
Instant Pot Tuscan Kale, Squash & Chicken Soup (Paleo, Whole30, Low Carb)
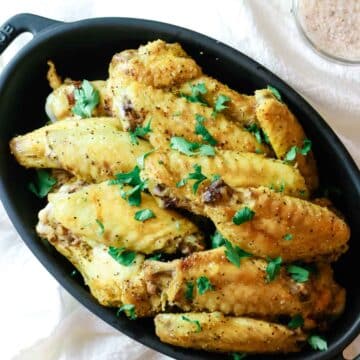
Instant Pot Pumpkin Turkey Chili (Paleo, Whole30, Low Carb)
Printable Recipe
Keto Bread Sticks (Gluten Free)
Ingredients
- 3 cups mozzarella cheese (12 ounces)
- 4 tablespoons cream cheese (2 ounces)
- ⅔ cup coconut flour
- 1 tablespoon baking powder
- 1 teaspoon garlic powder
- 4 eggs whisked
- 1 tablespoon butter, melted
- 1 teaspoon Italian seasoning
- 1 teaspoon coarse salt
Instructions
- Preheat oven to 350 degrees Fahrenheit. Line a baking sheet with parchment paper.
- In a double boiler, combine the shredded mozzarella and cream cheese. Heat for a few minutes, stirring occasionally, until smooth, easy to stir and uniform. Alternatively, you can melt the cheeses in a microwave for 90 seconds, stirring halfway.
- Add the coconut flour, baking powder and garlic powder to a food processor and pulse to combine everything together.
- Add the eggs and turn processor on to mix.
- Add the melted cheese mixture and turn on the food processor to mix and keep it running until a uniform dough forms. You may need to stop and scrape the flour from the sides.
- Divide the dough into 8 portions. Using oiled hands, shape or roll each into a log about 1 inch thick and 6-7 inches long.
- Place the bread sticks 2 inches apart on the lined pan and flatten slightly.
- Brush the tops of the logs with the melted butter. Sprinkle with Italian seasoning and sea salt.
- Bake the bread sticks for 18-22 minutes, until golden.
Notes
- When adding the melted cheese mixture, make sure it's still hot enough to be easy to stir. If it chills too quickly, simply reheat it on the double boiler or in the oven.
- When mixing the dough in the food processor, you may need to stop and scrape any flour left on the sides or bottom away from the blade or dough hook.
- If the dough is too sticky to form into logs, chill the dough in the refrigerator first. Using oiled hands to work with the dough also helps cut down on the stickiness.
Nutrition
If you liked the recipe above, please consider rating the recipe and leaving a comment below. Also, be sure to follow me on Facebook, Instagram, and Pinterest.
>>> Pin This <<<