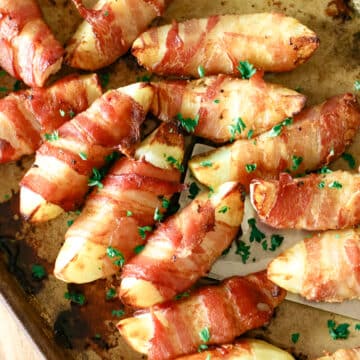
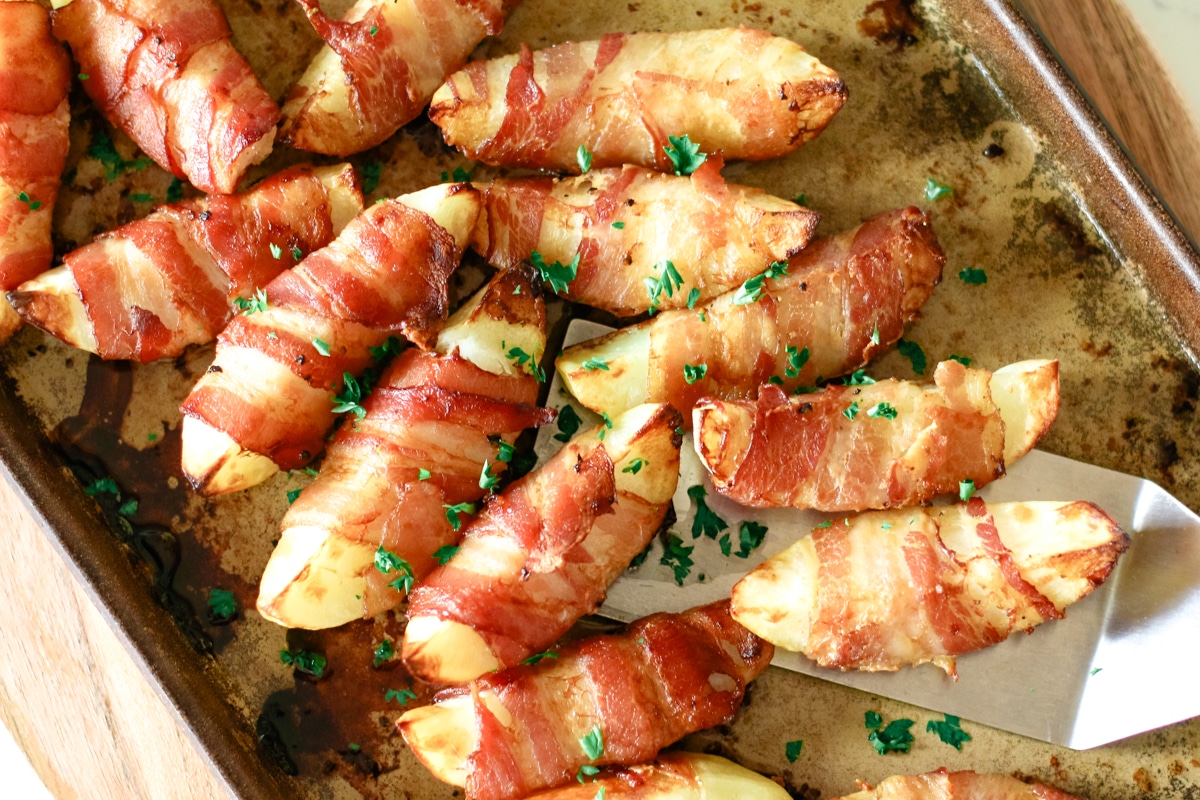
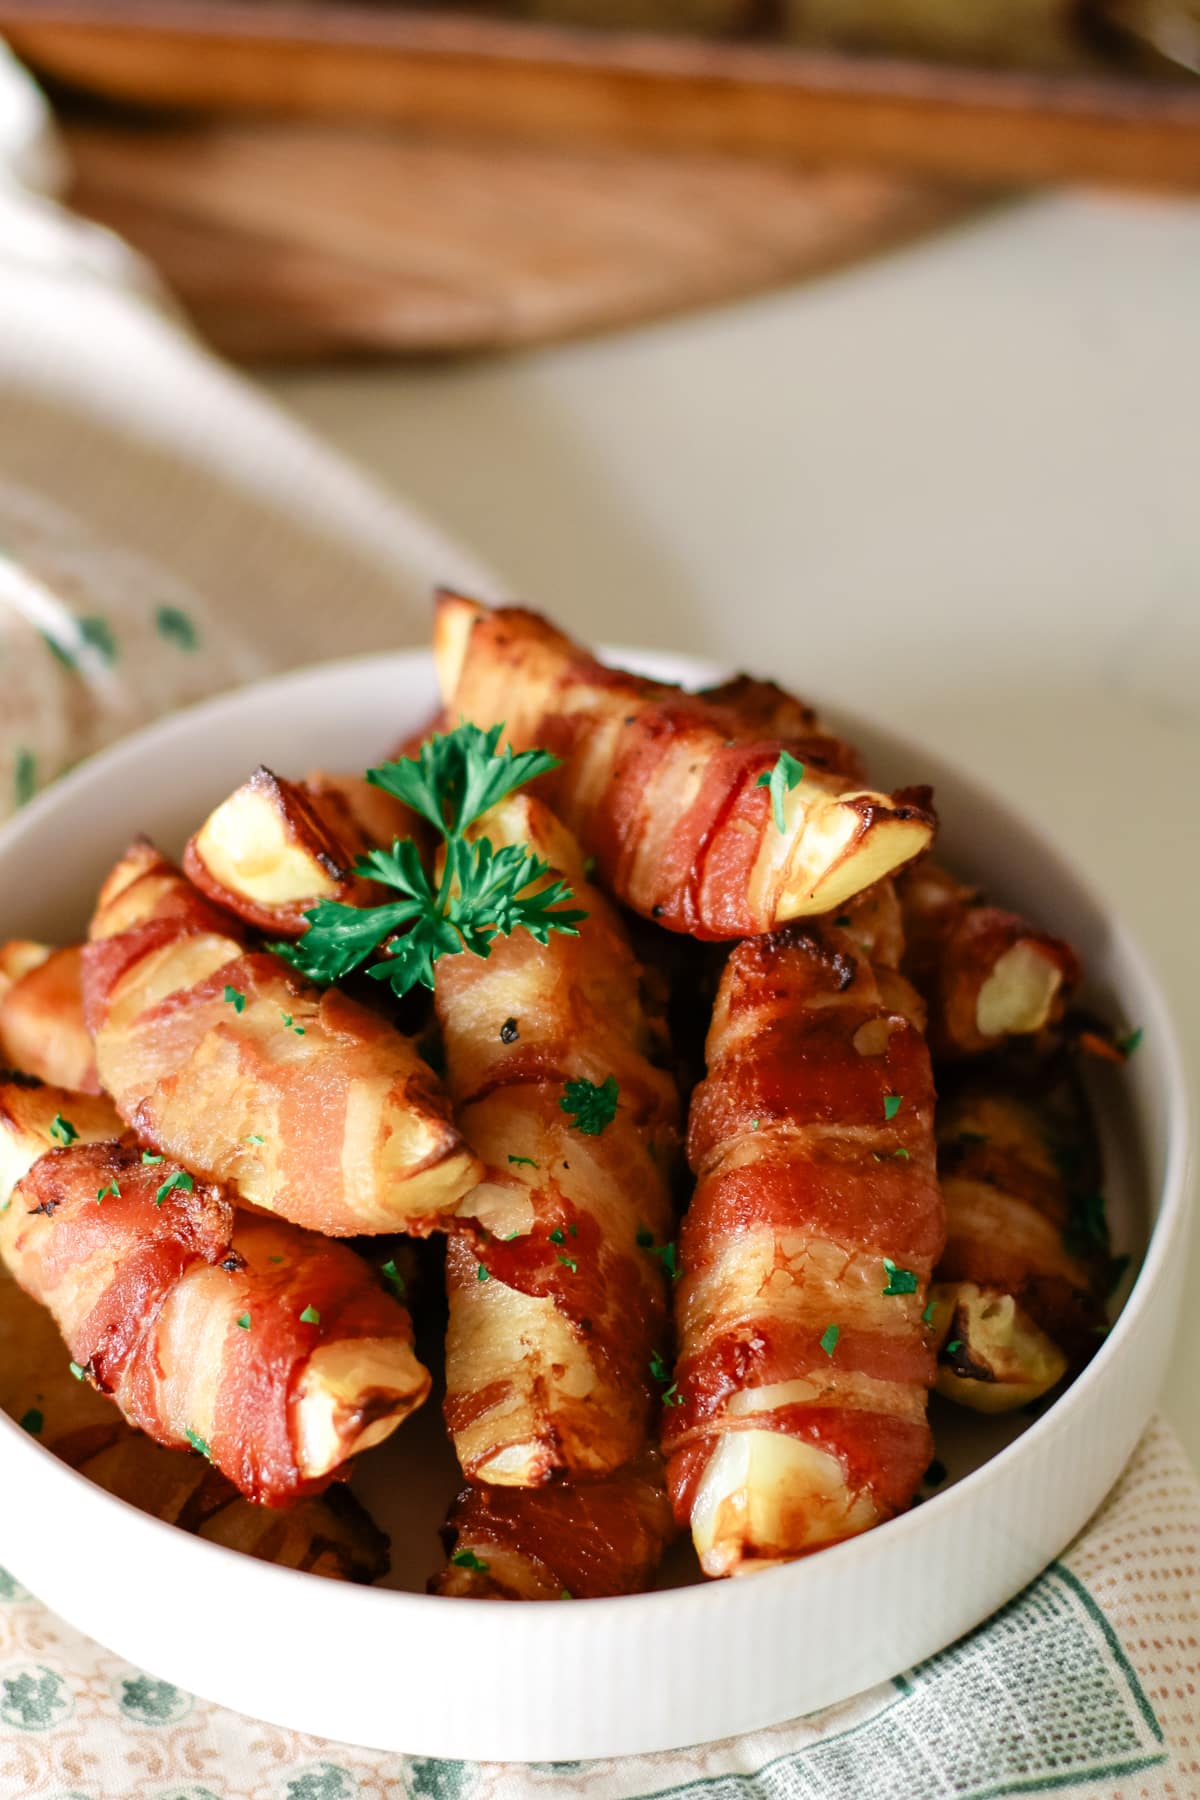
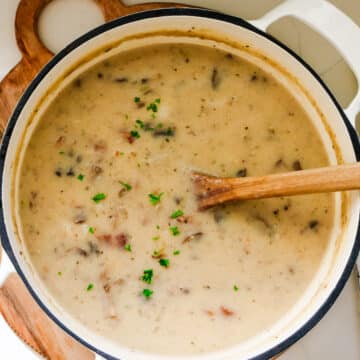
Bacon Wrapped Potatoes are a simple 2-ingredient side dish made with potato wedges and bacon. Crispy, golden, and easy to bake for any meal.
Looking for more potato recipes?[feast_advanced_jump_to]
Check out oven roasted garlic potatoes, chicken potato casserole and chicken potato salad.
💡Recipe Overview
- Prep and Cook Time: 20 minutes to prep and 30 minutes to bake
- Cooking Method: Oven-baked
- Dietary Info: Whole30, Paleo, Ancestral diet
- Tools Needed: Sheet pan
- Skill Level: Easy
What is an ancestral diet? Read my post on what nourishing foods are based on the traditional dietary principles of the Weston A. Price Foundation.
Reasons to Love this Bacon Wrapped Potatoes Recipe
You know those recipes that somehow work for everything? Yeah, this is one of them.
Bacon-wrapped potatoes are the side dish that also works as an easy and versatile appetizer - and no one's complaining.
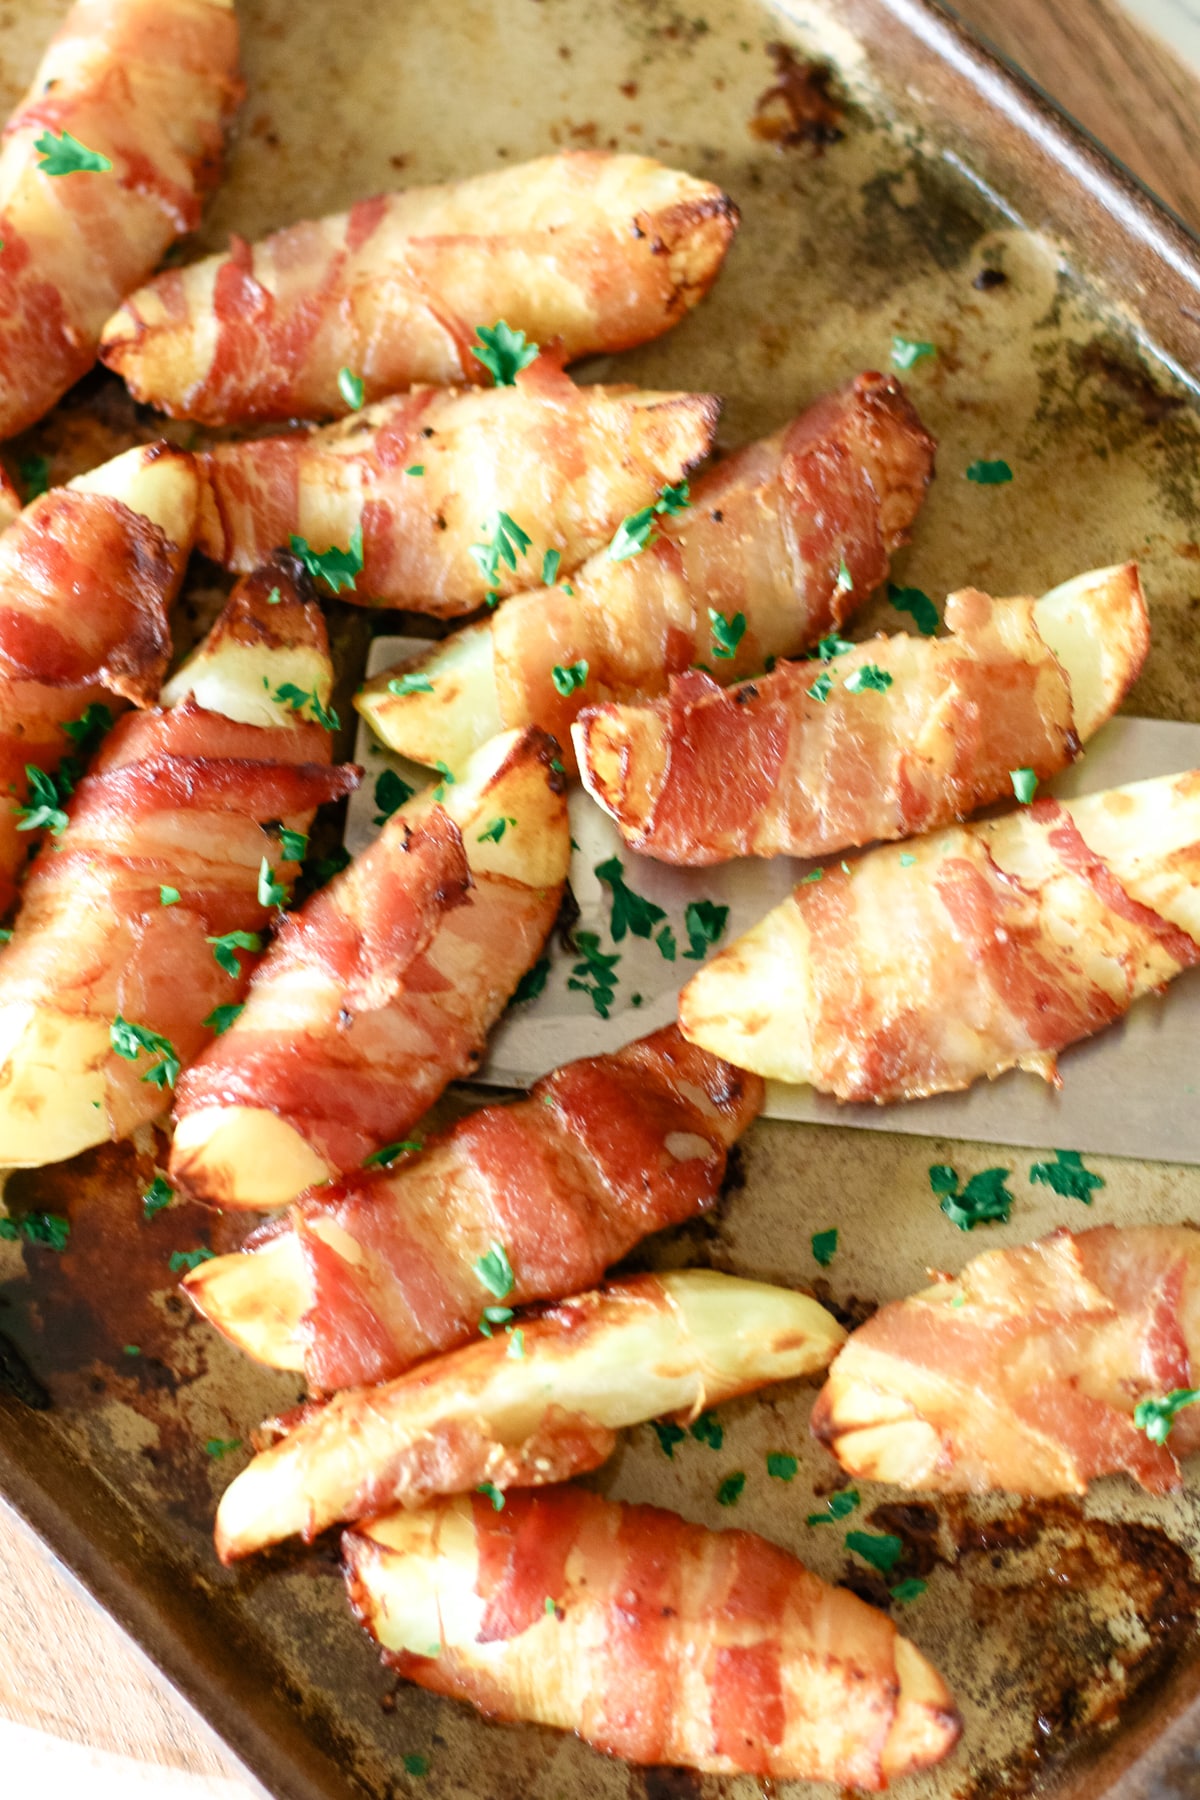
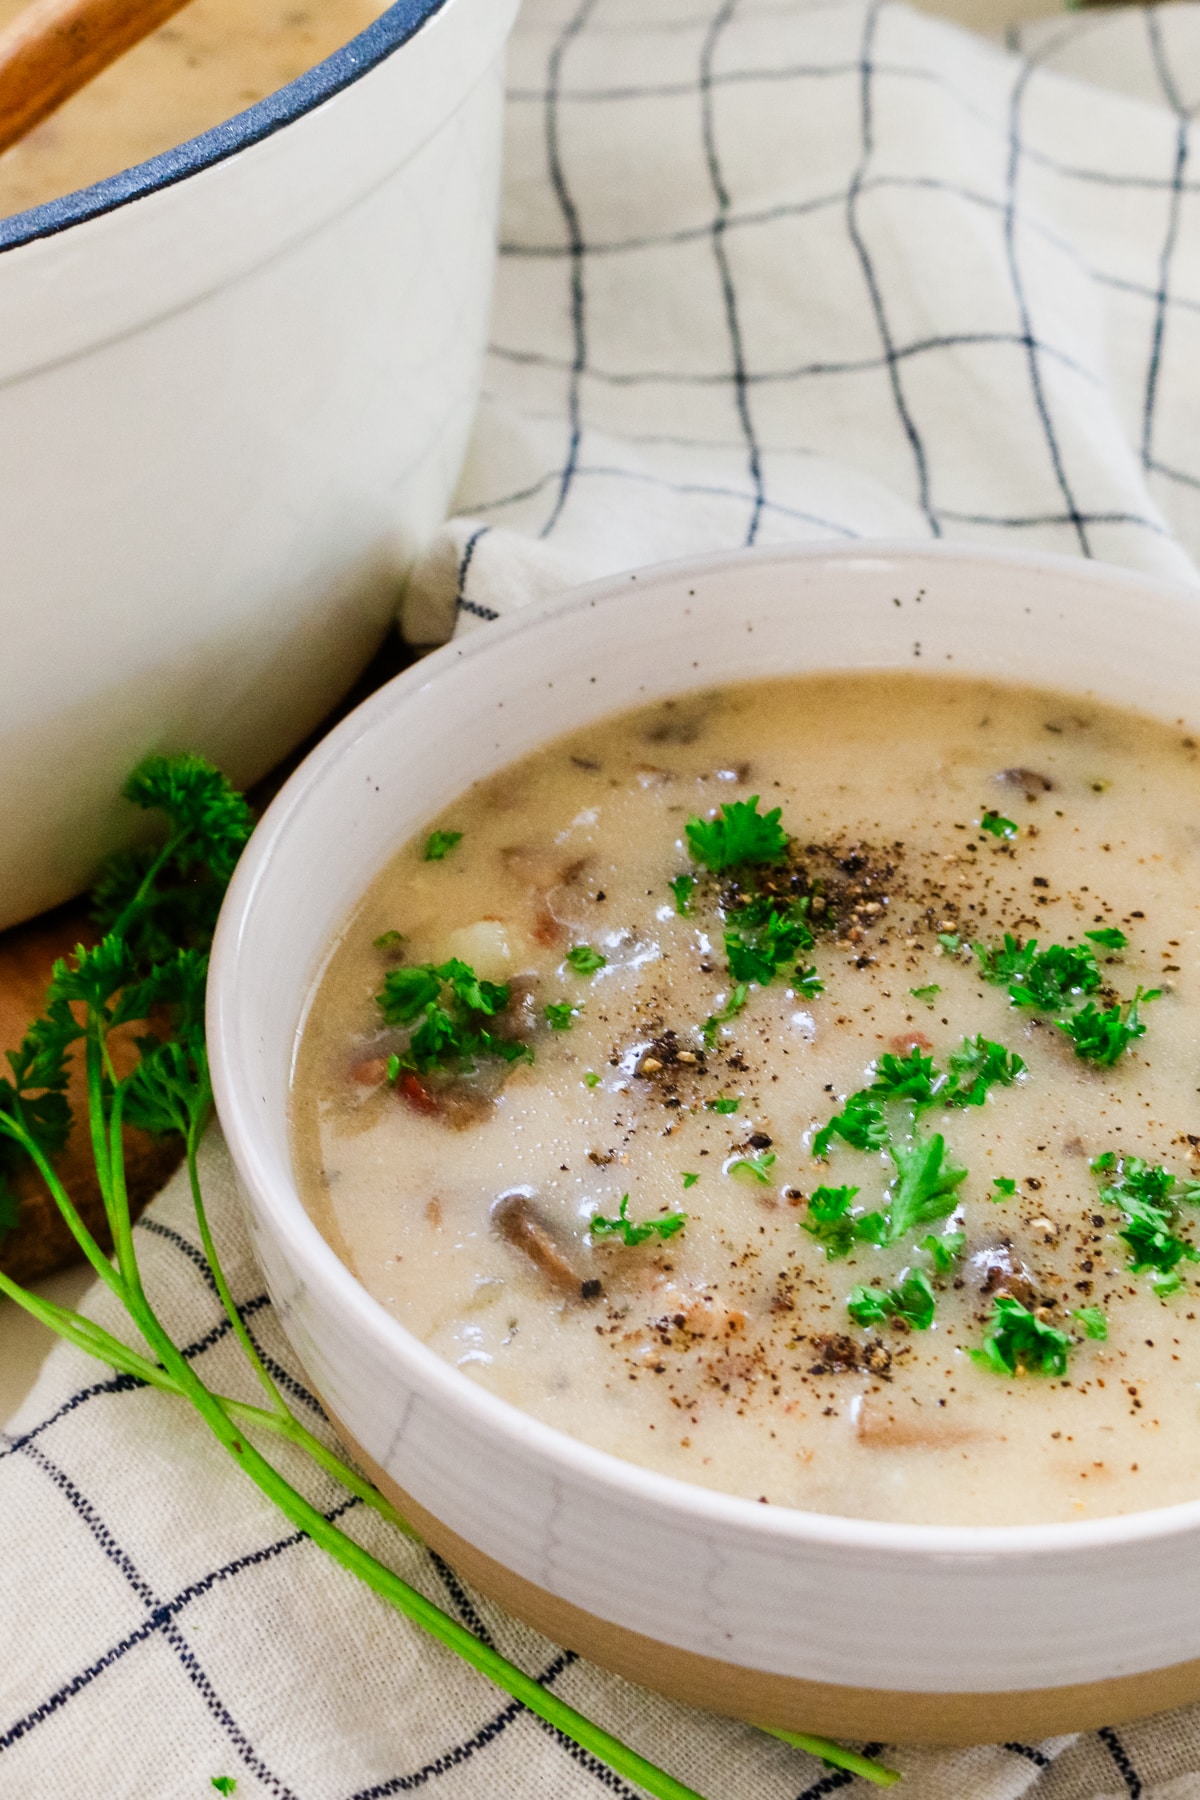
They're crispy on the outside, fluffy on the inside, and completely irresistible dunked in Greek yogurt blue cheese dressing or homemade Greek yogurt ranch dressing (go ahead - double dip).
They've been a family favorite in my kitchen for years, mostly because there's zero pretense here. It's just bacon and potatoes doing what they do best: making everyone happy.
They're easy enough for a weeknight, fancy enough for a party starter, and honestly? They never last long enough to make it to leftovers.

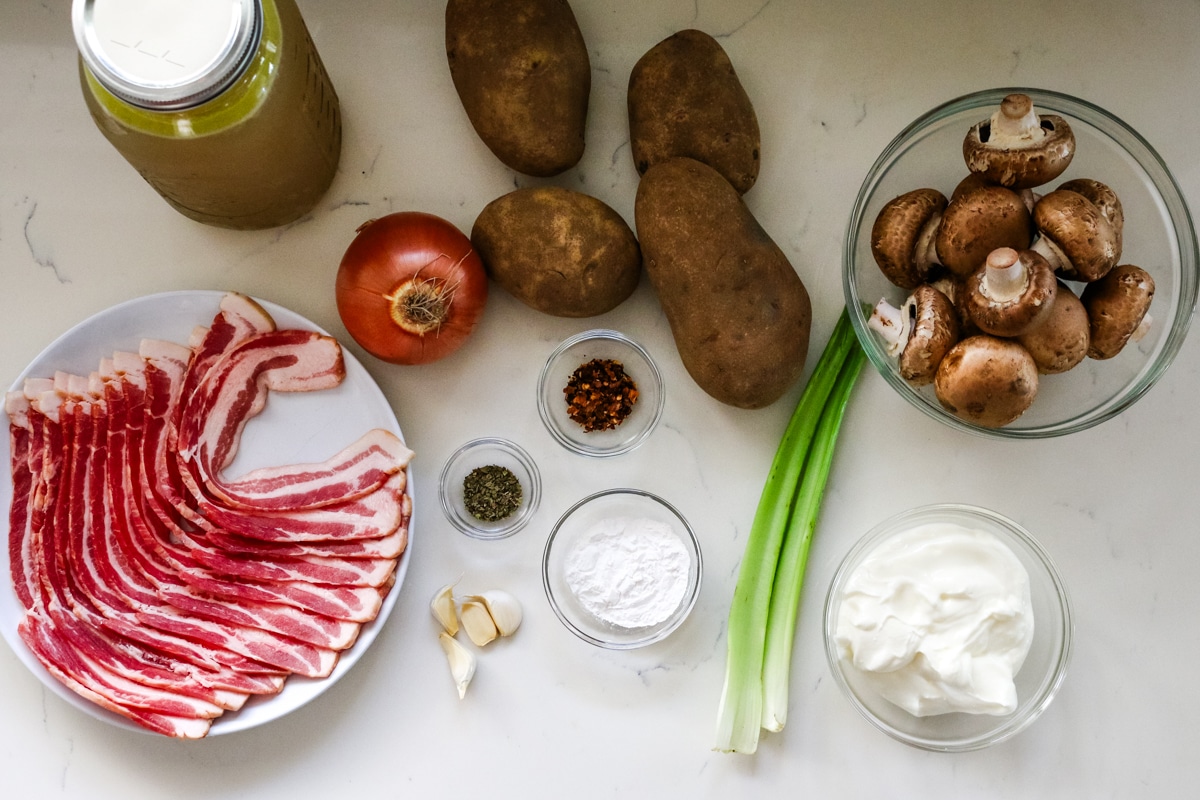
Ingredients

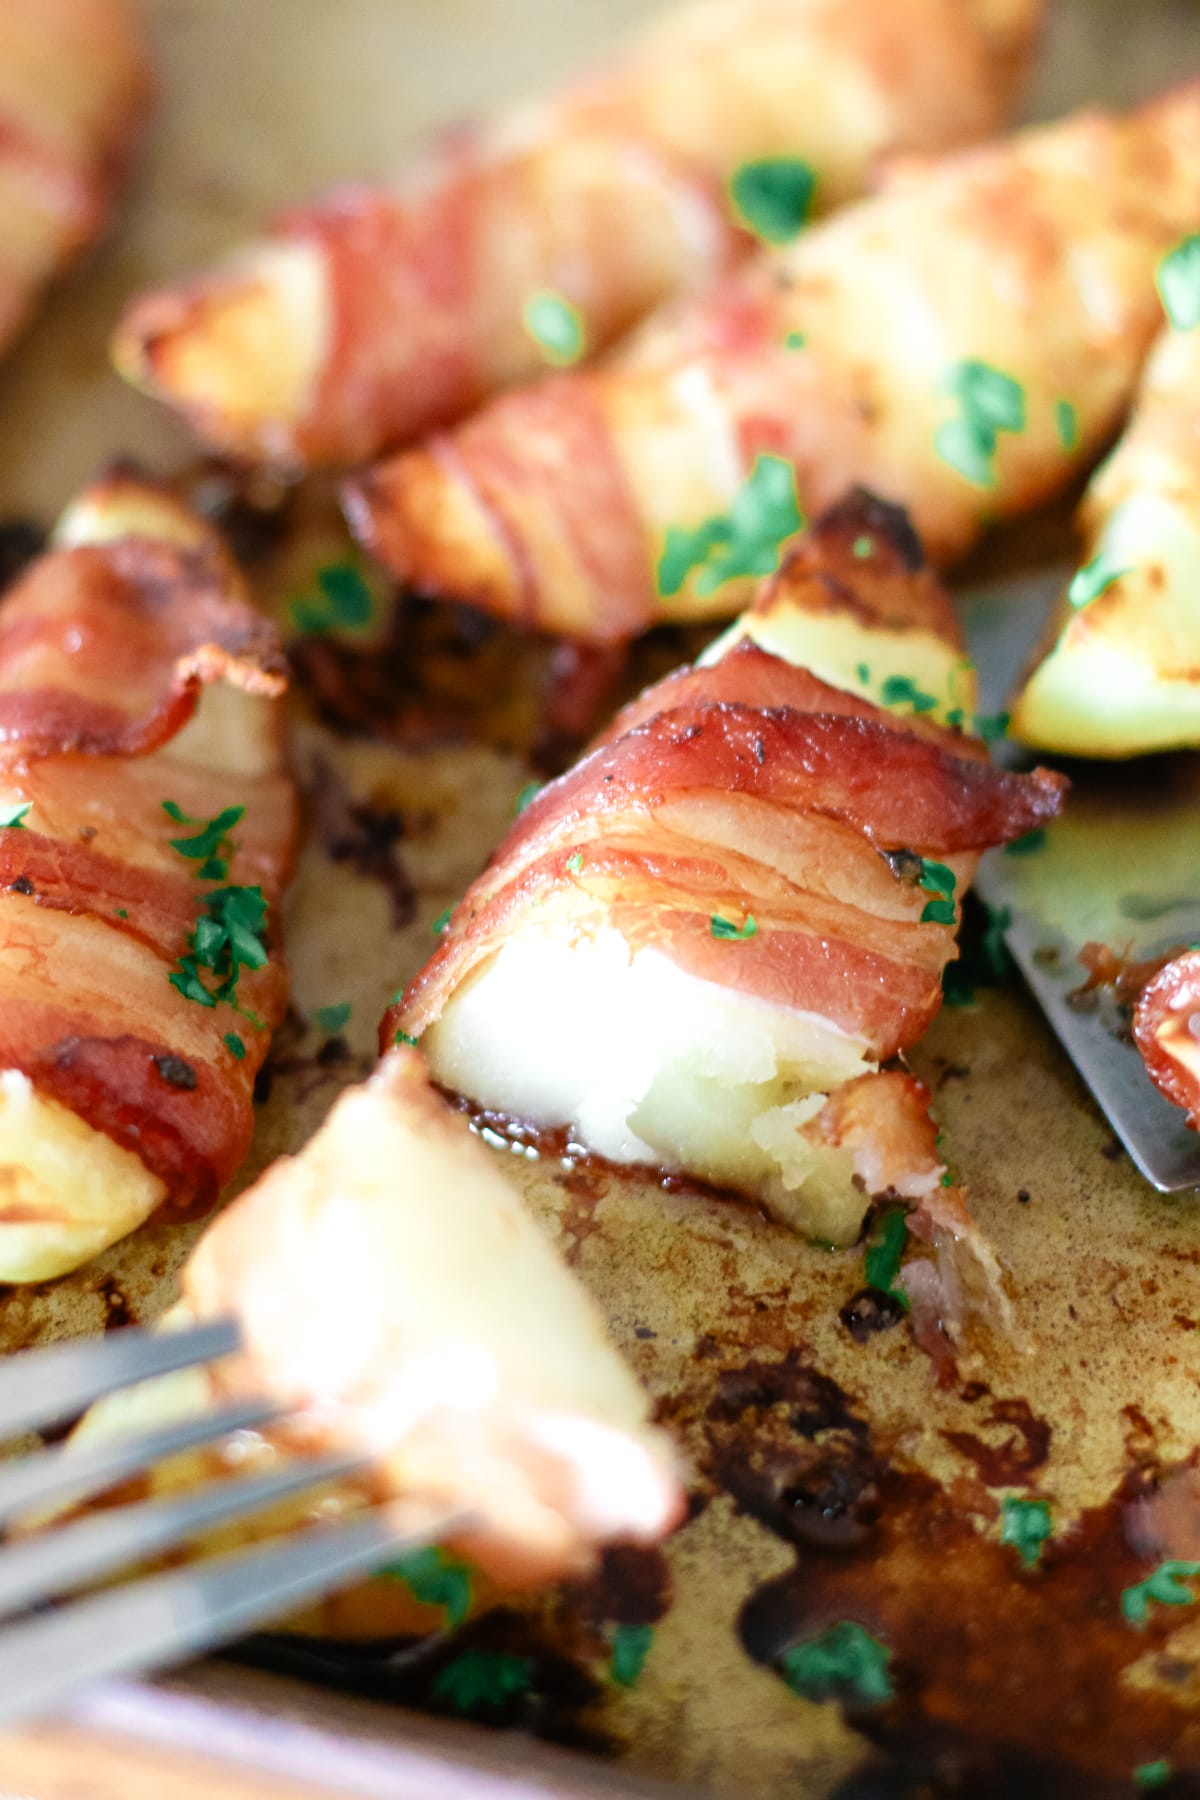
- Russet potatoes – Choose firm, medium-sized potatoes with smooth skin. Their starchy texture turns fluffy inside while staying crisp on the edges once baked.
- Olive oil – Helps the potatoes brown evenly and crisp up while baking.
- Seasoning – A light toss of sea salt adds just the right amount of flavor to the potatoes and the black pepper is freshly ground on top of the bacon.
- Bacon – Use thin-cut strips so they wrap and cook evenly around the potatoes, becoming perfectly crisp while keeping the inside tender.

Make it Ancestral
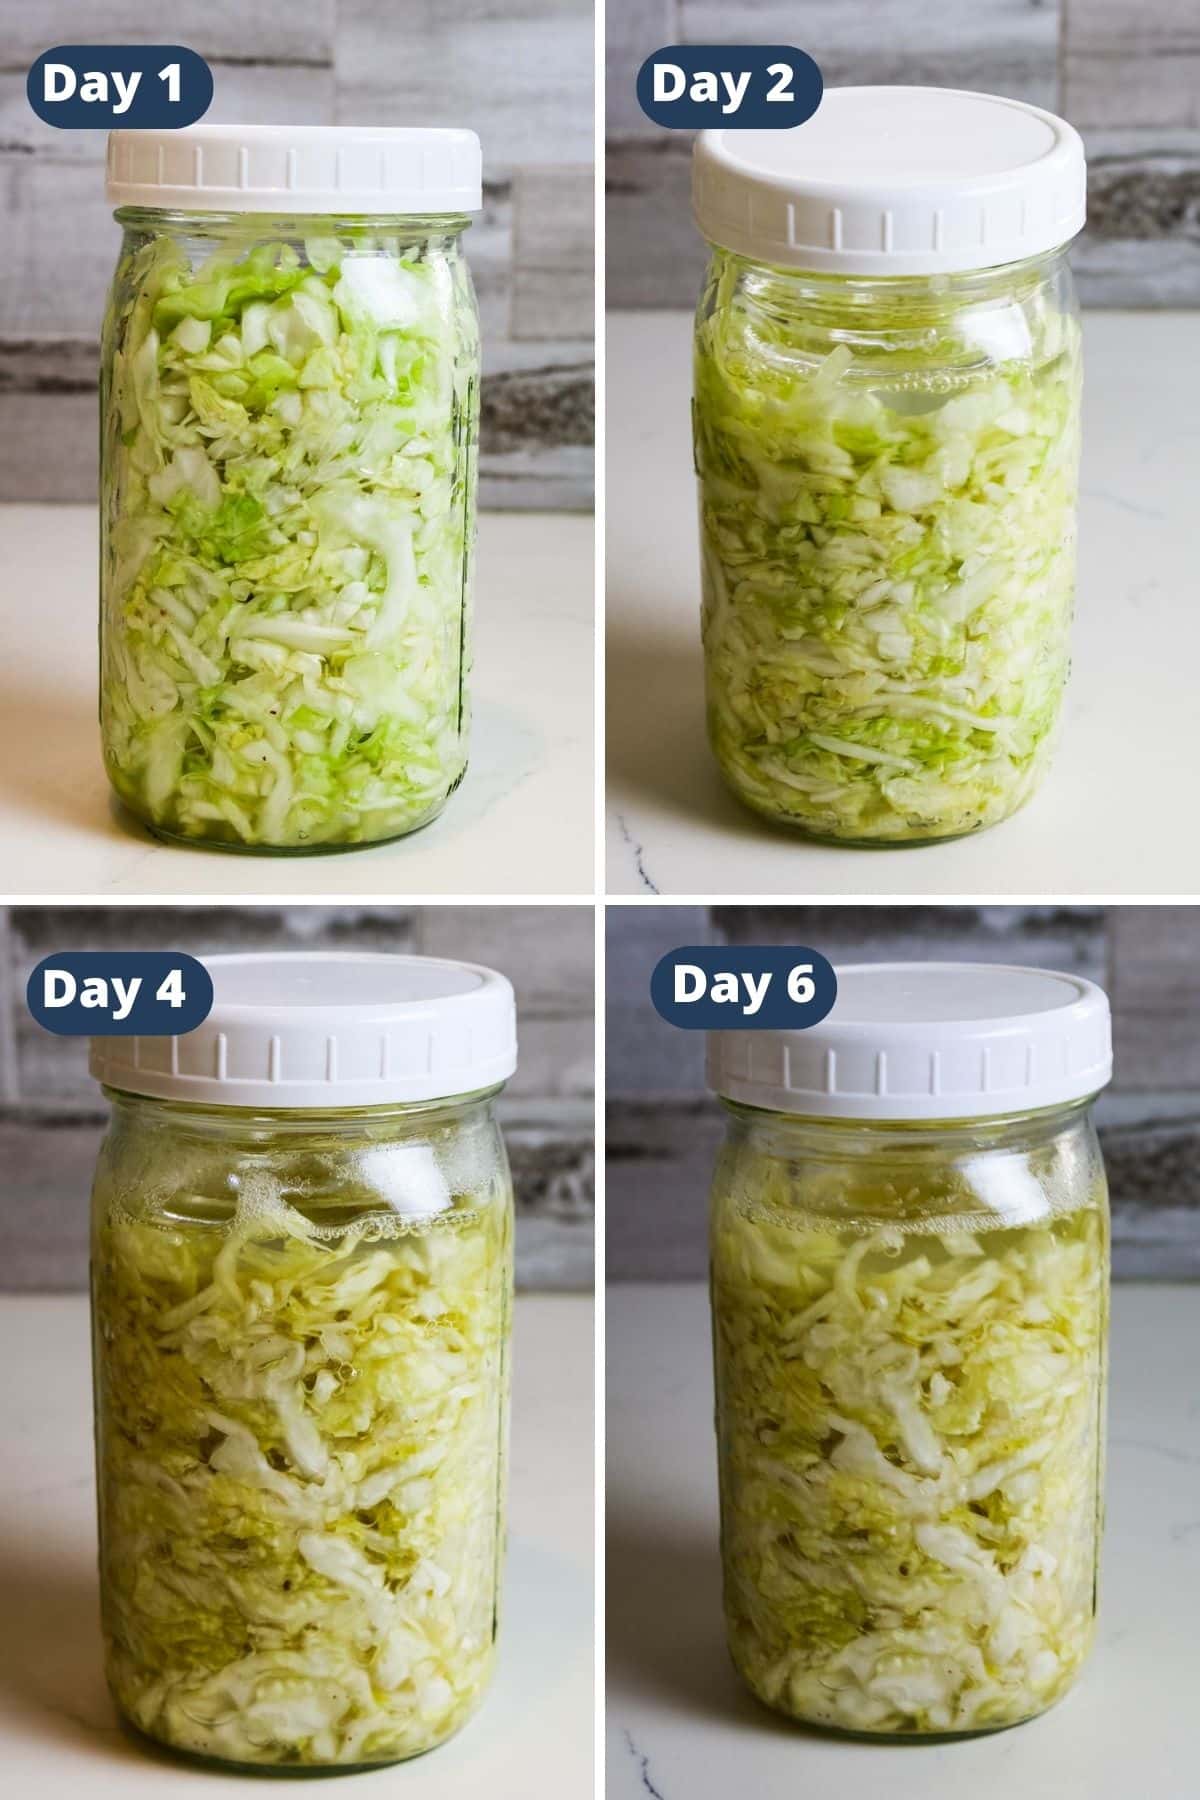
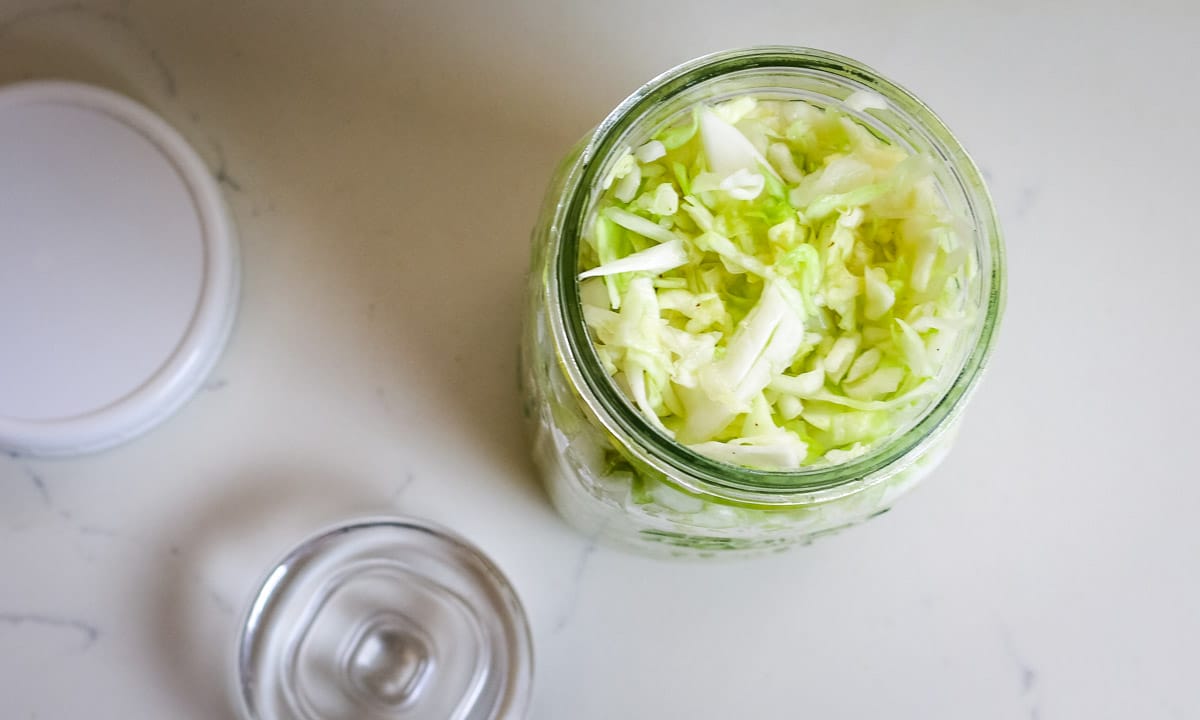
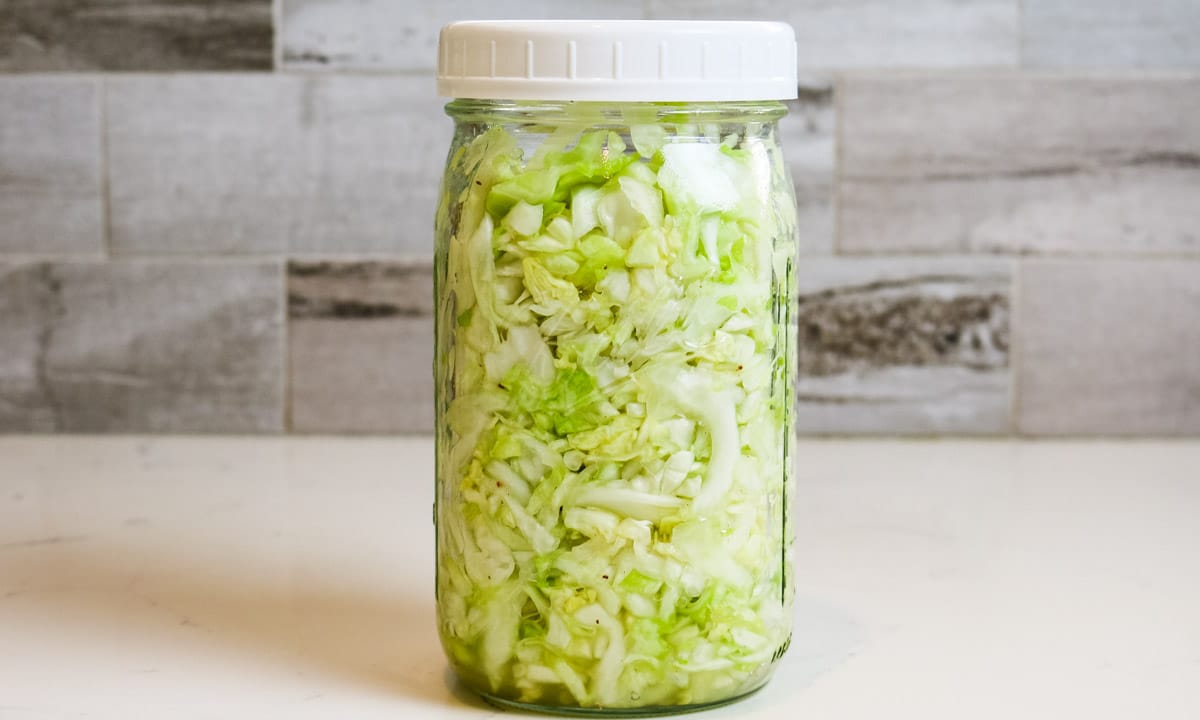
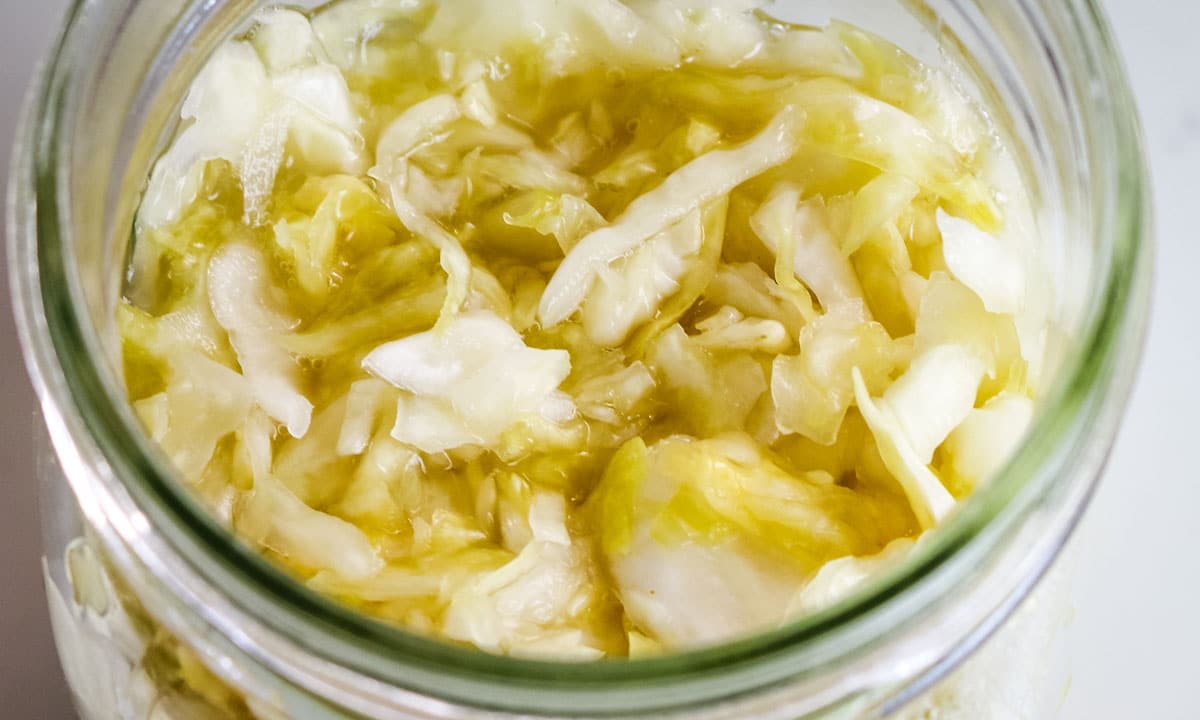
Use quality pasture-raised bacon (heritage breeds like Berkshire) and cold-pressed olive oil or grass-fed ghee. Pair the bacon-wrapped potatoes with a side of fermented vegetables such as spicy sauerkraut or fermented carrots to support digestion and you have yourself a hearty snack or a light meal.
How to Make Bacon Wrapped Potatoes
The complete printable recipe is below in the recipe card for your convenience. Follow these simple step-by-step instructions for the best results.
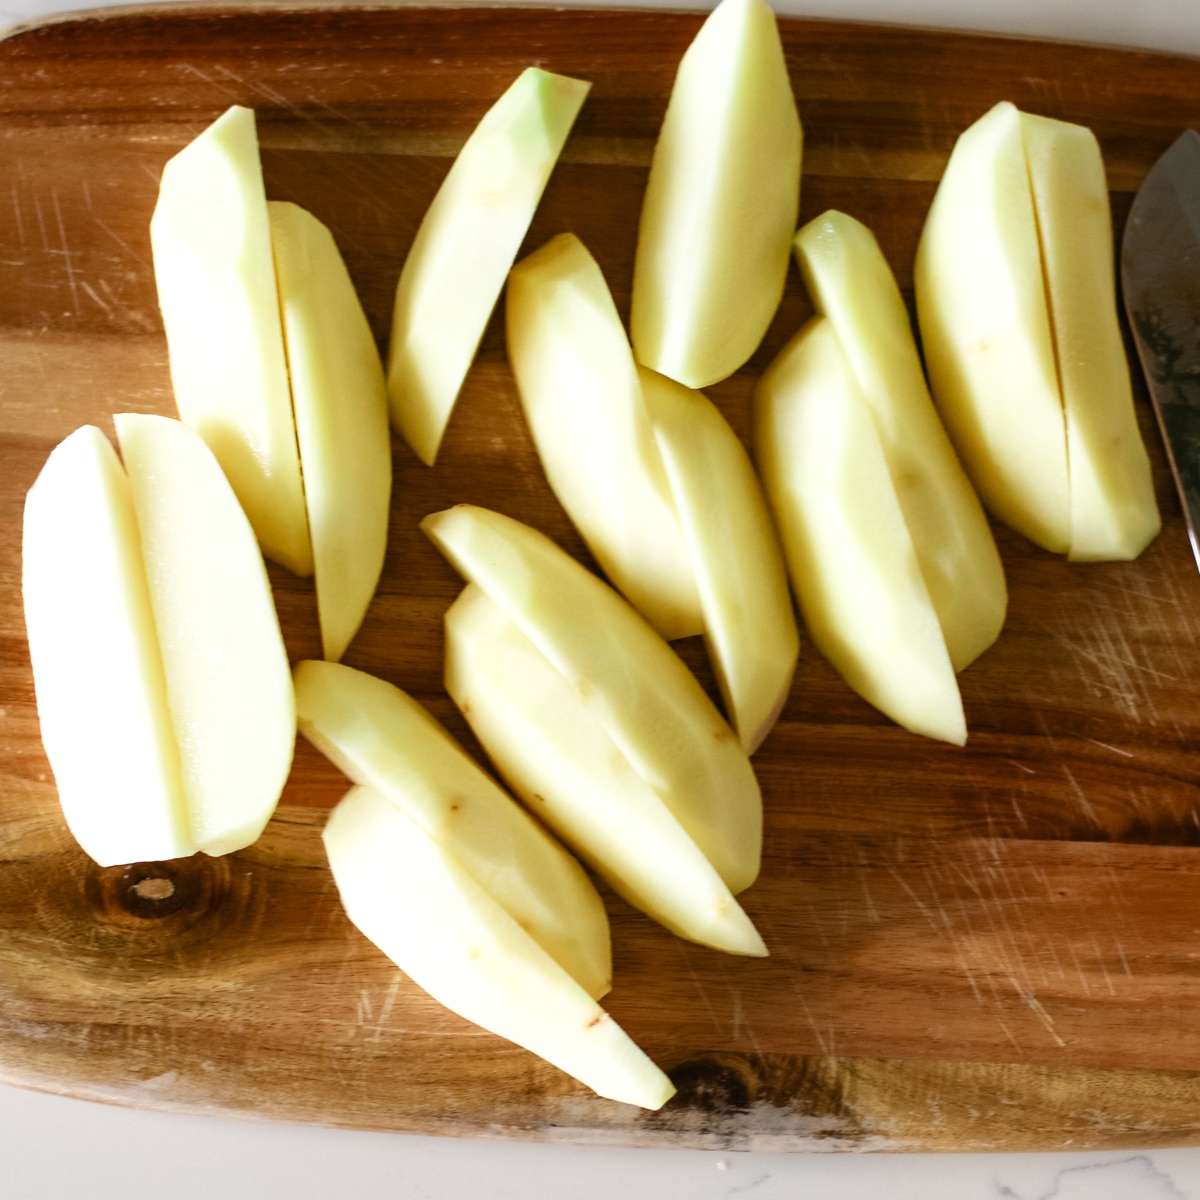
Step 1. Cut
Wash and peel potatoes and cut them into quarters, depending on the size of the potato. Toss the potato wedges with olive oil and season lightly with salt.
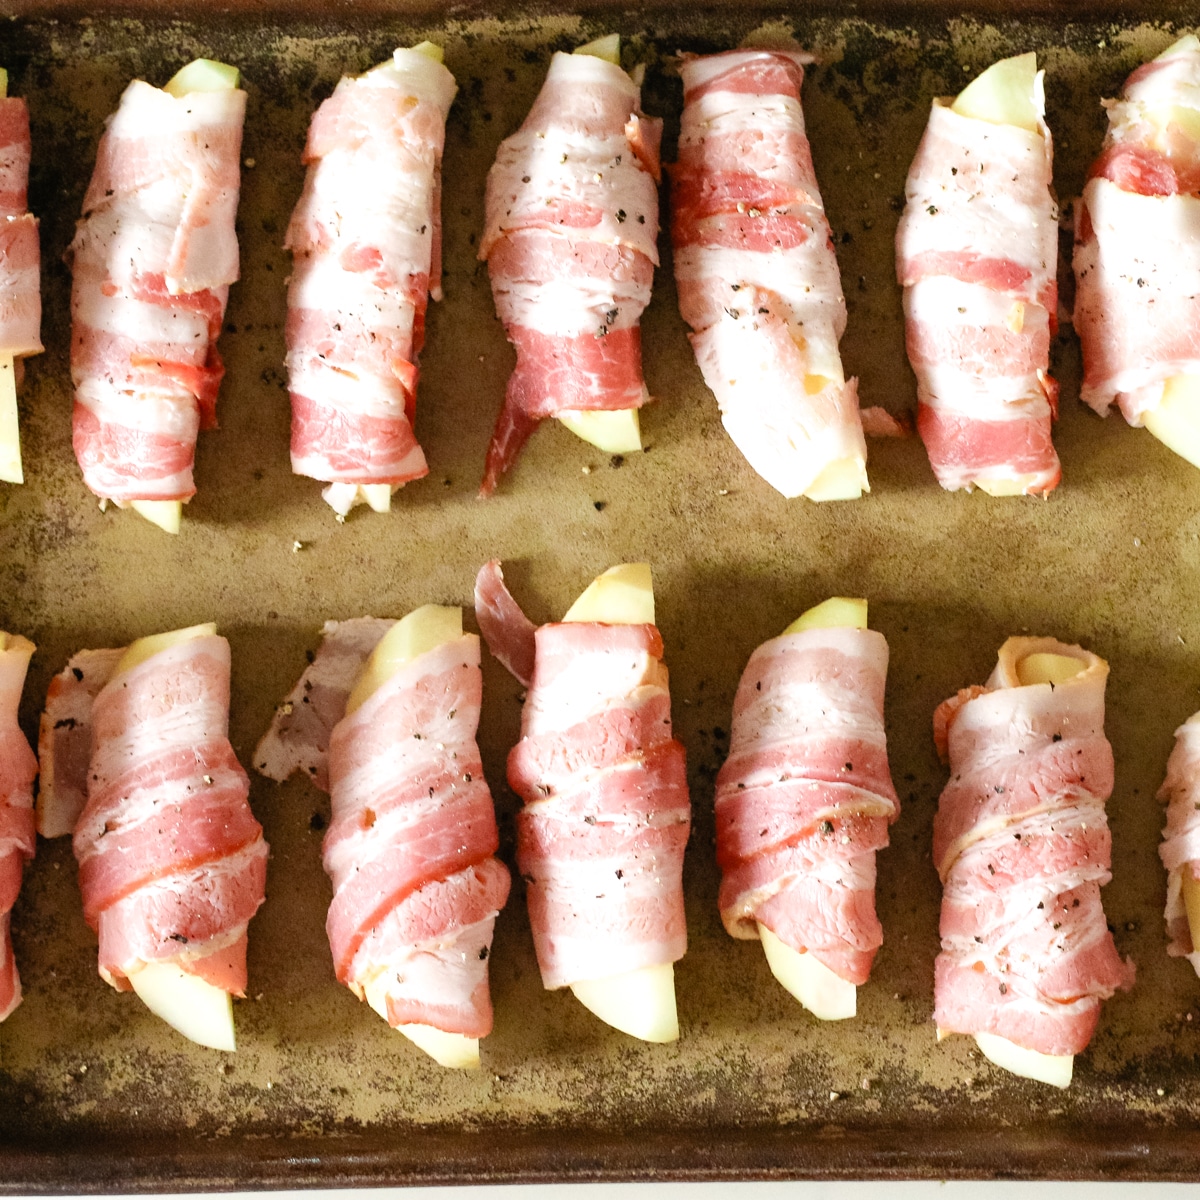
Step 2. Wrap
Wrap each wedge of potato with a piece of bacon. Place the bacon-wrapped potatoes, seam side down, in the baking dish. Season with black pepper. Bake uncovered in the preheated oven for 20 minutes.
Helpful Tips
- Even wrapping - wrap bacon tightly around each potato wedge so it sticks during cooking and crisps evenly.
- Uniform size - cut the potatoes evenly so they cook at the same rate.
- Ensure crispy bacon - if bacon is soft after baking, broil for 1-2 minutes while watching closely to avoid burning.
💭Meal Prep Suggestion!
These bacon wrapped baked potatoes are great to meal prep and freeze for later. When ready to serve, toss them in the air fryer until warmed through and crispy and enjoy!
Serving Suggestions
Appetizer: Serve these as an appetizer with your favorite dips like Greek yogurt blue cheese dressing or Greek yogurt ranch dressing. Somehow a creamy dip and bacon potatoes just go so well together.
Main dish: Want a little more protein? Pair bacon wrapped potatoes with oven roasted whole chicken, Instant Pot ribs, or chimichurri chicken for a balanced and satisfying meal.
Frequently Asked Questions
Store leftovers in an airtight container in the fridge for up to 3 days. To reheat, warm in a 375°F oven for 8-10 minutes until heated through and the bacon crisps up again. These glass snap containers are perfect for leftovers.
For longer storage, freeze the baked bacon-wrapped potatoes on a baking sheet first, then transfer to a freezer-safe bag or container. Reheat from frozen in the oven, adding a few extra minutes to ensure even warming.
I don't recommend using thick-cut bacon for this recipe because the bacon won't cook through and crisp up and it will be hard to wrap the potato wedges.
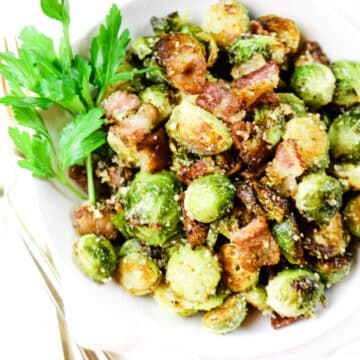
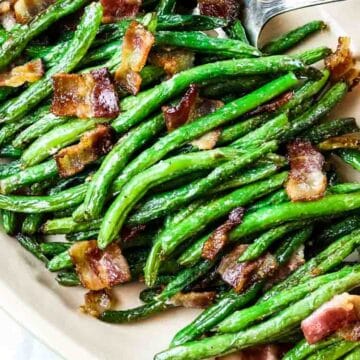
Looking for more related recipes? Here are some ideas:


Did you make this bacon wrapped potatoes? Please leave a ⭐⭐⭐⭐⭐ recipe rating in the recipe card below and leave a review in the comments. Thank you!💚
Printable Recipe

Bacon Wrapped Potatoes
Ingredients
- 4 russet potatoes peeled and quartered lengthwise
- 1 tablespoon olive oil
- ¼ teaspoon sea salt
- 16 thin-cut bacon cut in half
- ½ teaspoon black pepper
Instructions
- Preheat oven to 450°F. Wash and peel 4 russet potatoes and cut them into quarters, depending on the size of the potato. Toss the potato wedges with 1 tablespoon olive oil and season lightly with ¼ teaspoon sea salt.
- Wrap each wedge of potato with a piece of 16 thin-cut bacon. Place the bacon-wrapped potatoes, seam side down, in the baking dish. Season with ½ teaspoon black pepper.
- Bake uncovered in the preheated oven for 20 minutes. Flip the potatoes and bake for an additional 10 minutes or until the potatoes are golden brown and bacon is crispy.
Notes
- Even wrapping - wrap bacon tightly around each potato wedge so it sticks during cooking and crisps evenly.
- Uniform size - cut the potatoes evenly so they cook at the same rate.
- Ensure crispy bacon - if bacon is soft after baking, broil for 1-2 minutes while watching closely to avoid burning.


 This post may contain affiliate links for your convenience. Thank you for supporting this site with purchases made through these links. See my full

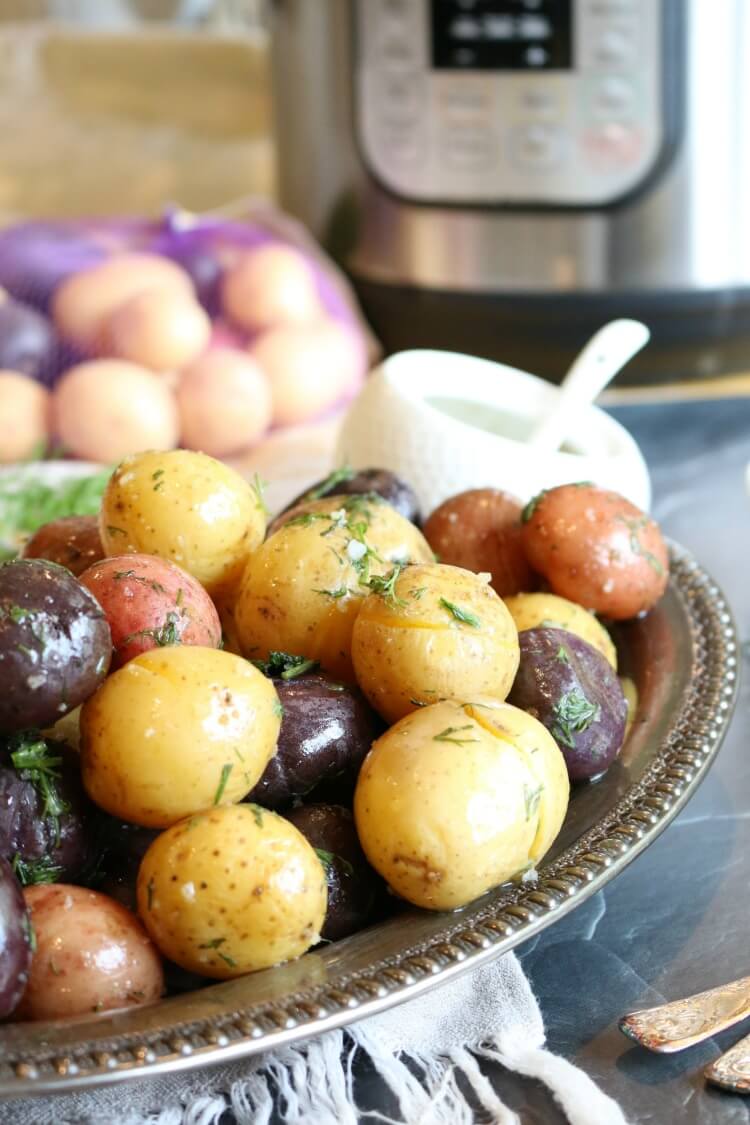 Instant Pot Butter Dill Potato Medley