Homemade ancestral beef blend is a cost-effective way to make your own nutrient-packed ground meat blend at home, using ground beef with organ meats. Save money and use it in any recipe that calls for ground meat!

Looking for more organ meat recipes?[feast_advanced_jump_to]
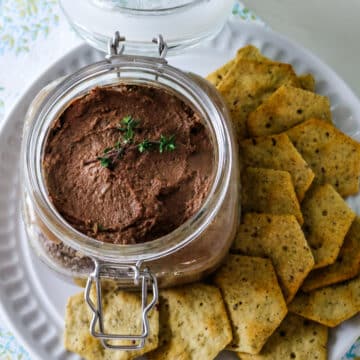
Check out chicken liver pate, tacos de lengua, and creamy chicken livers.
Recipe Overview
- Prep and Cook Time: 15 minutes to prep
- Cooking Method: No cook
- Dietary Info: Keto, Whole30, Paleo, GAPS, Ancestral diet
- Tools Needed: food processor and mixing bowl
- Skill Level: Easy
What is an ancestral diet? Read my post on what nourishing foods are based on the traditional dietary principles of the Weston A. Price Foundation.
The Ultimate Beef Blend Hack
Okay, let's be real - ever since the ancestral blend hit the market, it's been a total game changer for me (you too?).
No more stressing about how to sneak organ meats into my meals or trying to figure out creative ways to make them taste good.
Now, I can effortlessly include them in one of the most basic, boring staples – ground beef! It’s not only a win for flavor and nutrition, but it’s also incredibly cost-effective. You get all the nutrients of organ meats without breaking the bank.
And the best part? You can totally customize it to your taste! This recipe uses roughly 4:1 ratio of ground beef to organ meats but can easily be adjusted to fit your taste buds. So if you like it a little milder, just tweak the ratio to suit your preference. Total win, right?
Note: Shoutout to a reader for catching my math error - this blend is actually 80/20, not 75/25 as I originally published. Numbers and I don't always get along!

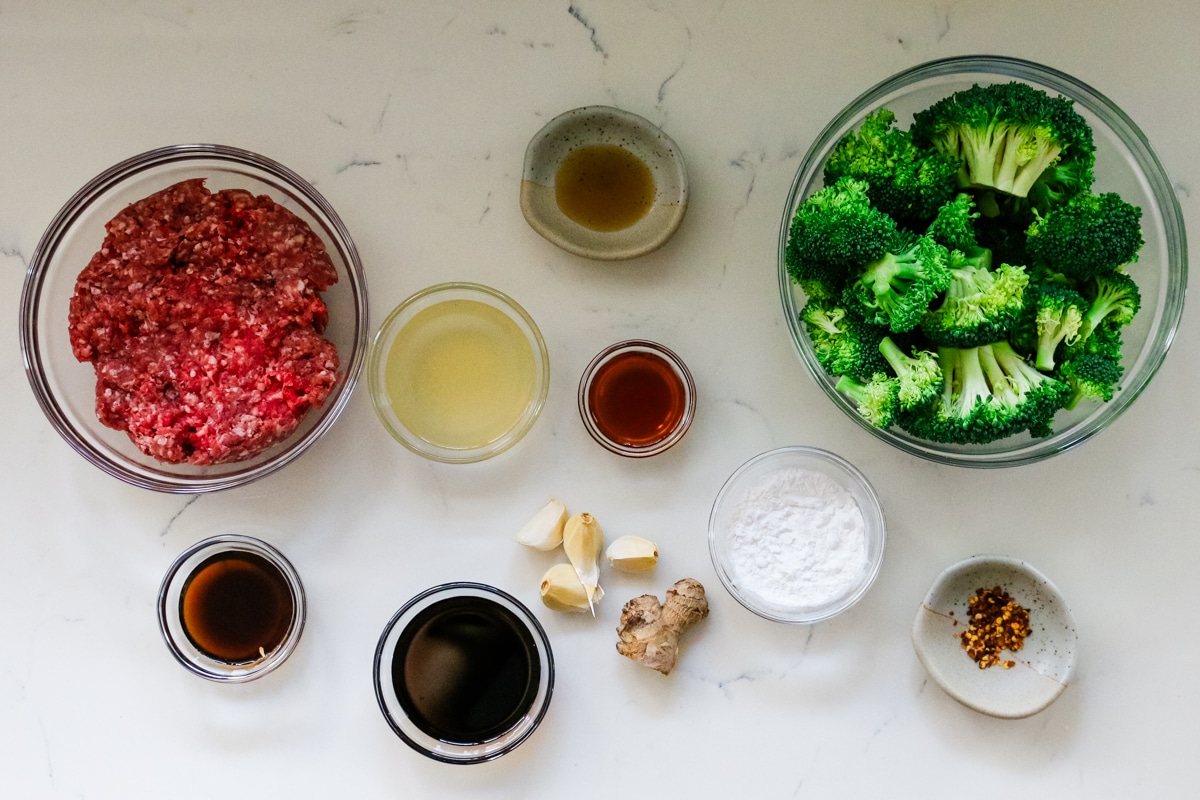
Ingredients for Ground Beef with Organ Meat

- Ground beef: This is the base of the blend and will make the bulk of the ancestral beef blend with the familiar texture and flavor, making this mix easy to use in everyday meals.
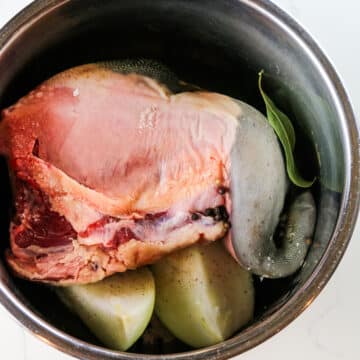
- Organ meats: Go with beef liver, heart, or kidney - these are true superfoods, loaded with essential nutrients like vitamin A, iron, zinc, B12, and CoQ10. Unless you have access to a local beef farmer, you'll likely find that beef liver is the most accessible option at places like Whole Foods or other natural grocers. You can also use chicken hearts if that’s what you have available to you - they’re milder in flavor and still incredibly nutrient-dense.

Why a 80/20 Blend?
This ancestral blend beef uses 4 pounds of ground beef to 1 pound of organ meats, which works out to about 80% beef and 20% organ by weight. I find it strikes the perfect balance: deeply nourishing but still mild enough for kids and picky eaters.
But, it's also super convenient. Both ground beef and organ meats (especially liver) are often sold in 1-pound packages, making this ratio easy to scale up or down without extra measuring or prep. Just grab what you need and mix.
👉 If you’re just getting started with organ meats or you’re cooking for someone sensitive to the flavor, you can absolutely add more ground beef to mellow it out. A 5:1 or even 6:1 ratio is still nutrient-dense and very approachable.
For those who love organ flavor and want it slightly stronger, consider a more solid 75/25 ratio (3.75 lbs beef and 1.25 lbs organ meats).

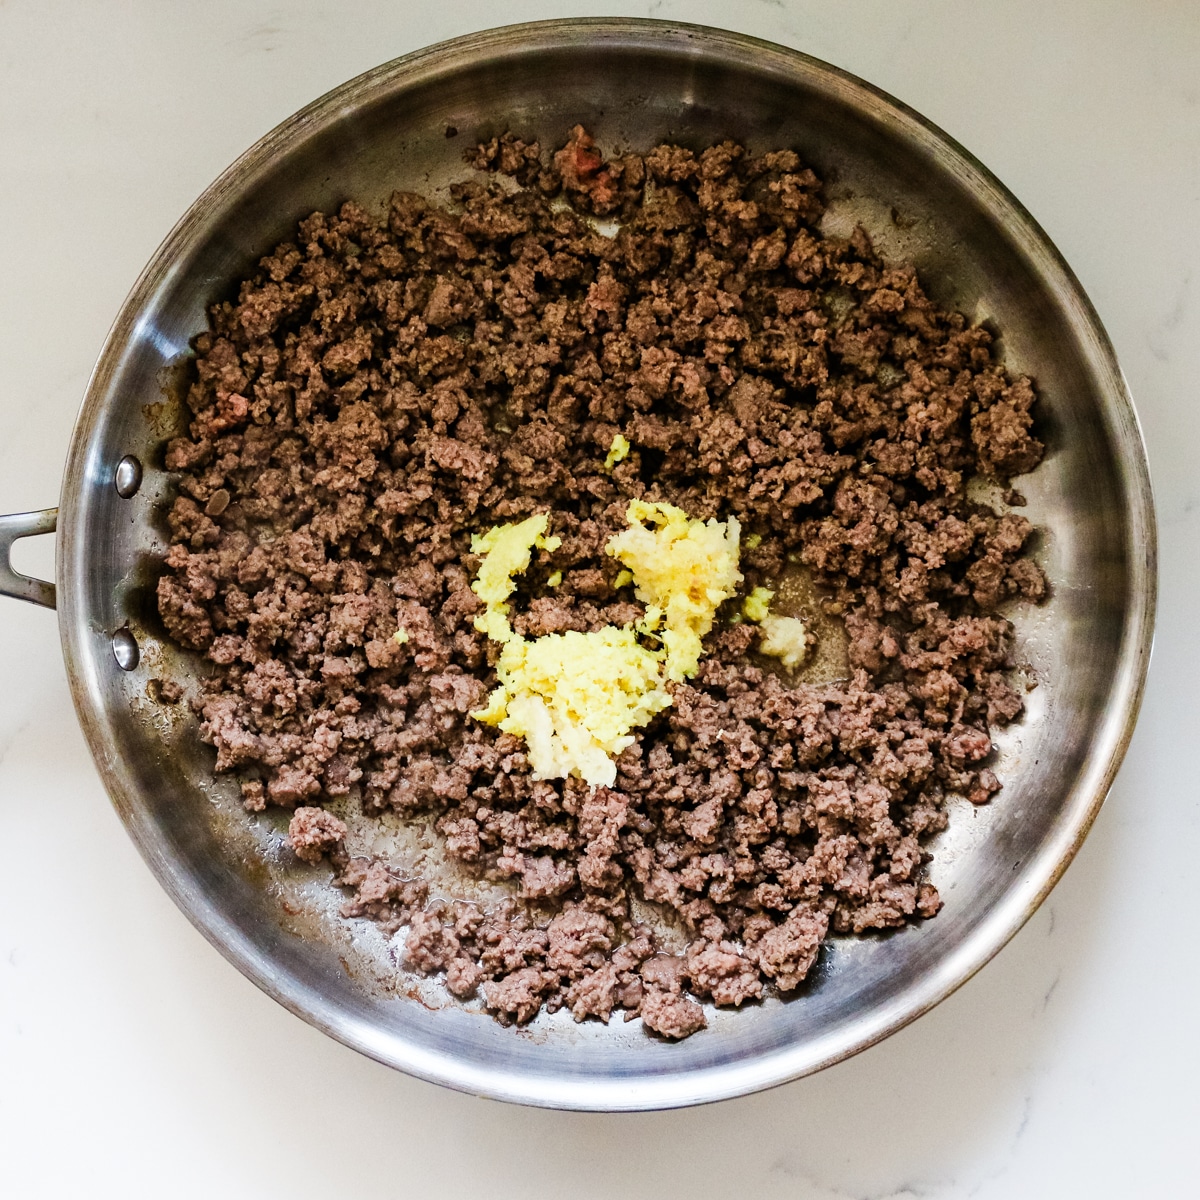
How to Make Ancestral Blend Beef
The complete printable recipe is below in the recipe card for your convenience. Follow these simple step-by-step instructions for the best results.

Step 1. Pulse
In a food processor, pulse the organ meats until smooth but still has some texture.

Step 2. Combine
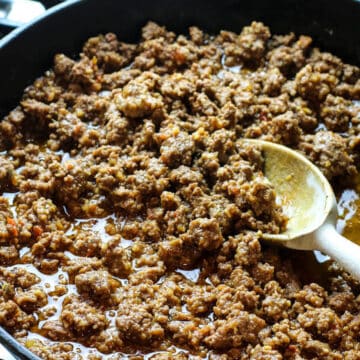
In a medium bowl, mix the finely minced organ meats with the ground beef until evenly combined.
Helpful Tips
- Freeze organ meats slightly - If your liver or heart is too soft, pop it into the freezer for 15–20 minutes. This firms it up, making it easier to chop or pulse in the food processor without turning to mush.
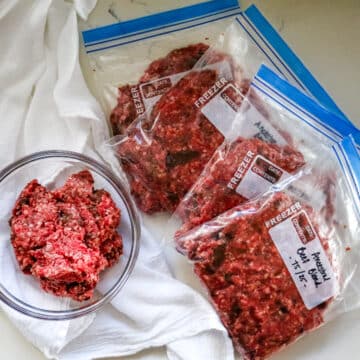
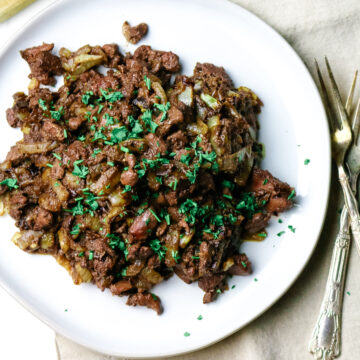
- Don't overprocess the organs - You want a finely minced texture, not a complete purée. Keeping a little bit of texture helps the organ meat blend better with ground beef and improves the final texture in cooked dishes. You can see the darker parts in the ground meat in the photos above. I promise those cook down and you hardly taste it!
- Mix gently but thoroughly - You don’t want to overmix the meat too much, especially if you're going to freeze it. Use your hands or a large spoon to mix until just combined. Overmixing can make the texture dense and tough when cooked.
- Freeze in flat, 1-pound portions - Once mixed, portion the blend into 1-pound amounts (or whatever size you usually cook with). Place them in freezer-safe ziplock bags, remove as much air as possible, and flatten them out. This not only saves freezer space but also makes for quick, even thawing.
Troubleshooting
- Texture too mushy? If the blend is overly soft, this usually happens when organ meats are over-pureed or overmixed. Mix in a a bit more ground beef to balance it out and avoid blending the organs too smooth next time.
- Thawed blend watery? This is normal - organ meats release more moisture. Just drain off any excess liquid before cooking or saute with extra care to avoid steaming.
- Taste too strong? If your final dish tastes a little too "organ-y", mix in an additional ½ to 1 pound of plain ground beef to smooth out the flavor without having to toss the whole batch (cause that would be a shame, now wouldn't it?).
Product Highlight!
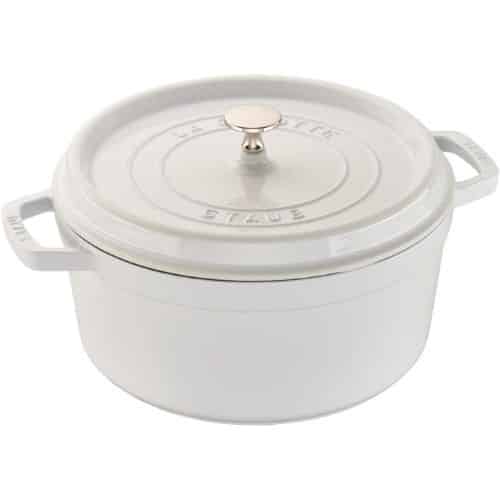
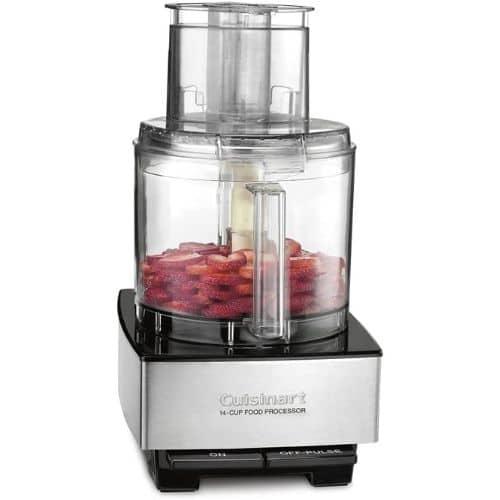
Food Processor
This small kitchen appliance makes the recipe so much easier - just pulse the organ meats until finely minced. It saves time and gives you the perfect texture to mix into the ground beef.
💭Meal Prep Suggestion!
Once you made the blend, divide it into 1-pound portions and freeze. Label with the date so you can easily grab the thaw when needed. This blend works great in most recipes where ground beef is called. You'll have nutrient-dense, ancestral meals ready to go in just minutes!

Serving Suggestions
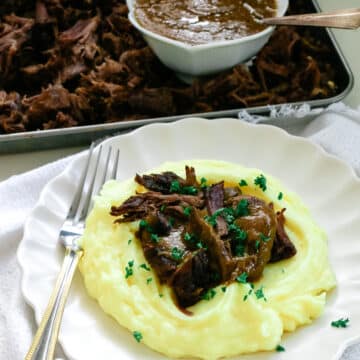
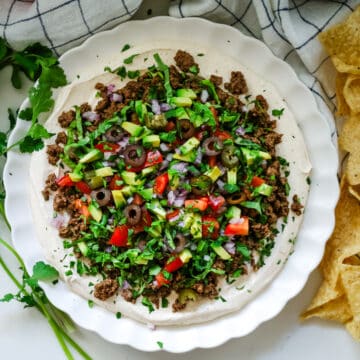
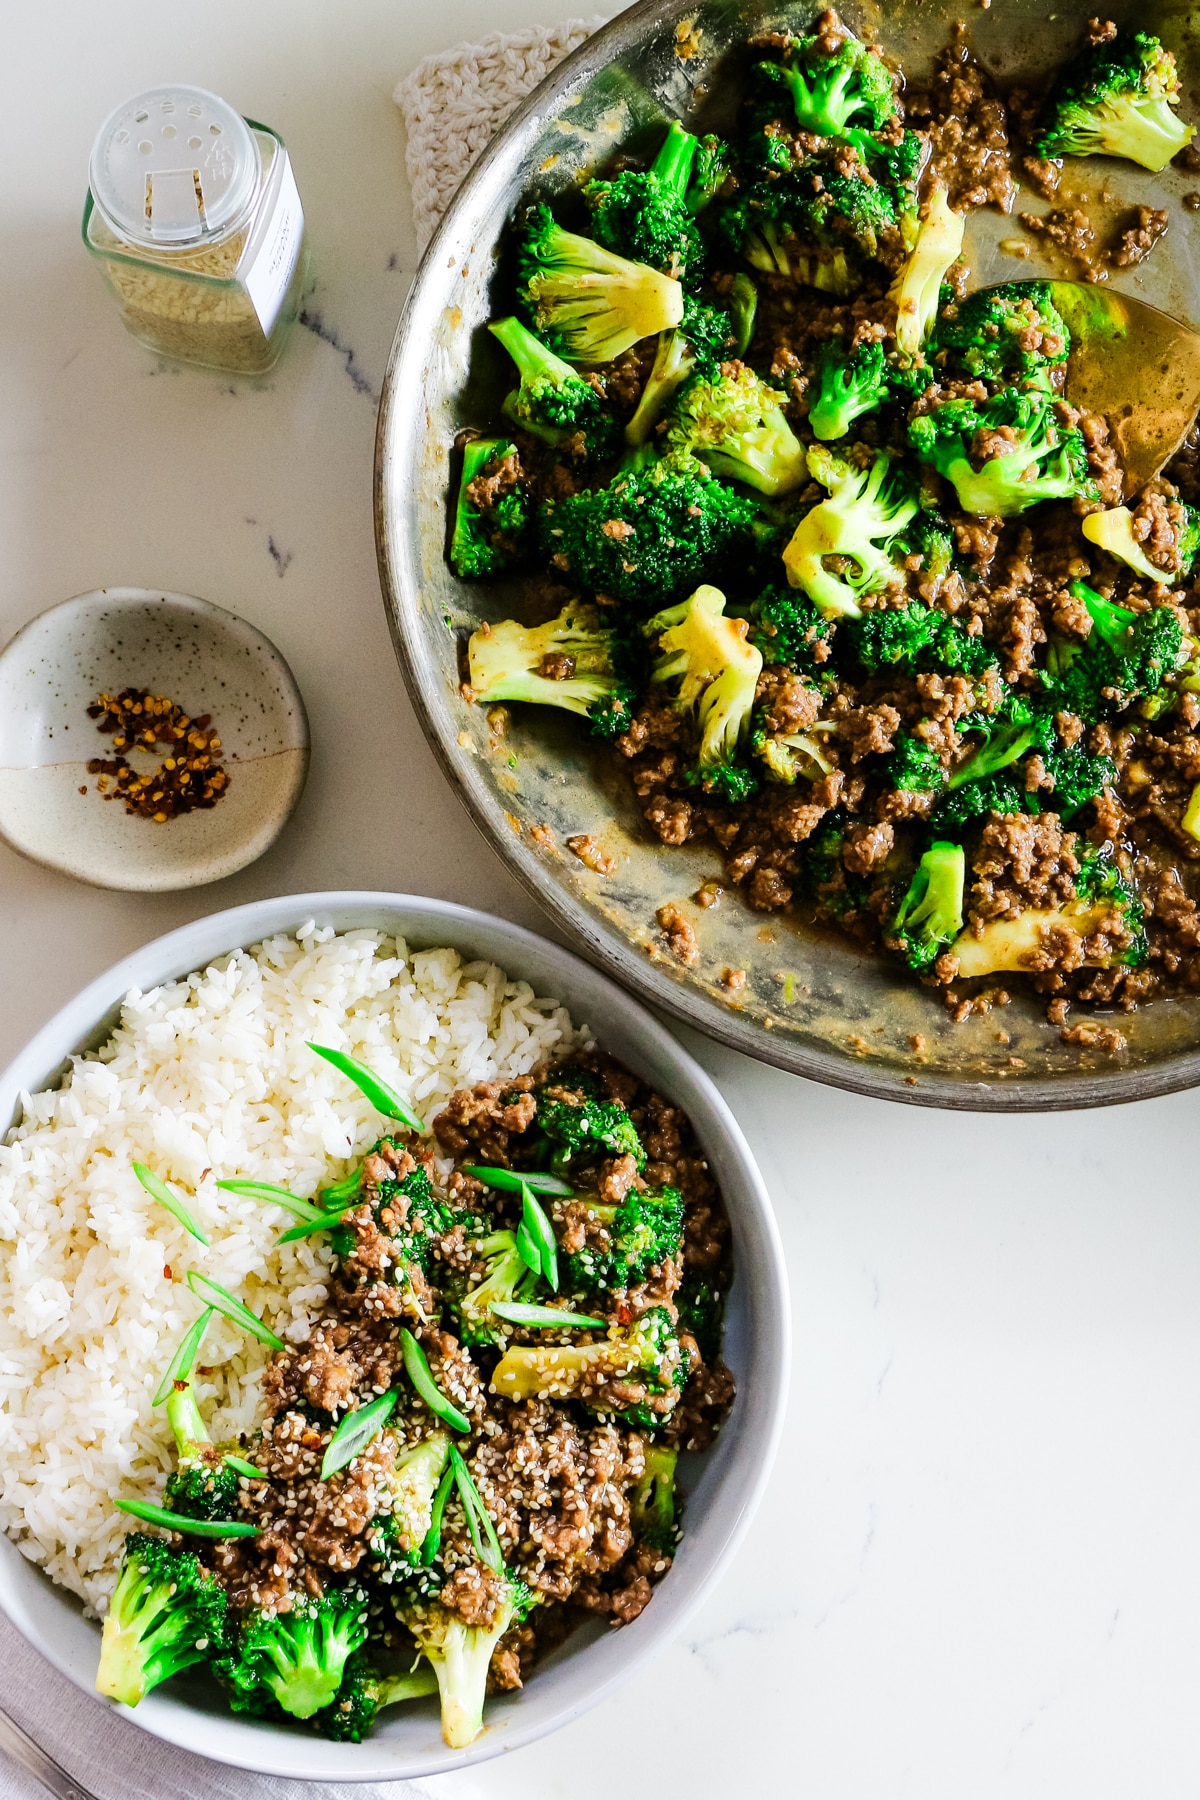
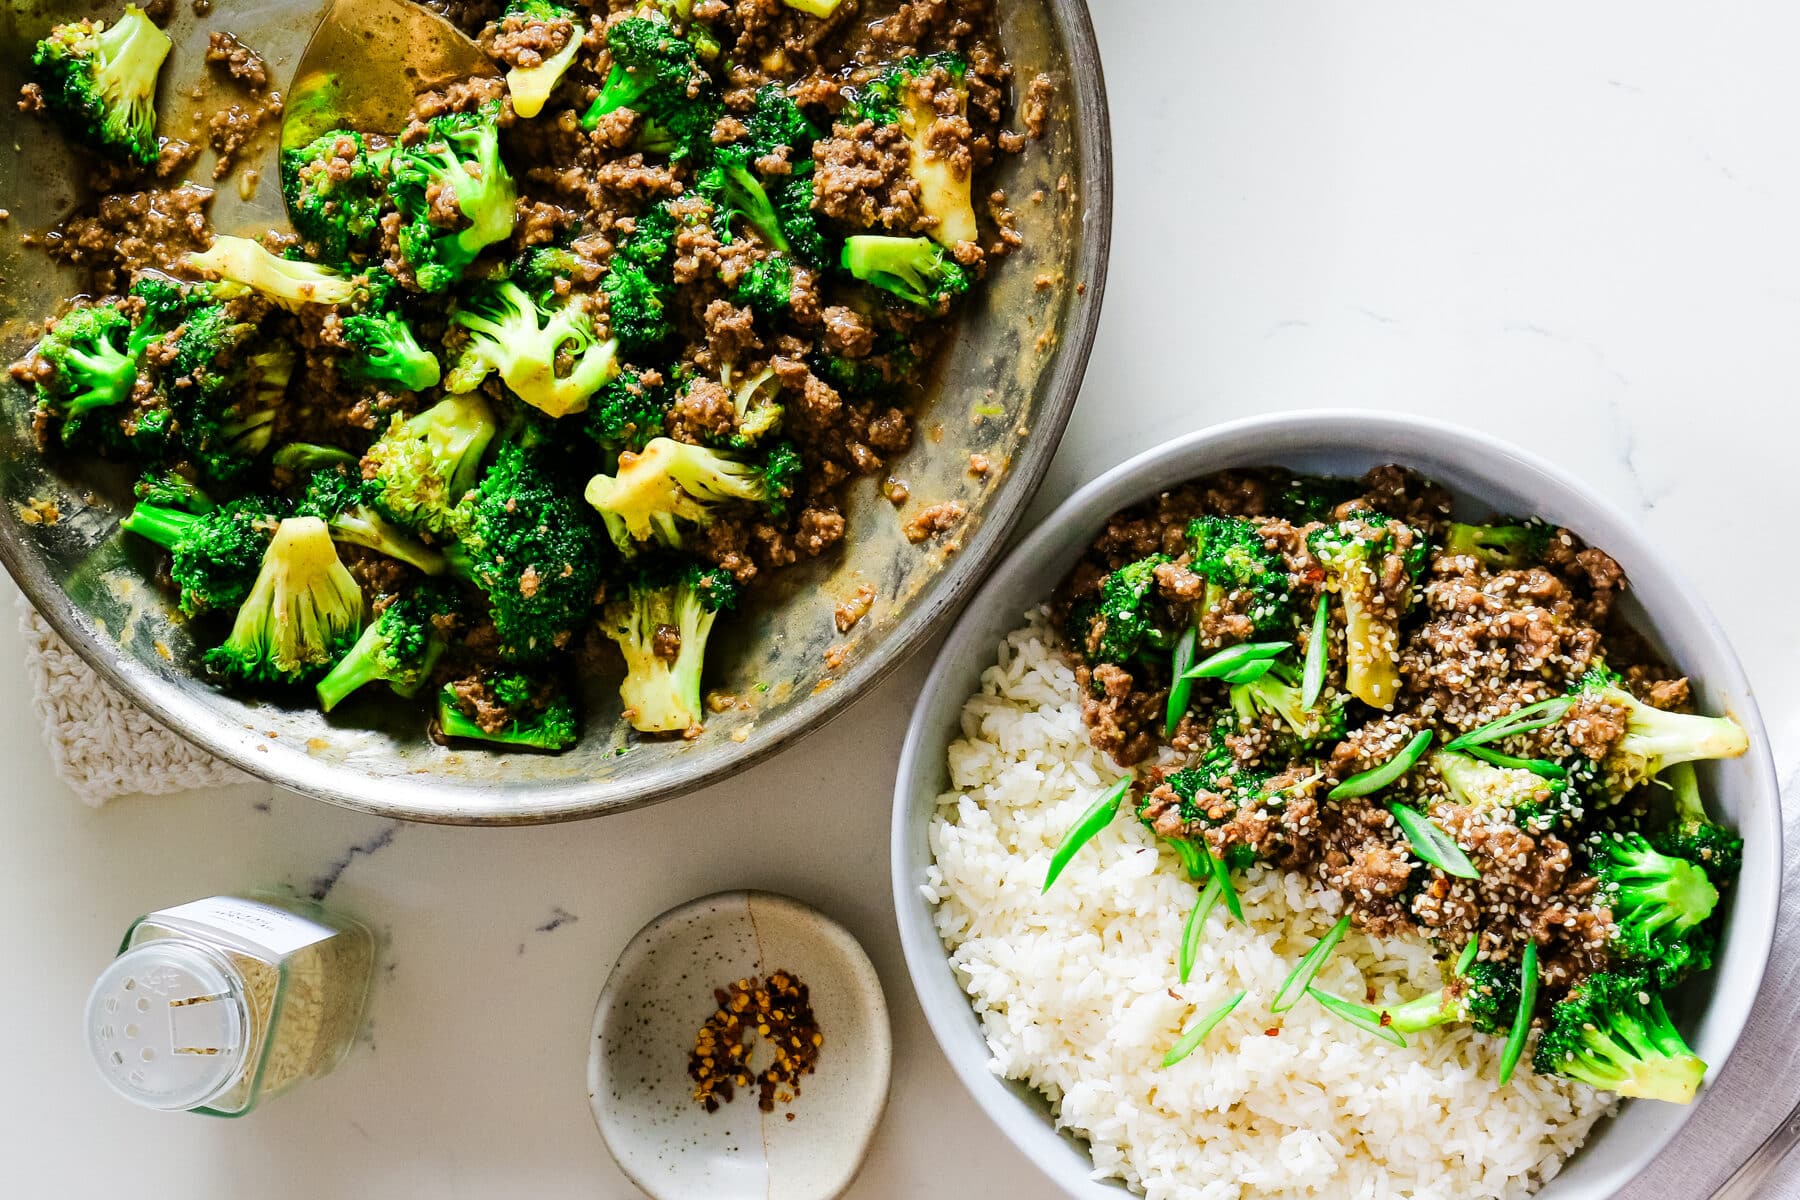
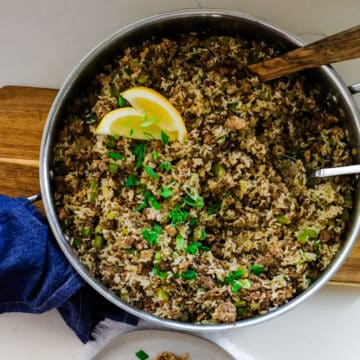
This ground beef with organ meat blend is incredibly versatile, making it the perfect base for a wide variety of dishes. You can easily incorporate it into your favorite recipes like sheet pan nachos and carnivore stroganoff.
Or, include this in ground beef and eggs for breakfast.
Here are some more delicious ideas:

Frequently Asked Questions
Store ancestral blend ground beef in an airtight container or a quart-size ziplock bag in the fridge for up to 4 days. For longer storage, divide it into portions and freeze for up to 3 months. When ready to use, thaw overnight in the fridge or cook straight from frozen, adjusting cook times as needed.
While a food processor makes it much quicker and ensures a more consistent texture, you can chop the organ meats finely by hand. You can also as your butcher to grind the organs for you.
You can find beef liver in most grocery stores, including Whole Foods or other natural grocers. For heart or kidney, check your local butcher or specialty stores. I prefer to purchase this at farmer's markets or local cattle farmers as they offer a wider selection.
Looking for more organ recipes? Here are some ideas:
Did you make this ancestral blend beef? Please leave a ⭐⭐⭐⭐⭐ recipe rating in the recipe card below and leave a review in the comments. Thank you!💚
Printable Recipe

Ancestral Beef Blend
Equipment
Ingredients
- 4 pounds ground beef
- 1 pound beef liver heart or kidney
Instructions
- In a food processor, pulse the organ meats until smooth but still has some texture.
- In a medium bowl, mix the finely minced organ meats with the ground beef until evenly combined.
- Use immediately or portion into 1-lb packages and freeze for later use.
Notes
-
- Freeze organ meats slightly - If your liver or heart is too soft, pop it into the freezer for 15–20 minutes. This firms it up, making it easier to chop or pulse in the food processor without turning to mush.
-
- Don't overprocess the organs - You want a finely minced texture, not a complete purée. Keeping a little bit of texture helps the organ meat blend better with ground beef and improves the final texture in cooked dishes. You can see the darker parts in the ground meat in the photos above. I promise those cook down and you hardly taste it!
-
- Mix gently but thoroughly - You don’t want to overmix the meat too much, especially if you're going to freeze it. Use your hands or a large spoon to mix until just combined. Overmixing can make the texture dense and tough when cooked.
-
- Freeze in flat, 1-pound portions - Once mixed, portion the blend into 1-pound amounts (or whatever size you usually cook with). Place them in freezer-safe ziplock bags, remove as much air as possible, and flatten them out. This not only saves freezer space but also makes for quick, even thawing.
-
- Texture too mushy? If the blend is overly soft, this usually happens when organ meats are over-pureed or overmixed. Mix in a a bit more ground beef to balance it out and avoid blending the organs too smooth next time.
-
- Thawed blend watery? This is normal - organ meats release more moisture. Just drain off any excess liquid before cooking or saute with extra care to avoid steaming.
-
- Taste too strong? If your final dish tastes a little too "organ-y", mix in an additional ½ to 1 pound of plain ground beef to smooth out the flavor without having to toss the whole batch (cause that would be a shame, now wouldn't it?).