These Healthy Stuffed Baked Apples are filled with crunchy pecans, shredded coconut, and sweetened with a touch of honey for a truly nourishing, gluten-free, paleo and Whole30 apple dessert.
This easy apple dessert is a fancy version of healthy apple crisp. It's a lovely blend of those familiar warm spices, crunchy pecan or walnut topping, and the irresistible sweet cinnamon all nestled in tender apple halves.
It makes for such a cozy dessert that satisfies that sweet tooth but without the added sugar. Best of all, these paleo baked apples are incredibly simple to make and can be in the oven in just 10 minutes of prep time.
[feast_advanced_jump_to]❤Why you'll love this easy recipe
These healthy baked apples is a simple dessert recipe that doesn't require many ingredients or time. It has that perfectly crunchy, honey-sweetened pecan crumble that is the envy of all apple crisps.
The best part is that it's only 5 simple ingredients (including the apples) and truly does not take more than 10 minutes to throw everything together.
The hardest part is waiting patiently for the apples to bake while filling your house with that warm fall aroma.
The most perfect way to enjoy these easy baked apples is to top with this 3-Ingredient Vanilla Ice Cream and drizzle with salted caramel sauce. It's a great dessert for sweater weather!
💭Make it Nutrient-Dense: For a truly healthier dessert, consider using soaked and sprouted nuts and seeds.
🍲Ingredients
The ingredient list for this baked apple dessert is fairly short and contain only whole ingredients.
- baking apples: Choose a baking apple that retains it's structure and texture during the baking. Granny Smith apples are ideal but Honeycrisp apple, Jonagold (Jonathan), Braeburn, Fuji, Pink Lady and Golden Delicious all fare well in the oven.
- chopped nuts: My favorite for stuffed baked apples are pecans but chopped walnuts work great too. To make these nut free, use a combination of sunflower seeds and pumpkin seeds for a delicious crunchy topping.
- shredded coconut: This is a lovely addition of healthy fats and fiber.
- honey: feel free to use maple syrup, coconut sugar, or brown sugar but stay clear from refined sugars. Check out this post on healthy natural sweeteners.
- coconut oil: To keep this dairy free and compliant with the paleo diet, coconut oil is a great alternative to butter. As is ghee (clarified butter - it is dairy free). But if tolerated, unsalted butter always adds fantastic flavor and richness.
- cinnamon: A simple addition of this spice is all that's needed to make these flavors pop but you can use apple pie spice or pumpkin pie spice to level up this simple dessert.
- sea salt: Enhances all the flavors and balances everything well.
See recipe card for exact quantities.
💭Pro tip: Don't skip the salt! It enhances the sweetness of the honey and cinnamon and balances all the flavors well in this healthy dessert.
🚫Dietary Substitutions
These simple baked apples are naturally gluten free. More than that, they are entirely grain free, making them a lovely paleo dessert the entire family will love.
There is so much goodness in this simple yet perfect dessert that you won't miss the oats or the added sugar.
When I make them for our family, I use pastured butter instead of coconut oil. But to keep them whole food yet plant based, stick to coconut oil instead. The shredded coconut adds some nice fiber and you can use sunflower seeds or pumpkin seeds in lieu of crunchy pecans if wanting this nut free.
🍎Apple Halves vs. Whole Apples
We love to make this recipe with apple halves rather than whole apples. The reason is we can always go for that second half if needed. But usually one baked apple half with the topping and a scoop of ice cream is more than plenty to satisfy that sweet tooth.
The baked apple halves are also great for kiddos since the whole apples are way too much for them to begin with.
Having said that, you can easily convert this recipe from baked apple halves to baked whole apples. All ingredient amounts will remain the same.
To make baked whole apples, core the apples with a paring knife and a sharp spoon. Fill with the pecan crumble and proceed as with the apple halves.
When baking whole apples, you may need to increase the baking time to 45 minutes but always check until fork tender. I would err on the side of slightly underdone rather than over baked. The pecan stuffing doesn't have anything that truly needs to be cooked (i.e. oats) therefore, you're really just baking the apples so as soon as they are tender and luscious, pull out the baked apples.
💭Helpful Tips
- Even cooking: Make sure your apples are of similar size for even cooking.
- Stabilize the apples: If you're wrestling with the apples to sit well in the dish, just slice a small piece off the rounded part of the apple half to create some stability.
- Keep pecans crunchy: In order to retain that crunch in the pecans, be sure they are coarsely chopped. Use room temperature or melted coconut oil so the crumble ingredients combine well.
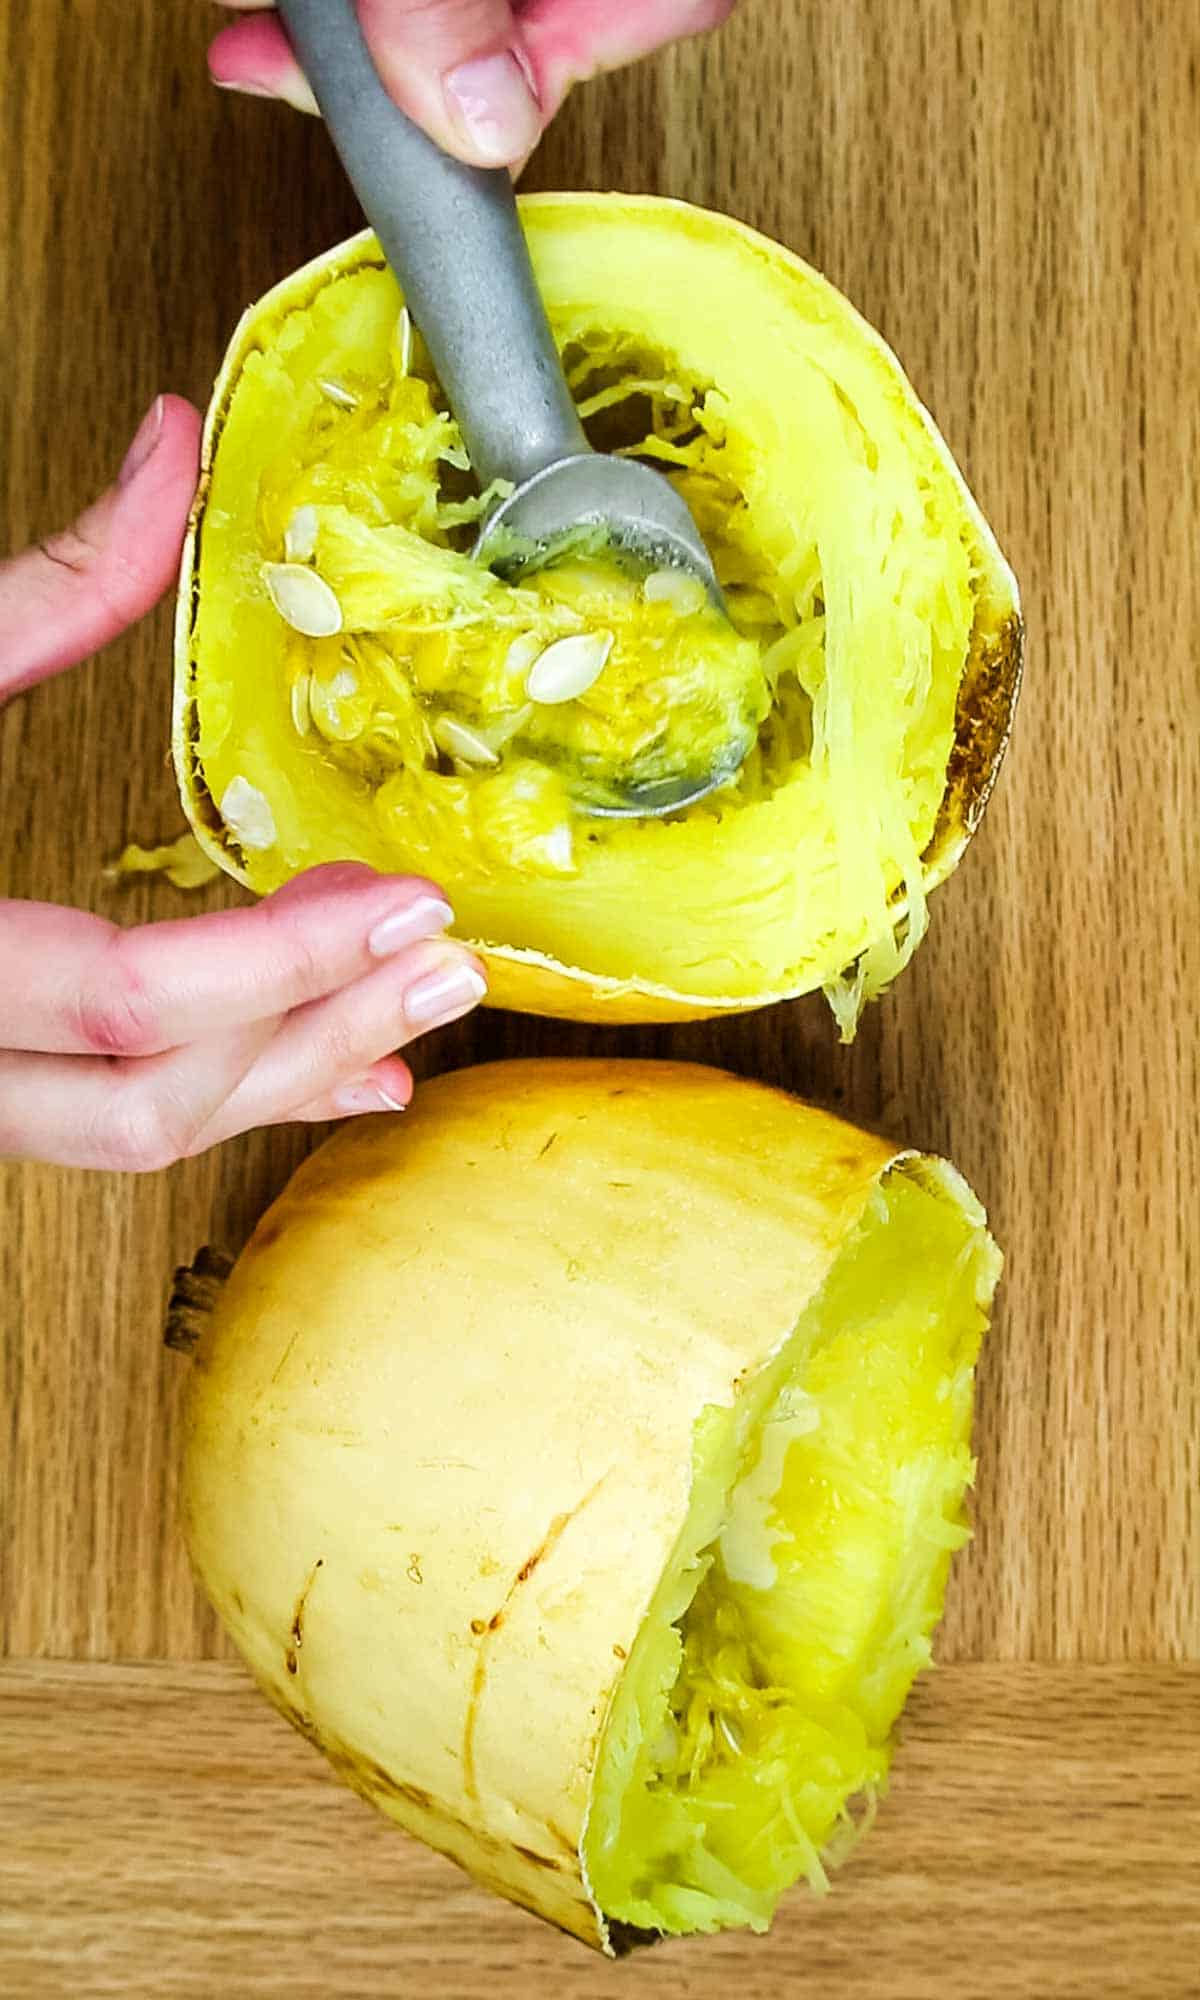
- Easily core apples: Depending on the size of your apples, you can use an ice cream scoop similar to this one to scoop out the center cores. I purchased mine at an estate sale and I love it for these jobs because the edges are very thin. A melon baller would work just as well.
👩🏽🍳Step-by-Step Instructions
The complete printable recipe is below in the recipe card for your convenience.
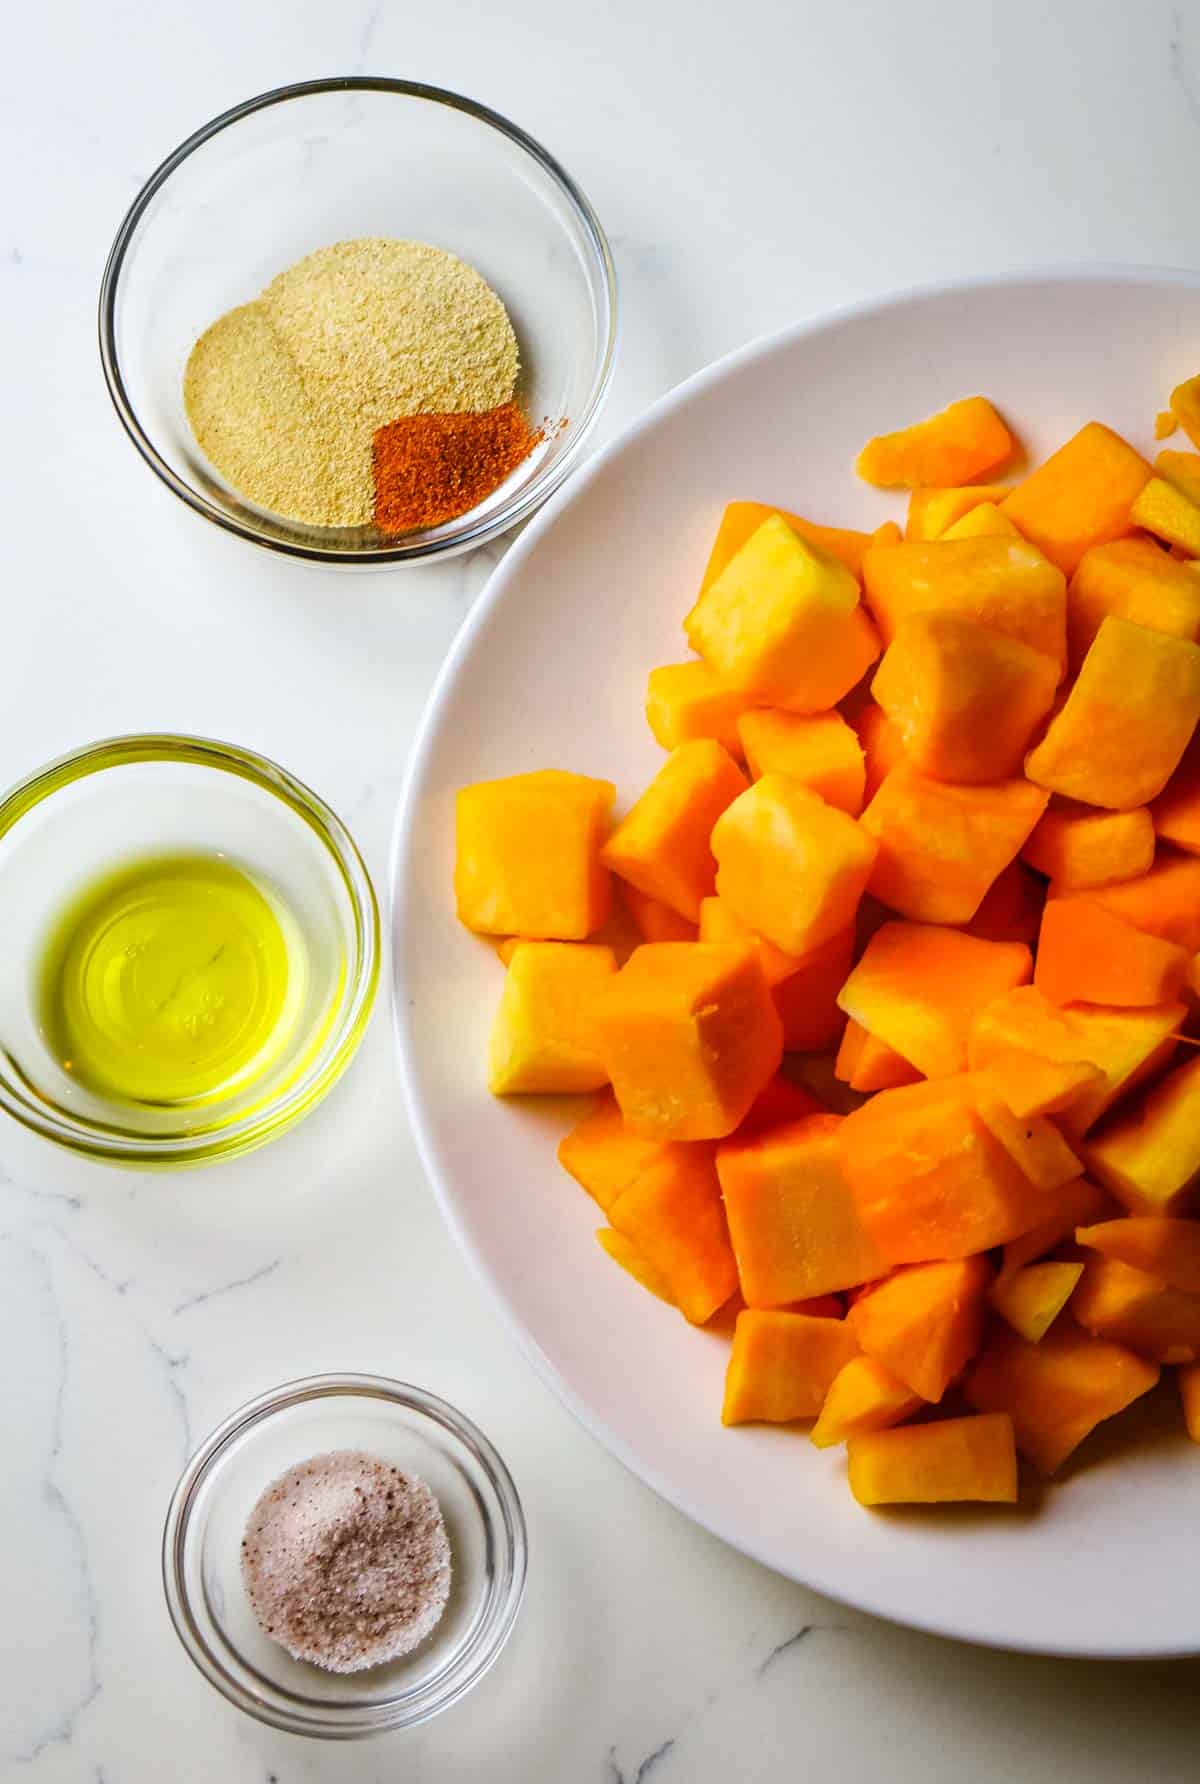
This Paleo Baked Apples recipe calls for these ingredients: baking apples, chopped pecans or walnuts, shredded coconut, honey, coconut oil or butter, cinnamon and sea salt.
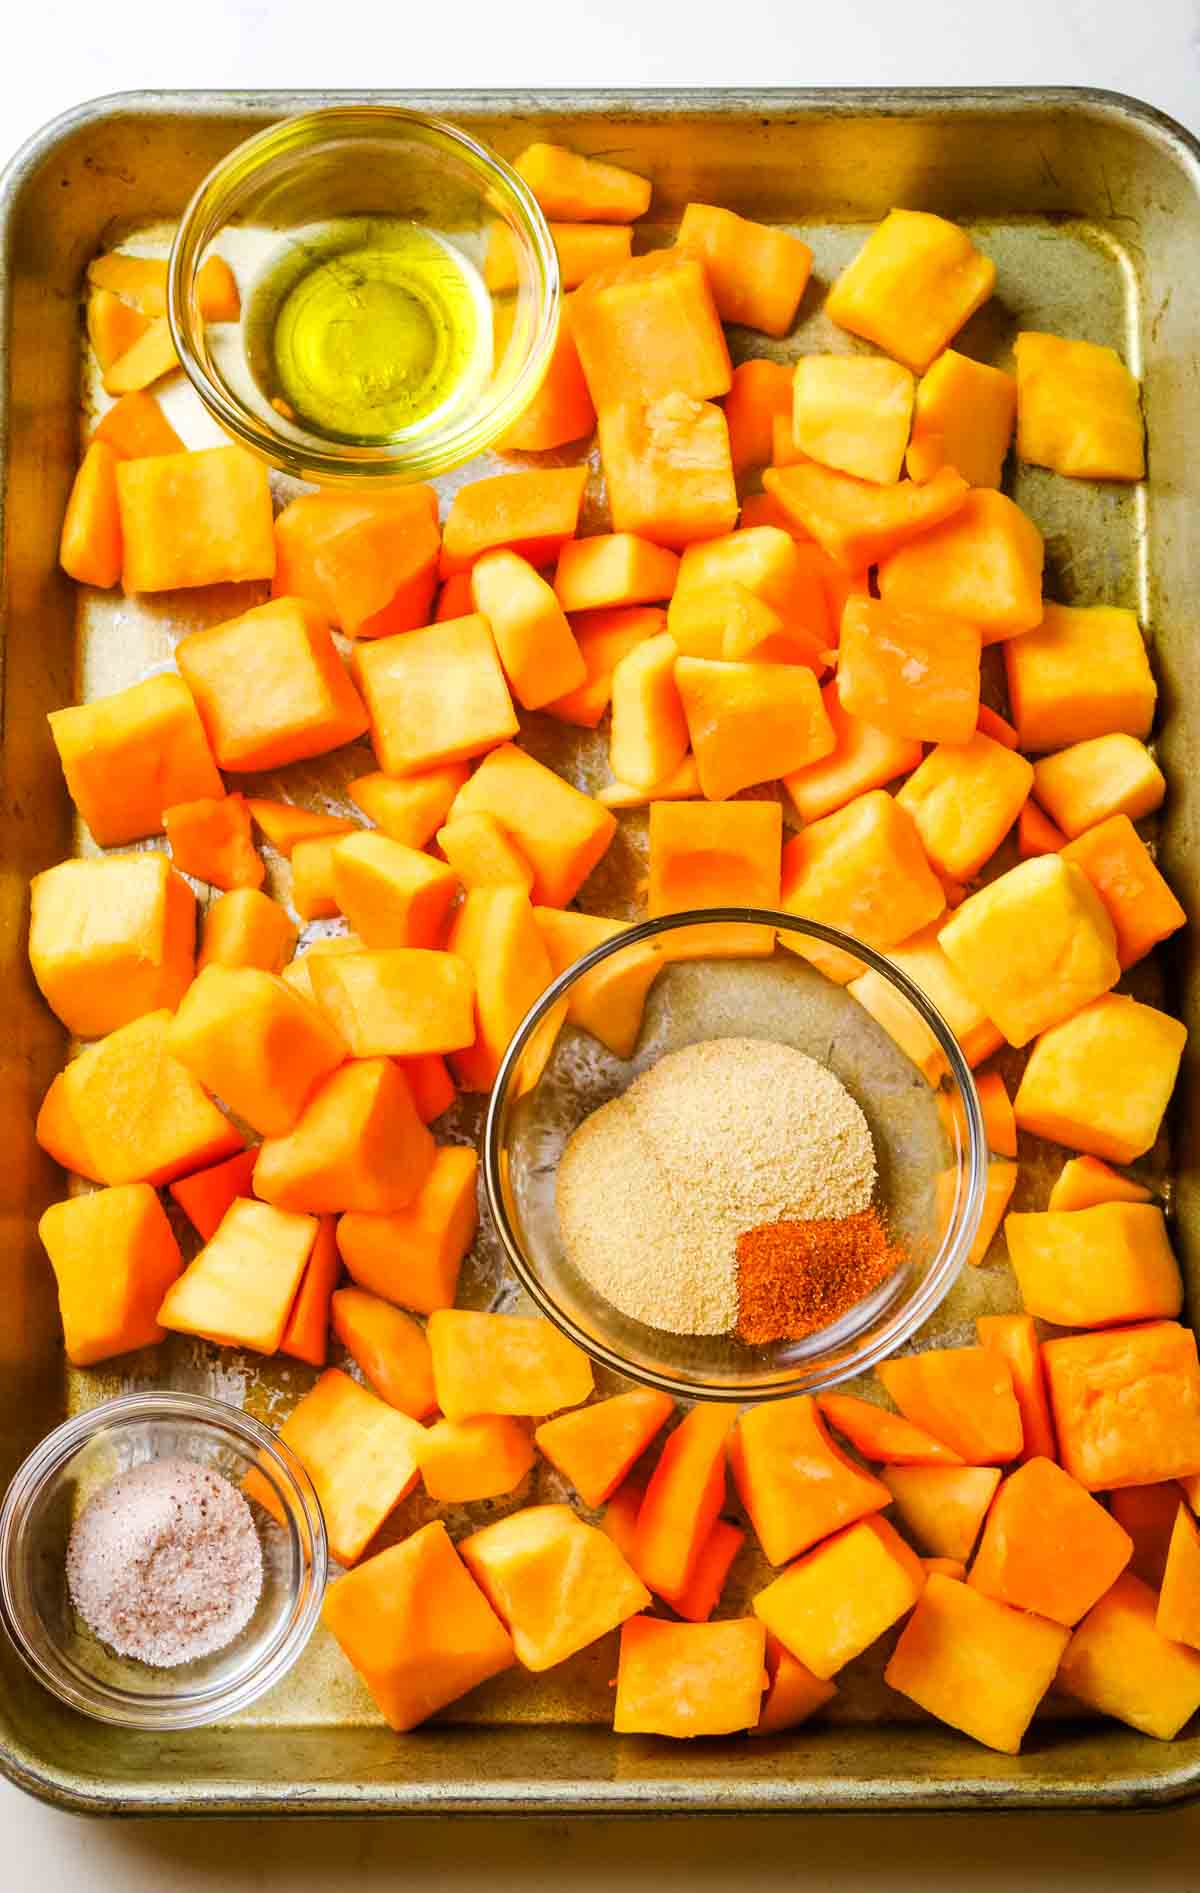
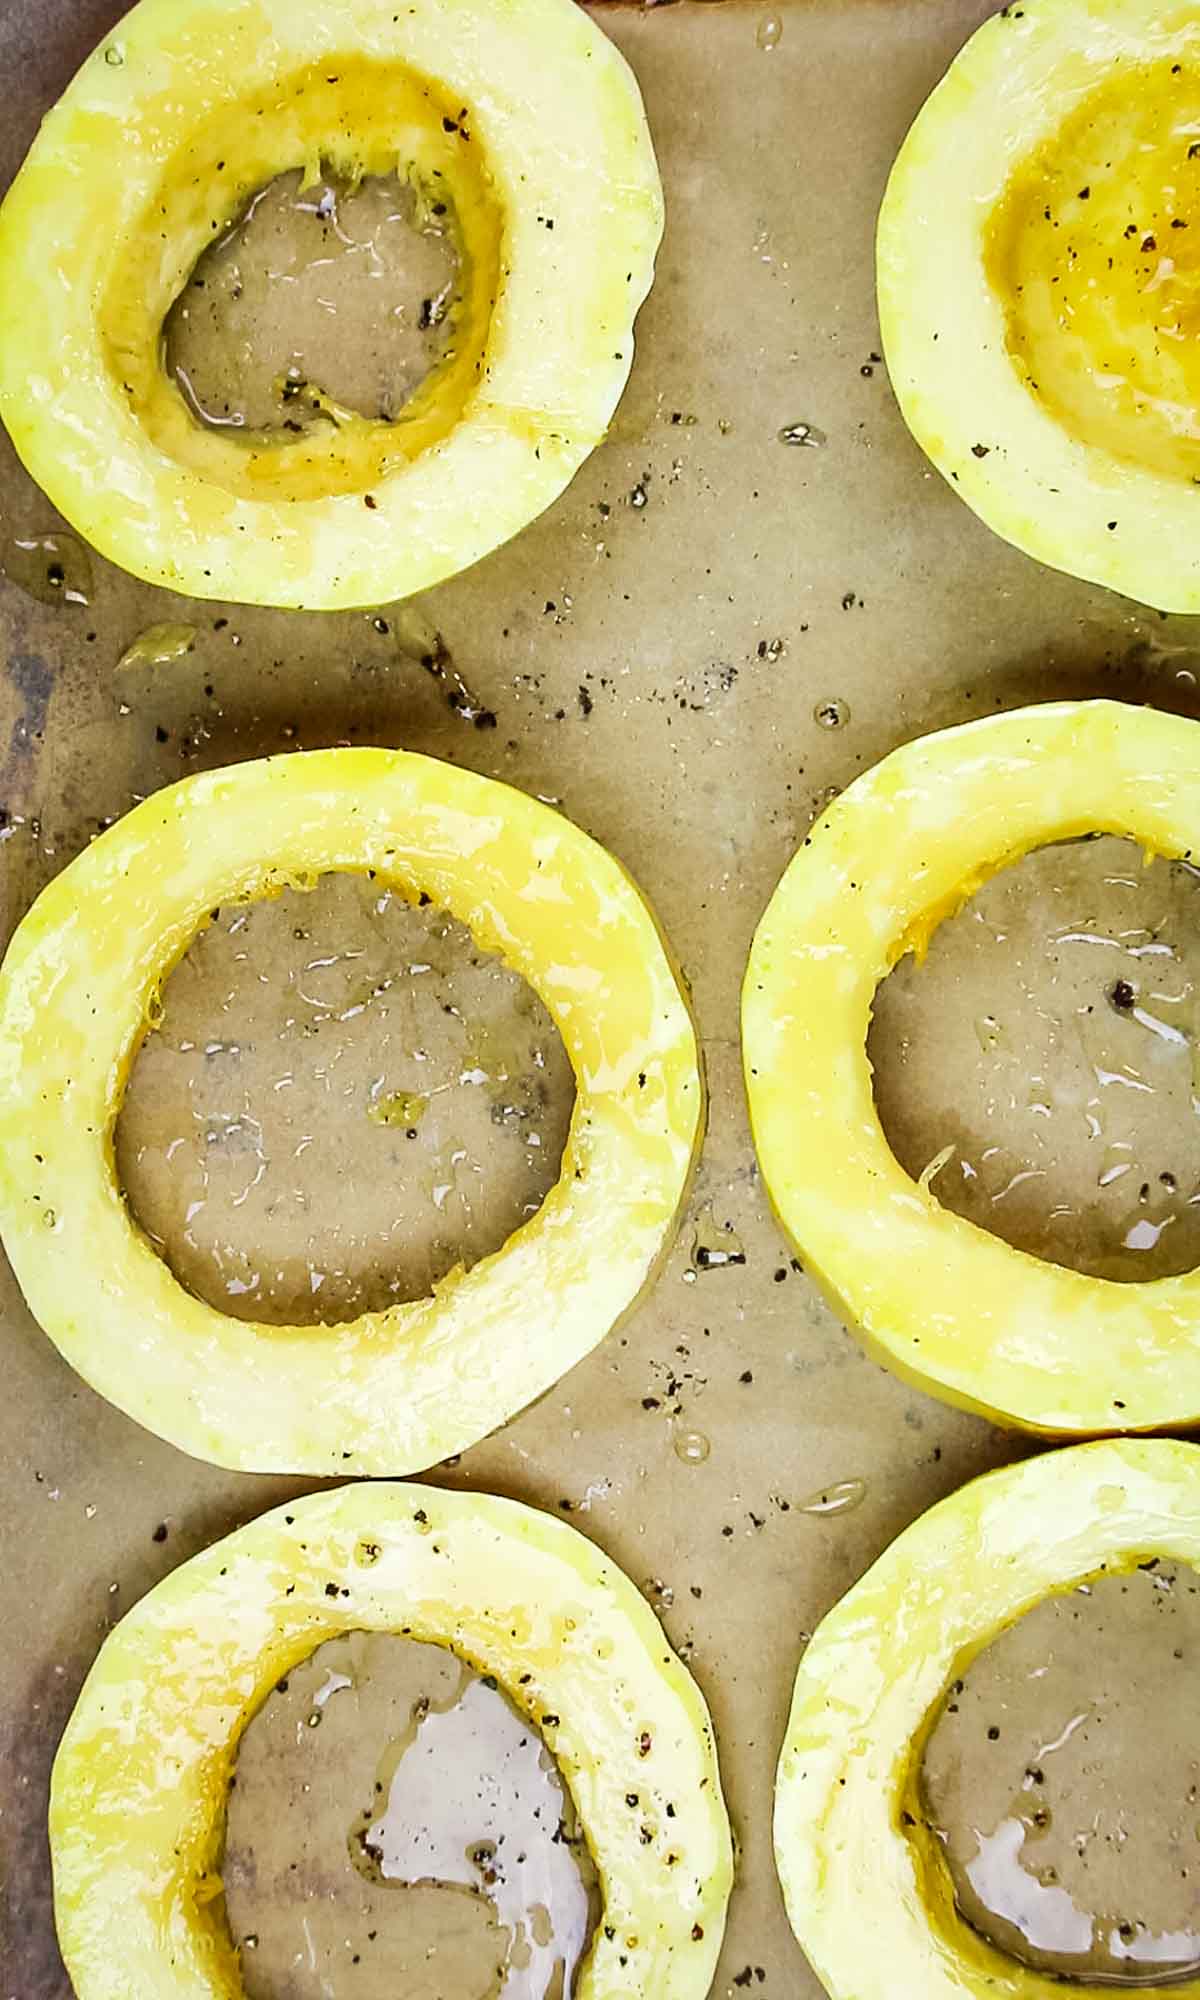
Step 1. Prep and preheat.
Preheat the oven to 350 degrees Fahrenheit. Grease a large casserole dish with butter or coconut oil and set aside.
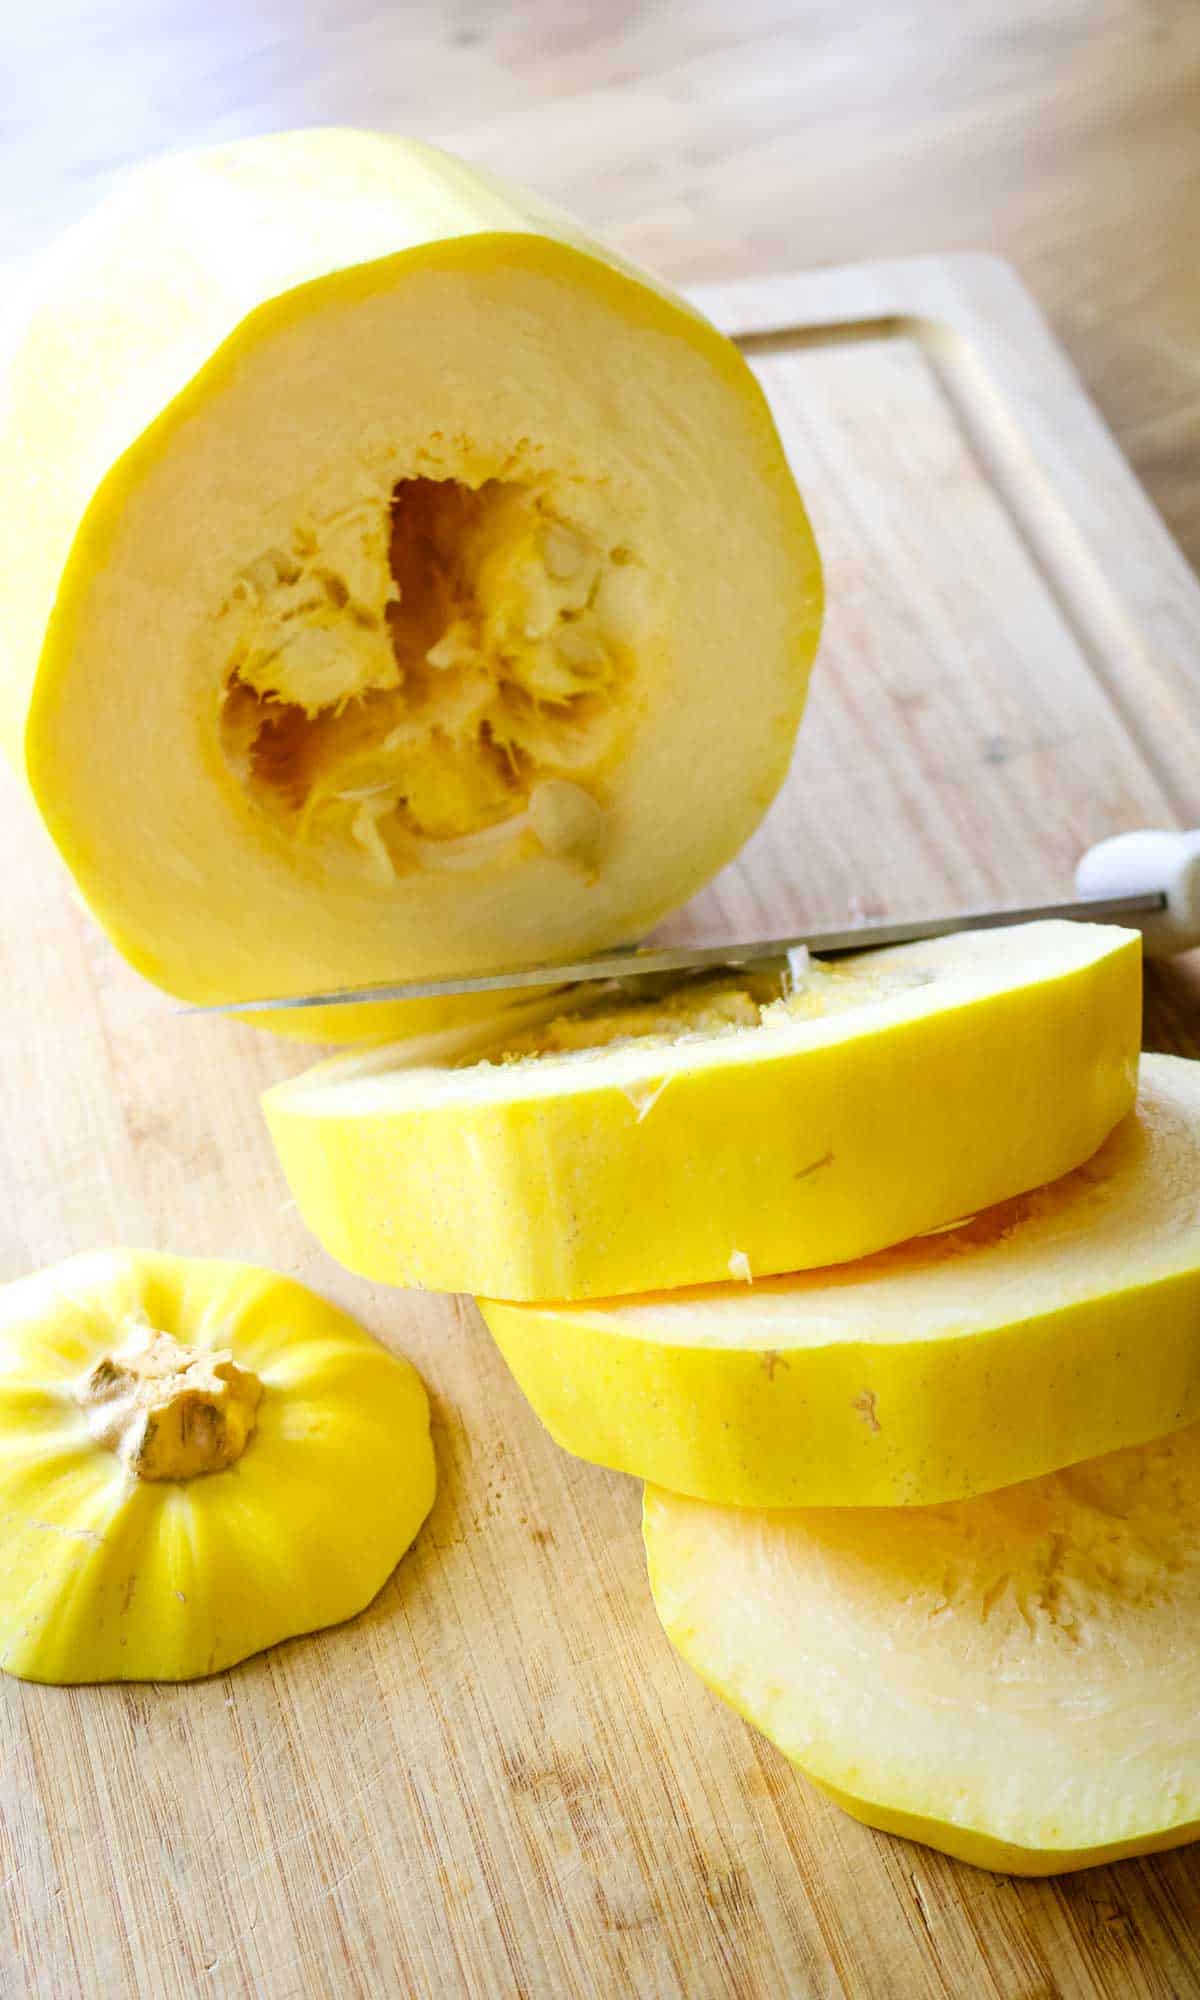
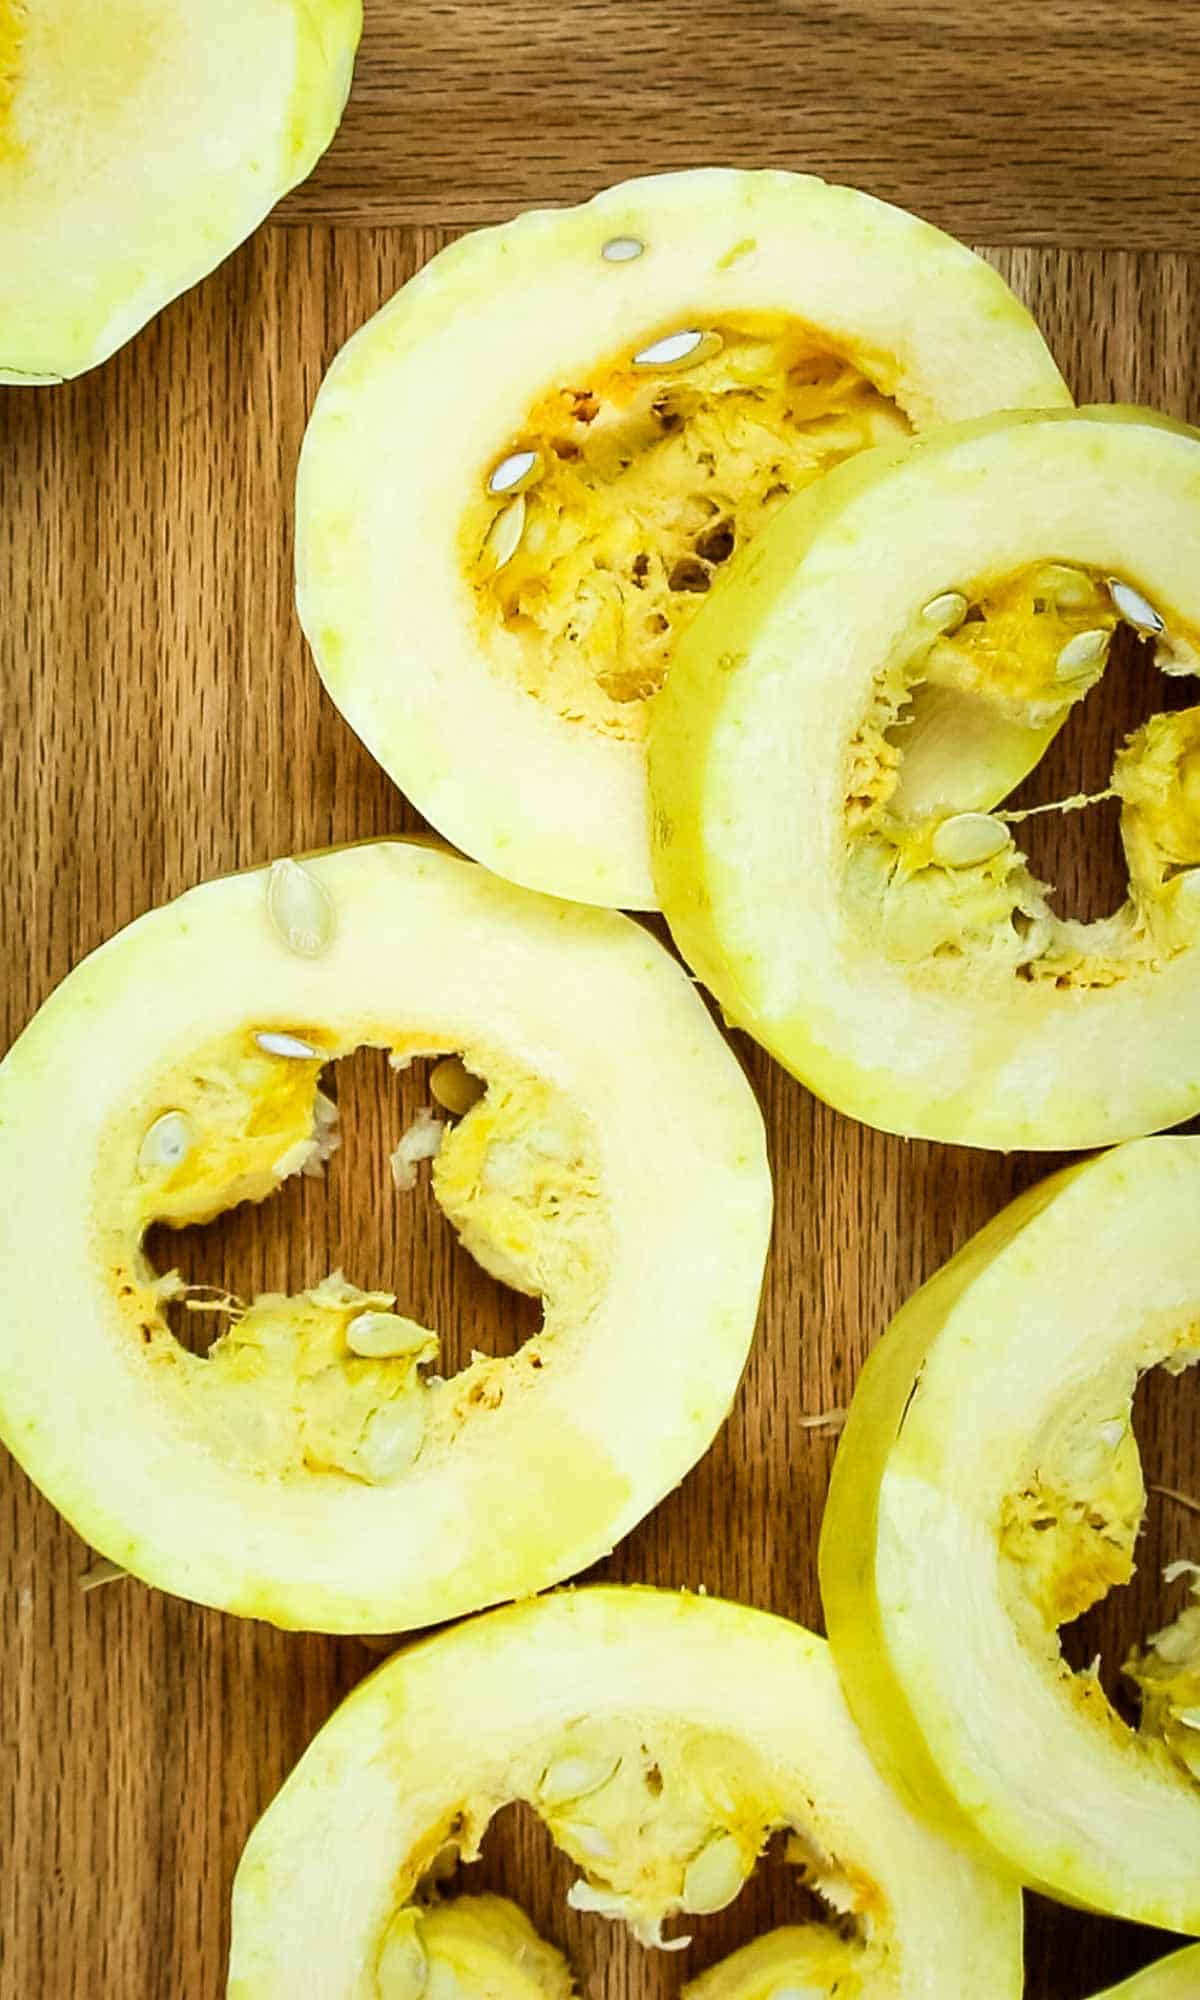
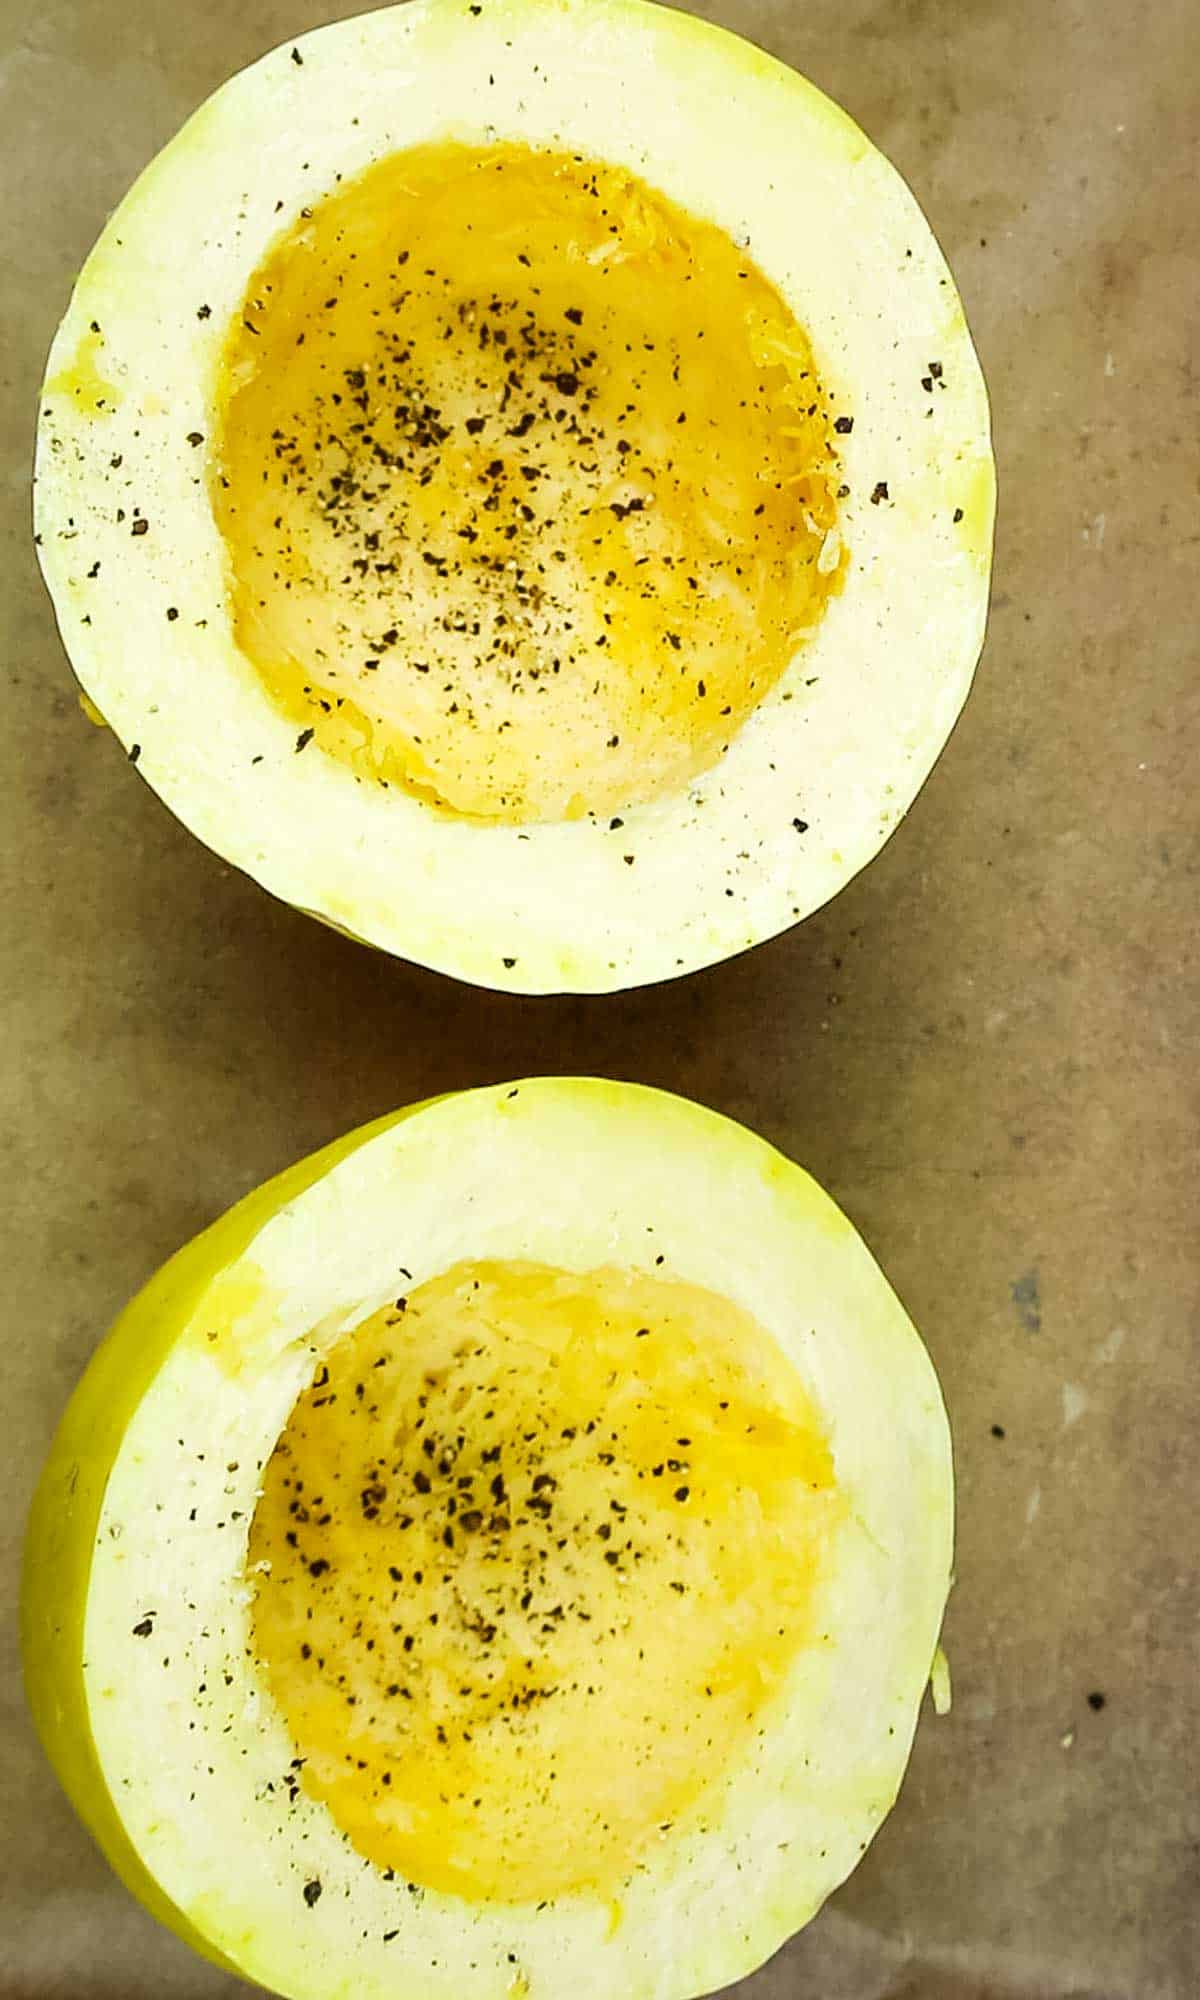
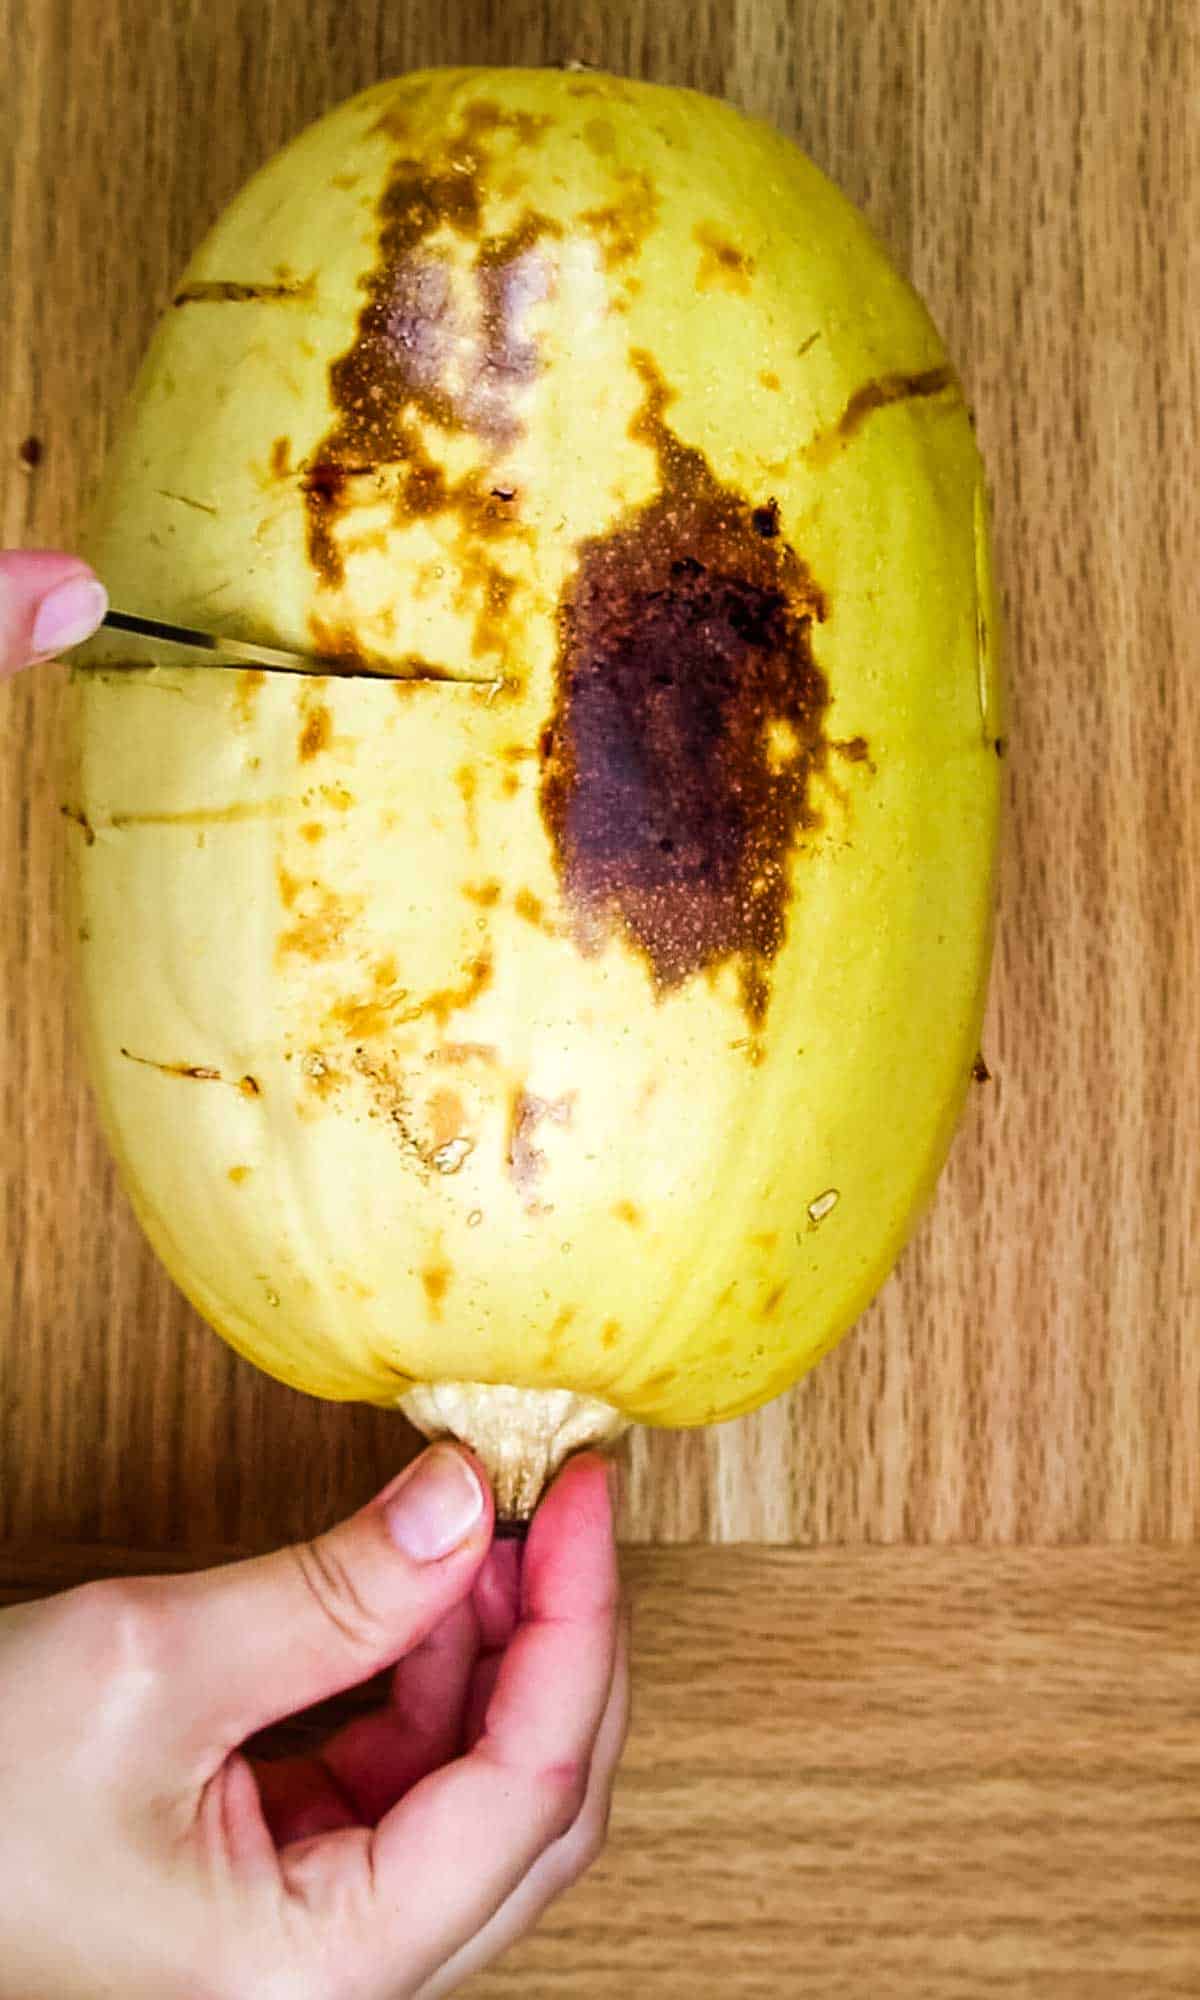
Cut the apples in half and remove the core with a melon baller or sharp paring knife. tool.
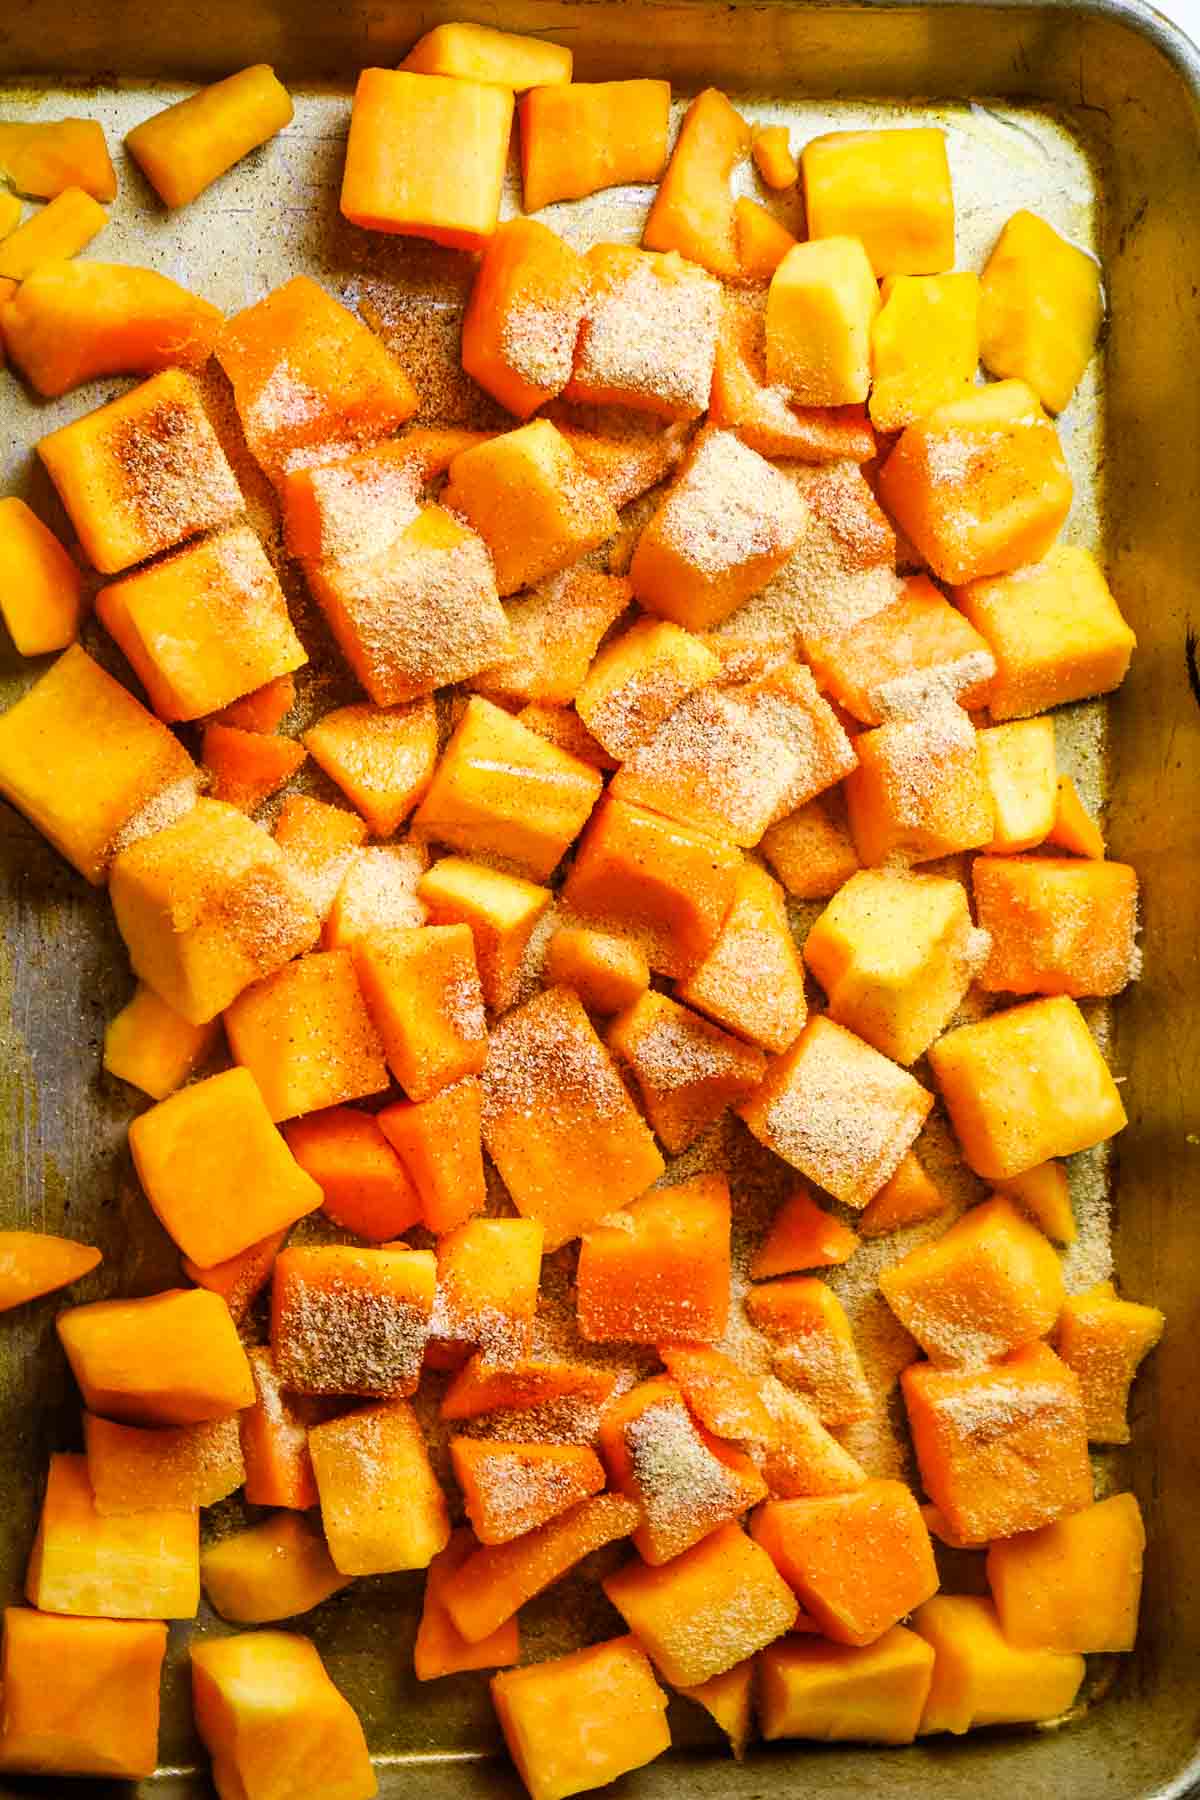
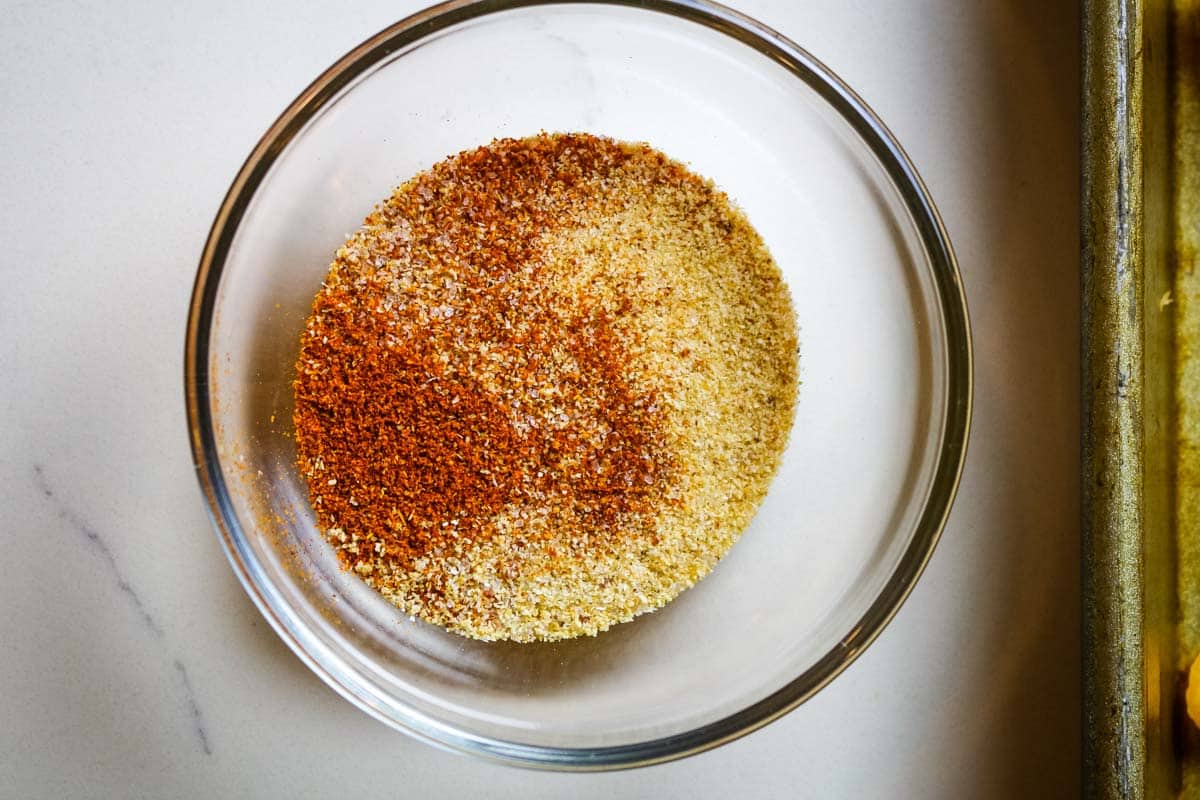
Step 2. Make the topping.
In a medium bowl, combine chopped pecans or walnuts, shredded coconut, honey, melted coconut oil or butter, cinnamon and sea salt. Toss to mix well. It will be a very thick consistency.
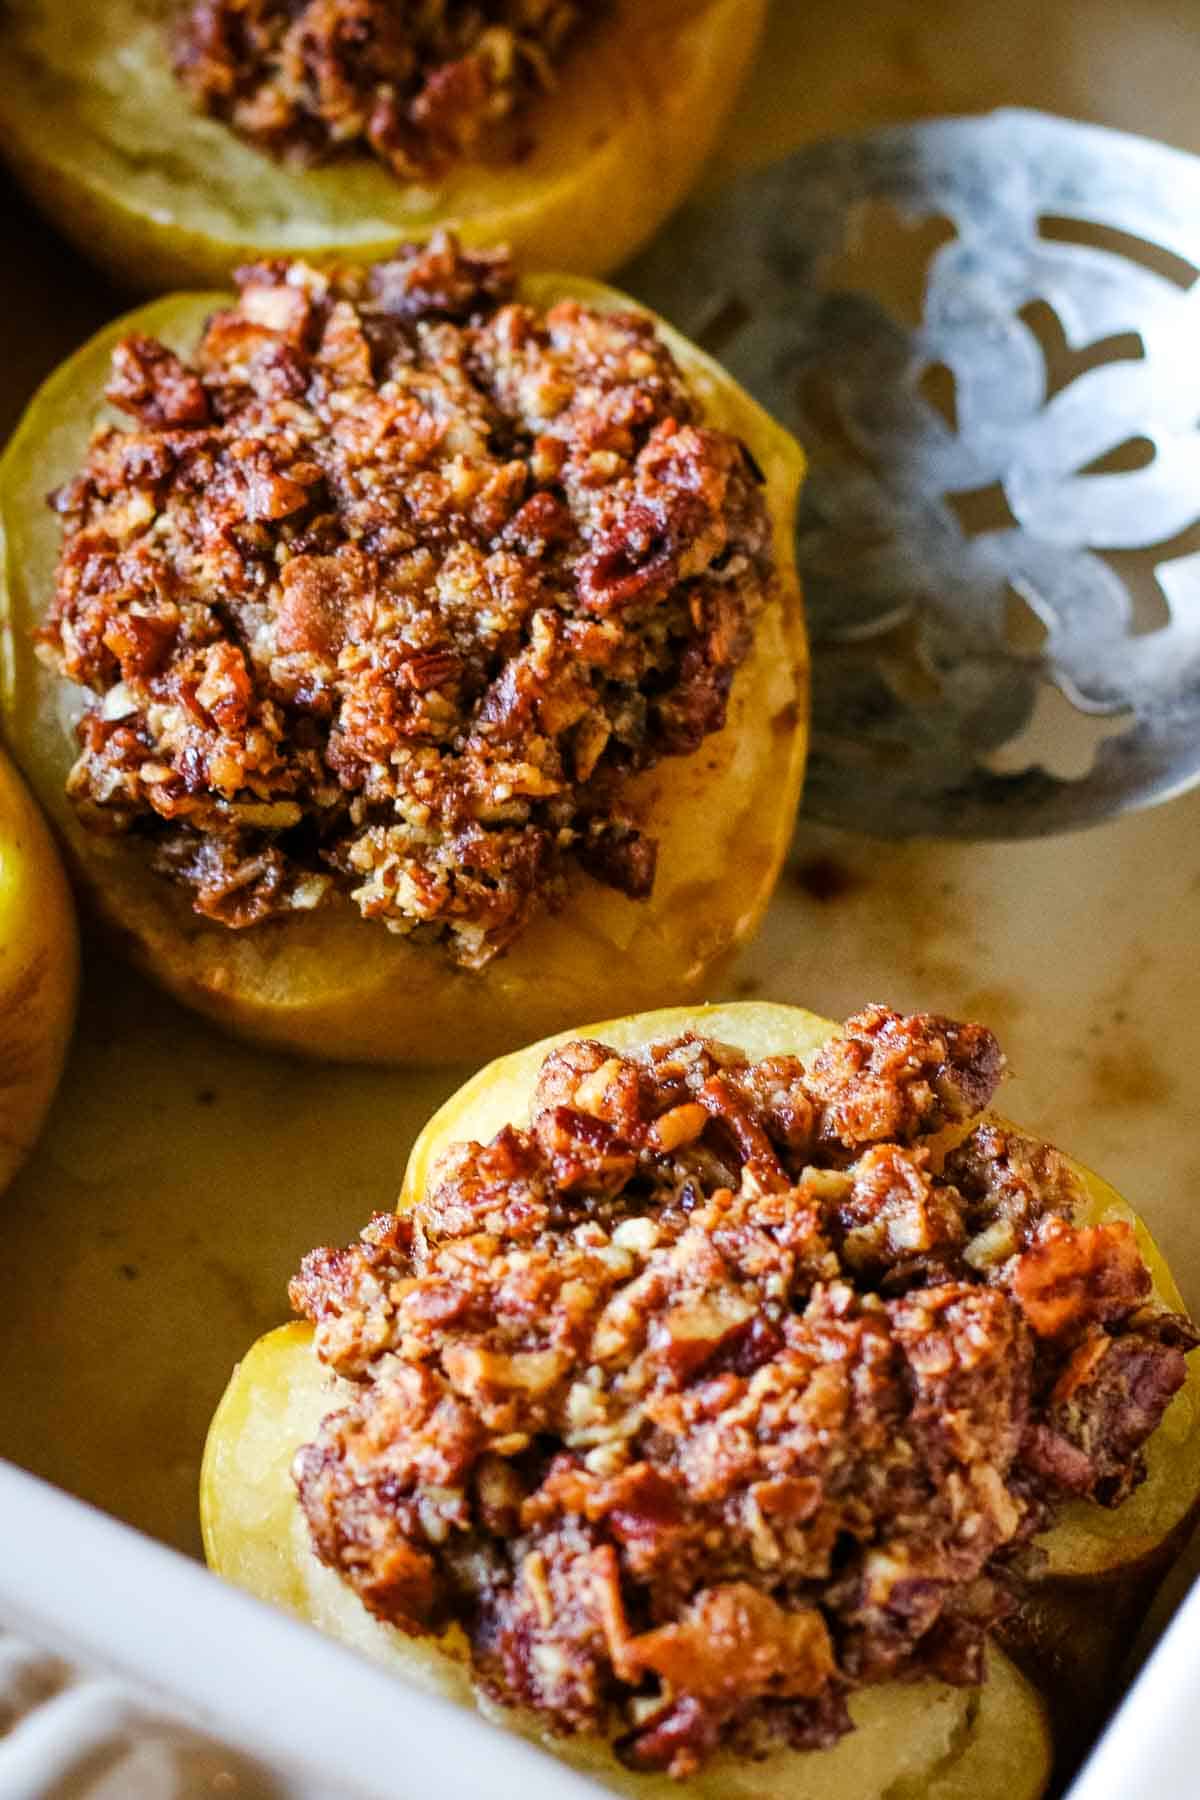
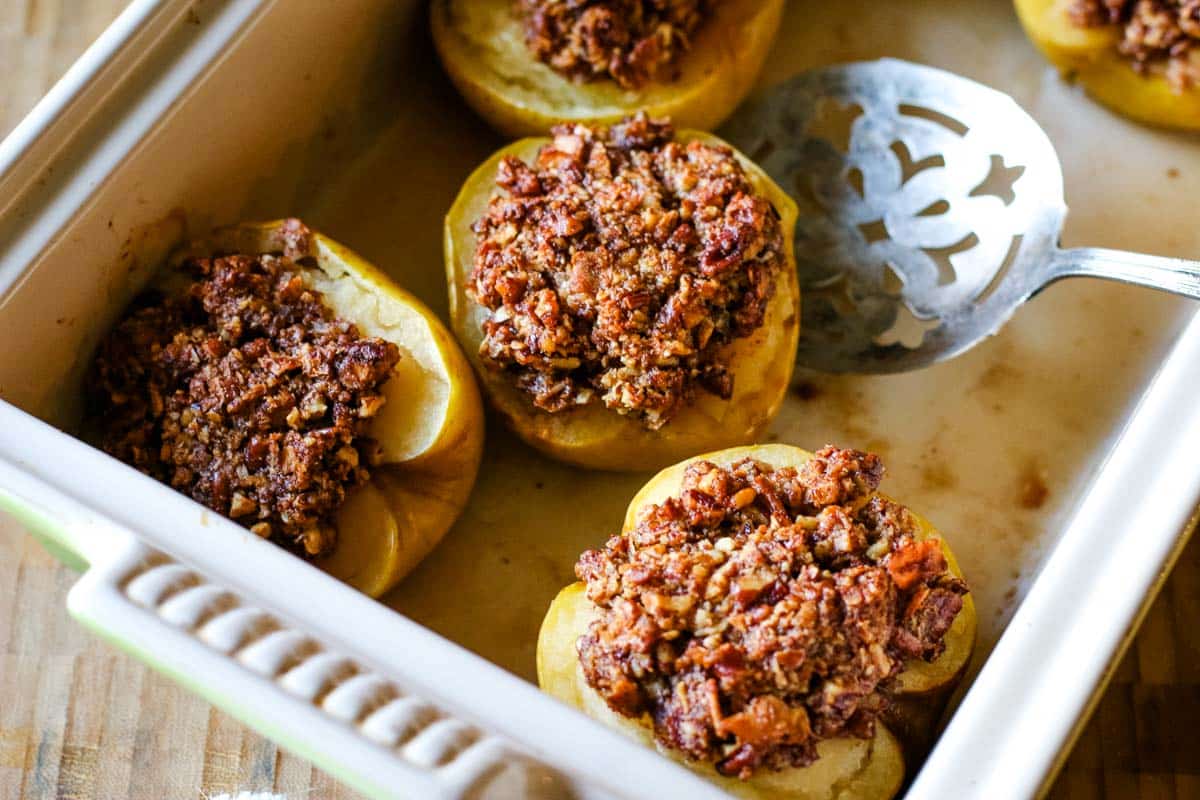
Step 3. Stuff apples.
Scoop approximately 3 tablespoons of this sweet filling on top of the apples and using hands, shape to create a dome.
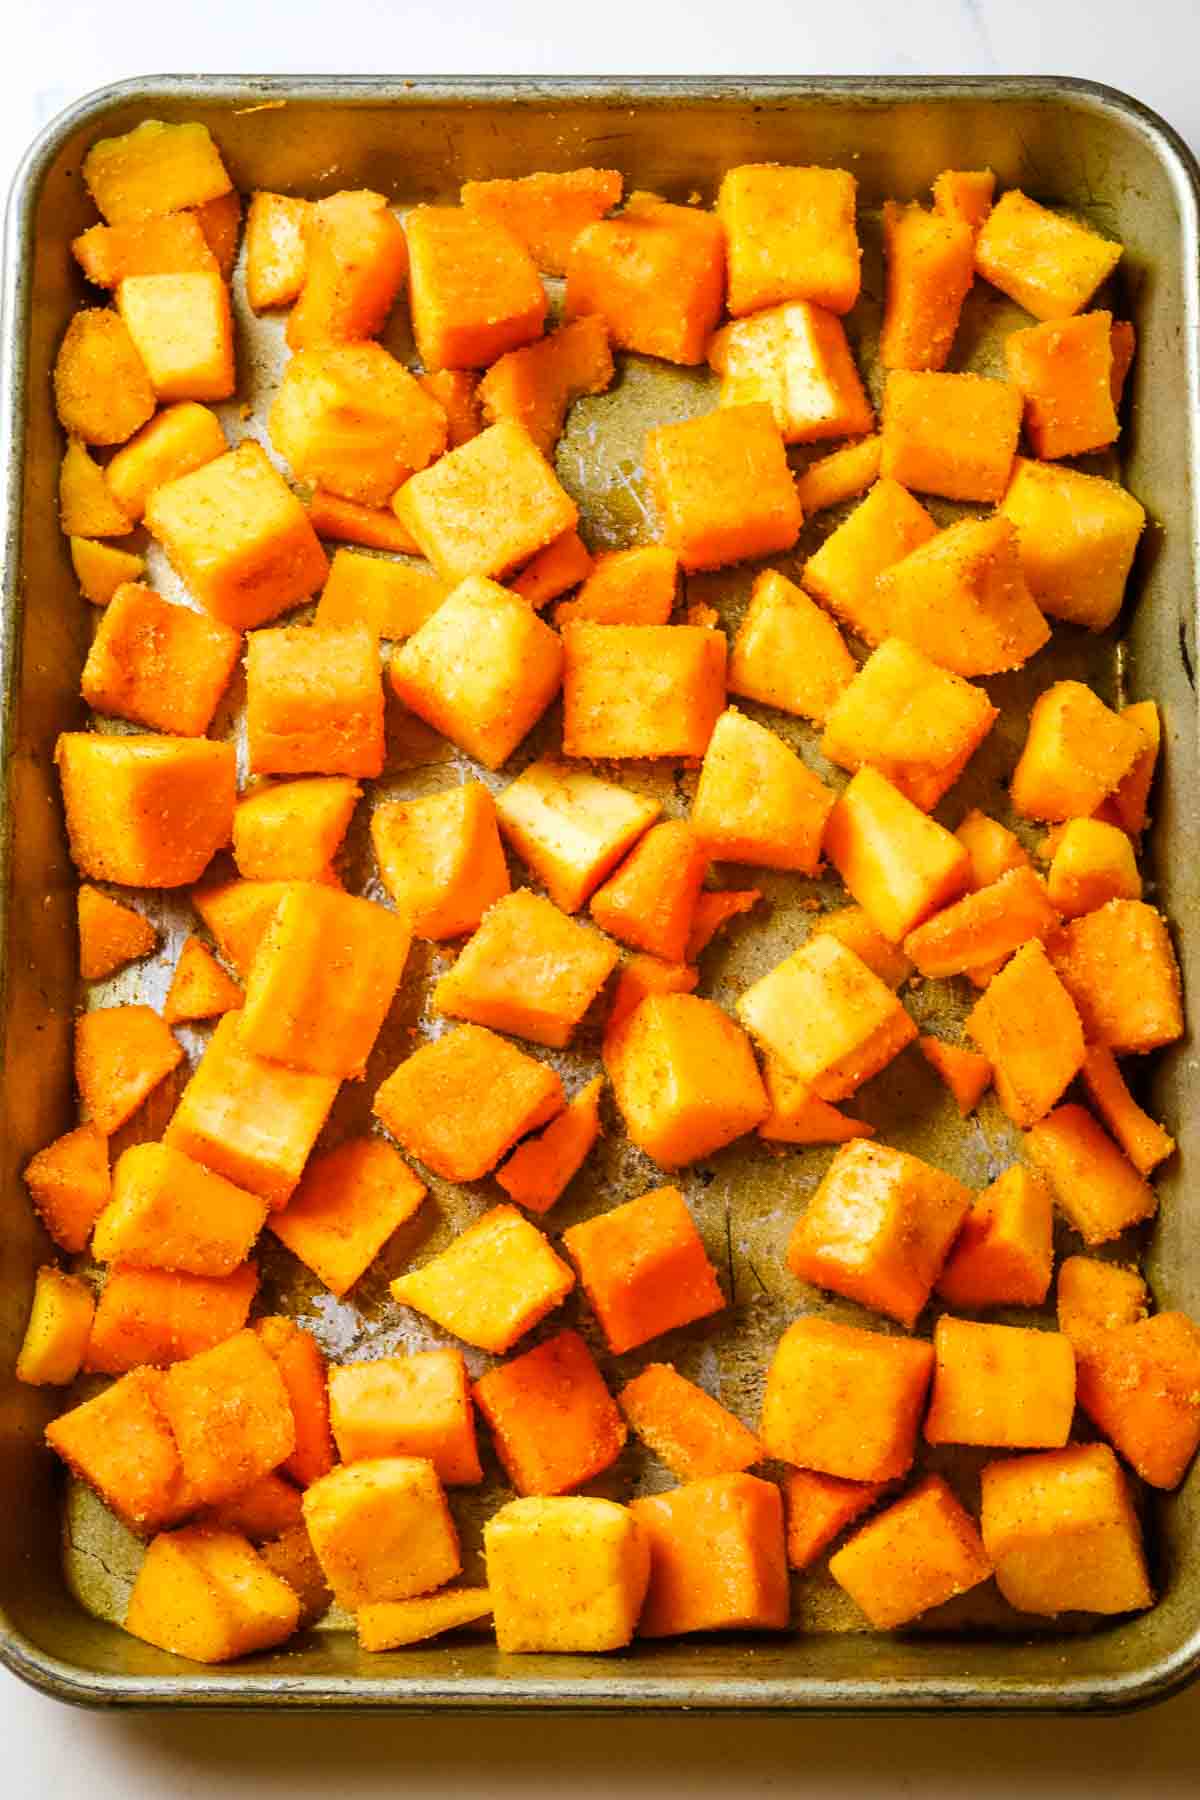
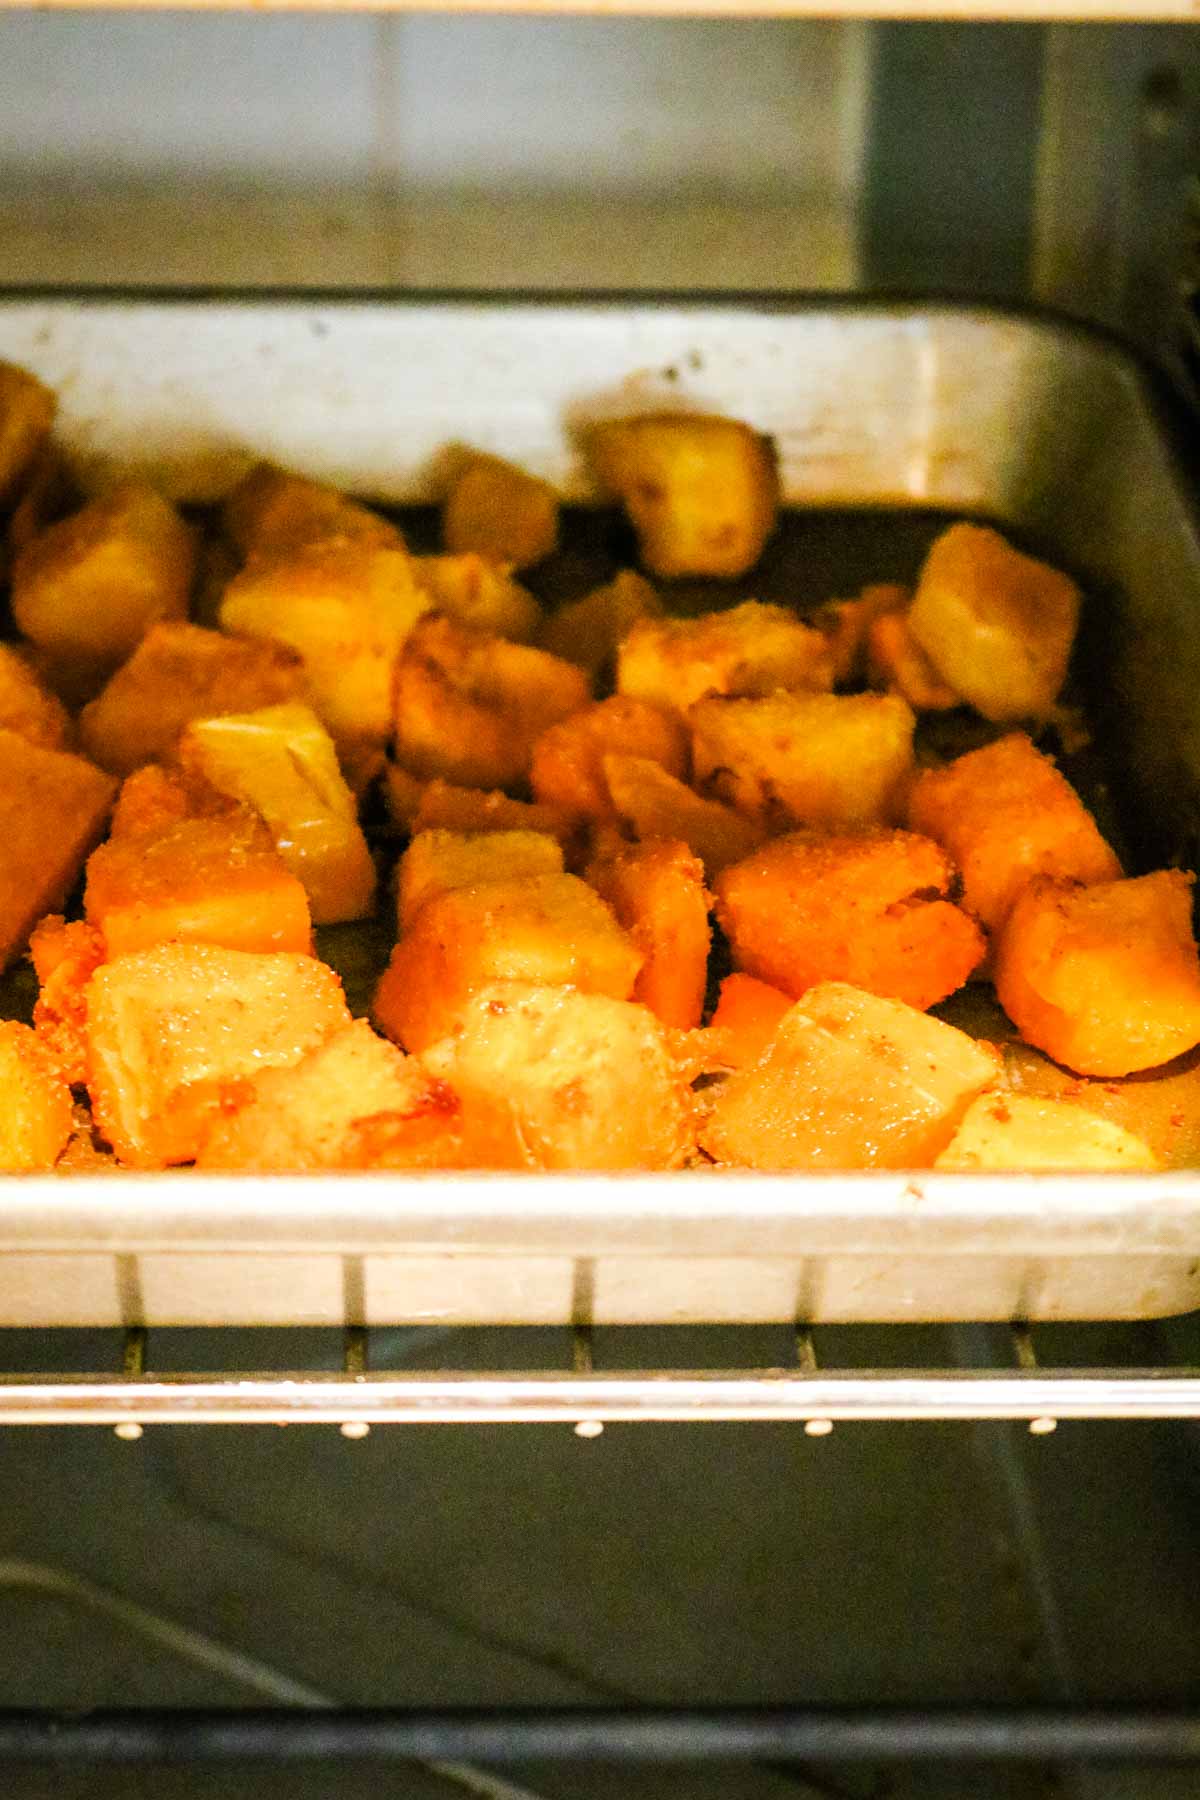
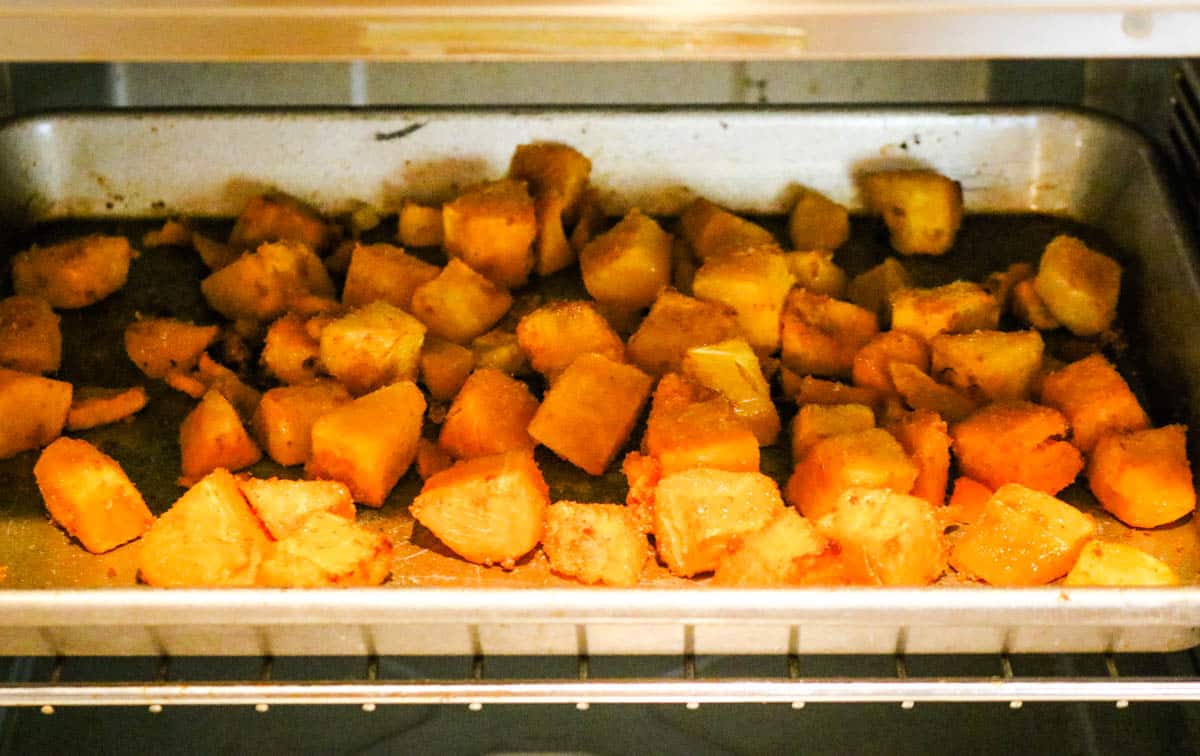
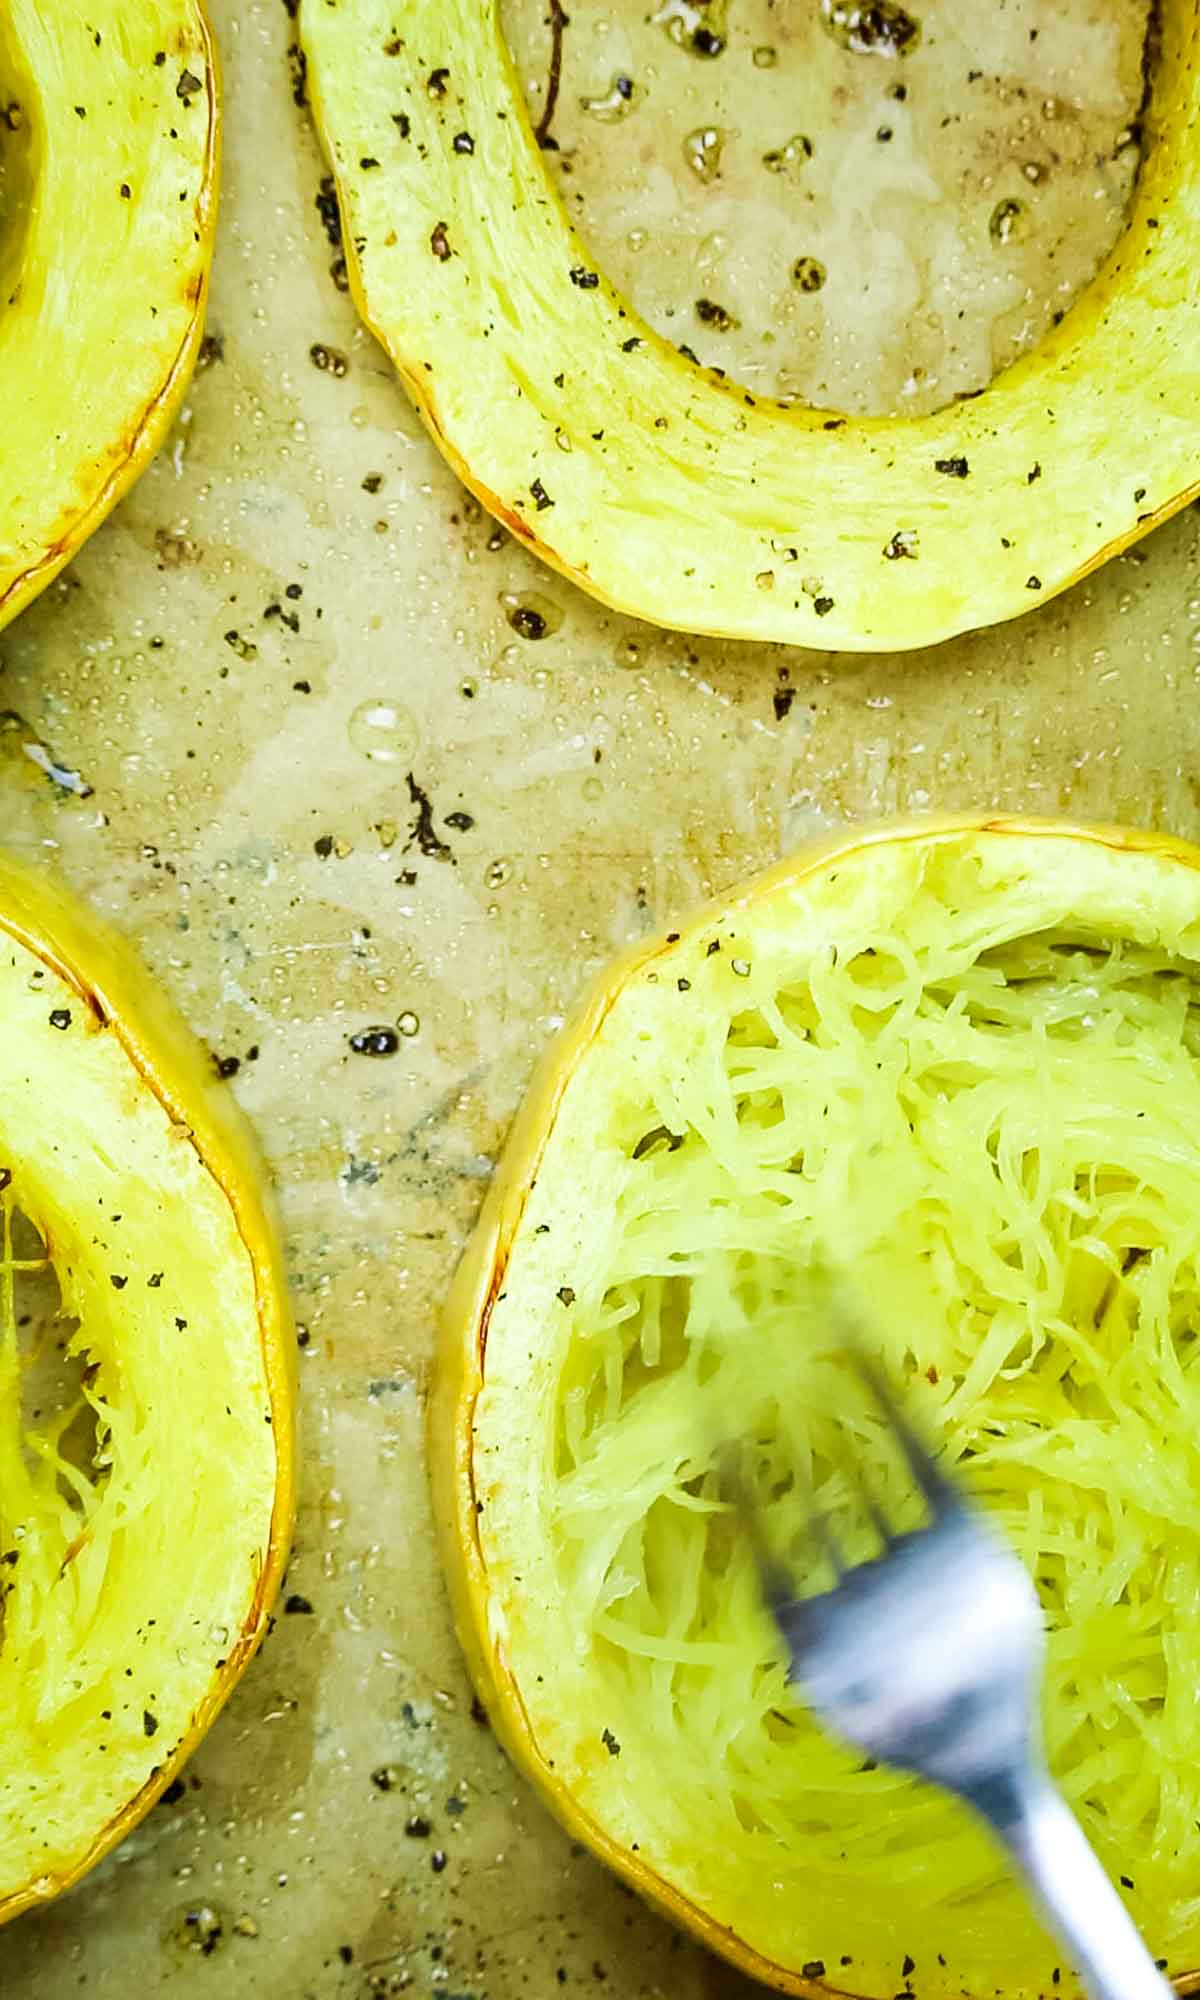
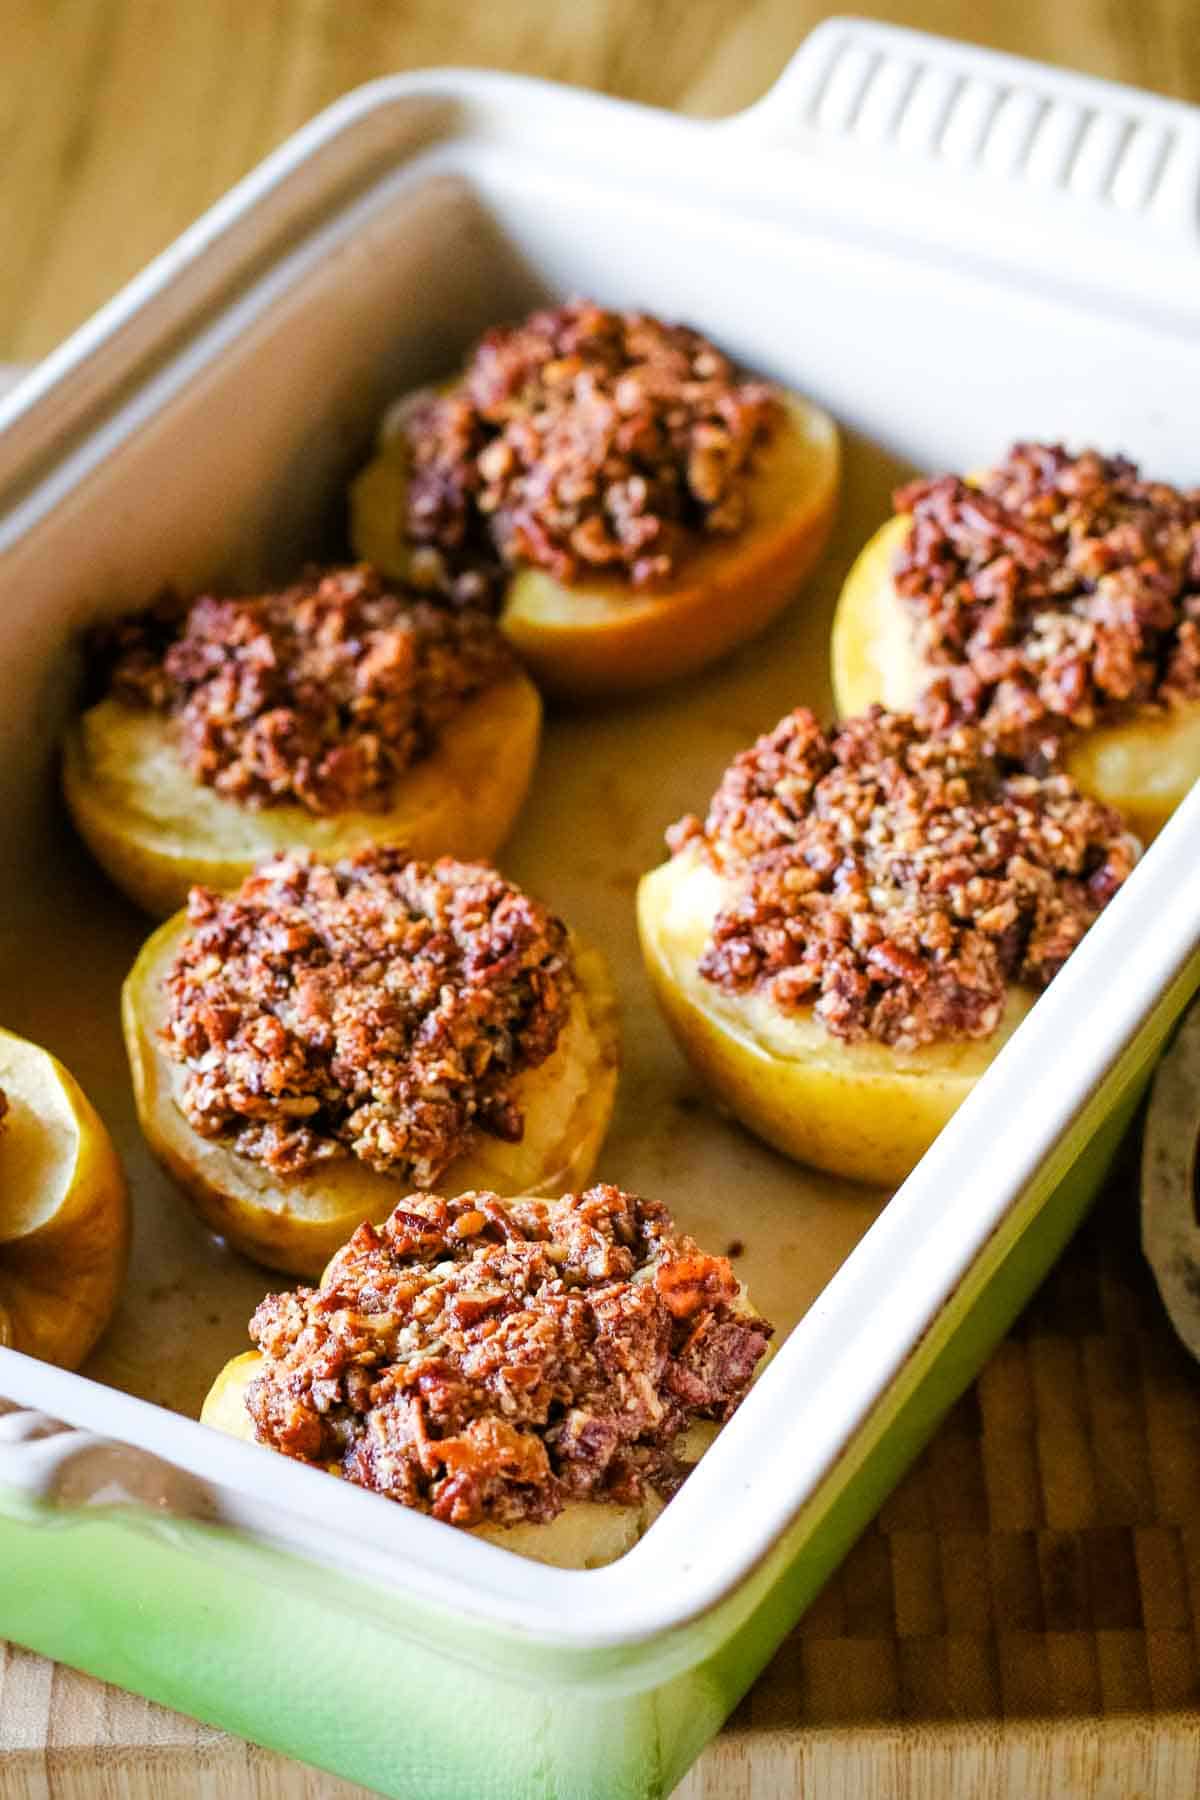
Step 4. Bake.
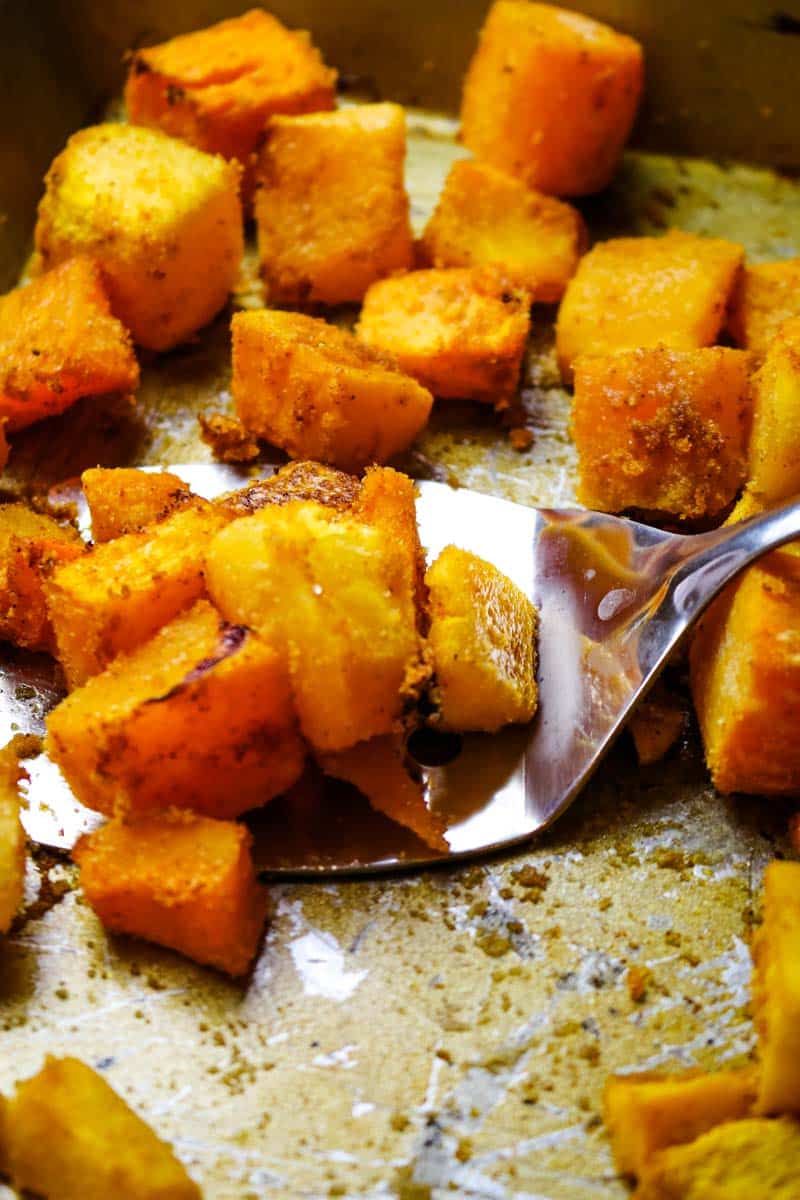
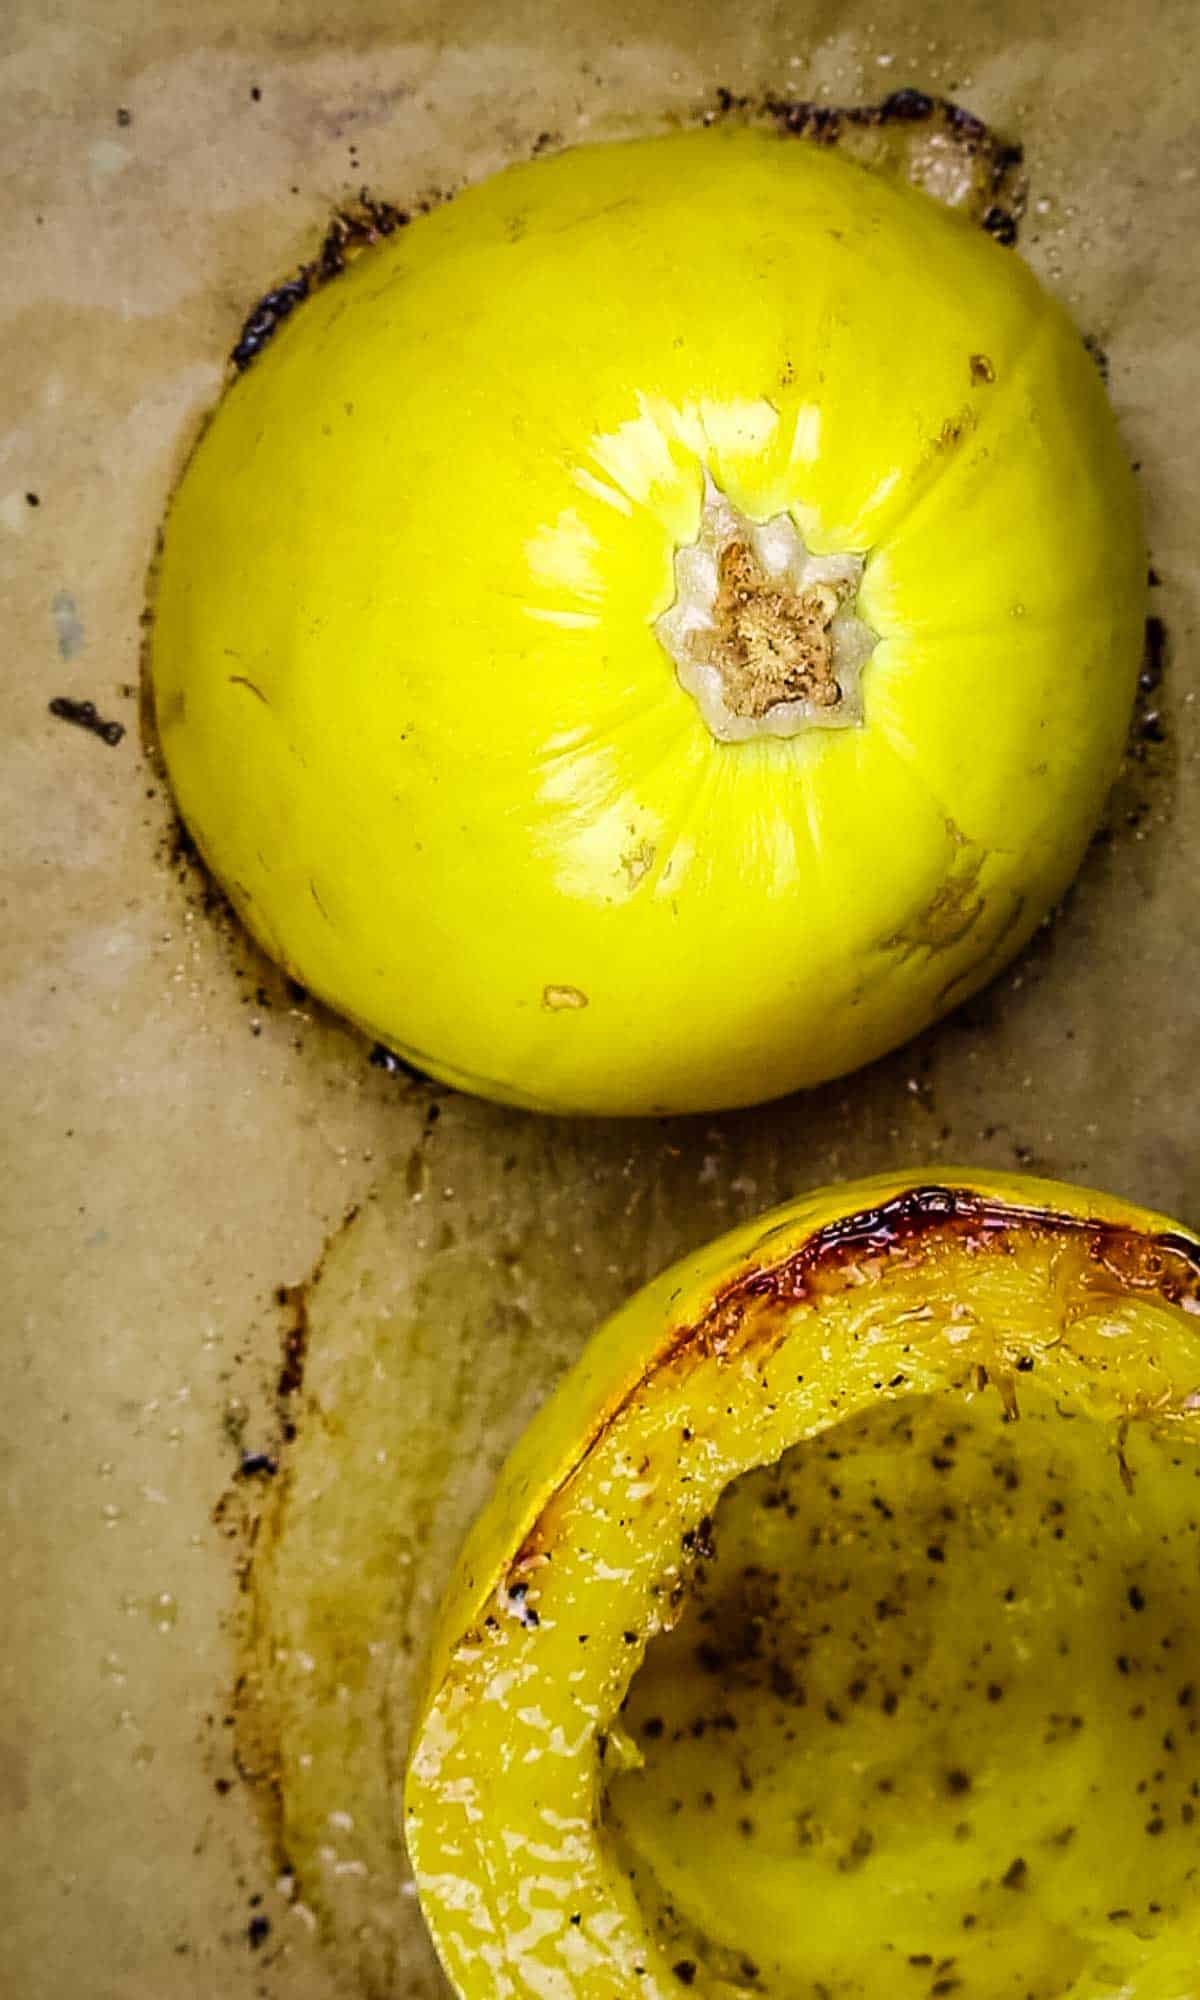
Bake the apple halves for 30 minutes or until apples are tender. Take care not to over-bake as you don't want the apples mushy. The sweet stuffing will turn into a very delicious crispy topping.
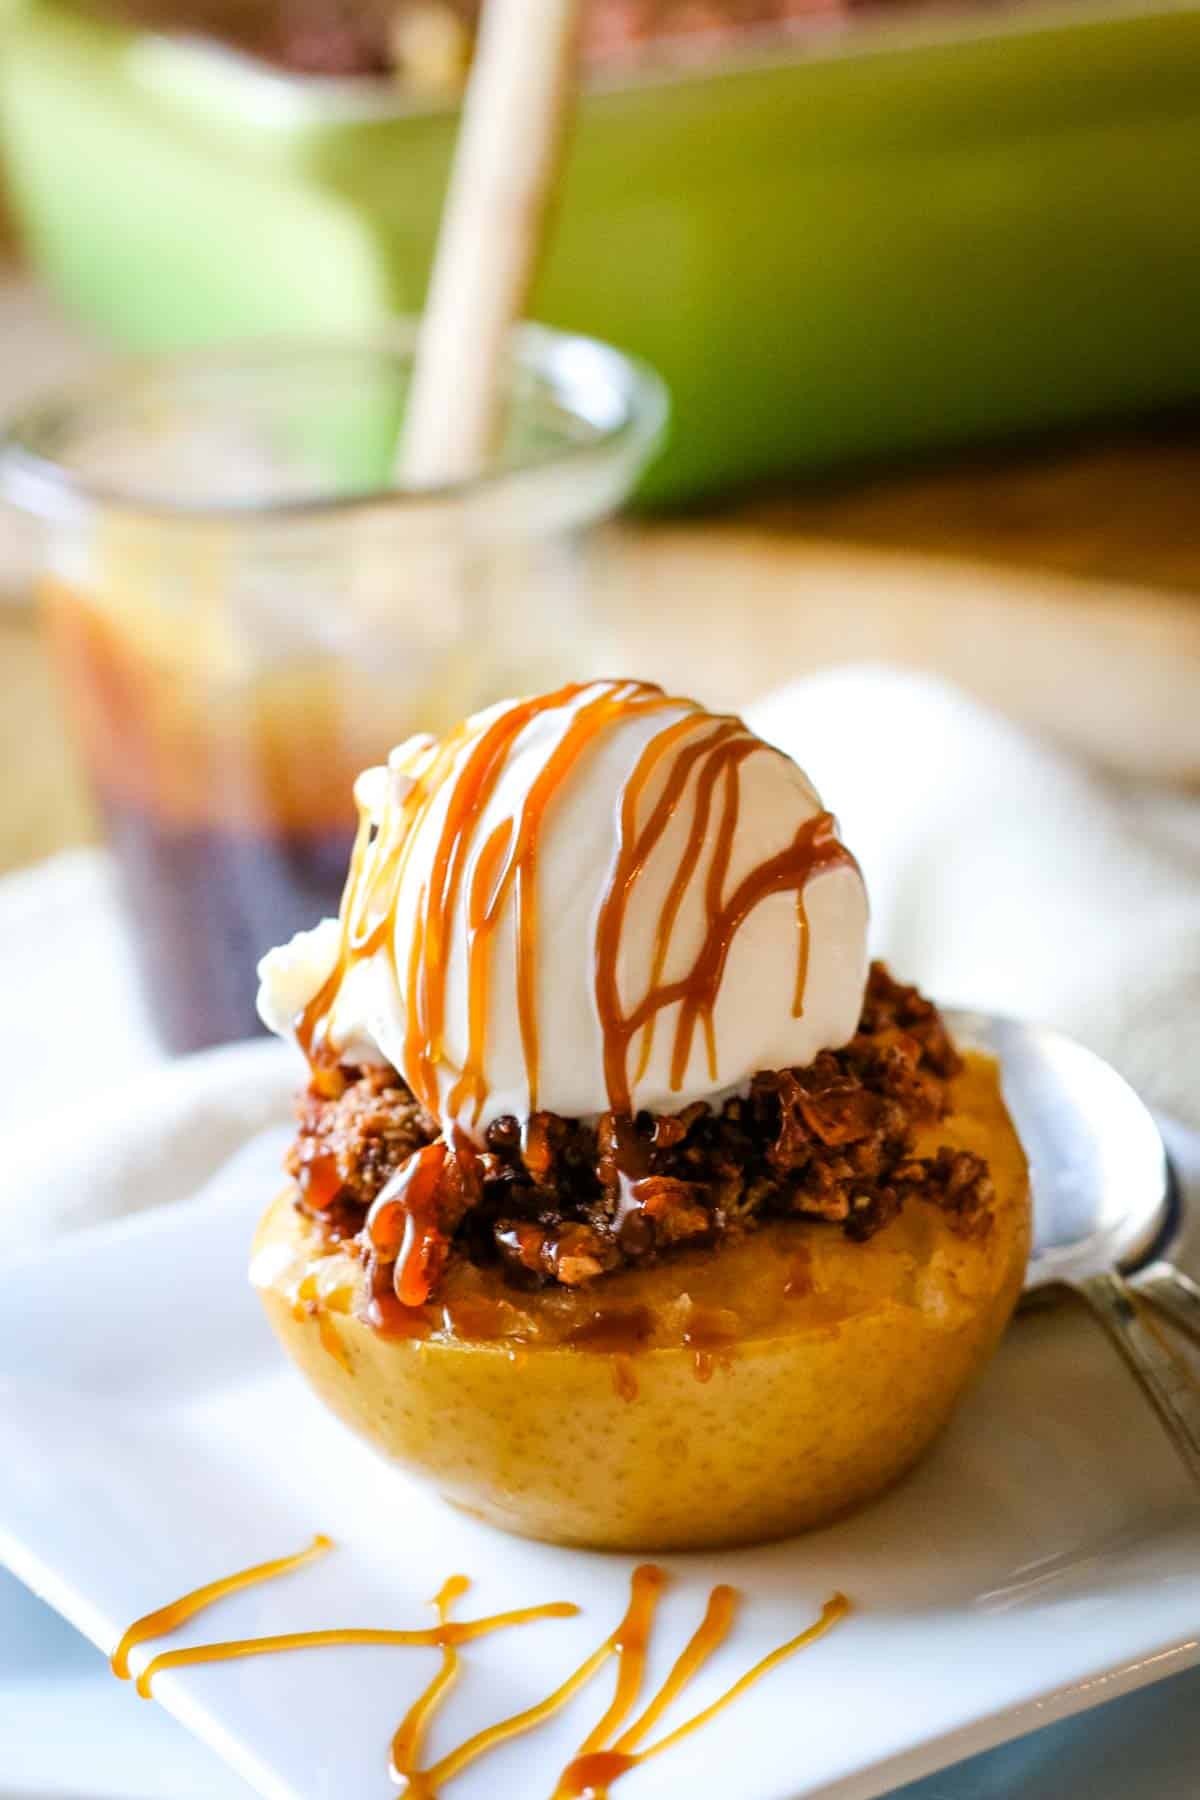
Enjoy warm with a scoop of ice cream and drizzle of caramel.

📖Healthy Apple Crisp Variation
A great substitute to these baked apples is to make a simple apple crisp using the same minimal ingredients.
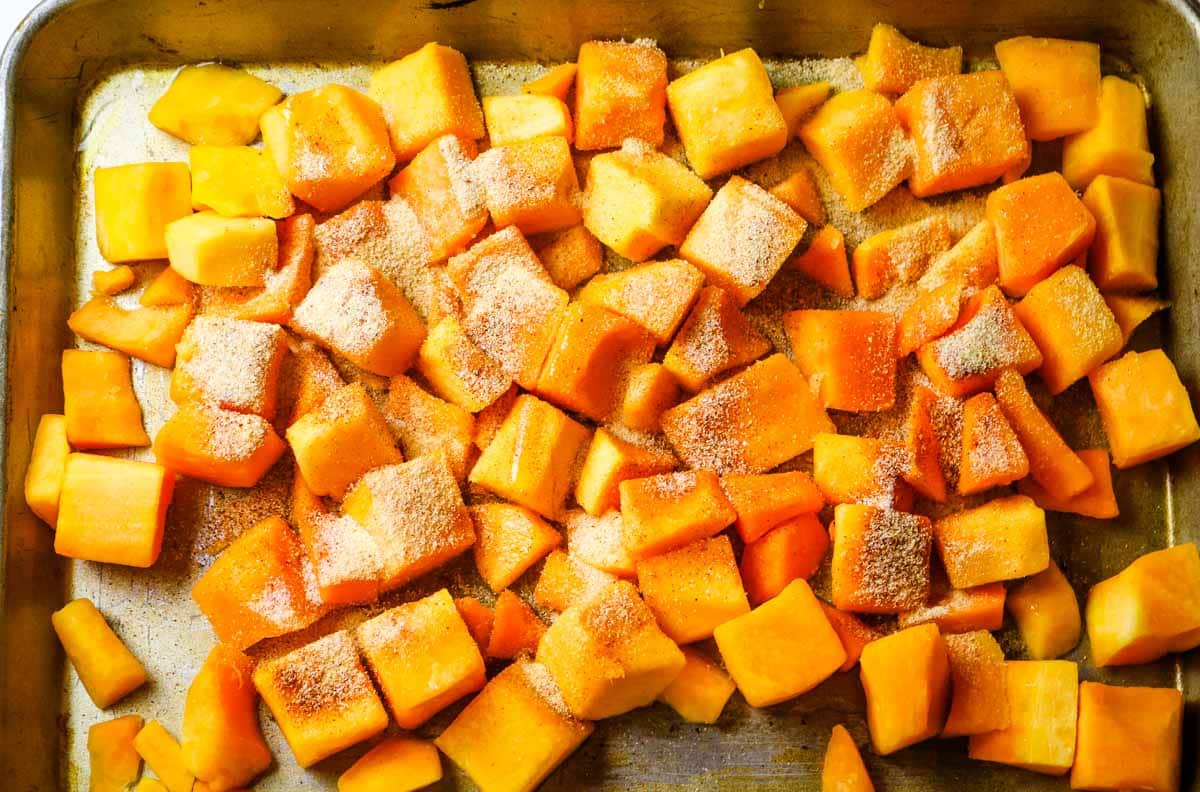
For a delicious paleo apple crisp, instead of using apple halves, slice them into thin wedges and spread them evenly in a baking dish. Cover with the crispy topping and bake to golden perfection.
What you'll have is a delightfully healthy baked apple slices that can be enjoyed much the same way as these stuffed apple halves. But if you're looking for a traditional apple dessert, you will love this gluten-free apple cake.
🔪Helpful Tools & Links
Below are some affiliate links that may be helpful to you as you make this recipe. You can find some of these items cheaper at your local store but it helps to have a link so you know what you're looking for.
- Tools: chef knife, cutting board, mixing bowl, scooper, melon baller, baking dish
- Ingredients: coconut oil, organic pecans, shredded coconut, cinnamon, real salt, raw honey
- Storage Supplies: glass snap containers for storing leftovers
🥗Serving Suggestions
A great way to enjoy this delicious treat is straight out of the oven, top with a scoop of vanilla ice cream and drizzle some homemade caramel over it.
Check out this paleo vanilla ice cream made with coconut milk and cream! It's the perfect gluten-free dessert with subtle sweetness of the apples, crunchy pecans, and oozing and melting vanilla ice cream makes for a lovely way to enjoy the apple season.
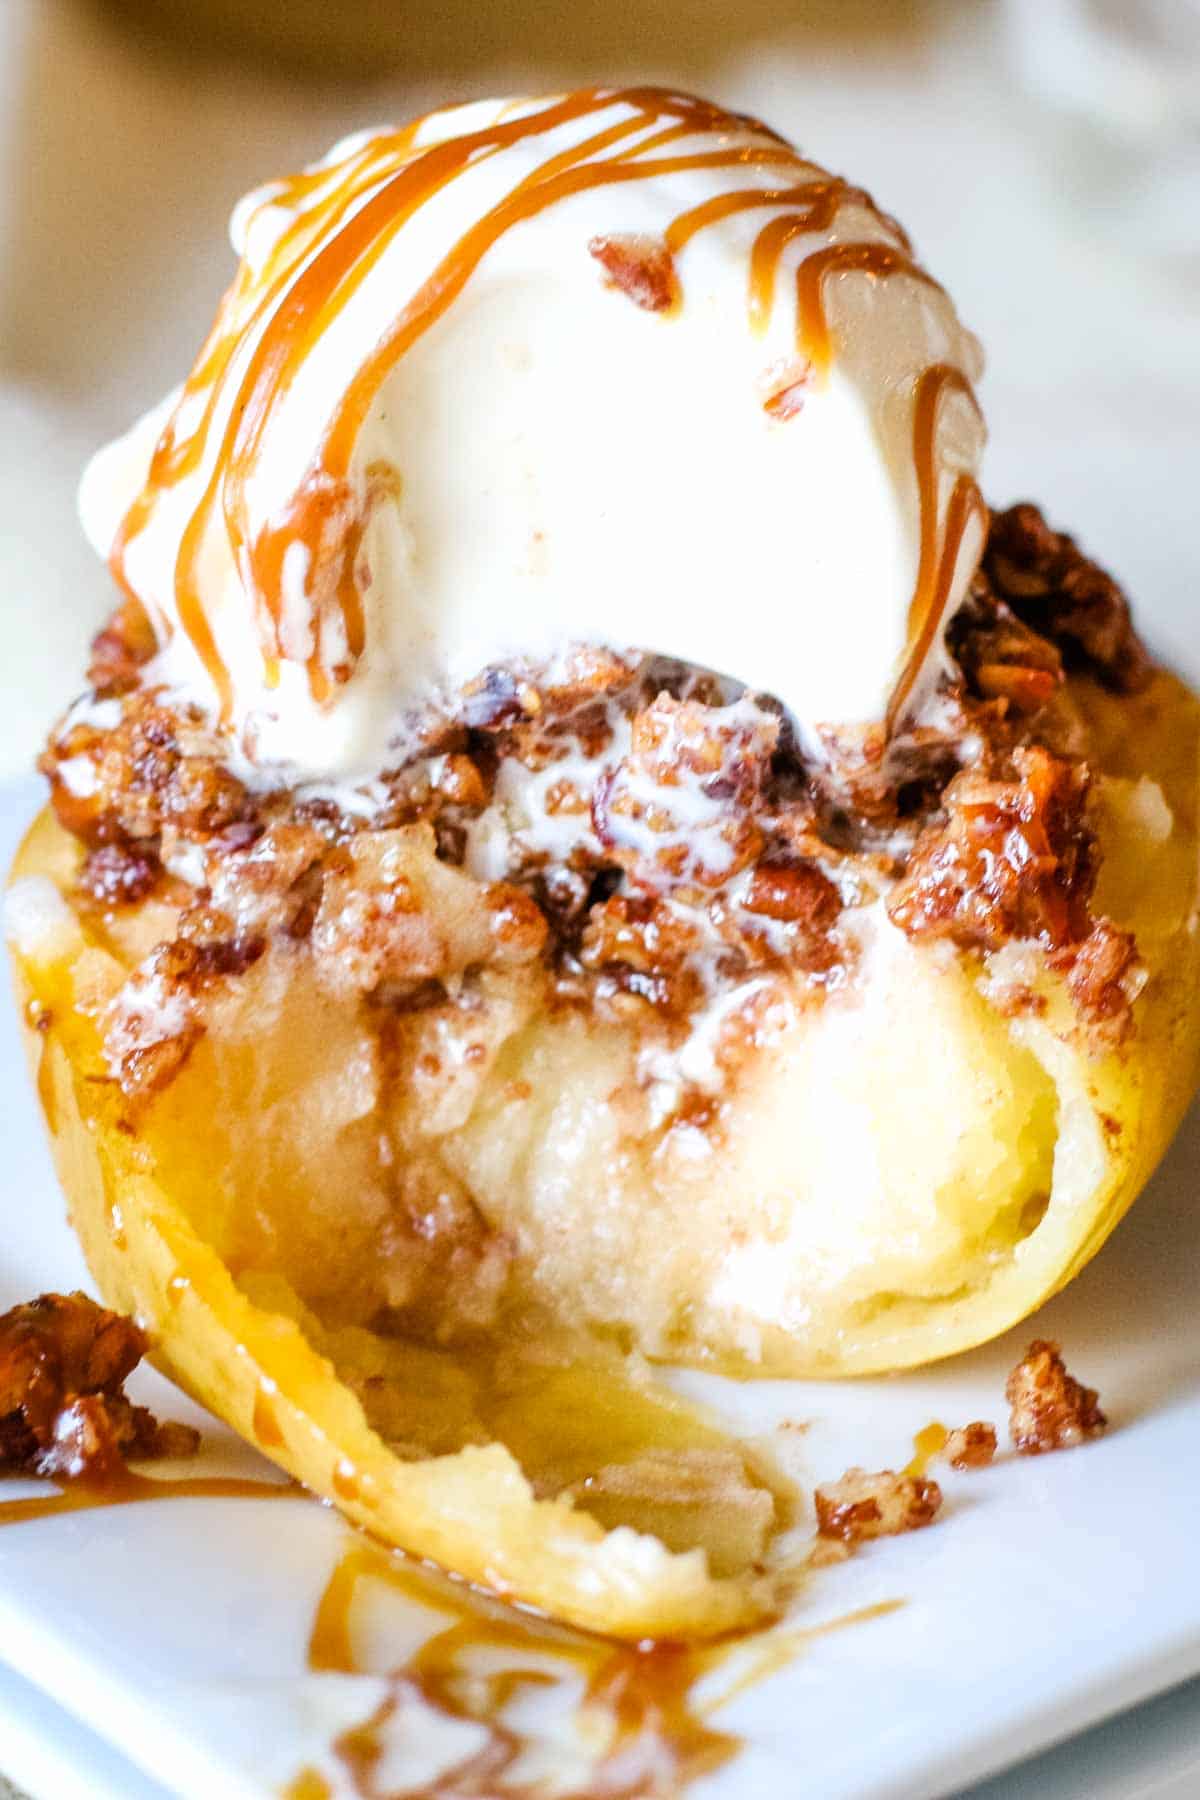
If so desired, you can skip the apple skin when eating. The flesh easily scoops out with the spoon and that perfect mixture of melting ice cream, luscious apple and crunchy crumble is melt-in-your-mouth good!
💬FAQs
The best apples for baking are those that keep their structure and texture intact after spending some time in a blazing oven. In my experience, Granny Smith apples have fared very well in holding up under the heat. They also happen to have that perfect sweet-tart balance and are generally pretty versatile in most apple desserts.
Honeycrisp, Jonagold, Braeburn, Fuji, Pink Lady, and Golden Delicious are all great baking apples.
Looking for more healthy recipes? Here are some ideas:


Did you make this? Please leave a ⭐ recipe rating in the recipe card below and leave a review in the comments. Thank you!💚
Printable Recipe

Healthy Stuffed Baked Apples
Ingredients
- 4 baking apples
For pecan crumble:
- 1 cup chopped pecans
- ½ cup shredded coconut
- ¼ cup honey
- ¼ cup coconut oil or butter melted or at room temperature
- 3 teaspoons cinnamon
- ¼ teaspoon sea salt
Instructions
- Preheat oven to 350 degrees Fahrenheit. Grease a large casserole dish with butter and set aside. Cut the apples in half and remove the core with a melon baller or sharp paring knife. Spread the apples on the baking sheet the cut side up.
- In a medium bowl, combine coarsely chopped pecans, shredded coconut, honey, coconut oil or butter, cinnamon, and sea salt. Toss to combine well.
- Spoon 3 tablespoons of pecan crumble on the cut side of the apple halves.
- Bake for 30 minutes or until apples are tender.

- Serve apples warm. If desired, top with vanilla ice cream and drizzle with caramel.

Notes
- Bake apples of similar size for even cooking.
- To stabilize apples, slice the bottom of the apple half.
- For substitutions: Use any healthy sweetener such as raw honey, maple syrup, coconut sugar, or sucanat. To make this nut free, use a combination of sunflower seeds and pumpkin seeds.
- For variations: Use apple halves or whole apples. If baking whole apples, remove core and stuff with pecan crumble and top the apple with remaining crumble. Bake for up to 45 minutes or until fork tender. To make easy apple crisp, cut apples into small wedges and top with pecan crumble. Bake until apples are tender.
- Store leftover baked apples in an airtight container in the refrigerator for up to 4 days.
Nutrition
This post was originally published November 2018 but has since been updated to include helpful information.