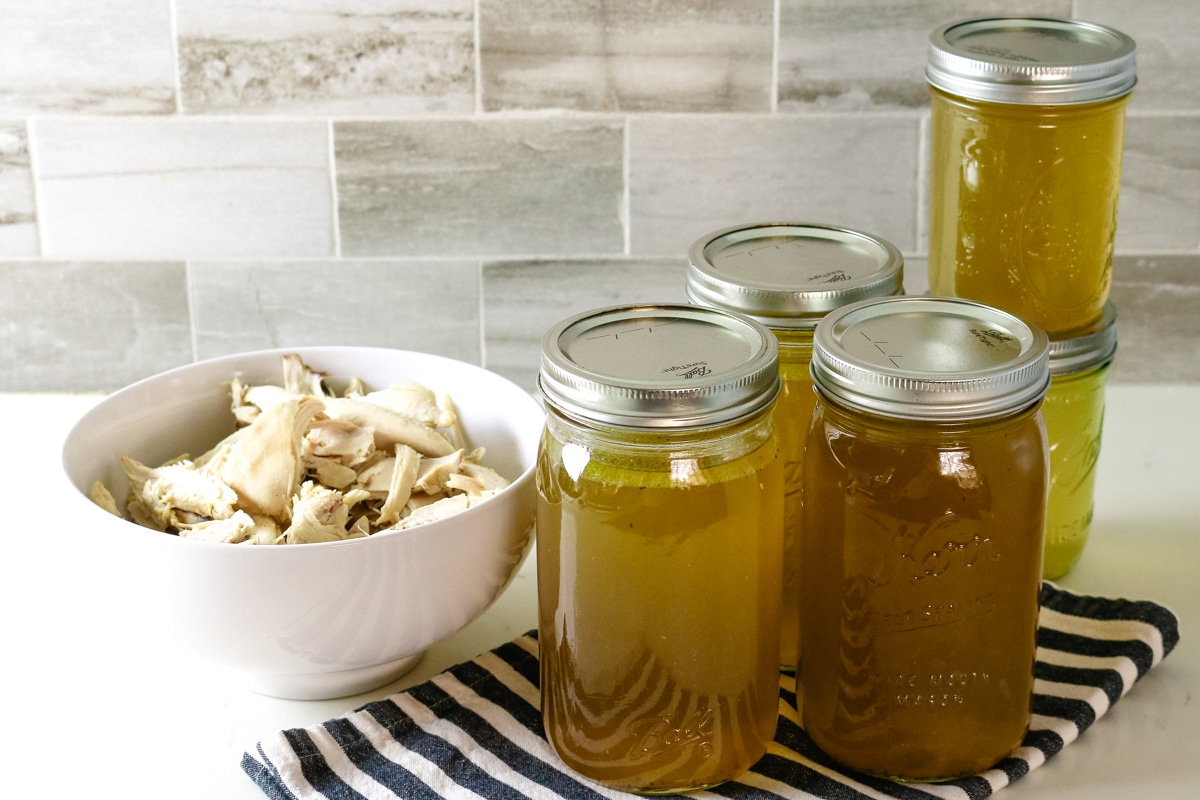
Learn how to make chicken broth from whole chicken using the Instant Pot or the stovetop. This whole chicken broth will give you lots of broth and tender chicken meat to incorporate into other recipes like soups, tacos, and more.

Looking for more broth and stock recipes?[feast_advanced_jump_to]
Check out fish fumet, beef bone broth, and chicken feet bone broth.
Recipe Overview
- Prep and Cook Time: 5 minutes to prep and 45 minutes to cook
- Cooking Method: Instant Pot
- Dietary Info: Keto, Whole30, Paleo, GAPS, Ancestral diet
- Tools Needed: Instant Pot or large stockpot, fine-mesh strainer, jars for storage
- Skill Level: Medium
What is an ancestral diet? Read my post on what nourishing foods are based on the traditional dietary principles of the Weston A. Price Foundation.
Reasons to Love this Whole Chicken Broth
I always keep a batch of this chicken broth in the fridge - it’s such a lifesaver! Not only do you get flavorful, nutrient-packed broth for soups and sauces, but you also have tender chicken meat that’s perfect for salads or tacos. (Tip: I like to brown it in some butter for those nice crispy, golden brown edges).
You know I'm all about mixing things up: I love a good chicken feet broth for extra nutrients but when life is super busy, I'm also good with a 40-minute meat stock. This chicken meat stock is flavorful, versatile, and easy to make. One batch usually makes enough for 4-6 meals, so it’s a great way to keep dinner simple and delicious without the hassle.

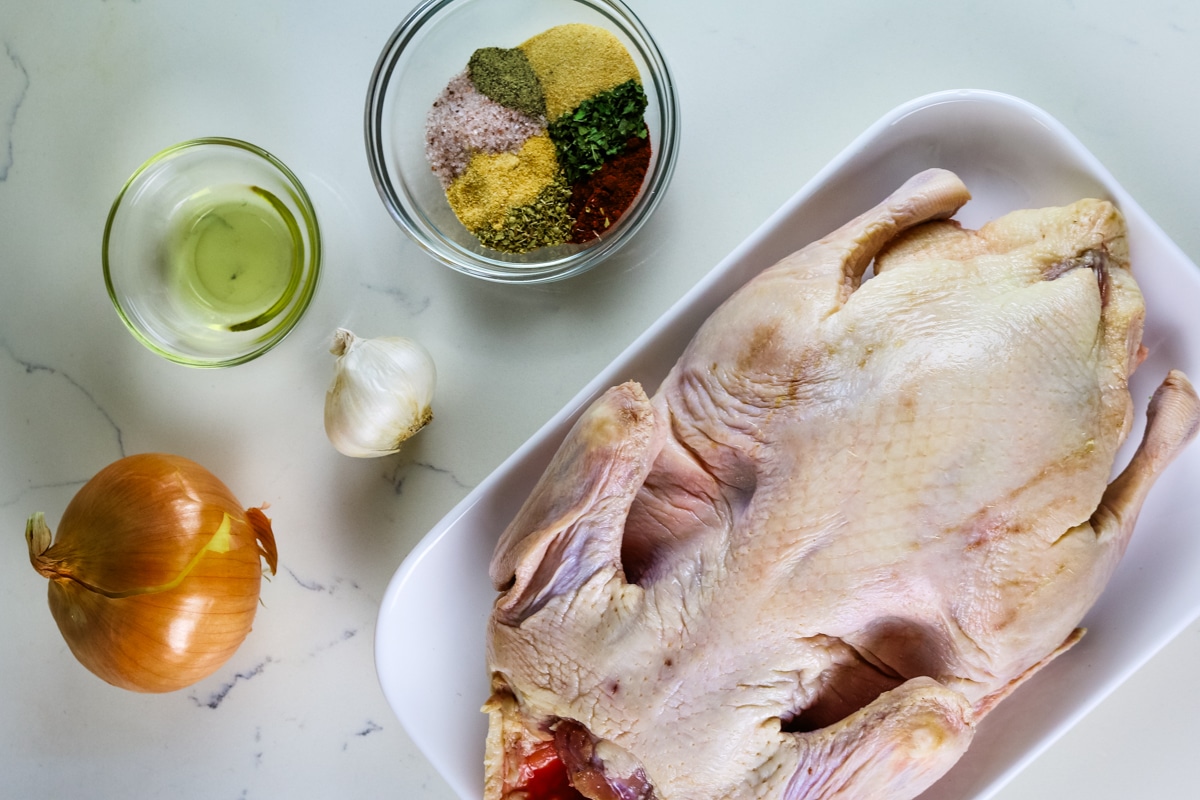
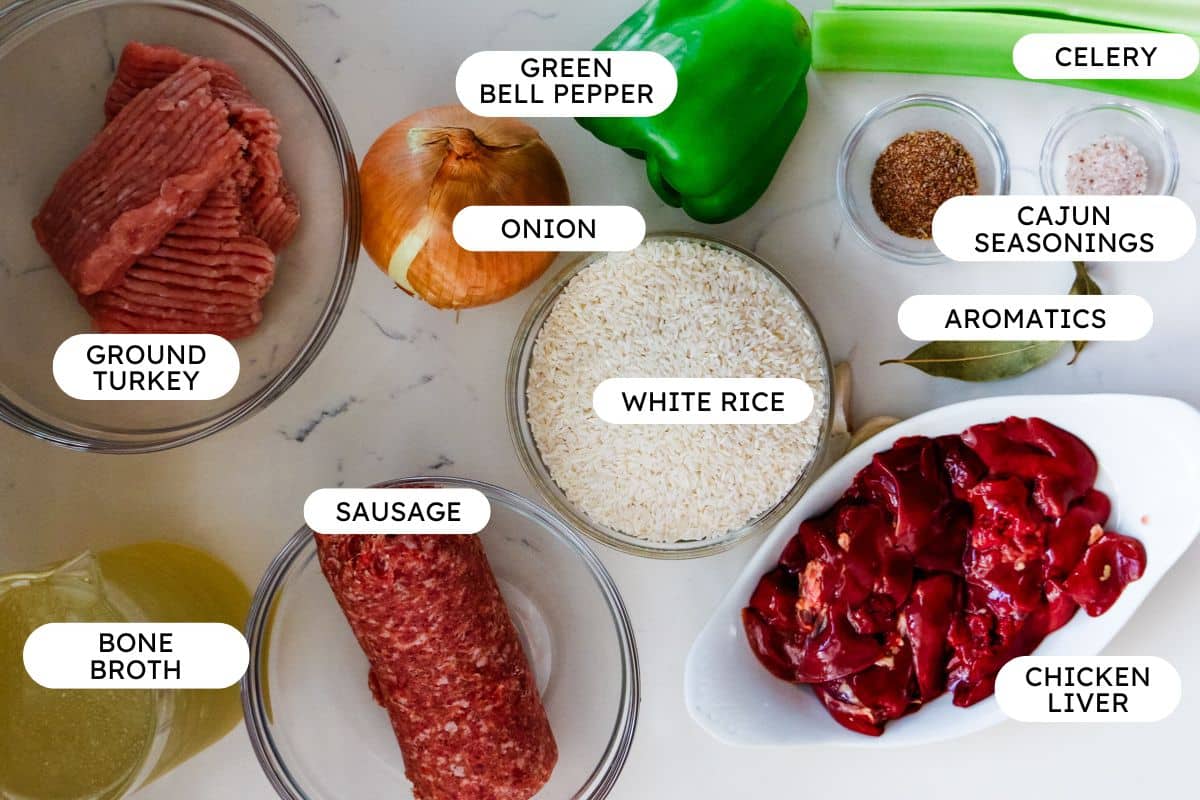
Ingredients for Whole Chicken Broth
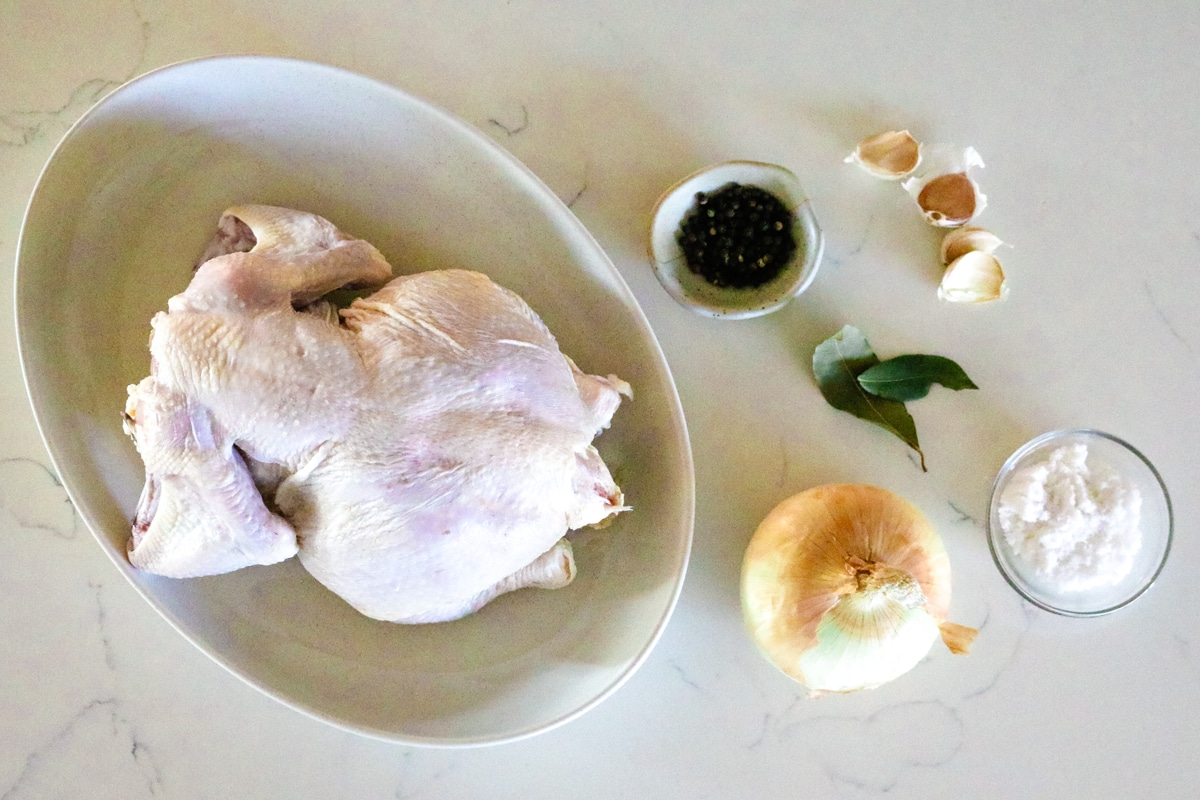
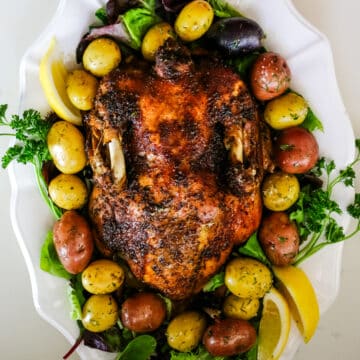
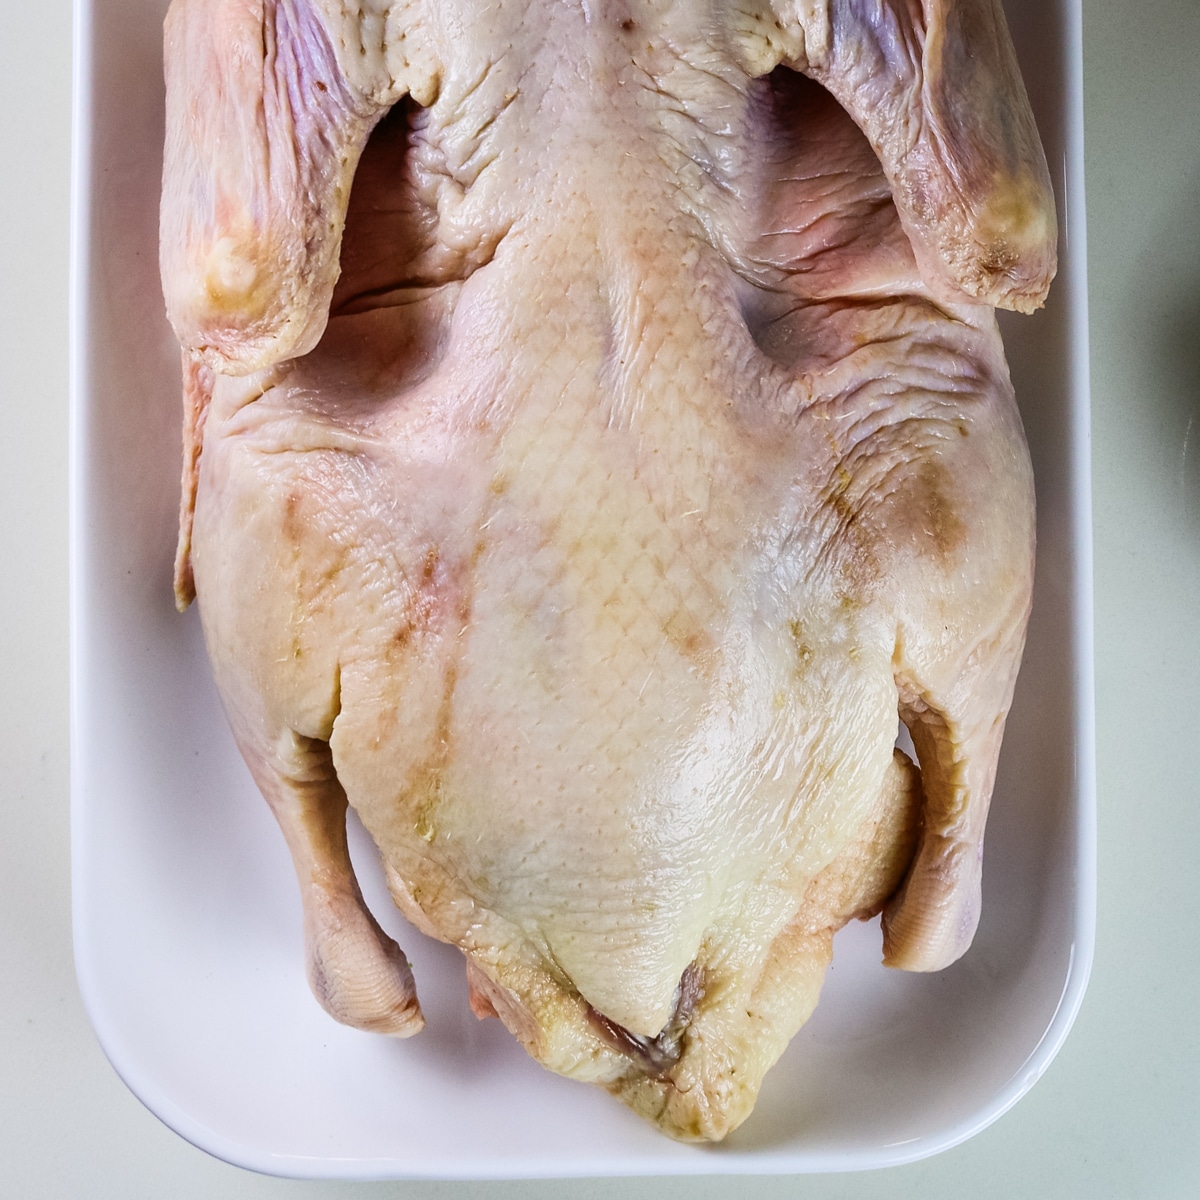
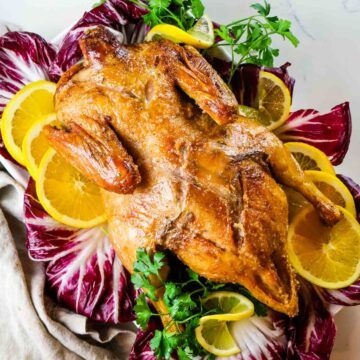
- Whole chicken: Also known as fryer chicken, choose one that is approximately 4-5 pounds for a good balance of meat and bones. You can also use a stewing hen (older laying hen) for a richer broth. Keep the skin on for flavor and healthy fats. But make sure you remove any giblets from the inside of the chicken (save those for other recipes) and pat it dry so it doesn't have any of the liquid in the packaging.
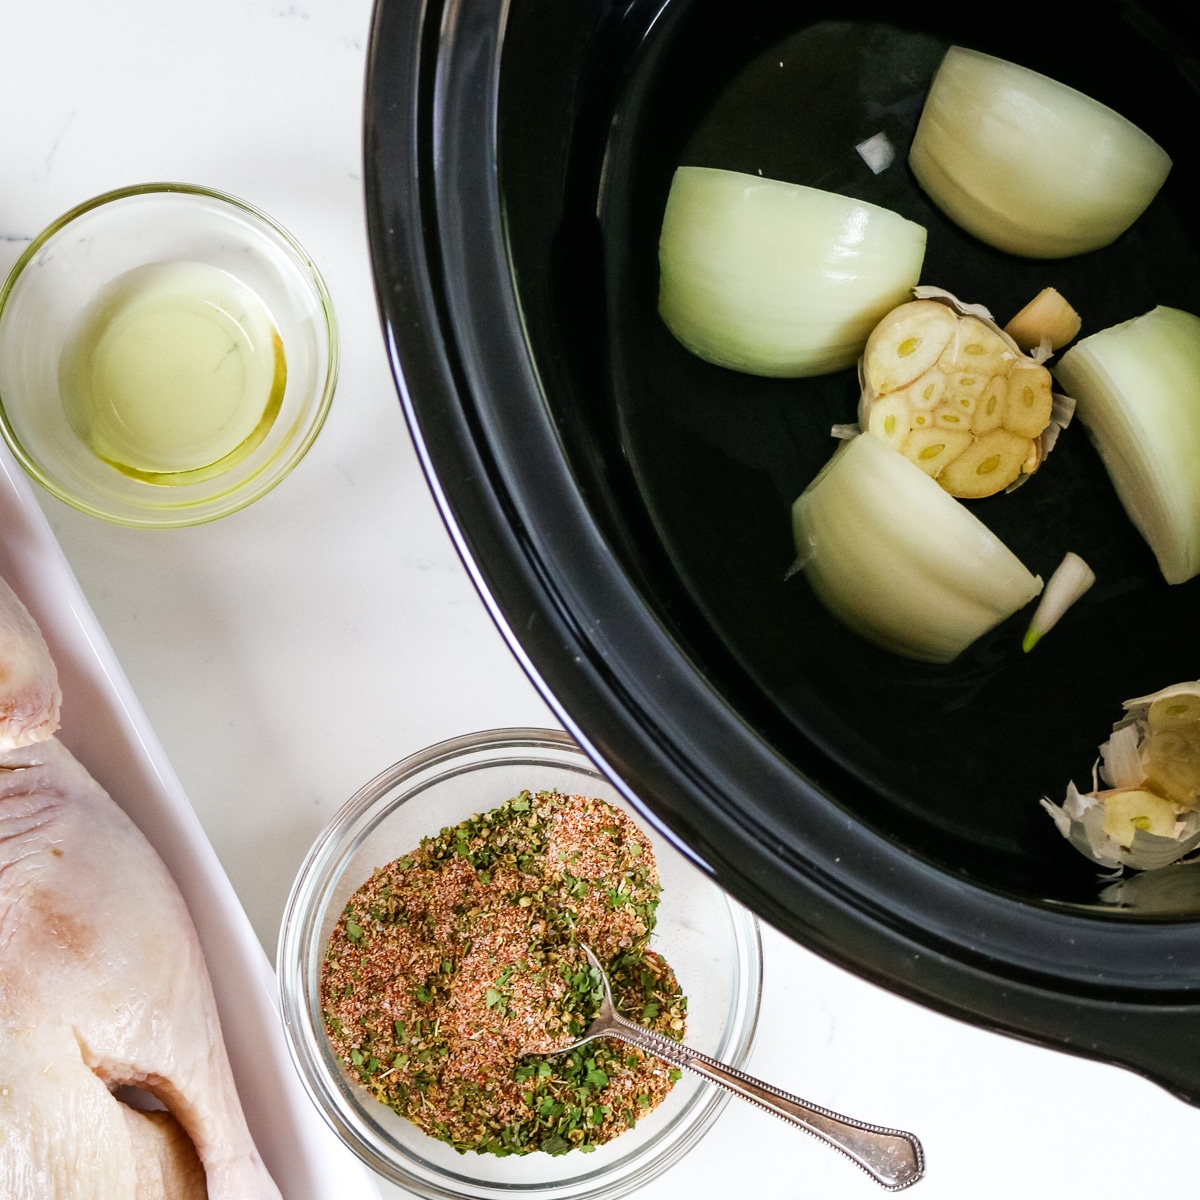
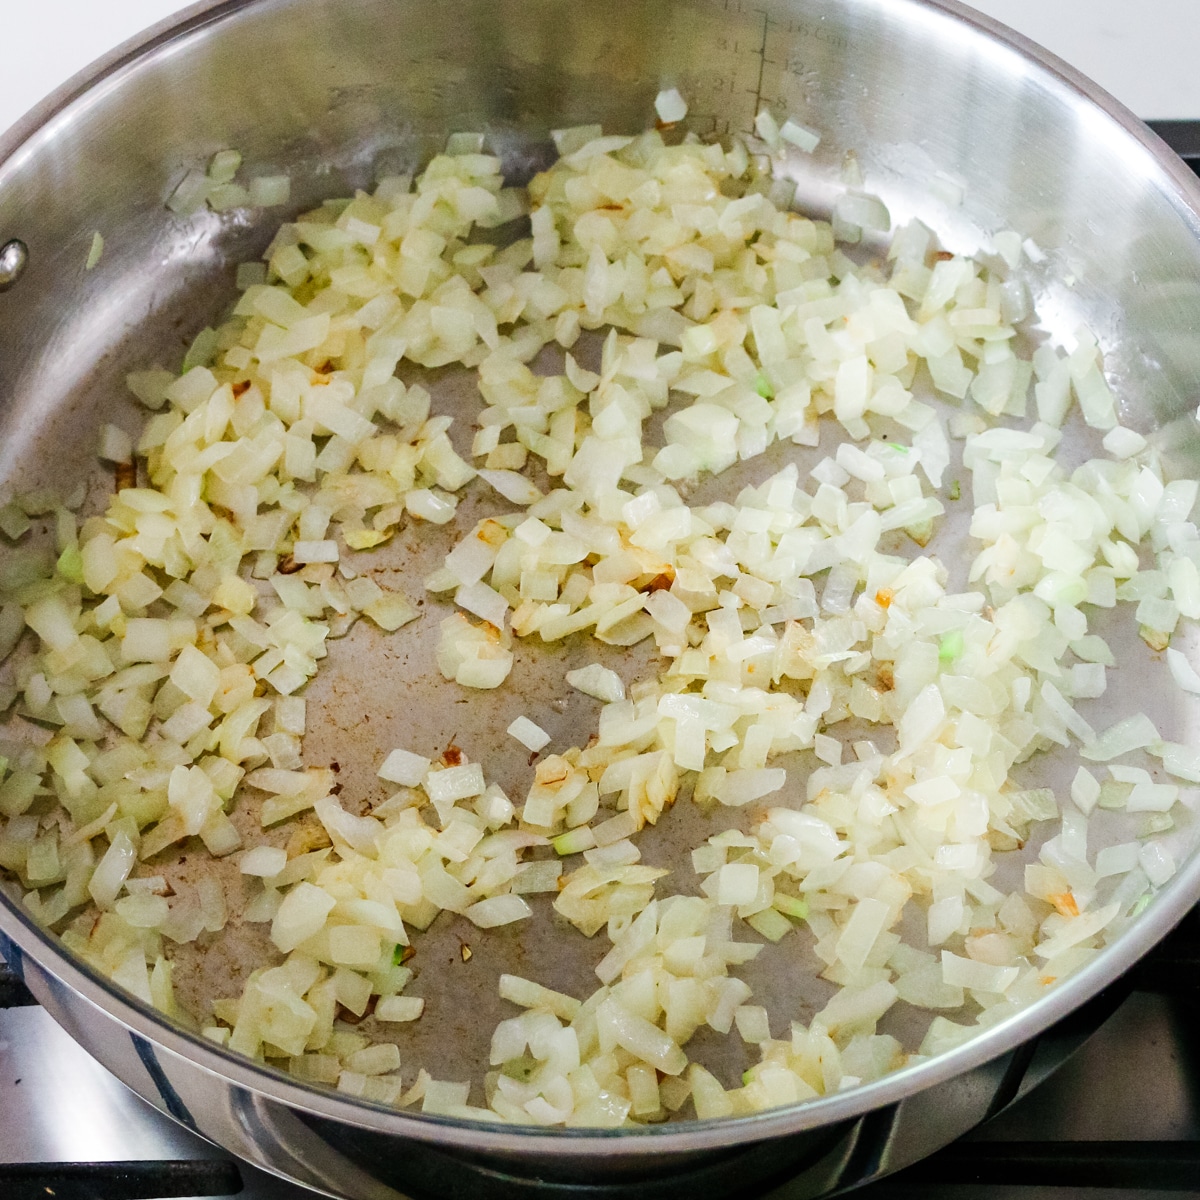
- Onion & garlic: No need to chop - just halve the onion and use whole unpeeled garlic cloves. The skin adds nutrients, color, and flavor. I like to use white or yellow onion in whole chicken broth but try to avoid red onion so the broth stays a nice golden brown color.
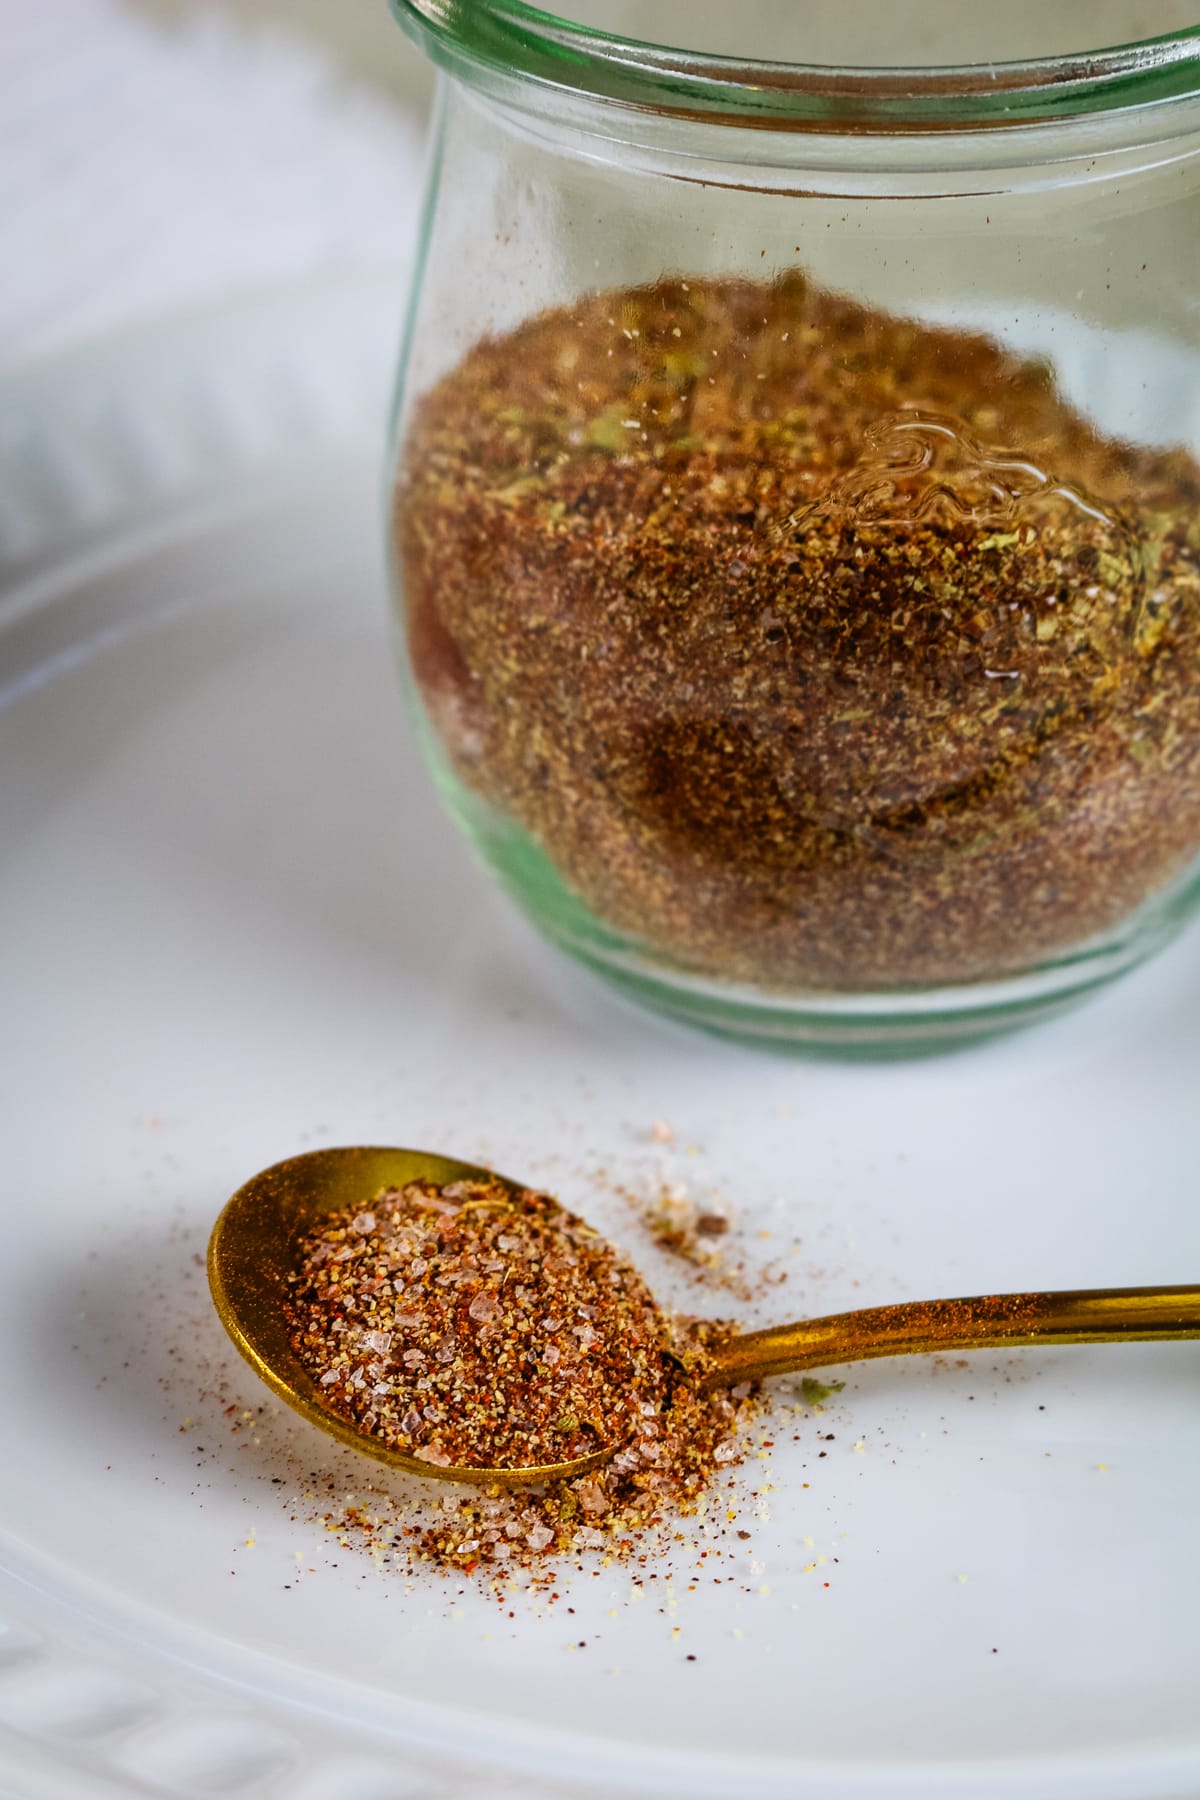
- Seasonings: Stick to classic broth seasonings like bay leaves, black peppercorns, and sea salt. Whole peppercorns work better than ground pepper as they infuse the flavor without making it cloudy. Avoid adding strong herbs like thyme or rosemary too early, as the prolonged cooking can make them overpowering. Instead, I like to add these to individual recipes when using broth.
Substitutions and Variations
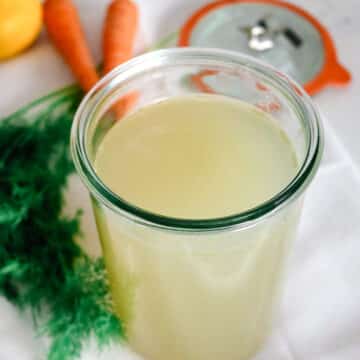
- Other add-ins - Add root vegetables like carrots and parsnips to the broth or celery and leeks. It will give it a natural sweetness. You can also throw in a few knobs of fresh ginger if you plant o use the broth in Asian-inspired dishes. Remember, whatever you add to the broth will also influence the flavor of the chicken meat.
- Stovetop - Bring the ingredients to a boil, then reduce heat to low and let it simmer for 3-4 hours. Be sure to occasionally skim off any foam or impurities that rise to the surface. Check the broth regularly and add more water as needed. Avoid vigorously boiling the broth.

Make it Ancestral
Boost the nutrition of your broth by using a pastured whole chicken (from your local farmer's market or Wild Pastures) and adding a splash of apple cider vinegar to extract minerals. For extra gelatin, toss in chicken feet or a head (yep, a head!) — these traditional additions make the broth richer and more gelatinous. And don’t waste the fat! Skim the top layer once cooled to make schmaltz, just like beef tallow, for use as a healthy cooking fat in other recipes. It never ceases to amaze me how one chicken can be used in so many ways!
How to Make Chicken Broth from Whole Chicken
The complete printable recipe is below in the recipe card for your convenience. Follow these simple step-by-step instructions for the best results.

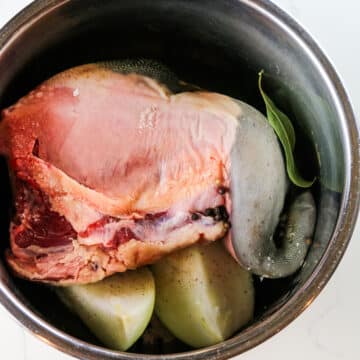
Step 1. Add
Place the chicken, onions, garlic, bay leaves, and salt and pepper into the inner pot of your pressure cooker.

Step 2. Fill
Pour enough water to reach the "max" line. Close the lid, set the valve to the sealing position, and cook on the "Manual" setting for 45 minutes.

Step 3. Release
Once the cooking time is complete, allow the Instant Pot to naturally release pressure for about 30 minutes, then do a quick pressure release for the remaining pressure. Watch the safety valve carefully so the steam doesn't escape over your cabinets.

Step 4. Separate
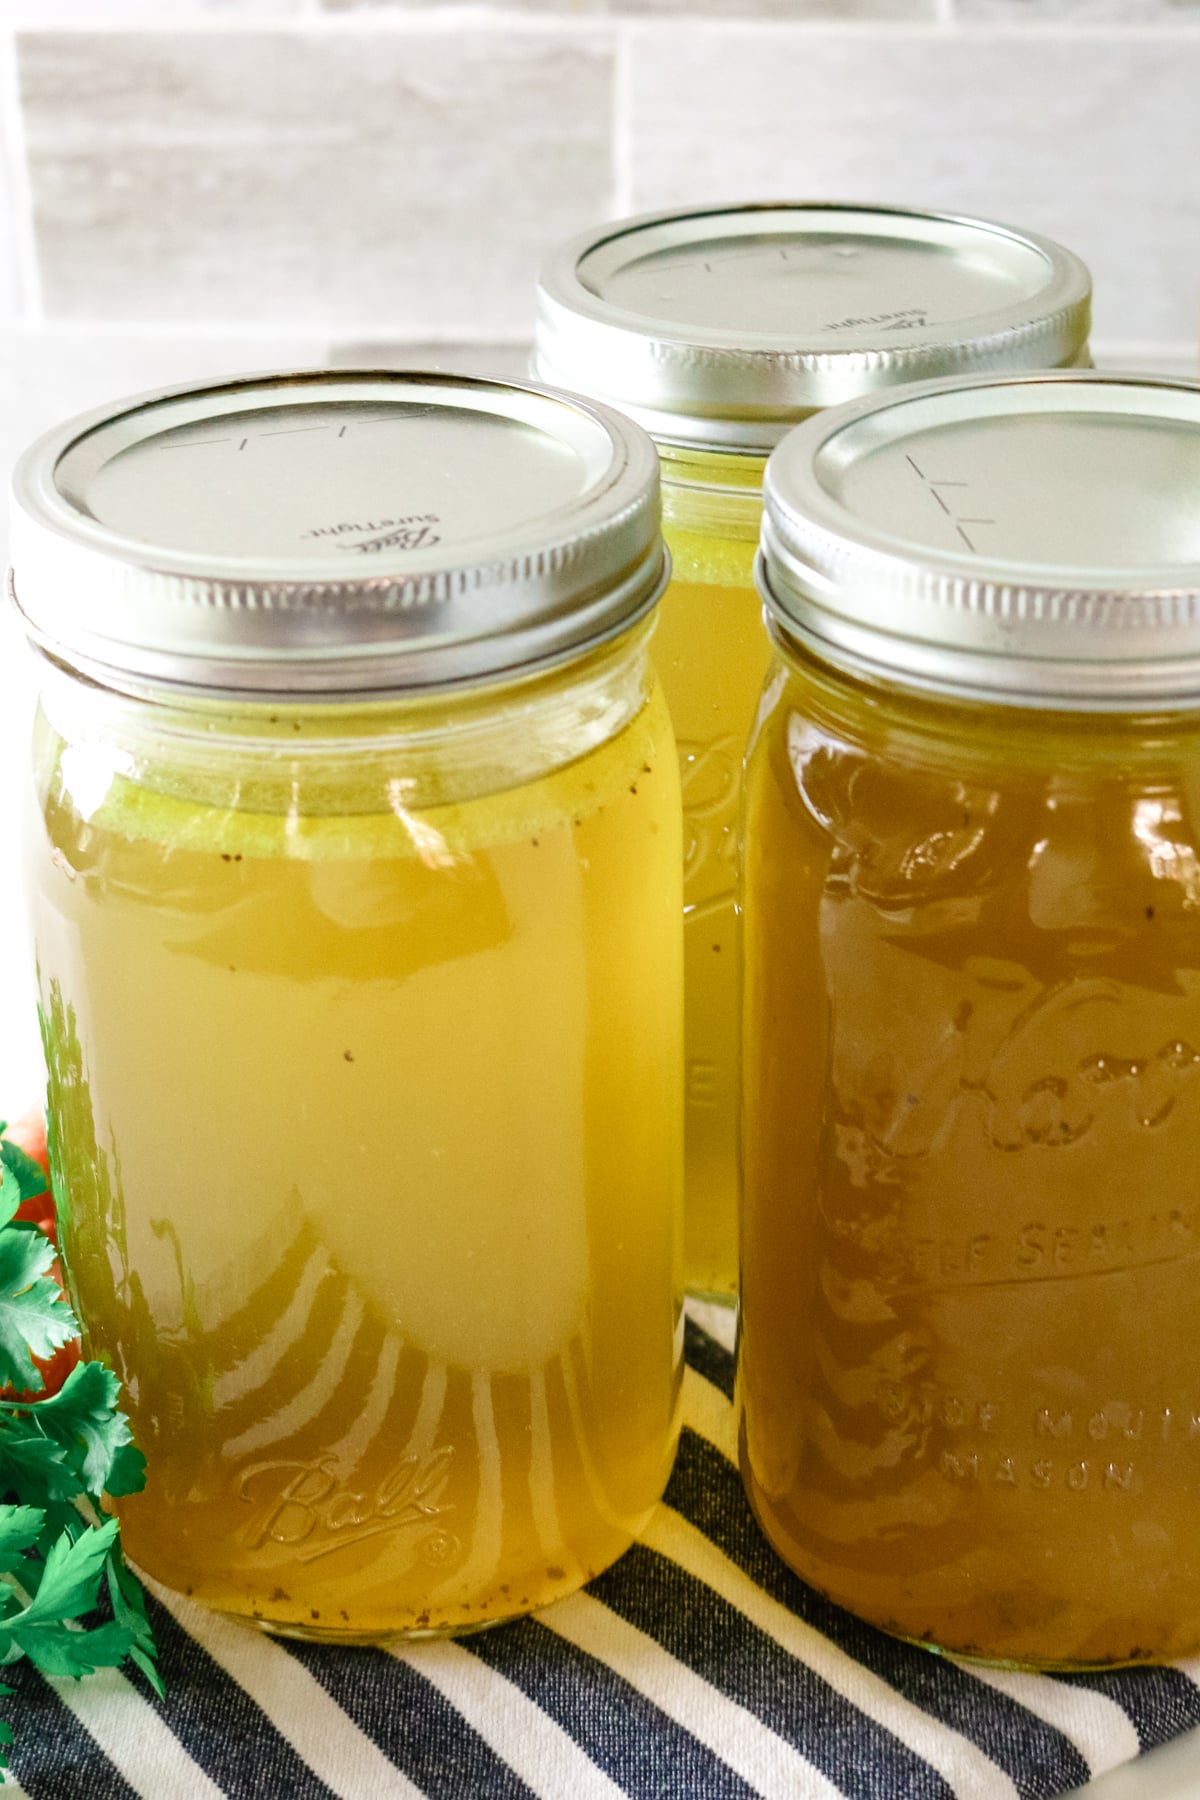
Remove the chicken from the broth and set aside to cool slightly. Strain the broth into jars. Discard vegetables and seasonings. Once the chicken is cool enough to handle, strip the meat off the bones and set the meat aside for other recipes.
Helpful Tips
- Use a strainer to catch all broth - Place the chicken in a strainer over a bowl to catch any leftover broth. Set it aside while you strain the broth in the pot. You'll be surprised how much broth will be drip from the chicken.
- Remove chicken meat while warm - It’s easiest to remove the chicken meat while it’s still warm. The meat comes off the bones much more easily, and you can use it right away for soups, salads, or sandwiches. Once it’s chilled, the meat tends to stick to the bones and becomes harder to remove.
- Save the skin - Gently peel off the skin, trying to keep it intact as much as possible. It makes excellent crispy chicken skin chips or what I like to call, chicken bacon by crispying it up in the air fryer.
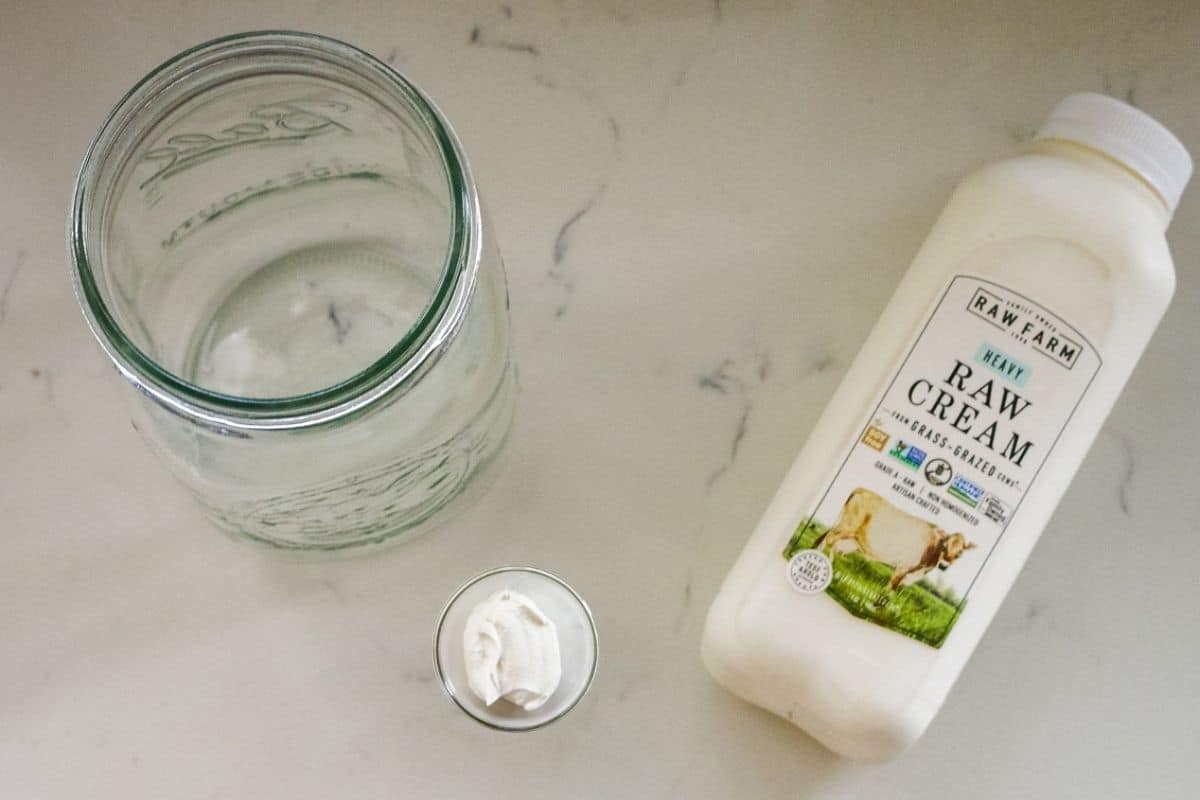
- Refrigerate to separate fat - If you prefer to remove excess fat, refrigerate the cooled broth. The fat will solidify on the surface, making it easy to scoop it out, similarly to beef tallow from bone broth. This chicken fat is called schmalz and can be used as a healthy cooking fat.
Troubleshooting
- Instant Pot not coming to pressure? Make sure the silicone ring is firmly tucked inside the rim of the lid and that the lid is properly sealed. Turn the vent to "sealing" position. Check that the food isn't blocking the vent and don't overfill the pot (only fill up to max line). The most common reason the Instant Pot doesn't come to pressure is that the sealing ring is out of place or food has gotten caught in it.
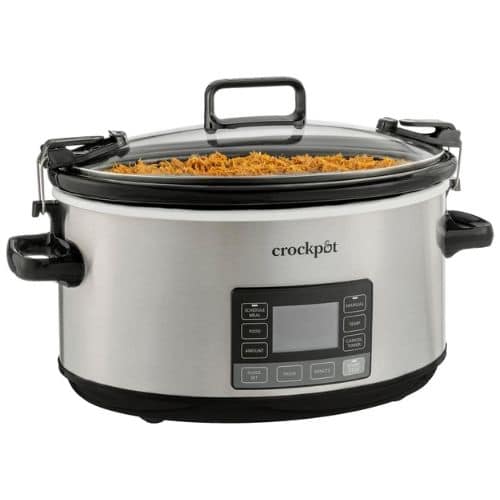
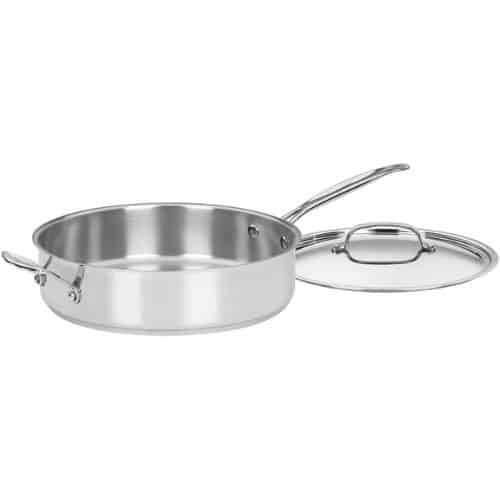
Essential Tools
Here's what you'll need to to make chicken broth from a whole chicken. The supplies and equipment is similar to any other broth so it's likely you have all these on hand, but here are my favorites:
- Instant Pot: It speeds up the cooking process while extracting rich flavors from the chicken and bones. A 6-quart size is sufficient to give you lots of chicken meat and close to a gallon of chicken broth.
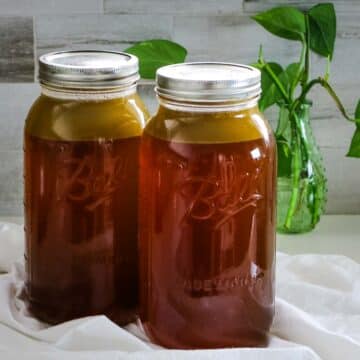
- Wide-mouth jars: I usually use my quart wide-mouth mason jars or half-gallon mason jars (depending on how much I have) to store the broth.
- Fine-Mesh Sieve: Helps strain out bones, vegetables, and impurities, ensuring a smooth, clear broth free of unwanted bits.
- Large Stockpot: Use heavy duty stainless steel pot. Necessary for the stovetop method, providing ample space for the chicken, water, and aromatics to simmer properly.
💭Meal Prep Suggestion!
This chicken broth recipe is perfect for meal prep because it provides both a nourishing broth and tender, flavorful meat that can be used in multiple meals throughout the week. Use the broth as a base for soups, stews, or cooking grains like bone broth rice and quinoa. The shredded chicken can be portioned and added to salads, wraps, sandwiches, or quick stir-fries, making meal planning effortless. Freeze extra broth in ice cube trays for convenient single-use portions, so you'll always have a homemade, nutrient-rich option on hand.

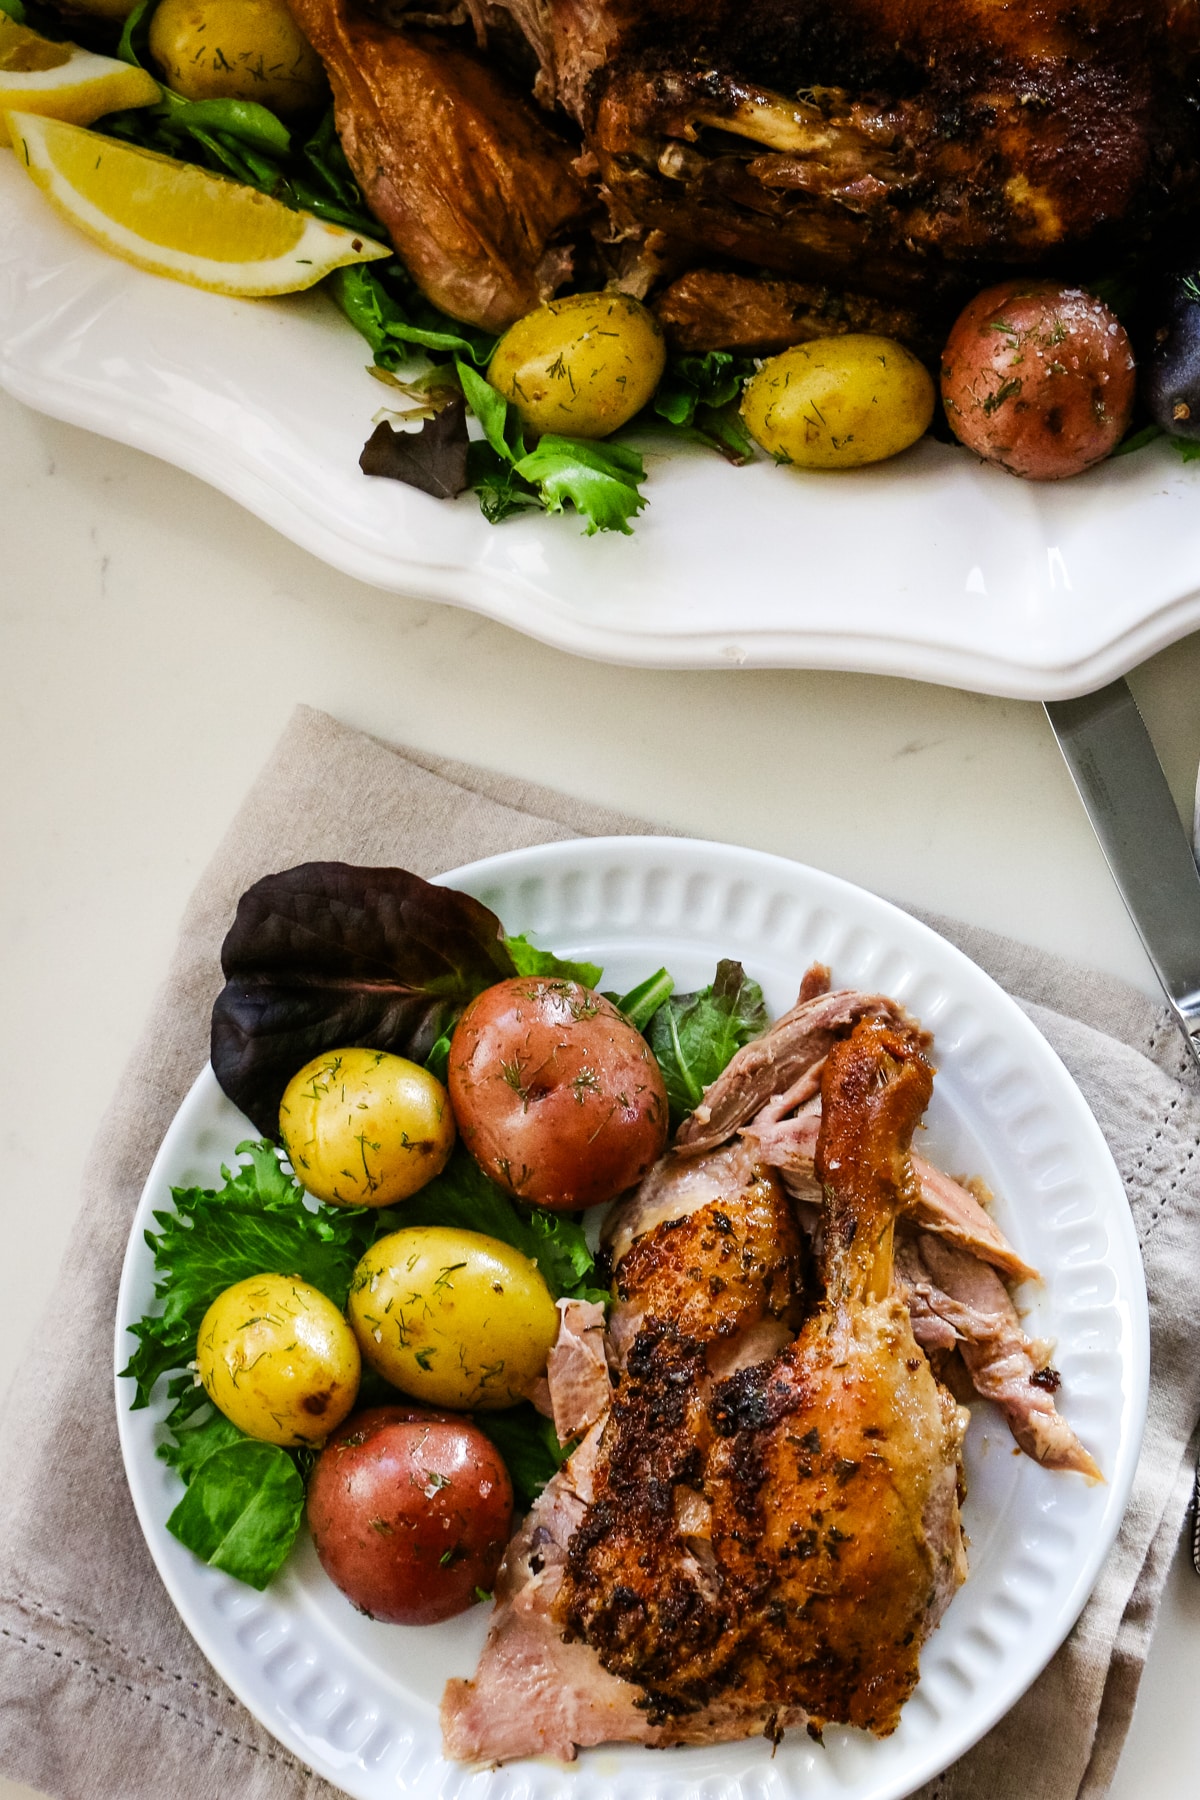
What to Make With Whole Chicken Broth
I love using both the broth and meat in various recipes, making it a versatile and efficient way to prep meals. I often make a big batch at the start of the week and use it for several meals throughout the week.
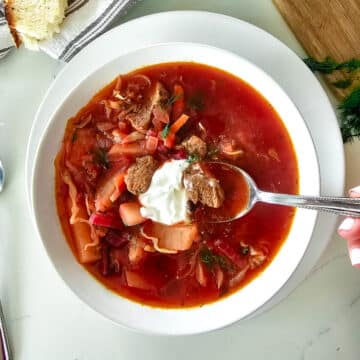
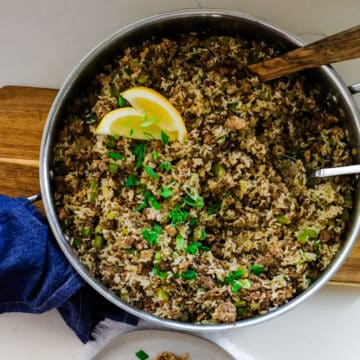
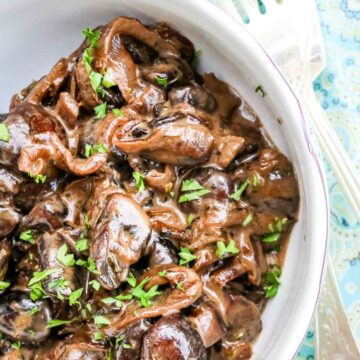
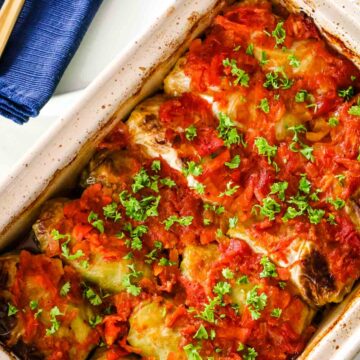
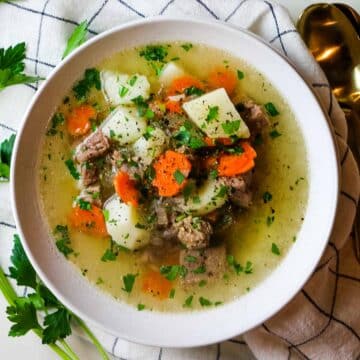
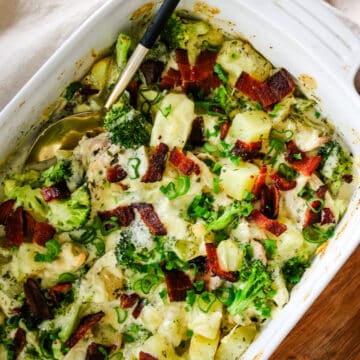
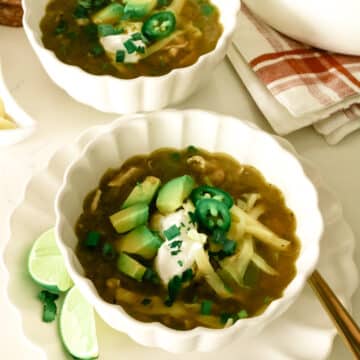
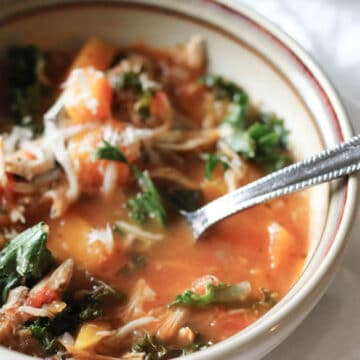
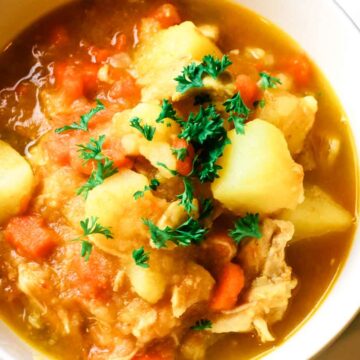
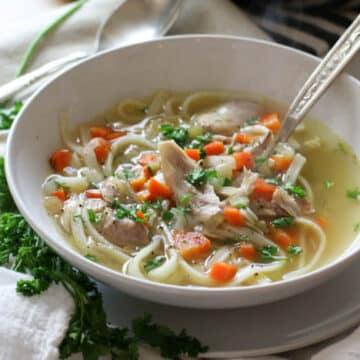
Broth: Use the broth as the foundation for any soup recipe that calls for chicken or other poultry. I like to reserve beef bone broth for more robust soup recipes but whole chicken broth is excellent for pumpkin turkey chili, porcupine soup, and Instant Pot chicken wild rice soup. You can also use this as the base for sopa de lima, a tasty Mexican chicken lime soup.
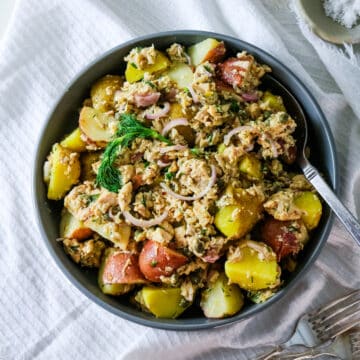
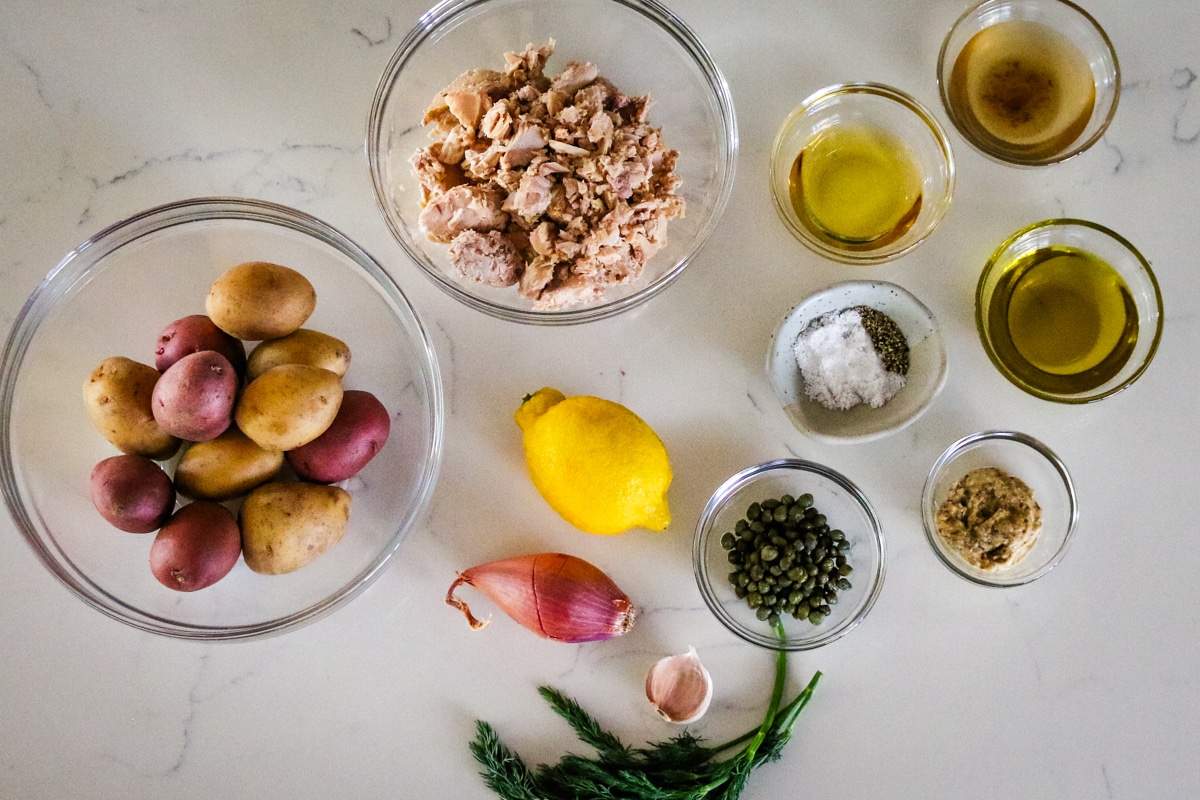
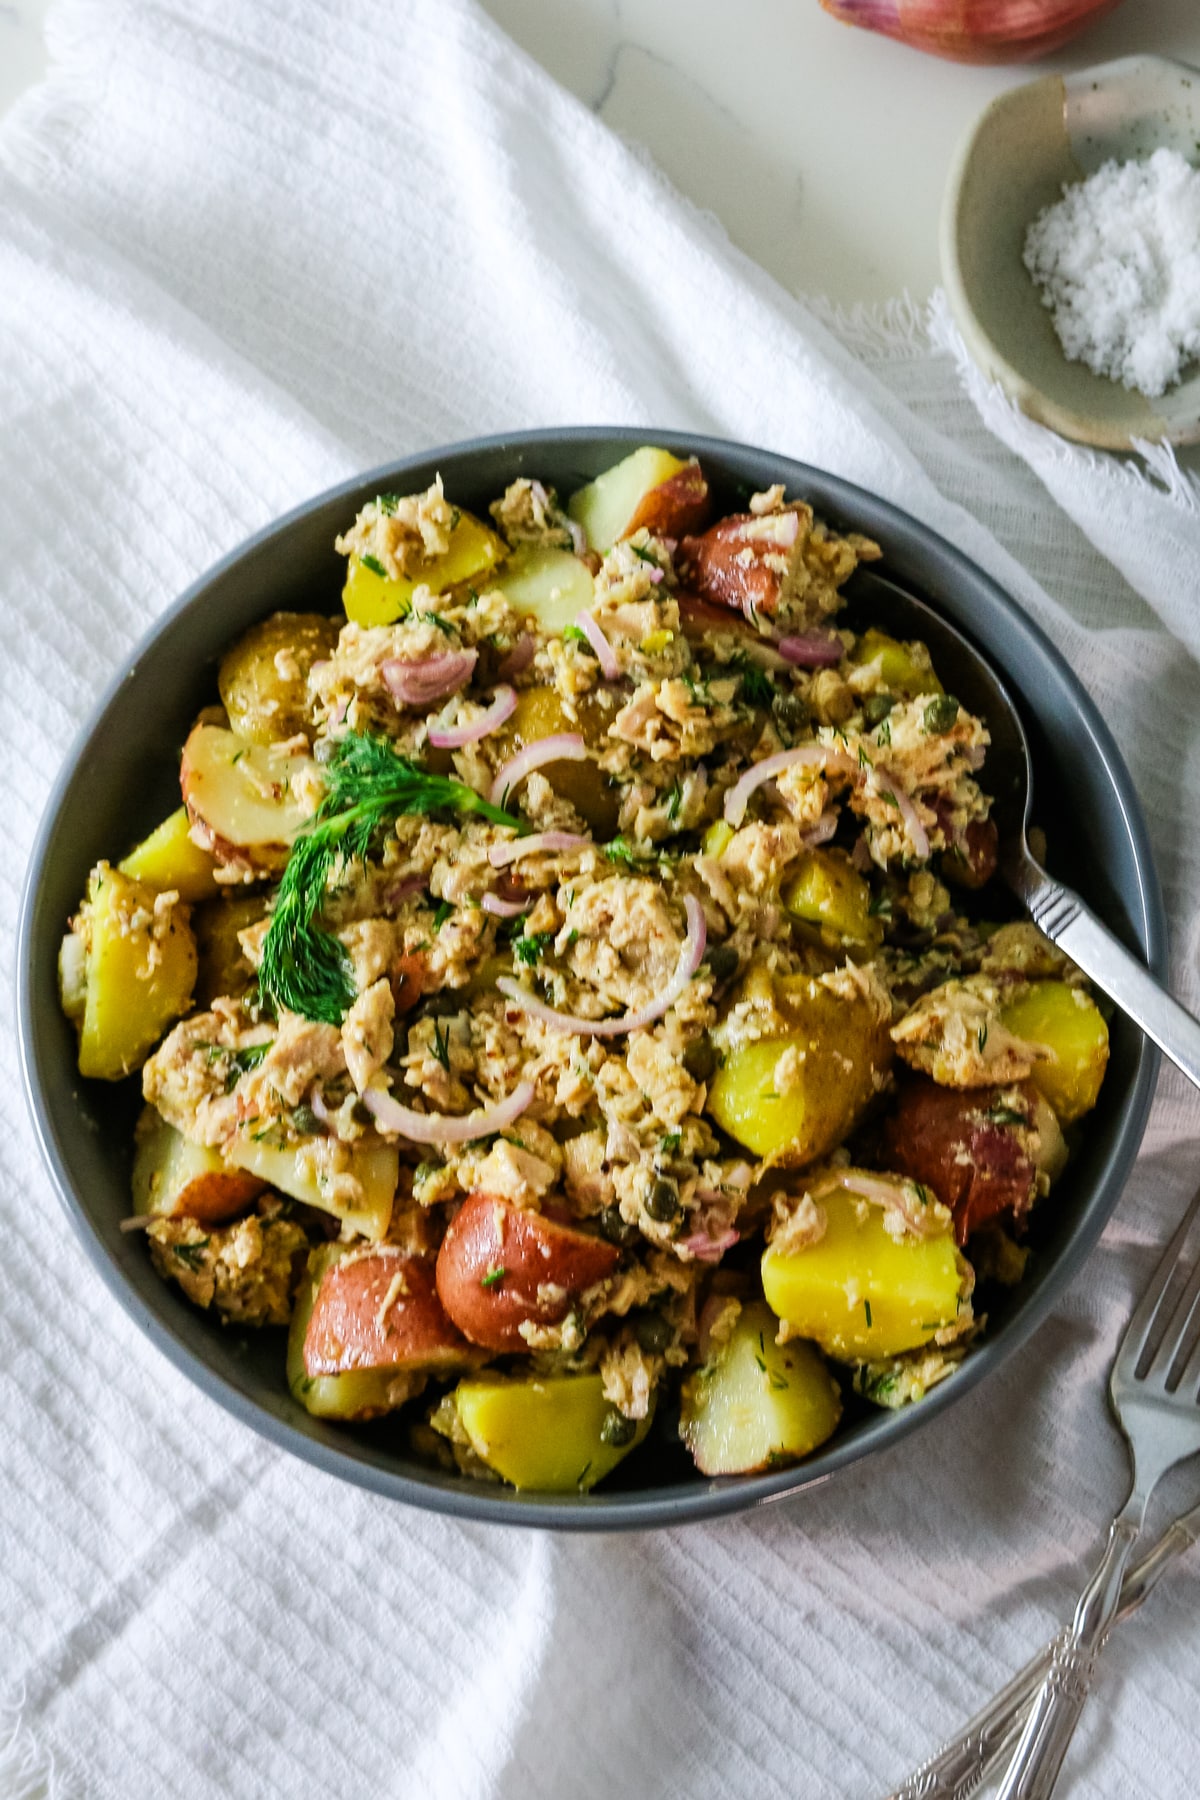
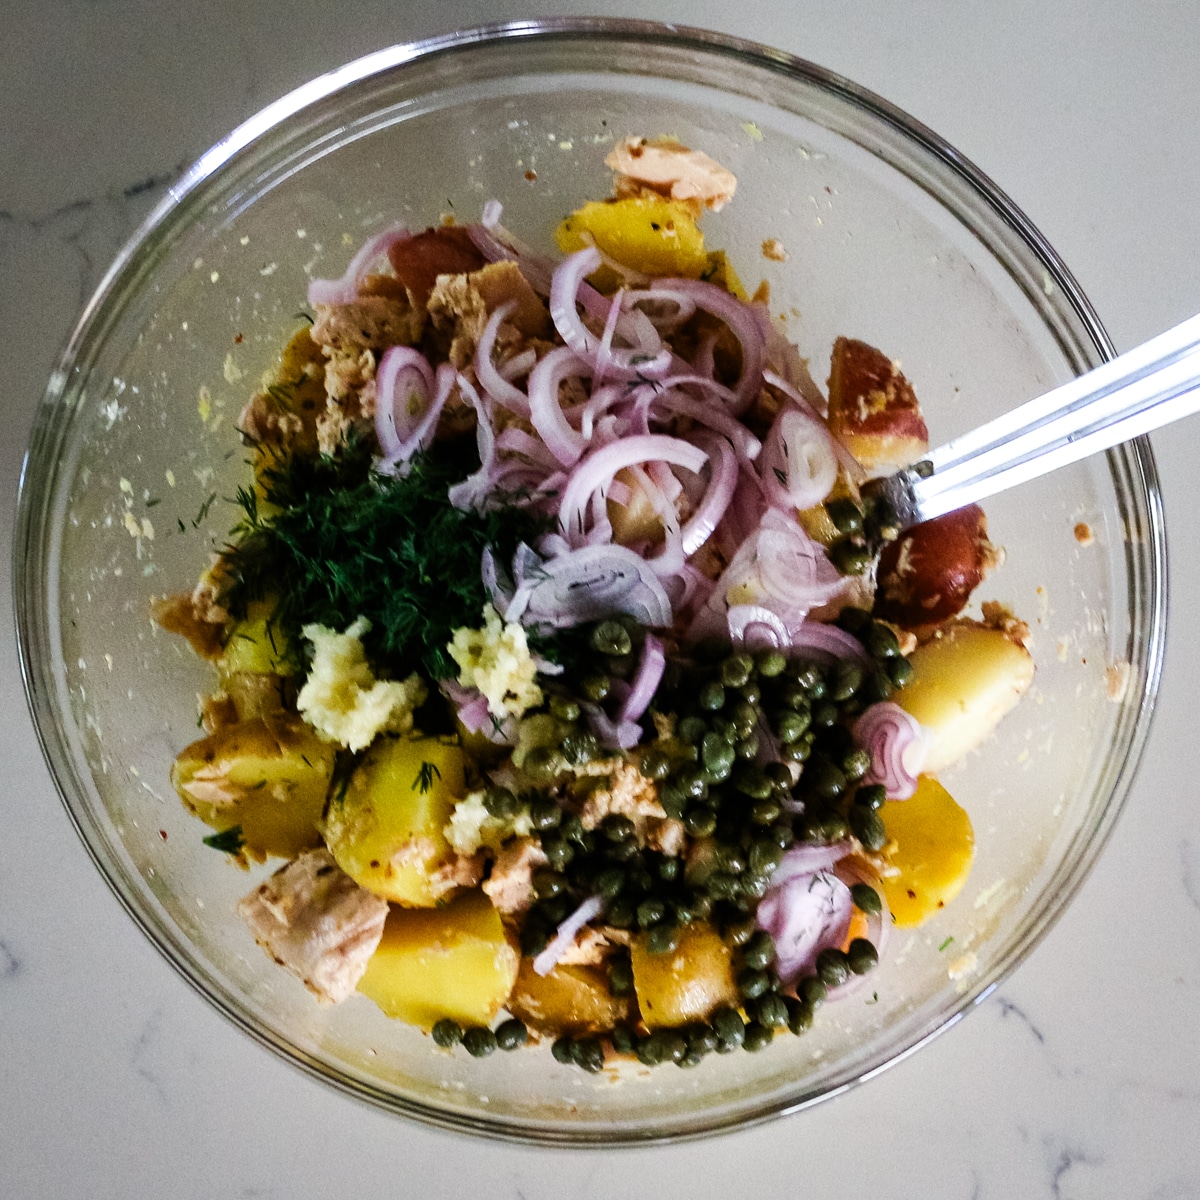
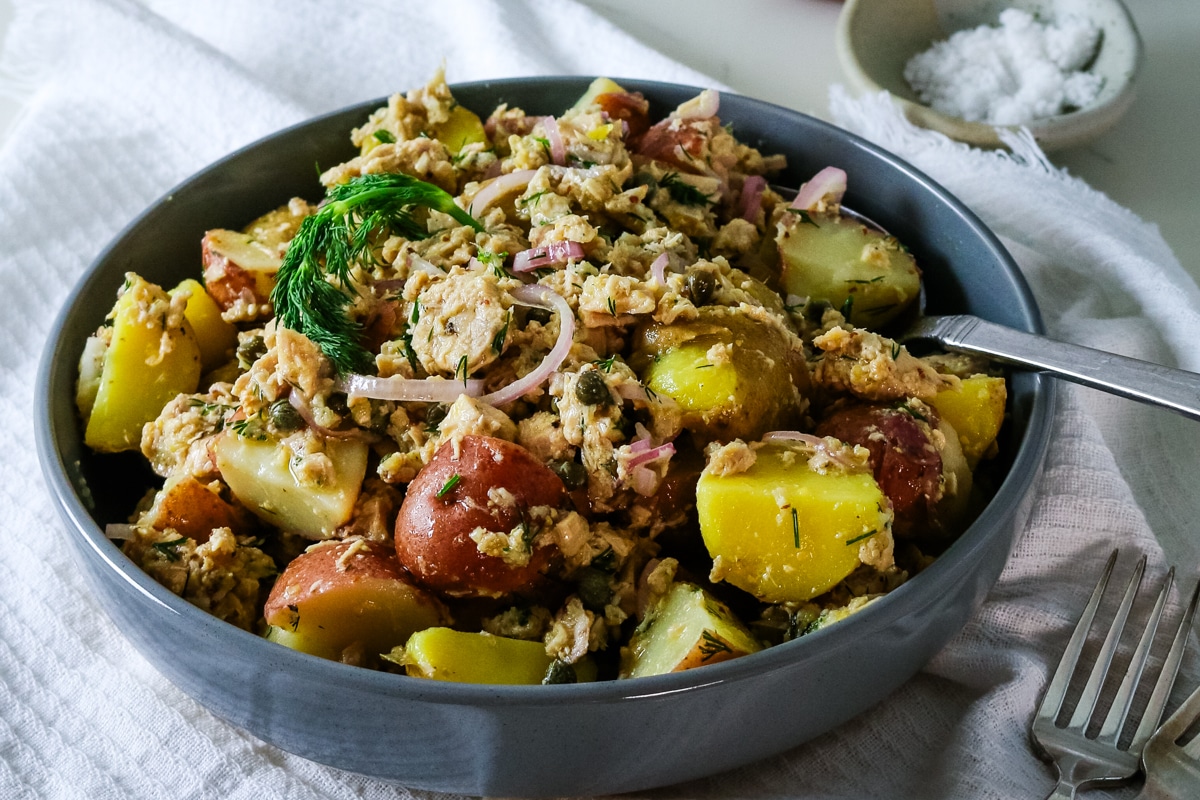
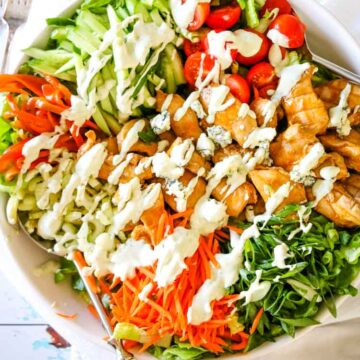
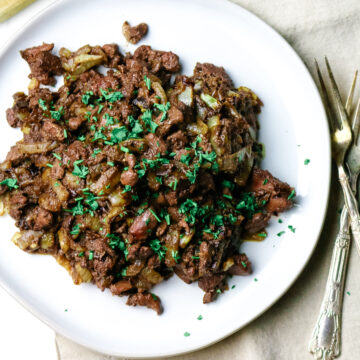
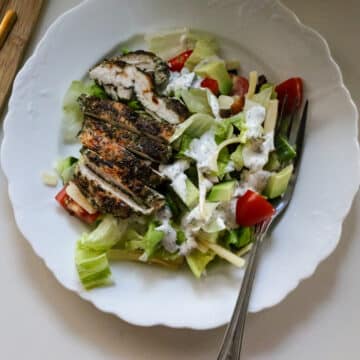
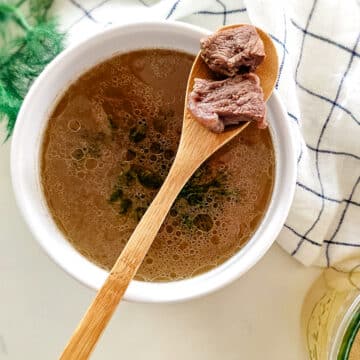
Chicken Meat: The chicken meat is great to add to soups but can also be crispying up and added to salads and bowls. This chicken meat is also great for creamy salads like this chicken and potato salad and as the main meat in Russian cold soup Okroshka. It's so packed with protein, it would make an excellent addition to carnivore casserole.
More whole chicken broth uses:
Frequently Asked Questions
Store leftover whole chicken broth in an airtight container for up to 2 weeks. If there is a sufficient fat cap on top, it will last a good while until that has been broken and the broth exposed to air. These flip-top lid mason jars are perfect for storing leftovers. To reheat, transfer the broth to a small saucepan and warm over medium-high heat. For longer storage, you can freeze the broth in a wide mouth glass jars leaving plenty of headspace for expansion. Freeze for up to 3 months. Thaw overnight in the fridge and reheat or use in recipes.
To store chicken meat from broth, simply place it in an airtight container and refrigerate it for up to 3–4 days. If you want to store it for a longer period, freeze the chicken in a sealed container or freezer bag for up to 2 months. I'm not a big fan of storing cooked chicken for longer than a few days so I can't really speak to the quality after it's been frozen that long but it's still safe to eat.
Yes! While this recipe is designed for whole chicken, you can also use chicken parts such as thighs, drumsticks, or wings. These cuts will still provide a flavorful broth, though using a whole chicken tends to yield the richest, most gelatinous broth. If using parts of chicken, adjust the water-to-meat ratio and cooking time accordingly as smaller cuts may cook faster and require less water.
Looking for more traditional recipes? Here are some ideas:


Did you make this whole chicken broth recipe? Please leave a ⭐⭐⭐⭐⭐ recipe rating in the recipe card below and leave a review in the comments. Thank you!💚
Printable Recipe

Chicken Broth from Whole Chicken
Ingredients
- 4-5 pounds whole chicken giblets removed, patted dry
- 1 yellow onion halved
- 4 garlic cloves
- 2 bay leaves
- 2 tablespoons sea salt
- 1 tablespoon whole peppercorns
- filtered water
Instructions
Instant Pot Method
- Place the chicken, onions, garlic, bay leaves, and salt and pepper into the inner pot of your pressure cooker.4-5 pounds whole chicken, 1 yellow onion, 4 garlic cloves, 2 bay leaves, 2 tablespoons sea salt, 1 tablespoon whole peppercorns
- Pour enough water to reach the "max" line. Close the lid, set the valve to sealing position and cook on "Manual" setting for 45 minutes.filtered water
- Once the cooking time is complete, allow the Instant Pot to naturally release pressure for about 30 minutes, then do a quick pressure release for the remaining pressure.
- Remove the chicken from the broth and set aside to cool slightly. Strain the broth into jars. Discard vegetables and seasonings. Once the chicken is cool enough to handle, strip the meat off the bones and set the meat aside for other recipes.
Stovetop Method
- Place the chicken, onions, garlic, bay leaves, and salt and pepper into a large stockpot. Pour enough water to cover the chicken by a few inches.
- Bring to a boil over medium-high heat, then reduce the heat to low and simmer gently, uncovered for about 1½ hours. Skim off any foam or impurities that rise to the top.
- After simmering, carefully remove the chicken from the pot and set aside to cool slightly. Strain the broth into jars and discard the spent veggies and seasonings.
- Strip the meat from the chicken bones to use in other recipes.
Notes
- Use a strainer to catch all broth - Place the chicken in a strainer over a bowl to catch any leftover broth. Set it aside while you strain the broth in the pot. You'll be surprised how much broth will be drip from the chicken.
- Remove chicken meat while warm - It’s easiest to remove the chicken meat while it’s still warm. The meat comes off the bones much more easily, and you can use it right away for soups, salads, or sandwiches. Once it’s chilled, the meat tends to stick to the bones and becomes harder to remove.
- Save the skin - Gently peel off the skin, trying to keep it intact as much as possible. It makes excellent crispy chicken skin chips or what I like to call, chicken bacon by crispying it up in the air fryer.
- Refrigerate to separate fat - If you prefer to remove excess fat, refrigerate the cooled broth. The fat will solidify on the surface, making it easy to scoop it out, similarly to beef tallow from bone broth. This chicken fat is called schmalz and can be used as a healthy cooking fat.