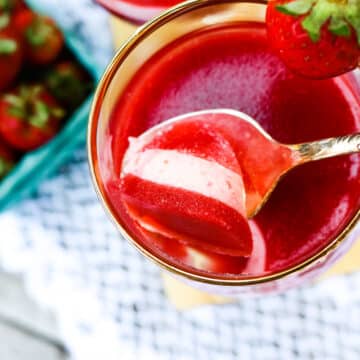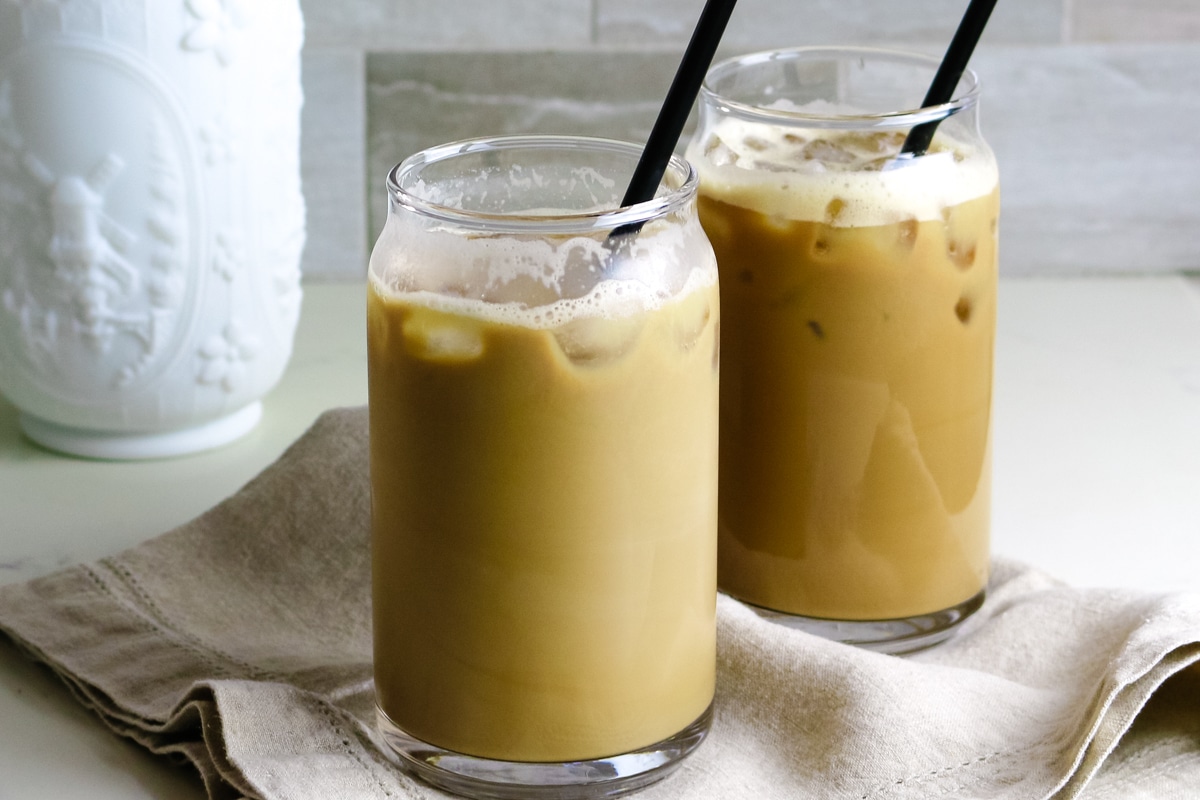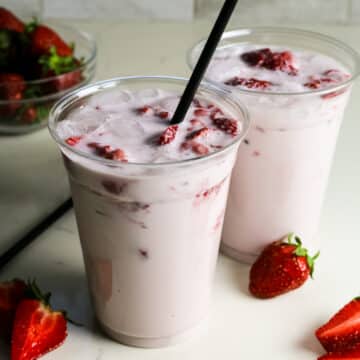
Skip the drive-thru and make this Starbucks Pink Drink copycat recipe with just 3 simple ingredients. It's lightly sweetened, light, refreshing, and naturally dairy-free. Save your money and recreate this pink drink at home using real food ingredients (no refined sugars here!).

Wanna know what's really in a Starbucks pink drink refresher? Here it is, in their own words, on their own site.
ICE, STRAWBERRY ACAI BASE [WATER, SUGAR, WHITE GRAPE JUICE CONCENTRATE, NATURAL FLAVORS, CITRIC ACID, NATURAL GREEN COFFEE FLAVOR, COLORED WITH FRUIT AND VEGETABLE JUICE, REBAUDIOSIDE-A], COCONUTMILK [WATER, COCONUT CREAM, CANE SUGAR, CONTAINS 2% OR LESS OF TRICALCIUM PHOSPHATE, COCONUT WATER CONCENTRATE, SEA SALT, NATURAL FLAVORS, XANTHAN GUM, GELLAN GUM, CORN DEXTRIN, GUAR GUM, VITAMIN A PALMITATE, AND VITAMIN D2], FREEZE-DRIED STRAWBERRIES.
source: Starbucks Nutrition Facts for Pink Drink Refresher
Well, with an ingredient list like that, I'll just make my own, thankyouverymuch, using real food, nourishing ingredients.
[feast_advanced_jump_to]Recipe Overview
- Prep and Cook Time: 5 minutes to make (it'll take longer for water to boil)
- Cooking Method: No-Cook
- Dietary Info: Paleo, Dairy-free, Ancestral diet
- Tools Needed: muddler or sturdy spoon, quart-size mason jar
- Skill Level: Easy
What is an ancestral diet? Read my post on what nourishing foods are based on the traditional dietary principles of the Weston A. Price Foundation.
Reasons to Love this Pink Drink Recipe
There's only 2 drinks that I really love at Starbucks: iced green tea (trenta please) and their pink drink refresher.
Green tea is a blend of spearmint, lemon verbena, lemongrass, and green tea, and the pink drink is a hodge podge of very questionable ingredients.
But why settle for a mystery concoction when you can quickly make your own pink drink at home using nourishing ingredients? Not just healthy ingredients, but ingredients that truly support your wellness and clean eating.
When it's as easy as three simple ingredients, you'll wonder why you ever overpaid for the original in the first place.

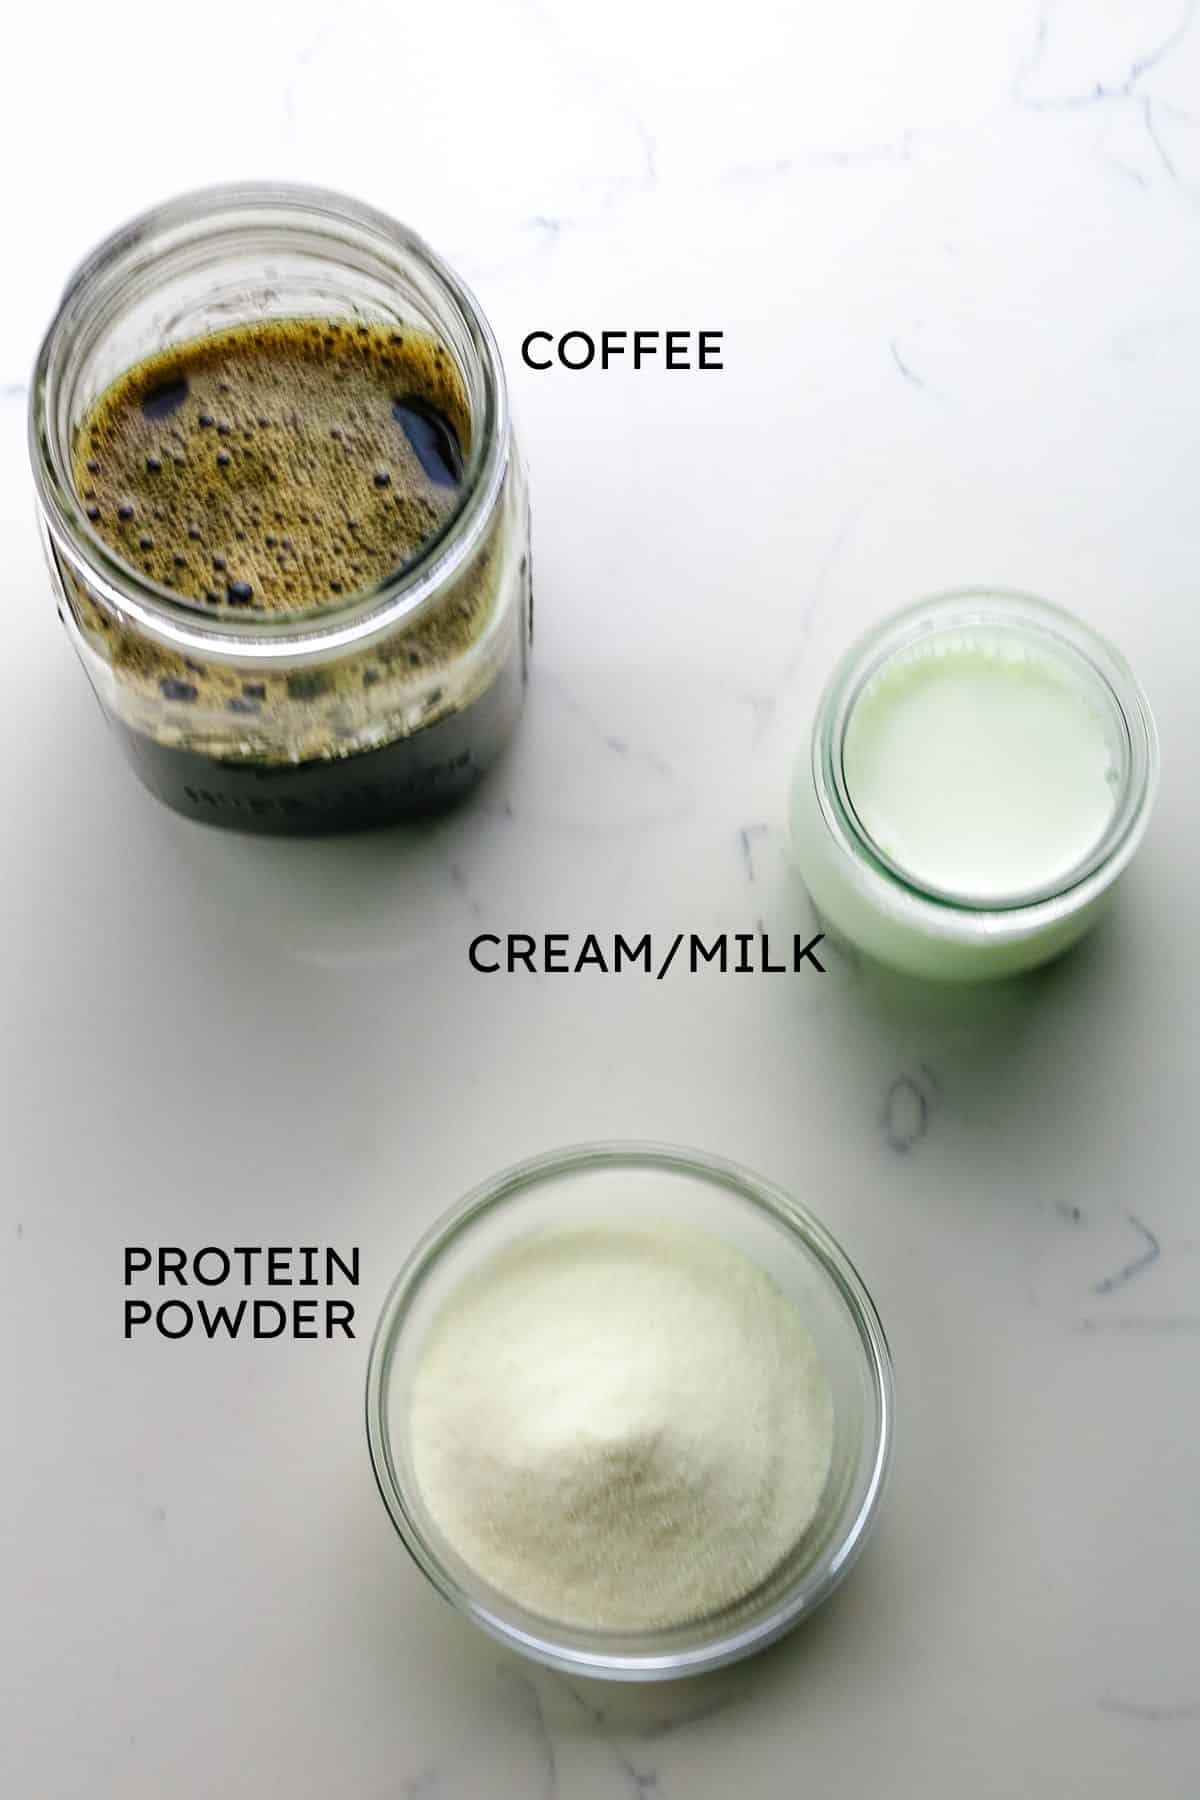
Ingredients for Pink Drink

- Teas: I used a combination of hibiscus and sweet tangerine tea to replace the strawberry acai base in Starbucks pink drink recipe. But you can use any pink-hued teas to replicate that same sweet, slightly tangy flavor and deep red color. Starbucks uses Tazo passion tea but the ingredients aren't stellar. You can also use rosehip or berry blends to get the same effect.
- Strawberries: I prefer fresh since they are more accessible to me in the summer but you can use freeze-dried strawberries too.
- Coconut milk: You can use lite coconut milk if you want to reduce fat content but regular coconut milk will give you more richer flavor.
- Maple syrup: This is optional but I love a slight sweetener if the strawberries aren't enough.

Make it Nutrient-Dense!
There are pink drink copycat recipes on the internet that include random teas and fruit juices. I prefer to keep this drink healthy and refreshing with better-for-you ingredients like clean fruity teas and unrefined sweeteners like maple syrup.

How to Make Starbucks Pink Drink
The complete printable recipe is below in the recipe card for your convenience. Follow these simple step-by-step instructions for the best results.

Step 1. Muddle
Place clean strawberries into the bottom of a quart-size mason jar and muddle with a spoon or muddler.

Step 2. Shake
Add the rest of the ingredients to the jar. Close the lid and shake to combine.
Helpful Tips
- Start with room temperature ingredients - I know the drink is enjoyed chilled but the strawberries will muddle easier and the coconut milk will combine effortlessly if they are both room temperature.
- No muddler - No problem. Just use any tool with a flat bottom. I used a meat grinder pusher but a blender temper would work just as well. A sturdy spoon will do the job too.
- Swap with freeze-dried strawberries - Add the strawberries to the bottom of the jar and reconstitute with a few tablespoons of water. Muddle until smooth and pureed-consistency.
Product Highlight!
Cocktail Muddler
Though this isn't super necessary (see above for other options), if you're in the market for one, this one is great because the bottom is completely flat and doesn't have teeth (where food may get stuck).

💭Make it for a crowd!
If you're making this for a crowd (the best!) and need some meal prep suggestions, I recommend combining the tea base, coconut milk, and maple syrup in a large jar and keeping it in the fridge until ready to use. Muddle the strawberries just before serving so they remain their texture.

Frequently Asked Questions
You can store pink drink copycat in an airtight container like a large mason jar or these Weck juice jars with lids in the fridge for up to 4 days. Give it a good shake before using and enjoy.
Starbucks uses freeze-dried strawberries in their pink drink so that will work just as well as long as you rehydrate them with water. The good thing about freeze-dried food is that they are non-perishable with a long shelf life. You can also use frozen strawberries and give them a few minutes at room temperature to thaw slightly before muddling them.
Yes, because it's made with a strawberry acai refresher juice base with contains green coffee extract. If you want to add caffeine to you pink drink at home, you can use a combination of green tea and hibiscus to recreate those flavors.
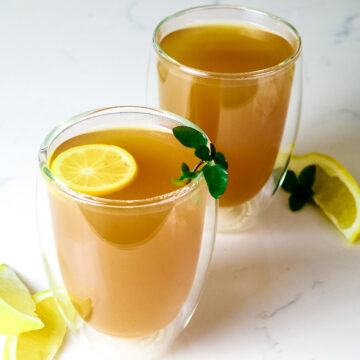
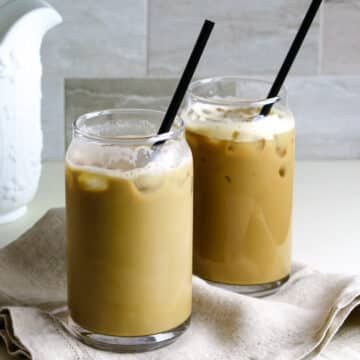
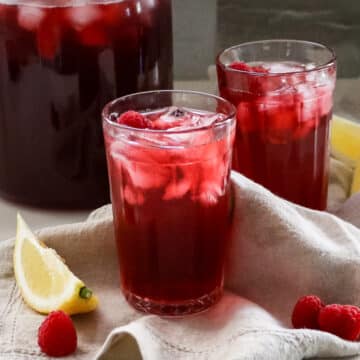
Looking for more healthy beverages? Here are some ideas:

Did you make this Starbucks Pink Drink Recipe? Please leave a ⭐⭐⭐⭐⭐ recipe rating in the recipe card below and leave a review in the comments. Thank you!💚
Printable Recipe

Starbucks Pink Drink Recipe
Ingredients
- 1 cup unsweetened coconut milk
- 1 cup fresh strawberries, hulled or ½ cup freeze-dried strawberries
- 2 cups hibiscus tea
- 2 tablespoons maple syrup
Instructions
- Muddle: Place clean strawberries to the bottom of a quart-size mason jar and muddle with a spoon or muddler. (You can also use a blender temper - anything with a flat bottom).
- Combine: Add the rest of the ingredients into the jar. Close the lid and shake to combine.
- Serve: Pour the pink drink evenly over two glasses filled with ice. Add a few fresh strawberries for garnish. Enjoy immediately.