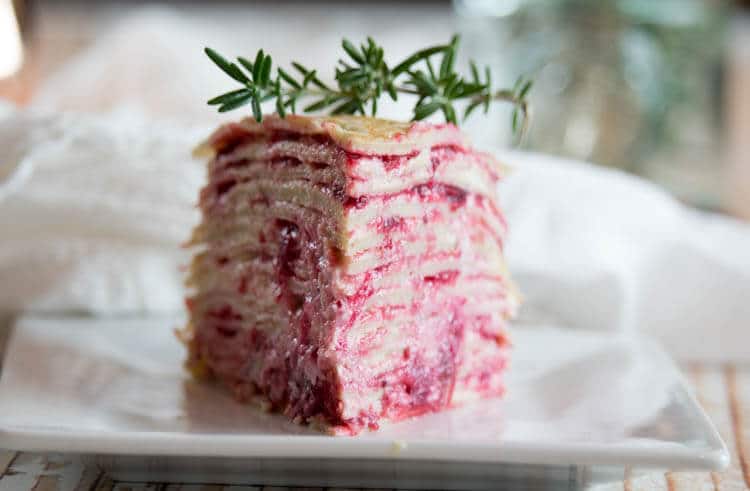
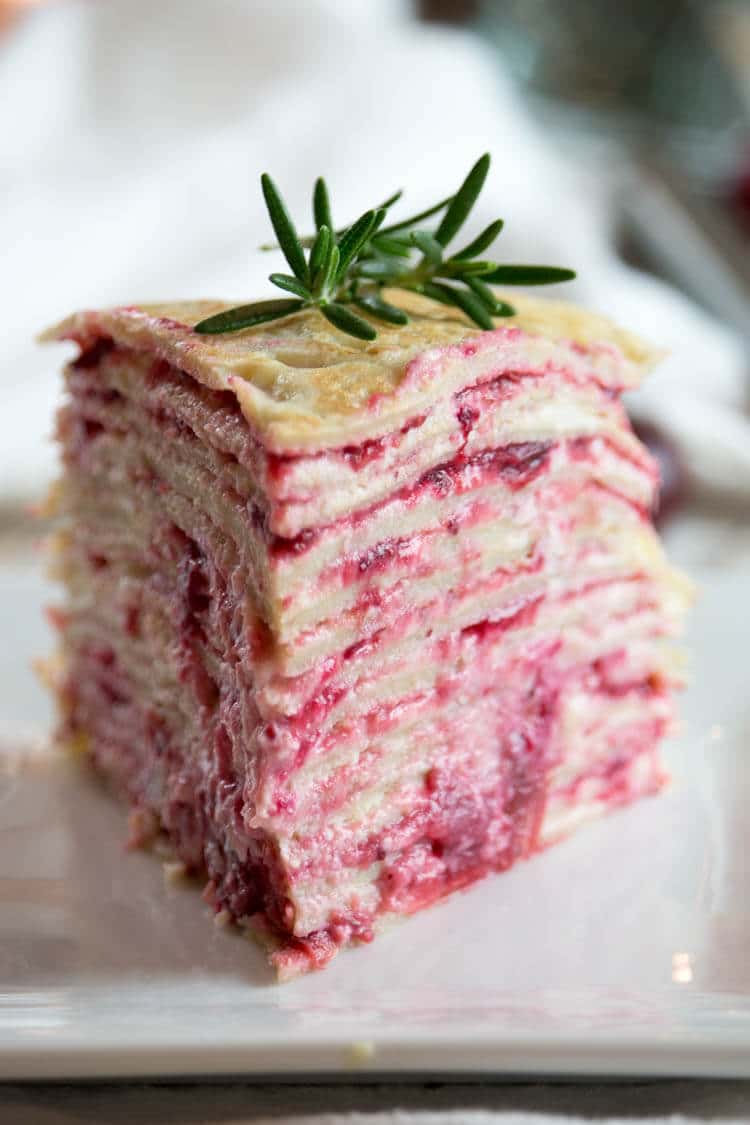
This cranberry crepe cake layers delicate gluten-free crepes with whipped coconut cream and a tart cranberry maple filling. A naturally sweet dessert that feels special but totally gluten free and dairy free.
💡Recipe Overview
- Prep and Cook Time: 30 minutes to prep and 45 minutes to cook
- Cooking Method: Stove-top
- Dietary Info: Paleo, Gluten-free and Dairy-free
- Tools Needed: Crepe pan
- Skill Level: Moderate
What is an ancestral diet? Read my post on what nourishing foods are based on the traditional dietary principles of the Weston A. Price Foundation.
Reasons to Love this Crepe Cake
Why love this cranberry crepe cake?
For starters, it’s built on my famous gluten-free crepes recipe - thin, tender, and totally foolproof - so you know the base is already a winner.
Layer those crepes with tangy-sweet cranberry jam and fluffy coconut cream, and you’ve got a dessert that’s cozy, festive, and just a little indulgent. Perfect for brunch, holiday mornings, or sneaking an extra slice when no one’s looking. Honestly, it’s basically pancakes leveled up to wow status.
This crepe cake is basically a fancy stack of pancakes that makes you look like a baking wizard without actually having to summon any magic. Sounds like a win-win to me.

Ingredients
Before we start layering this crepe cake, let's take a quick look at what goes into each layer.
- Cranberry Jam: A simple homemade cranberry jam made with whole fresh cranberries and naturally sweetened with maple syrup. It’s bright, tangy, and just sweet enough - a fresh upgrade from store-bought jam and perfect for pairing with crepes.
- Crepes: The crepe batter is made from eggs, coconut milk (to keep it dairy free), cassava flour, maple sugar, and a pinch of salt. These basic ingredients create thin, flexible crepes that cook quickly and hold the filling well without tearing.
- Coconut Cream: Chilled coconut cream sweetened with maple sugar adds a rich, fluffy, dairy-free topping. Once whipped, it becomes light and creamy.
How to Make Crepe Cake with Cranberries
The complete printable recipe is below in the recipe card for your convenience. Follow these simple step-by-step instructions for the best results.
Step 1: Cranberry Jam
Simmer cranberries, water, and maple syrup over medium-low for 20–30 minutes, mashing as they soften until thick and jammy. Let cool.
Step 2: Coconut Cream
Scoop the chilled coconut cream into a cold mixing bowl. Whip until creamy, add maple sugar, and whip again until smooth. Adjust sweetness to taste.
Step 3: Making Crepes
Blend all crêpe ingredients for 2–3 minutes. Let the foam settle. Heat a lightly oiled pan over medium heat; pour in 3–4 tablespoons of batter and swirl to coat. Cook 1 minute, flip, and cook 30 seconds more. Repeat with the remaining batter, adding a little coconut oil as needed.
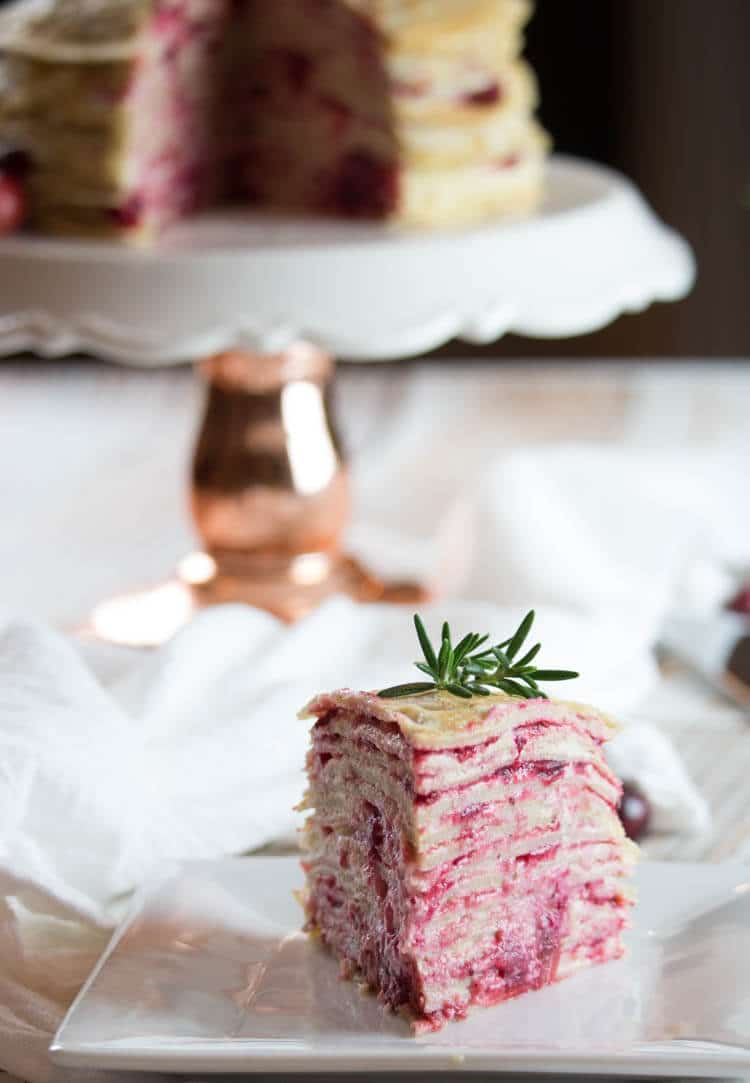
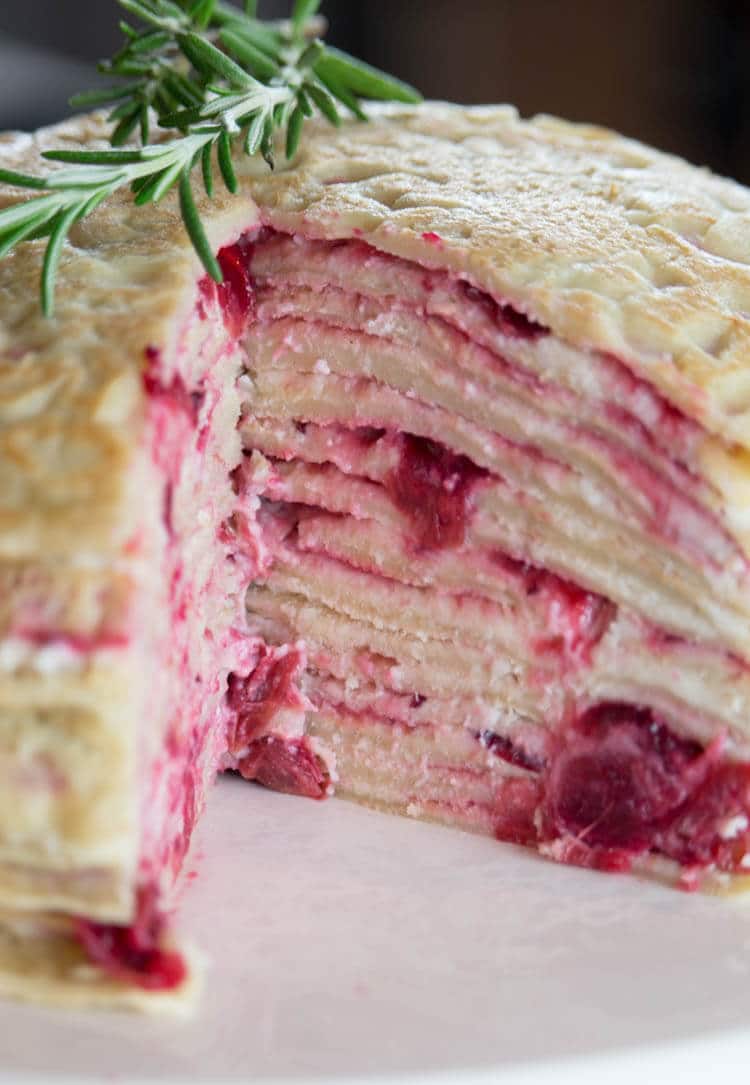
Step 4: Assembling Crepe Cake
Layer a crepe with coconut cream and cranberry jam. Repeat with all crepes. Chill for at least 1 hour before slicing. Store covered in the fridge for up to 1 week.
Helpful Tips
- Start with chilled coconut cream - Place a can of coconut cream in the refrigerator overnight to chill completely. Ten minutes prior to whipping, place a large mixing bowl and whisk attachment in the refrigerator to chill.
- Let the jam cool completely - Warm jam will melt the whipped coconut cream and make layering messy.
- Chill before slicing - Refrigerate the assembled cake for at least 1 hour, or longer, to make clean slices.
Serving Suggestions
This cranberry crepe cake is as beautiful as it is delicious, and there are a few ways to make it even more special when serving.
Pair it with warm, cozy beverages like herbal coffee, a pumpkin spice latte, or a honey citrus mint tea for a comforting, healthy drink.
It's a great additon to brunch, holiday mornings, or a cozy weekend breakfast.
Frequently Asked Questions
Store leftover crepe cake in an airtight container for up to 7 days. These glass snap containers are perfect for leftovers. It's best served chilled and the flavors actually improve after a few hours of resting.
You can freeze the assembled crepe cake. Wrap it tightly in plastic wrap and place it in an airtight container or freezer bag. It will keep well for up to 2 months. When ready to enjoy, thaw it in the refrigerator for several hours or overnight.
Chill the cake thoroughly for at least an hour. Use a sharp knife, wiping it clean between cuts, to keep layers neat. If necessary, consider placing your knife in the freezer to chill it.
Looking for more seasonal desserts? Here are some ideas:


Did you make this crepe cake? Please leave a ⭐⭐⭐⭐⭐ recipe rating in the recipe card below and leave a review in the comments. Thank you!💚
Printable Recipe

Paleo Crêpe Cake with Cranberries
Ingredients
Cranberry Jam
- 2 cups fresh whole cranberries
- 1 tablespoon water
- ½ cup maple syrup
Coconut Cream
- 1 13.5 oz. can coconut cream chilled
- ¾ cup maple sugar
Crepes
- 4 large eggs
- 1 ½ cups coconut milk
- ¼ cup water
- 1 cup cassava flour
- 2 tablespoon maple sugar
- ½ teaspoon real salt
Instructions
Cranberry Jam
- Add cranberries, water and maple syrup to a small saucepan and heat on medium-low speed for 20-30 minutes, mashing the cranberries as they pop and creating a jam-like consistency.
- Set aside to cool while preparing cream and crêpes.
Coconut Cream
- Remove chilled coconut cream and mixing bowl with whisk attachment from refrigerator (see notes).
- Scoop out the chilled cream and beat with mixer on medium-high until creamy.
- Add maple sugar and continue to beat on medium-high until creamy and smooth. Taste and adjust sweetness as needed.
Paleo Crêpes
- Blend all crêpe ingredients in a blender for about 3 minutes. Allow foam to settle.
- Heat a lightly oiled stainless steel pan over medium heat. Pour 3-4 tablespoons of the batter onto the pan and swirl the pan in circular motion to coat the surface evenly.
- Cook the crêpe for approximately 1 minute until the bottom is golden brown and can easily be loosened with a thin spatula.
- Quickly flip the crêpe over and cook the other side for about 30 seconds.
- Continue with the rest of the batter. Add ½ teaspoon of coconut oil to the pan after every 2-3 crêpes or as needed.
Assembling Crepe Cake
- Place one crepe on the decorative platter. Scoop a few tablespoons of coconut cream and spread evenly across, followed by the cranberry jam.
- Alternate with all crepes, coconut cream and cranberry jam.
- Place in the refrigerator for at least one hour. It's best when chilled completely and makes cutting easier.
- Can be stored in the refrigerator in closed container for up to one week.
Notes
- Start with chilled coconut cream - Place a can of coconut cream in the refrigerator overnight to chill completely. Ten minutes prior to whipping, place a large mixing bowl and whisk attachment in the refrigerator to chill.
- Let the jam cool completely - Warm jam will melt the whipped coconut cream and make layering messy.
- Chill before slicing - Refrigerate the assembled cake for at least 1 hour, or longer, to make clean slices.


 This post is in partnership with Sun Basket, opinions and photography are my own. Thank you for supporting companies I believe in. See full