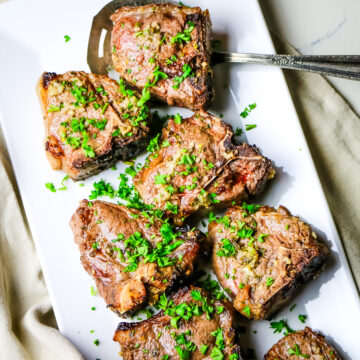
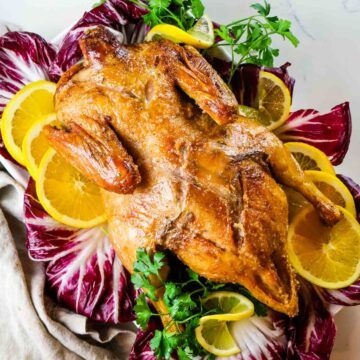
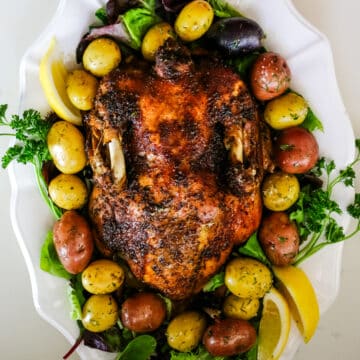
Chimichurri chicken thighs are marinated in a vibrant cilantro chimichurri sauce, then cooked until the skin is crispy and the meat stays juicy. This simple recipe has incredible herby flavor in every bite. Perfect for easy, delicious weeknight meals!

💡Recipe Overview
- Prep and Cook Time: 10 minutes to prep and 30 minutes to cook
- Cooking Method: Stove-top and Oven-baked
- Dietary Info: Keto, Whole30, Paleo, GAPS, Ancestral diet
- Tools Needed: large cast iron skillet
- Skill Level: Easy
What is an ancestral diet? Read my post on what nourishing foods are based on the traditional dietary principles of the Weston A. Price Foundation.
Reasons to Love this Chimichurri with Chicken
I started making this after one too many farmer's market trips left me with way too much cilantro. Homemade chimichurri is the perfect way to use it up, and slathering it all over crispy chicken thighs?
Absolutely the right move.
It's simple, flavorful, and makes me feel like I actually planned dinner - even when I didn't.
Don't forget to get a nice sear on that chicken skin. That's the best part!

Ingredients for Chimichurri Chicken Thighs

- Chicken thighs - For this recipe, I like using bone-in, skin-on chicken thighs because they stay juicy and the skin crisps up beautifully when seared. Mine are a little on the smaller side (thanks pastured chickens, lol) but when done right, they are just as tasty as the supermarket ones.
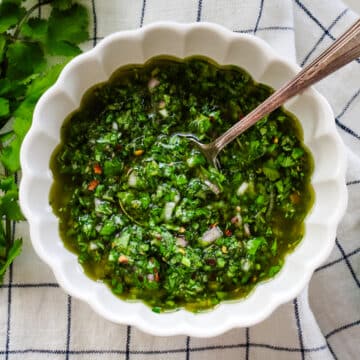
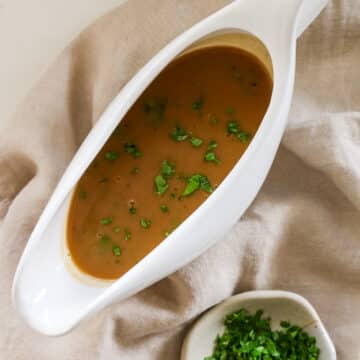
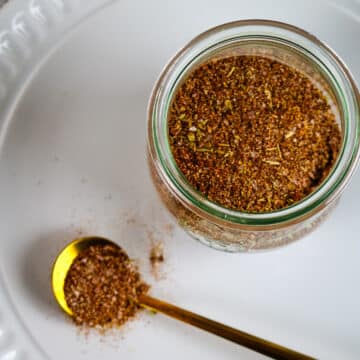
- Chimichurri sauce - You can't go wrong with homemade cilantro chimichurri sauce. I like to use half for marinating and save the rest for drizzling over the finished chicken.
- Seasonings - A little crushed red pepper adds a gentle kick (you can leave it out if you're sensitive to heat) and a touch of sea salt helps bring all those bold, herby flavors together.

Make it Ancestral
Pastured chickens often have leaner, firmer meat and less fat under the skin, so to keep thighs juicy, don't overcook - aim for 165-170°F internal temp - and rest well! Because their flavor can be more pronounced, the chimichurri marinade helps balance and tenderize without masking that natural taste.

How to Make Chimichurri Chicken Thighs
The complete printable recipe is below in the recipe card for your convenience. Follow these simple step-by-step instructions for the best results.

Step 1. Add
In a large bowl, combine half of the chimichurri sauce with crushed red pepper and sea salt.

Step 2. Mix
Add chicken thighs and toss to coat. Let it sit for 30 minutes at room temperature or refrigerate for up to 24 hours.

Step 3. Heat
Heat a cast-iron skillet over medium-high heat. Place the chicken skin-side down and sear for 6-8 minutes until golden and crispy.

Step 4. Cook
Flip and cook 2-3 minutes on the other side. Transfer the chicken in the skillet to the oven. Bake for 15-20 minutes.
Helpful Tips
- Pat the chicken dry before marinating to make sure the skin crisps up when searing.
- Don't disturb the chicken while it's on the skillet to get a nice sear. It should release easily when it's nice and brown.
- Resting is key. Let the chicken rest after baking to help the juices redistribute for tender, juicy meat.
Troubleshooting
- Skin not crisping? Make sure your skillet is fully heated before adding the chicken and avoid overcrowding - cook in batches if needed.
Product Highlight!
Large Cast Iron Skillet
My large cast-iron skillet is a workhorse. It gets the chicken skin perfectly crispy and goes straight from stove to oven. No kitchen should be without one!


Serving Suggestions
We love serving this chimichurri with chicken with any roasted vegetable like roasted carrots with garlic or roasted broccolini recipe.
Side dish: Offer a hearty side dish like Yukon gold mashed potatoes or Instant Pot buckwheat.
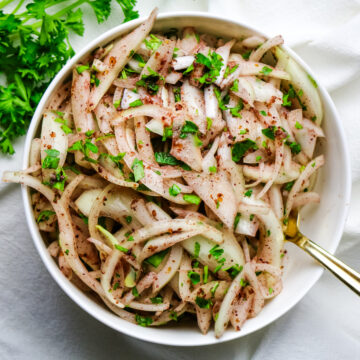
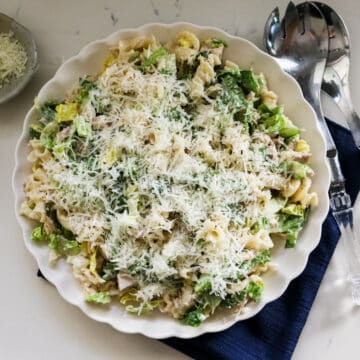
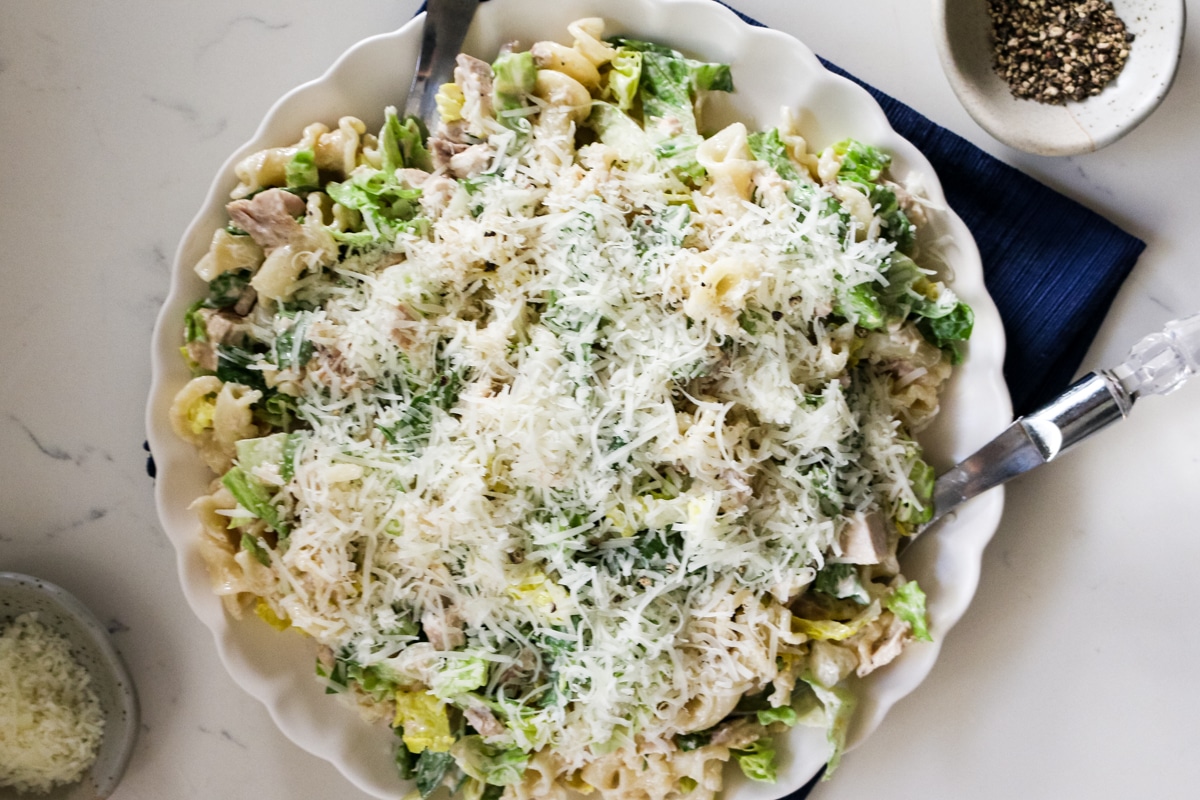
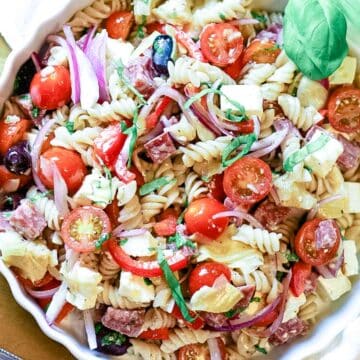
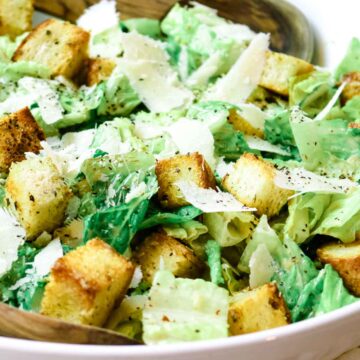
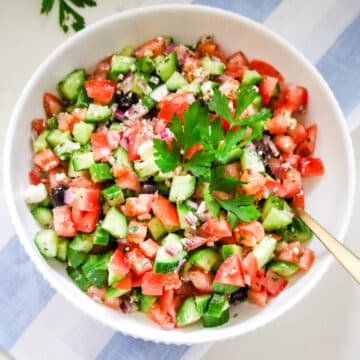
Fresh salads: Don't forget to round out your meal with refreshing and vibrant salads. Cucumber tomato salad and Mediterranean chopped salad are great options.
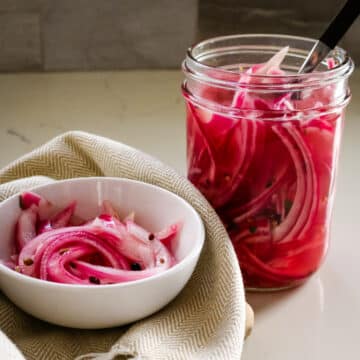
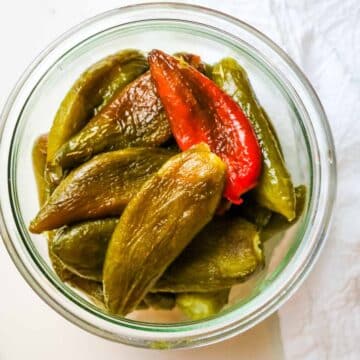
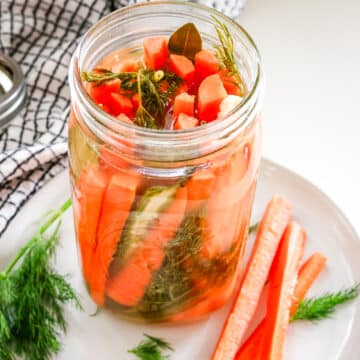
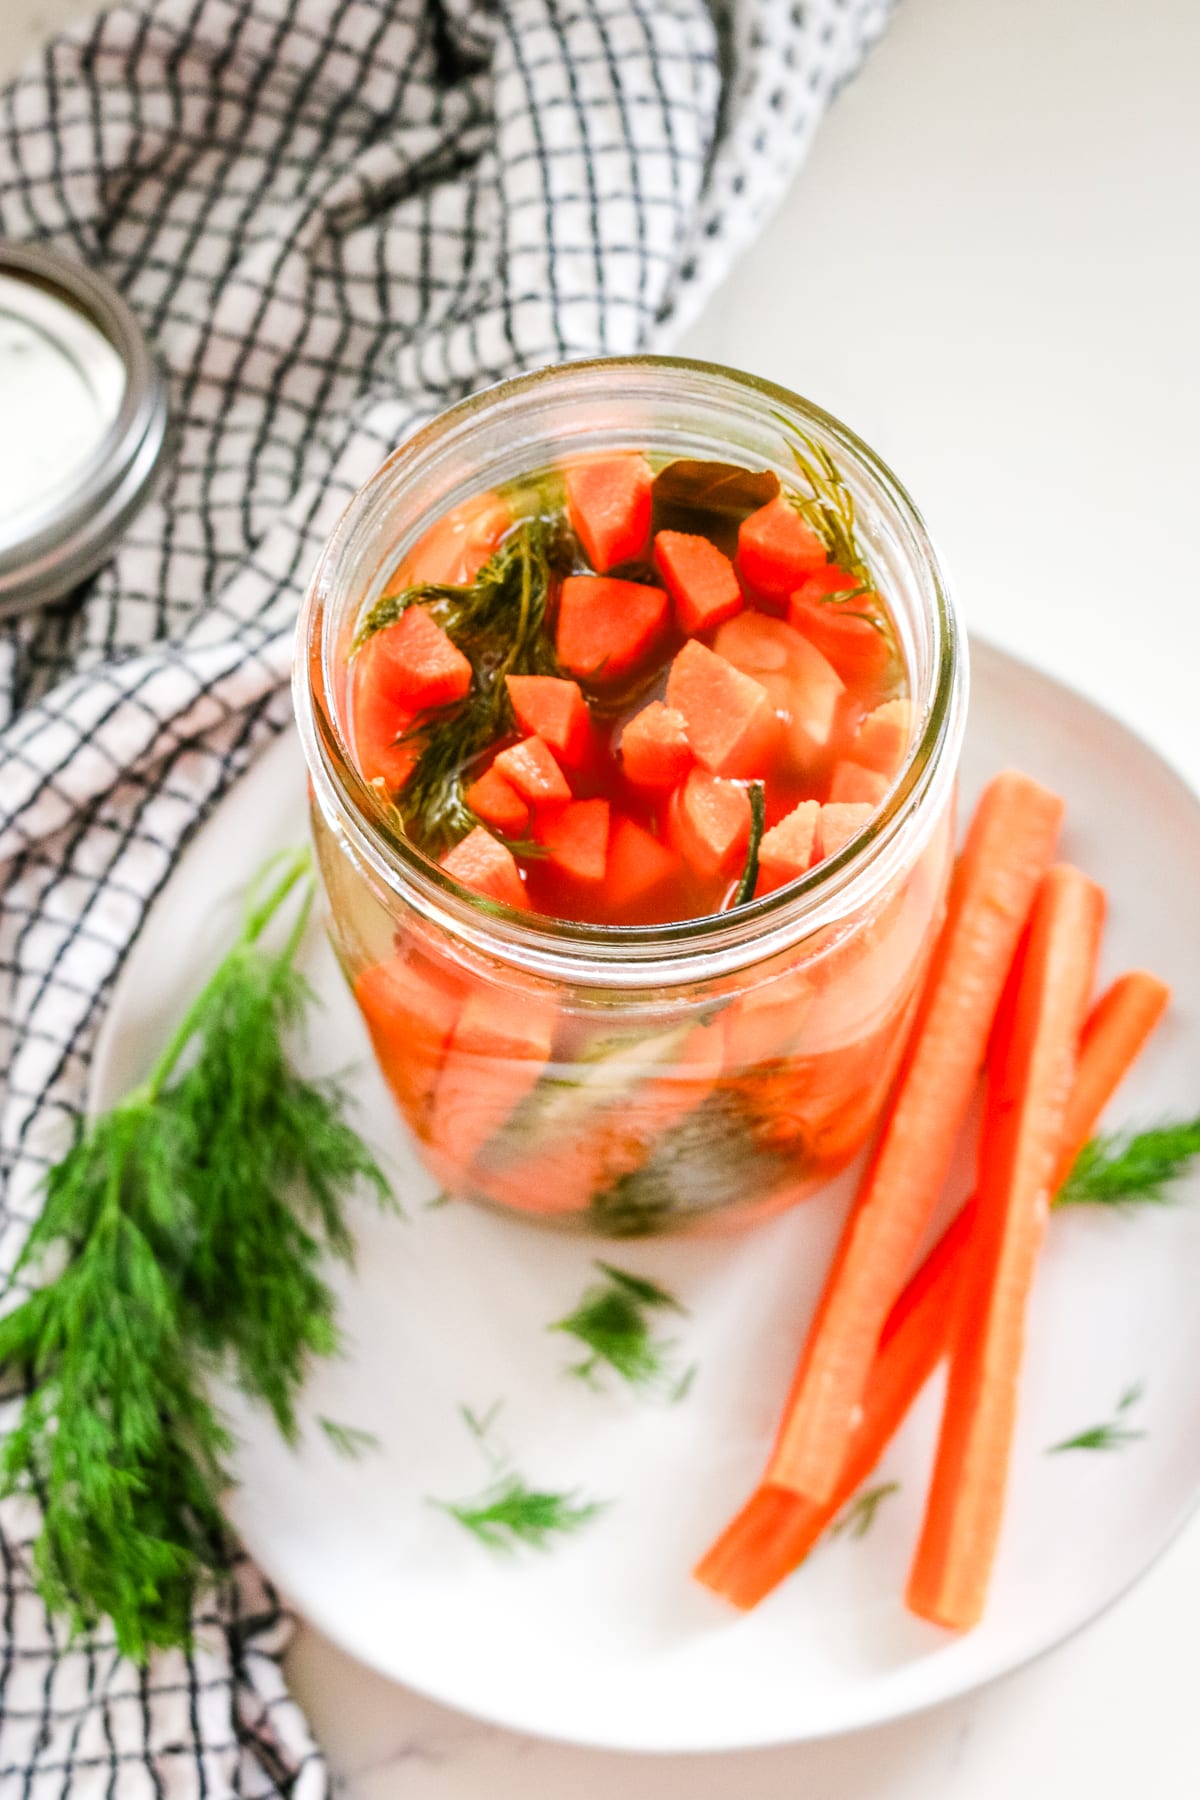
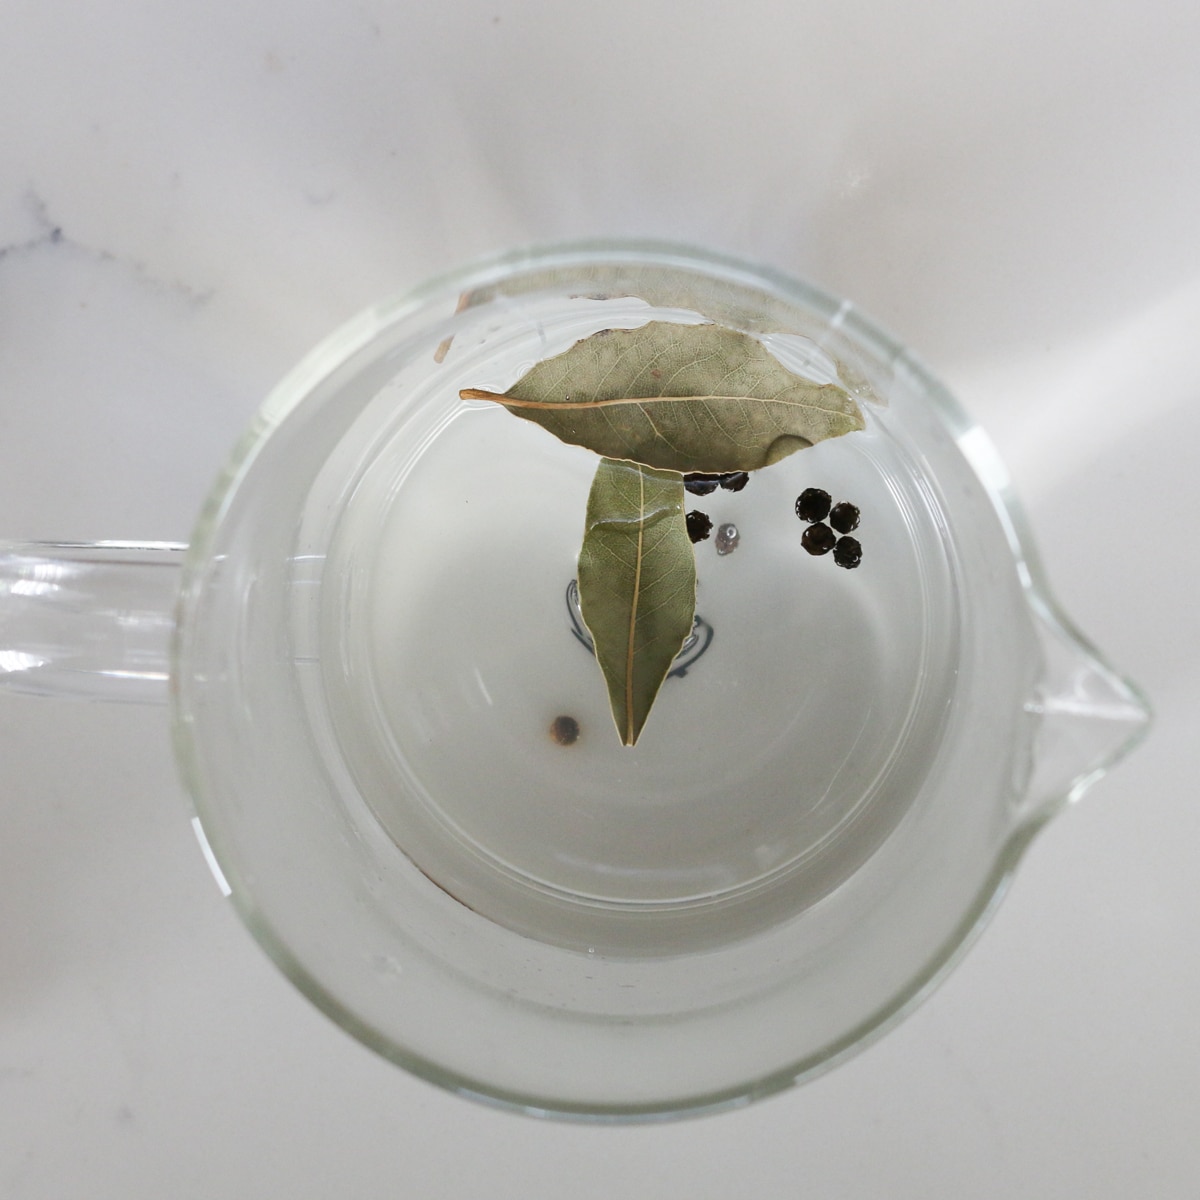
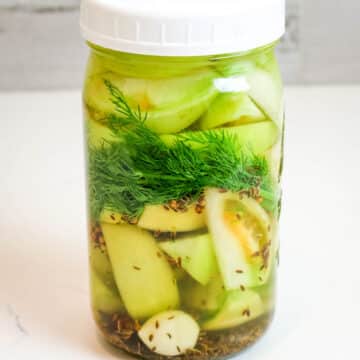
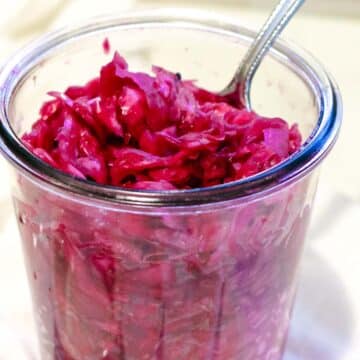
Condiments: I always like to include a serving of ferments like raw sauerkraut or fermented carrots.

Frequently Asked Questions
Store leftover chicken in an airtight container for up to 4 days. These glass snap containers are perfect for leftovers. To reheat, transfer the chimichurri chicken to a skillet and warm over medium-low heat with a splash of broth or water to keep them from drying out. You can also reheat in a 325°F oven, covered, for about 10-15 minutes.
Yes! For longer storage, freeze tightly wrapped chicken for up to 3 months. Thaw in the fridge overnight before reheating.
You can, but you'll miss out on the crispy skin and richer flavor. If using boneless thighs, reduce sear and bake time slightly to avoid drying them out.
Looking for more poultry recipes? Here are some ideas:


Did you make this chimichurri chicken? Please leave a ⭐⭐⭐⭐⭐ recipe rating in the recipe card below and leave a review in the comments. Thank you!💚
Printable Recipe

Chimichurri Chicken Thighs
Ingredients
- 2 pounds bone-in, skin-on chicken thighs about 6 chicken thighs
- 1 cup chimichurri sauce divided
- ½ teaspoon crushed red pepper
- 1 teaspoon sea salt
Instructions
- In a large bowl, combine half of the chimichurri sauce with crushed red pepper and sea salt.
- Add chicken thighs and toss to coat. Let it sit for 30 minutes at room temperature or refrigerate for up to 24 hours.
- Preheat oven to 400°F. Heat a cast iron skillet over medium-high heat. Place the chicken skin-side down and sear for 6-8 minutes until golden and crispy.
- Flip and cook 2-3 minutes on the other side. Transfer the chicken in the skillet to the oven. Bake for 15-20 minutes, or until the internal temperature reaches 165-170°F with an instant-read meat thermometer.
- Cover and allow the chicken to rest for 10 minutes for residual cooking. Spoon extra chimichurri over the top before serving.
Notes
- Pat the chicken dry before marinating to make sure the skin crisps up when searing.
- Don't disturb the chicken while it's on the skillet to get a nice sear. It should release easily when it's nice and brown.
- Resting is key. Let the chicken rest after baking to help the juices redistribute for tender, juicy meat.