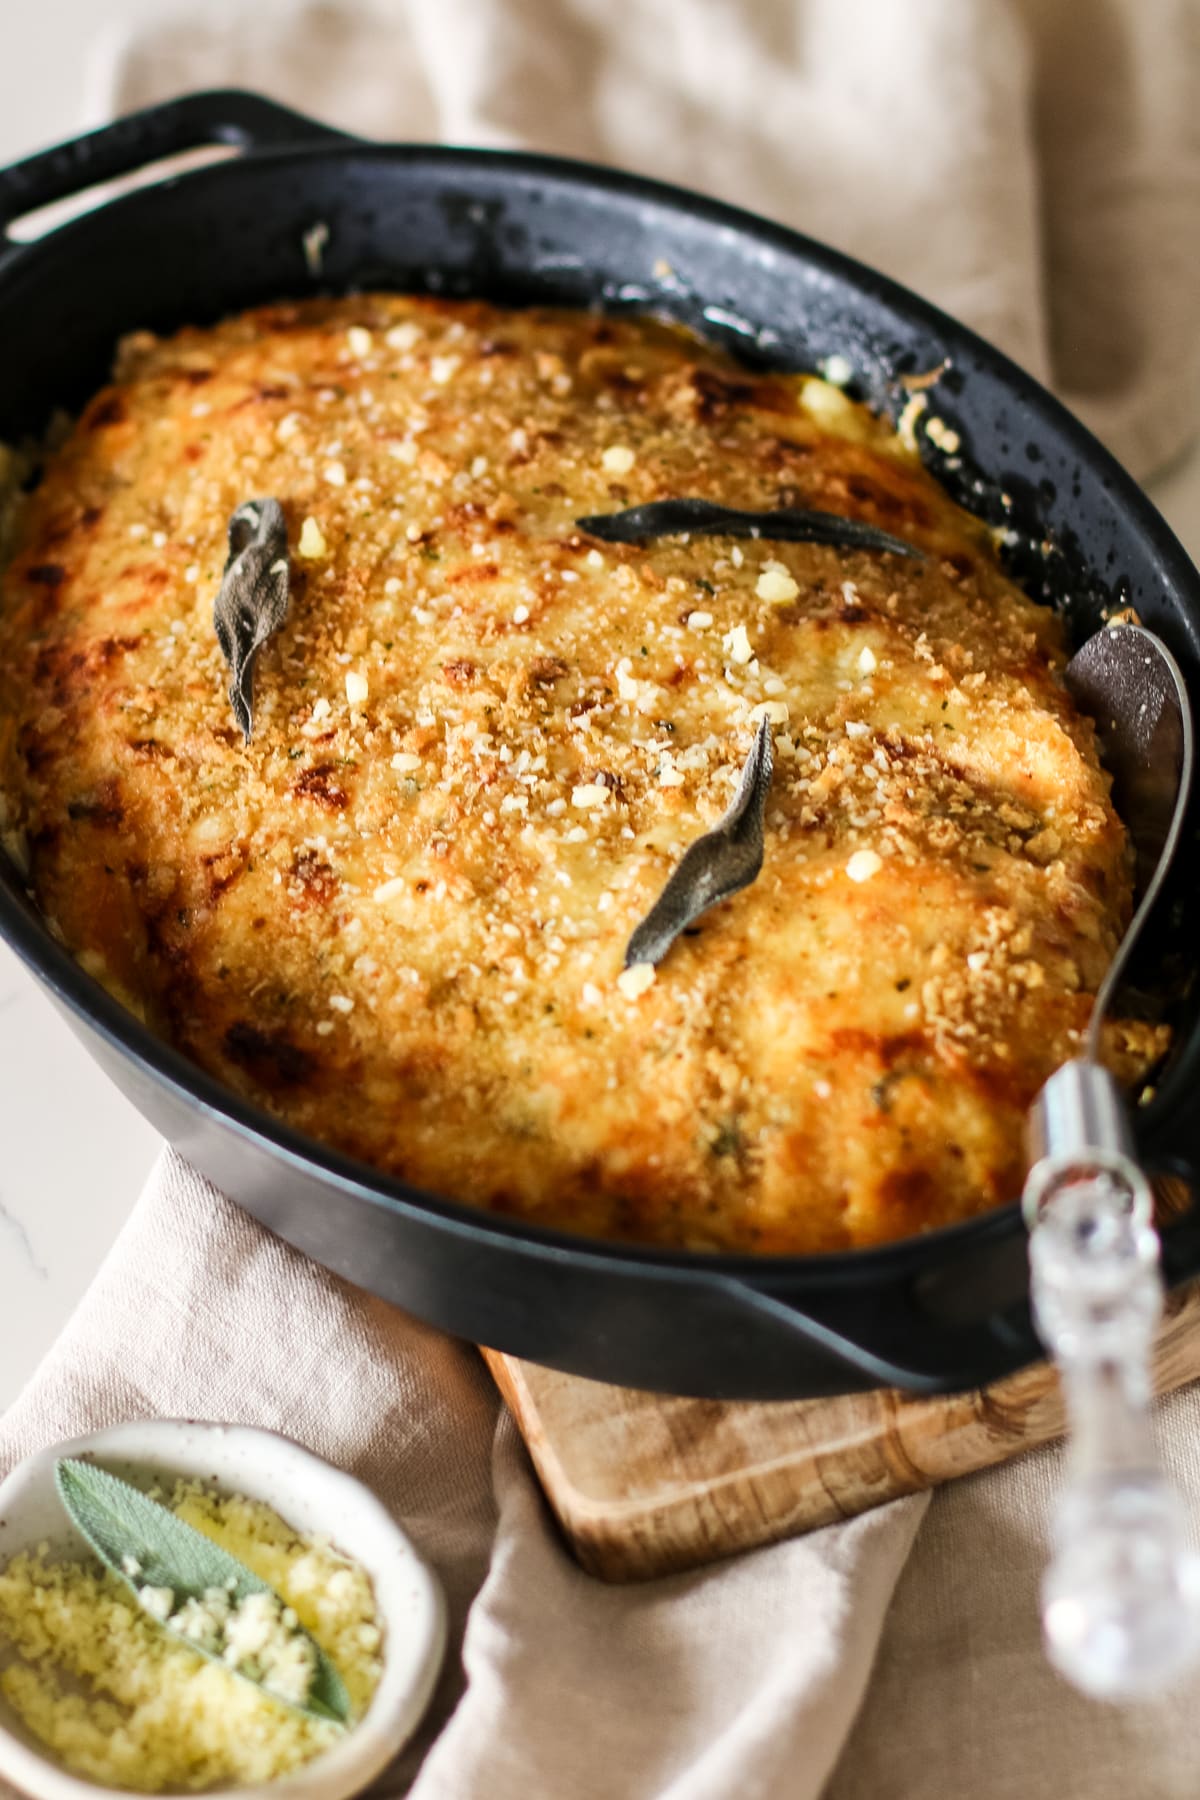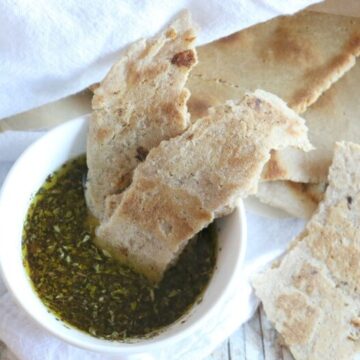
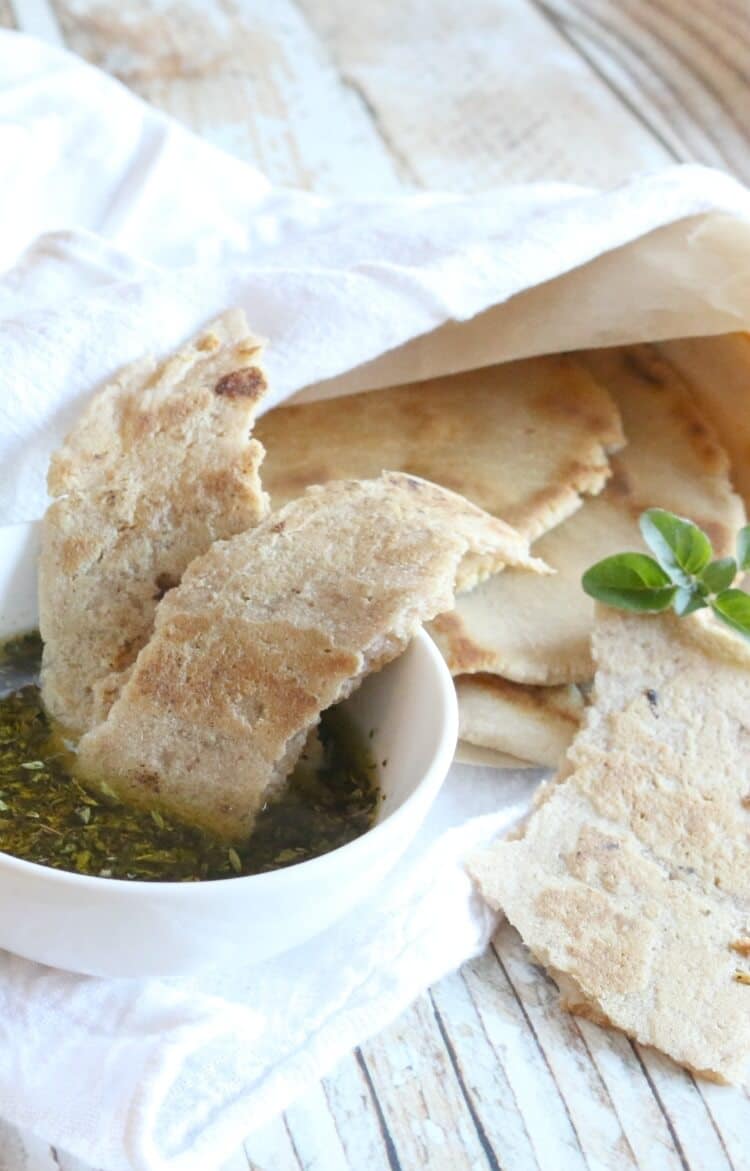
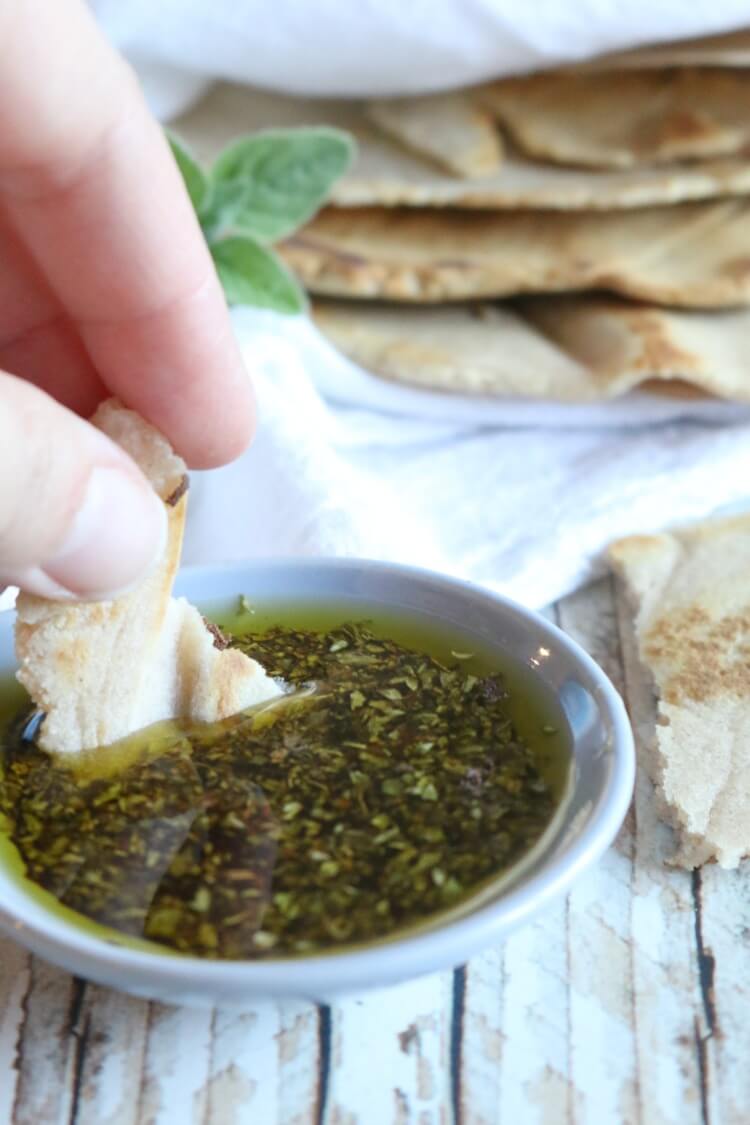
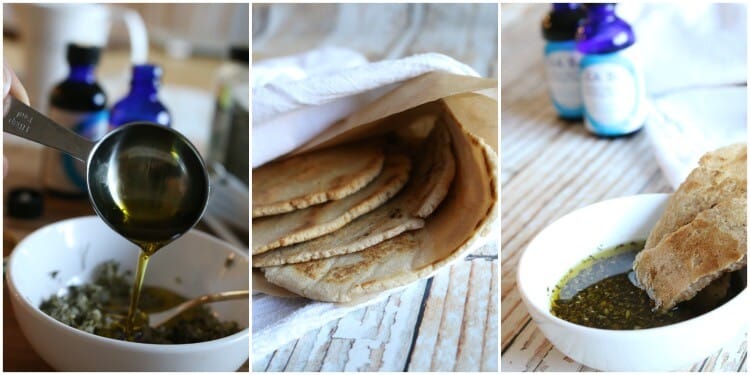
Bread dipped generously into healthy oil is a favorite appetizer for many. This gluten free flatbread with herb dipping oil is so tasty - you won't miss the crackly baguette.
This post is sponsored by Olea Blue, all opinions, recipe and photography are my own. This post may contain affiliate links for your convenience. Thank you for supporting this site with purchases made through these links and supporting the companies I believe in. The information contained in this blog is not intended to be construed in any manner as medical advice. See full DISCLOSURE for details.
I've always enjoyed this unique appetizer of bread and dipping oil but it wasn't until recently that I learned this dipping oil can be extremely nourishing when using a high quality oil.
Extra virgin olive oil contains protective compounds but not all oils are created equal. Recent findings indicate some EVOO on the market is diluted with commercial oils such canola oil or soybean oil. When choosing olive oil, don't let the label extra virgin olive oil fool you. Often times, it's just a marketing ploy and as consumers, we must know the source and quality of the olive oil we are purchasing.
What to look for in EVOO?
Oleocanthal, is a high polyphenol compound that can be found in the purest form of olive oil. It is this compound that is responsible for the peppery sensation in the back of the throat when consuming oil. Interestingly, connoisseurs use an age old custom to rate high quality oils by taking a slurp and waiting for that burning sensation followed by cough.
The reason for this unique practice is because sensor molecules found primarily in the throat latch on to these polyphenols causing one to cough. One cough, it's good but three coughs is even better.
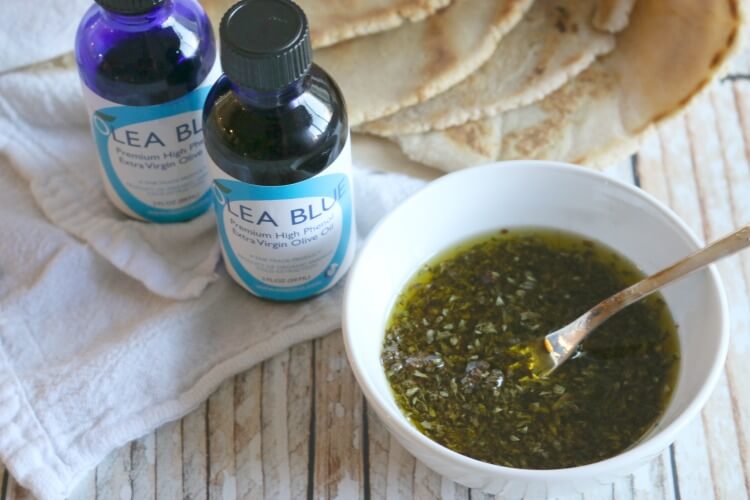
Introducing Olea Blue
Throughout lush communities in Greece, family owned farms use artisan techniques to produce an olive oil rich in polyphenols. This craft is passed down from generation to generation to ensure optimal harvest time in to protect rich properties and phenolic compounds found in their olives.
Olea Blue extra virgin olive oil is unique because of its rich oleocanthal content. The stronger the phenolic potency in the oil, the higher the antioxidants. Like all antioxidants, polyphenols found in oleocanthal help protect cells from oxidative stress that can lead to premature aging and degenerative diseases.
It's worth mentioning that because Olea Blue extra virgin olive oil is potent with health protective compounds, it should never be heated. Instead, enjoy this oil in salads or in dipping oil (recipe below).
Taste testing
The best way to tell if extra virgin olive oil has high levels of oleocanthal is by its taste. That peppery sensation on the back of your throat as mentioned is a primary indication of potency. The sharper, more tangy that sensation, the higher the level of oleocanthal. In addition to taste testing, Olea Blue also uses Nuclear Magnetic Resonance (NMR) to accurately measure phenolic compounds in their olive oil so rest assured you're getting an exceptional product when choosing Olea Blue.
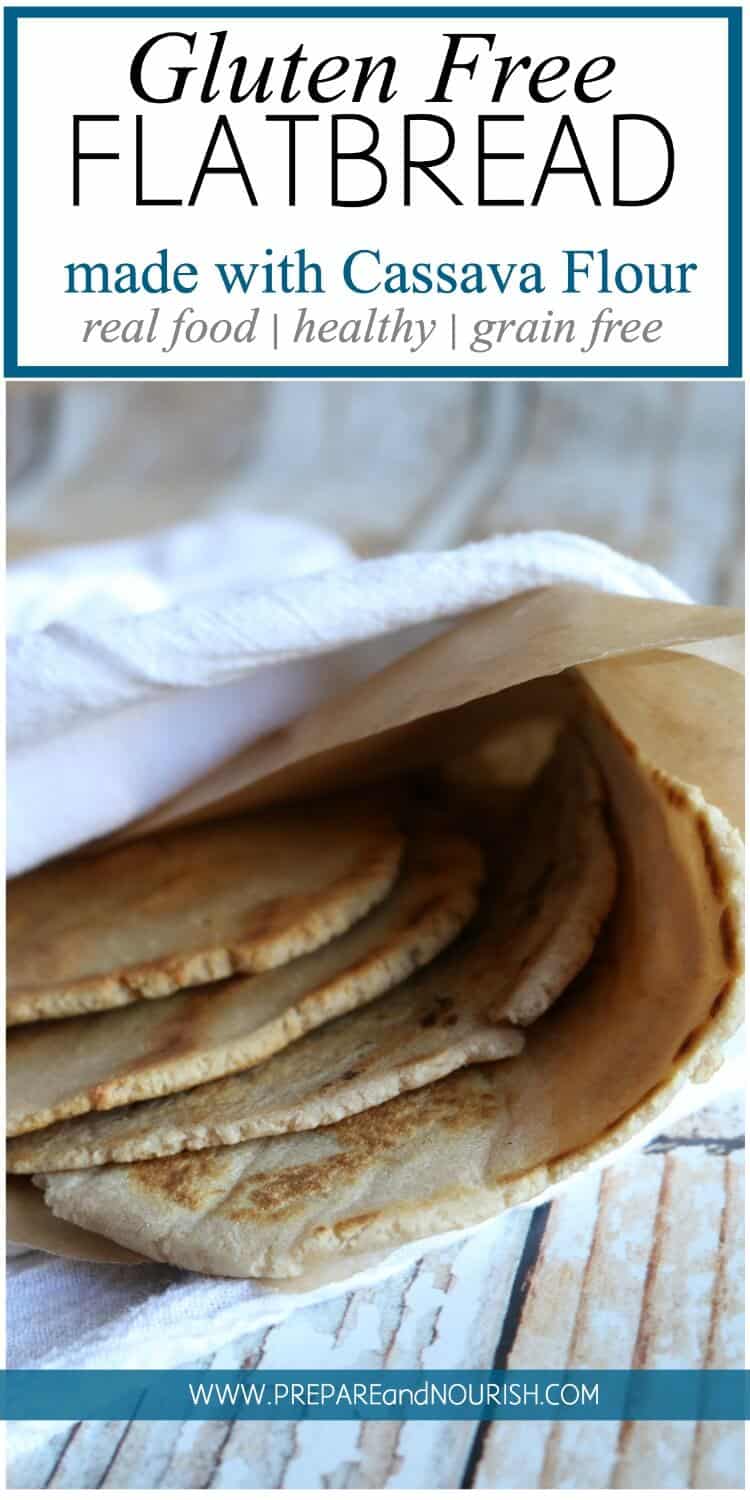
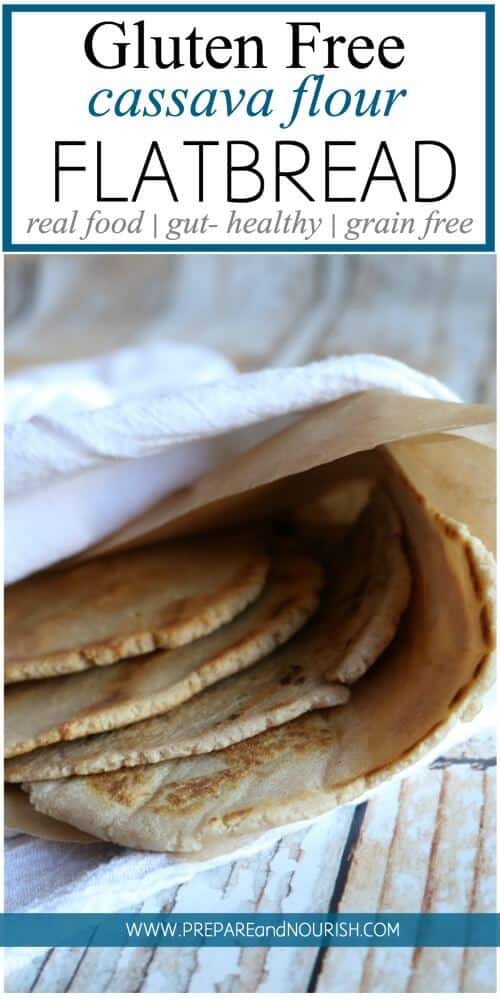
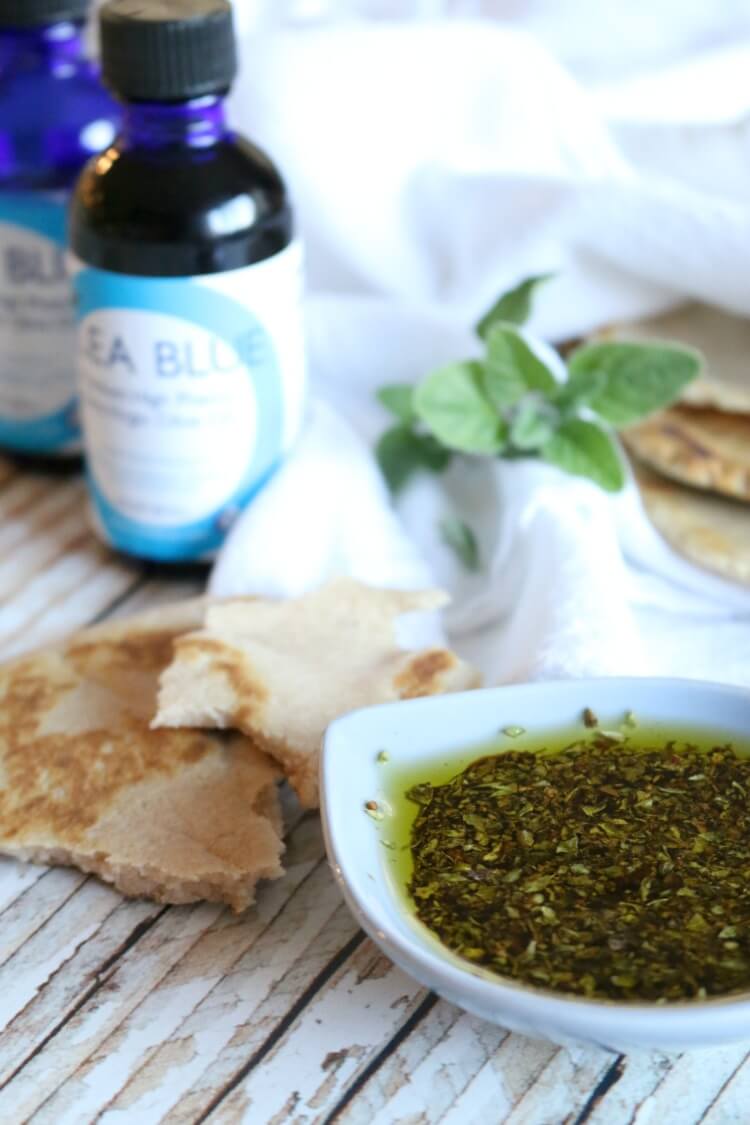
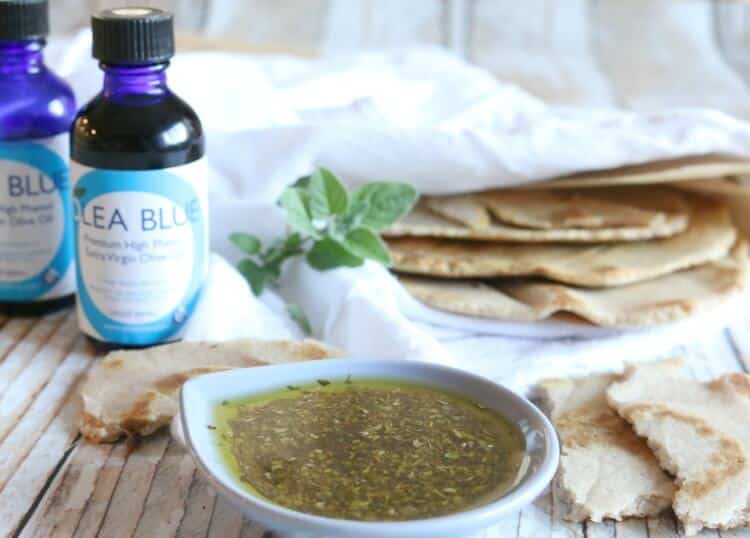
Finally, the Flatbread
What would a good EVOO be without delicious bread to dig into it? I love that these little flatbreads are totally gluten and grain free and can be whipped up quickly. My final note on this recipe, is to be sure to use organic, lead free balsamic vinegar. This is my absolute favorite and I'm so grateful for the opportunity to purchase this at my local farmer's market from the owners themselves. This paired with Olea Blue's high phenol EVOO and you're golden. 🙂
Gluten Free Flatbread with Herb Dipping Oil
 My Picks & Suggestions:
 My Picks & Suggestions:
Small mixing bowl to combine everything. Rolling pin to roll the dough between parchment paper. Don't forget a good knife and butcher's block to make that work easy! Cook those puppies on a cast iron skillet and use a spatula similar to this one to remove the baked goods.
Ingredients for Flatbread:
Almond Flour, Cassava Flour, Aluminum-Free Baking Soda and the all important Unrefined Salt
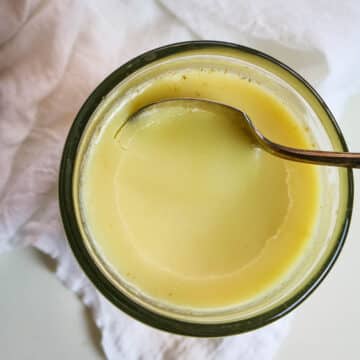
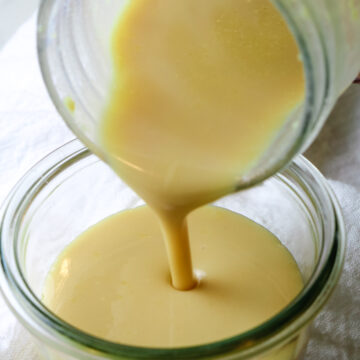
Ingredients for Dipping Oil:
High Phenol EVOO, Lead-free Balsamic Vinegar, Dried Oregano, Dried Basil, coarse Celtic Salt, and Freshly Cracked Black Pepper (use a grinder, please)
Printable Recipe
Gluten Free Flatbread with Dipping Oil
Ingredients
Gluten Free Flatbread:
- ½ cup Almond Flour buy here
- ½ cup Cassava Flour buy here
- 1 teaspoon baking soda buy here
- ½ teaspoon unrefined salt buy here
- ¼ cup yogurt
- ¼ cup warm water
Dipping Oil:
- 2 tablespoons Olea Blue EVOO buy here
- 1 ½ tablespoons lead-free balsamic vinegar buy here
- 2 fresh garlic cloves minced
- 1 teaspoon dried oregano buy here
- 1 teaspoon dried basil buy here
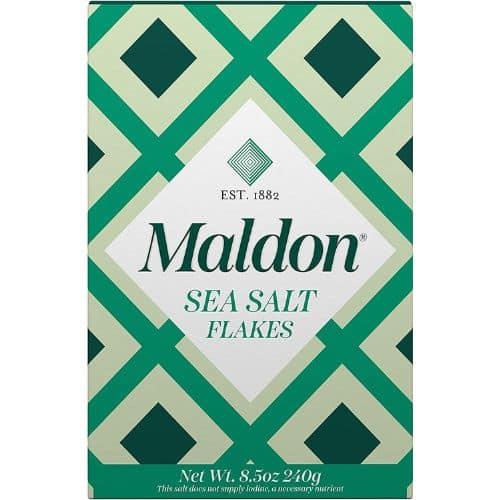
- 1 teaspoon Celtic salt buy here
- ½ teaspoon freshly cracked pepper buy here
Instructions
Gluten Free Flatbread:
- Combine dry ingredients, set aside.
- In a small mixing bowl, whisk yogurt and water together. Add dry ingredients and combine everything with a wooden spoon. Using hands, work the dough until fully combined and is soft and play-dough consistency.
- Note: If the dough is too dry, (not forming a ball and is flakey), add water by a tablespoon until the ball comes together. If it is too sticky (dough sticking to your hands), add cassava flour by a tablespoon until the ball comes together. It should be fairly easy and pliable to work with.
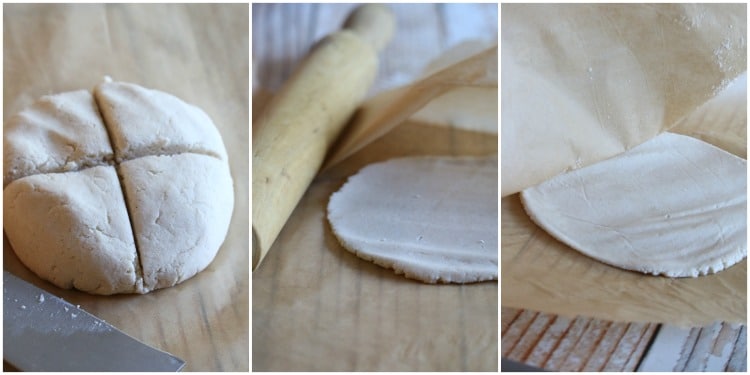
- Turn the ball of dough onto a cutting board. Using your palm, gently press into the ball to form a thick disk. Cut the disk of dough in half and crosswise in half to form 4 similar size pieces.
- Working with one piece at a time, roll the dough between 2 pieces of parchment paper until you form a circular shape with slightly less than ¼" thickness. You may need to flip the dough (keeping it between the paper) and roll on the other side.
- Carefully pull away the parchment paper from one side of the dough round.
- Shape the edges with fingers to form uniform rounds.
- Heat a medium cast iron skillet over medium heat.
- Place each flattened dough round on hot skillet and cook for about 3-4 minutes. Flip and continue to cook on the other side for another 2-3 minutes or until golden and cooked through.
- Transfer to a plate and cover with a clean kitchen towel. Repeat with remaining 3 balls of dough.
- Enjoy with dipping oil immediately or keep stored in airtight container for up to 5 days.
Dipping Oil:
- Combine all ingredients and give a quick stir.