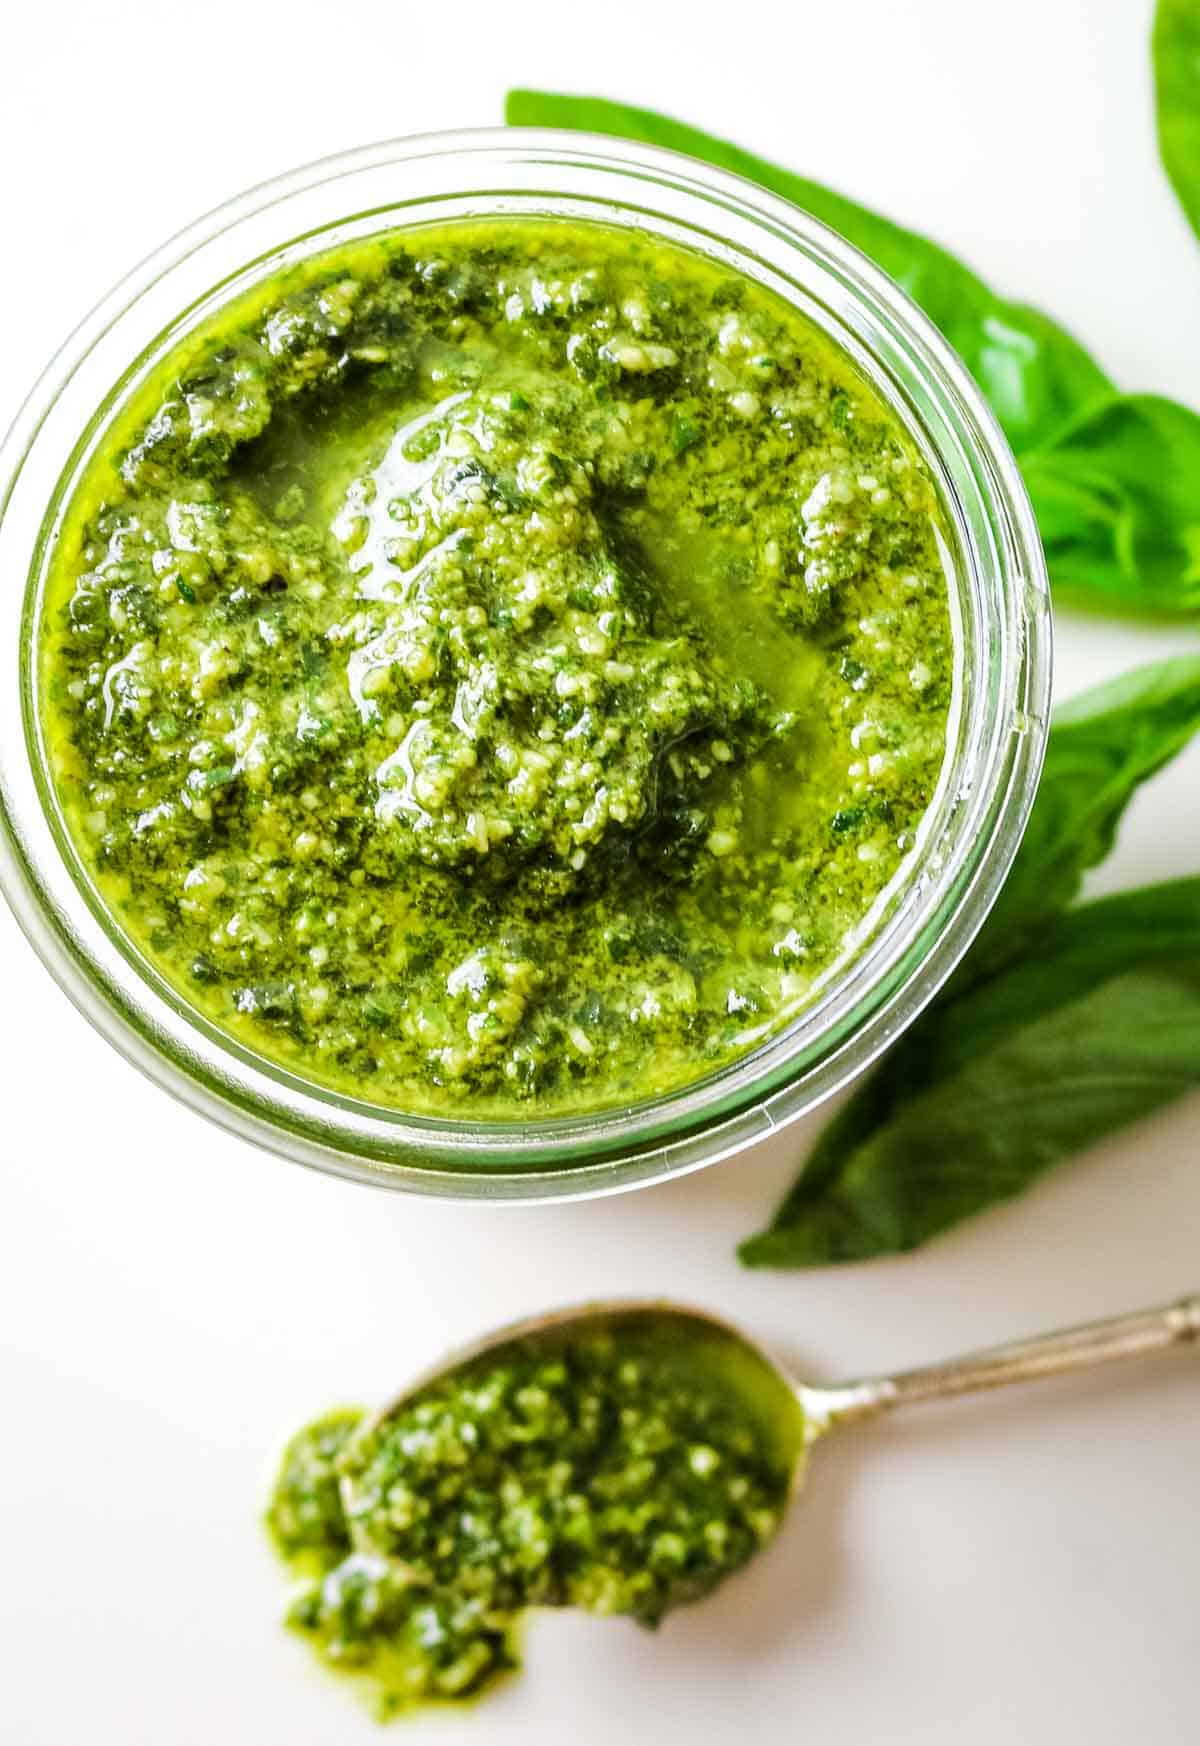
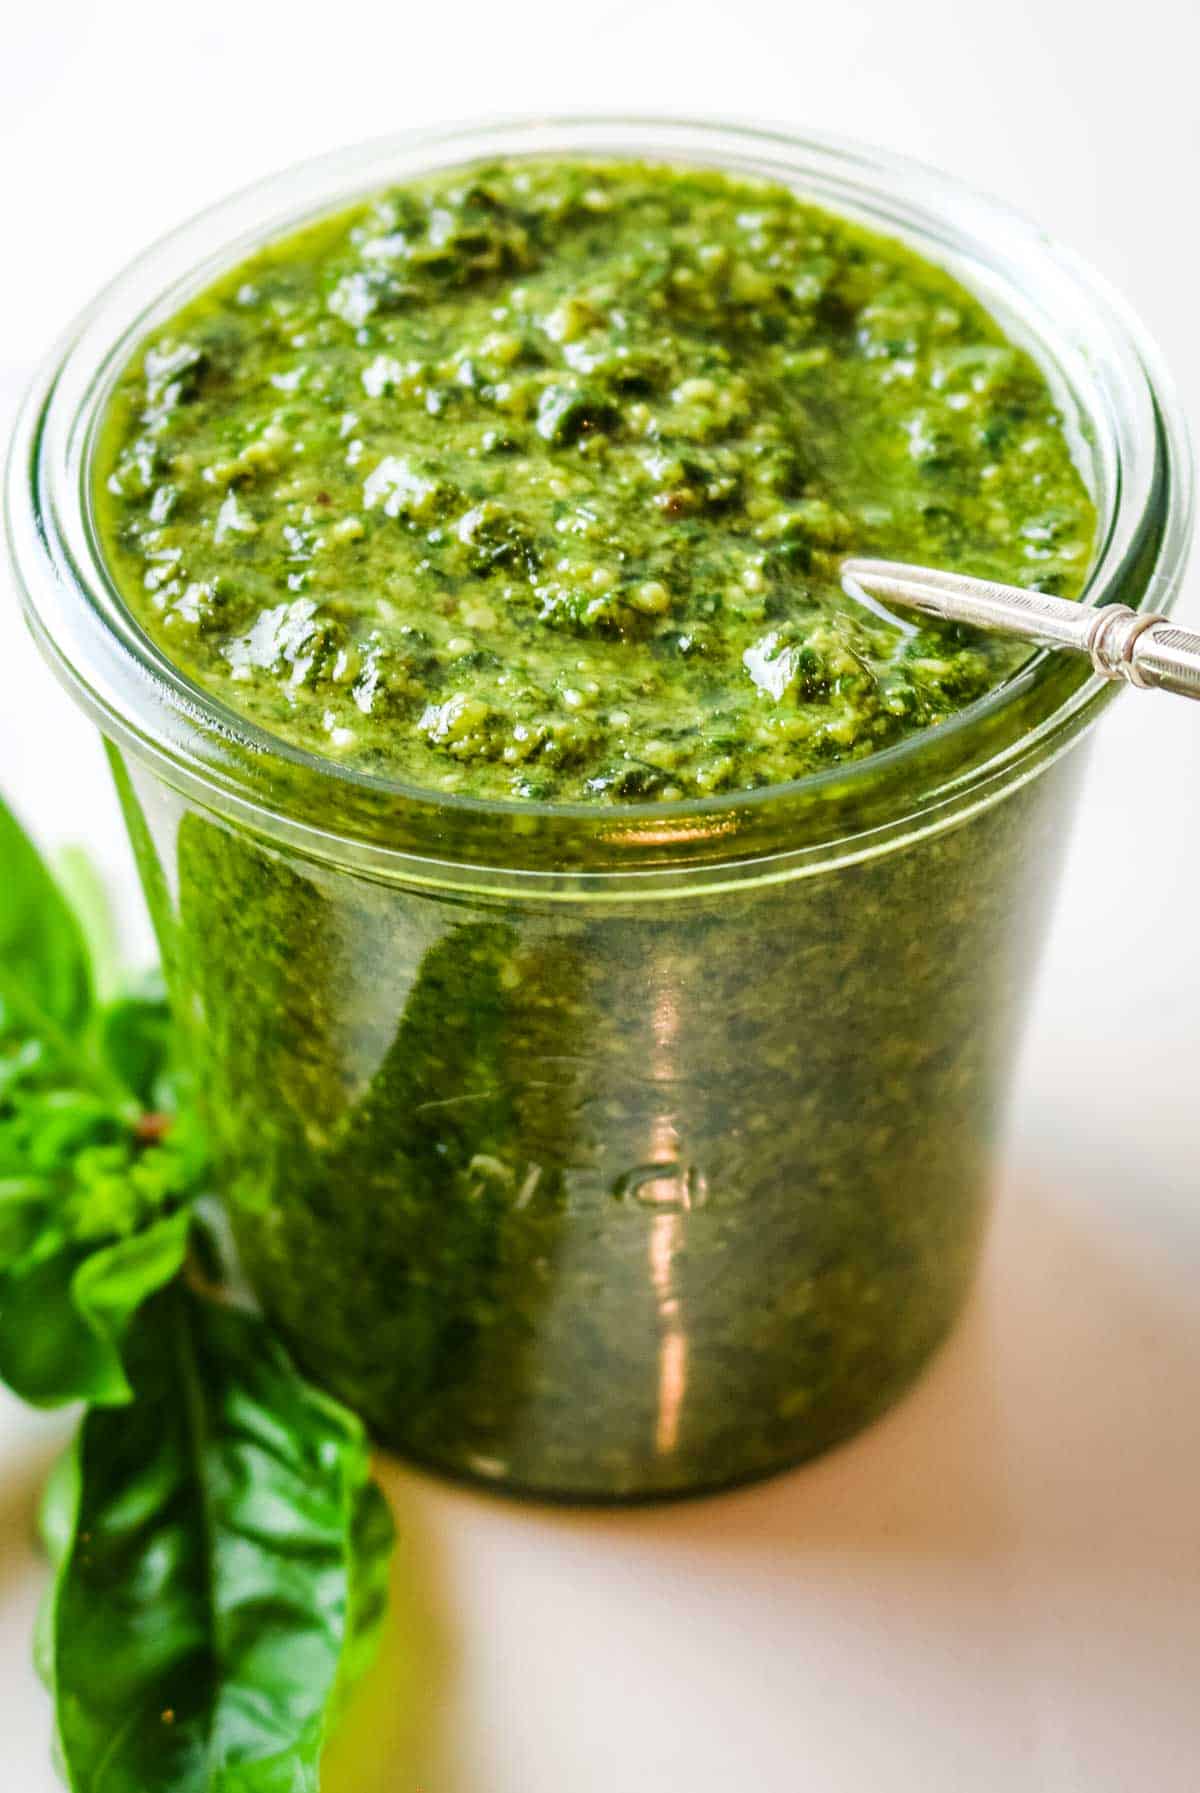
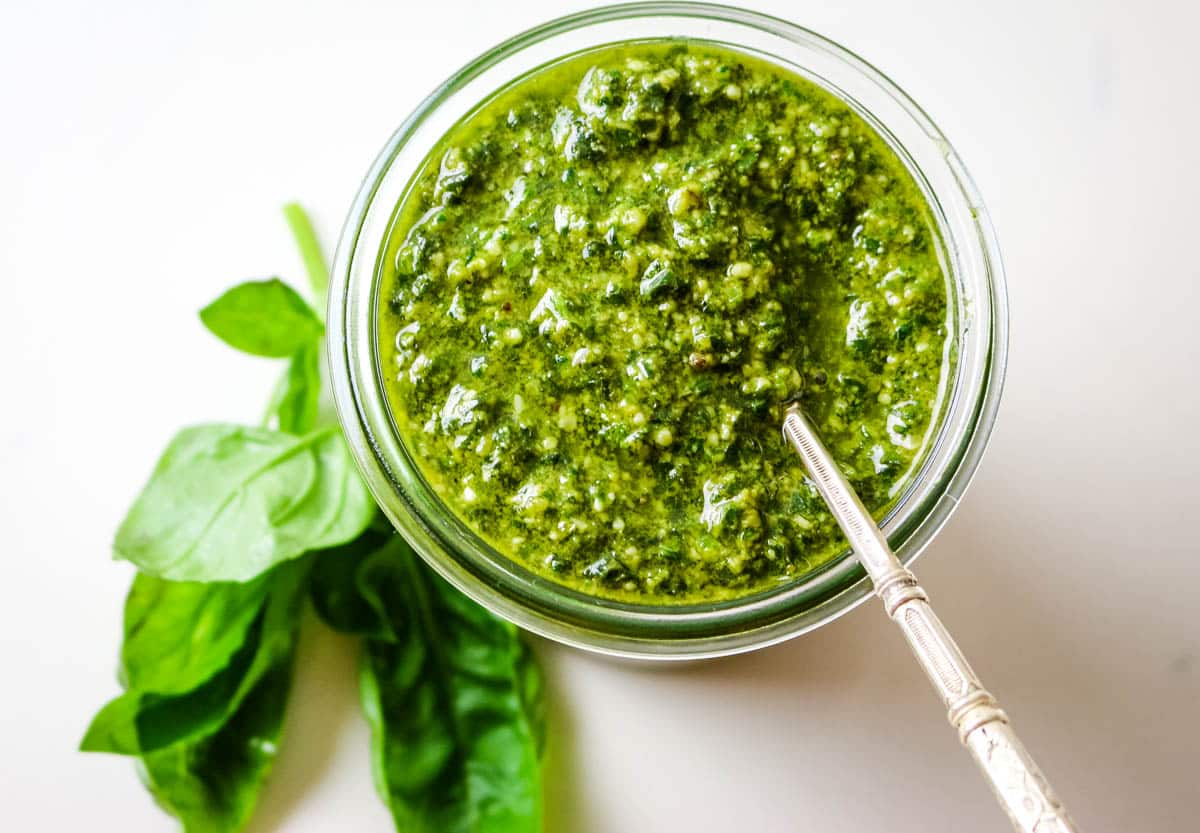
A delicate sauce of fresh ingredients held together with a drizzle of extra-virgin olive oil, this simple yet Authentic Fresh Basil Pesto recipe comes together quickly in a food processor.
Classic pesto, also known as Pesto alla Genovese, is an Italian sauce originating from Genoa, the capital city of Liguria Italy. It's made out of fresh basil, pine nuts, garlic, aged hard cheese, and blended together with extra virgin olive oil.
Traditionally, it's pounded with a mortar and pestle but now can easily be made in a blender or food processor.
If you have a generous crop of basil in your garden, making a batch of homemade fresh basil pesto is a great way to enjoy your bounty. It also freezes beautifully making it a great herb to preserve for winter months.
[feast_advanced_jump_to]❤Why you'll love this
What is not to love about homemade pesto? It far exceeds store-bought version and is a great accompaniment to many dishes.
- Taste: it's fresh yet savory, herby and lively, subtly salty thanks to the cheese; and slightly garlicky
- Texture: thick and partly chunky but uniformly smooth because of the lovely richness of olive oil
- Level of difficulty: easy and can be made in 15 minutes and a bonus that pesto freezes beautifully
- Picky eaters: this pesto recipe is loved by adults and kids alike
💭Did you know? Pesto is a sauce originating in Genoa, the capital city of Liguria, Italy. It is traditionally made with Genovese basil, a common variety of sweet basil.
🍲Ingredients

- fresh basil: sweet basil (Gevonese) is the most common type to make fresh pesto, skip Thai basil as it is too pungent. When choosing basil leaves, go with small baby leaves as the taste tends to be sweeter. Also, make sure you use only the leaves and no stems.
- pine nuts: traditionally pine nuts are used in pesto. These are best stored in the freezer as they go rancid quickly due to their high fat content. Trader Joe's has the best price.
- garlic: young and fresh; unpeeled
- Pecorino Romano: a good aged hard cheese is a must
- extra virgin olive oil: use your favorite good quality olive oil but it's not necessary to go for the premium - in fact go for light and delicate and skip the ones that have strong, peppery notes; this is a good option
- salt and pepper: finishing touches to the pesto; start low and adjust as needed, always taste testing
See recipe card for exact quantities.
📖Substitutions and Variations
There are certain things that must be true if you want a classic pesto recipe. However, it's also fun to experiment with other flavors and variations.
- Basil: I sometimes do 1:1 basil and spinach to stretch my basil and especially if it's more pungent than desired. Arugula is a great substitute too.
- Nuts: If you're going for the truly authentic version of basil pesto, it's a good idea to stick to pine nuts. But in a pinch, you can use walnuts, cashews, or Macadamia nuts. These nuts naturally mimic that creamy texture of pine nuts.
- Cheese: Pecorino Romano is my favorite in basil pesto but Parmigiano Regiano works too. Your regular Parmesan cheese works; or use a combination of these three for a delicious blend.
This easy pesto recipe is naturally grain free and gluten free, however it does have dairy. The cheese is necessary to get the right consistency and flavor and therefore would not recommend omitting it to make this pesto dairy free.
💭Helpful Tips
- 🕐Time Saving Tip: Buy pre-shredded cheese; skip the roasting of nuts and garlic; have all ingredients ready to go because the blending goes quickly;
- 💲 Money Saving Tip: Fresh herbs are expensive. Instead, get a potted basil plant from Trader Joe's and stretch it with spinach or arugula; use basic Parmesan cheese instead of artisan variety; if using all pine nuts, make sure to store them in the freezer to extend shelf life
- 🗓Make-Ahead Tip: Basil pesto can be made up to 6 days in advance but frozen for up to 6 months.
- 🚫Food Safety: The growth of botulism spores is a concern in pesto due to the combination of garlic and oil. Use clean, sanitized jars and store in the refrigerator for no more than 7 days. Freeze what pesto will not be immediately used up. You can also add an acid like lemon juice to lower the pH.
💭Make it Nutrient-Dense: Artisan cheese like Pecorino Romano is made out of sheep's milk and is generally a healthier option than cow's milk cheese because of the grass-grazing that sheep are allotted. Parmigiano Reggiano is traditionally made with raw cow's milk with live enzymes and microbes intact.
👩🏽🍳Instructions
The complete printable recipe is below in the recipe card for your convenience.
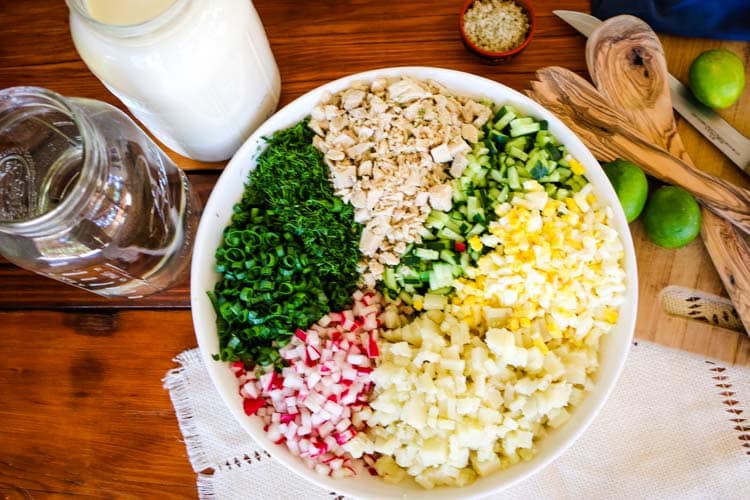
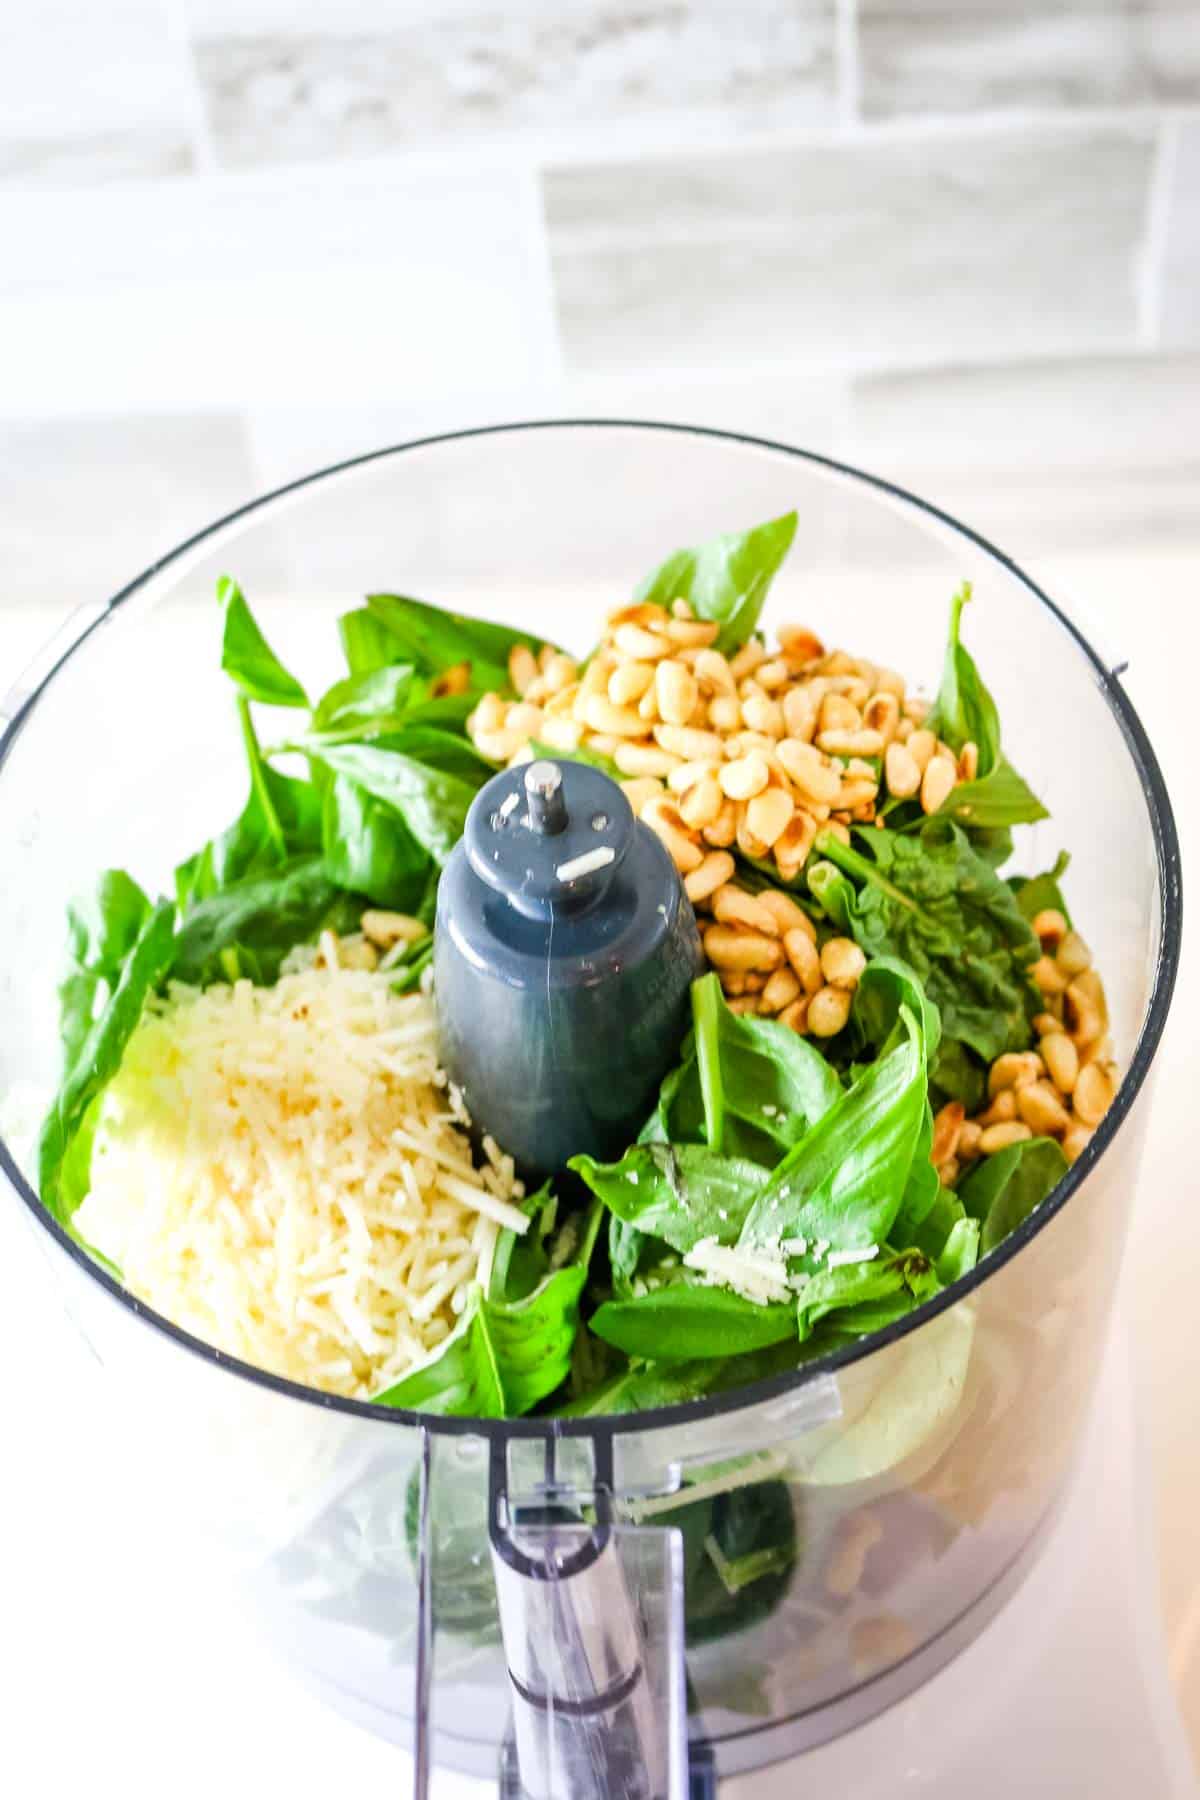
This homemade basil pesto calls for these ingredients that you will need: fresh basil, pine nuts, garlic, Pecorino cheese, salt and pepper.
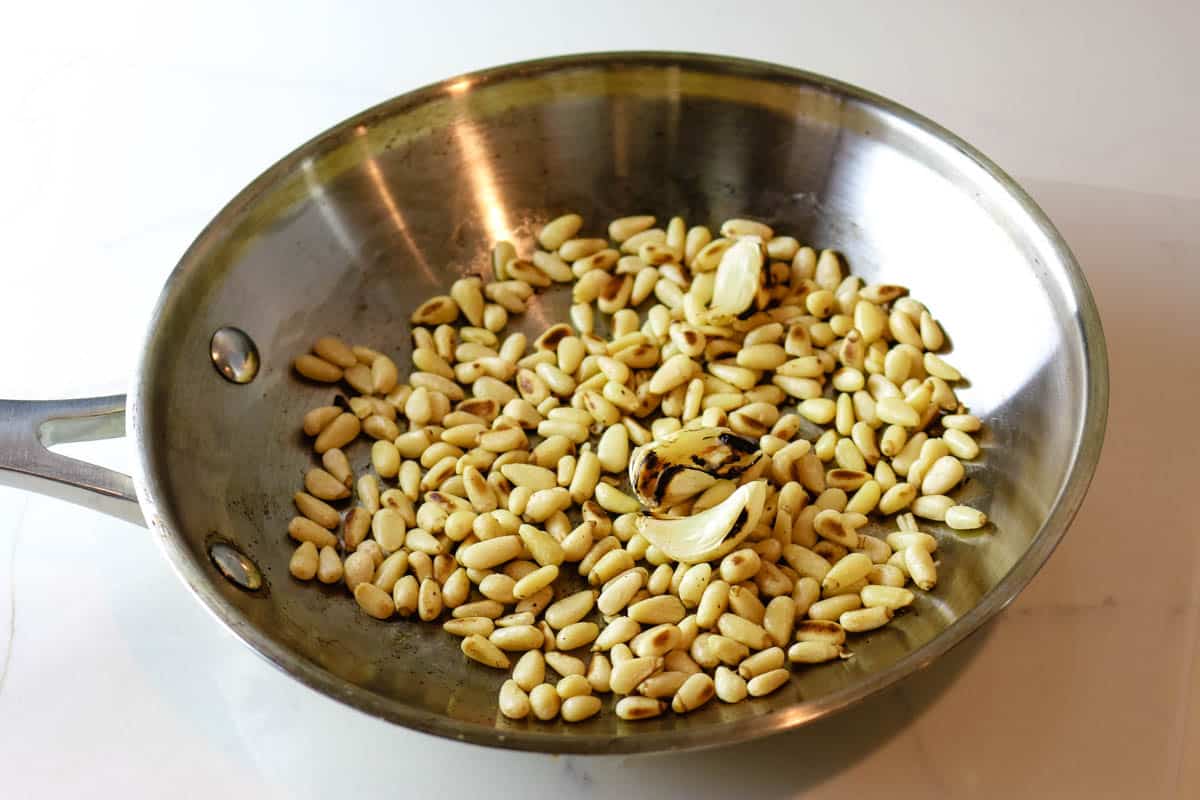
Step 1. Toast nuts and garlic
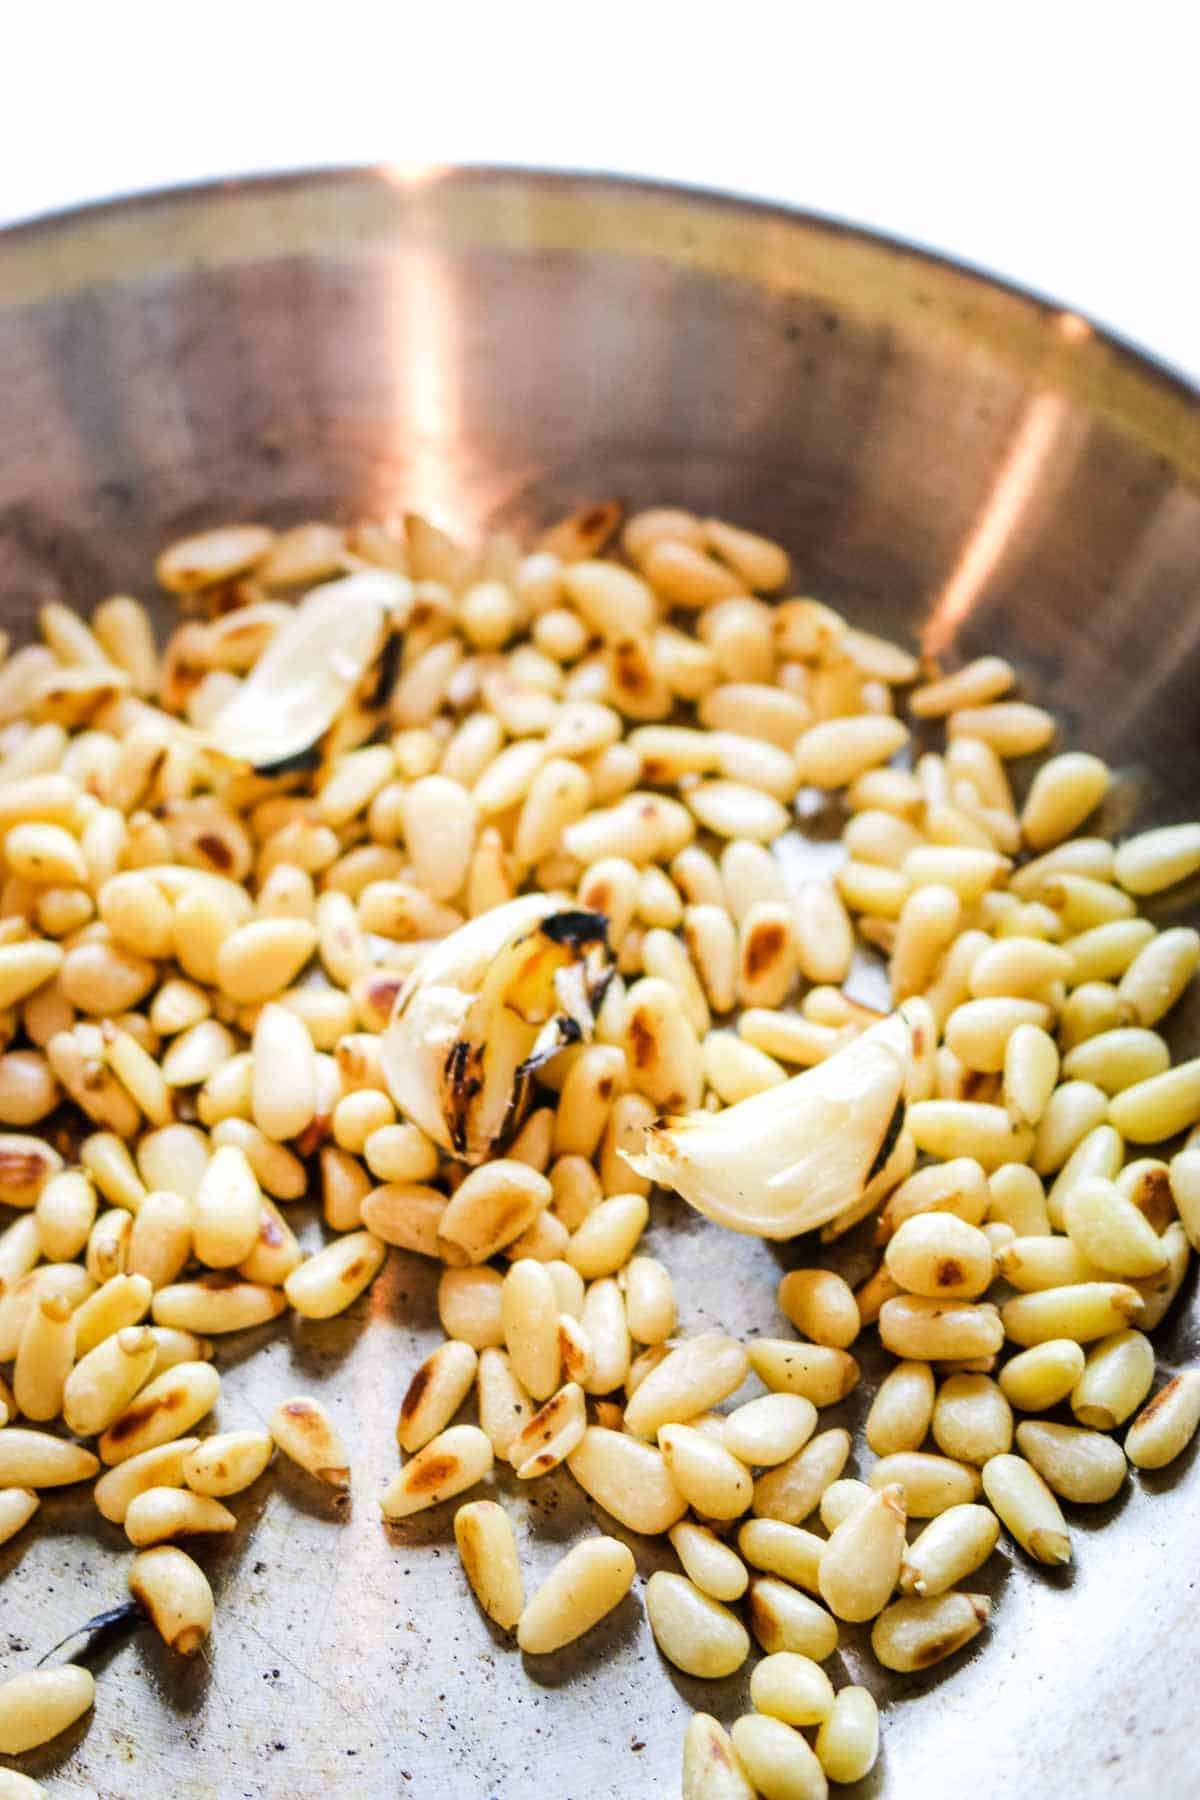
Although this step is optional, it adds a great depth of flavor.
In a small stainless steel pan, toast pine nuts and garlic on low heat, making sure not to scorch them. Set aside to cool.
💭Helpful Tip: Refrigerating the olive oil, bowl, and blade of your food processor or blender will prevent the basil from oxidizing and pesto turning mucky brown. Chill for 30 minutes prior to blending.
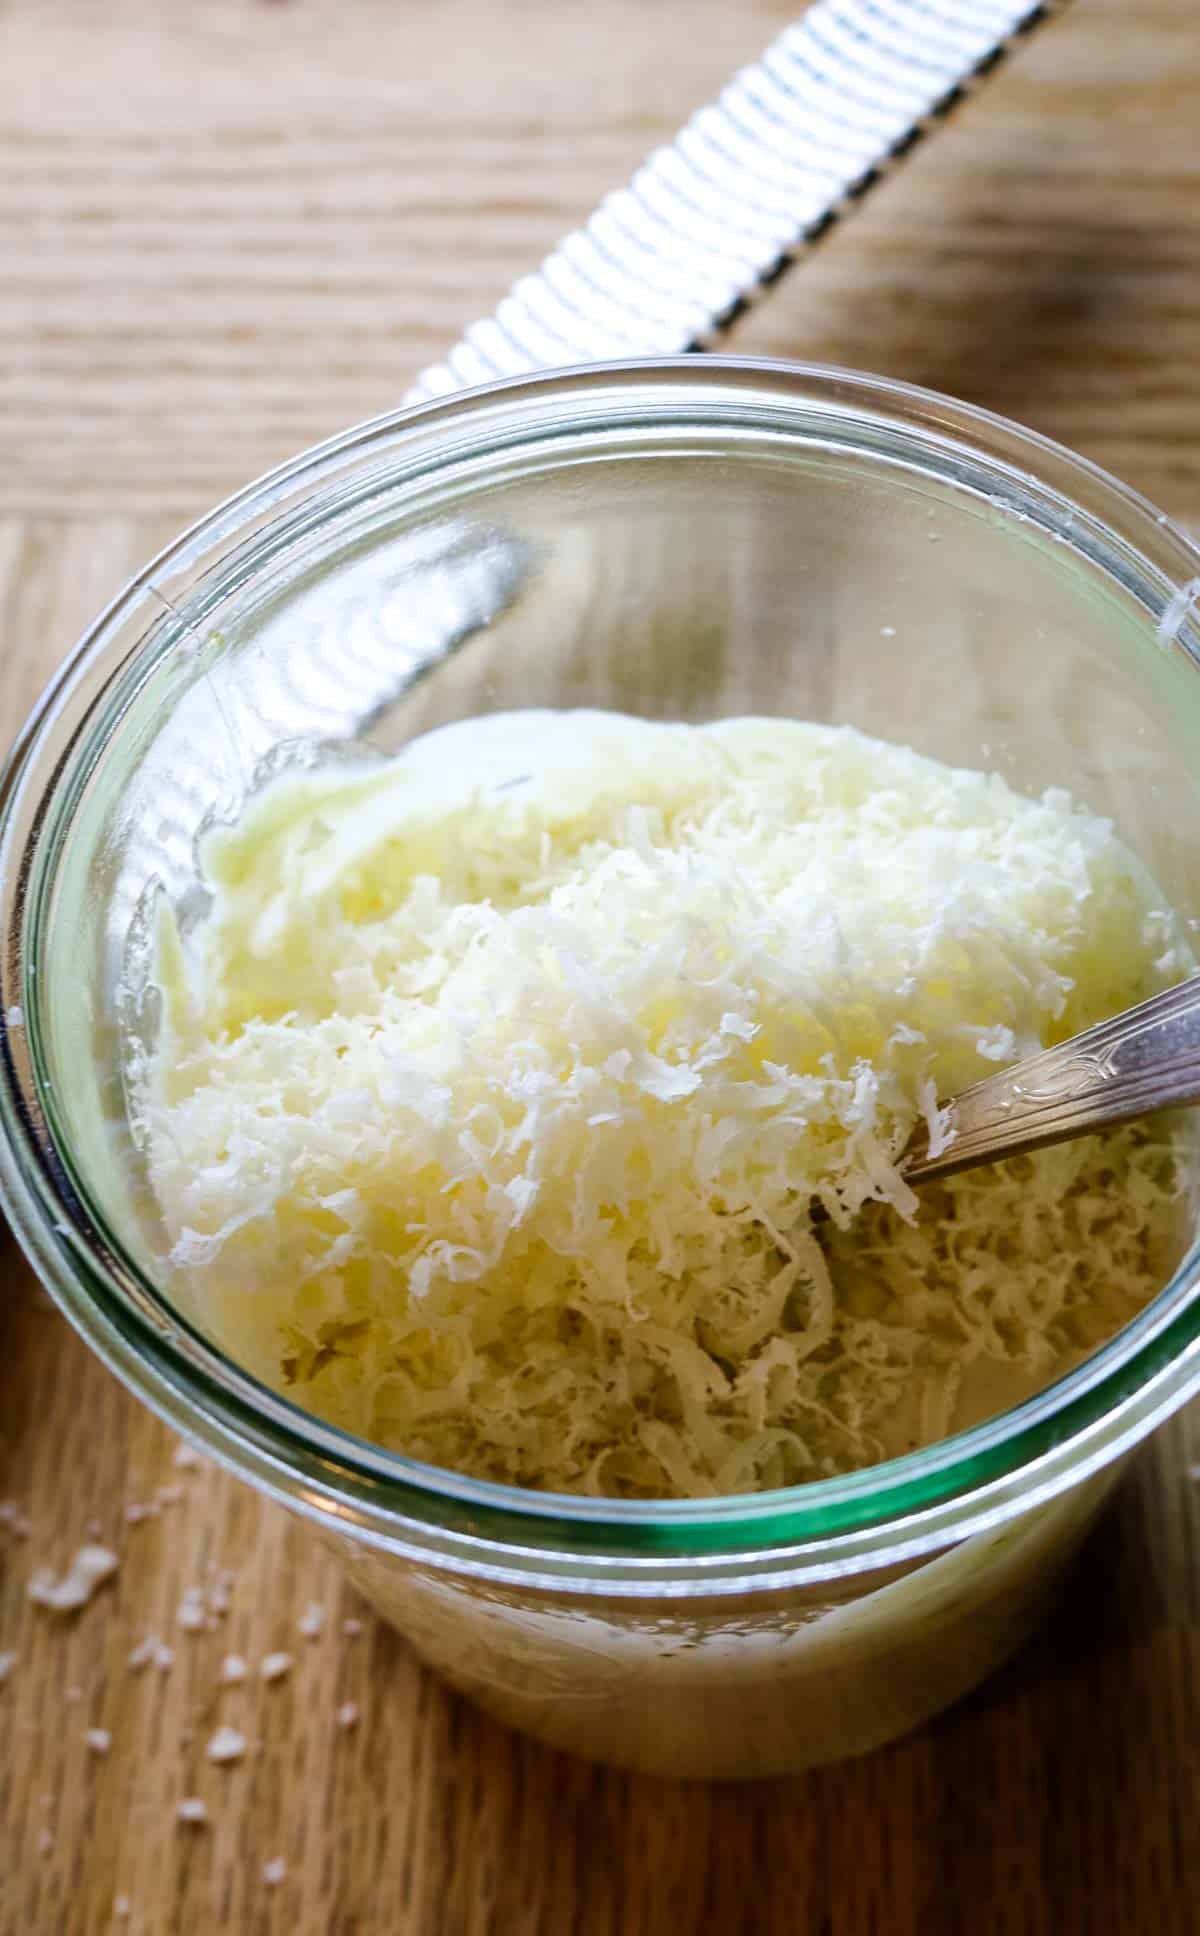
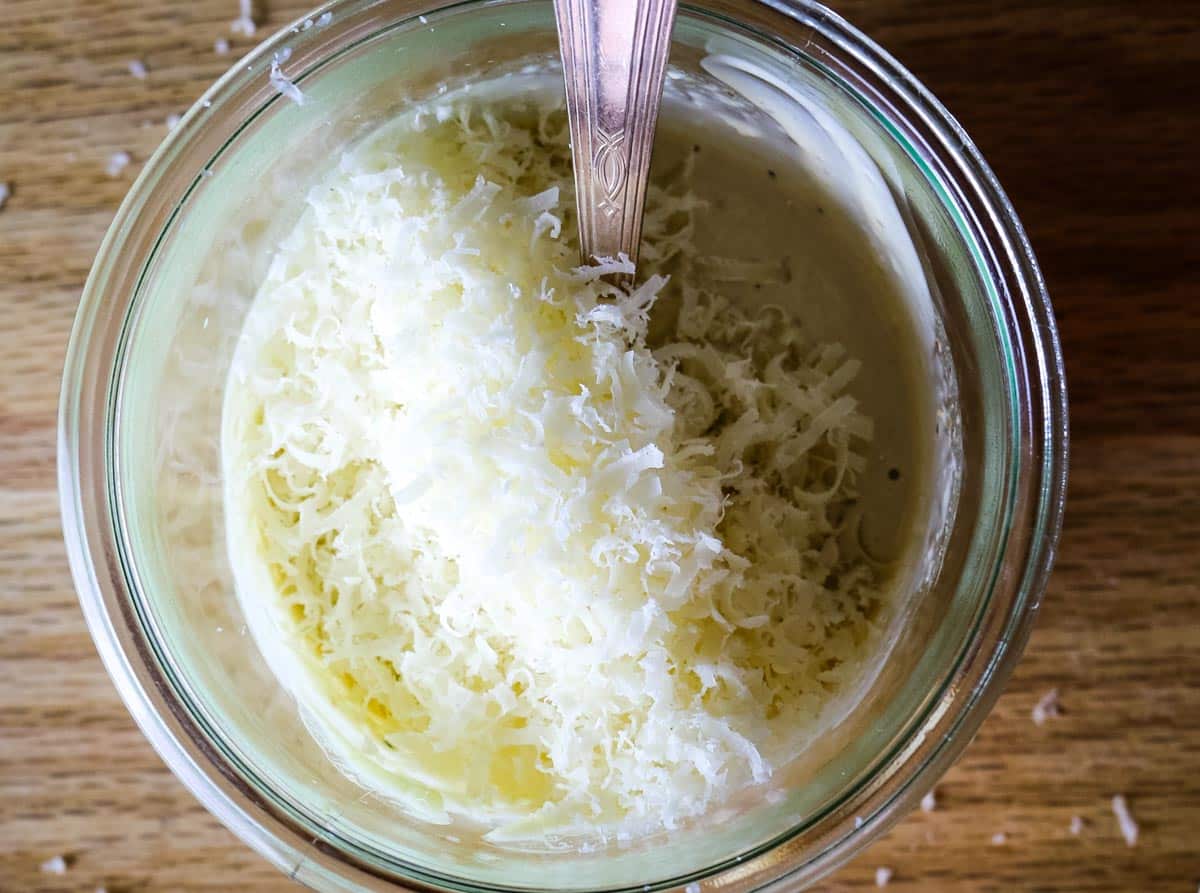
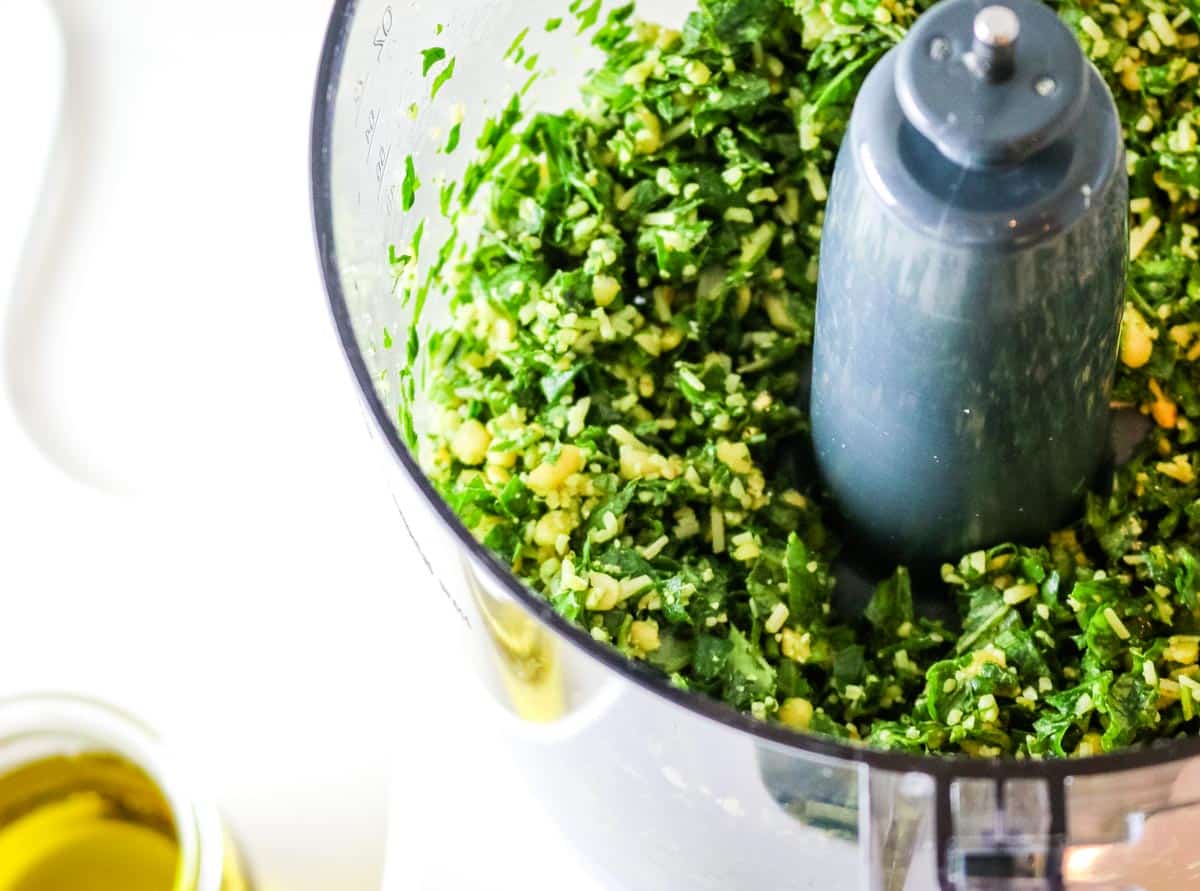
Step 2. Pulse
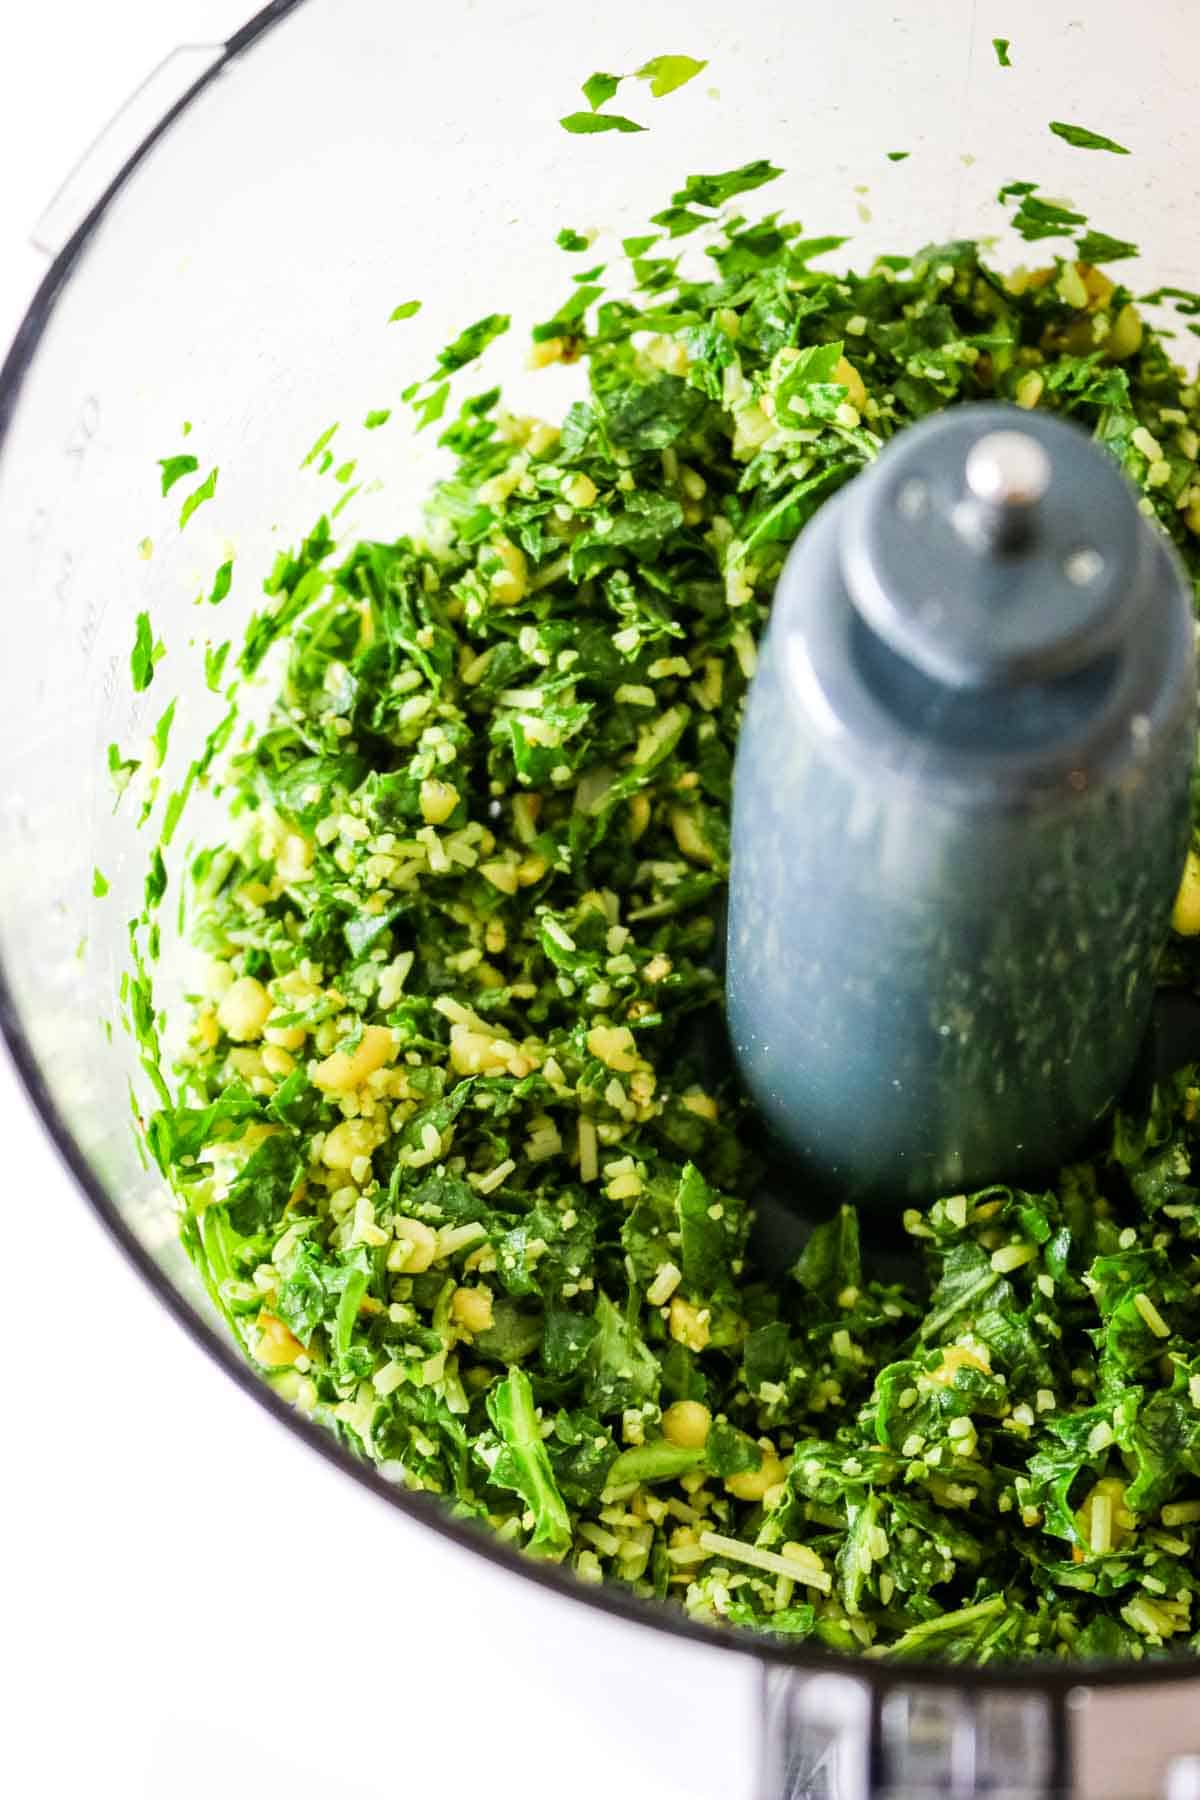
Add basil, pine nuts, garlic, and cheese to food processor. Pulse a few times until finely minced. Scrape down the sides of the bowl.
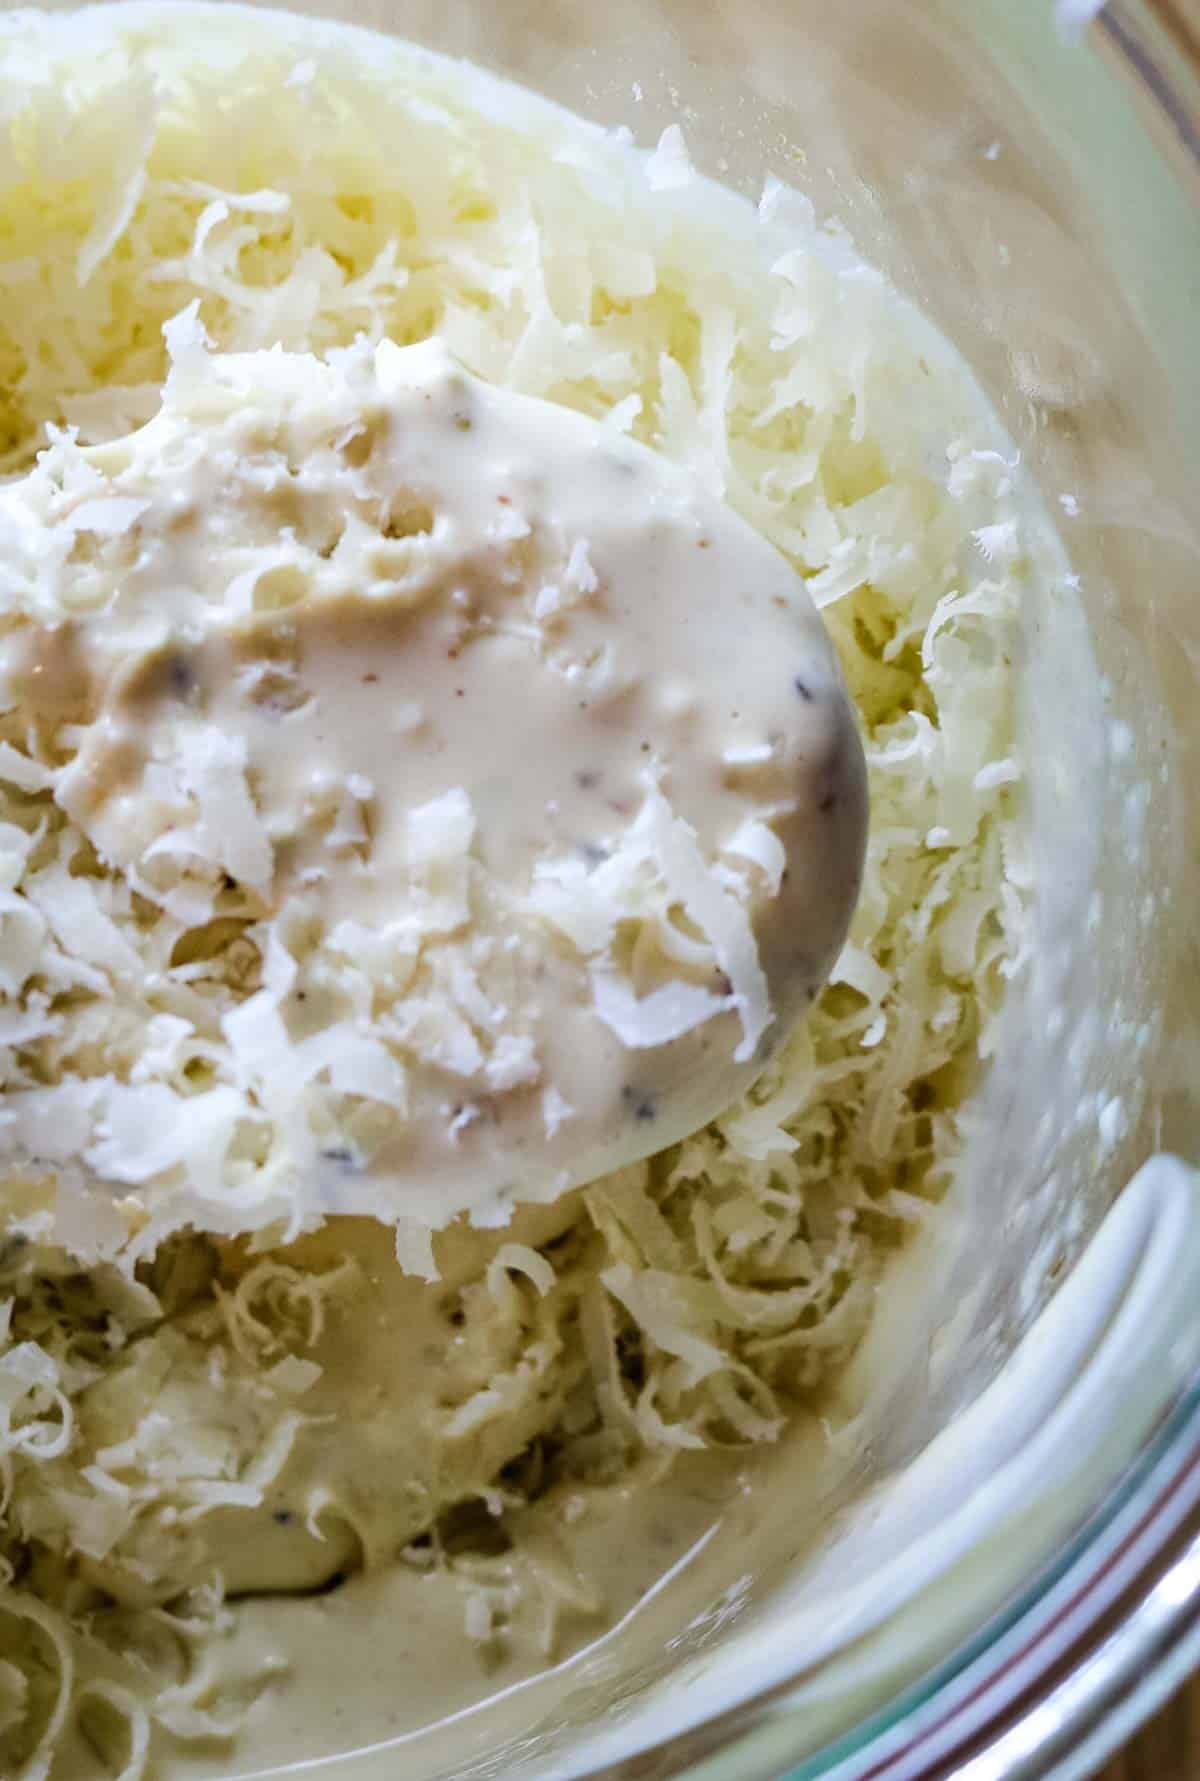
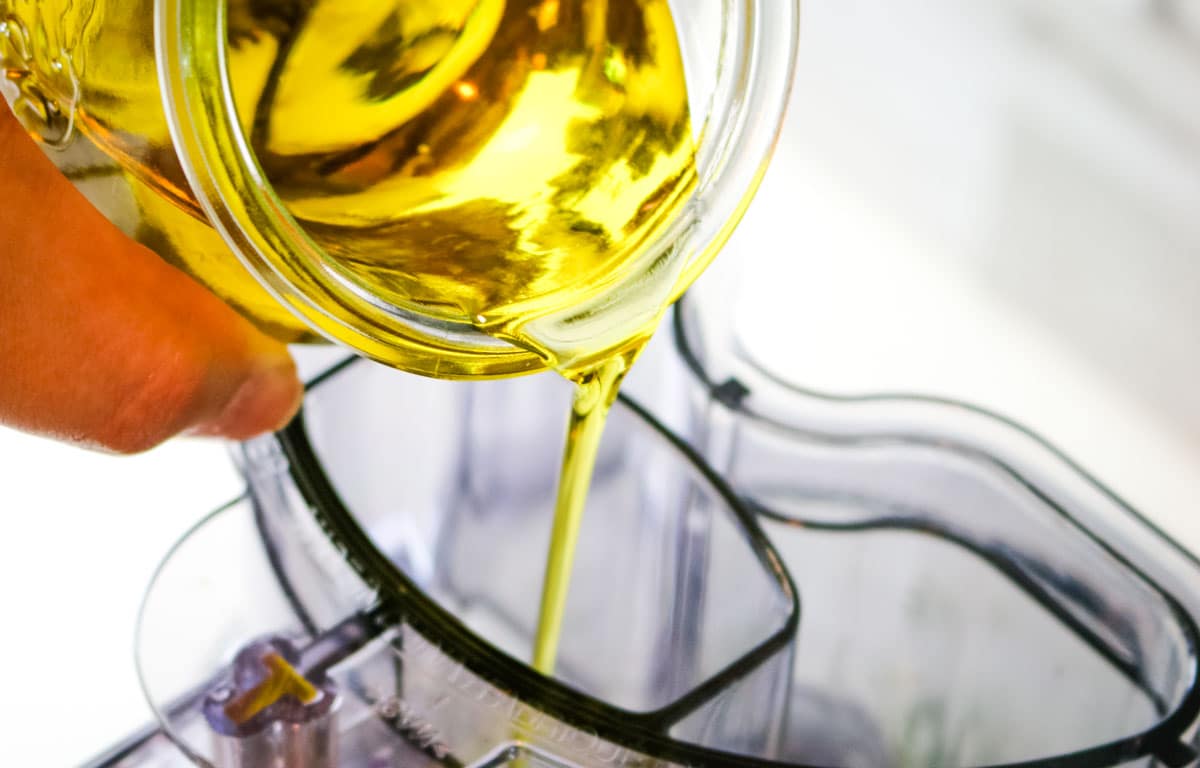
Step 3: Stream olive oil
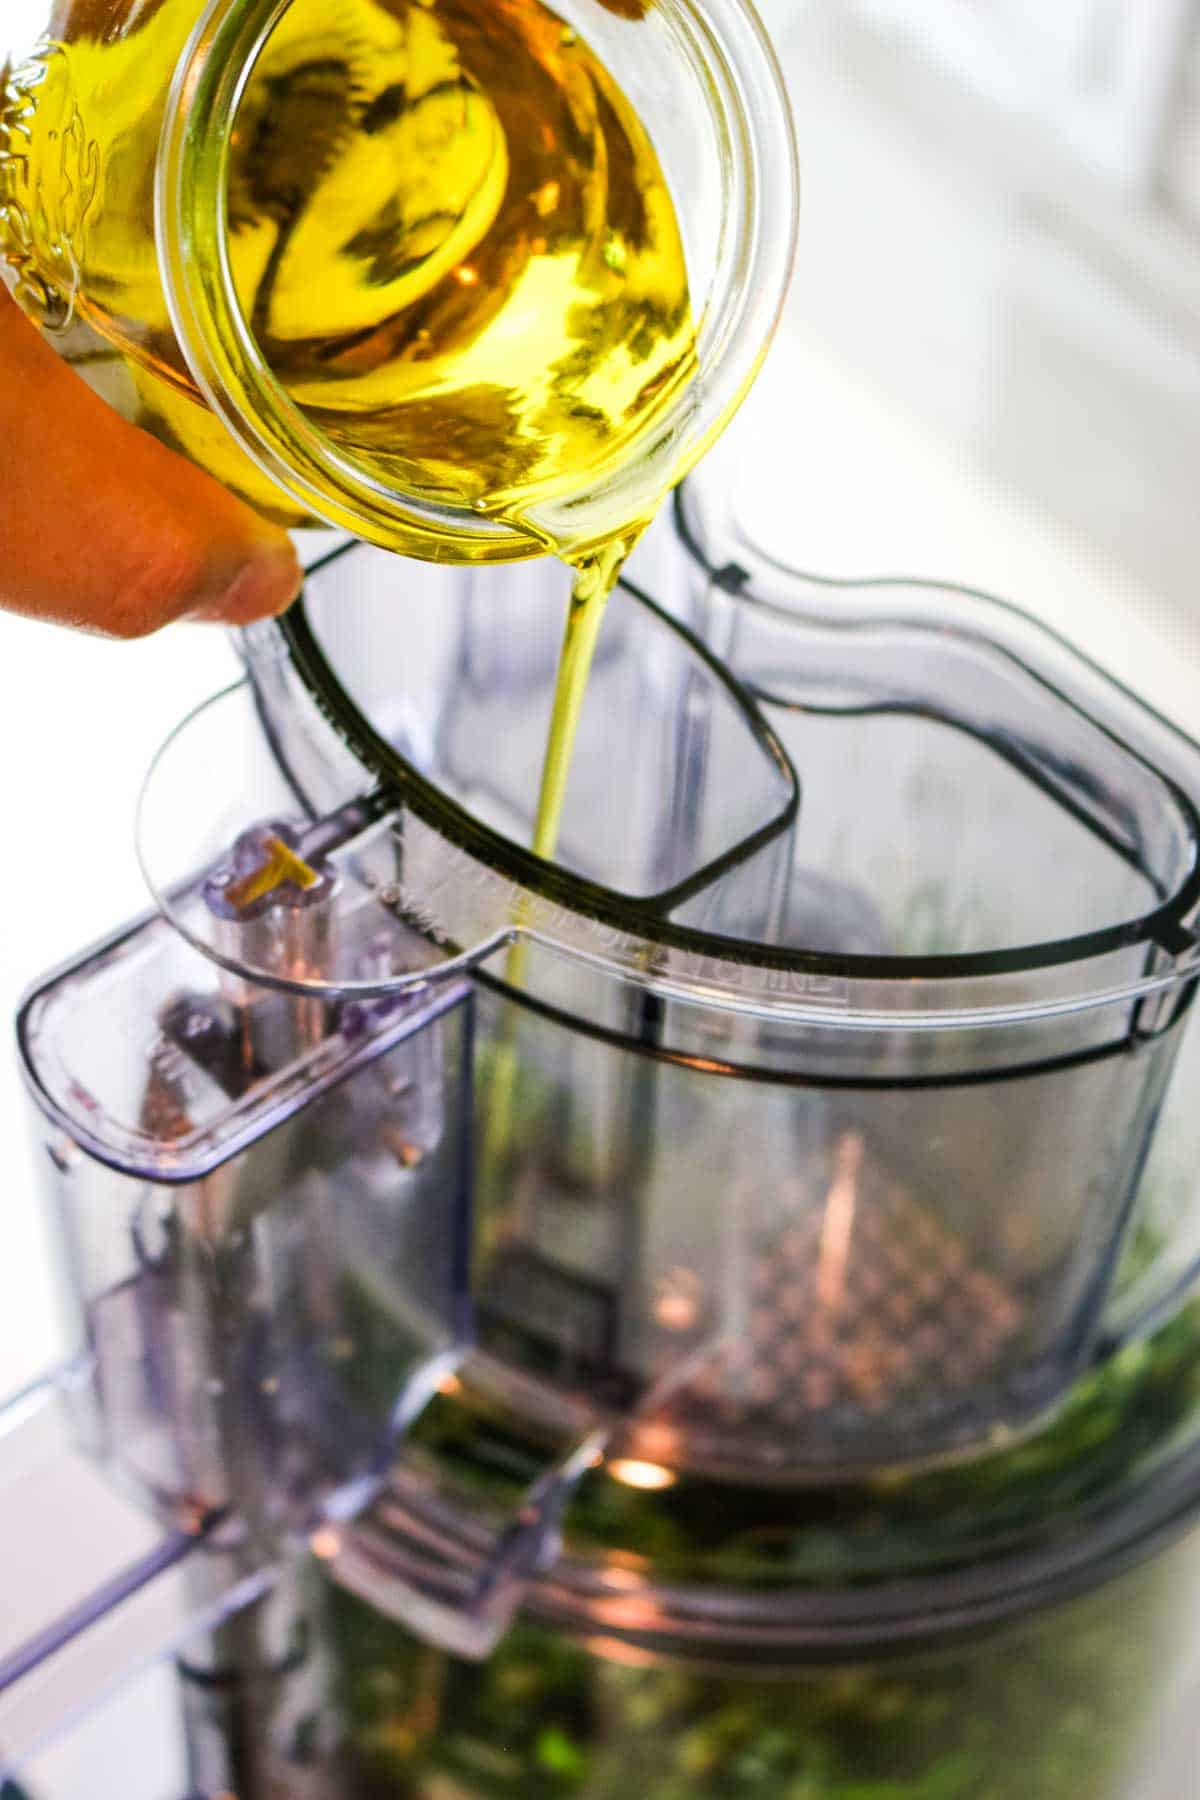
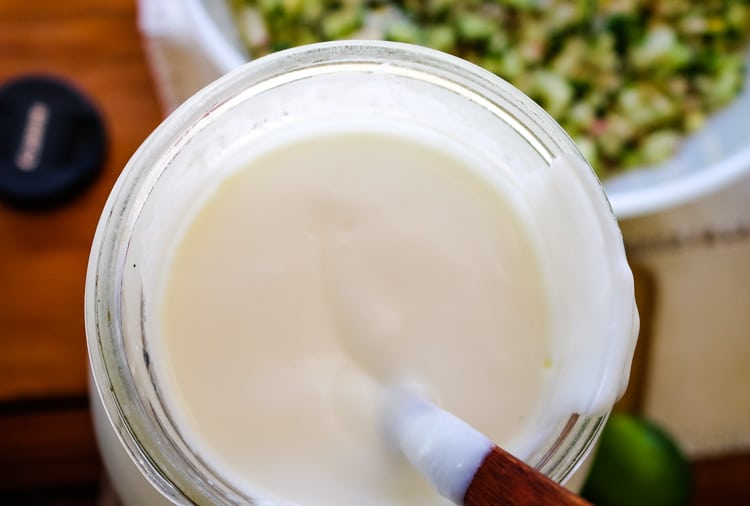
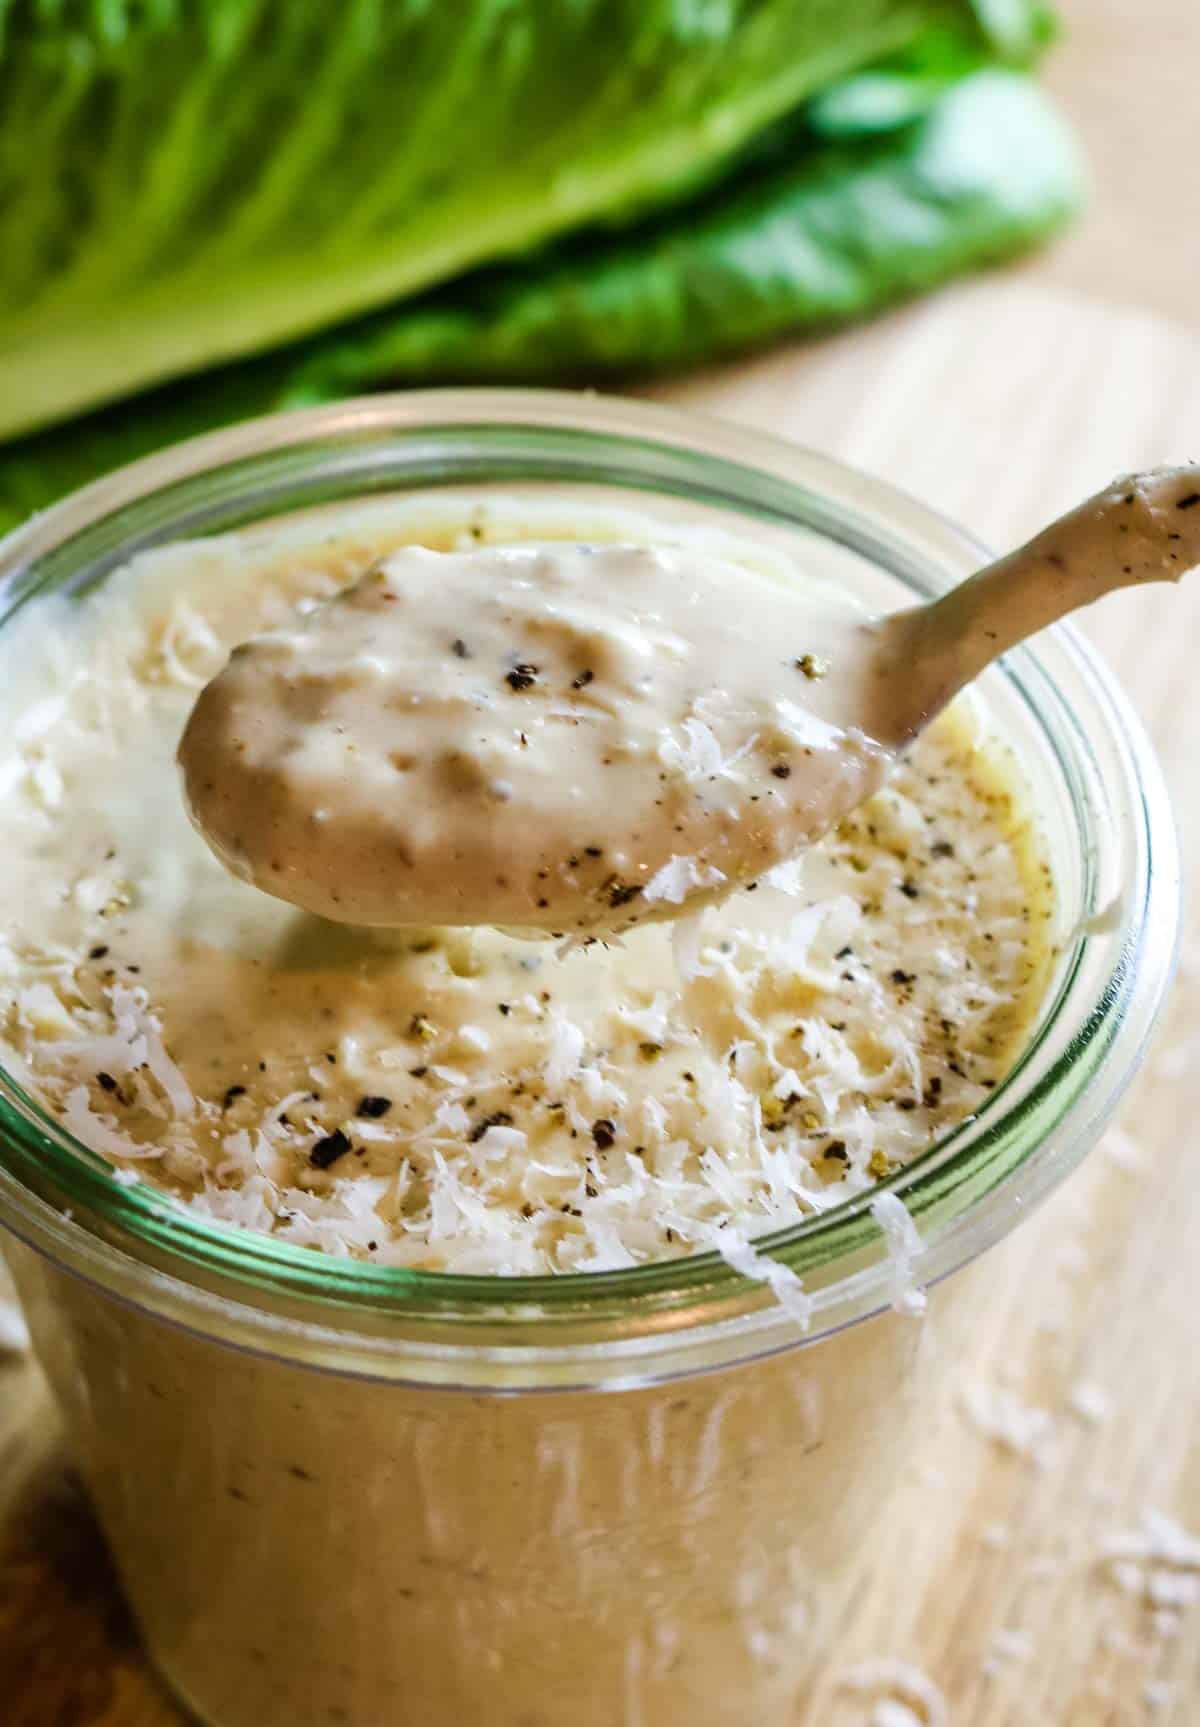
With the processor running on low, slowly drizzle the olive oil in a stream and blend until creamy.
Don't over blend to retain the slightly chunky texture. Taste and season with salt and pepper. If pesto looks like a thick clump, add a little more olive oil to loosen the texture.
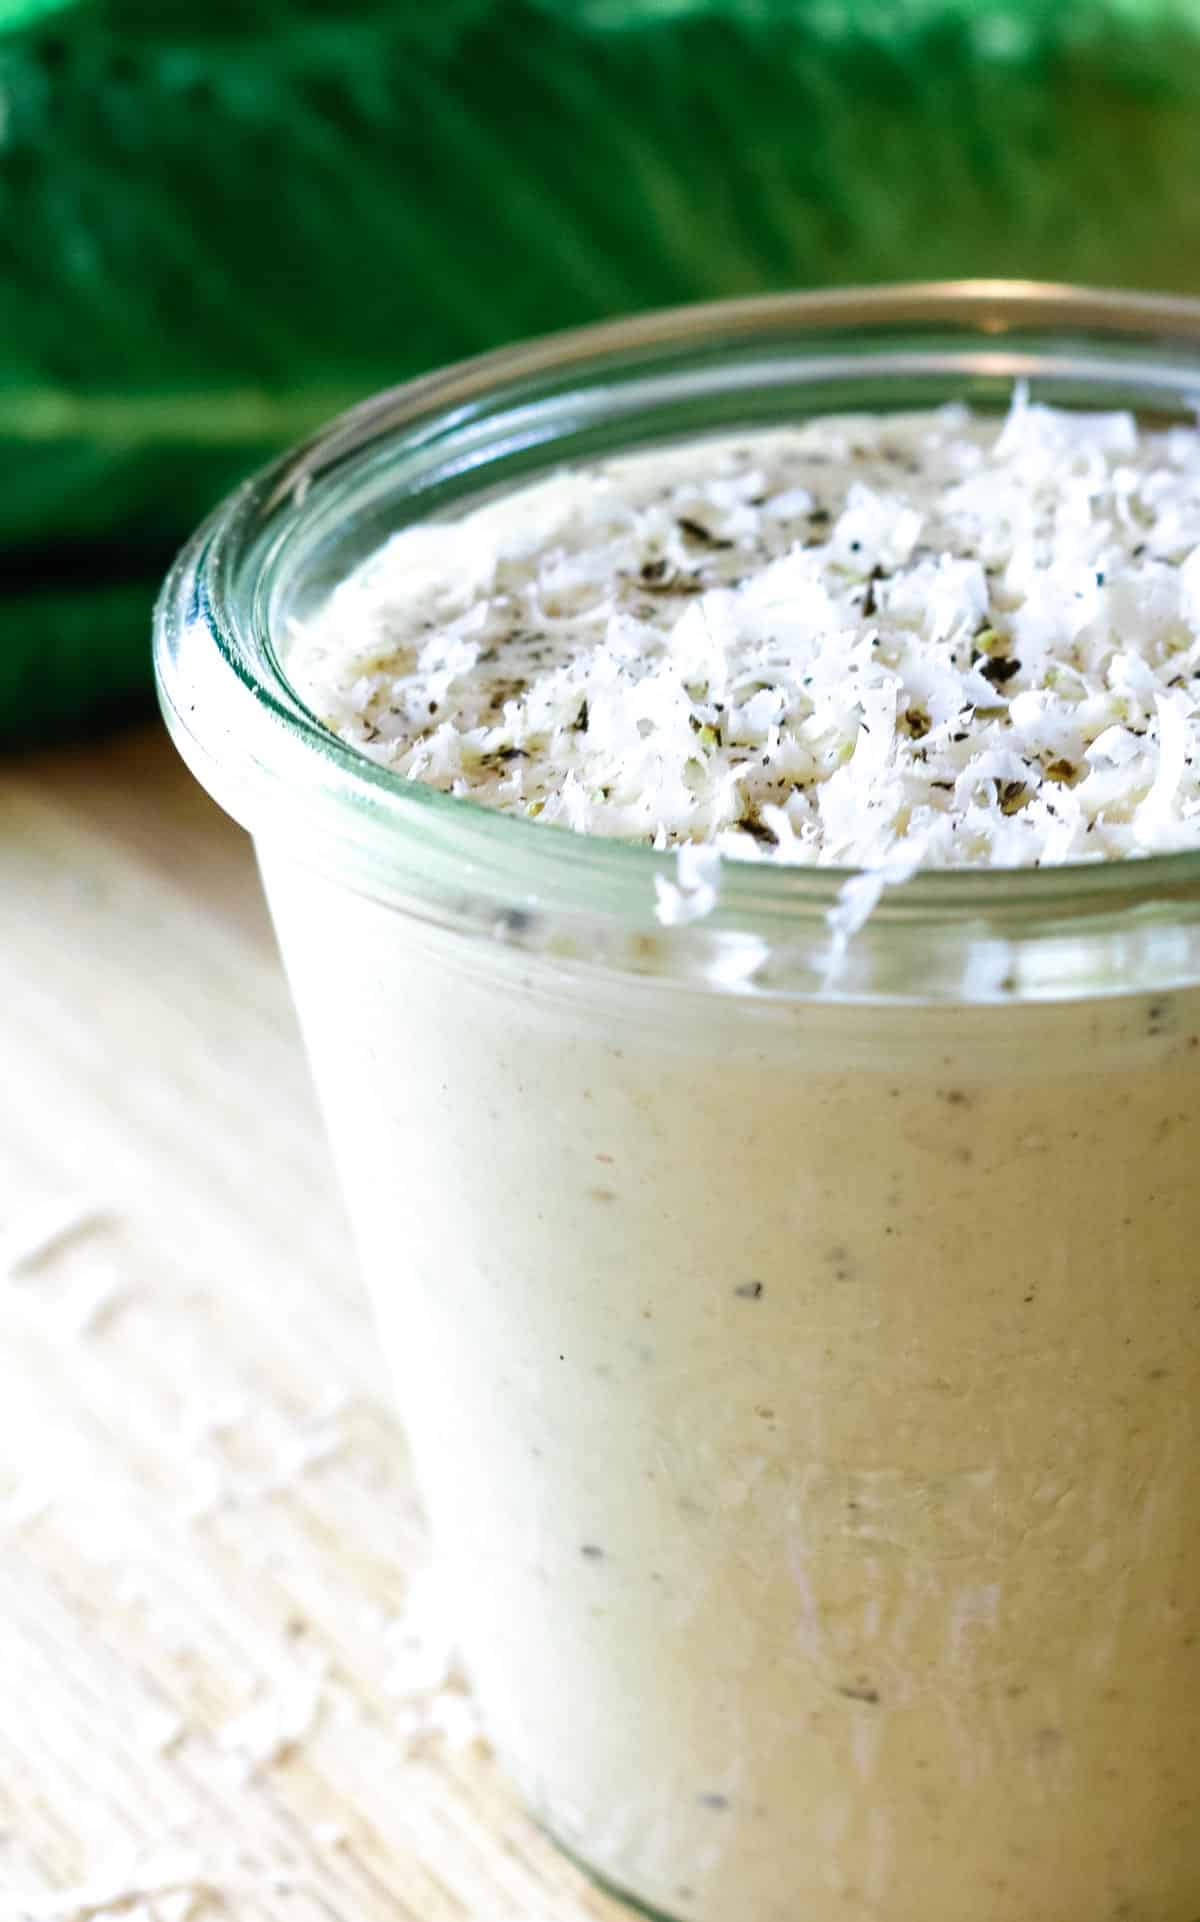
Serve in your favorite recipe or store in the refrigerator in an airtight container with a thin layer of olive oil to preserve freshness.
🔪Helpful Tools & Links
Below are some links that may be helpful to you as you make this recipe. You can find some of these items cheaper at your local store but it helps to have a link so you know what you're looking for.
- Tools: stainless steel pan, food processor
- Ingredients: real salt, black pepper, olive oil
- Storage Supplies: small mason jars, ice cube trays for freezing
🥗What to serve with pesto
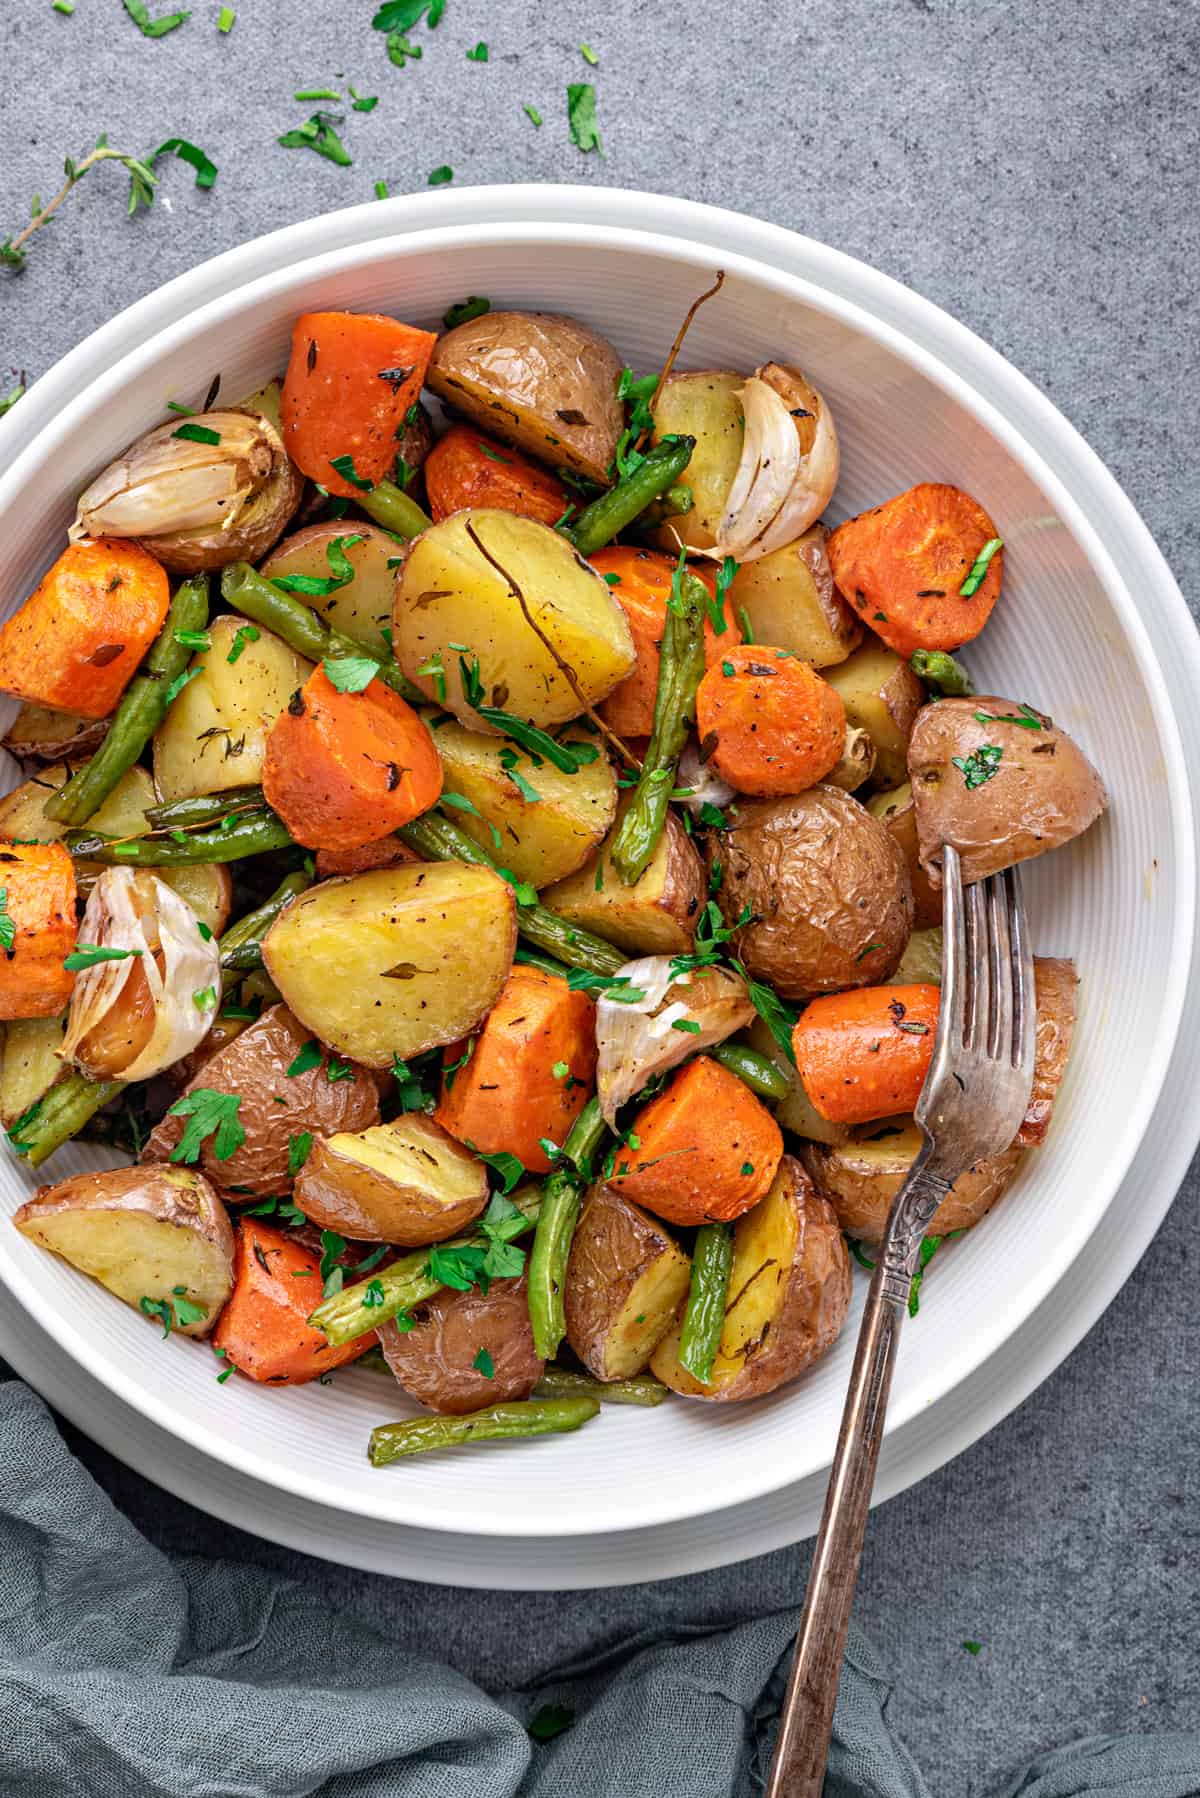
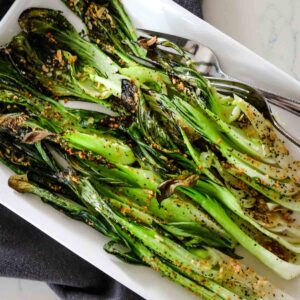
This easy basil pesto sauce can be enjoyed in different ways. It can be tossed with your favorite pasta or added to salmon, chicken, or a crusty sourdough. Enjoy this simple recipe over roasted vegetables for added flavor.
Fresh pesto sauce pairs well with:
- Fish en Papillote
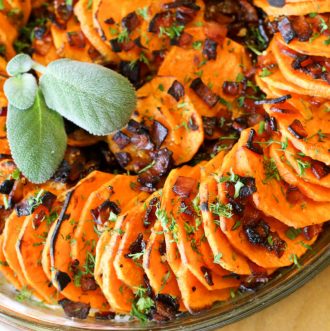
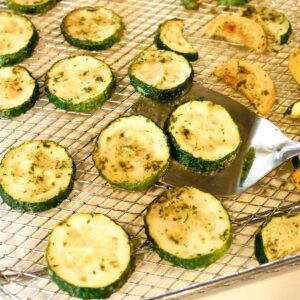
- Roasted Carrots with Garlic
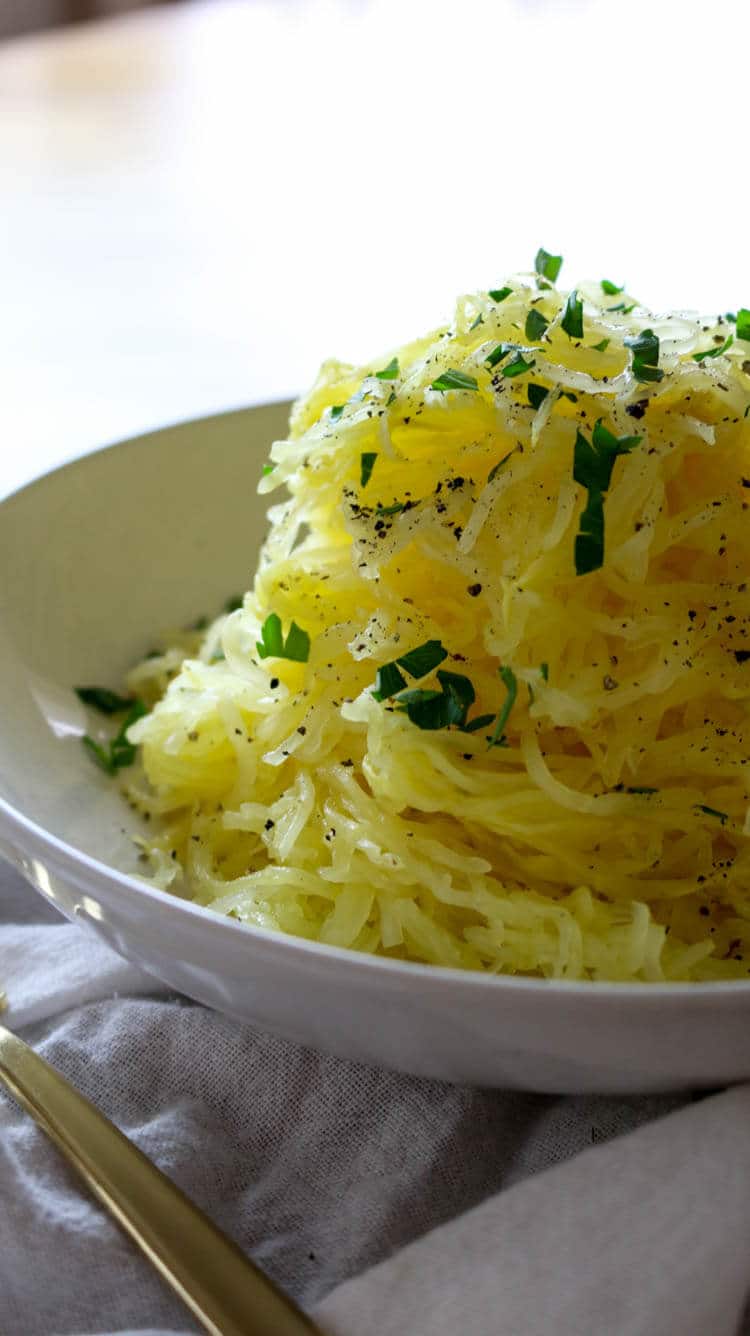
- Long Strands Spaghetti Squash
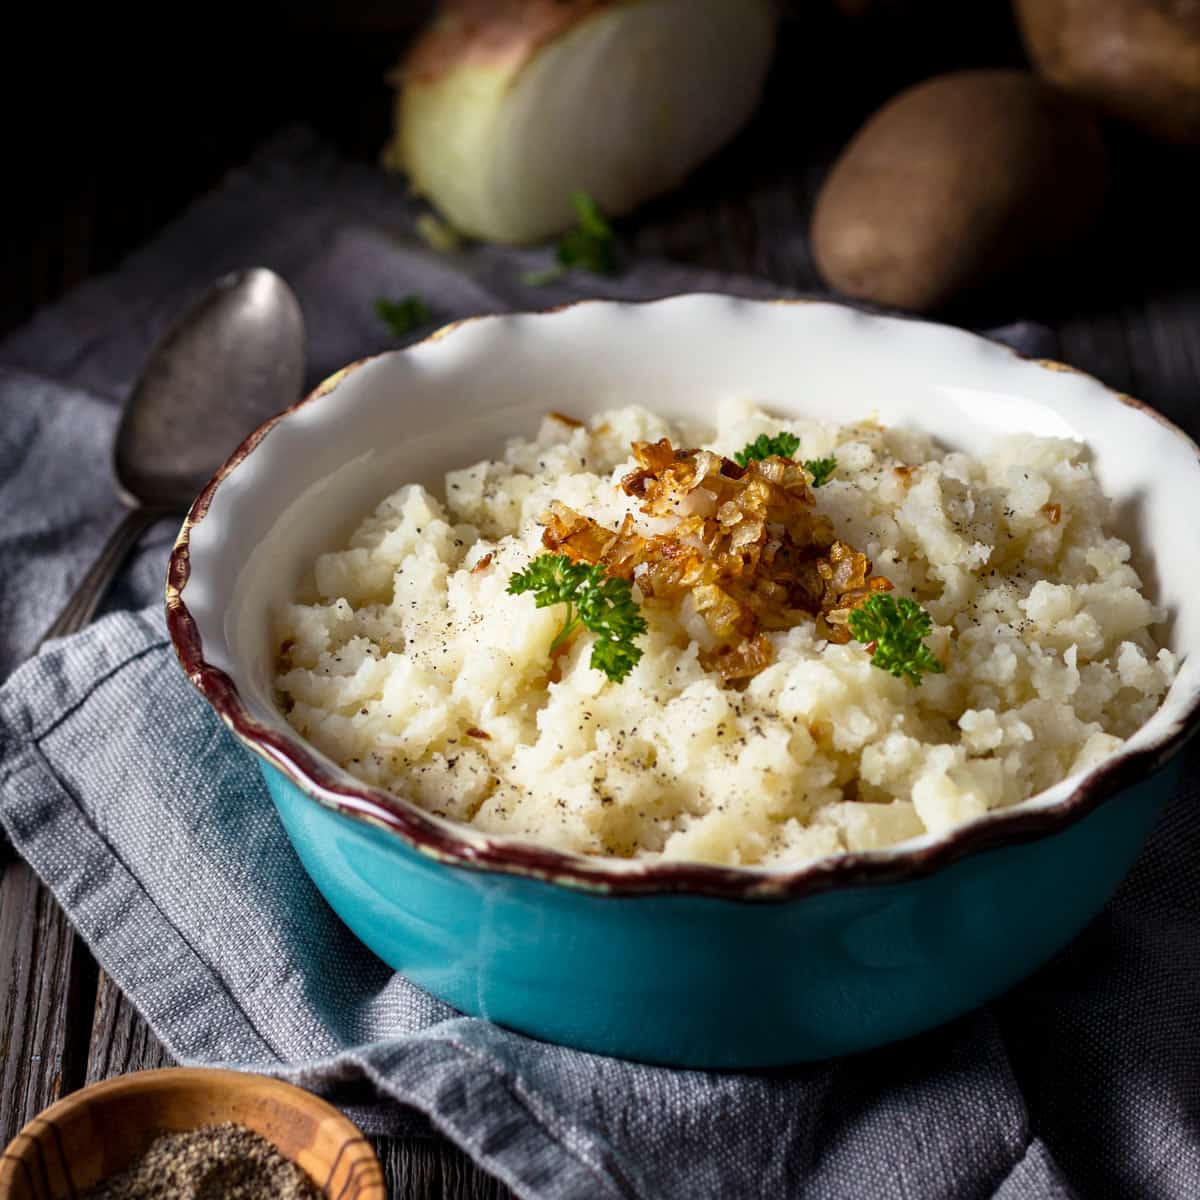
- Instant Pot Butter Potatoes
- Sheet Pan Salmon and Potatoes
💭Helpful Tip: When serving pasta with pesto, thin the basil pesto with a little pasta cooking water. Otherwise the pesto will be too thick to coat the pasta properly.
♨️Storage & Freezing Instructions
More detailed instruction on this is below in the FAQs.
To store pesto: Keep small amount of pesto in the refrigerator in a mason jar with a little olive oil on top to prevent browning. Freeze leftover pesto that won't use within days.
To freeze pesto: Freeze in small jars or ice cube trays. Grab a pesto jar from the freezer as needed.
Storage containers: small mason jars, ice cube trays for freezing,
💬FAQs
Pesto can turn a swampy brown quickly due to oxidation. To prevent this from happening, follow these tips:
Chill: your olive oil, bowl and blade of the food processor/blender for at least 30 minutes
Wash: your basil leaves but keep it short as this removes its natural essential oils; do not soak basil leaves. Quickly run under cold water then dry thoroughly in a salad spinner, and lay flat on a clean kitchen towel until they are fully dry.
Small portions: store basil pesto in small containers and freeze to retain color. Defrost as needed.
Fresh pesto can last in the refrigerator for up to 6 days with a thin layer of olive oil on top. If you wanted the pesto to have a long shelf life, it's best to freeze it either in small airtight containers or ice cube trays. Pesto can last in the freezer for up to 6 months.
There are several ways to freeze pesto. Leaving out the cheese is not necessary as it all blends well anyways.
Small containers: transfer pesto into small jars or freezer safe containers, making sure to leave some headspace. Add an extra layer of olive oil on top to 'seal'. Close the jar and freeze. This is particularly helpful for larger uses.
Ice cube trays: transfer pesto to ice cube trays and freeze until completely frozen and hard. Remove the pesto cubes and keep them in a freezer bag for up to 6 months. This is helpful for small uses of pesto at a time.
Frozen pesto can thaw safely in the refrigerator for a few hours or quicker at room temperature in 30 minutes. Because of the high fat content, it will thaw quickly. The frozen pesto cubes can be directly added to recipes straight from freezer.
Looking for more easy sauce recipes? Here are some ideas:
Soy-Free Worcestershire Sauce
Homemade Buffalo Sauce
5-minute Spicy Mayo
Did you make this? Please leave a ⭐ recipe rating in the recipe card below and leave a review in the comments. Thank you!💚
Printable Recipe
Authentic Fresh Basil Pesto
Equipment
Ingredients
- 2 cups fresh basil leaves lightly packed
- ½ cup Pecorino Romano, Parmigiano Reggiano, or Parmesan cheese
- ½ cup pine nuts
- 3 garlic cloves unpeeled
- ½ cup extra virgin olive oil
- ½ teaspoon sea salt or more to taste
- ¼ teaspoon black pepper
Instructions
30-45 minutes before making pesto
- Chill olive oil, blades and bowl of food processor in the refrigerator for 30 minutes. Thoroughly wash basil, run through salad spinner, and lay flat on clean kitchen towel to dry fully. Optional: Toast pine nuts and garlic over medium-low heat for 5 minutes or until pine nuts are golden. Allow to completely cool. Remove garlic clove from peel.

Basil Pesto
- In a food processor or blender, pulse the basil, cheese, lightly toasted pine nuts and garlic together until minced.

- With the food processor on medium speed, slowly drizzle in the olive oil in a steady stream until it has completely emulsified. Occasionally, pause the food processor to scrape down the sides, then run again until the mixture is thoroughly combined and smooth. Add salt and pepper to taste.

- Serve as desired, refrigerate for up to 6 days or freeze for up to 6 months.

Notes
- Wash basil quickly under running water but do not submerge them as it can oxidize and turn brown.
- Chilling the oil, blades and bowl will avoid basil from further oxidizing from the heat of the blades.
- Add thin layer of olive oil to top of jarred pesto sauce to retain texture, color, and flavor.
- Store in the refrigerator for up to 6 days or in freezer for up to 6 months.
- Makes approximately 1 cup or 4 servings.