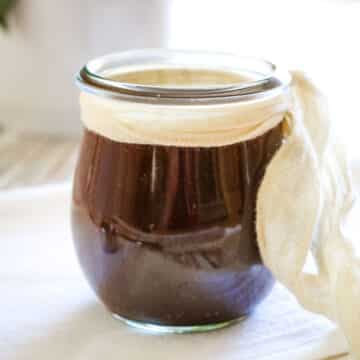
This mild taco seasoning recipe is a flavorful blend of spices that adds a subtle kick without overwhelming the taste buds. Perfect for tacos, burritos, or any dish that needs a good taco seasoning boost.

Looking for more homemade condiments?[feast_advanced_jump_to]
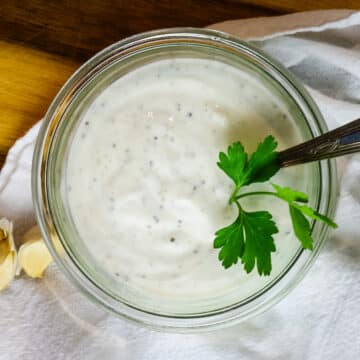
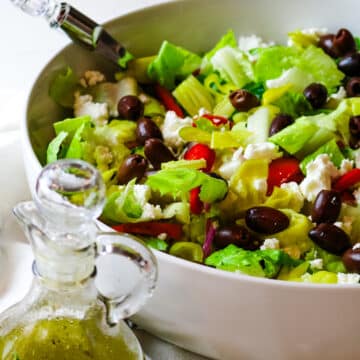
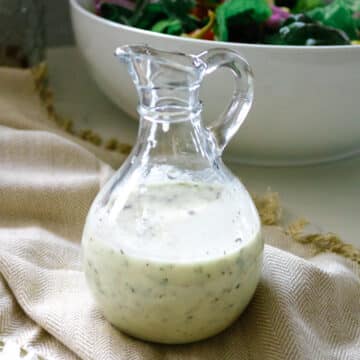
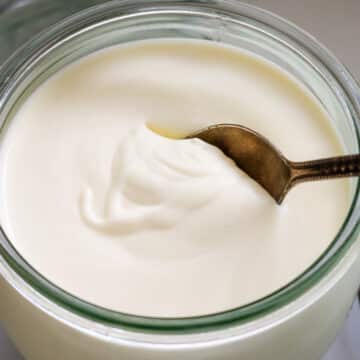
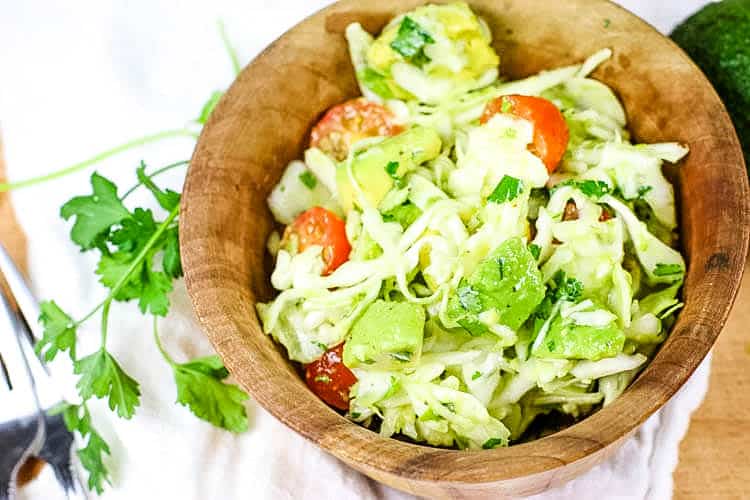
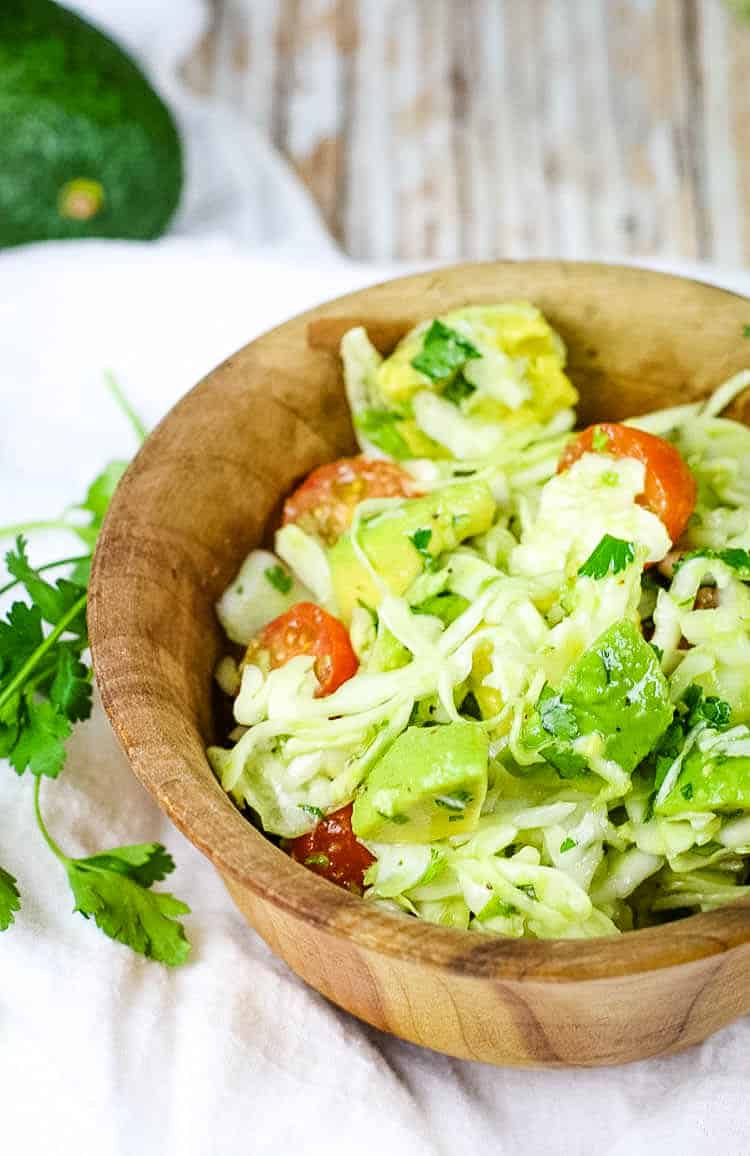
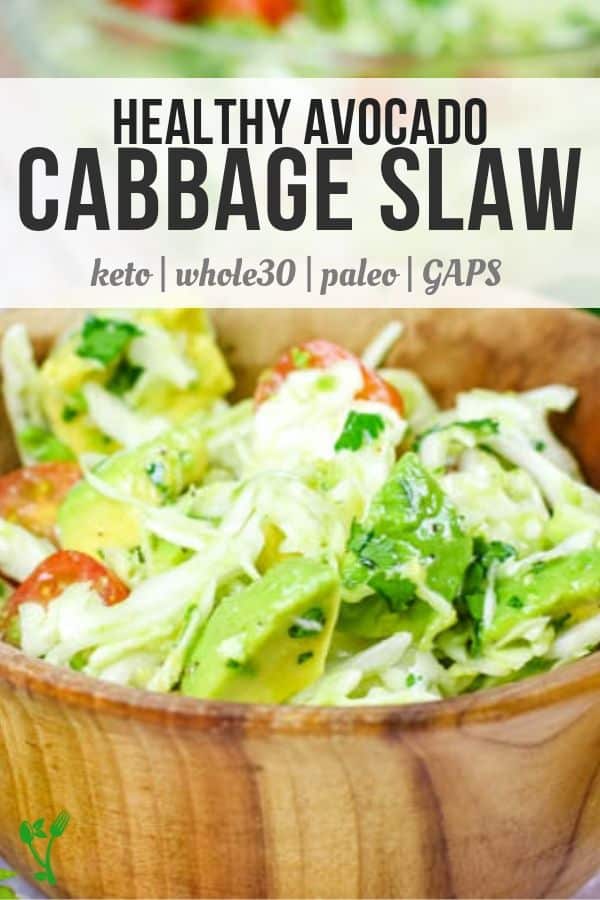
Check out sour cream, sriracha mayo recipe, and avocado oil mayo.
Recipe Overview
- Prep and Cook Time: 5 minutes to prep
- Cooking Method: No cook
- Dietary Info: Keto, Whole30, Paleo, GAPS, Ancestral diet
- Tools Needed: pint jar
- Skill Level: Easy
What is an ancestral diet? Read my post on what nourishing foods are based on the traditional dietary principles of the Weston A. Price Foundation.
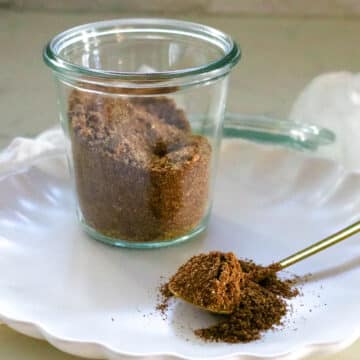
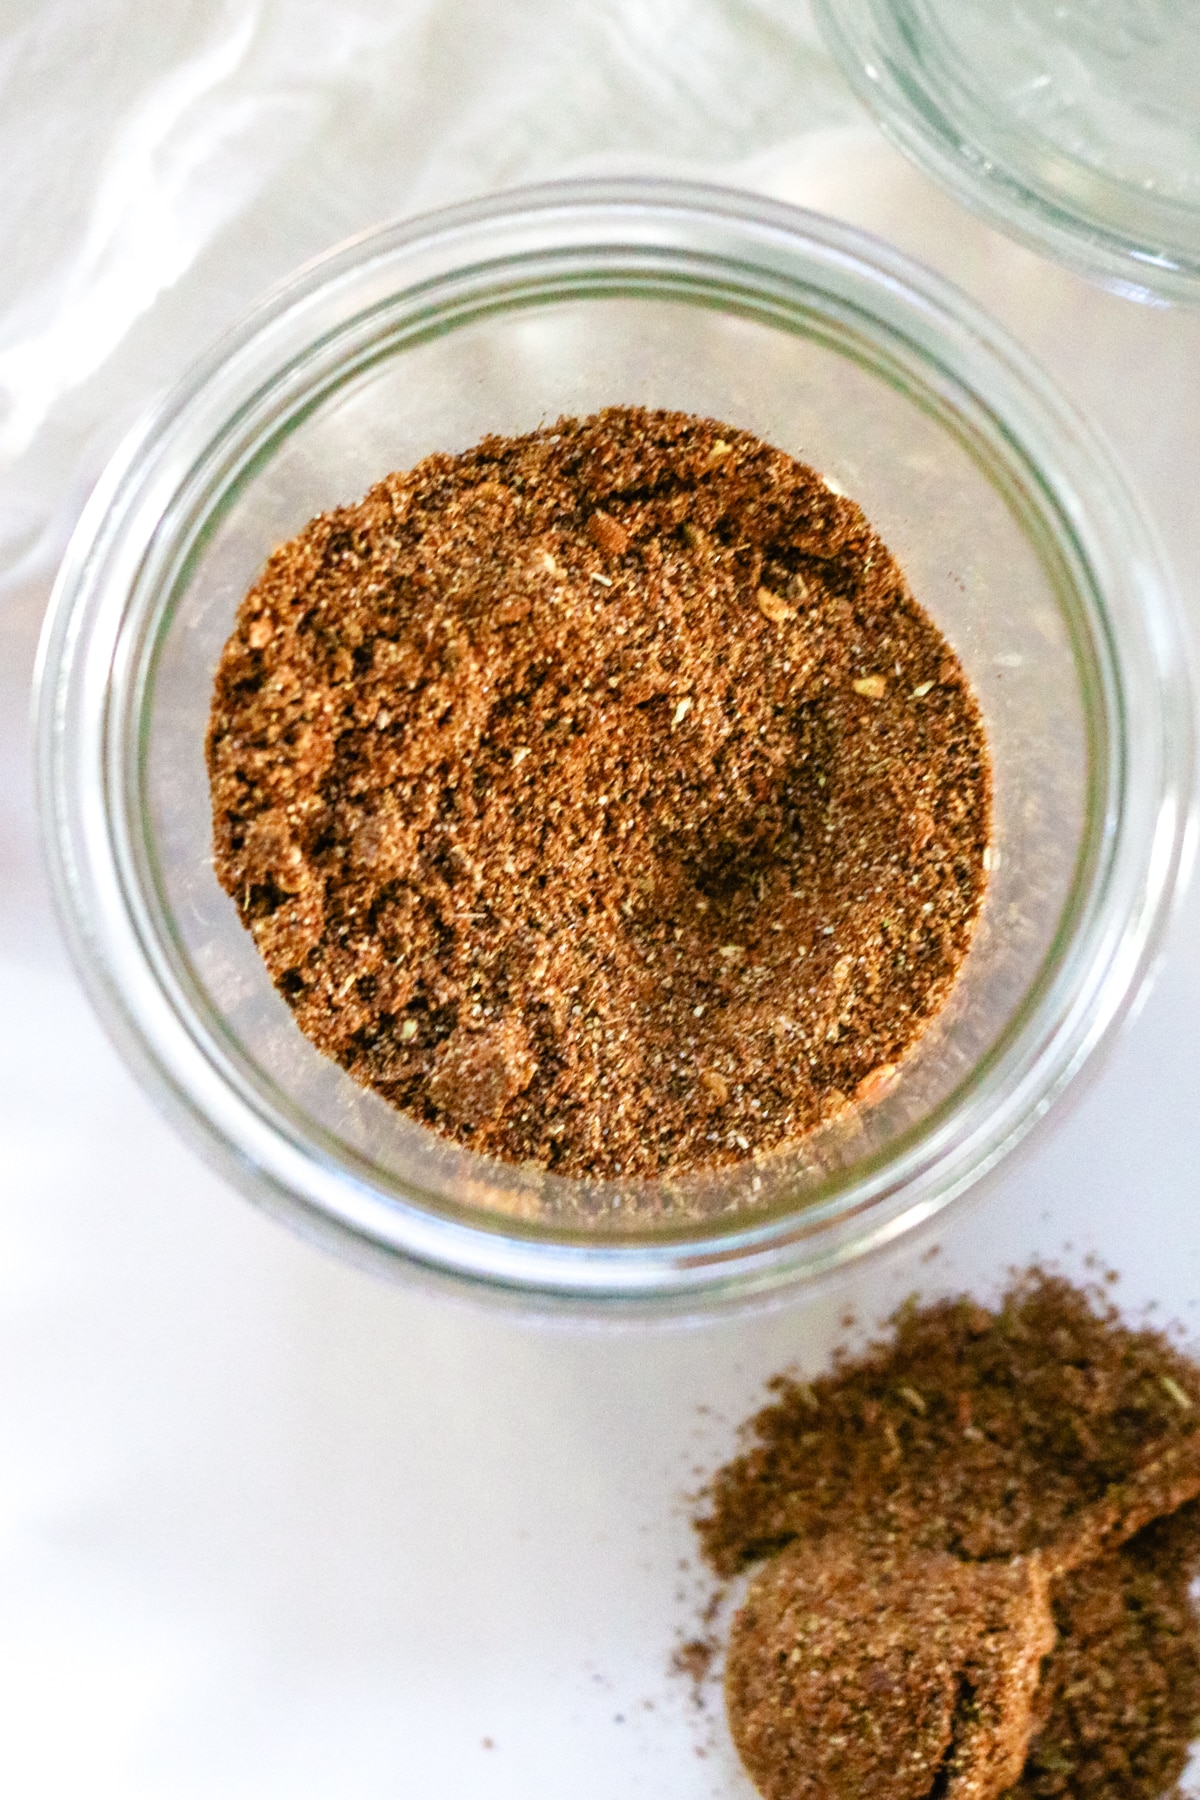
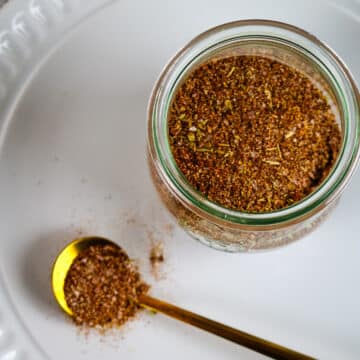
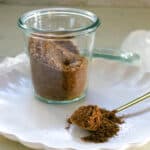
Ingredients for Mild Taco Seasoning

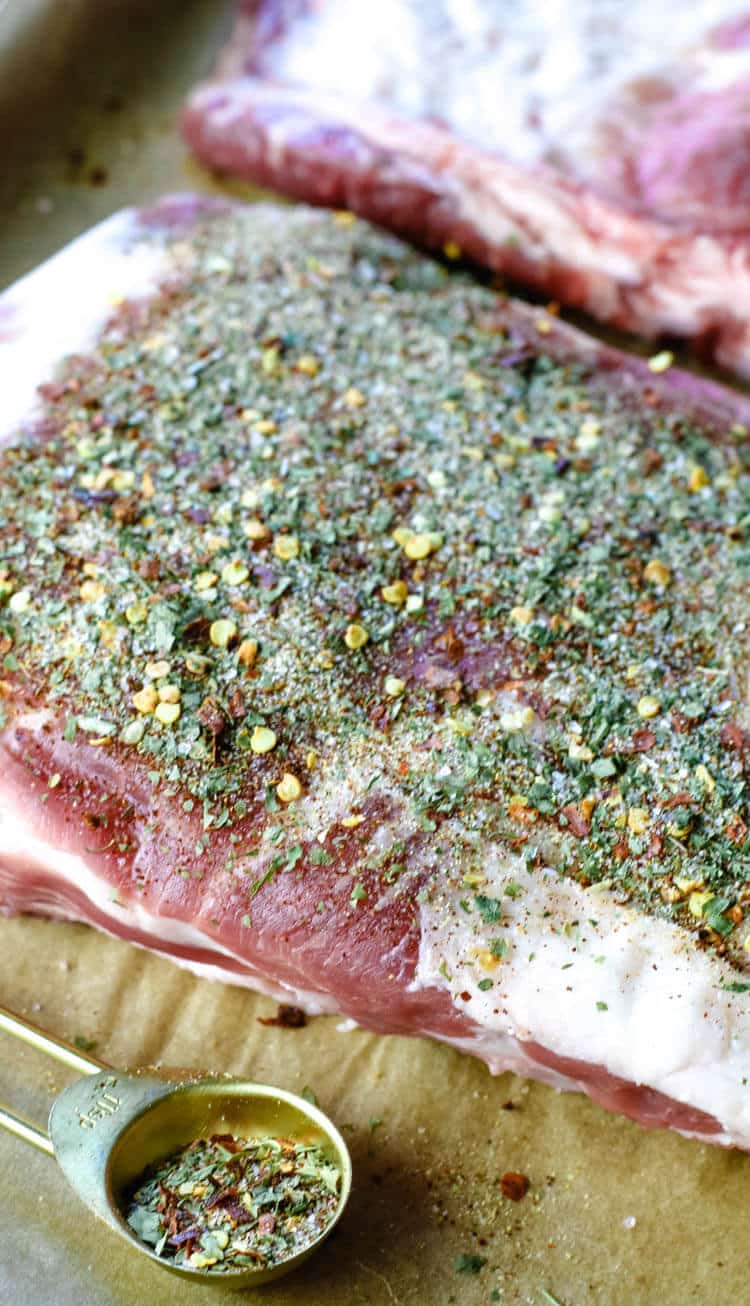
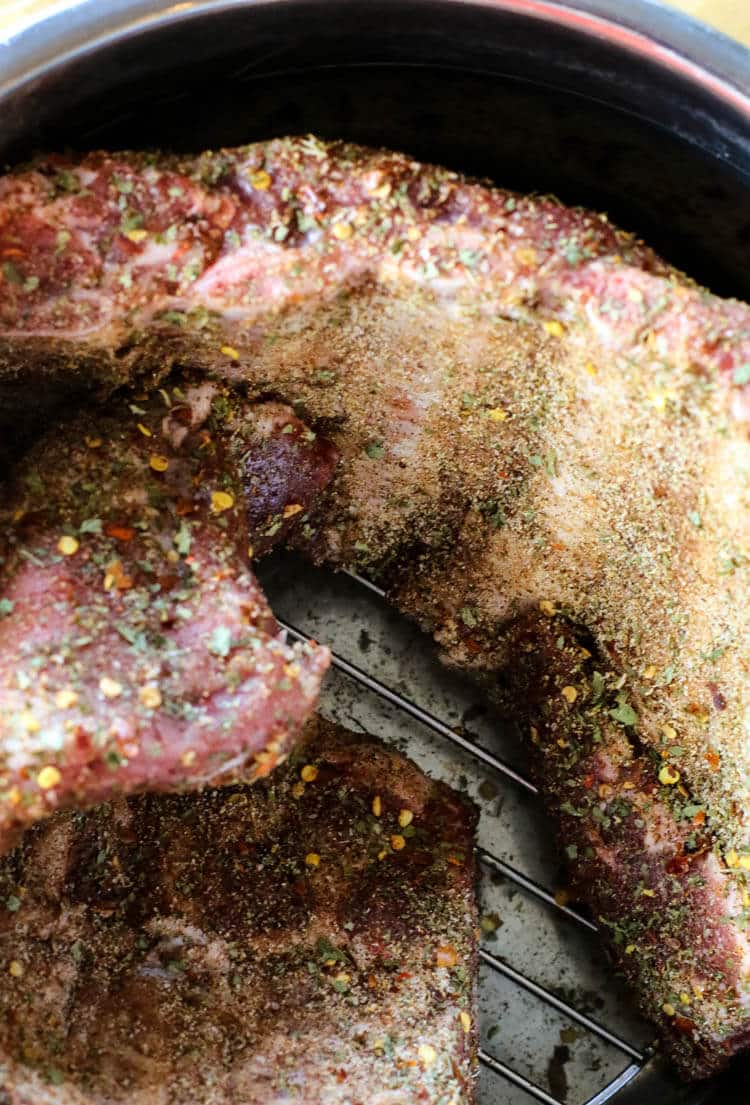
- Seasonings: The bulk of this mild taco seasoning is chili powder, which gives it that classic taco flavor without the heat (since we're really keeping this mild). It's mellow, earthy, and kid-friendly - perfect for family meals. Ground cumin, garlic powder, onion powder, smoked paprika, and dried oregano to give it a gentle herbal note. For some heat, we'll add a small amount of crushed red pepper flakes but you can omit it for a completely mild taco seasoning.
- Sea salt: Use your favorite fine grain unrefined sea salt to enhance all the flavors without making the blend overly salty.
Taco Seasoning Done in Sweats👖
My toxic trait is avoiding a trip to the store at all costs - especially for something like taco seasoning.
Why go out when I can whip it up at home in half the time, in my sweats, with zero small talk?
Bonus: it tastes better, and I get full control over what goes in (looking at you, mystery "natural flavors").
And once you start? It's a slippery slope to making Italian seasoning, French onion seasoning, ranch seasoning for dips, and even Cajun seasoning for that random Tuesday jambalaya craving. Or just me?

How to Make Taco Seasoning
The complete printable recipe is below in the recipe card for your convenience. Follow these simple step-by-step instructions for the best results.

Step 1. Mix
Combine all ingredients in a pint jar. Mix well until thoroughly combined.

Step 2. Use
Use approximately 2 tablespoons per pound of meat in your favorite taco recipes.
Helpful Tips
- Always adjust to taste - For even milder seasoning, reduce the chili powder and omit the red pepper flakes. If you like a little kick, add a pinch more. Similarly with the salt. This is a low sodium taco seasoning to allow room to be used in other recipes. Always adjust to taste.
- Use a spice grinder - If you want a super-fine, even blend, pulse the mix in a spice grinder or mortar and pestle to ensure the flavors meld evenly.
- Shake before using - Spices settle over time, so give the jar a quick shake before scooping some out before using.
- Make a big batch - Double or triple the recipe and store it in a jar for quick seasoning anytime. It's excellent for many recipes.
💭Meal Prep Suggestion!
Double or 4x this taco seasoning recipe to make a big batch and always have homemade blend ready to go! For a double batch, just scale the original recipe 2x and for a quadruple batch, multiply by 4. Store it in a large airtight jar and give it a shake before use. This way, you'll be set for taco night (or taco every night) without the need for last-minute store runs. Easy, convenient, and way more flavorful!
Serving Suggestions
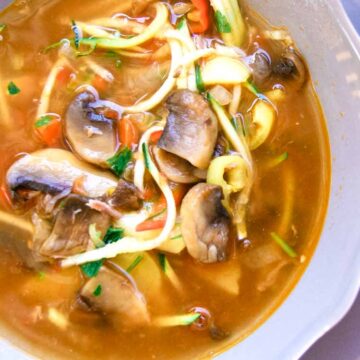
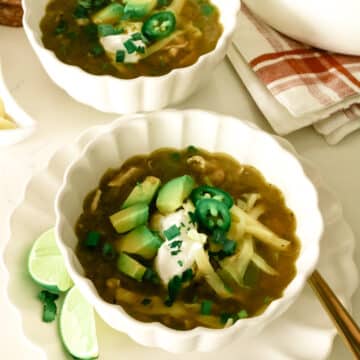
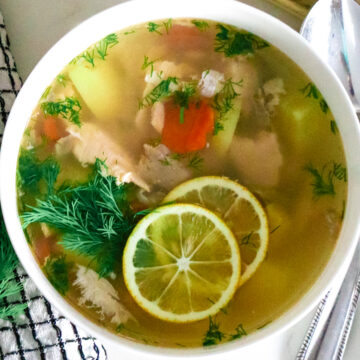
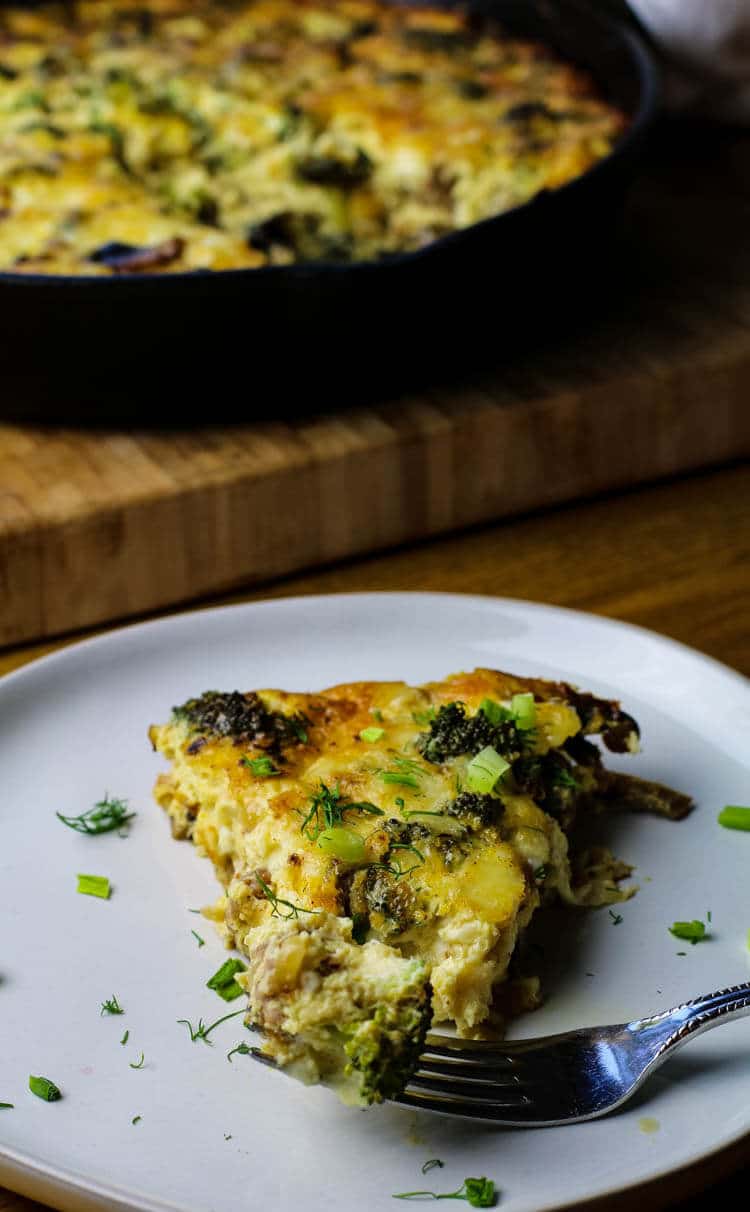
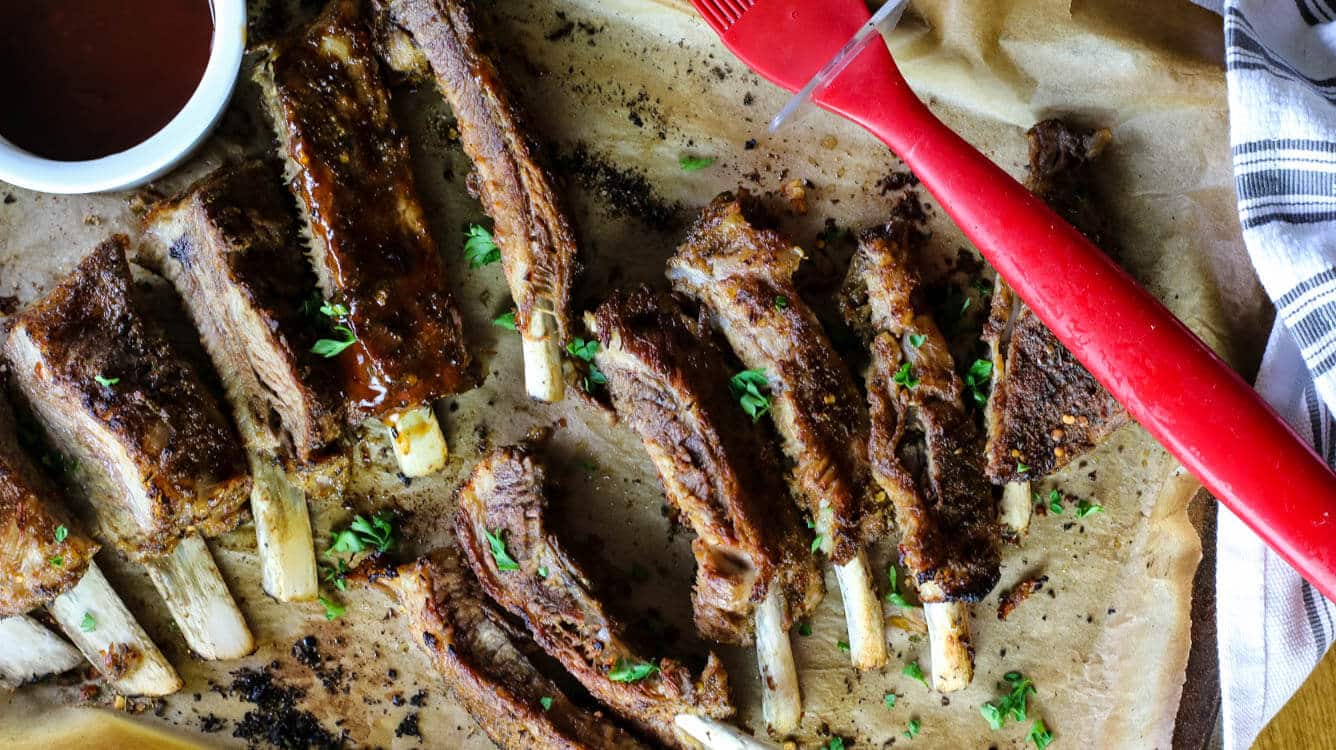
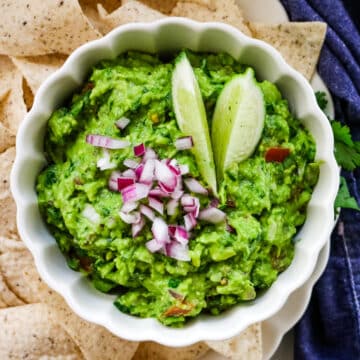
Use this mild taco seasoning in any recipe where you want that taco flavor to pop without a lot of heat. It's a great option to flavor ground beef taco meat, chicken, or beans for tacos, taco bowls, fajitas, quesadillas, sheet pan nachos, or even scrambled eggs and soups like pumpkin chili with turkey.
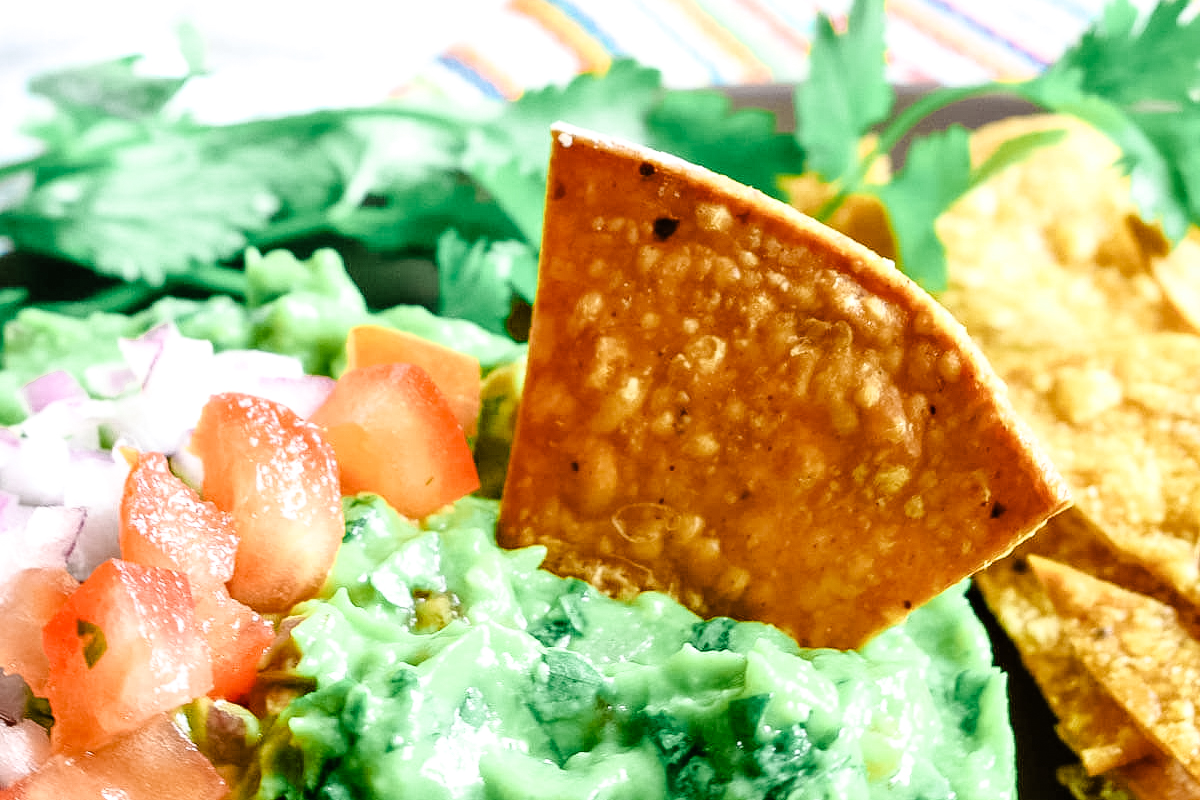
The taco seasoning is also the main key flavor in the meat from this taco dip with ground beef.
It's a versatile blend that brings a taco-inspired twist to many dishes.

Frequently Asked Questions
Store taco seasoning blend in an airtight container like a spice jar in a cool, dry place, away from heat and direct sunlight, like your pantry or spice cabinet. Properly stored, your taco seasoning should stay fresh for up to 6 months.
Yes, you can freeze taco seasoning! To keep it fresh for an extended period, transfer it to an airtight container and freeze it for up to a year. Let it thaw at room temperature to avoid any clumping. This option is great when you want to make big batches at home.
Any homemade seasoning can clump due to moisture or humidity. To prevent this, store it in a dry, cool place with a sealed container. If freezing, make sure it’s dry and let it come to room temperature before opening. If clumps form, shake the jar or use a spice grinder to break them up.
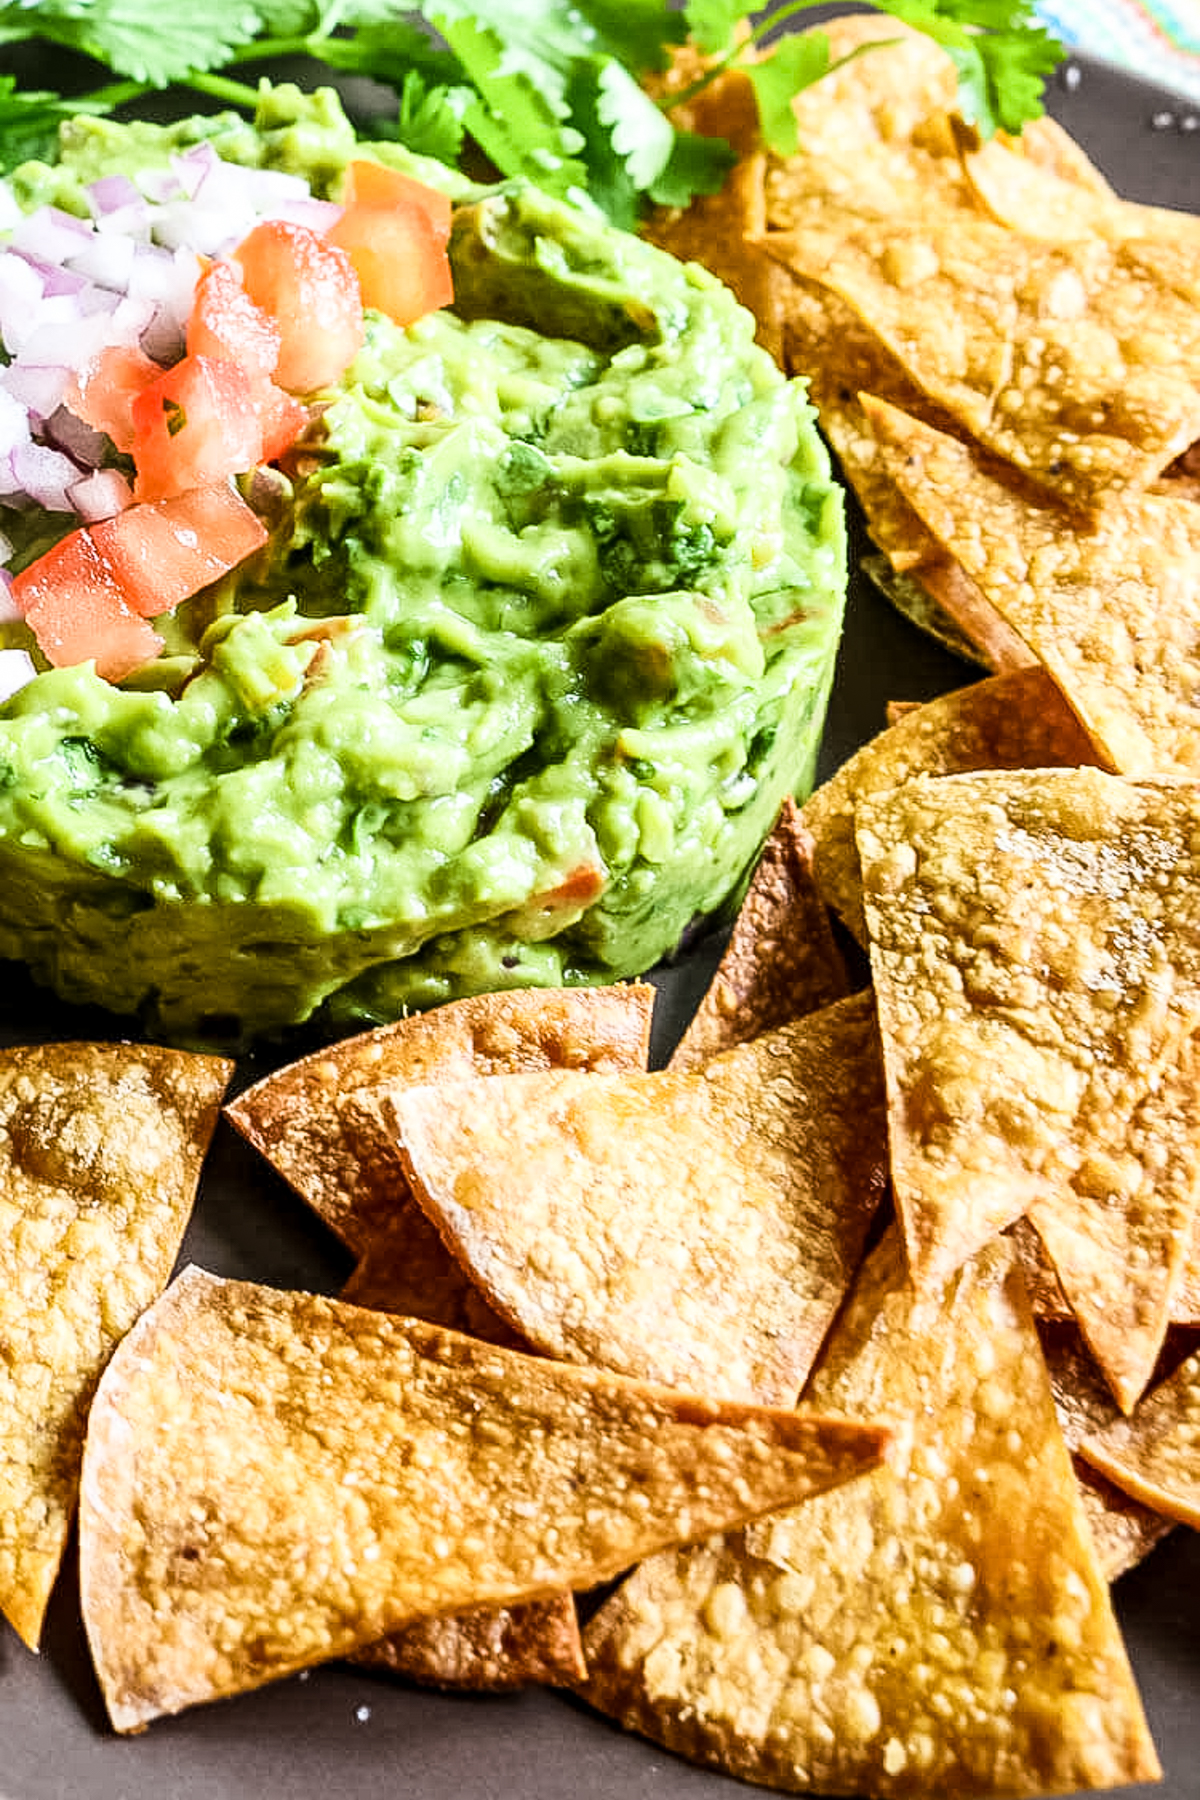
Looking for more related recipes? Here are some ideas:

Did you make this mild taco seasoning recipe? Please leave a ⭐⭐⭐⭐⭐ recipe rating in the recipe card below and leave a review in the comments. Thank you!💚
Printable Recipe
Mild Taco Seasoning
Ingredients
- 4 tablespoons chili powder
- 1 ½ tablespoons ground cumin
- 2 teaspoons garlic powder
- 1 ½ teaspoons onion powder
- 2 teaspoons smoked paprika
- 1 teaspoon oregano
- 1 teaspoon sea salt
- ¼ teaspoon red pepper flakes
Instructions
- Combine all ingredients including 4 tablespoons chili powder, 1 ½ tablespoons ground cumin, 2 teaspoons garlic powder, 1 ½ teaspoons onion powder, 2 teaspoons smoked paprika, 1 teaspoon oregano, 1 teaspoon sea salt¼ teaspoon red pepper flakes in a pint jar. Mix well until thoroughly combined.
- Use approximately 2 tablespoons per pound of meat in your favorite taco recipes.
Notes
- Always adjust to taste - For even milder seasoning, reduce the chili powder and omit the red pepper flakes. If you like a little kick, add a pinch more. Similarly with the salt. This is a low sodium taco seasoning to allow room to be used in other recipes. Always adjust to taste.
- Use a spice grinder - If you want a super-fine, even blend, pulse the mix in a spice grinder or mortar and pestle to ensure the flavors meld evenly.
- Shake before using - Spices settle over time, so give the jar a quick shake before scooping some out before using.
- Make a big batch - Double or triple the recipe and store it in a jar for quick seasoning anytime. It's great for many recipes.