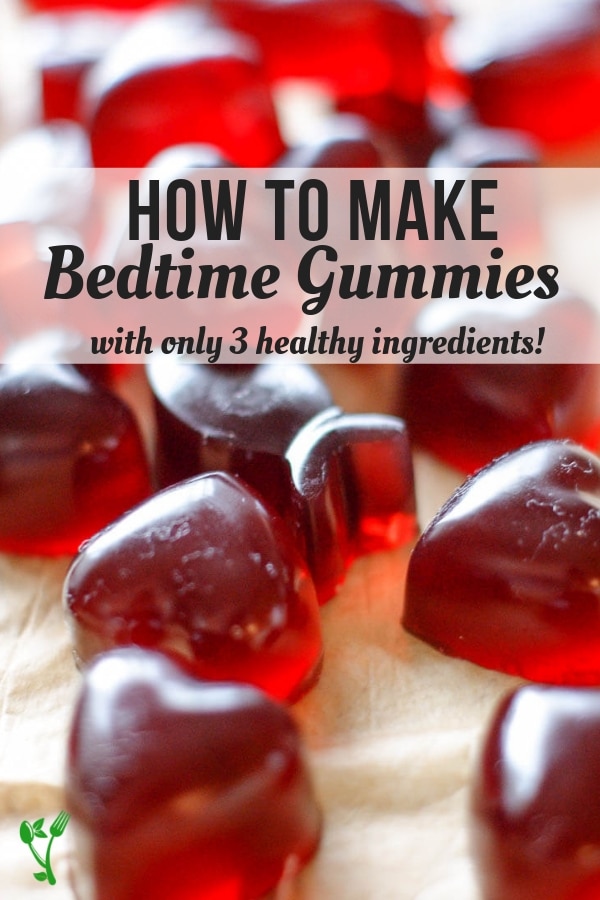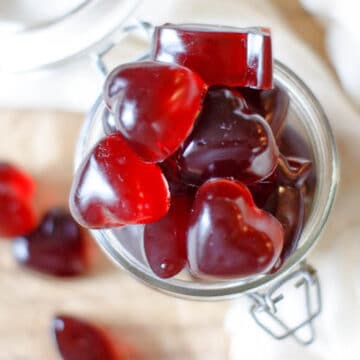
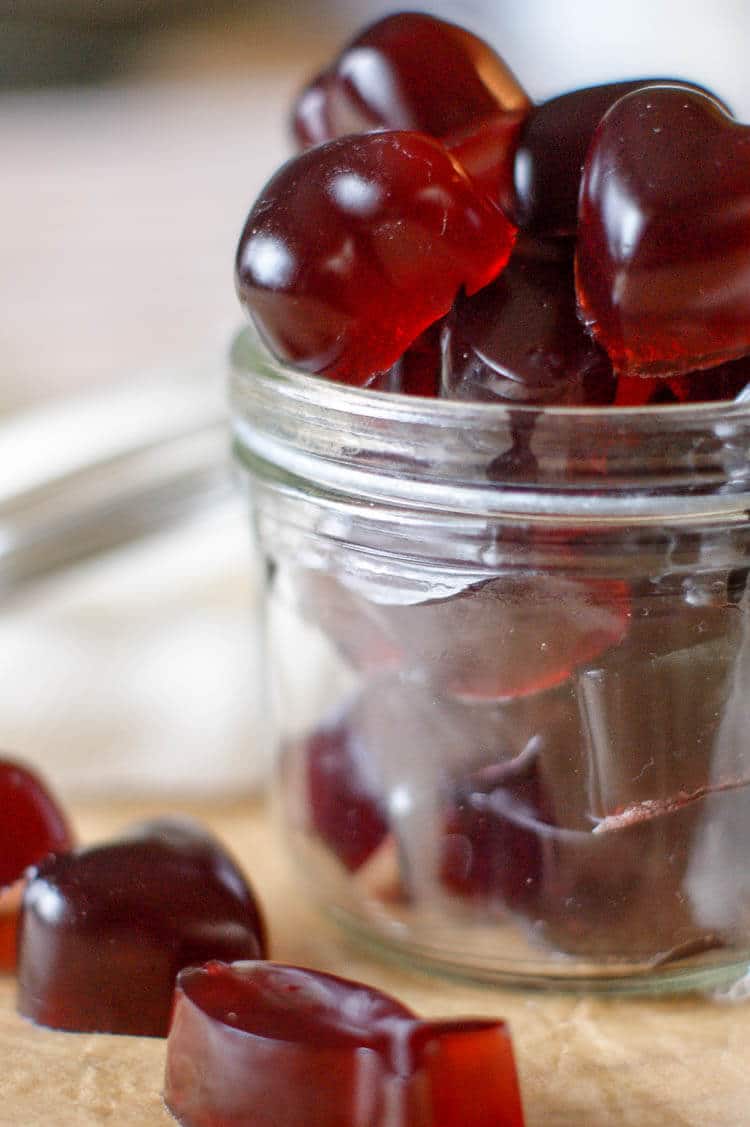
With three simple ingredients, these Bedtime Gummies are sweetened with raw honey for extra nutrition and are overall a great Paleo & GAPS treat.
There isn't a mom out there who hasn't had the struggle of wrangling her children to bed. It's almost like a badge of honor that we moms wear.
Thankfully, there are things you can do to make bedtime routine a smidge easier. These Bedtime Gummies call for only 3 simple ingredients and they are wholesome and nutritious.
Note: For gelly-type recipes, we use grass-fed bovine gelatin and collagen products from Perfect Supplements. They carry high-quality collagen products and are leaders in the industry. Click to see what my favorite gelatin products and how you can save with a special discount code.
3 Ingredient Bedtime Gummies
Let's talk about the ingredients. Super easy. Super simple. Just three of them.
Tart Cherry Juice
Studies show that tart cherry juice (read: not regular cherry juice!) is rich in phytochemicals such as melatonin, the natural sleep hormone. (source) The consumption of tart cherry juice before bed enhances overall sleep quality. I love this brand that does not have added sugar and Trader Joe's Tart Cherry Juice is also a good choice. As always, check the ingredients to make sure there's no added sugar or preservatives.
Related: My Favorite Gelatin Products
Unflavored Grass-fed Gelatin
Would you believe me if I said that grass-fed gelatin is a superfood?
It's rich in amino acids, minerals and is 98% protein. Gelatin is also naturally gluten free and has zero fat. Gelatin is sister to collagen which is the only thing I use to up the protein in bars, shakes and smoothies. They're nearly identical in amino acid profile, the only difference is gelatin "gels" and collagen does not.
That's why I love adding a few scoops of collagen to my coffee every morning (it's tasteless and does not gel - I promise!).
We use Perfect Supplements for all our collagen and gelatin needs. It is exclusively sourced from pastured cows, is non-GMO and is free from hormones and pesticides. Truly a product you'll feel good about.
Perfect Supplements has kindly given P+N readers a 10% discount. Enter PREPARE10 at checkout and get your grass-fed, non-GMO gelatin today!
Raw Honey for Bedtime
I like to preserve the nutritional benefits of using raw honey whenever I can so I avoid heating it whenever I can. I used THIS brand of honey in this recipe since it's easier to dissolve than one that is solid and has been crystalized already.
When adding honey, make sure the gelatin mixture has cooled down enough to not destroy the live enzymes in the honey but you also want it to be warm enough to dissolve the sweetener easily. You want to keep it under 98F degrees to avoid denaturing the honey.
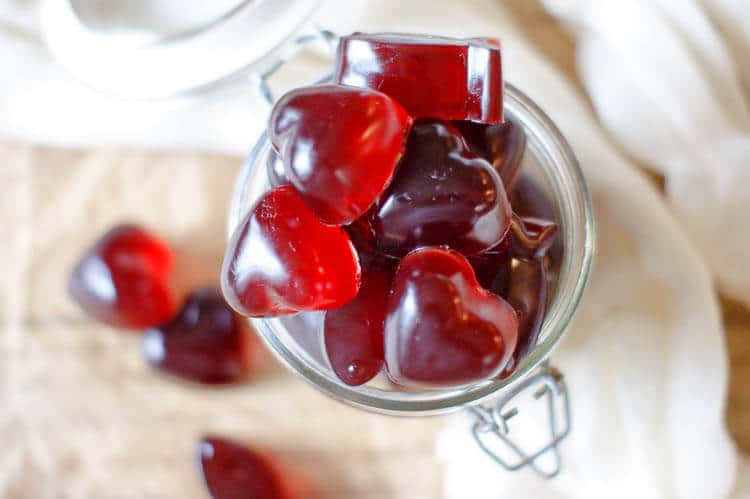
Healthy 3-Ingredient Bedtime Gummies
Printable Recipe
3 Ingredient Bedtime Gummies
Ingredients
- 1 ½ cup tart cherry juice
- ½ cup unflavored grass-fed gelatin
- ¼ cup raw unfiltered honey
Instructions
- In a small saucepan, pour half of the juice and sprinkle gelatin over the juice to "bloom." Whisk to combine and set aside. It will become very thick - that's a sign that the gelatin is blooming.
- Set the saucepan on medium heat, add the remaining juice. Bring to a gentle simmer, while consistently stirring to make sure all gelatin is dissolved. Set aside for a few minutes to cool.*
- When gelatin and juice is slightly warm to the touch, add honey and stir well.
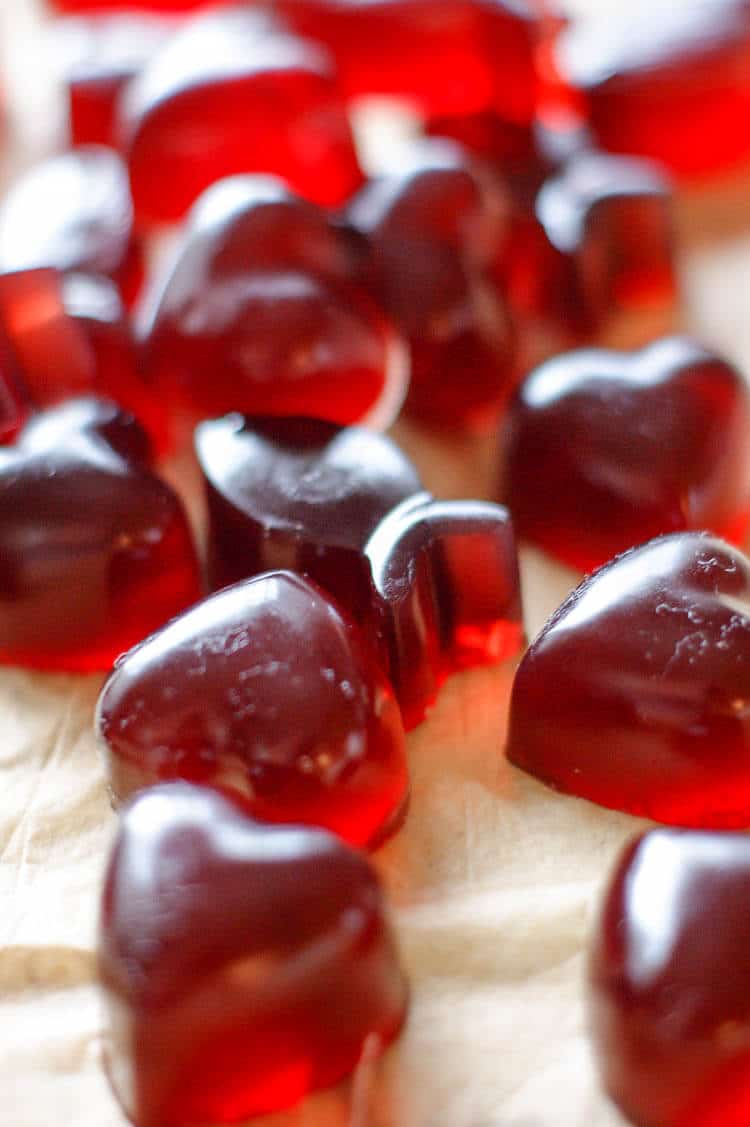
- Pour in silicone molds or in a shallow dish. Set aside at room temperature for 30 minutes, then transfer to refrigerator for 2 hours to set.
- Invert the silicone molds to remove the gummies. If using shallow dish, simply cut the gummies into small cubes. Store in air-tight container for up to 2 weeks. Best be kept in refrigerator but not necessary.
Notes
Nutrition
If you liked the recipe above please consider rating the recipe and leaving a comment below. Also, follow me Facebook, Instagram, and Pinterest.
>>> Pin This <<<