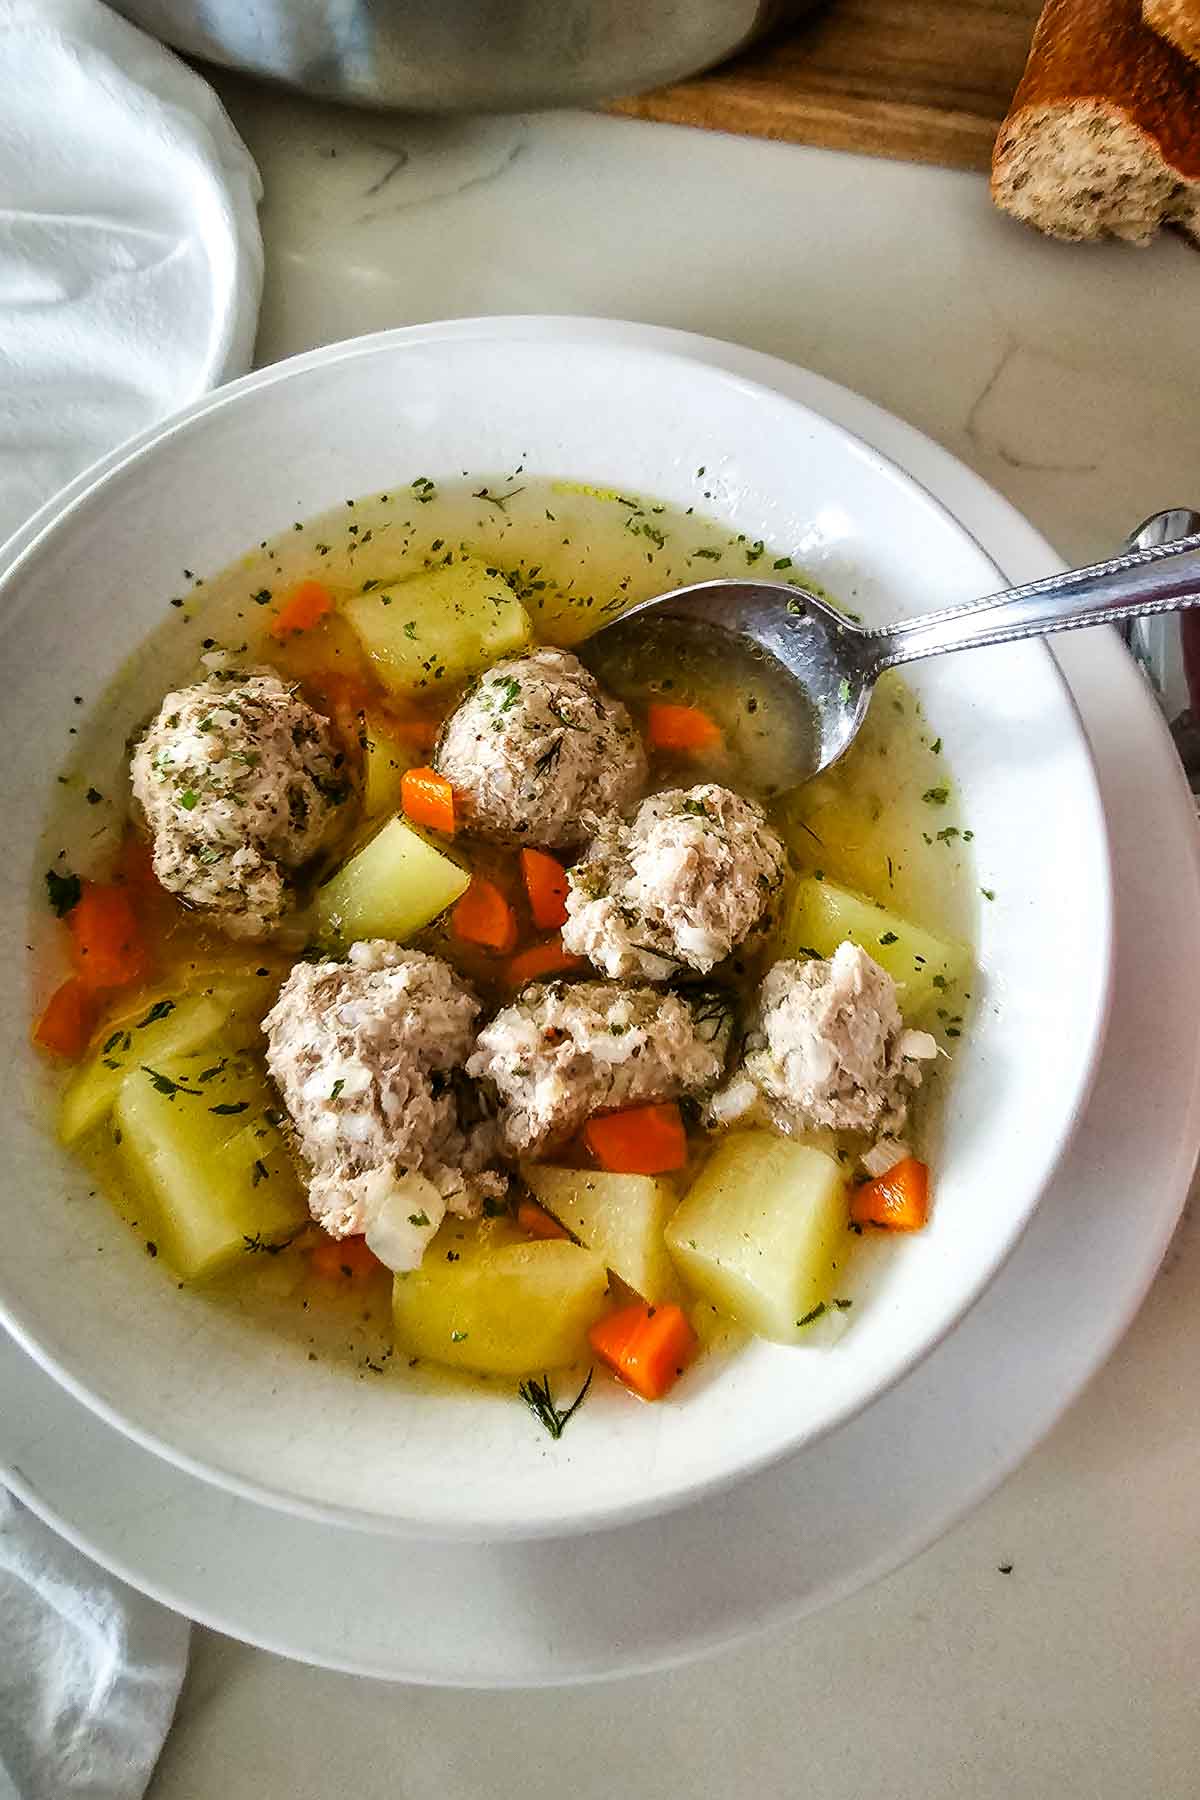
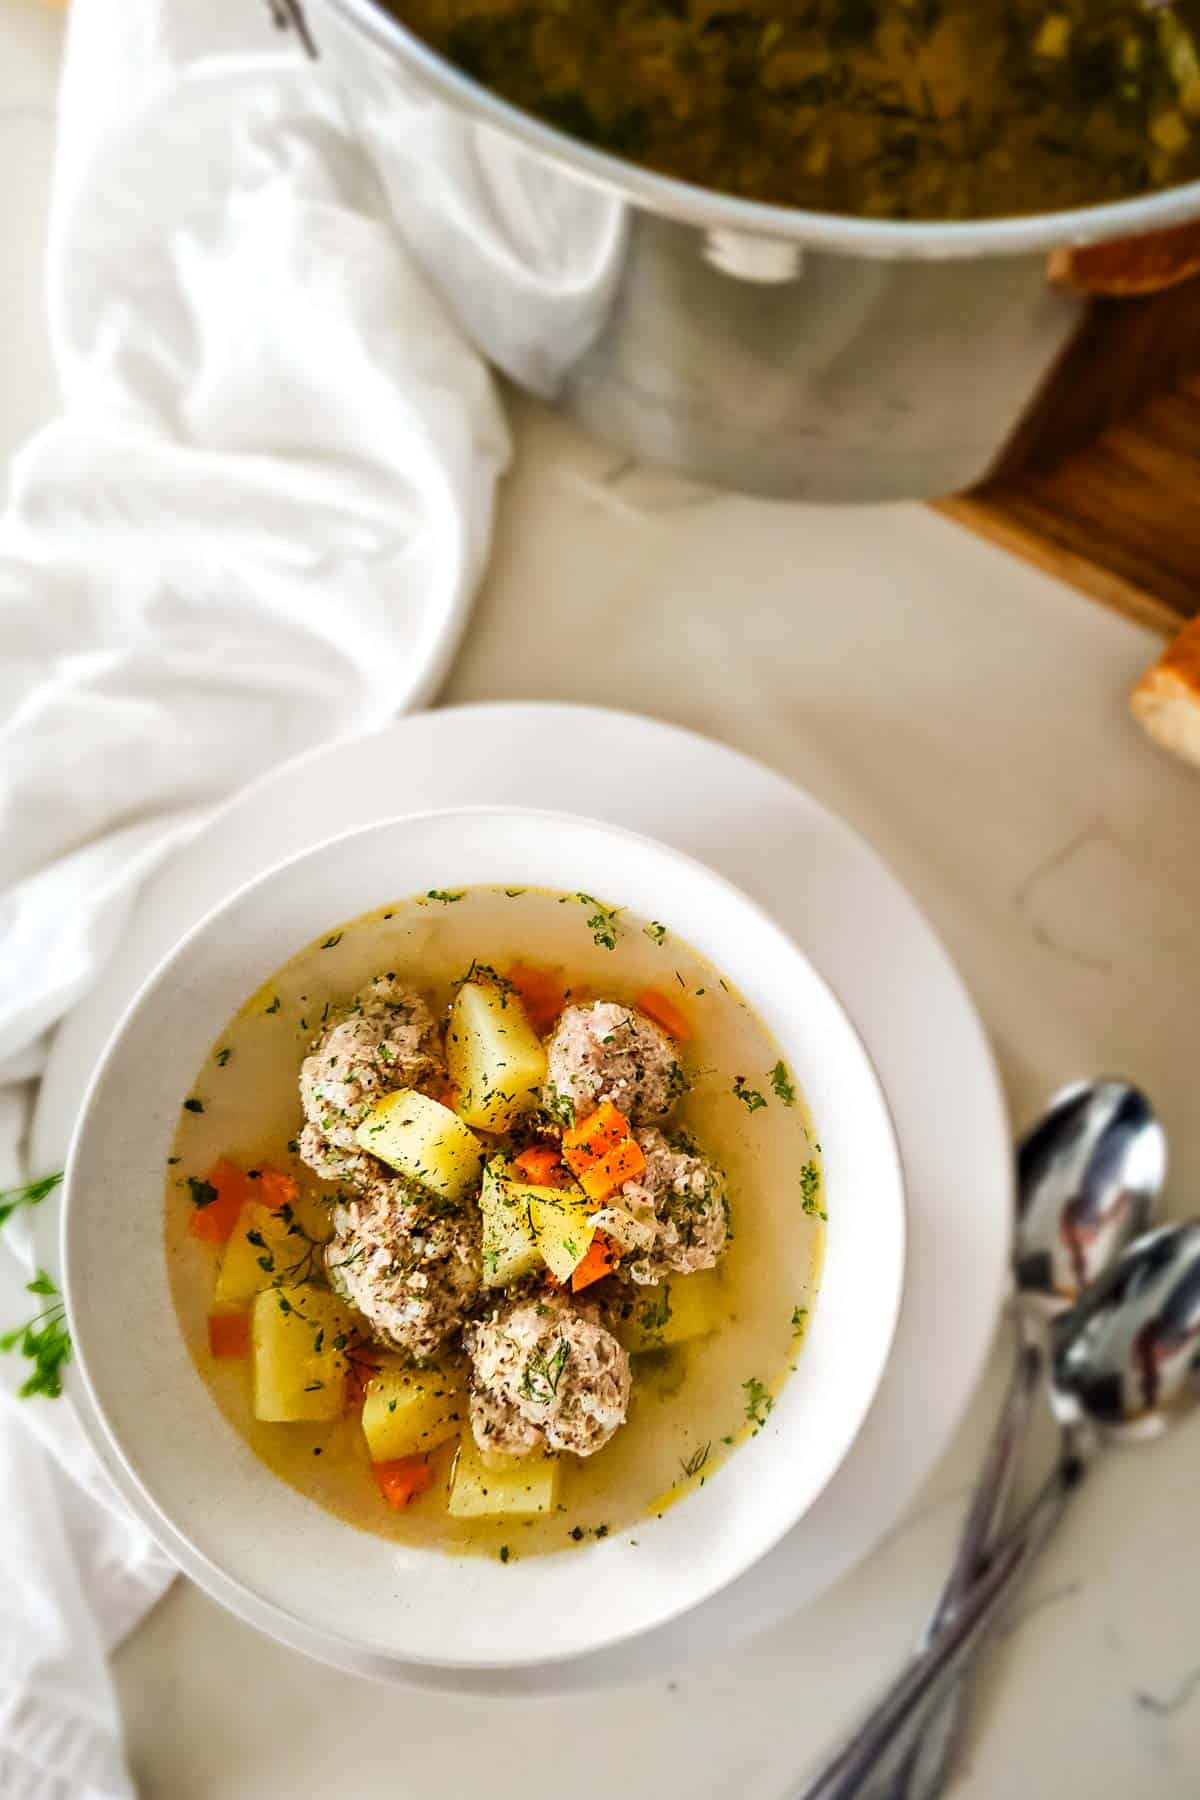
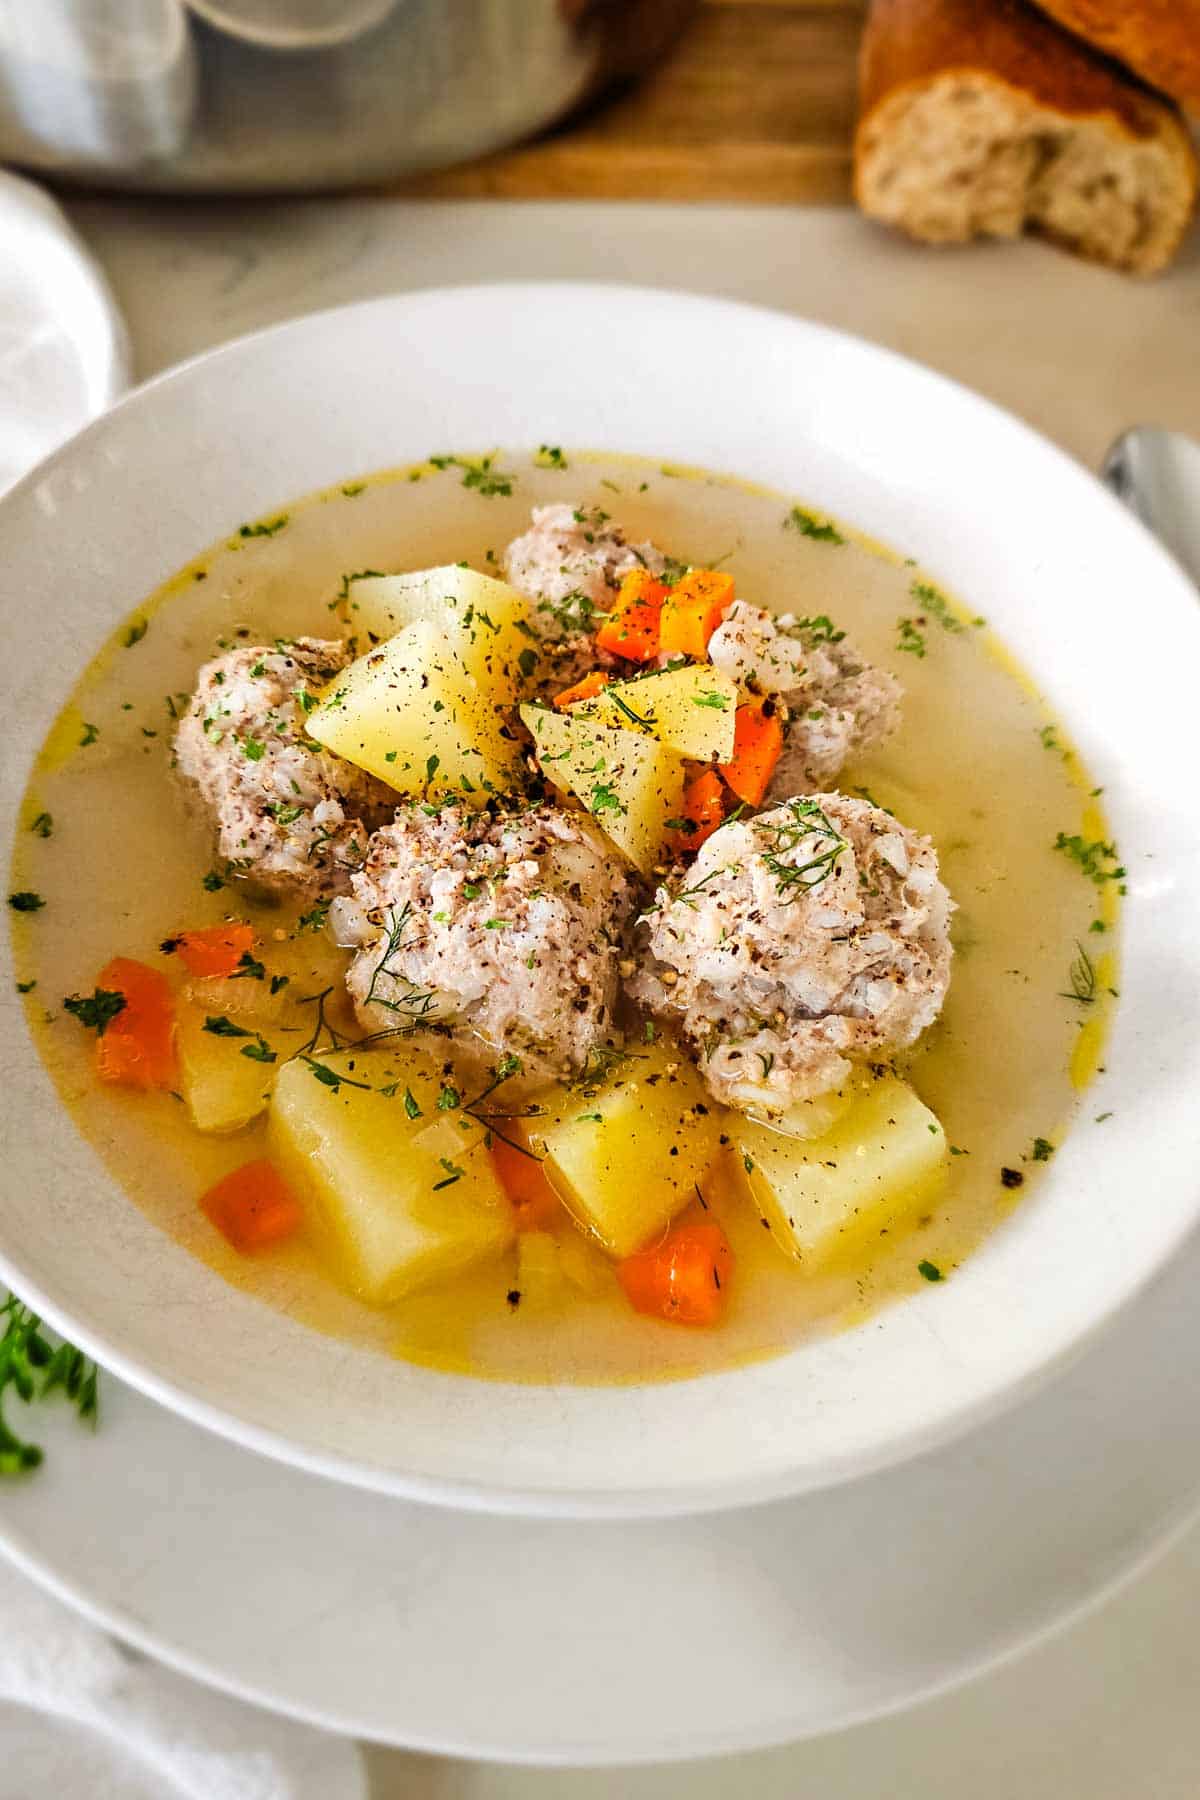
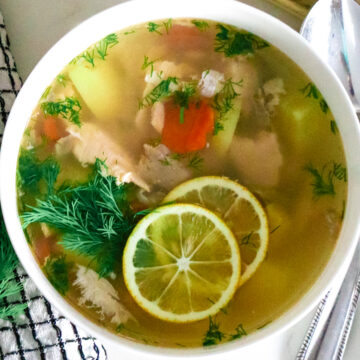
This Easy Porcupine Soup with Chicken Meatballs is a perfect quick and nourishing meal to serve on busy weeknights. Featuring flavorful meatballs with rice, chicken, and seasonings, sauteed onions and carrots, and hearty potatoes; this comforting Chicken Meatball Soup checks off all the boxes. Plus, it's easy to make, light yet satisfying, and perfect to serve all year.
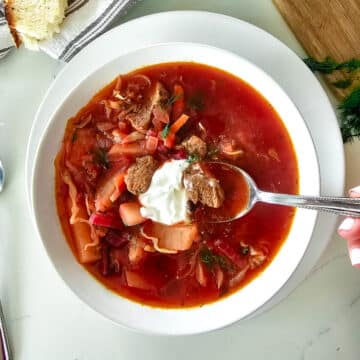
If you love the Uzbek lamb soup with vegetables or my gluten free chicken noodle soup, you will love this tasty number.
The combination of the light broth, hearty meat, and a variety of vegetables creates a soup that is both satisfying and wholesome. This easy meatball soup recipe will become a regular on your dinner table and for good reason. It's full of so many excellent benefits.
The broth provides a nourishing base, while the meatballs and veggies add flavor, texture, and nutritional value.
Each spoonful offers a delicious blend of tender meatballs and vibrant vegetables, all infused with the rich flavors of the broth.
[feast_advanced_jump_to]Why you'll love this recipe
Quick and easy - When you have most of the elements already done and ready to go, this recipe comes together very quickly. The soup itself requires minimal hands-on cooking and the step-by-step instructions are so simple and straightforward.
Light yet nourishing - This chicken meatball soup strikes a perfect balance between being light (hello chicken!) and yet deeply nourishing. It's an excellent option for those seeking a lighter meal without sacrificing on taste or nourishment.
Versatile to fit your dietary needs - This simple meatball soup recipe can easily be adapted to comply with Whole30, Paleo, or GAPS. In fact, this recipe was originally written as paleo meatball soup and made without rice.
💭Fun Fact: Porcupine soup is not actually made from porcupines! Despite its name, porcupine soup is a traditional dish that typically includes rice that resembles quills when cooked in meatballs.
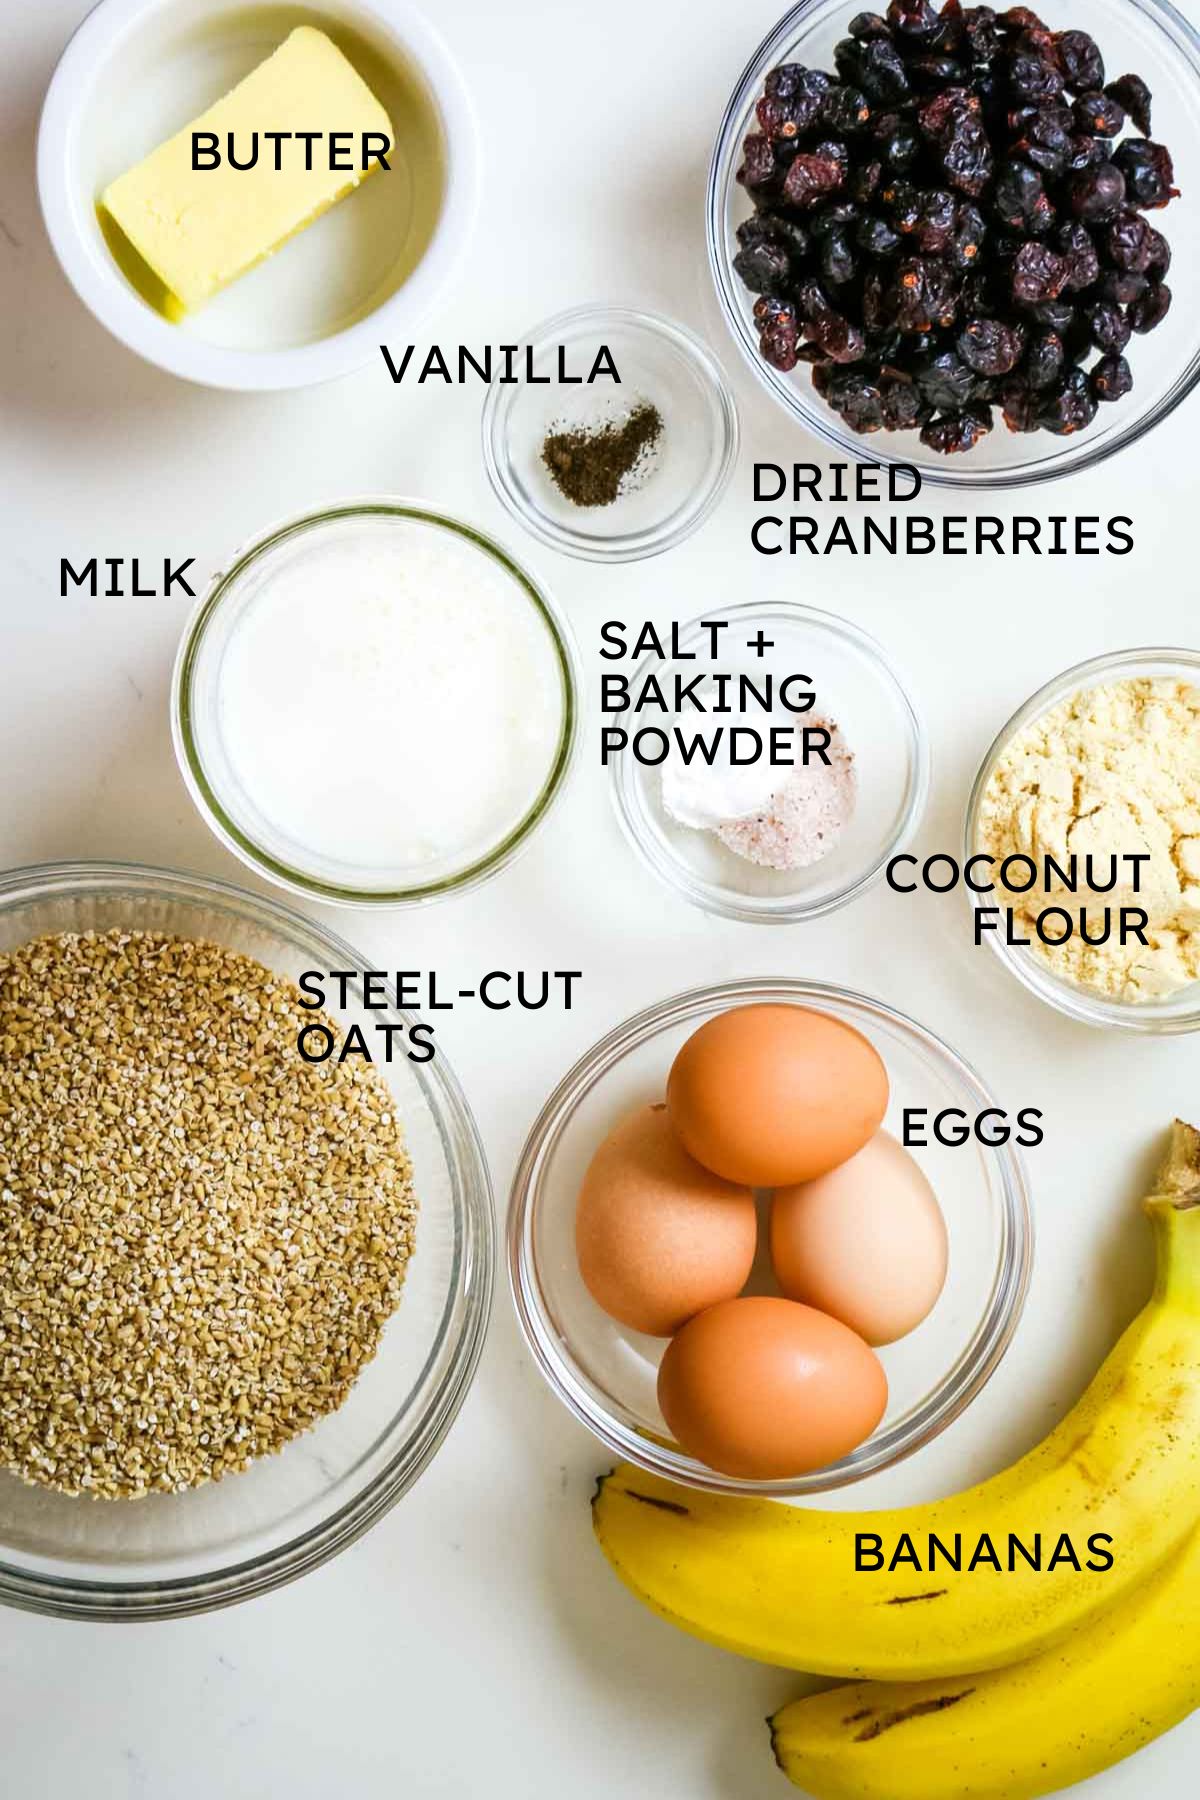
Ingredients
Learn how to make meatball soup recipe with 8 basic ingredients plus seasonings and comes together in under 50 mins total time.
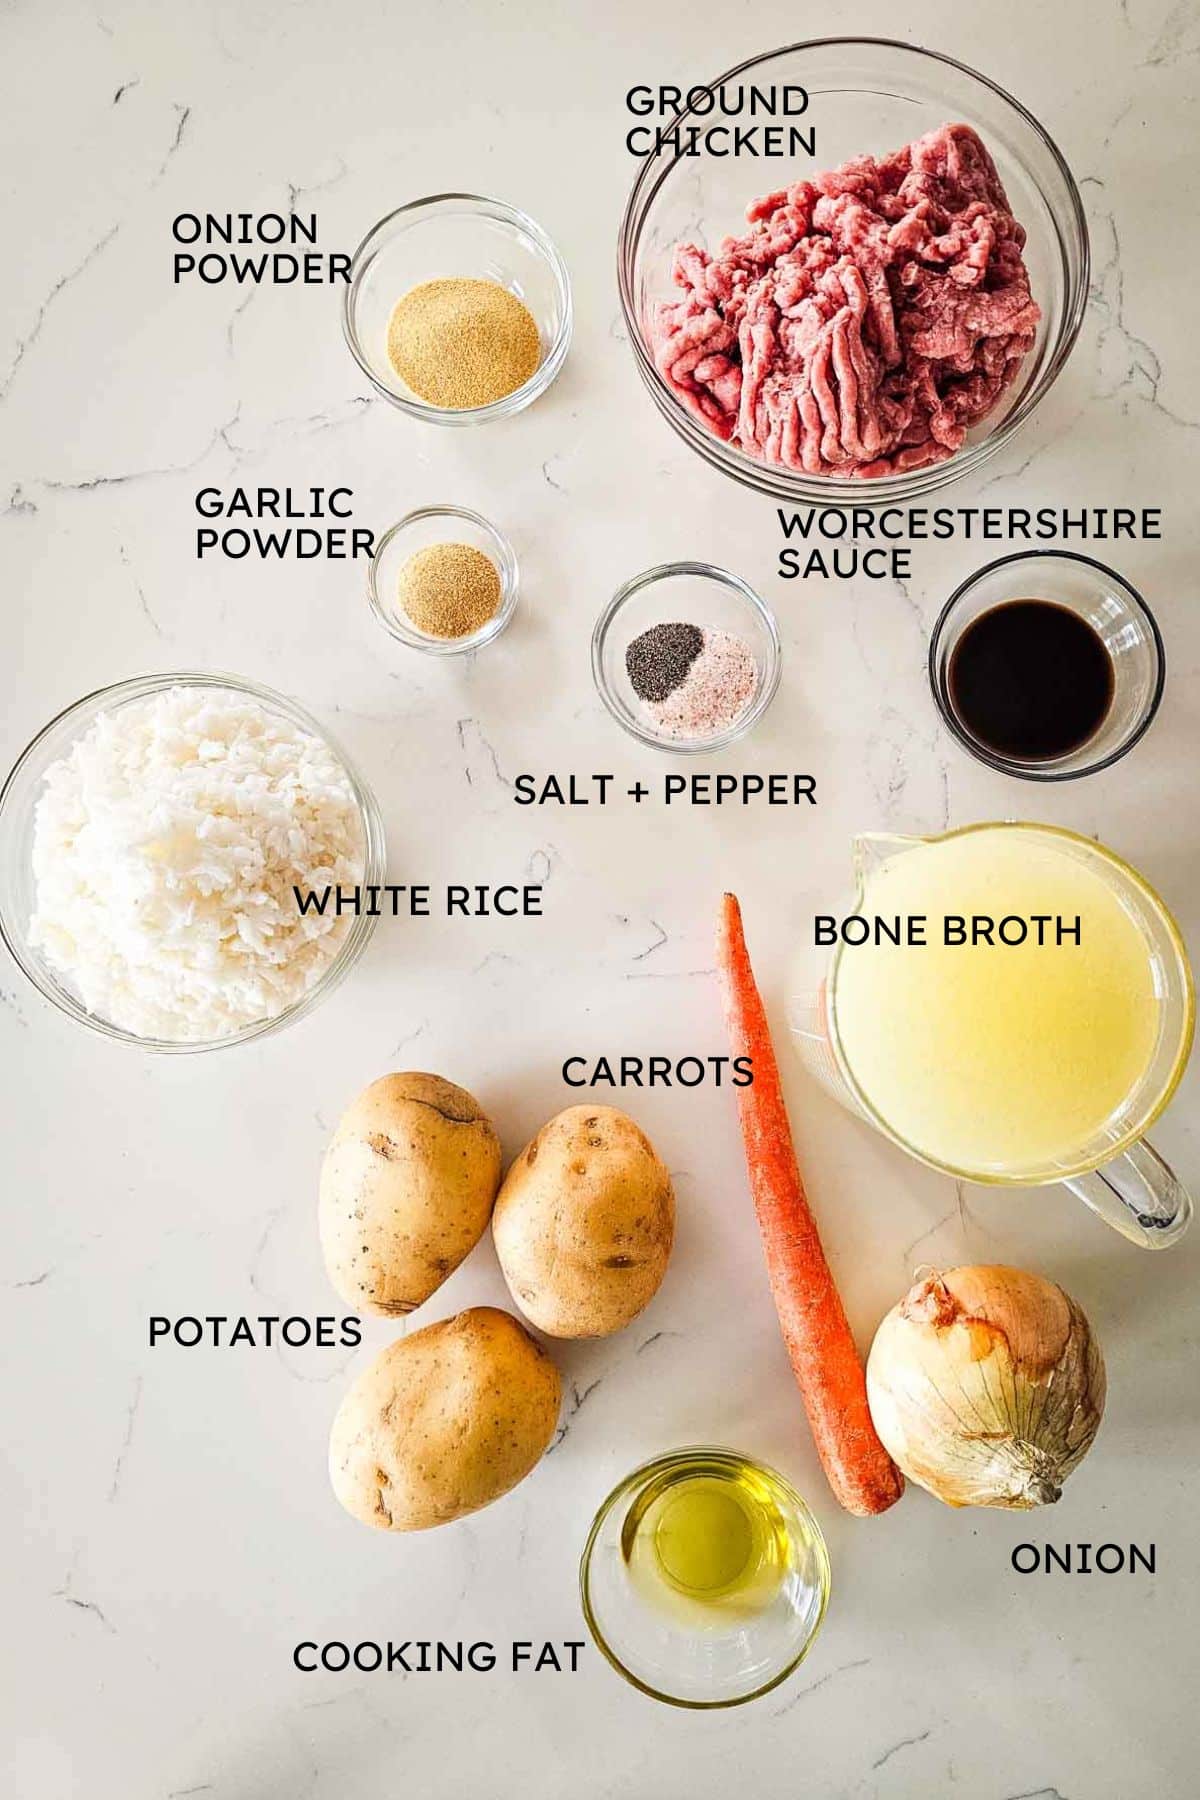
- Ground chicken: Serves as the base for the meatballs and provides a source of protein while adding flavor to the dish.
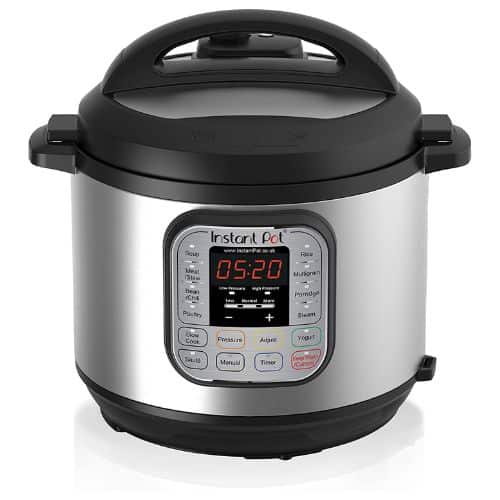
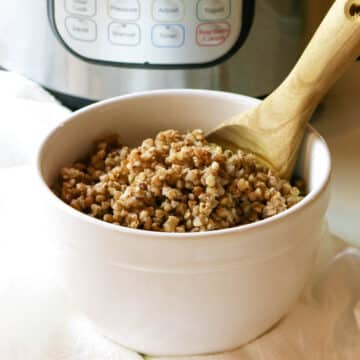
- Cooked white rice: Meatballs with rice is what gives this porcupine soup that feature. But is also adds texture and a hearty element to the soup. Learn how to cook rice in Instant Pot for that perfect texture.
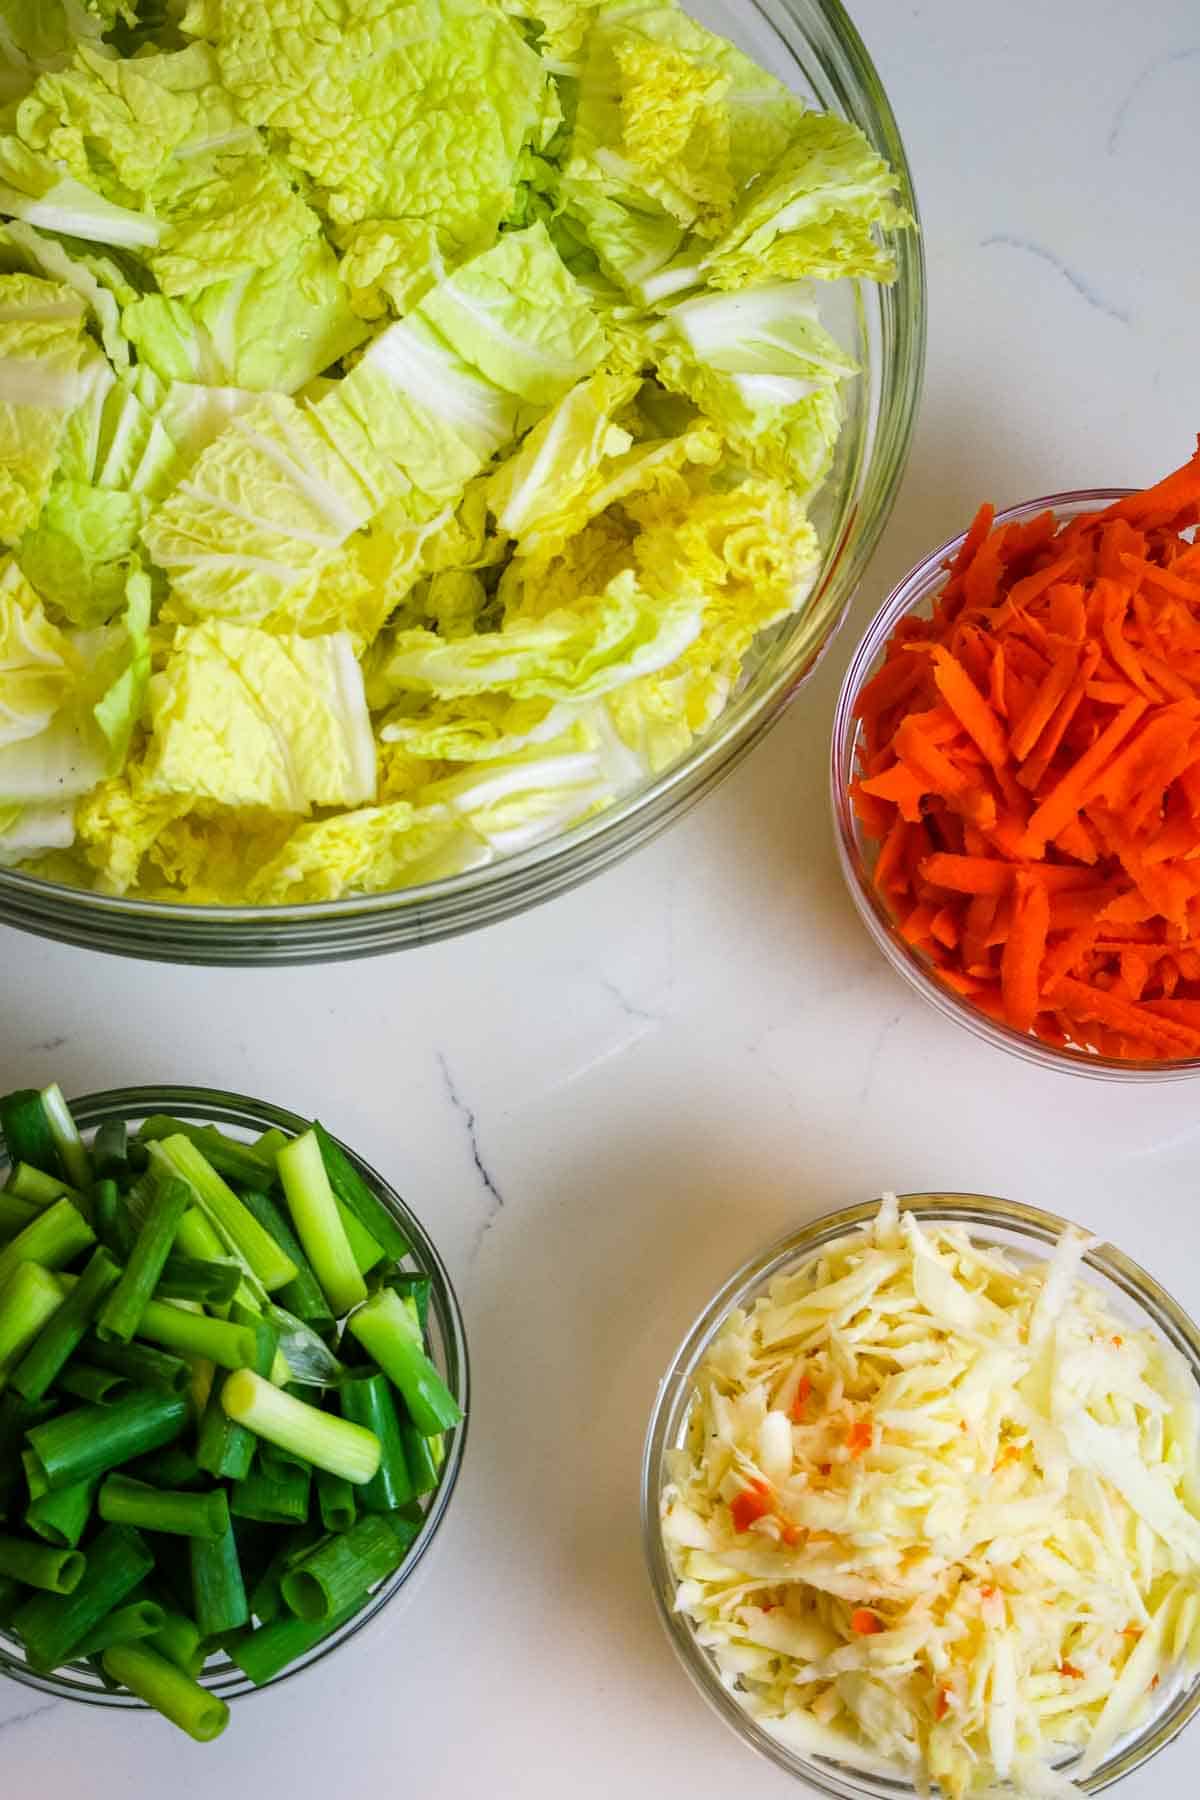
- Veggies: A simple trio of yellow onion, carrots, and potatoes gives aromatic flavor, natural sweetness, and amazing texture to this simple meatball soup.
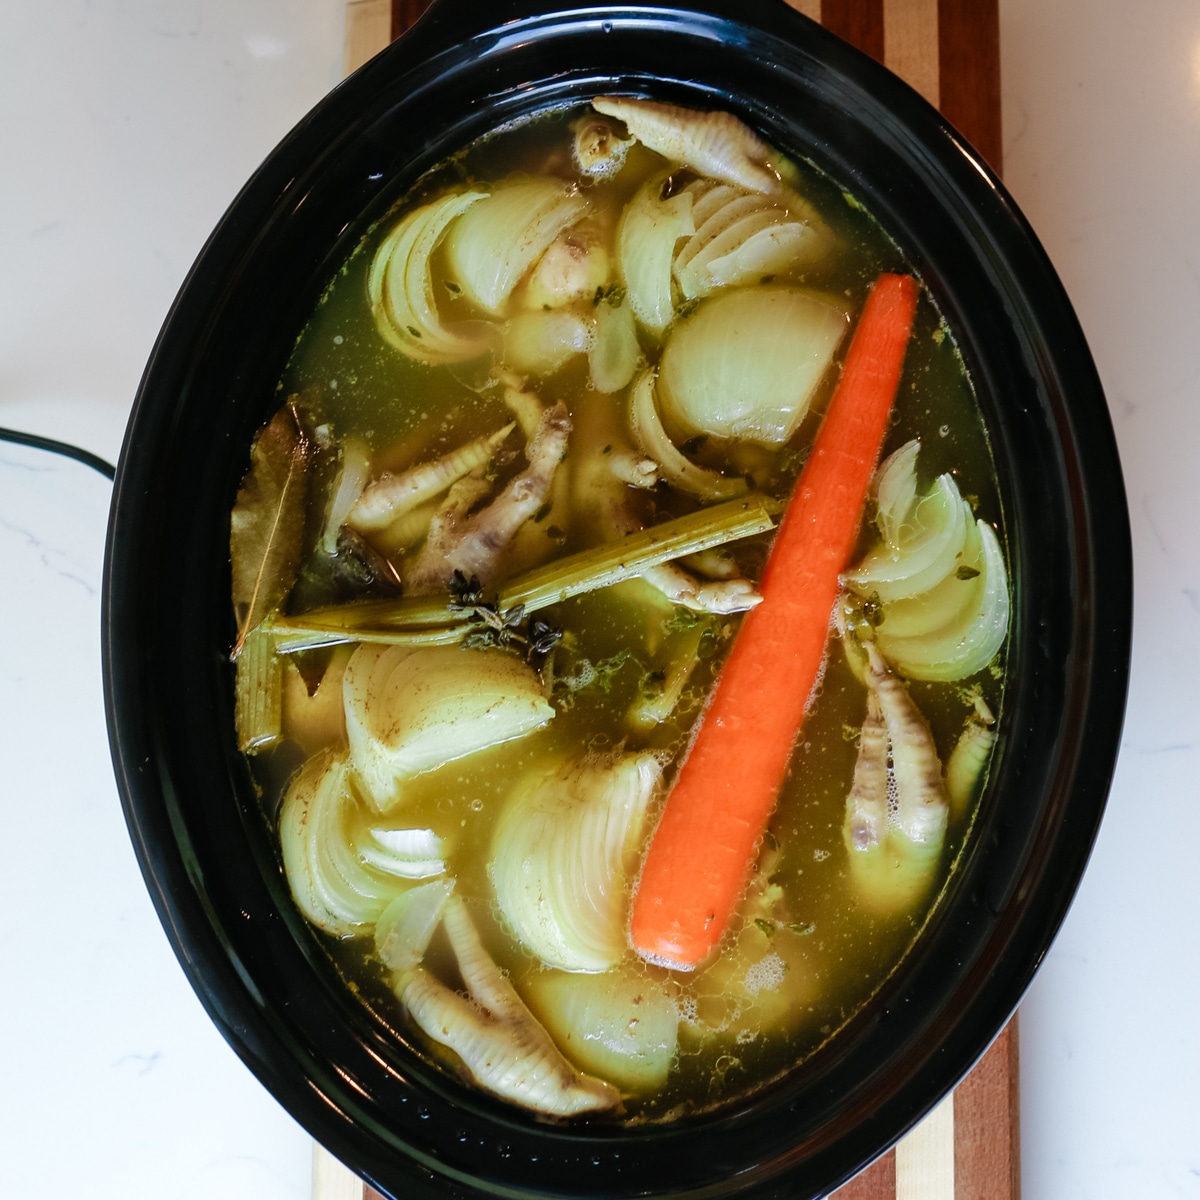
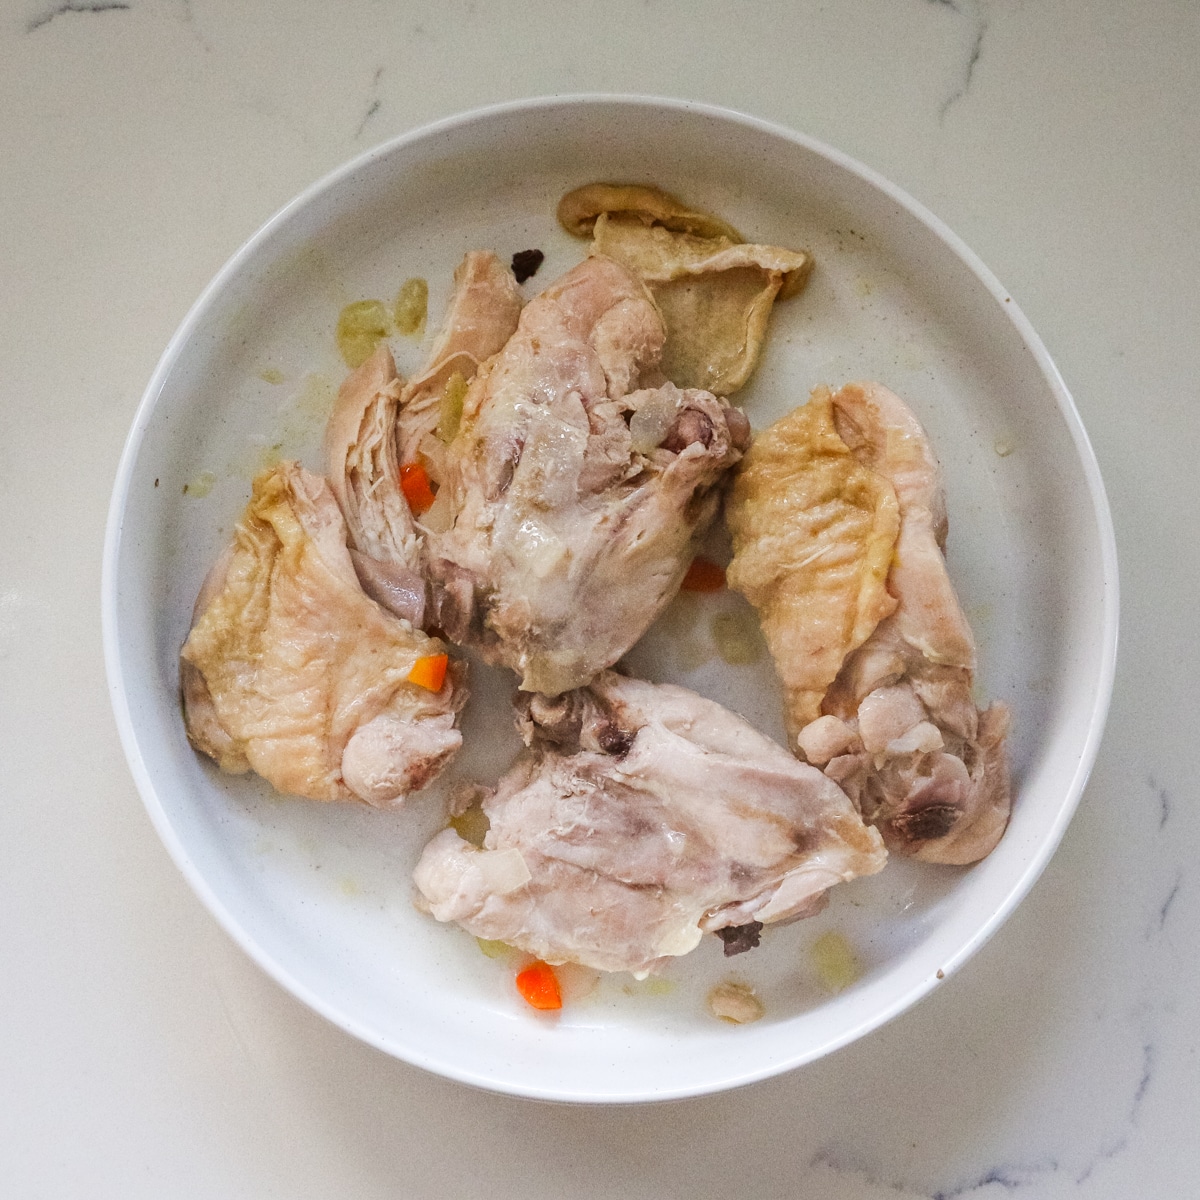
- Broth: Bone broth serves as the base of the soup, providing a hearty and flavorful foundation as well as nutrients. A few cups chicken stock will work too.
- Seasonings: The meatballs for the soup are seasoned with a simple blend of Worcestershire sauce, onion powder, garlic powder, and salt and pepper.
See the recipe card for exact quantities.
Substitutions and Variations
- Paleo and Whole30 - Omit the rice in the meatballs to make this strict Whole30 meatball soup. Use soy-free Worcestershire sauce and follow suggestions to make it compliant. Or use tomato paste or coconut aminos for flavor.
- Potatoes - I love using Yukon gold potatoes in soups for it's slightly sweet flavor yet tender texture. It also cooks incredibly fast. But you can use russet potatoes or red potatoes.
- Italian wedding soup flare - Consider using orzo instead of rice and add a few teaspoons of Italian seasoning to give this chicken soup a different flavor profile.
- Protein options - While ground chicken makes delicious and healthy meatball soup, you can also use ground turkey, ground pork, or even ground beef to make beef ball soup.
- Meatball flavorings - Traditionally, I have made this meatball potato soup with tomato paste and mayonnaise. Over the years, I have simplified this recipe by incorporating other flavors. Feel free to sub Worcestershire sauce with equal amounts of tomato paste and mayonnaise to stick to the original version.
Make it Nutrient Dense
Staying true to the heart of what Prepare and Nourish is all about, there are ways to ensure you get the maximum nutrition in this healthy meatball soup recipe. Even though it's an incredibly simple recipe, you can take purposeful steps to turn this into a nutrient-dense meal.
Start with healthy cooking fat. Avocado oil has a high smoke point but you can also use beef tallow, pork lard, or chicken schmaltz. All of these are traditional healthy fats wtih a high smoke point and come with amazing health benefits. I would avoid using olive oil.
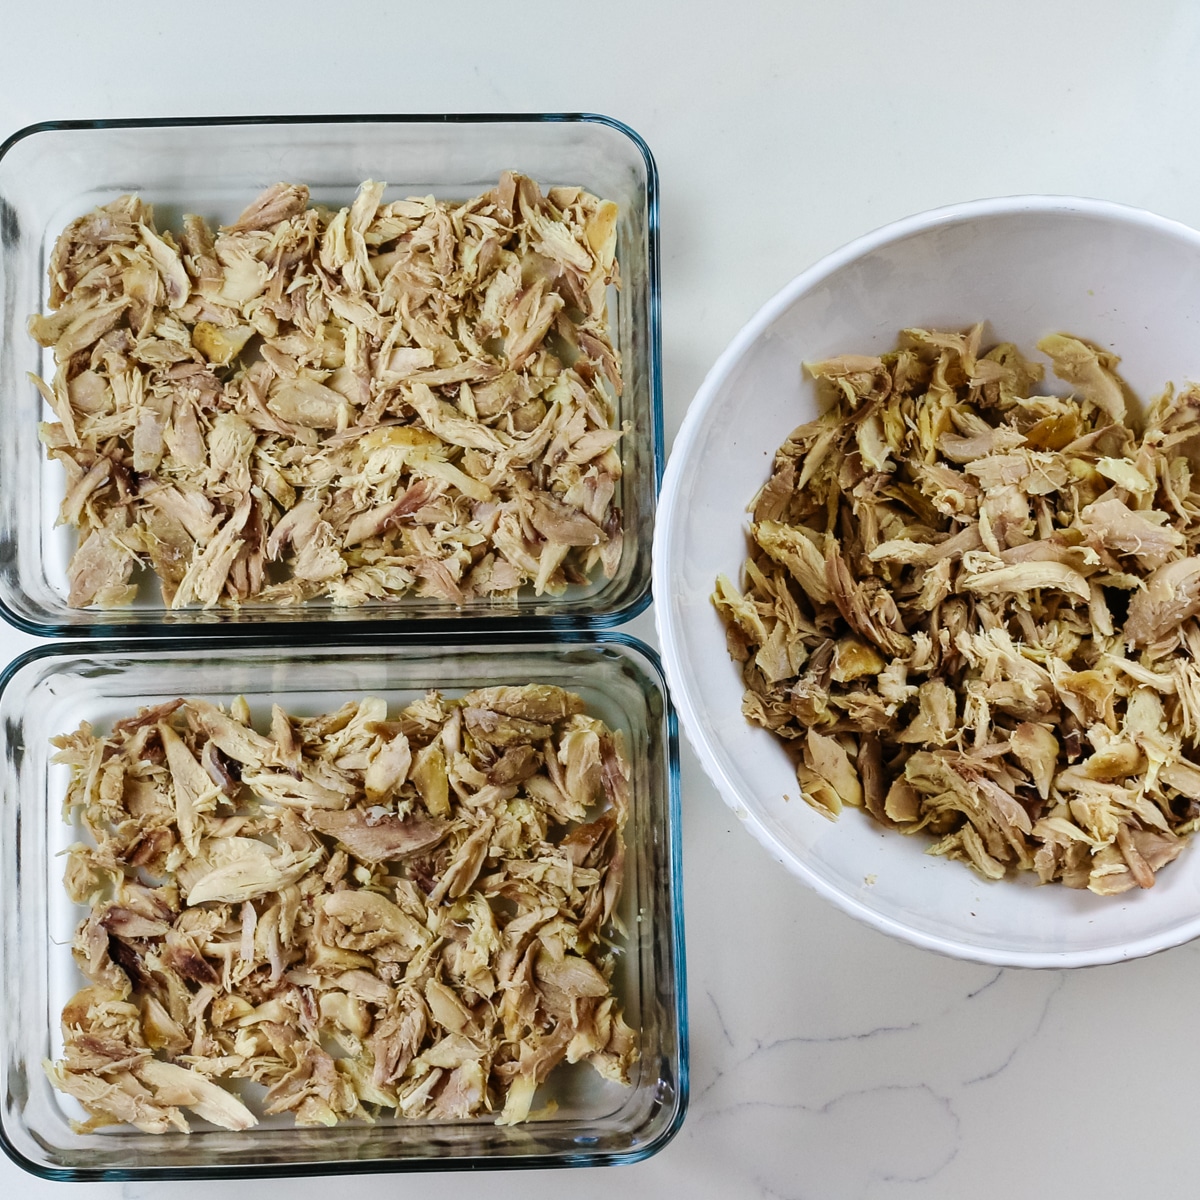
Use the best bone broth. Since we're using chicken meatballs, it makes sense to use nourishing homemade chicken broth. But beef bone broth would work just as well but impart a stronger flavor. Similarly, consider cooking the rice in bone broth for added nutrition.
Bump up the fiber. While the recipe uses onions, carrots, and potatoes, feel free to add other vegetables like celery, bell peppers, zucchini, or spinach. Add hardy veggies along with the potatoes while softer vegetables or leafy greens should be added towards the end to avoid overcooking them.
Helpful Tips
Mix the meatball mixture gently - If you want to know the secret to how to make meatballs for soup that are tender and juicy - make sure not to overmix them. Consider even mixing all the other meatball ingredients first, then stirring that into the meat.
Use a scooper when shaping meatballs - Try using a cookie scoop or wet your hands slightly to prevent the meatball mixture from sticking to your hands. It makes uniform mini meatballs that quick in just a few mins cook time.
Preheat the stockpot - Before adding onions and carrots, preheat the pot with your cooking fat to help them sauté more evenly and develop flavors.
Adjust cooking time - The cooking time for the meatballs may vary depending on their size and the type of meat used. Make sure they are cooked through and no longer pink in the center. You can test the doneness by cutting one meatball open to check.
💭Meal Prep Suggestion: Consider doubling the meatballs for soup and freezing half for a quick and easy meatball soup next time.

To save extra meatballs for future meatball soup, form them and flash freeze on a baking sheet until solid. Then transfer to large freezer bag.

When you're ready to make this porcupine soup recipe again, it will take you half the time because the meatballs will be ready to go. No need to thaw them. Just add directly to boiling broth.
Step-by-Step Instructions
The complete printable recipe is below in the recipe card for your convenience.
The recipe for easy meatball soup is very straightforward. It starts with making meatballs for soup and ends with a fresh garnish of dill or parsley.

Step 1. Mix
In a bowl, combine ground chicken, cooked rice, Worcestershire sauce, and seasonings. Mix until combined. Set aside in the fridge to firm up slightly.
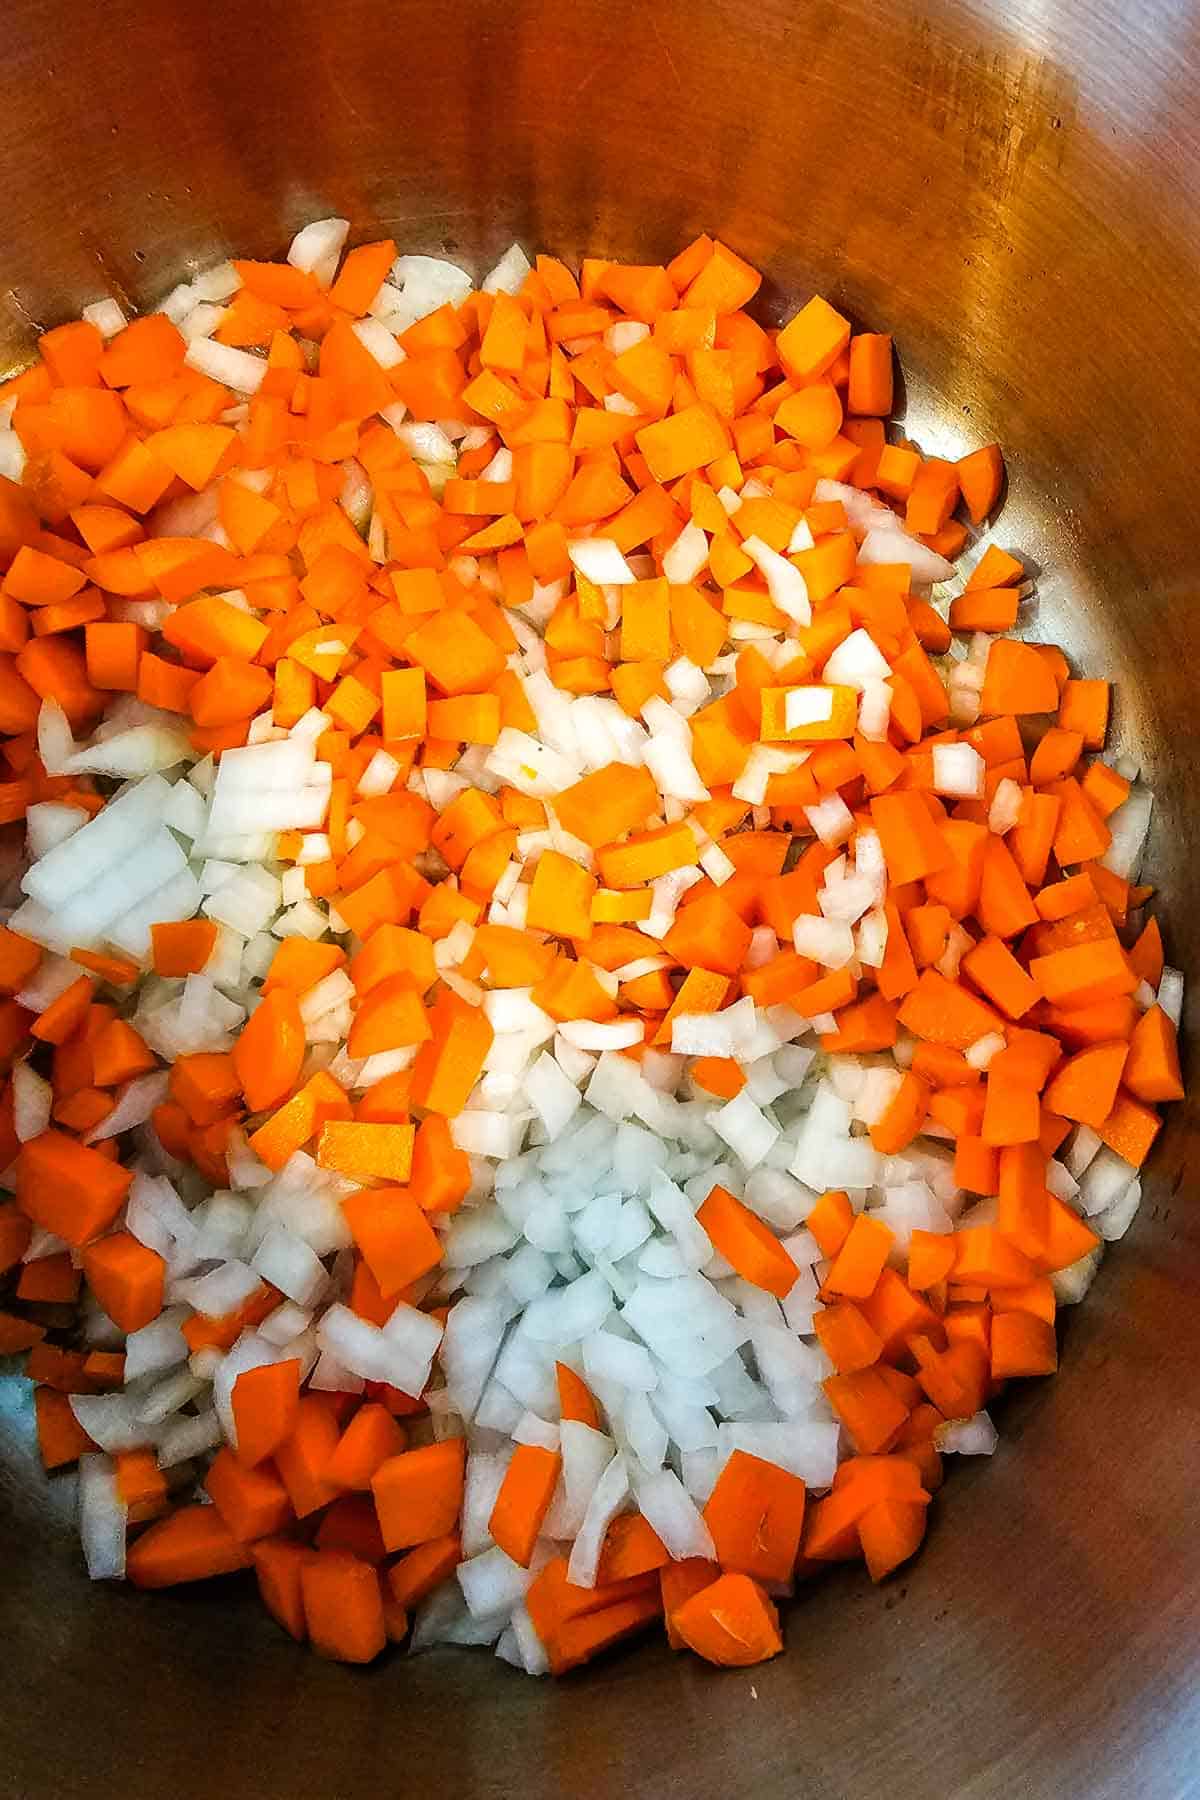
Step 2. Saute
Heat oil over medium heat in a large stockpot. Add diced onions and carrots and cook until softened, stirring regularly.
💭Pro tip: Avoid overmixing the meatball mixture as that will create very tough meatballs.
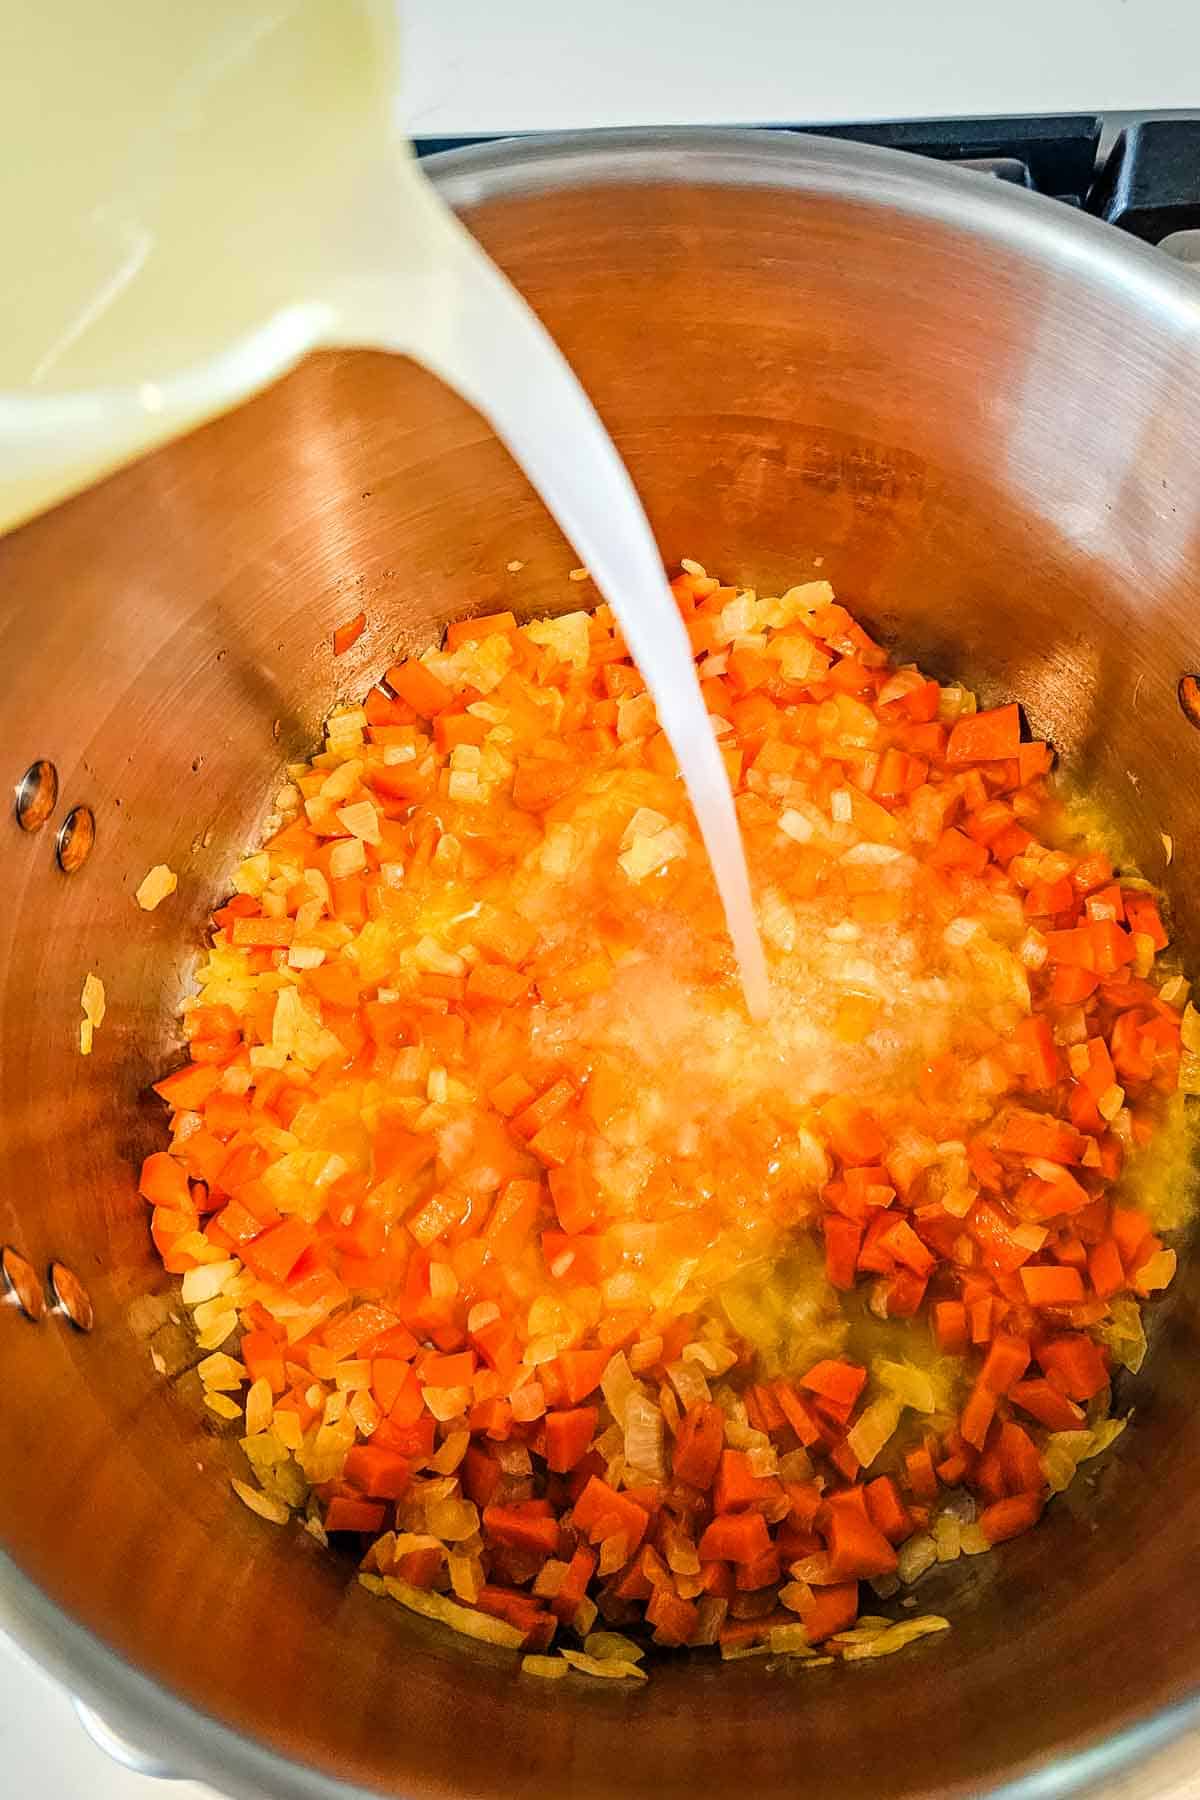
Step 3. Pour
Add broth to the sauteed vegetables, cover the pot and bring to a rolling boil on high heat.

Step 4. Form
Meanwhile, spoon and form 1" meatballs and set them aside on a flat surface such as sheet pan, platter, or cutting board.
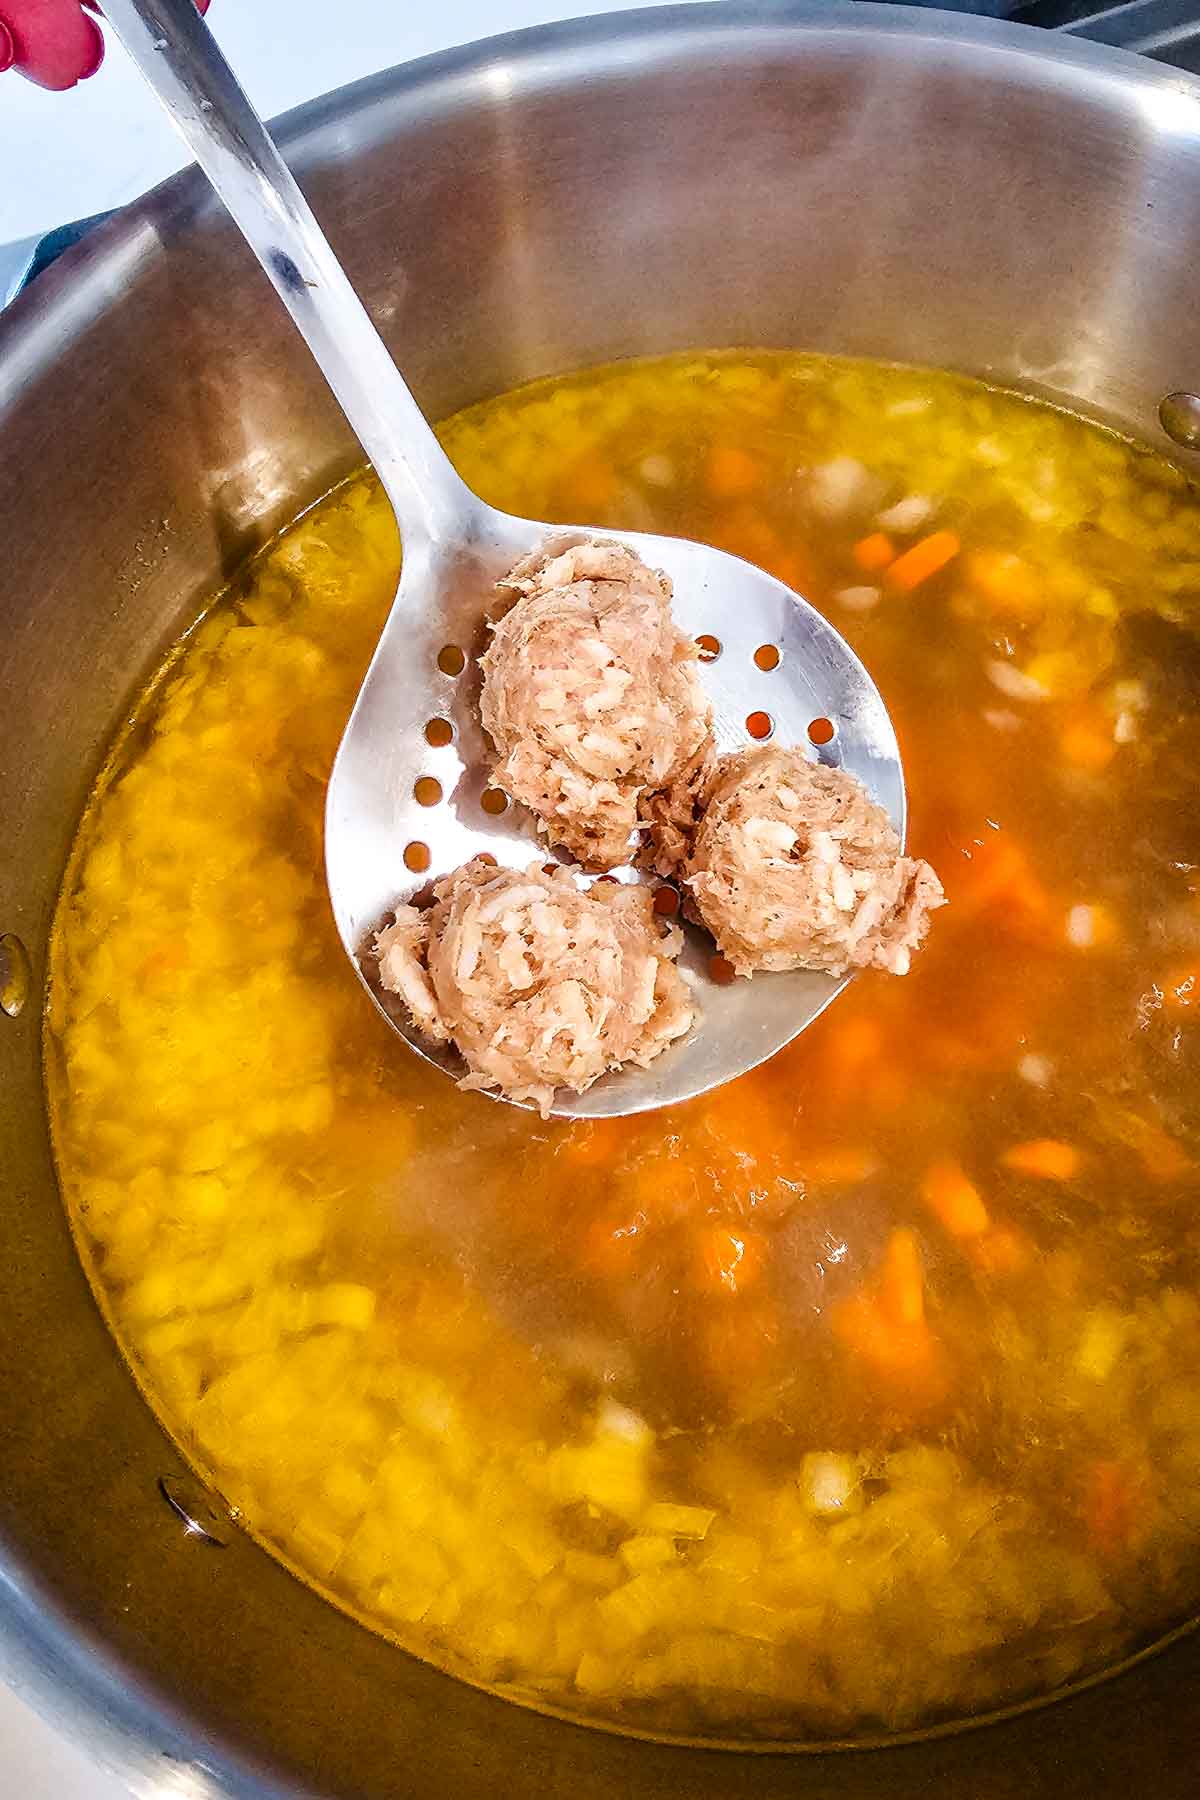
Step 5. Add
When broth comes to a boil, reduce heat to medium and gently add the meatballs taking care that they do not touch each other.
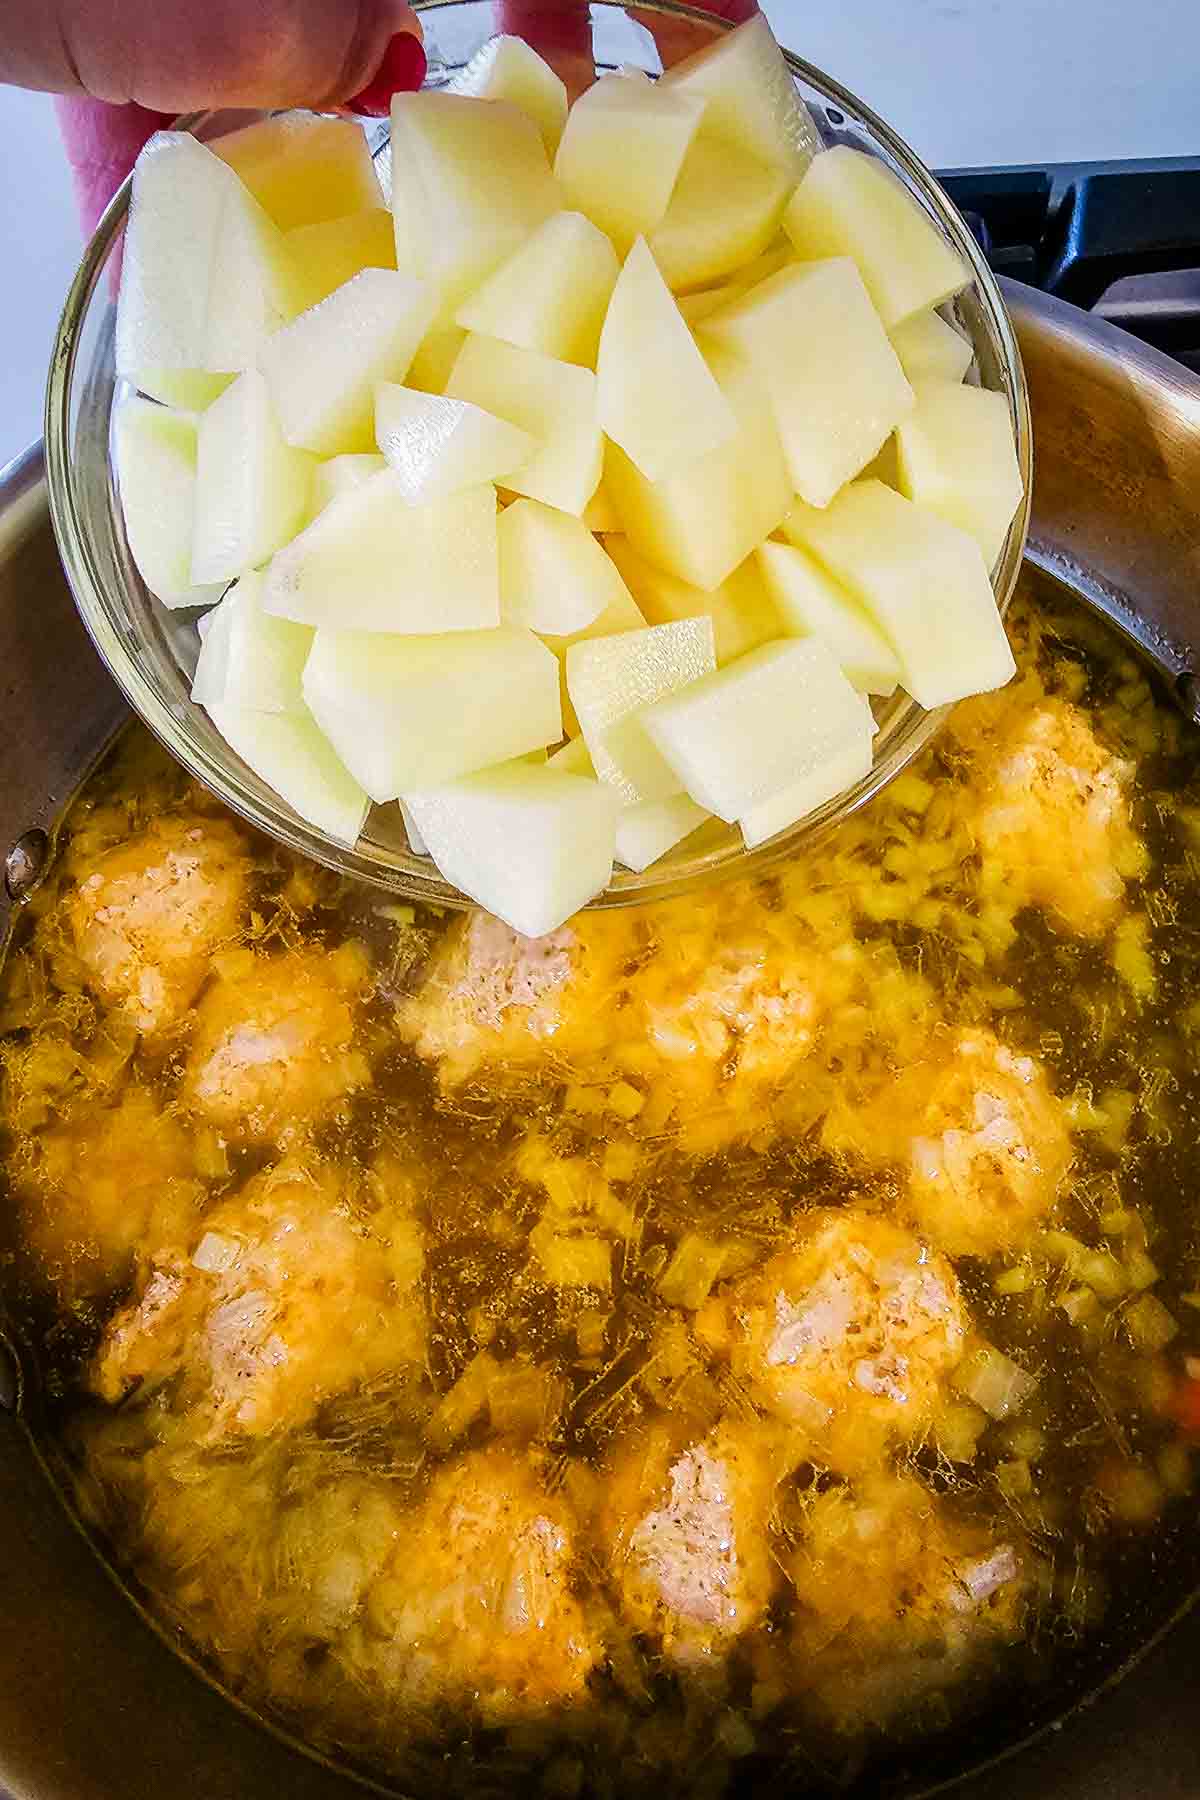
Step 6. Simmer
Add diced potatoes and gently stir. Continue to cook for 7-10 minutes or until the meatballs are cooked through and the potatoes are tender.
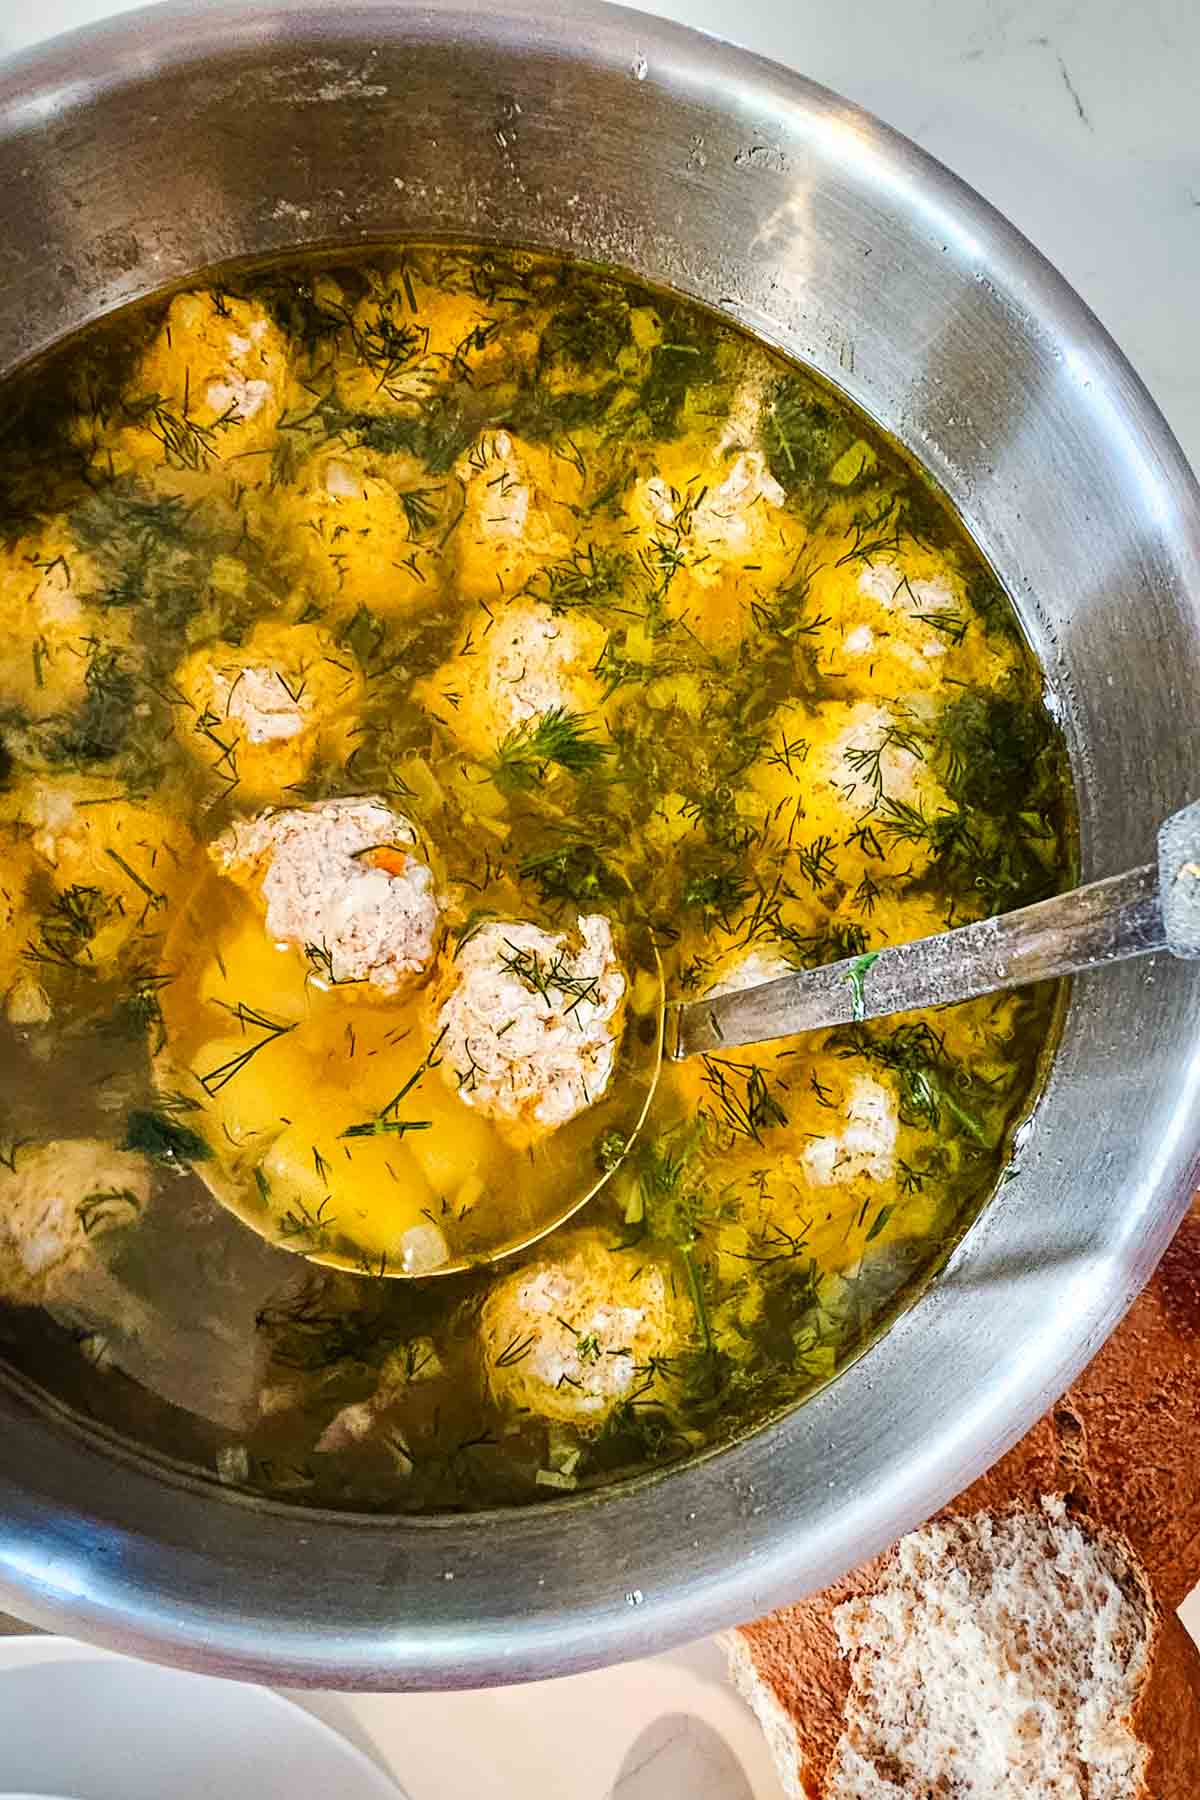
💭Pro tip: Do a taste test at the end and add salt if needed. Garnish with chopped fresh parsley or dill and serve with crusty bread.
Helpful Tools & Links
Below are some affiliate links that may be helpful to you as you make this porcupine soup recipe. You can find some of these items cheaper at your local store, but having a link helps you know what you're looking for.
- Tools: chef knife, cutting board, large mixing bowl, 6-quart stainless steel stockpot, cookie scooper, slotted spoon to lower meatballs,
- Ingredients: avocado oil, real salt, black pepper, garlic powder, onion powder, Worcestershire sauce
- Storage Supplies: wide-mouth mason jars are excellent for leftover soup or glass snap containers
Serving Suggestions
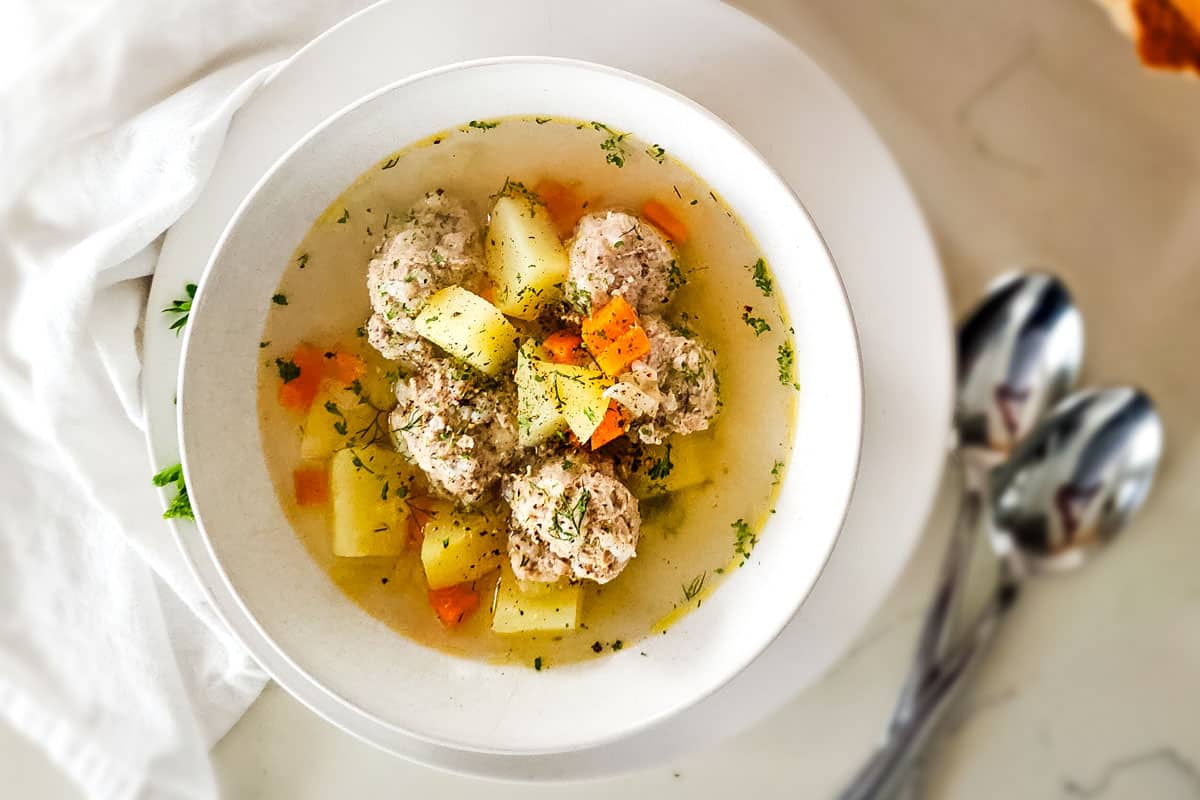
Like most fresh soups, I go heavy on the fresh herb garnish. There's nothing better than hot soup with fragrant chopped dill. No fresh herbs? No problem. Use dried parsley instead.
We enjoy this easy meatball soup with crusty bread and a dollop of sour cream or freshly grated Parmesan cheese for extra flavor and a touch of creaminess.
Because it's a light soup, you might want to consider serving this with a heartier protein and healthy carb. This meatball soup is without pasta but you may consider adding some to bulk it up.
Simple Meatball Soup pairing suggestions


Storage and Reheating Instructions
To store: Store leftover porcupine meatball soup in an airtight container for up to 5 days.
Can you freeze meatball soup with potatoes? I don't recommend it because the freezing and thawing process will alter the flavor and texture of the potatoes.
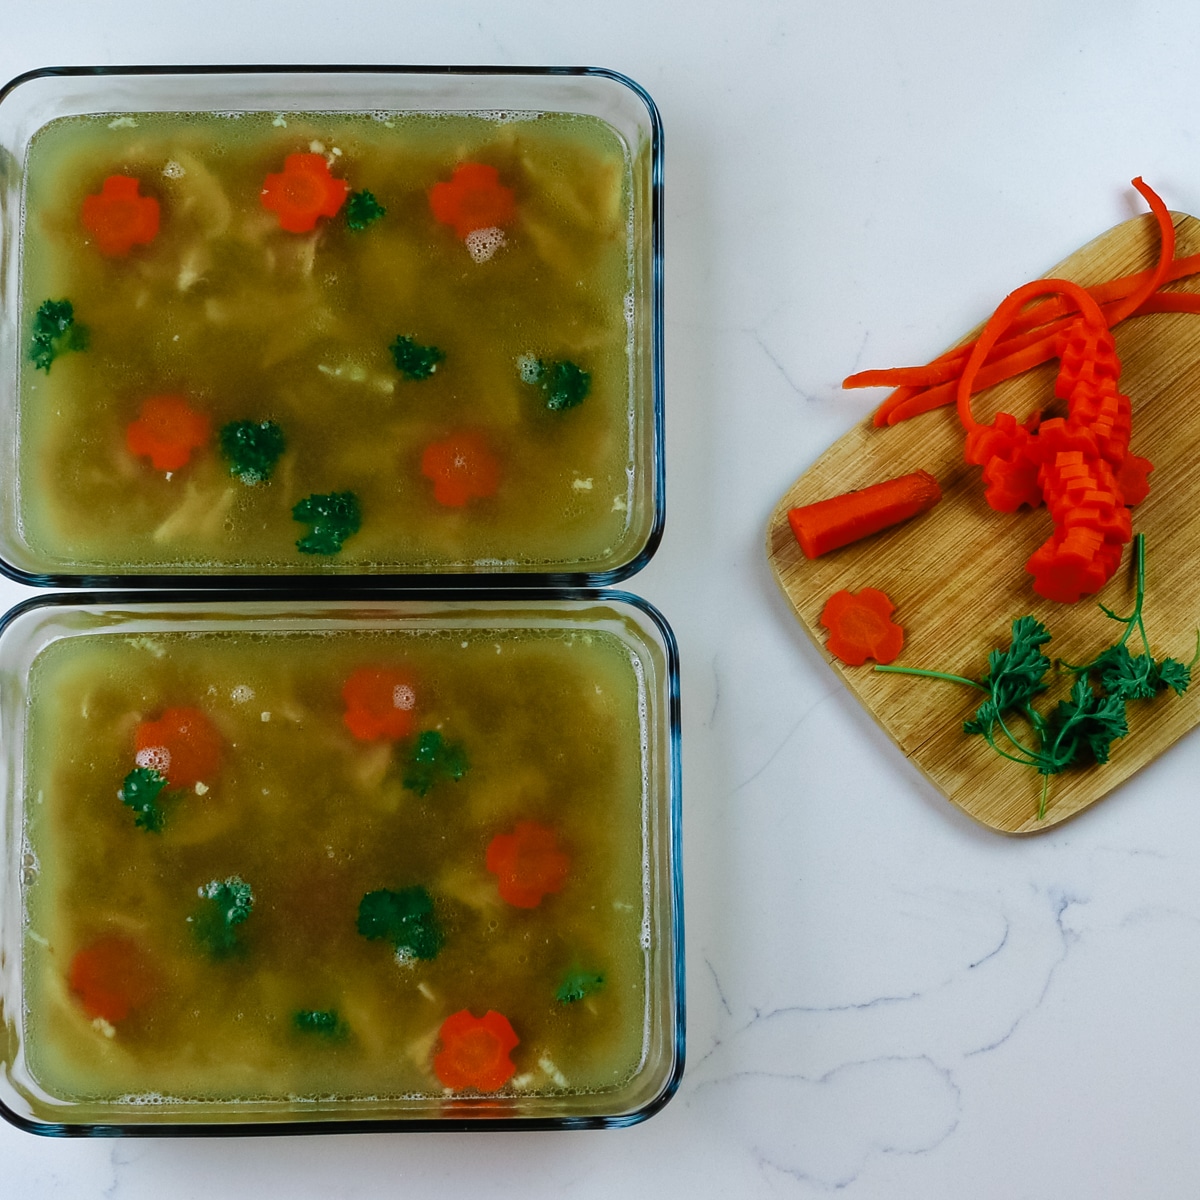
Storage containers: These glass snap containers are perfect for leftovers or a wide-mouth mason jar for soups.
To reheat: When ready to enjoy again, reheat meatball and potato soup in a small saucepan over medium heat until warmed through.
FAQs
Yes, you can use store-bought broth as a substitute. Look for high-quality options with no added sugars or artificial ingredients for the best flavor. Kettle & Fire is a great brand. In a pinch, you can mix chicken bone broth powder with water to make instant broth. It's not as nutrient dense as homemade bone broth but in many cases, better than store-bought versions.
Sometimes this can happen when there are not enough binding ingredients. Ground chicken or ground turkey is great because they are lean and hold up well. Another easy to prevent meatballs from falling apart is by adding a raw egg to the meat mixture.
You can make the meatball soup with frozen meatballs per recipe instructions but allow for more time to cook. Add the frozen meatballs directly into the boiling broth. Simmer for additional 8-10 minutes until they are cooked through.
Uncooked meatballs cook incredibly fast in hot broth. Depending on the size of meatballs and meat used, it should take approximately 7-10 minutes to thoroughly cook meatballs. Frozen meatballs should have a total cooking time of up to 20 minutes.
Looking for more light soup recipes? Here are some ideas:


Did you make this? Please leave a ⭐ recipe rating in the recipe card below and leave a review in the comments. Thank you!💚
Printable Recipe

Easy Chicken Meatball Soup
Ingredients
For meatballs:
- 1 pound ground chicken or ground turkey
- 2 cups cooked white rice
- 2 tablespoons Worcestershire sauce
- 1 tablespoon onion powder
- 1 teaspoon garlic powder
- 1 teaspoon sea salt
- ½ teaspoon black pepper
For soup:
- 2 tablespoons avocado oil, butter, or ghee
- 1 yellow onion diced
- 1 carrot diced
- 3 quarts chicken bone broth
- 3 Yukon gold potatoes peeled and diced
Instructions
- Mix: In a bowl, combine ground chicken, cooked rice, Worcestershire sauce, and seasonings together. Mix just enough to combine well but avoid overmixing.
- Sauté: Add oil to a large stock pot over medium-high heat. Once the fat is heated, add onions and carrots and sauté until softened, about 4-6 minutes, stirring regularly so the vegetables don't burn.
- Add: Add broth to the sauteed vegetables, cover the pot and bring to a rolling boil.
- Form: Meanwhile, spoon and form ½-1" meatballs and set them aside on a flat surface like a sheet pan, platter, or cutting board.
- Add: When broth comes to a boil, reduce heat to medium. Gently, add meatballs one at a time to the boiling broth, taking care that they do not touch each other.
- Simmer: Add diced potatoes and gently stir and continue to cook for 7-10 minutes or until the meatballs are cooked through and the potatoes are tender.
- Season: Season with salt and pepper if needed and garnish with fresh parsley or dill. Serve warm.
Notes
- One pound of ground meat will make approximately 24 meatballs.
- Consider doubling the meatballs and freezing for easy soup. If using frozen meatballs, adjust time to thoroughly cook through.
- Add variety of vegetables to the soup. Hardy veggies such as celeriac should be added along with potatoes while softer ones like zucchini should be added towards the end.
- Swap Worcestershire sauce with tomato paste, mayonnaise, or coconut aminos. This allows to bind the ingredients and creates flavor.


 Chunky Guacamole
 Lacto-Fermented Tomato Salsa
 Homemade Ranch Dressing (dried & fresh herbs)