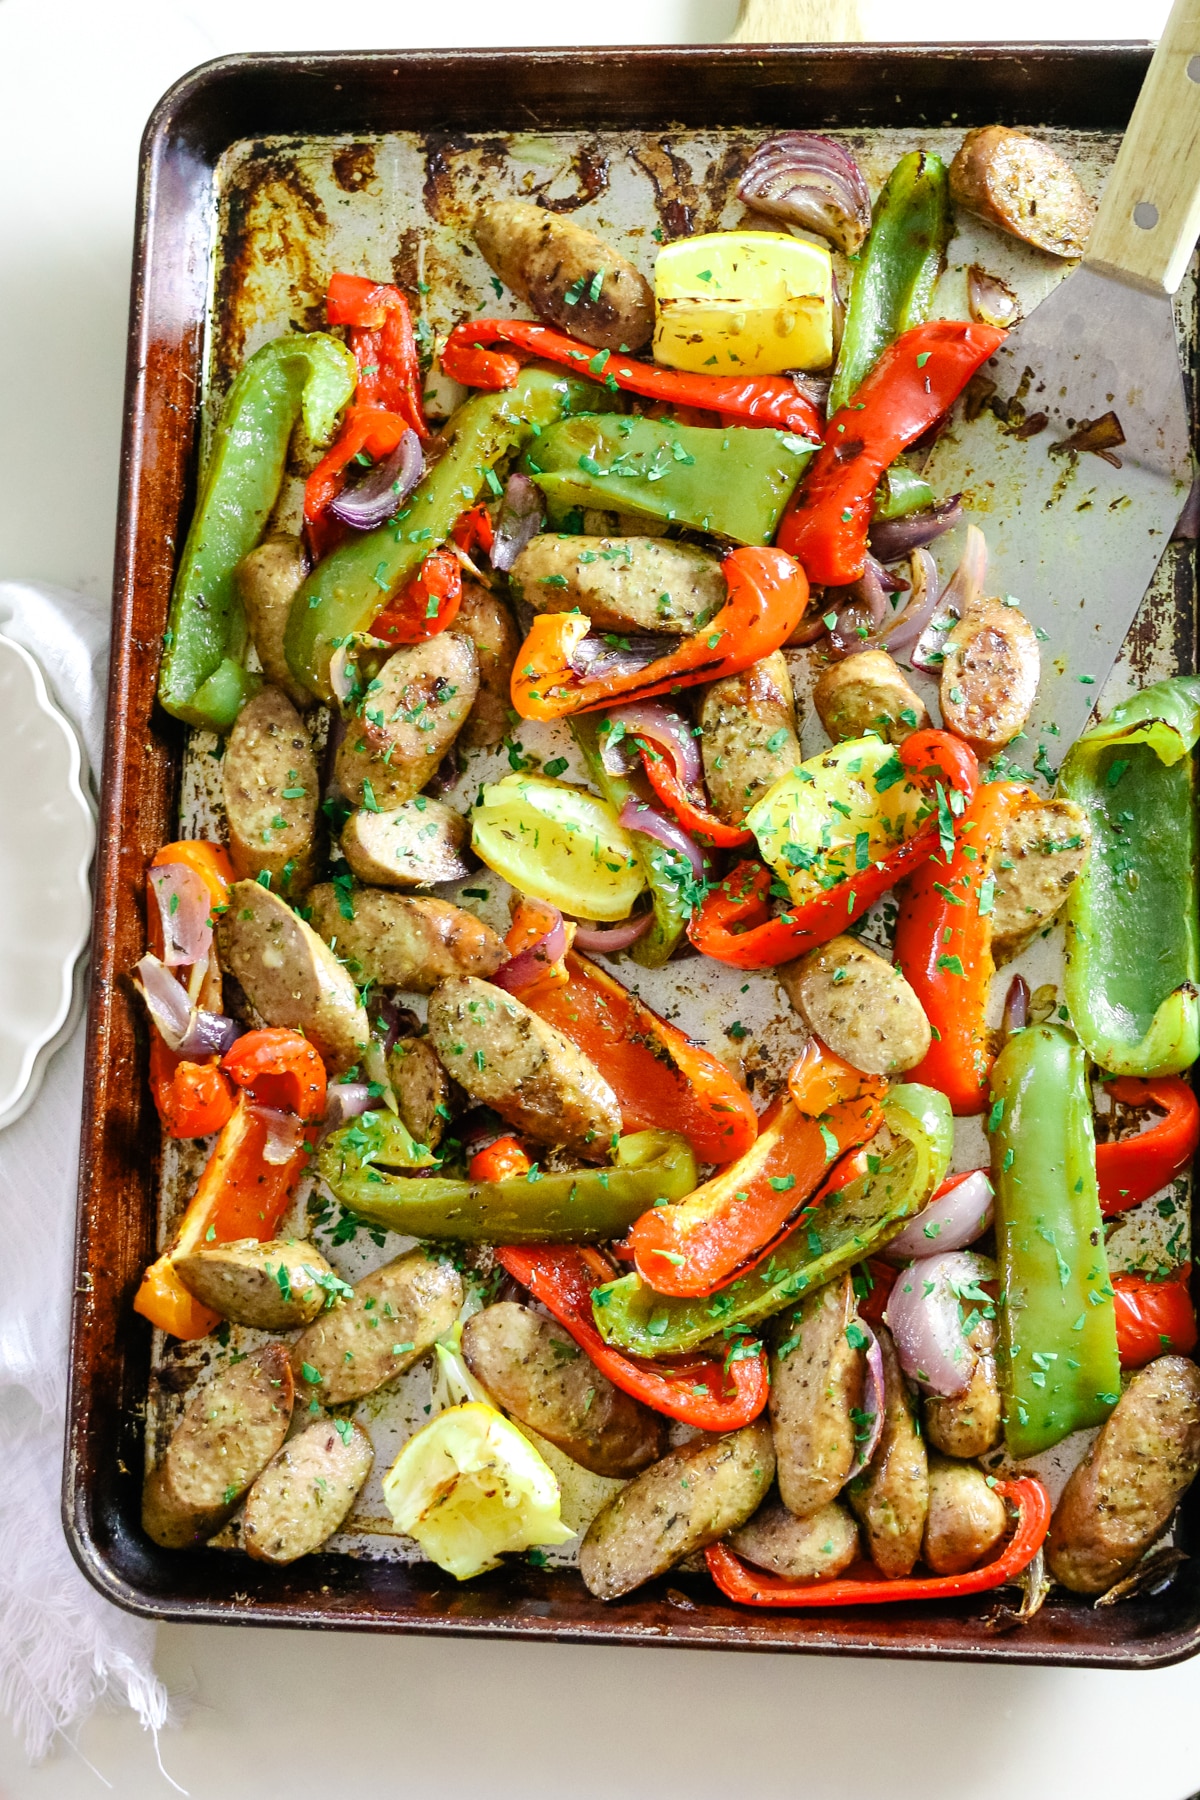
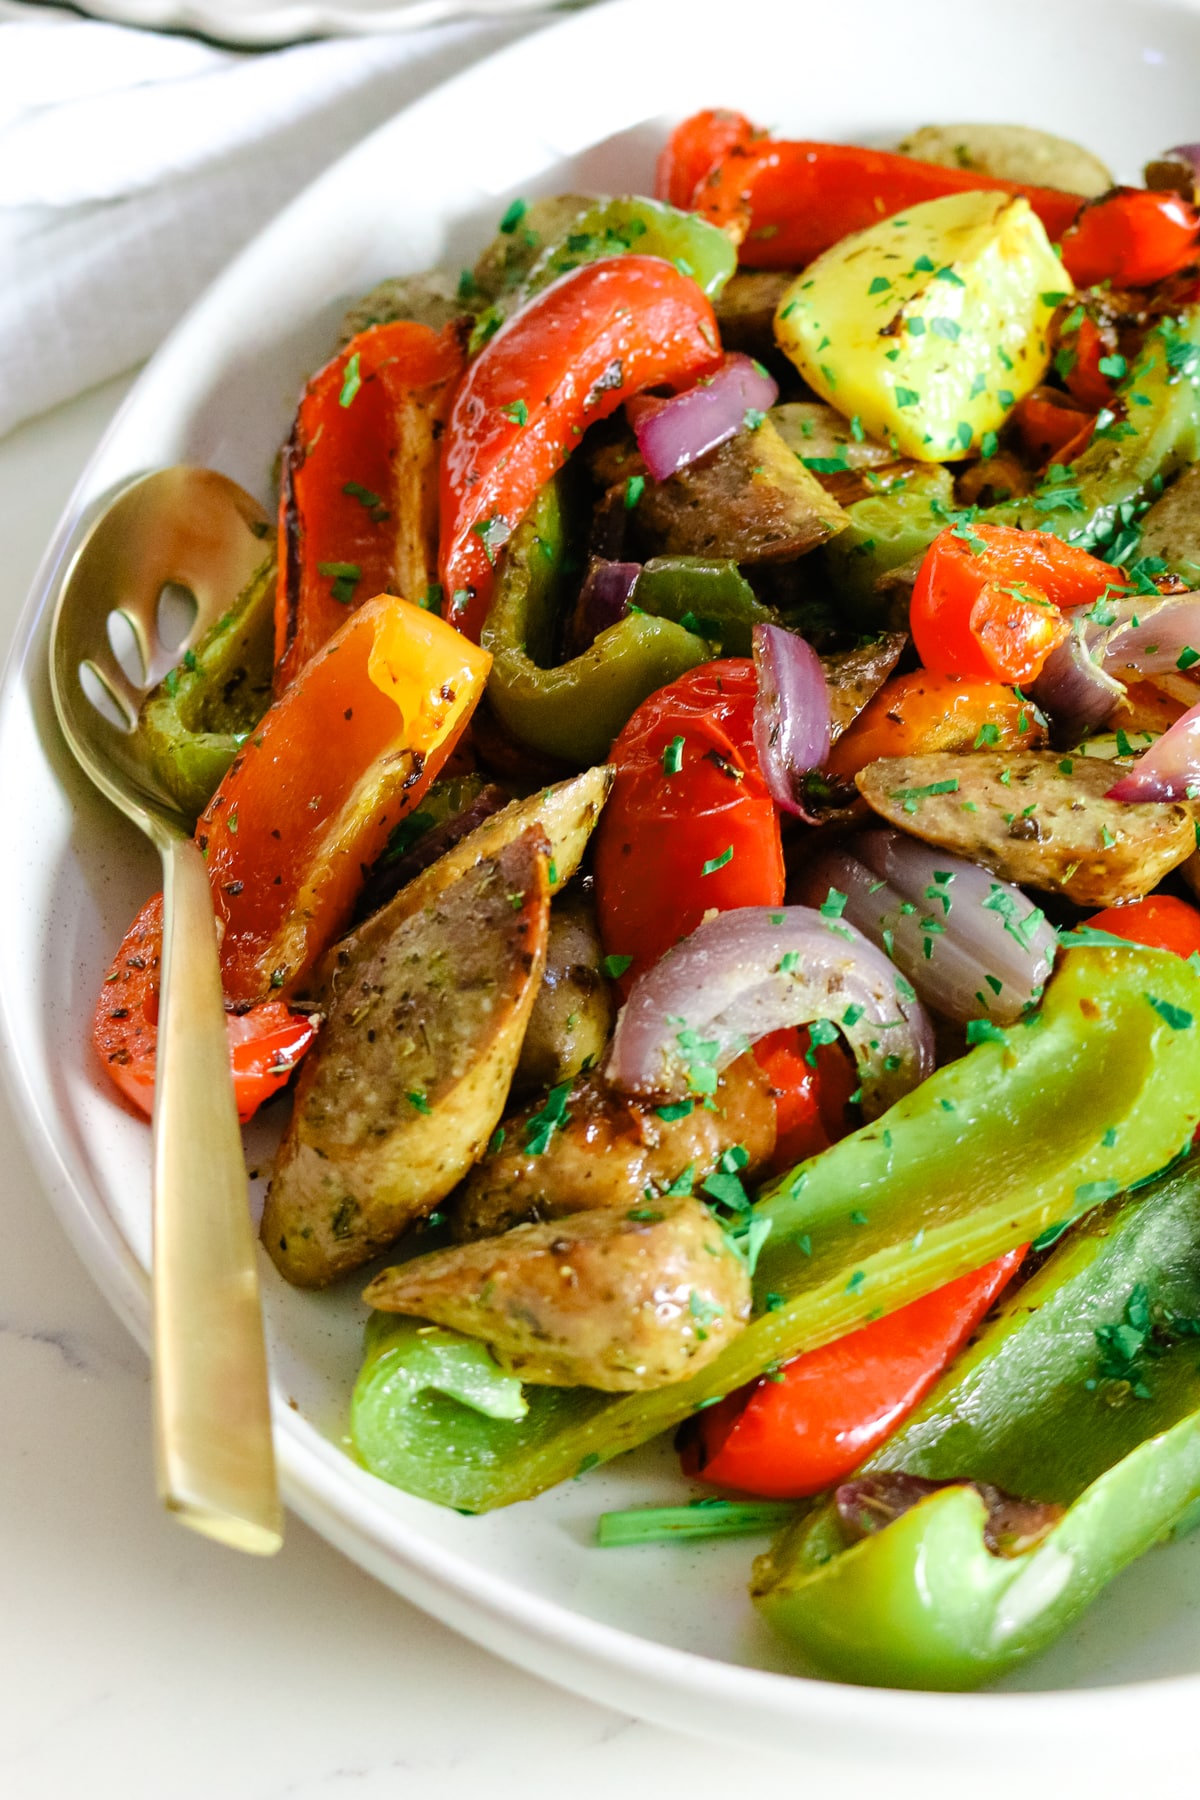
Oven baked sausage and peppers is an easy, flavorful meal made with tender sausage, sweet bell peppers, onion, and lots of seasoning - all roasted together on one baking sheet. Minimal prep and even less clean up - perfect for a quick, low-effort dinner.
Looking for more easy sheet pan meals?[feast_advanced_jump_to]
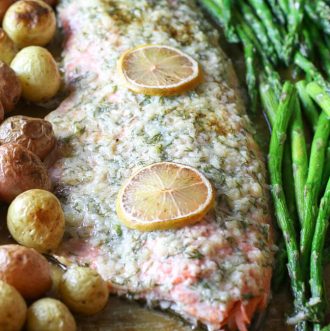
Check out sheet pan salmon and asparagus, sheet pan nachos, and sheet pan breakfast quesadilla.
Recipe Overview
- Prep and Cook Time: 10 minutes to prep and 30 minutes to cook
- Cooking Method: Oven-baked
- Dietary Info: Low-Carb, Whole30, Paleo, and GAPS
- Tools Needed: large baking sheet
- Skill Level: Easy
What is an ancestral diet? Read my post on what nourishing foods are based on the traditional dietary principles of the Weston A. Price Foundation.
Ultimate Last-Minute Meal Hack
You know those days when dinner feels like a race against the clock?
This sausage and peppers recipe is my secret weapon. It's one of those dishes I can throw together last minute - no stress, no planning needed (and believe me, I've forgotten to thaw out the meat a time or two!).
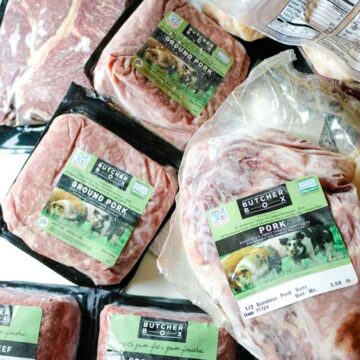
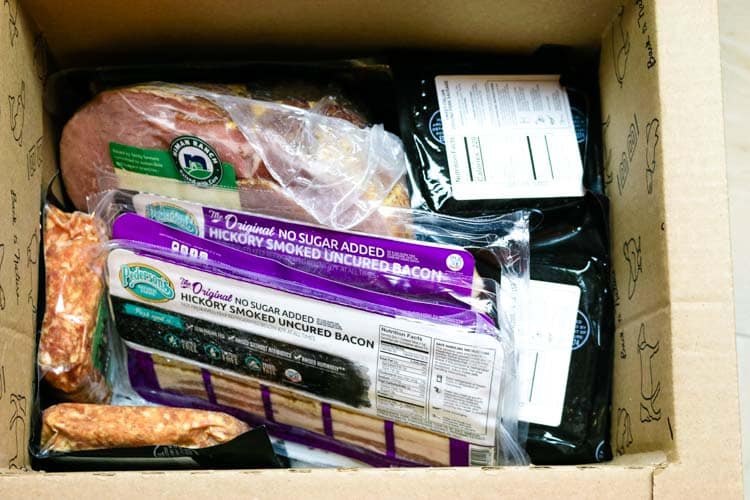
I always have sausages from Costco in the freezer, and even if they're frozen solid, I can have them ready to cook in under an hour.
Just a quick thaw in water, and I'm good to go. It's simple, satisfying, and doesn't keep me waiting around for long. Plus, there's no need to flip the sausages halfway through cooking, which is always a win in my book!

Ingredients for Oven-Baked Sausage and Peppers

- Sausages: Use your favorite sausages (you'll need about a pound, which is roughly 5-6 large links). You can use Italian, Andouille, bratwurst, or a spicier option. Just keep in mind, if using an uncooked sausage, you may have to temp test it before pulling it out of the oven to make sure it's cooked through.
- Bell peppers: A colorful mix of green, yellow, and red bell peppers adds both sweetness and crunch. Green bell peppers tend to be a tad on the bitter side, so you can just use the red and yellow bell peppers but this is totally a matter of preference.
- Red onion: Adds a mild sweetness as it roasts. The caramelized edges are everything here. If you don't have red onion, you can use a sweet yellow onion or a white onion instead.
- Lemon: I love tucking lemon chunks throughout the sheet pan - the heat brings out their zestiness, and I squeeze the juices over the roasted sausages and veggies for an extra burst of flavor. The best!
- Olive oil: The oil helps everything roast beautifully, giving the sausages a crisp, golden exterior while keeping the peppers and onions tender and flavorful. It also helps the seasoning to cling to every bite.
- Flavor: Italian seasoning and unrefined sea salt is a must here. If you don't have Italian seasoning on hand, you can make a simple substitute with equal parts of dried oregano, basil, thyme, and rosemary.
Substitutions and Variations
- Seasoning variations - Instead of Italian seasoning, try a smoky paprika or Cajun seasoning for a different flavor profile.
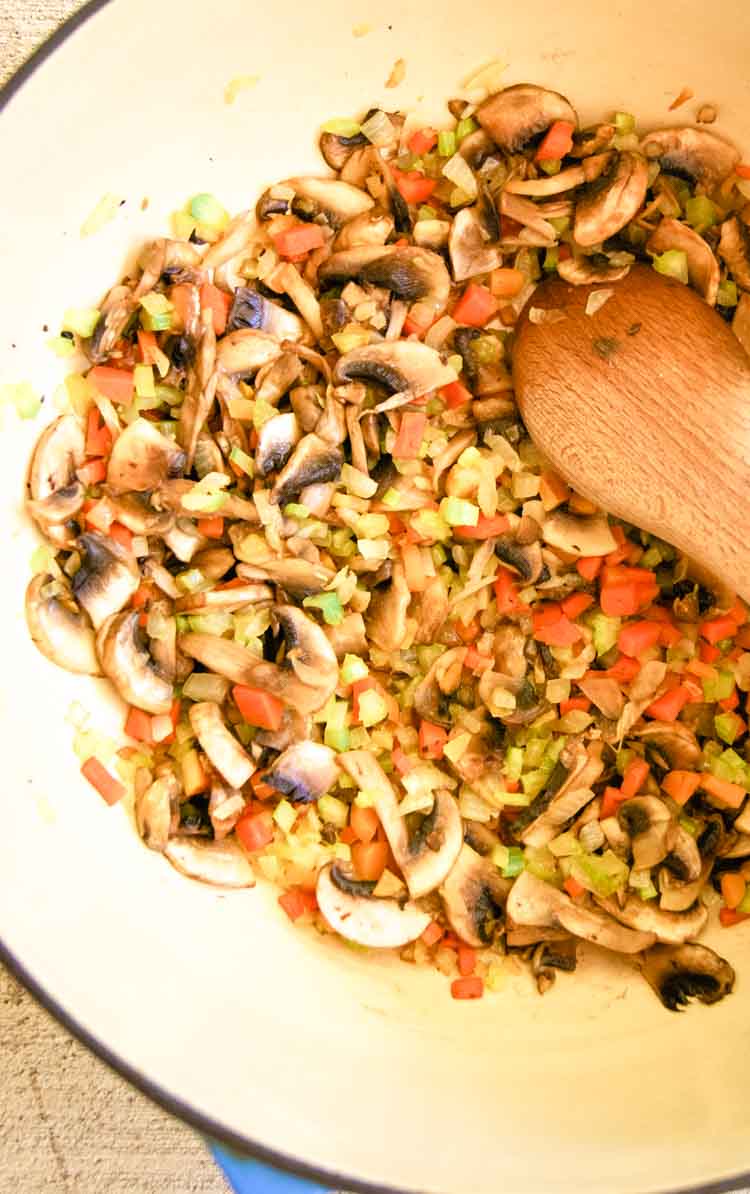
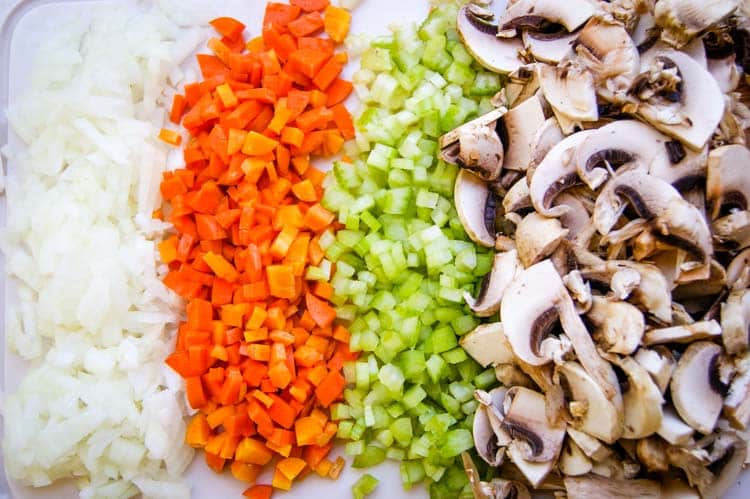
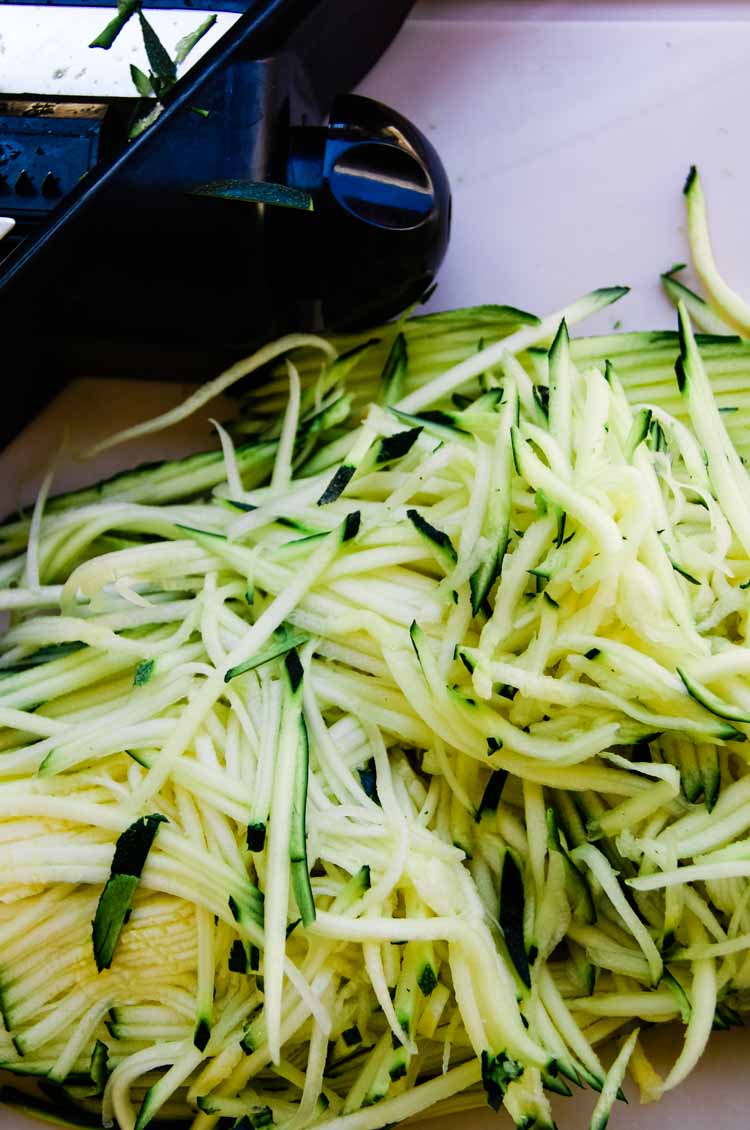
- Vegetables - Use what you have on hand - zucchini, cherry tomatoes, or mushrooms all work great.
How to Make Sausage and Peppers in the Oven
The complete printable recipe is below in the recipe card for your convenience. Follow these simple step-by-step instructions for the best results.

Step 1. Prepare
Preheat the oven to 400°F. Place the sausage, bell peppers, and red onion on a large baking sheet. Drizzle with olive oil, then season with Italian seasoning and sea salt. Toss everything together until well coated.

Step 2. Cook
Spread the sausage and vegetables in a single layer on the baking sheet. Tuck lemon wedges throughout. Roast until the vegetables reach your desired tenderness. For a golden finish, broil on high for the last few minutes.
Helpful Tips
- Promote even cooking: Arrange the sausage and veggies in a single layer on the baking sheet to ensure even roasting. Overcrowding the pan can cause steaming rather than roasting.
- Italian seasoning adjustment: If you don't have this blend on hand, use 1 teaspoon of dried basil, 1 teaspoon dried oregano, ½ teaspoon garlic powder, and ½ teaspoon dried thyme.
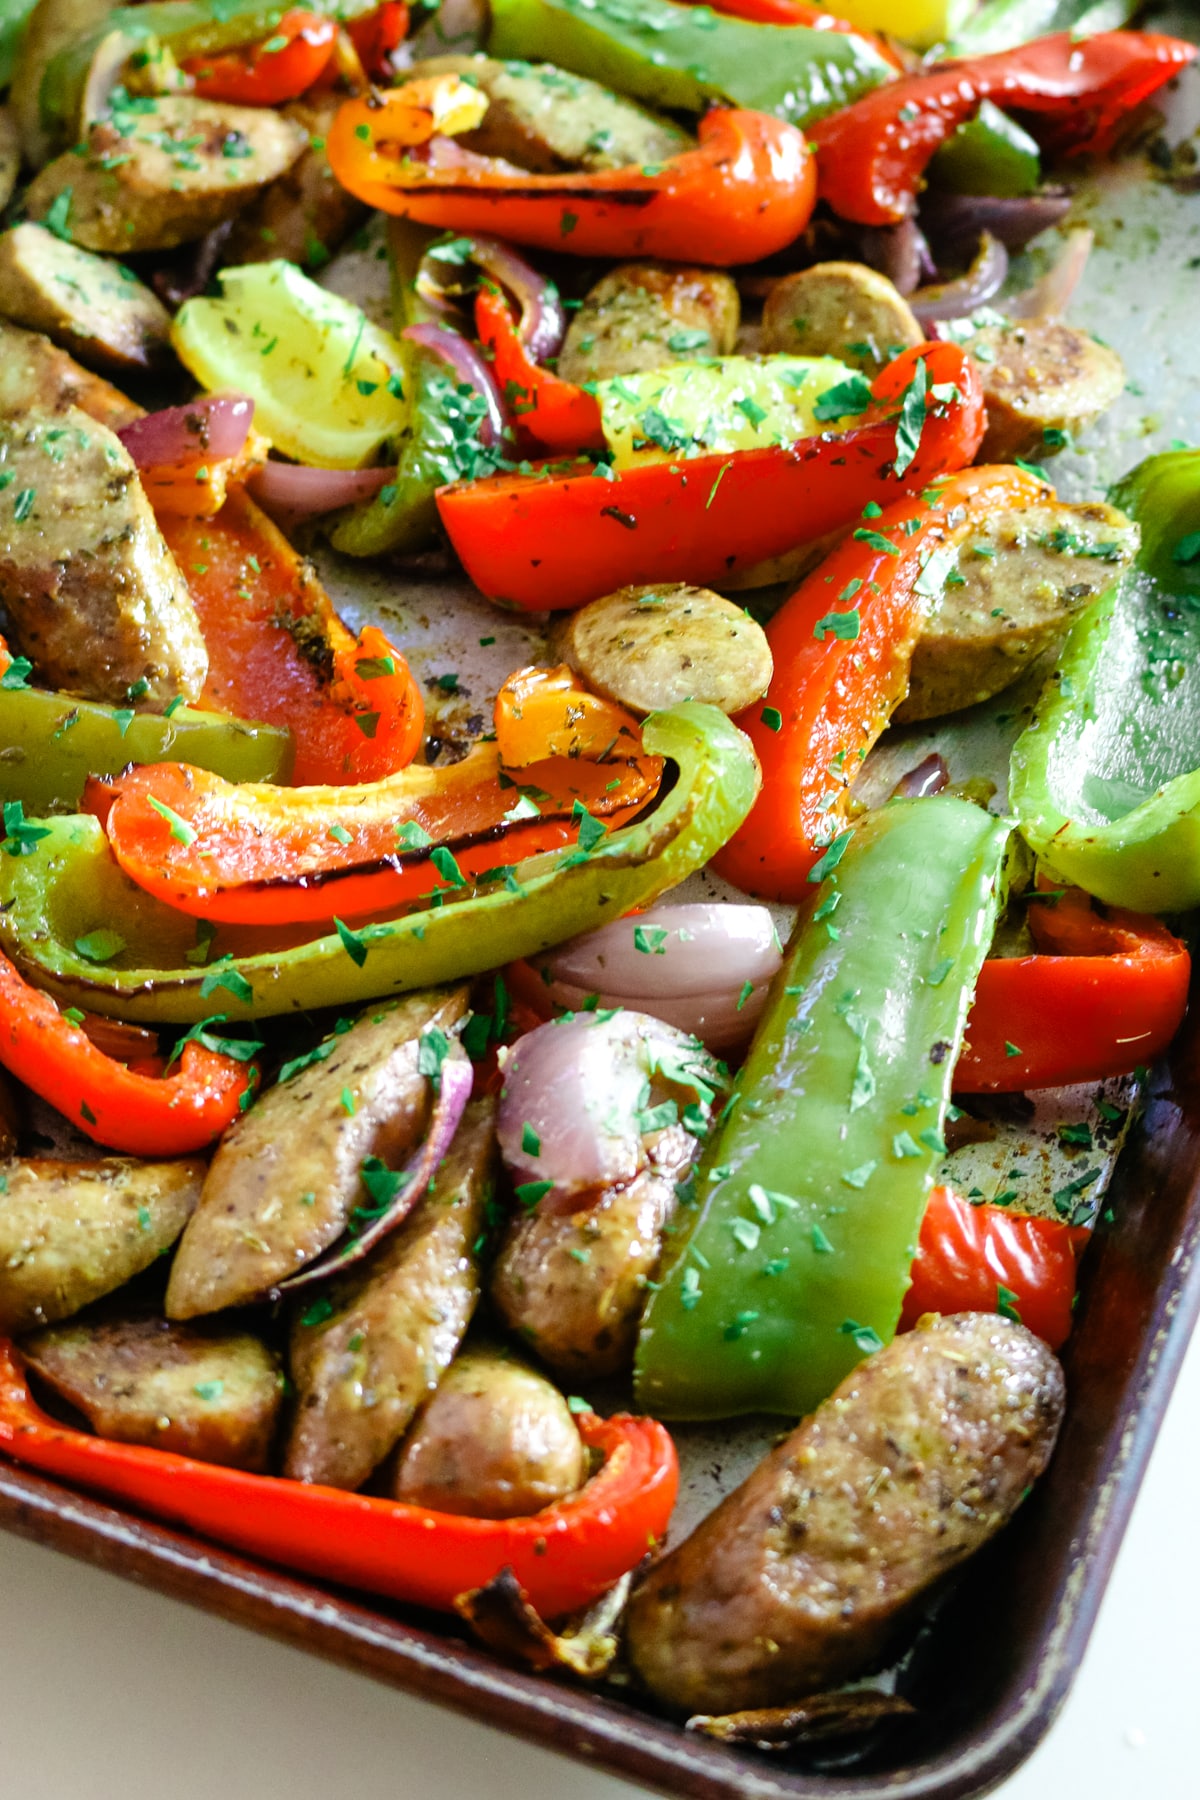
- Cut at a bias: Cut the sausages diagonally to expose more surface area to the sheet pan so it caramelizes and browns nicely. I also like to set the oven to broil the last 5 minutes of cooking to get golden brown crispy edges.
- Lemon squeeze: Roasting the lemon wedges brings out a deeper, roasted citrus flavor. Don't forget to squeeze the lemon directly over the bell peppers and sausage for that extra touch.
Troubleshooting
- Sausage not browning? Make sure to keep the oven temp high at 400°F and cut the sausage at a bias (diagonally) to give it more surface area to touch with the baking sheet and being exposed to hot air.
- Overcooked veggies? Keep the peppers and onions large so they roast at the same time as the sausage. You don't want mushy bell peppers.
Product Highlight!
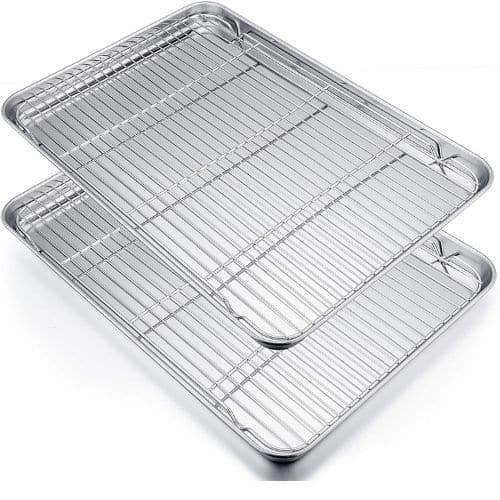
Large Stainless Steel Sheet Pan
I love my large SS sheet pan - it is such a workhorse and so versatile. It distributes heat evenly and makes it super easy to clean up afterward.
💭Meal Prep Suggestion!
These oven baked sausage and peppers is super meal prep friendly. Make a double batch and divide into smaller containers. Store in the fridge for up to 4 days and you've got ready-to-go lunches or dinners.
What to Serve with Sausage and Peppers
Sausage and peppers in the oven are flavorful on their own, but pairing them with the right sides can take the meal to the next level. Here are some great options:
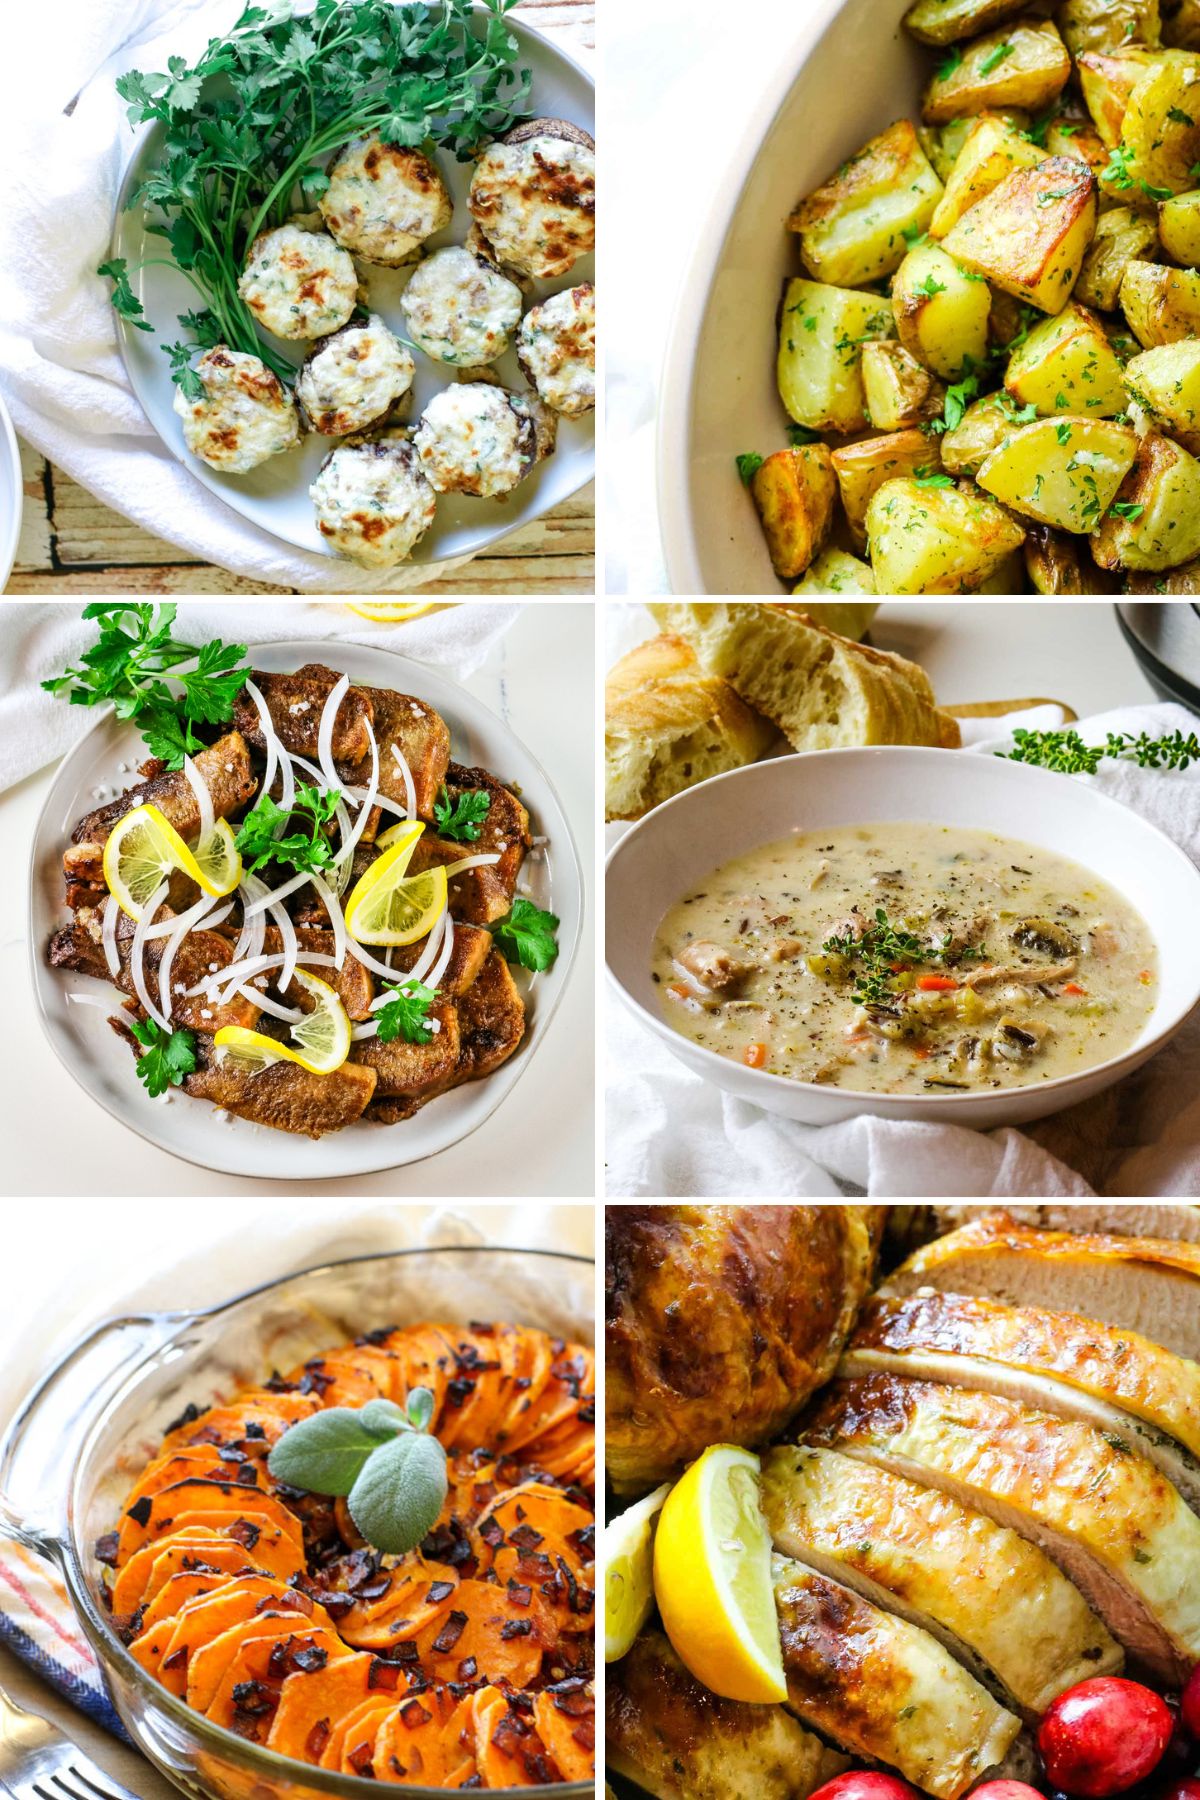
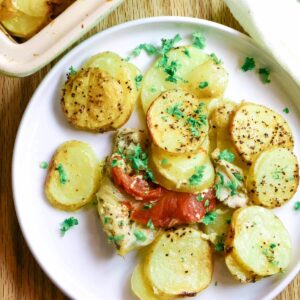
Side dish: Serve with crispy potatoes (bonus - throw them in the oven at the same time!) or over Instant Pot buckwheat or bone broth rice.
Fresh salads: Don't forget to round out your meal with refreshing and vibrant salads. Classic house salad is always a delicious option.
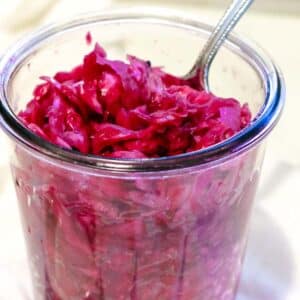
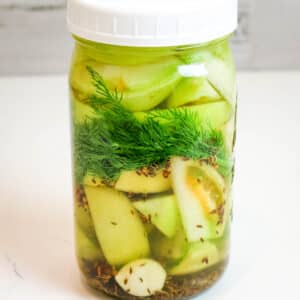
Condiments: I like adding a small side of ferments like raw sauerkraut or fermented jalapeno peppers.
More sausage and pepper pairing suggestions:
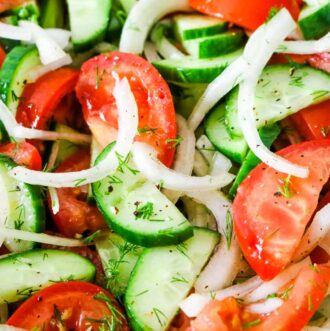
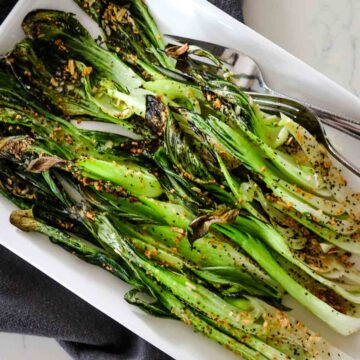
- Easy Roasted Bok Choy Recipe in Air Fryer15 Minutes
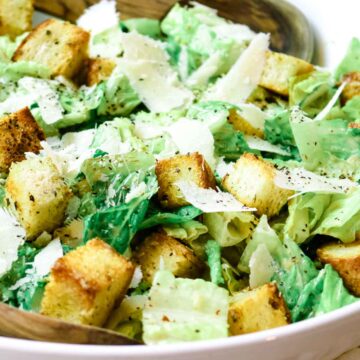
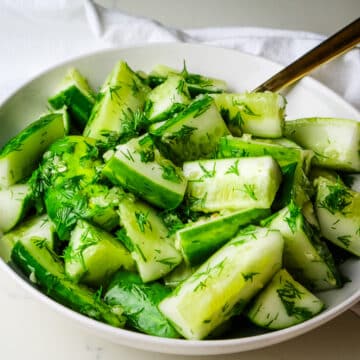
- Cabbage Cucumber Salad20 Minutes
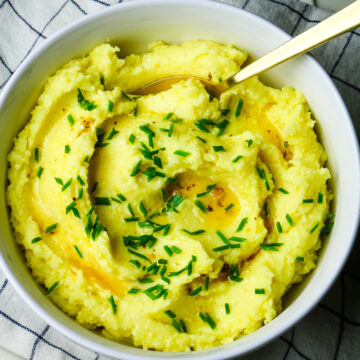
- Creamy Mashed Potatoes with Cottage Cheese25 Minutes
- Easy and Fresh Cucumber Dill Salad Recipe with Garlic15 Minutes


Frequently Asked Questions
Store leftover sausage and peppers in an airtight container for up to 4 days in the refrigerator. These glass snap containers are perfect for leftovers. To reheat, transfer the sausage and peppers to a small saucepan and warm over medium-high heat, stirring gently and often.
Yes! Cool the sausage and peppers first, then transfer to a freezer-safe container, removing as much air as possible to prevent freezer burn. Store in the freezer for up to 3 months. Thaw overnight in the fridge and reheat.
Cut the bell pepper in half lengthwise and remove the stem, seeds, and as much pith as possible. Place the pepper, skin side down, on the cutting board and slice into ½-inch thick strips. Repeat the process for the other half of the pepper.
Looking for more veggie & meat dishes? Here are some ideas:


Did you make this oven-baked sausage and pepper? Please leave a ⭐⭐⭐⭐⭐ recipe rating in the recipe card below and leave a review in the comments. Thank you!💚
Printable Recipe

Easy Sheet Pan Sausage and Peppers
Ingredients
- 1 pound fully cooked sausage links cut into 1" chunks cut on bias
- 3 bell peppers, any color cored and cut into strips
- 1 large red onion halved then coarsley sliced into half moons
- 3 tablespoons olive oil
- 1 tablespoon Italian seasoning
- 1 ½ teaspoon sea salt
- 1 lemon cut into quarters or ⅛ths
Instructions
- Preheat the oven to 400°F. Add all ingredients including 1 pound fully cooked sausage links, 3 bell peppers, any color, and 1 large red onion to a large baking sheet. Toss with 3 tablespoons olive oil, 1 tablespoon Italian seasoning, and 1 ½ teaspoon sea salt.
- Arrange all vegetables and sausage in one layer on the sheet pan so they are all spread out in single layer. Cut 1 lemon into wedges and tuck throughout the baking sheet.
- Roast for 30 minutes or until vegetables are cooked to your preferred tenderness. Broil on high the last 4 minutes until golden, if desired. Remove from oven and carefully squeeze the lemon wedges over the vegetables and sausage. Toss gently and transfer to serving platter.
Notes
- Promote even cooking: Arrange the sausage and veggies in a single layer on the baking sheet to ensure even roasting. Overcrowding the pan can cause steaming rather than roasting.
- Italian seasoning adjustment: If you don't have this blend on hand, use 1 teaspoon of dried basil, 1 teaspoon dried oregano, ½ teaspoon garlic powder, and ½ teaspoon dried thyme.
- Cut at a bias: Cut the sausages diagonally to expose more surface area to the sheet pan so it caramelizes and browns nicely. I also like to set the oven to broil the last 5 minutes of cooking to get golden brown crispy edges.
- Lemon squeeze: Roasting the lemon wedges brings out a deeper, roasted citrus flavor. Don't forget to squeeze the lemon directly over the bell peppers and sausage for that extra touch.