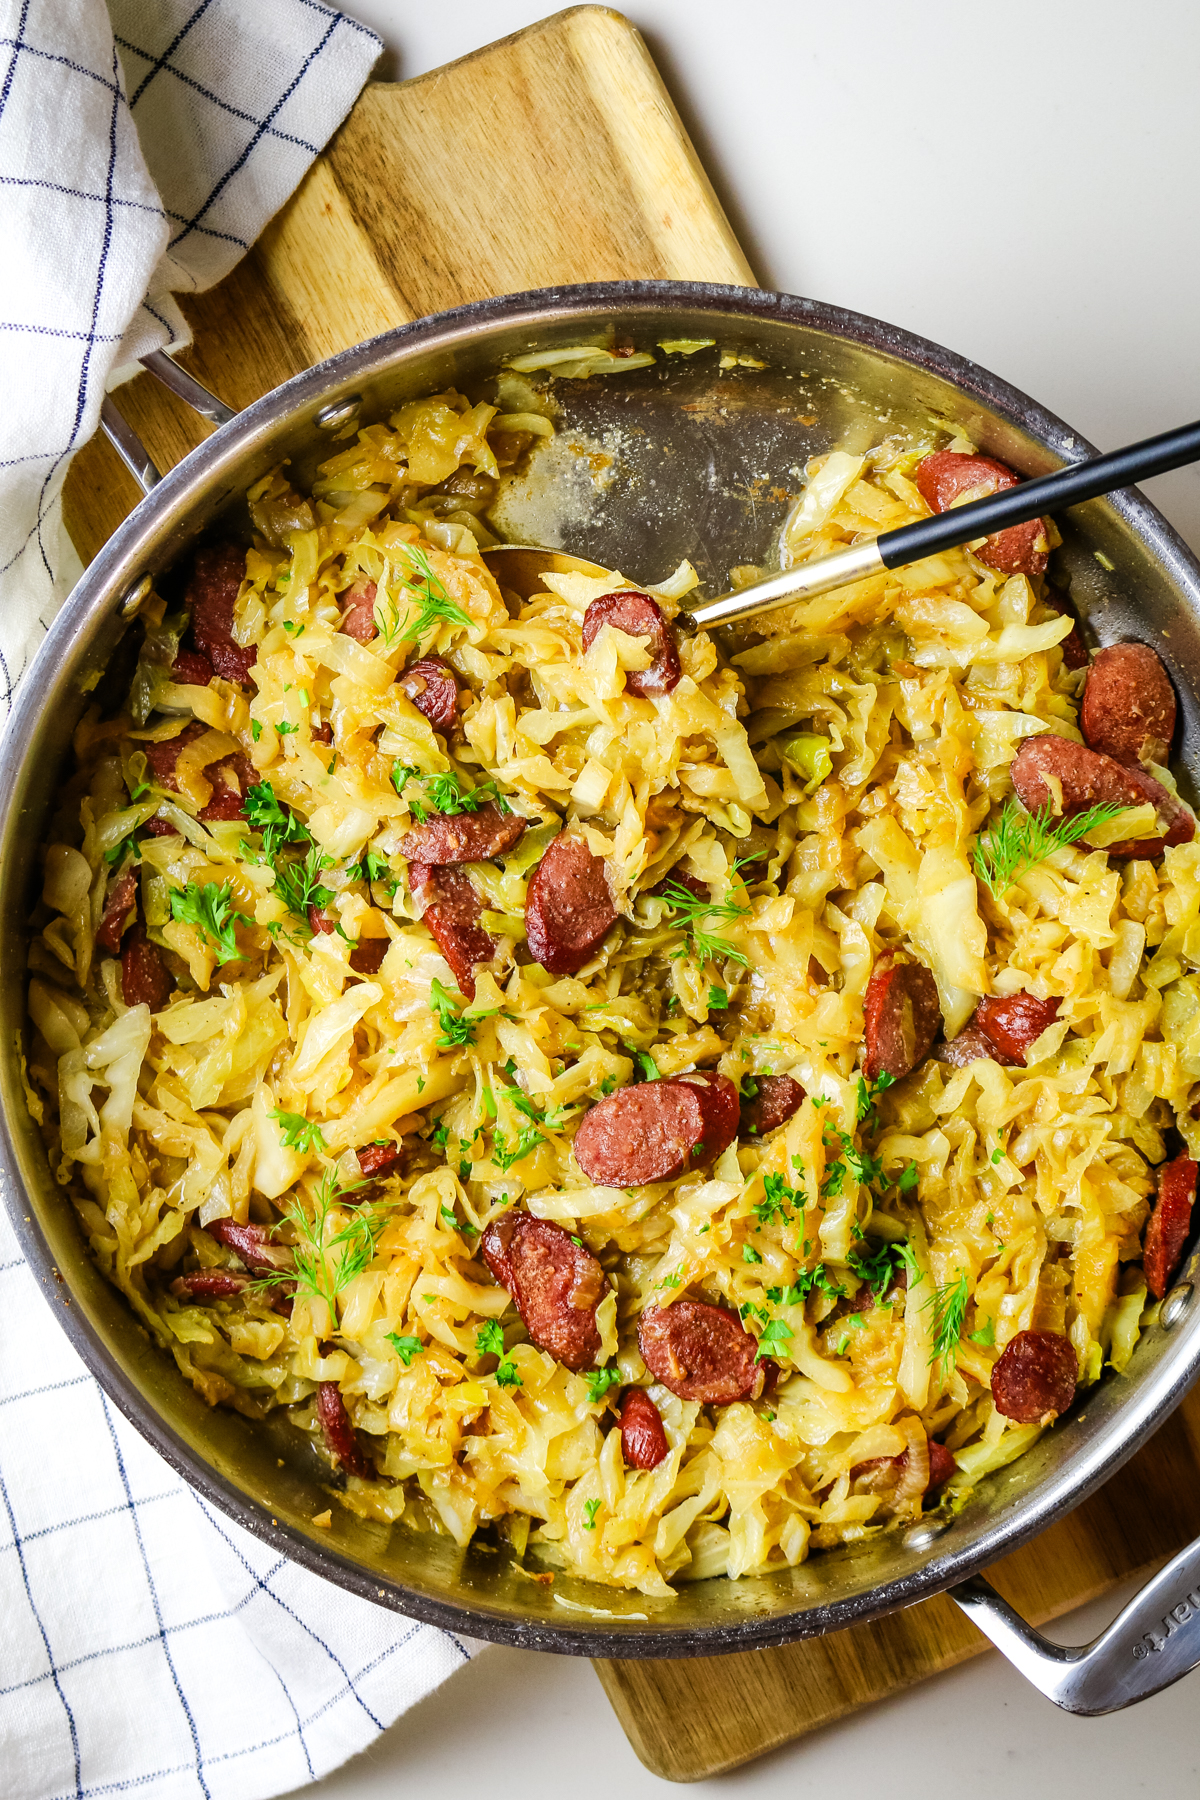
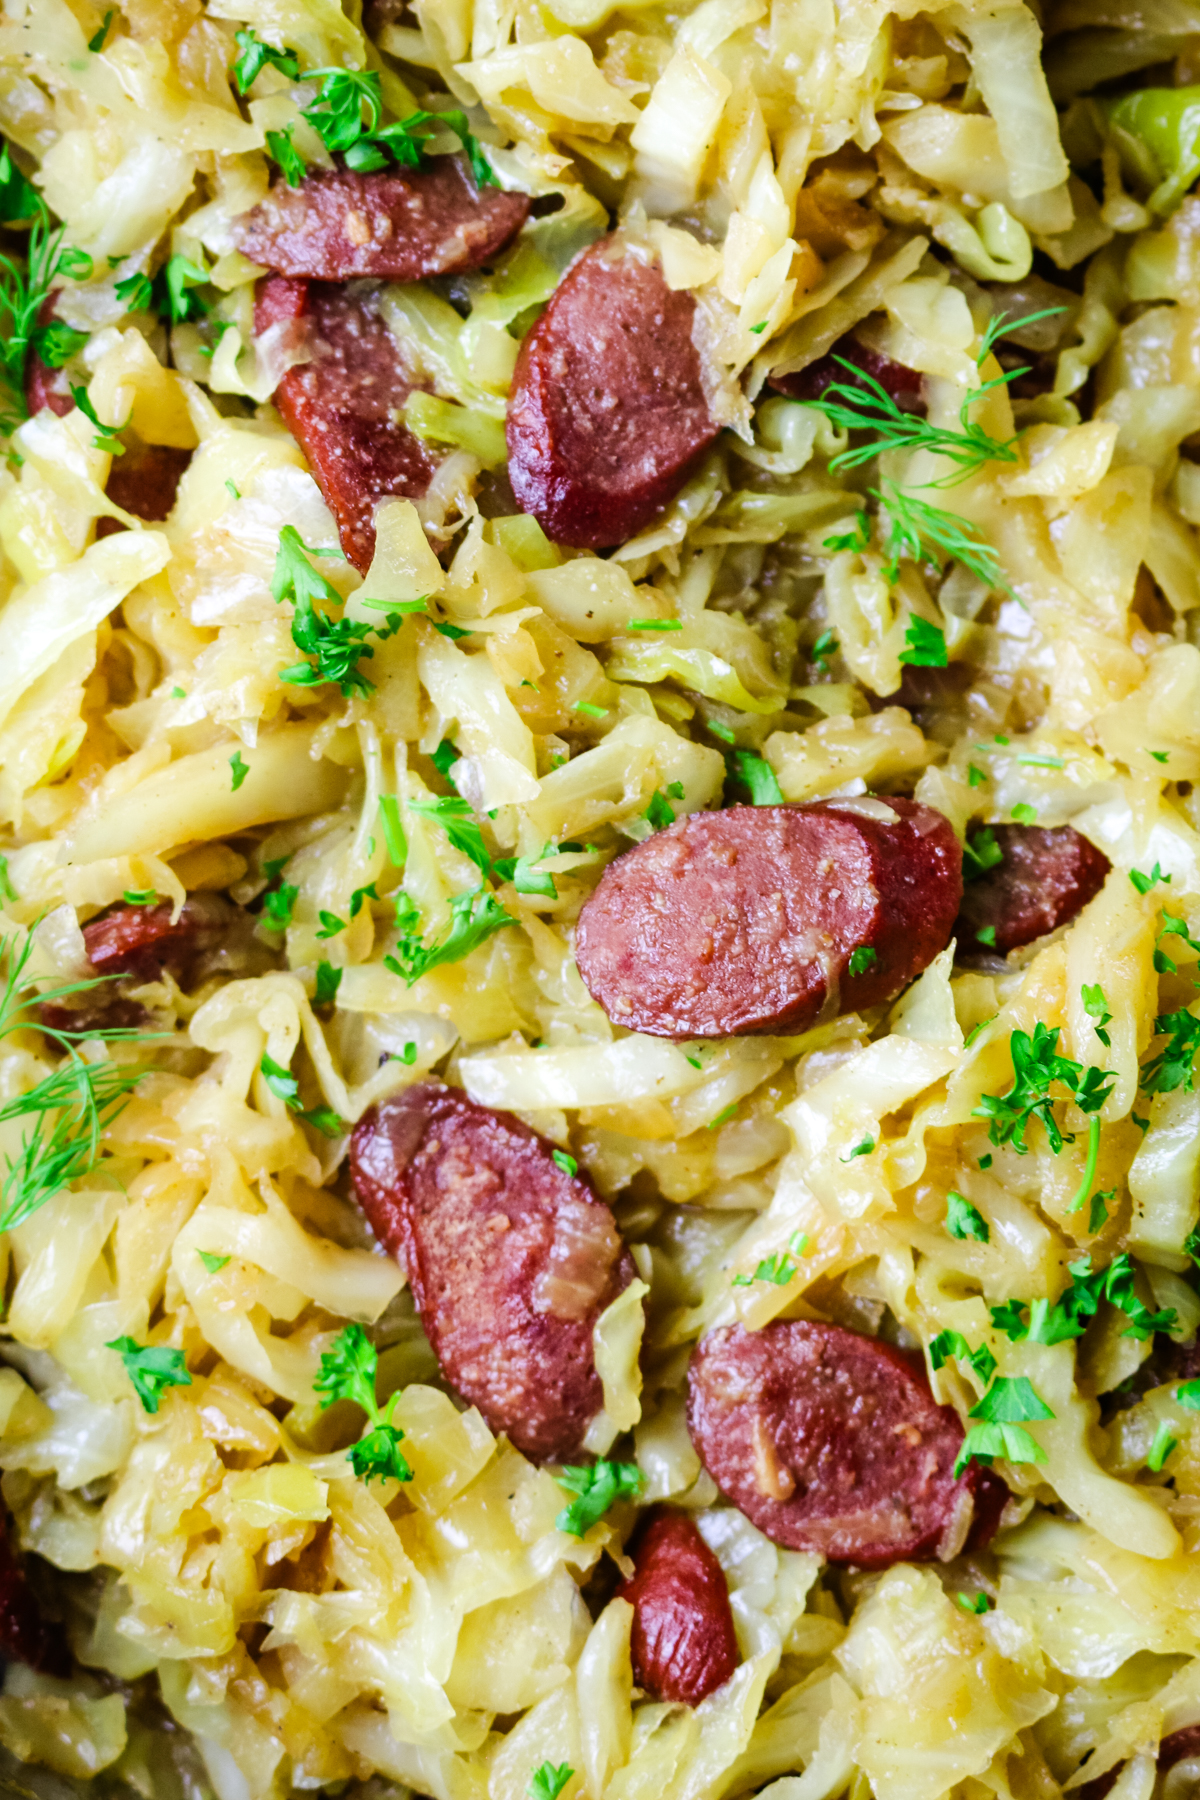
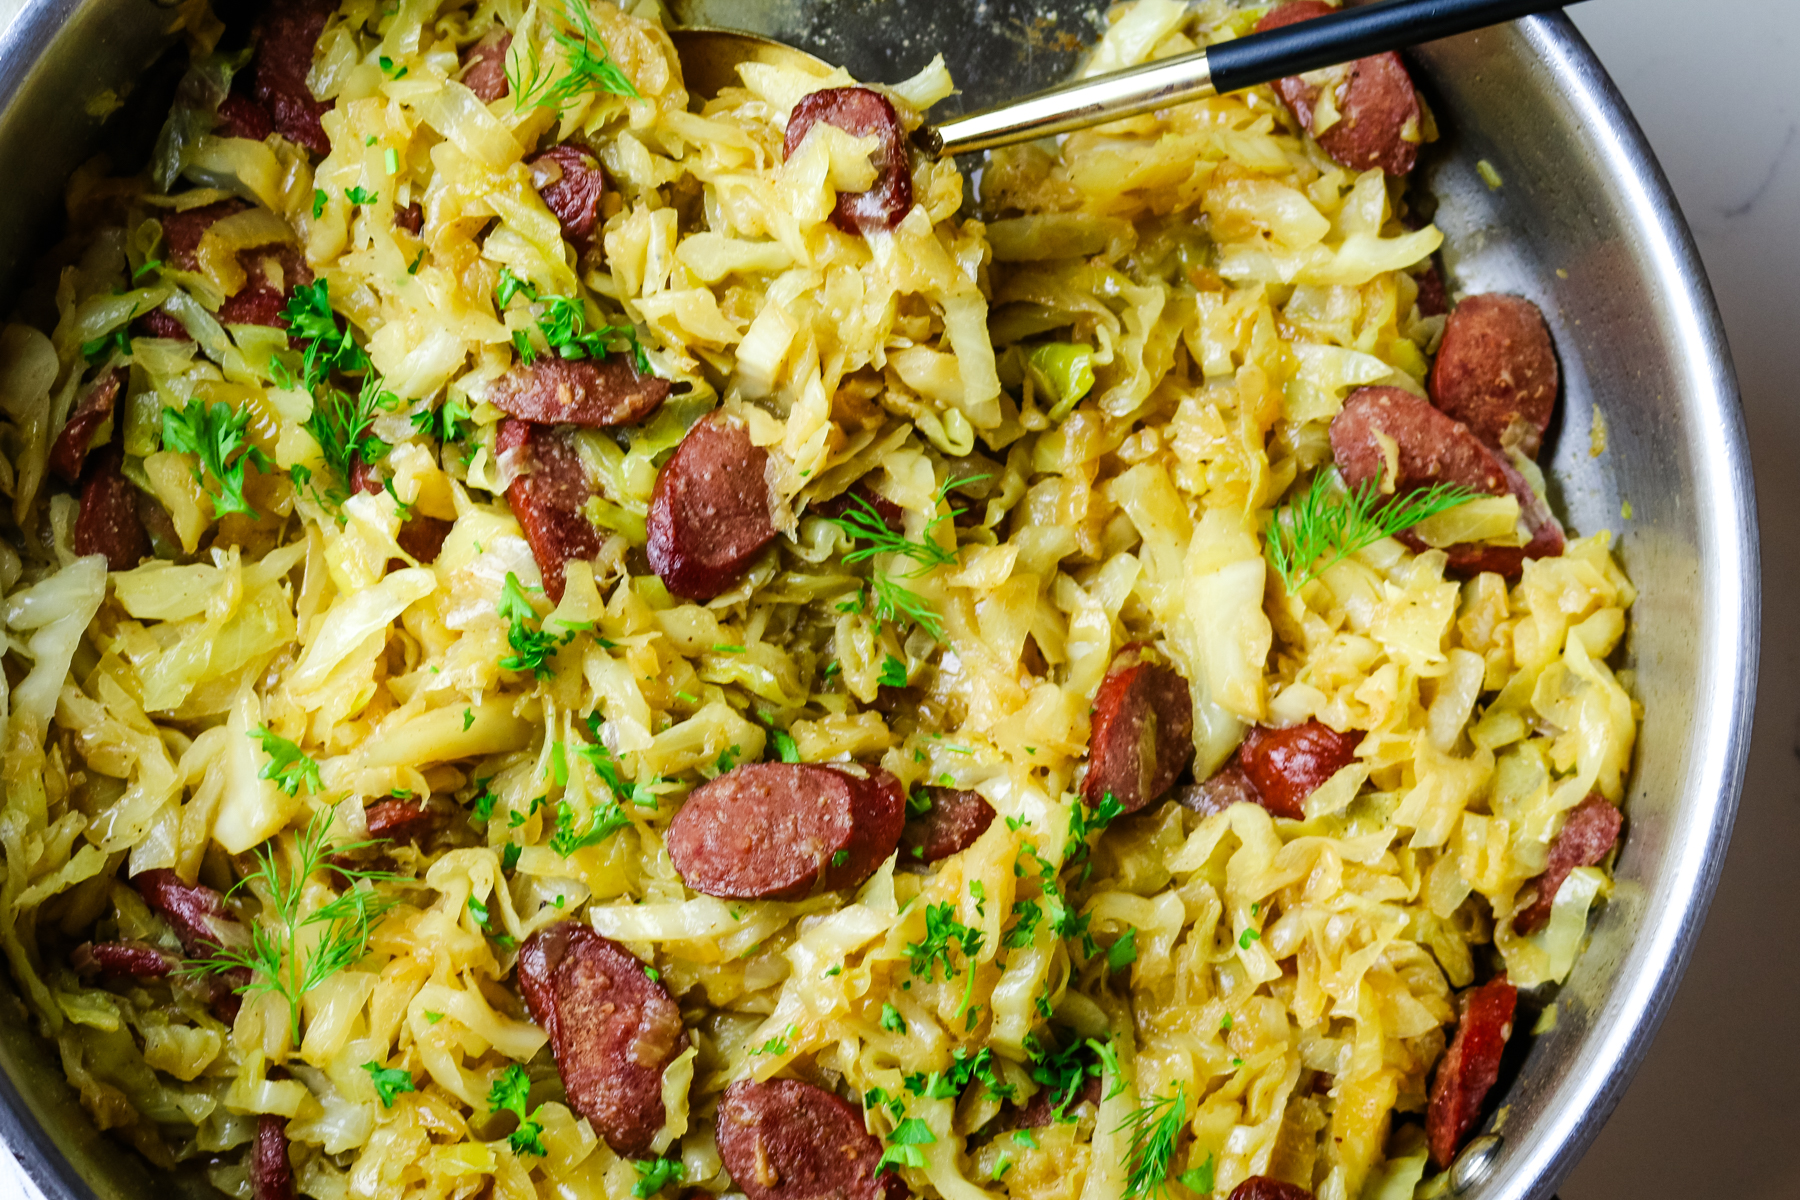
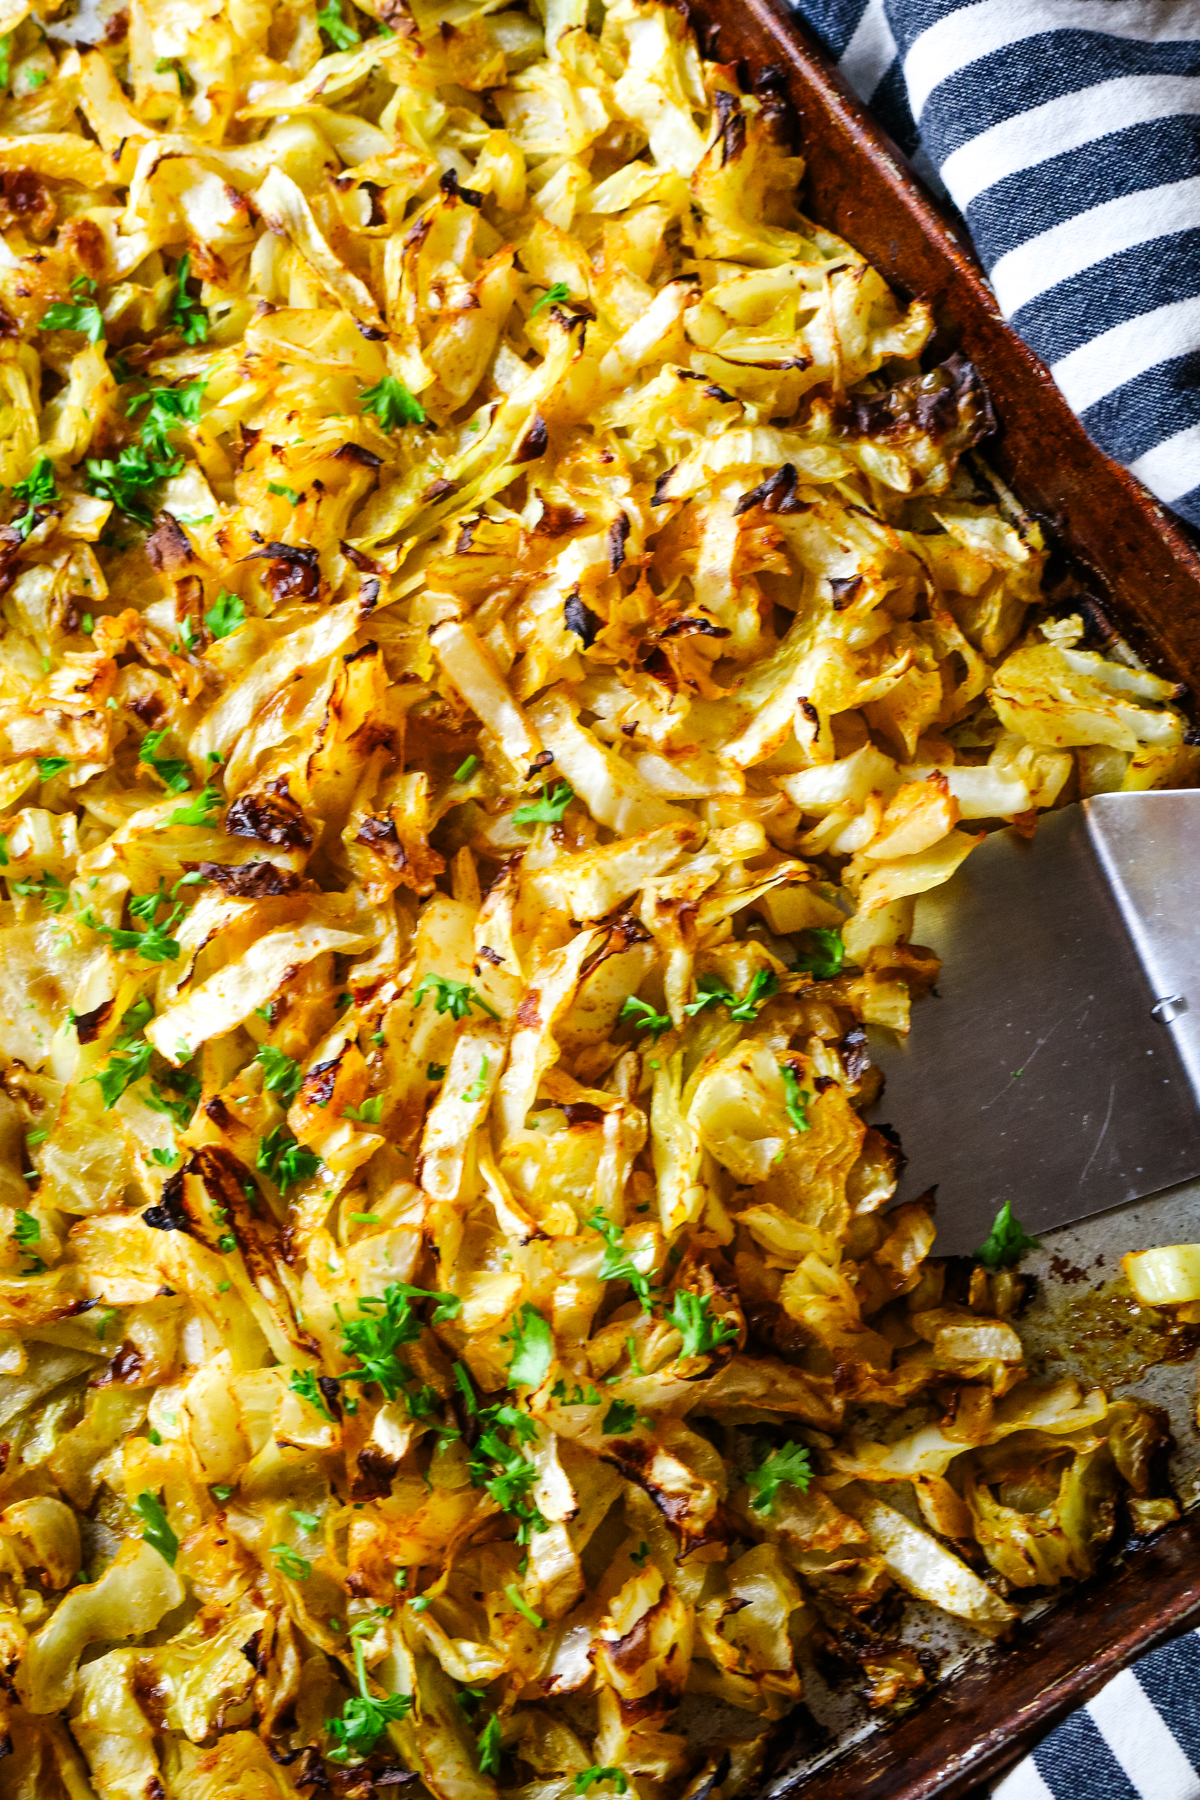
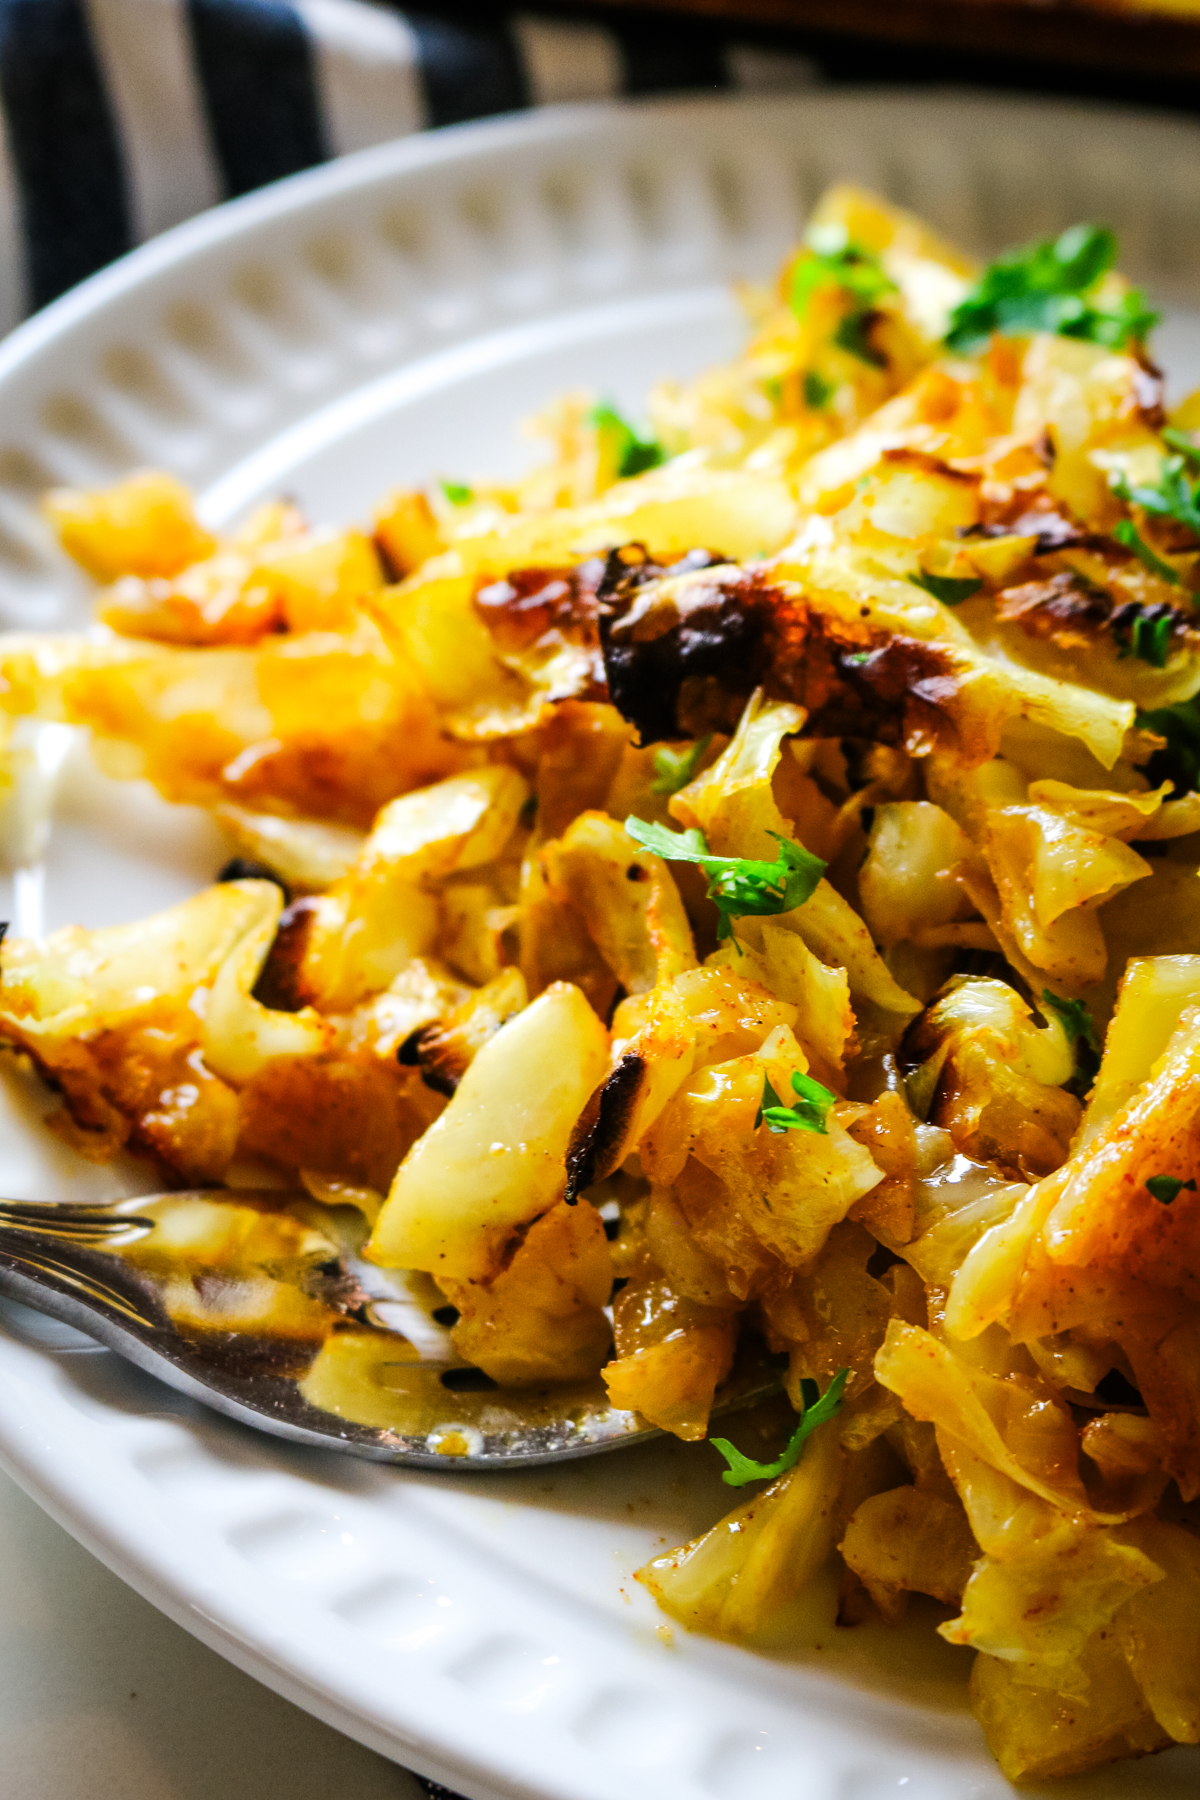
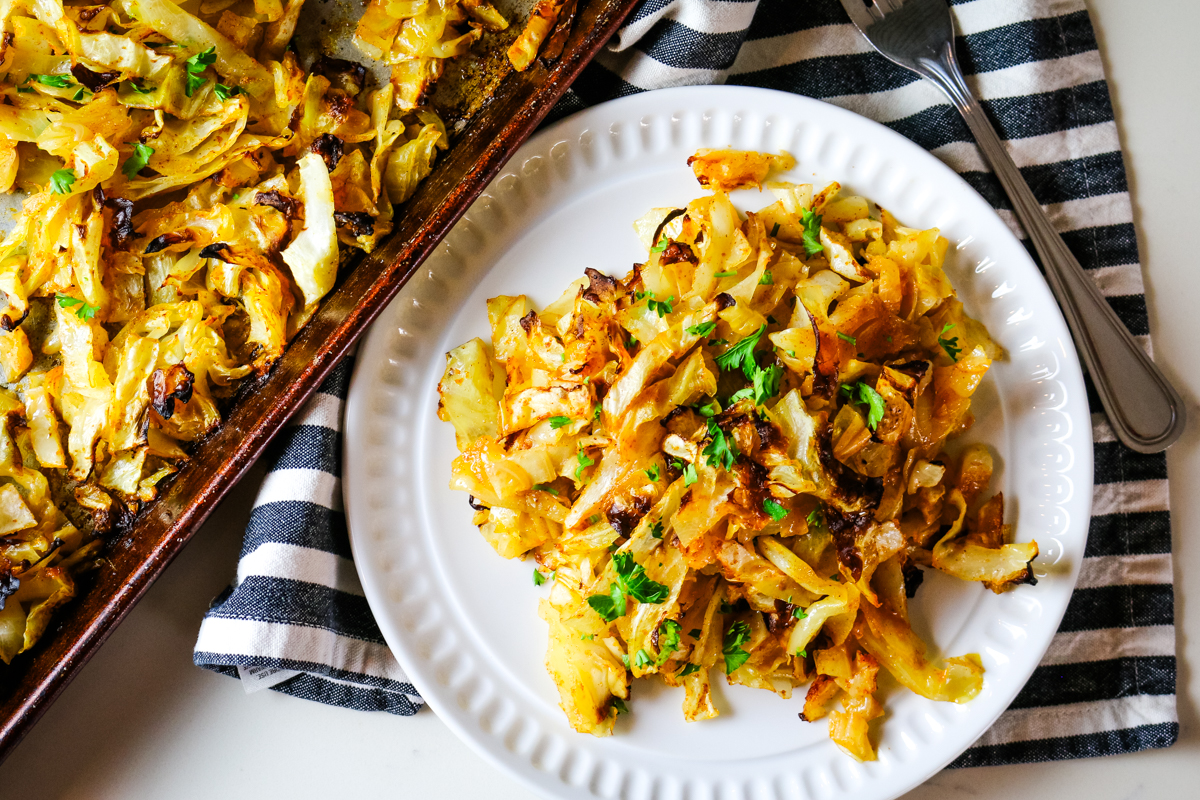
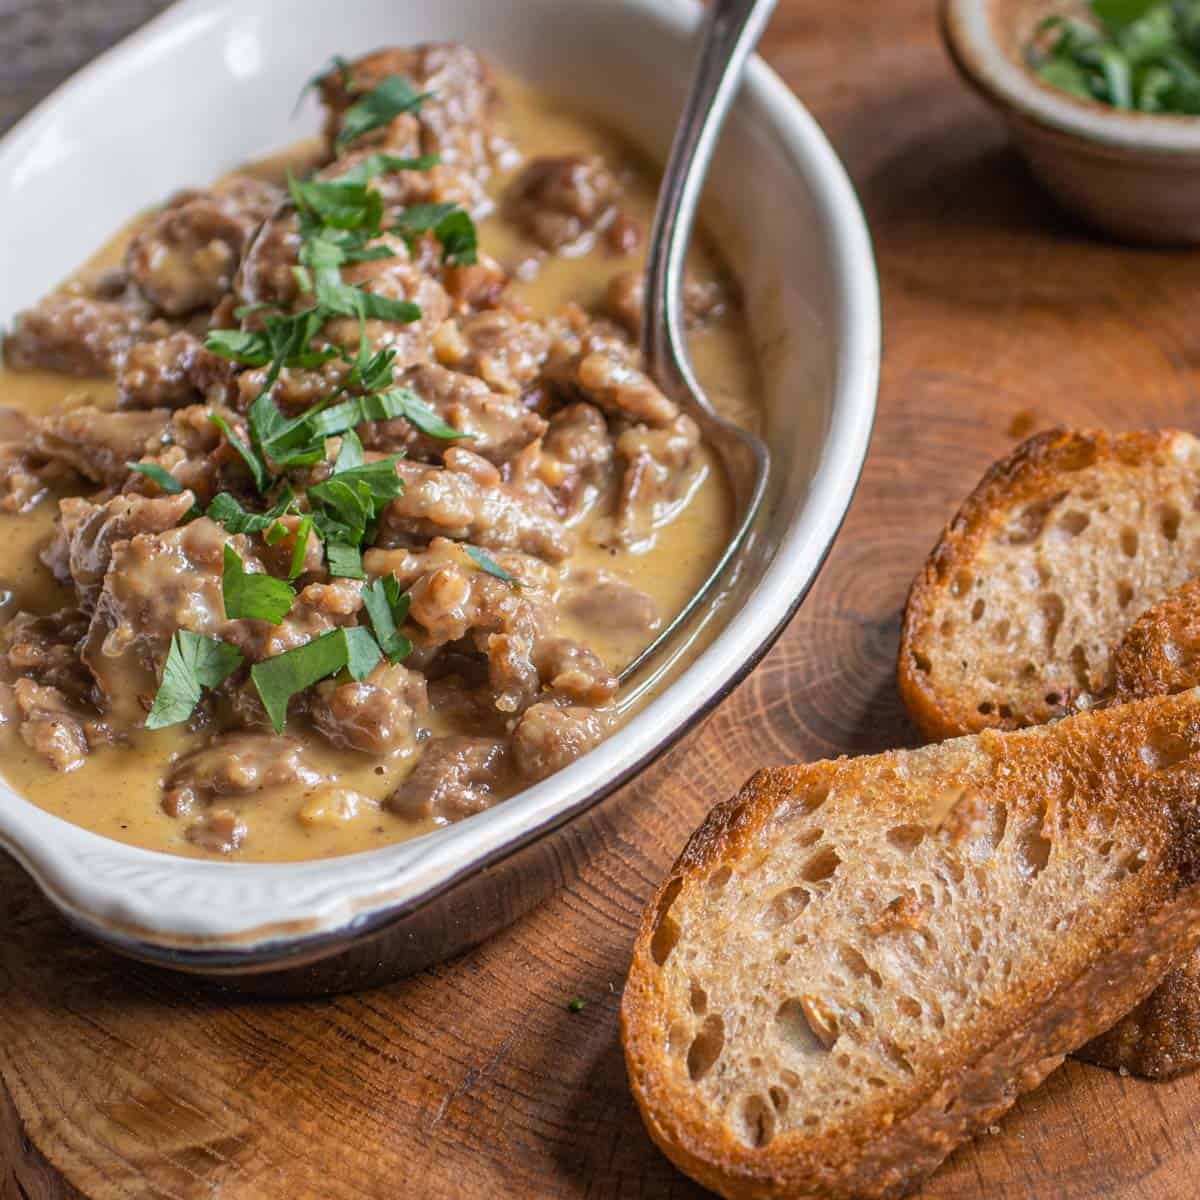
This Easy Fried Cabbage and Sausage Skillet recipe is flavorful, comes together quickly in one pan, and is the perfect solution to your dinner dilemma. Browned Polish sausage, tender-crisp cabbage, and caramelized onions come together to create a delicious and satisfying meal that's ready in no time. Serve it as a standalone main dish or pair it with other sides - either way, this sauteed cabbage and sausage recipe will be a hit on busy weeknights!
I don't think cabbage gets the credit it deserves. It's often overlooked, grossly underappreciated, and severely underrated.
But let me tell you - cabbage is a culinary superstar waiting to shine. It's incredibly budget-friendly, versatile, and deliciously nutritious. From raw sauerkraut, to classic entrees including healthy cabbage rolls, and comforting soups like Russian borscht, cabbage can do it all.
Its' crunchy texture and mildly sweet flavor makes it a perfect addition to a wide range of recipes, spanning simple to sophisticated.
If you've been holding out on cabbage - this easy sauteed cabbage and sausage recipe is your sign to try this humble cruciferous vegetable. It's flavorful, satisfying, and best of all, it's ready with little hands-on time needed (other than initial chopping).
It's perfect for hectic weeknights when you need something tasty on the dinner table. Trust me, once you try it, you'll wonder why you ever gave cabbage a second thought.
Looking for more simple cabbage recipes?
Check out cabbage cucumber salad, roasted red cabbage steaks, and butter cabbage.
[feast_advanced_jump_to]
Recipe Overview
- Prep and Cook Time: 15 minutes to prep and 30 minutes to cook
- Cooking Method: Stove-top
- Dietary Info: GAPS, Low-Carb, Keto, Primal, WAPF
- Tools Needed: sharp knife, cutting board, and deep skillet
- Skill Level: Easy
What is WAPF? Read my post on what nourishing foods are based on the traditional dietary principles of the Weston A. Price Foundation.
Key Features & Benefits
- Avoid food waste - If you have leftover cabbage from making unpasteurized sauerkraut or borsch, this is a great dish to use that up. You can also use whatever sausage links you have on hand.
- Suitable for dietary needs - Just make sure you check the ingredient list for the sausage but it's otherwise a good recipe for most healing diets.
- Versatile serving options - Serve it as a main dish or an easy side.
- Comfort food flavor: The main ingredients are cabbage and sausage, and flavored with garlic, butter, salt, and pepper—total comfort food material.
- Meal prep friendly - Make this over the weekend to enjoy all week long.
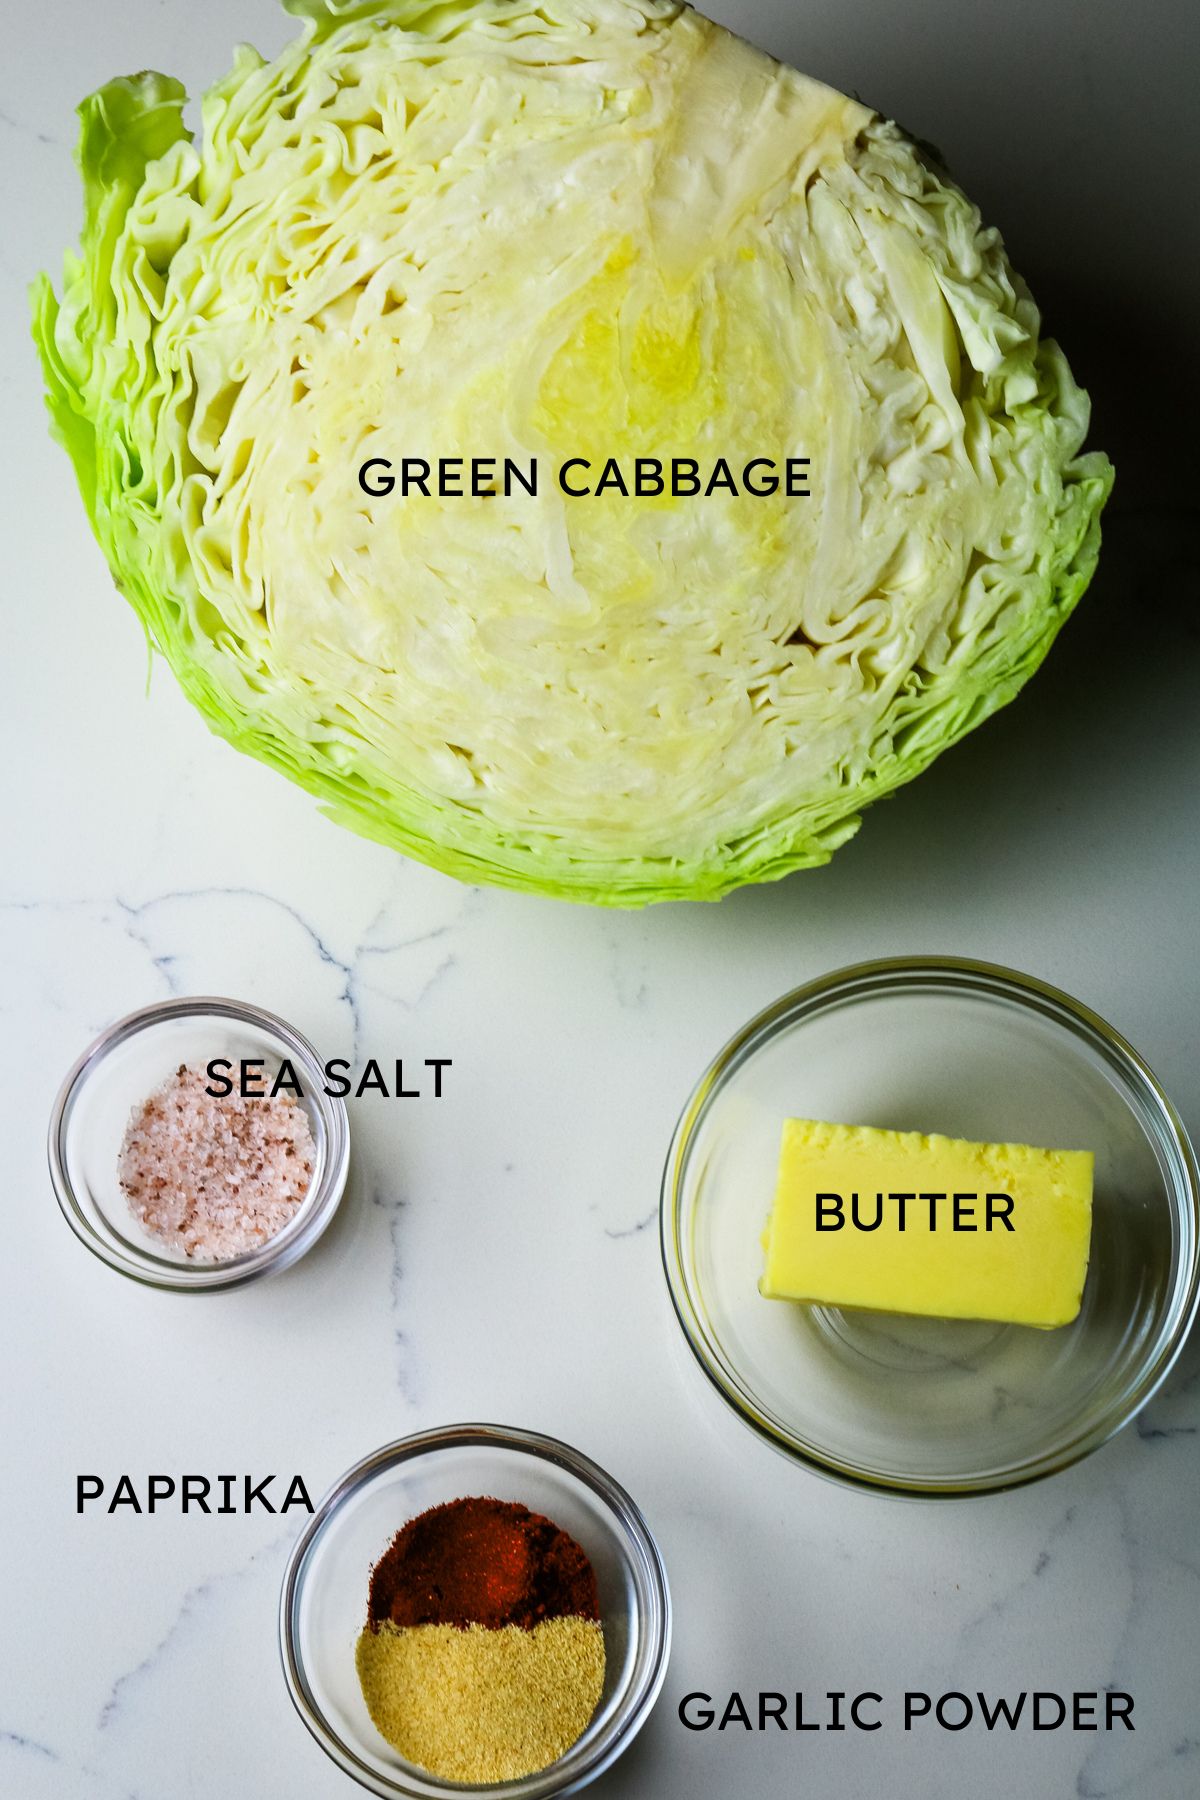
Ingredients for Fried Cabbage and Sausage
Learn how to make fried cabbage with sausage with 4 simple ingredients plus seasonings. This easy recipe has a 15-minute prep time and 30 minutes of cooking time.
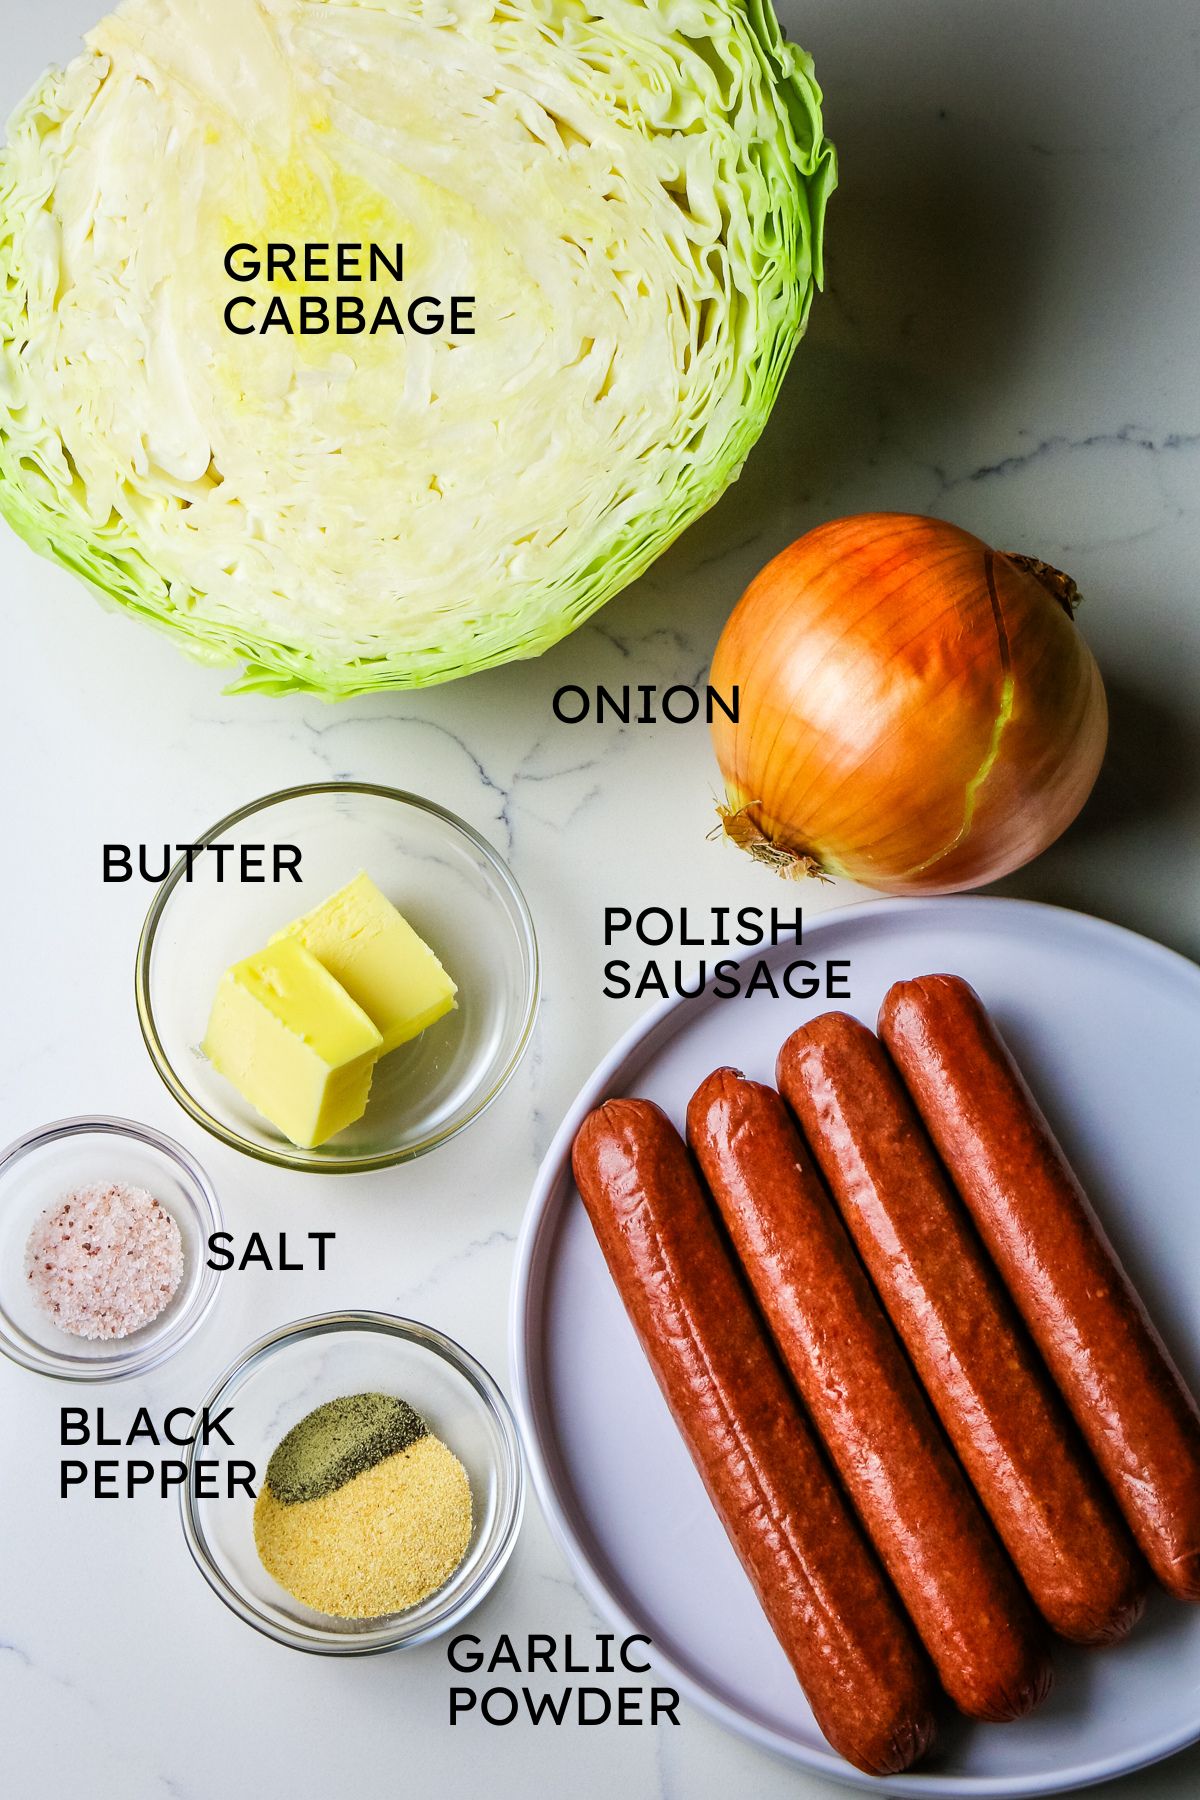
- Green cabbage: Also known as white cabbage. You'll need one small head or half of a large head of cabbage, approximately 2 pounds. Look for sweet green cabbage that has firm leaves and tight in the center, indicating it is fresh and at it's peak.
- Polish sausage: Use your favorite Polish sausage in this recipe. I love the brand Teton Waters Ranch uncured Polish beef sausage as they are made with 100% grass fed beef and naturally cured with celery powder and other seasonings.
- Yellow onion: Adds sweetness and depth of flavor. When sauteed, the onions become soft and caramelized, adding a subtle sweetness and aroma.
- Butter: Used as a cooking fat that adds incredible richness to the dish. It helps to brown the sausage and onions, enhancing their flavor. It also offers a velvety texture to the finished dish. If using salted butter, hold off on additional salt until after you do a proper taste test.
- Garlic powder: Adds a robust garlic flavor without the sharpness that fresh garlic brings.
- Salt and black pepper: Sea salt enhances the natural flavors while black pepper adds a slight kick.
See the recipe card for exact quantities.
Substitutions and Variations
- Another sausage - Instead of Polish, try a different variety of sausage, such as turkey sausage, smoked sausage, or even salty kielbasa sausage.
- Fresh vegetables - Add your favorite vegetables like bell peppers, carrots, or a combination of cabbage types (red and green) to this skillet meal.
- Spices - Give this cabbage and sausage recipe a kick with red pepper flakes or Cajun seasoning for a touch of smoky flavor. The Cajun will also give this dish southern flare.
- Add acidity - Add a tiny splash of vinegar or even diced tomatoes to give it extra moisture and add a touch of acidity to balance the sweetness of the cabbage. I don't find that's necessary thanks to the savory sausage but some may appreciate it.
💭Make it Nutrient-Dense: While butter adds richness and velvety texture, if you must swap it with a dairy-free alternative I recommend another saturated fat like bacon drippings (from all those bacon crumbles), lard, or beef tallow. The flavor is fantastic and no oil will ever compare. And traditional fats like these have the most robust nutrient profile. If you must use a regular cooking oil, olive oil or avocado oil would be my preference.
How to Make Sauteed Cabbage and Sausage
The complete printable recipe is below in the recipe card for your convenience. Follow these simple step-by-step instructions for the best results.
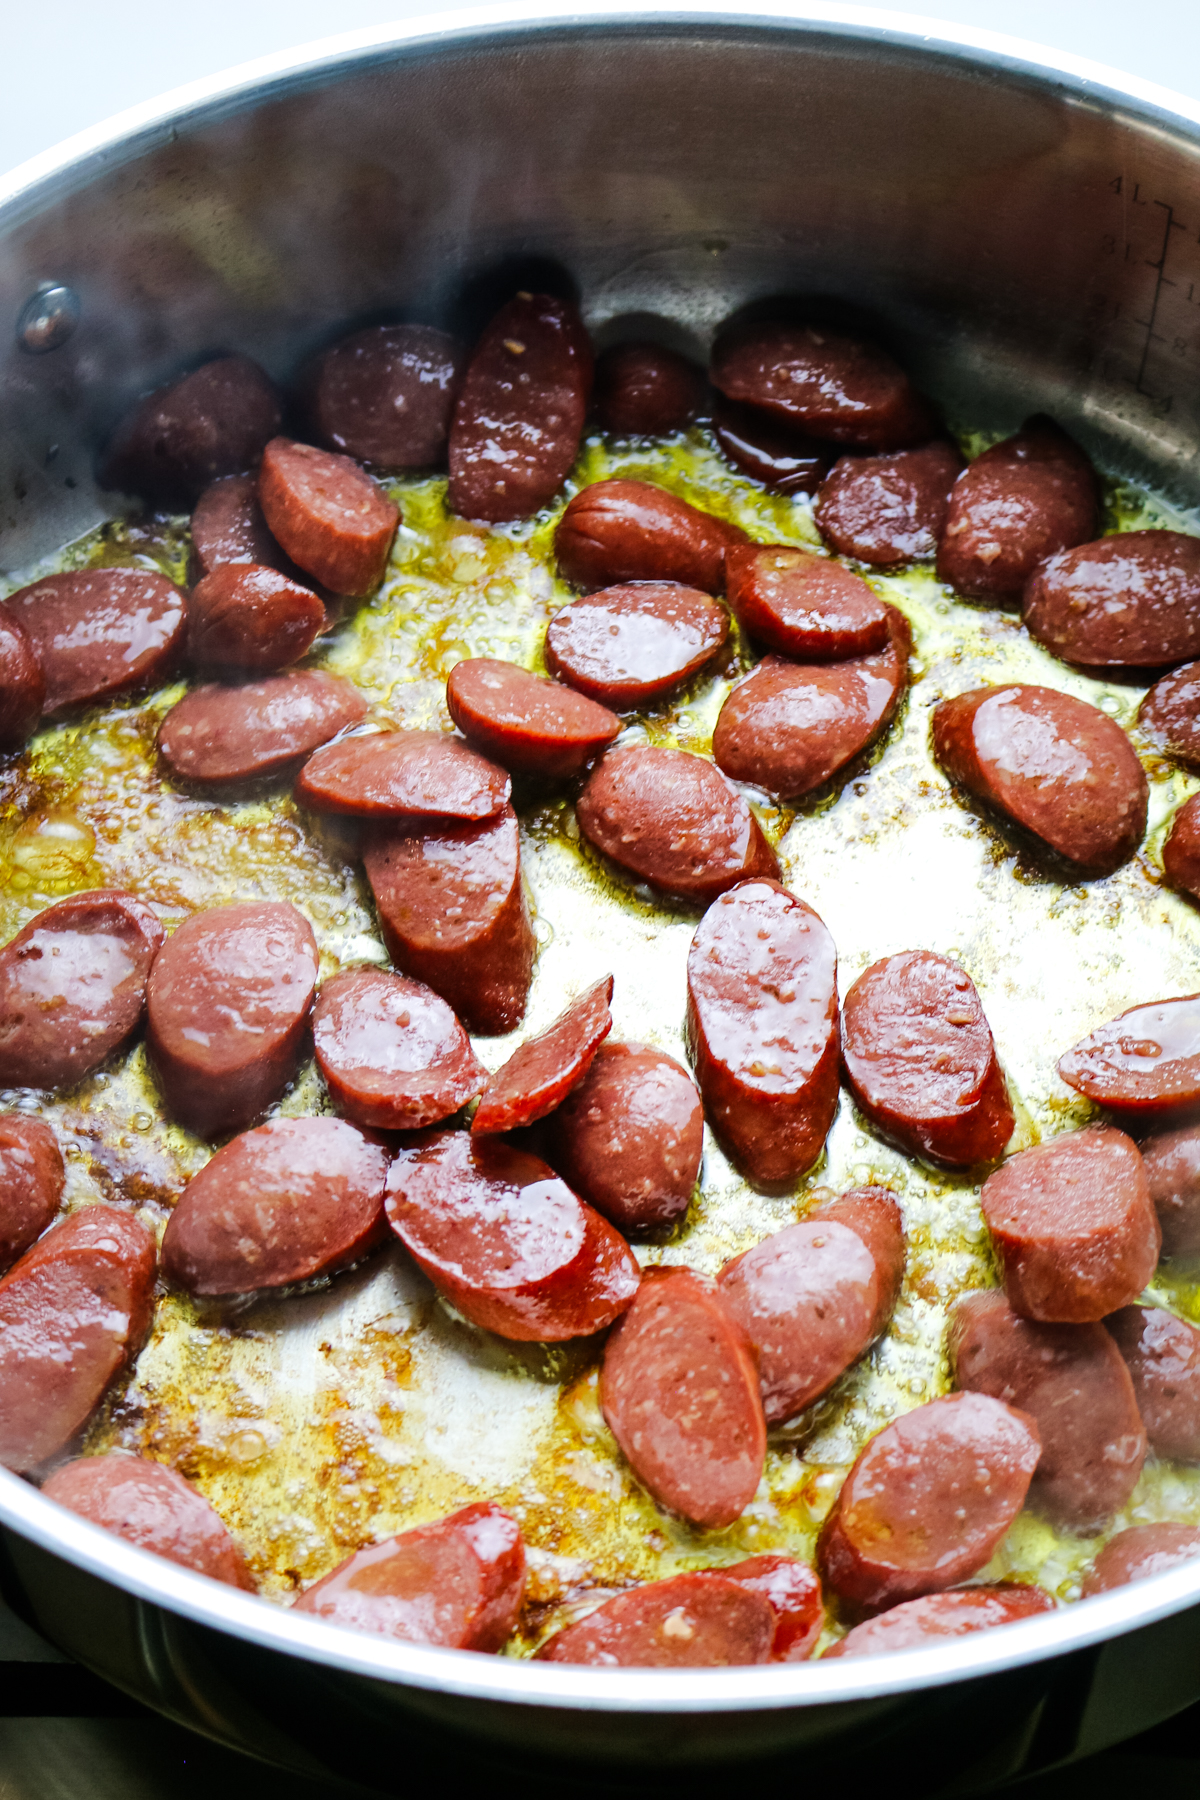
Step 1. Brown
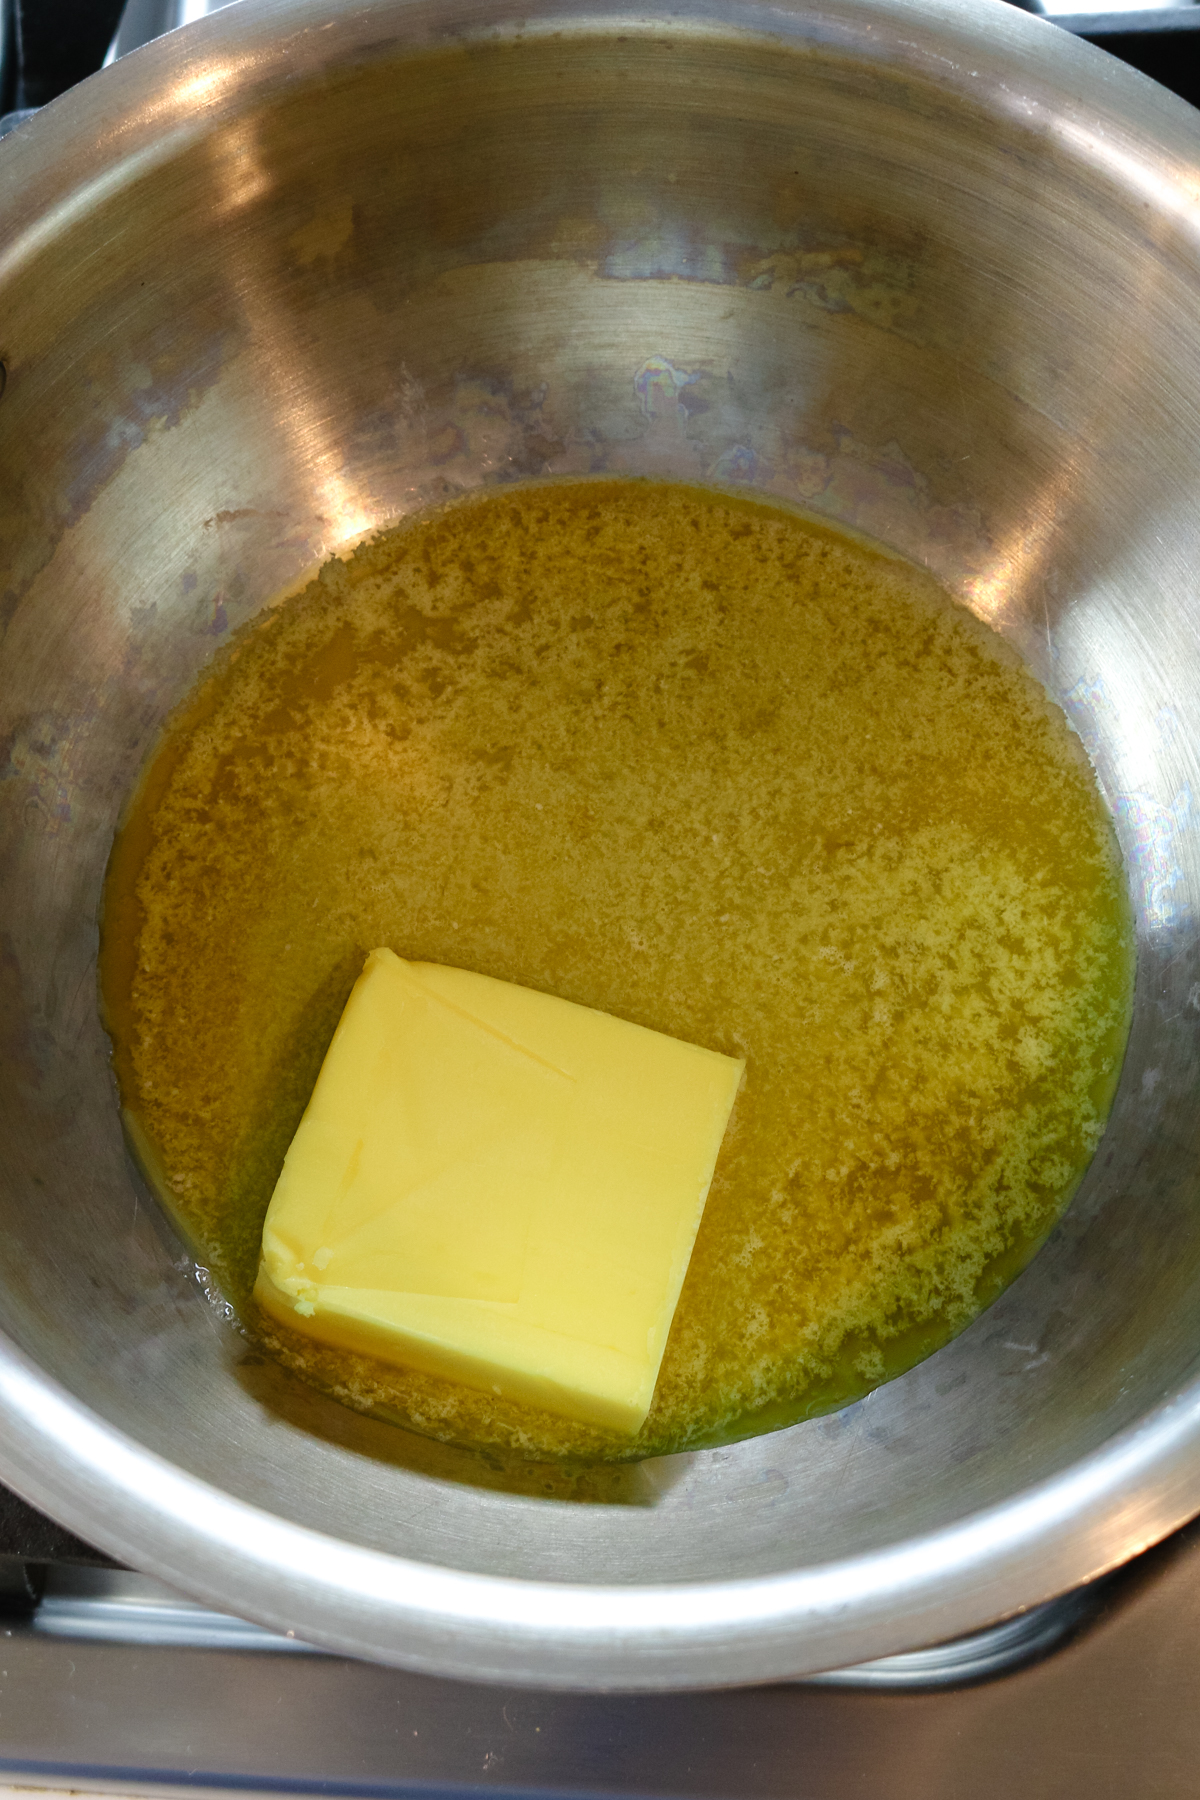
In a deep large skillet, melt butter over medium-high heat. Add the sausage rounds and arrange them in a single layer. Cook on high heat until golden brown on both sides (approximately 5 minutes per side).
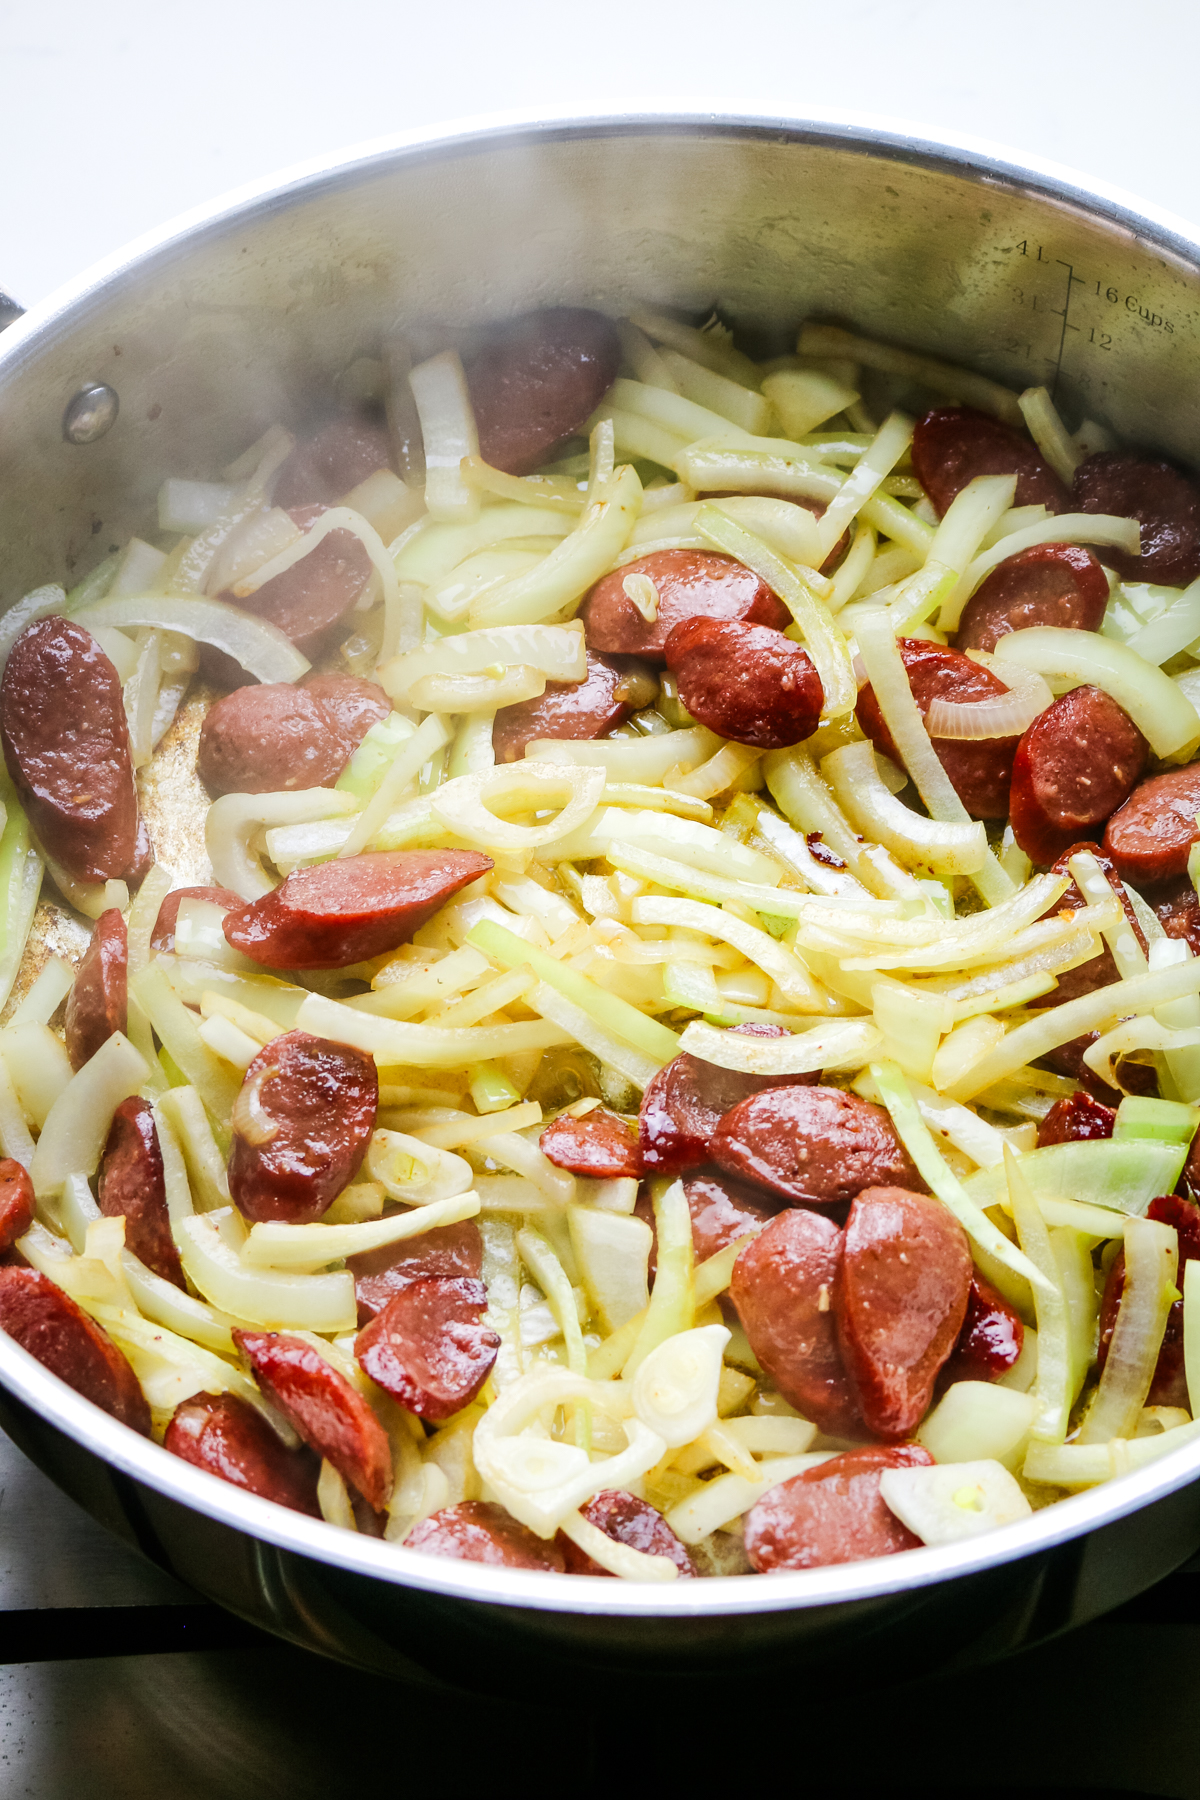
Step 2. Saute
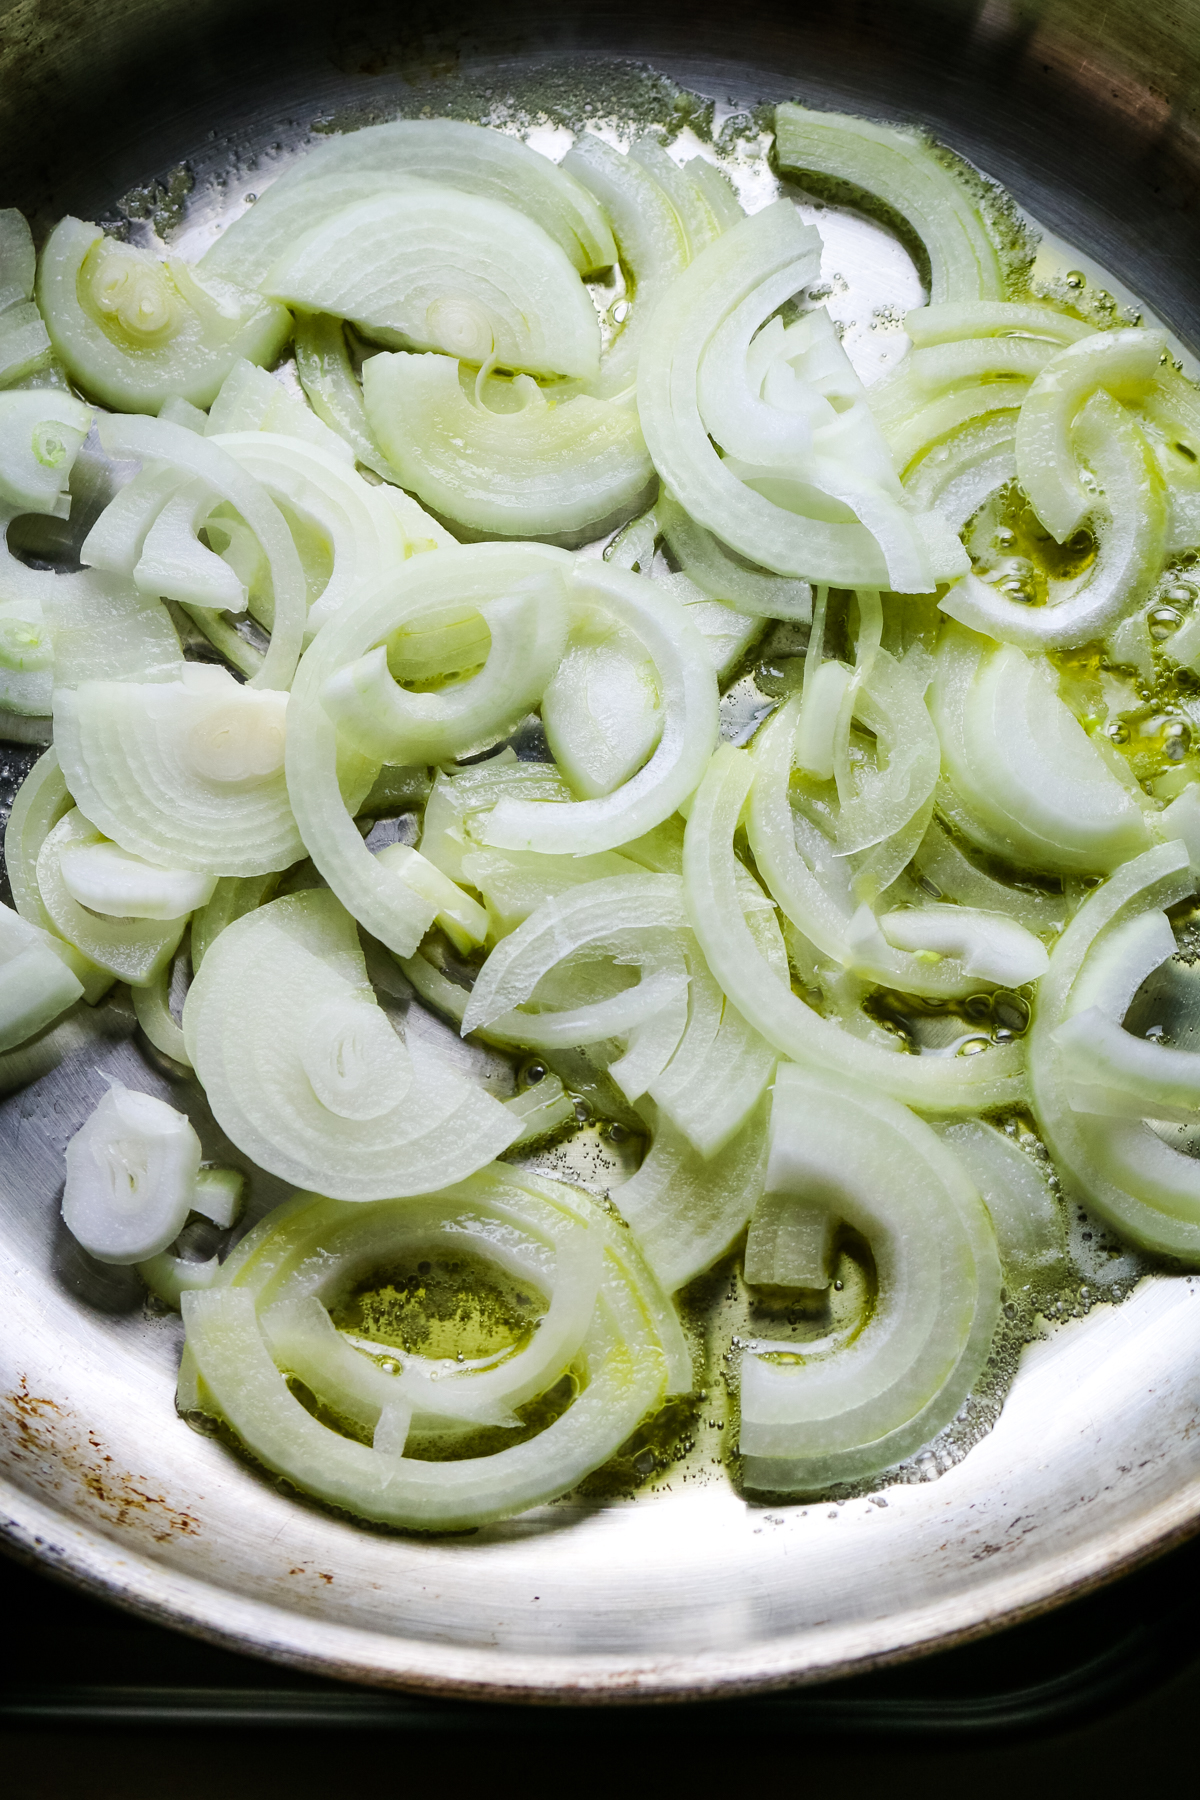
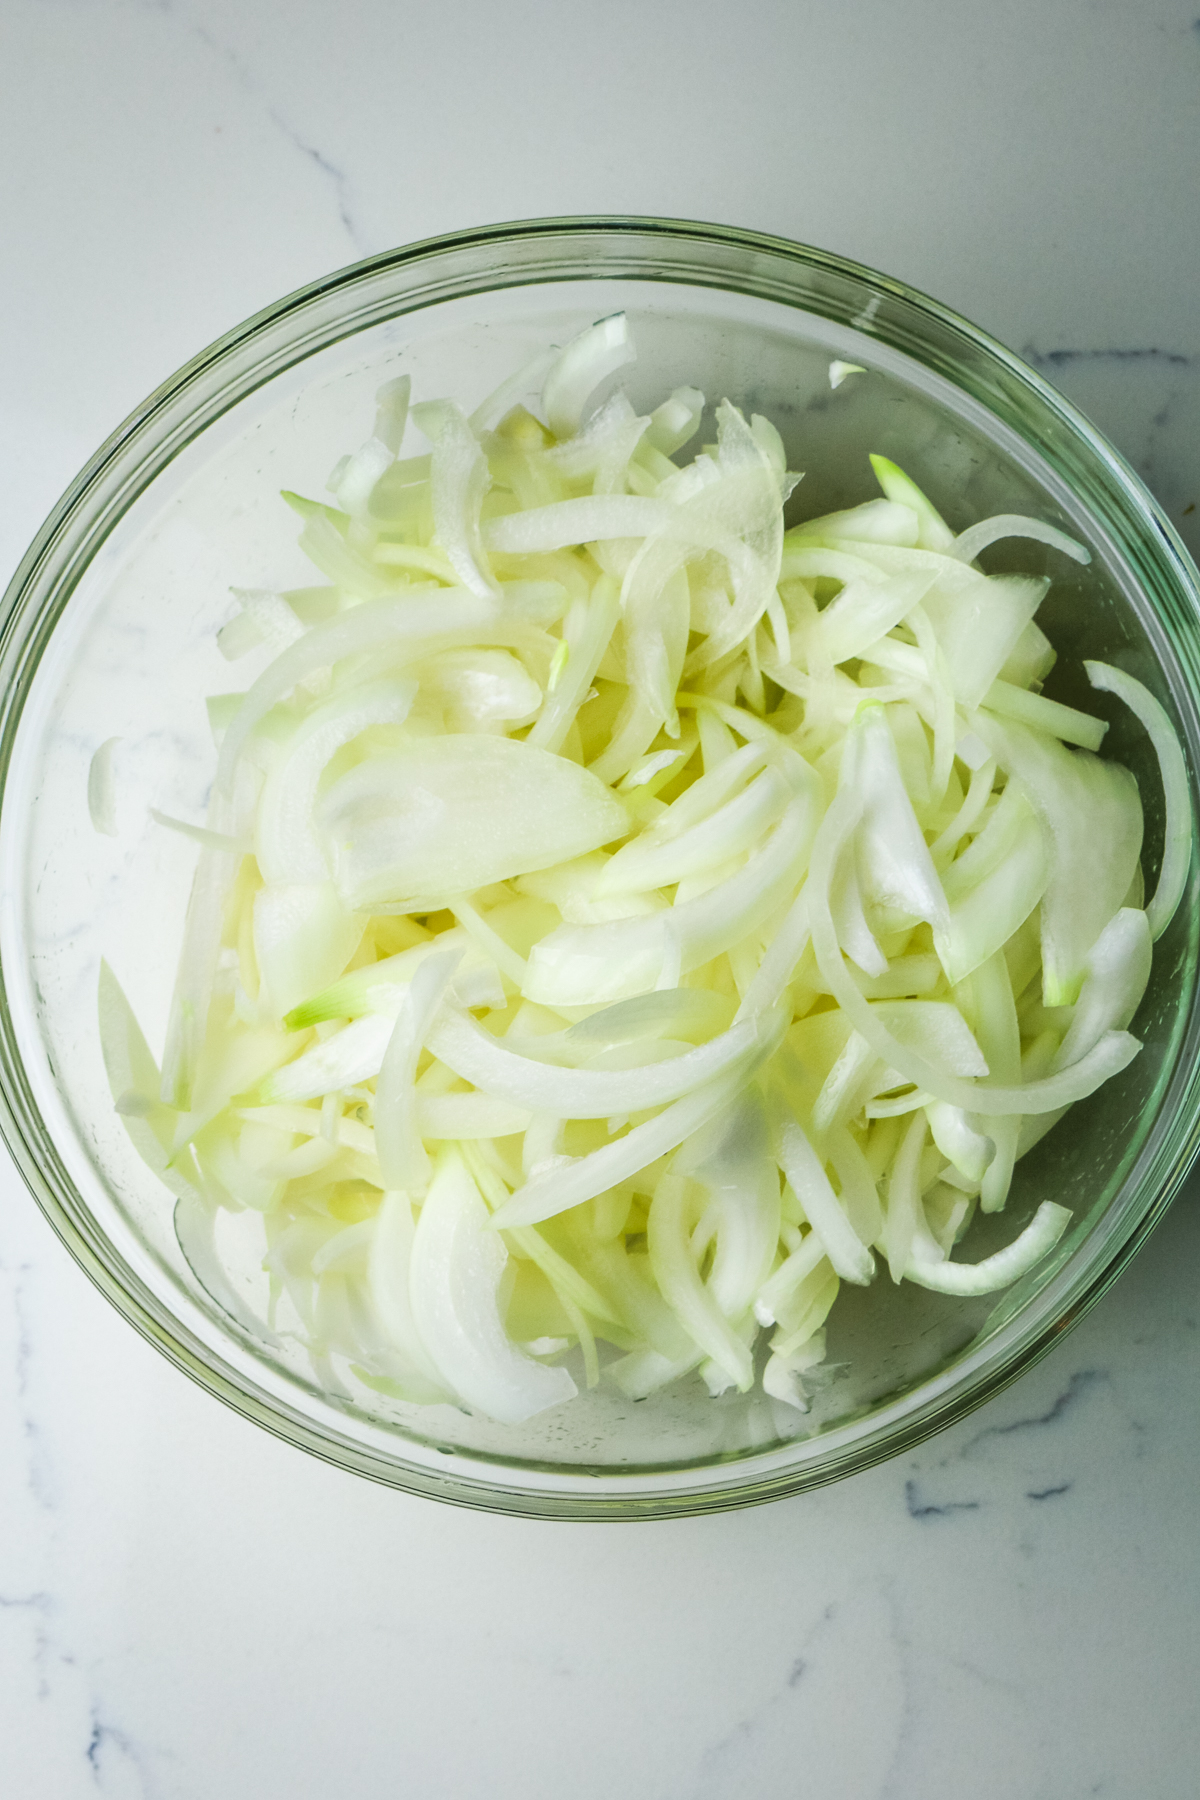
Meanwhile, peel the onion and cut it into halves, then quarters. Slice crosswise. Reduce heat to medium and add the sliced onions to the pan. Saute until they are translucent with a golden-brown tint (approximately 6 minutes).
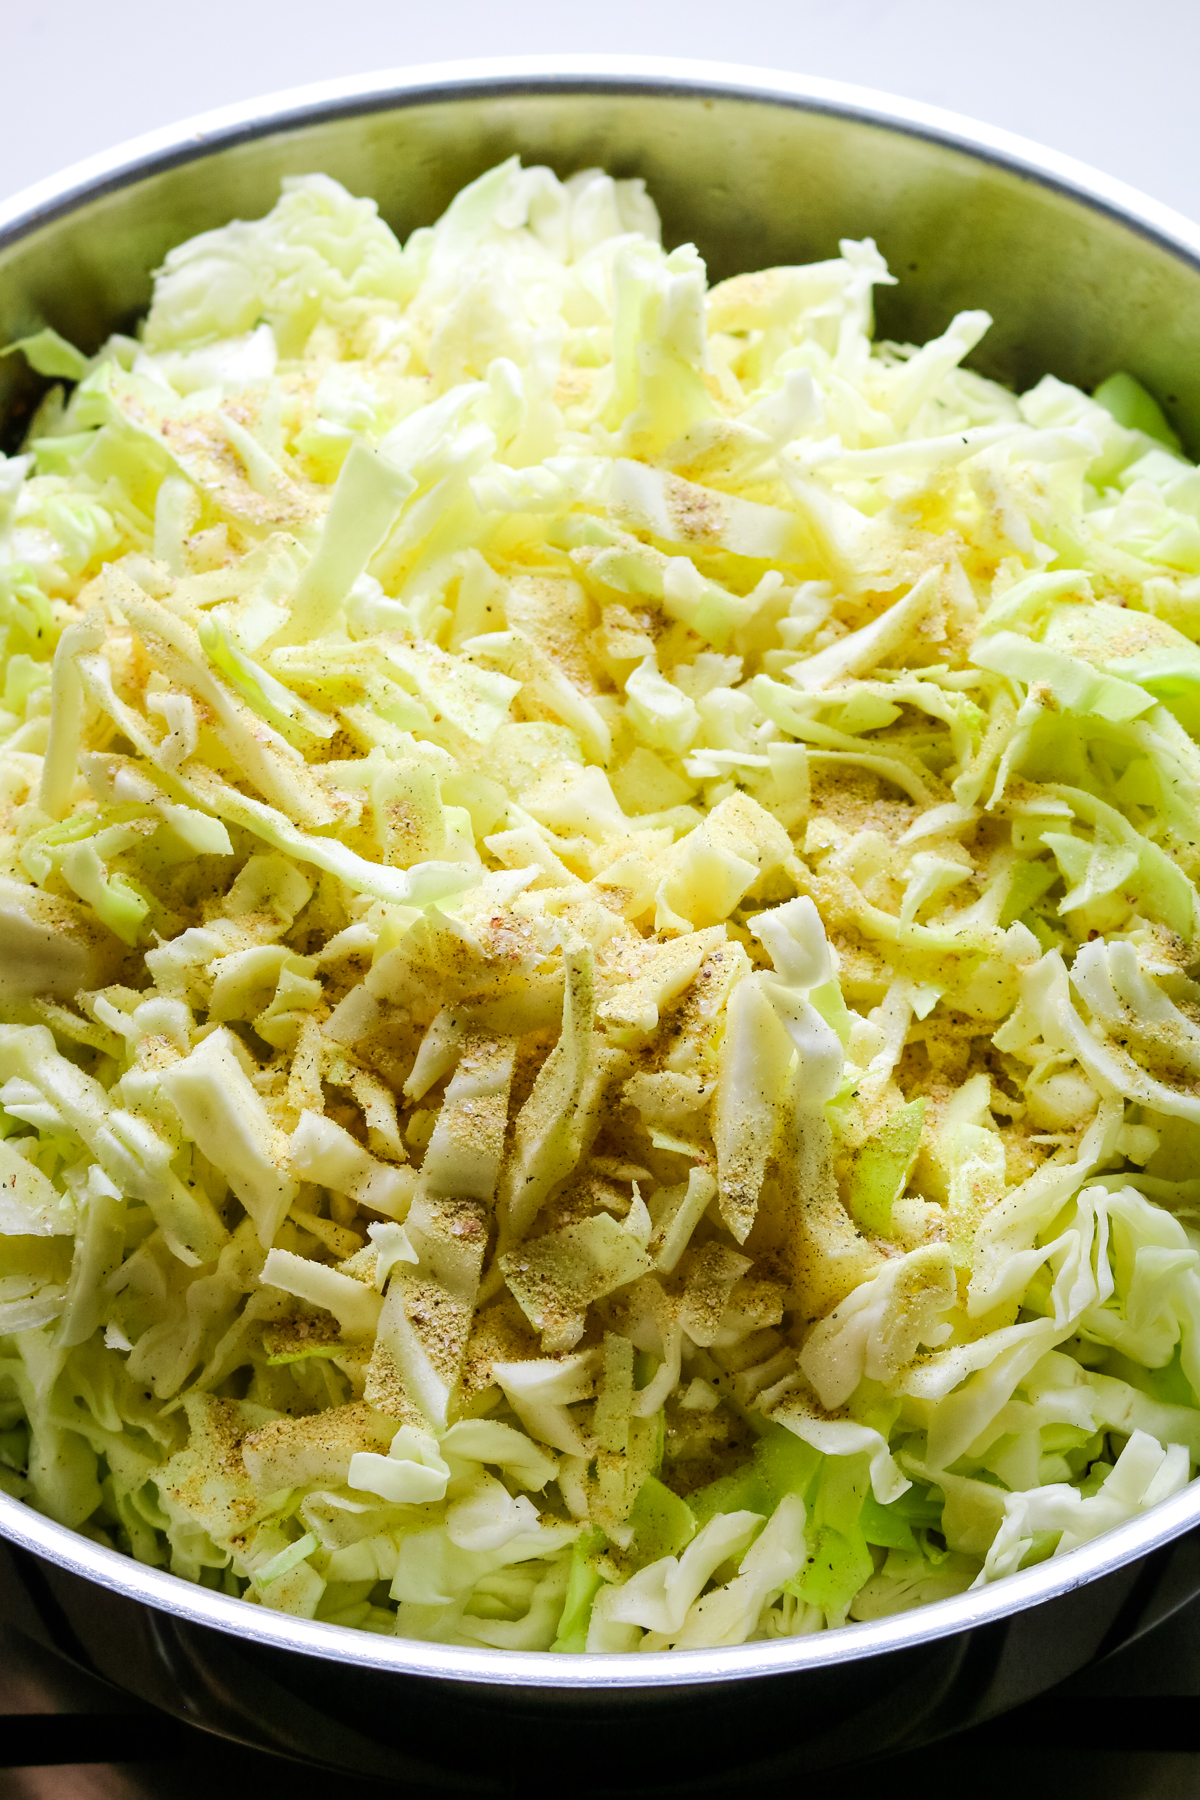
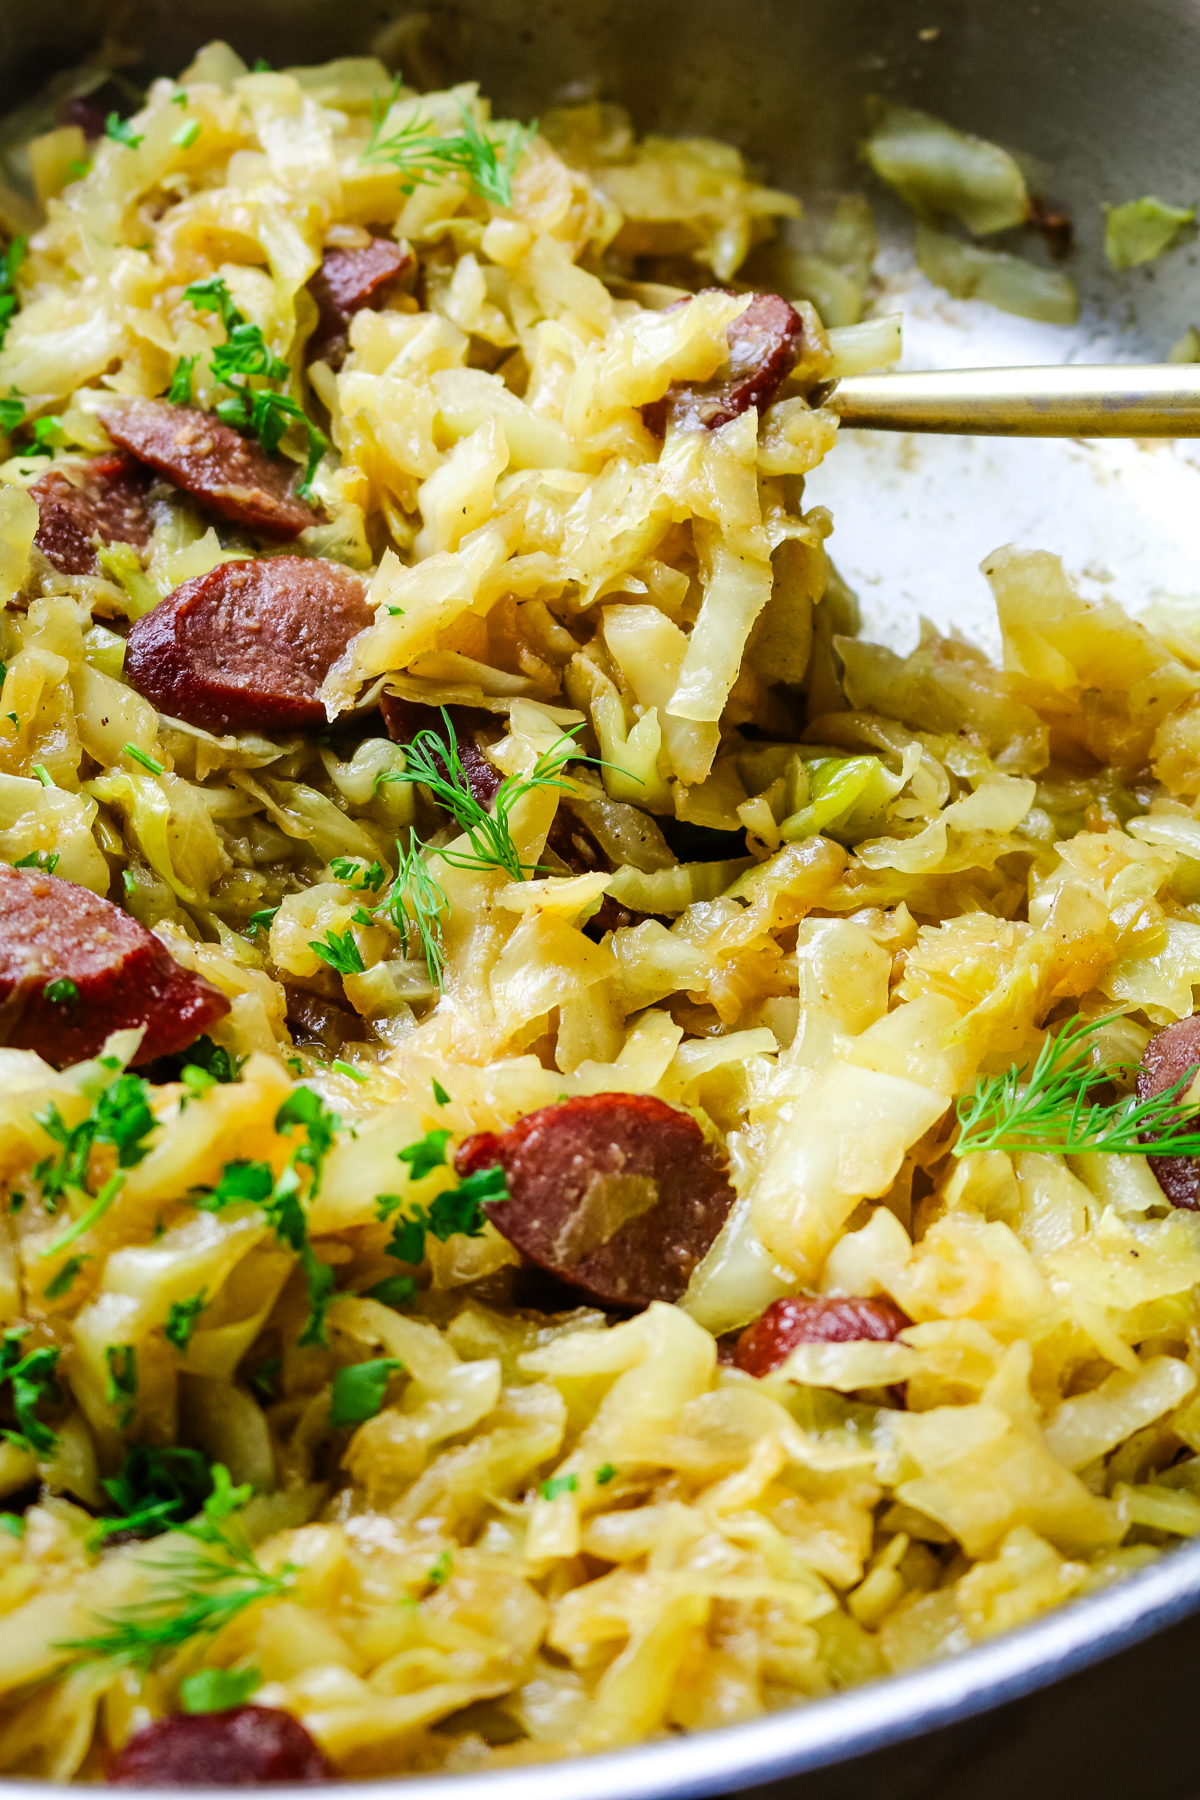
Step 3. Steam
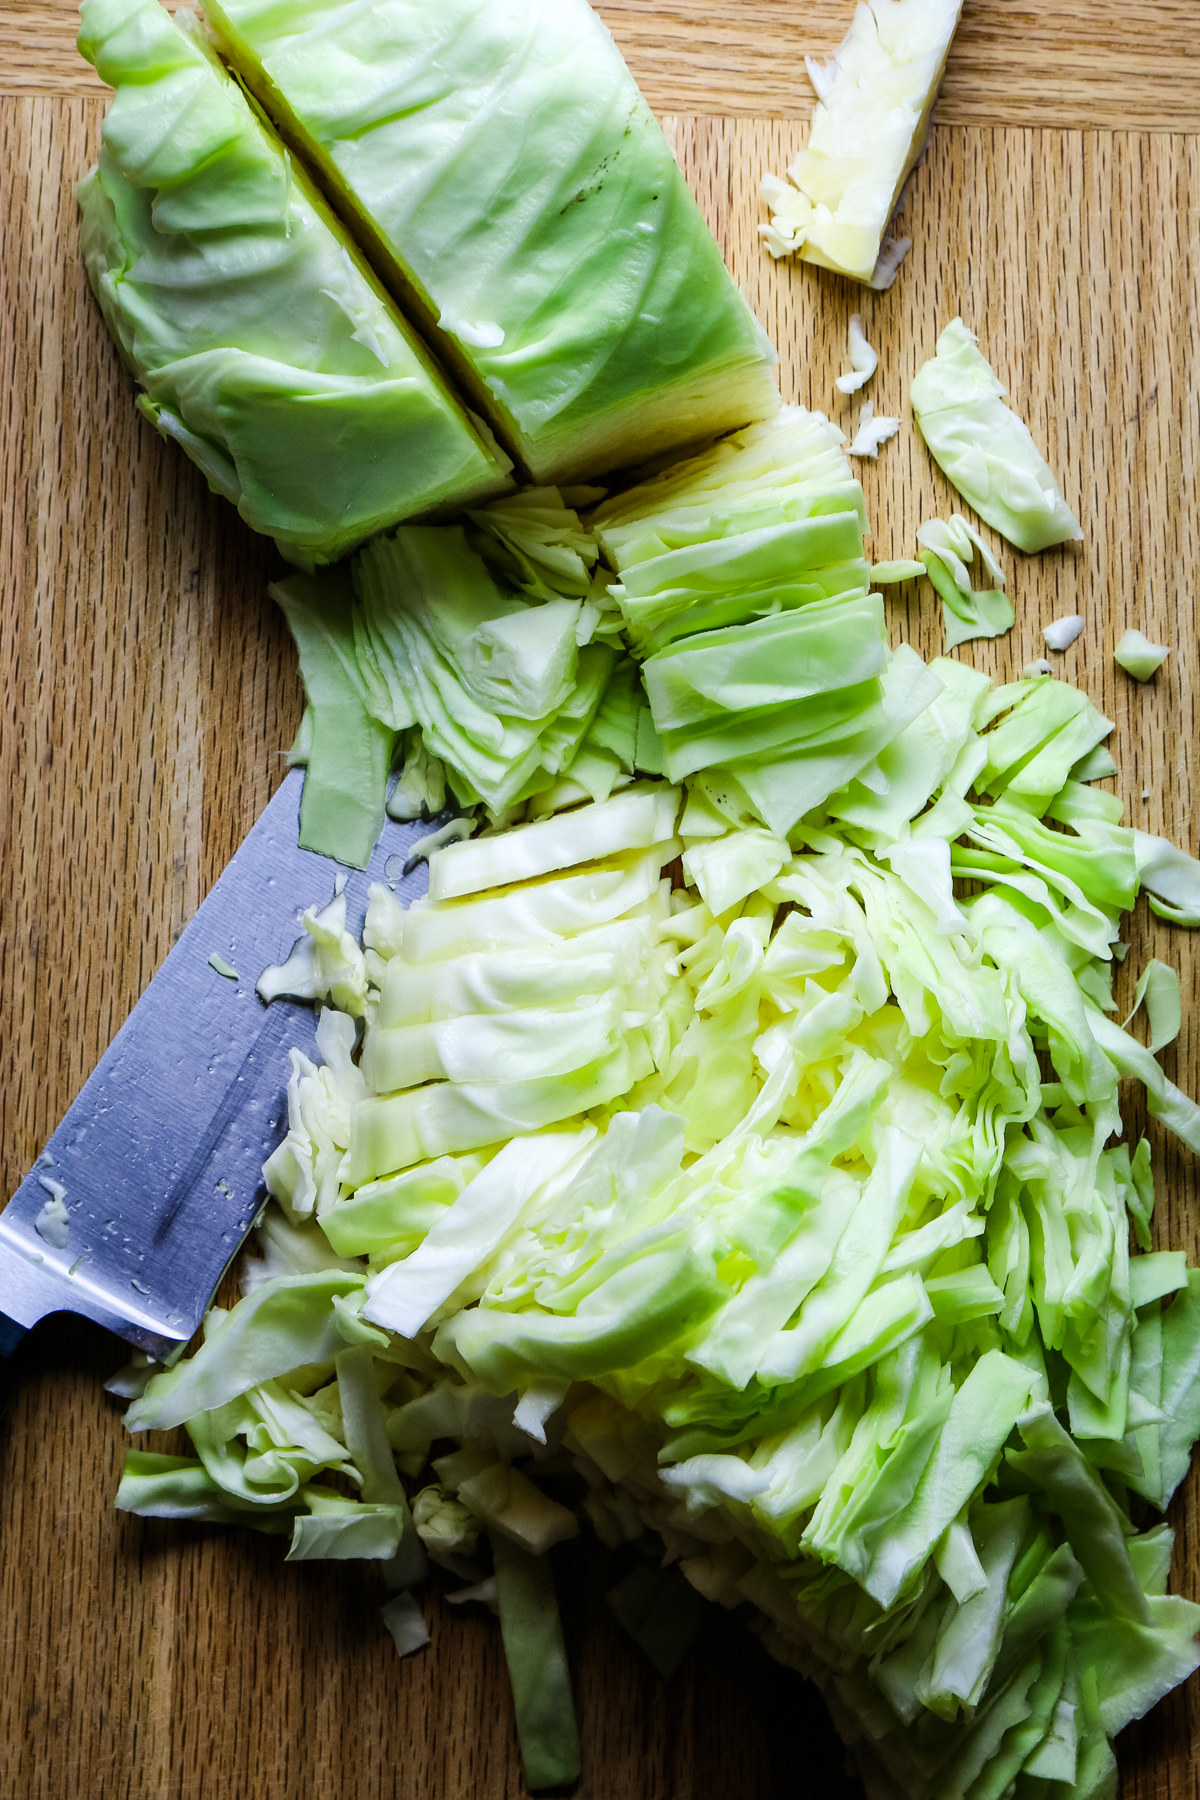
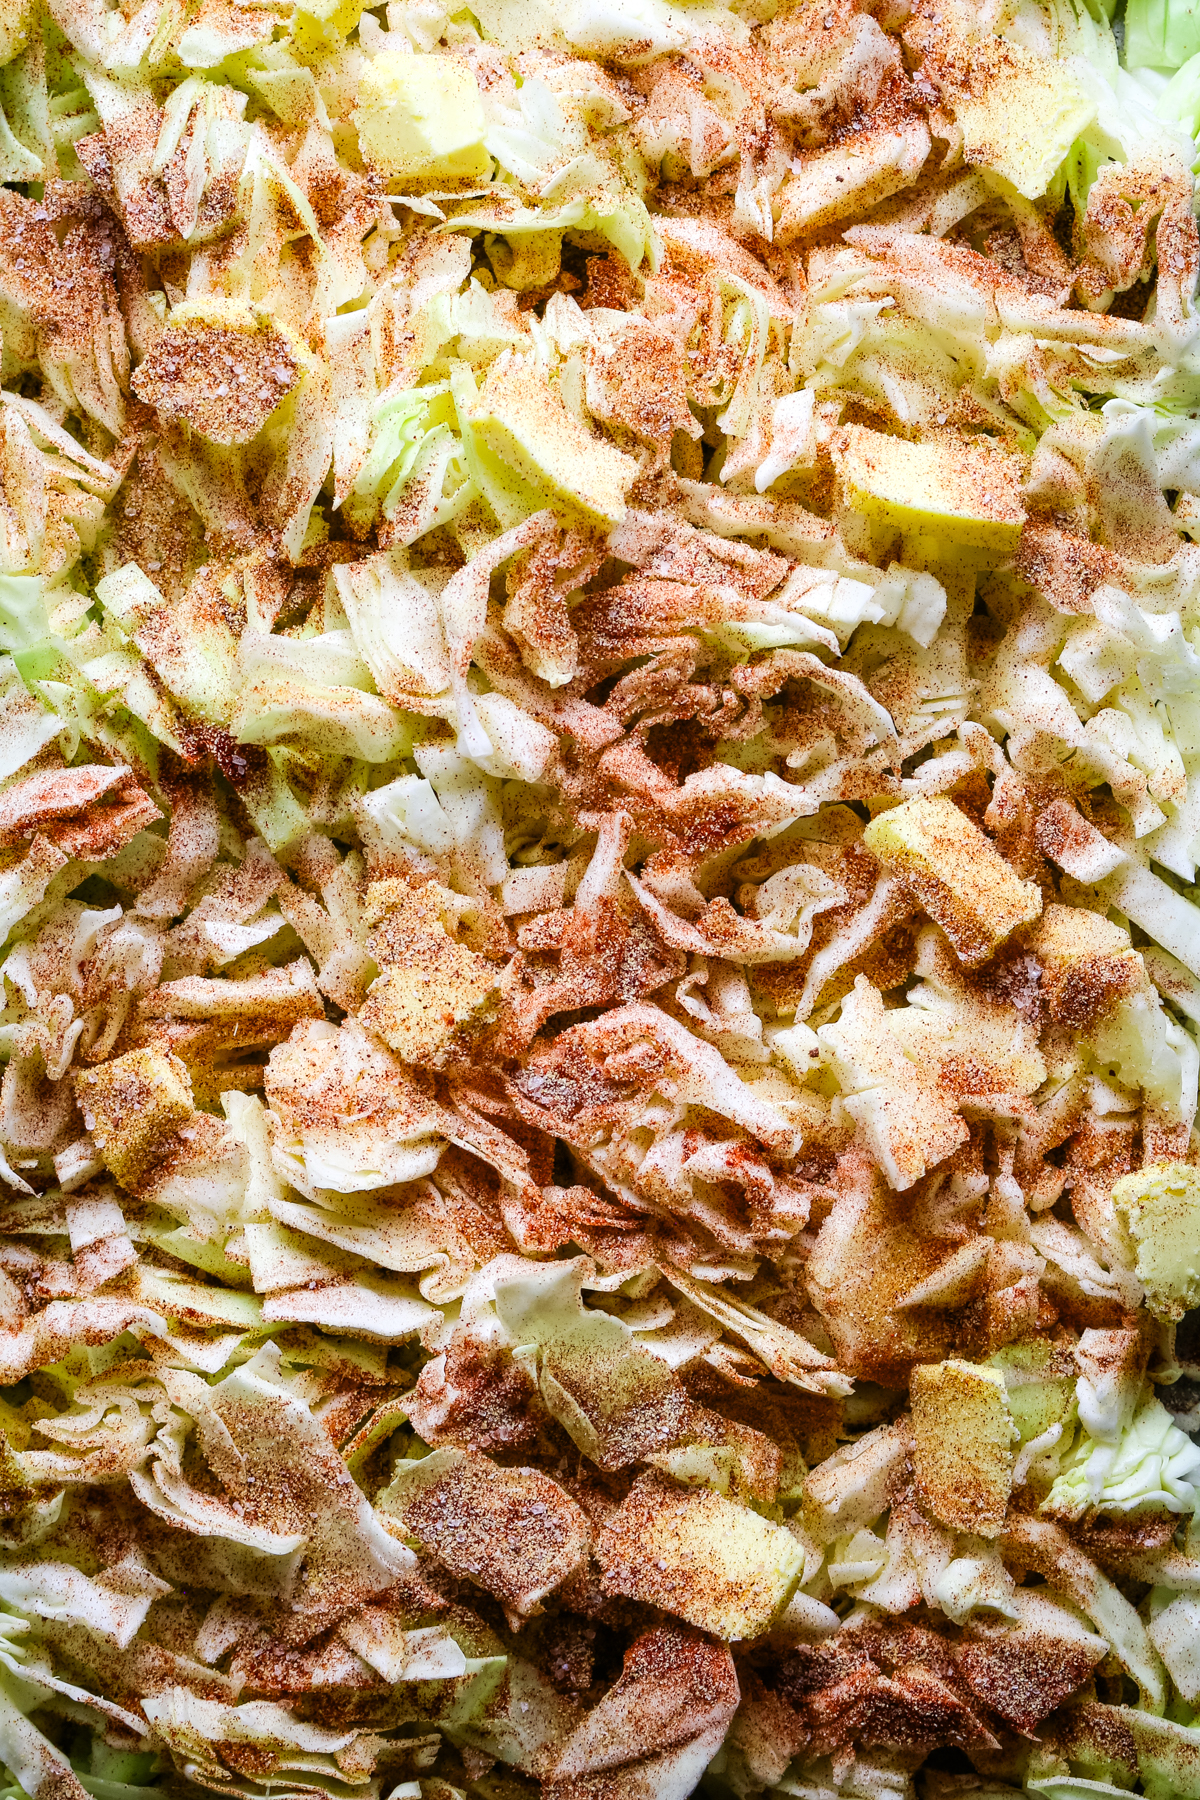
Cut the cabbage into half, then quarters, then eighths. Remove the core and slice into strips crosswise. Add the chopped cabbage to the onions, season with garlic powder, salt, and pepper, and carefully stir to combine. Cover the pan and cook until tender.
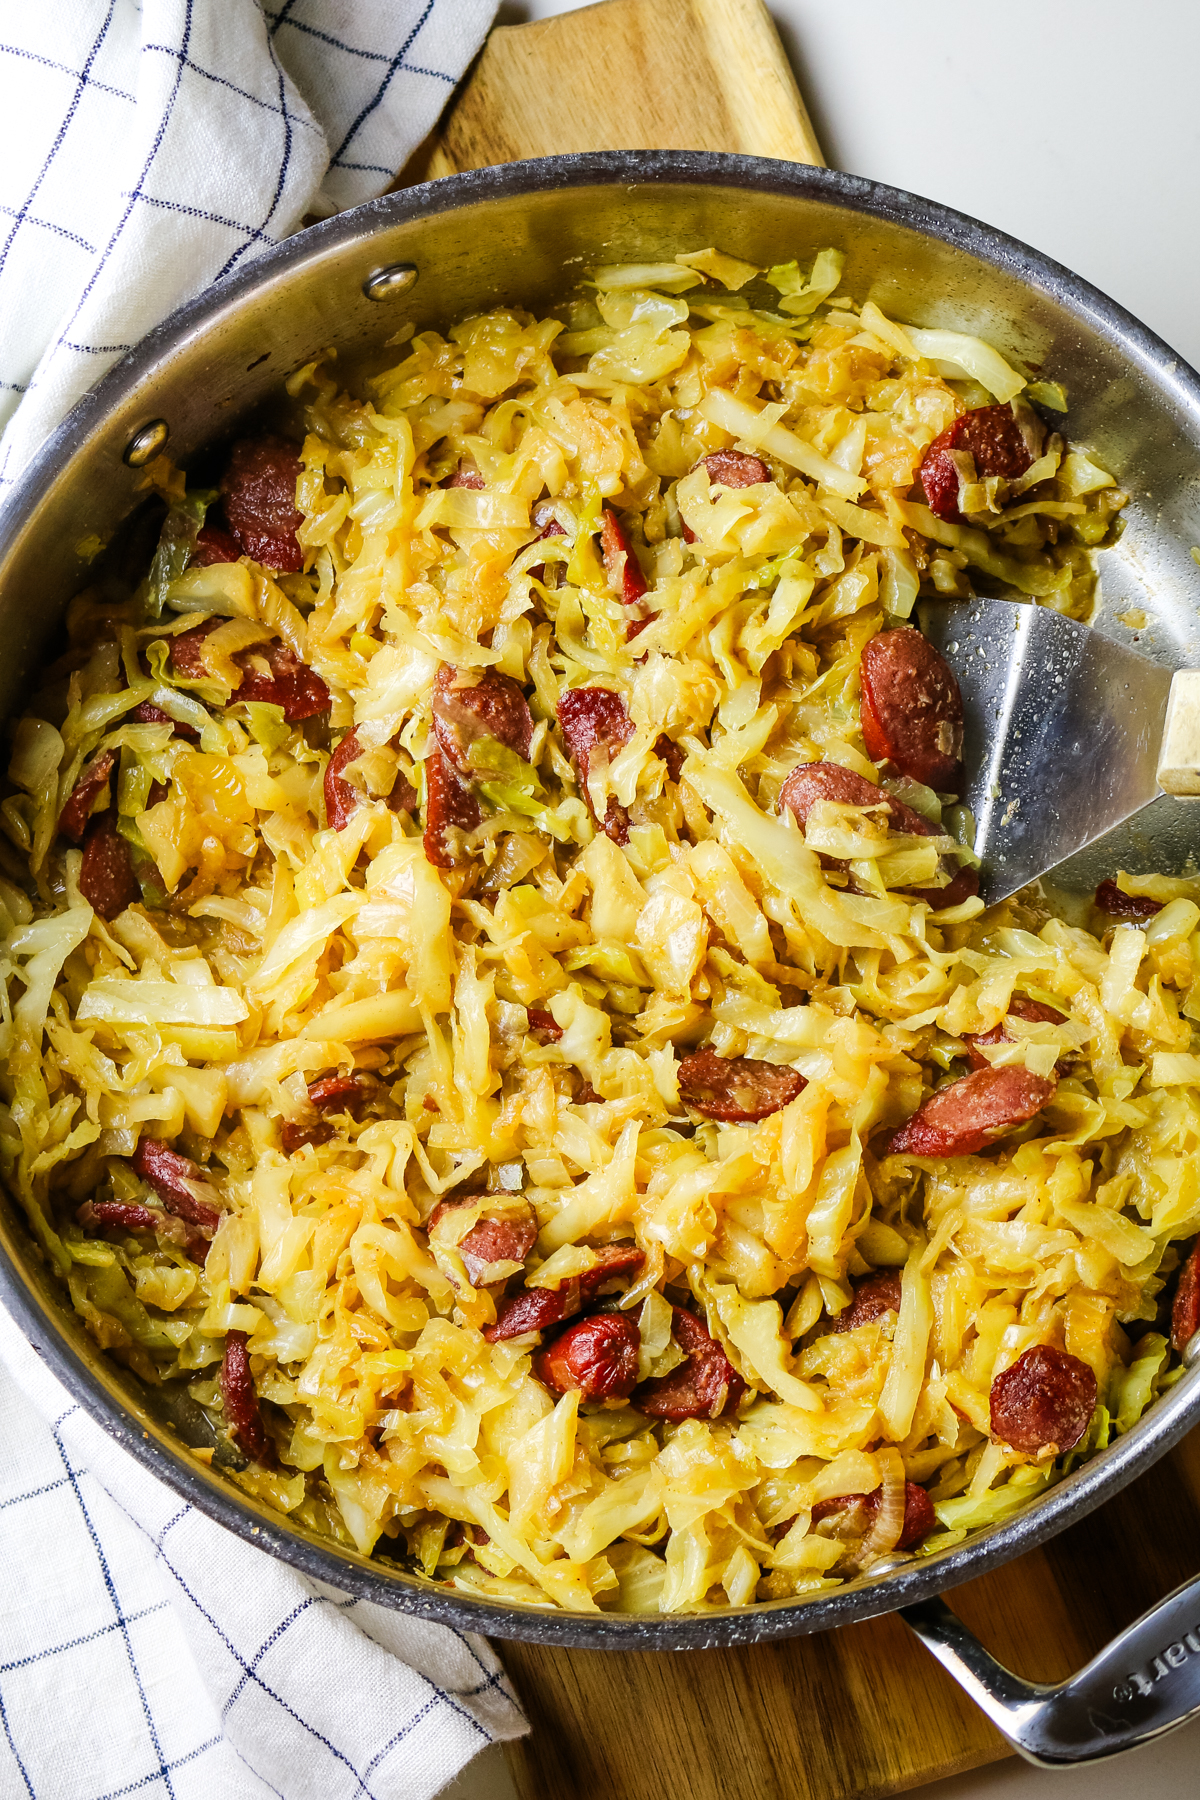
Step 4. Cook
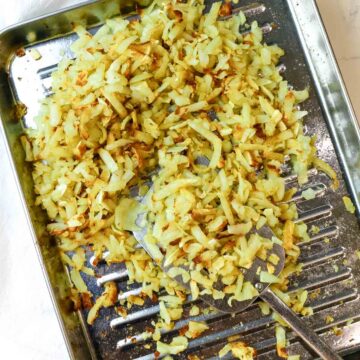
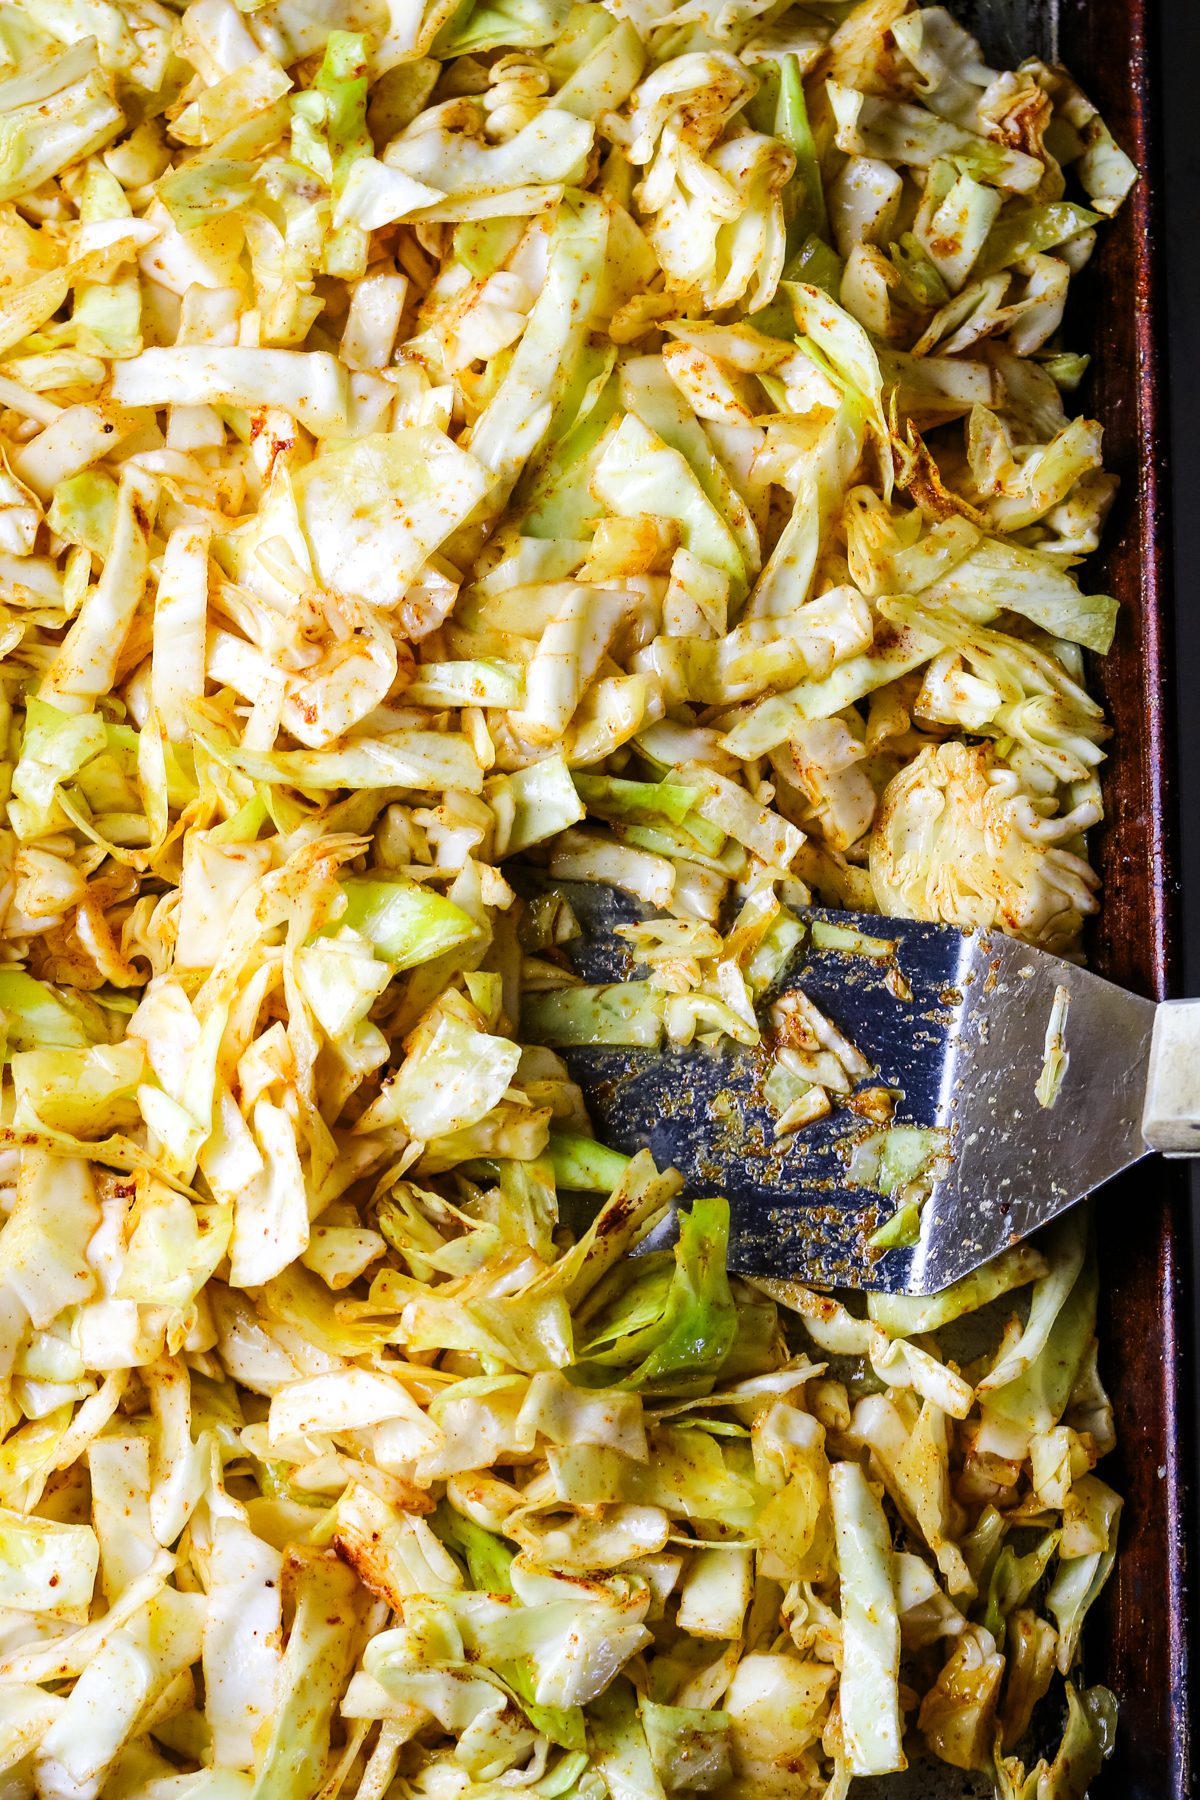
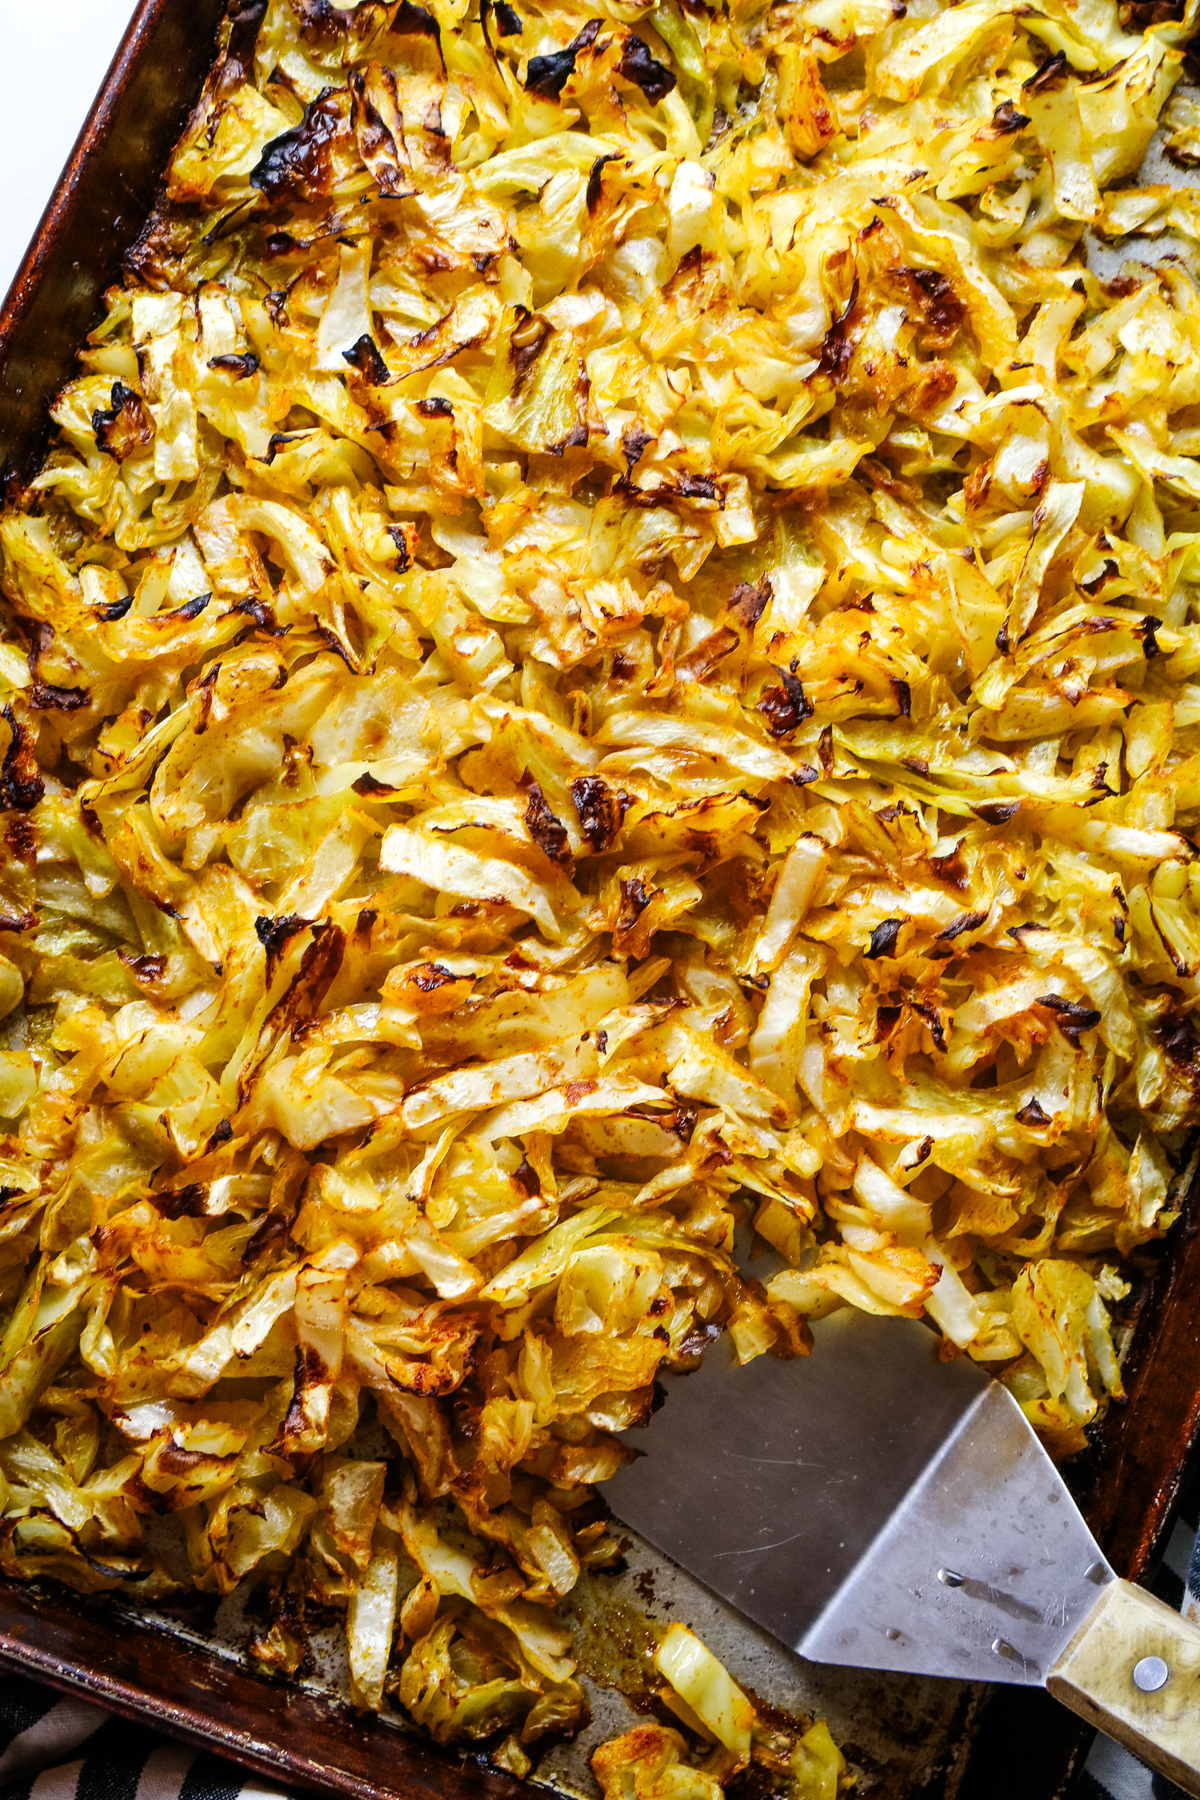
Uncover the skillet and increase heat to medium-high heat until all liquid has evaporated, stirring occasionally. Serve immediately.
Helpful Tips for Cabbage and Sausage Skillet
- Start with a hot pan - Make sure your skilet is hot before adding the butter and sausage. A hot pan will help achieve a nice sear on the sausage, adding flavor and texture.
- Brown properly - Cut the sausage at a bias (diagonally) to give it more surface area to brown. And cook the sausage slices undisturbed to achieve that golden brown color on both sides. This adds flavor and visual appeal.
- Go low and slow for onions - When adding the onions, cook them over medium heat until they are translucent and slightly caramelized. As they start to release natural juices, use that to deglaze the pan to release browned bits from the sausage.
- Crowd the pan - It's okay to crowd the pan when adding cabbage because it will significantly reduce once cooked down. After adding cabbage, cover the pan with a lid and steam for about 10 minutes.
💭Meal Prep Suggestion: This easy cabbage skillet is great to make ahead and kept in your fridge for a tasty meal throughout the week. It comfortably feeds 6 people and reheats wonderfully on the stovetop.
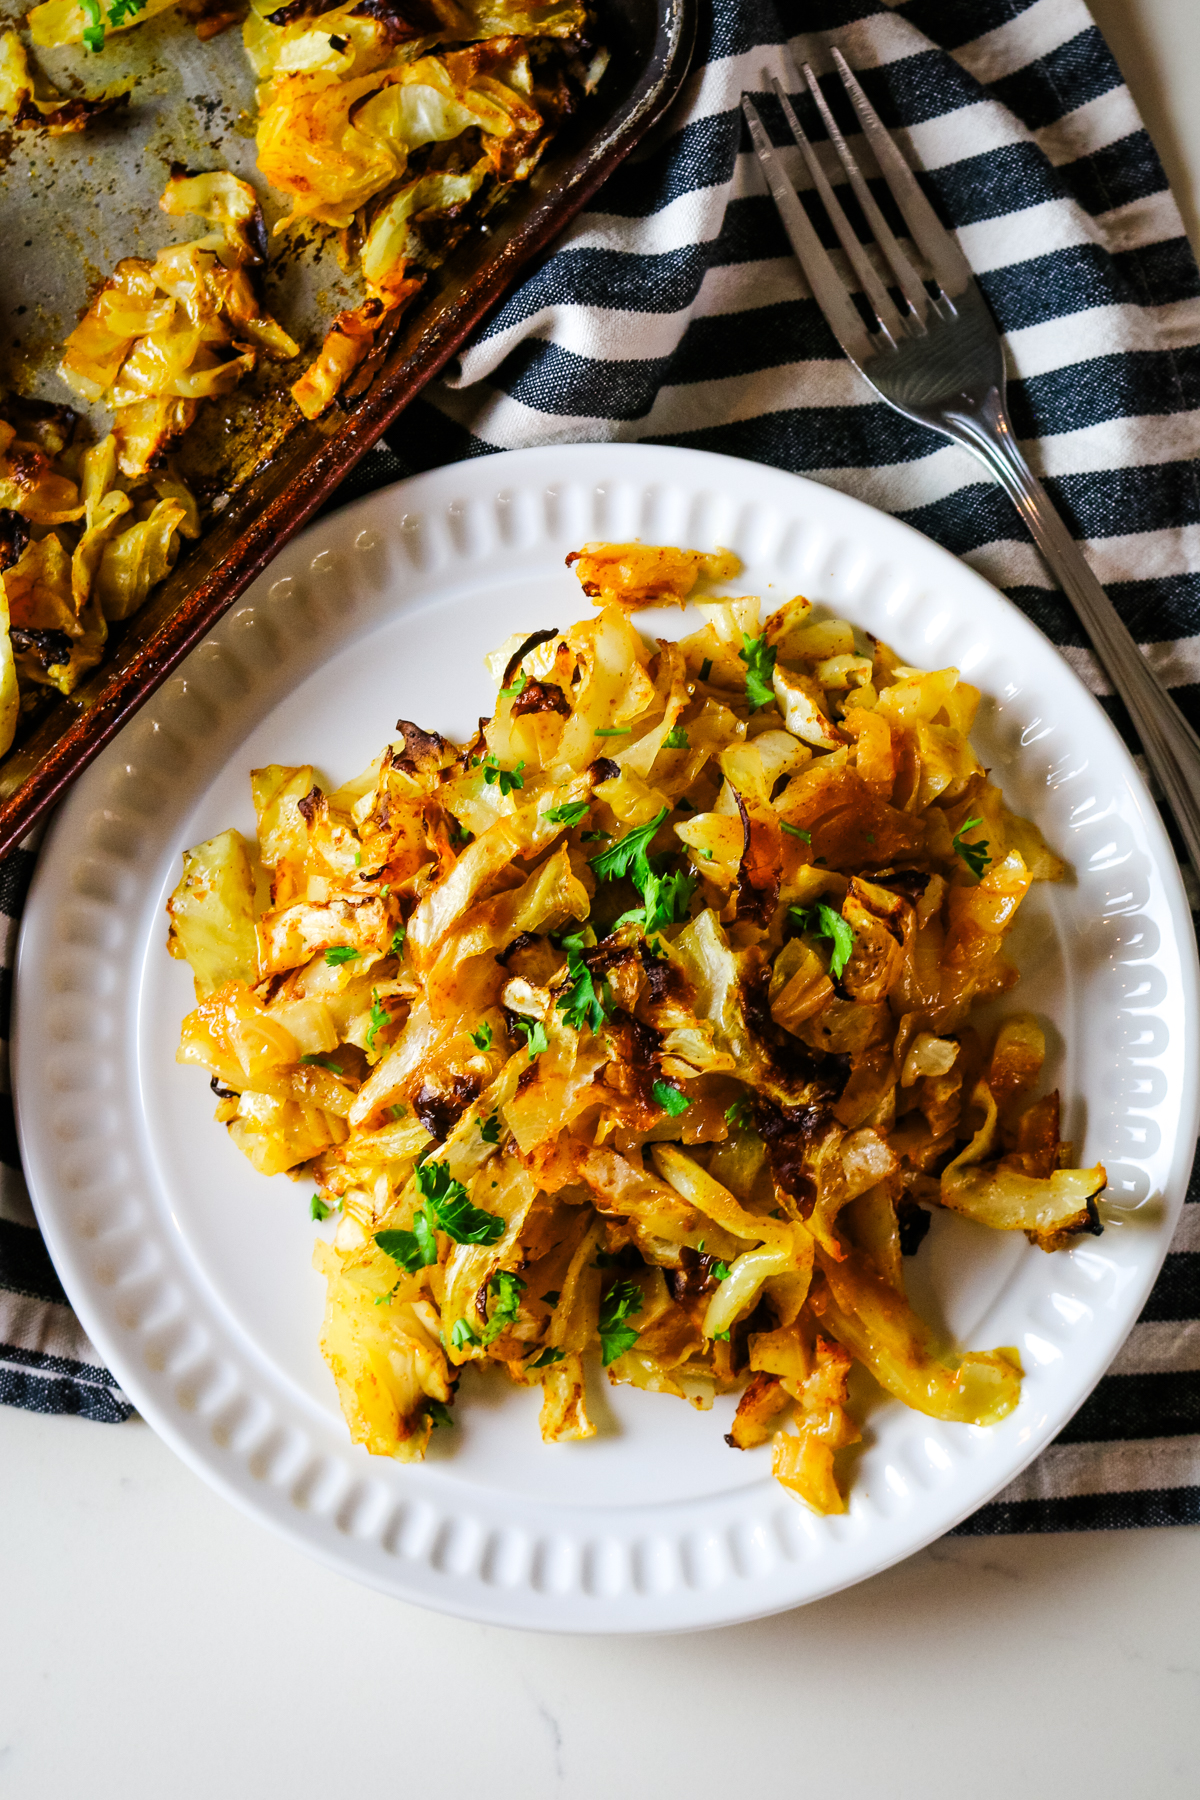
Serving Suggestions
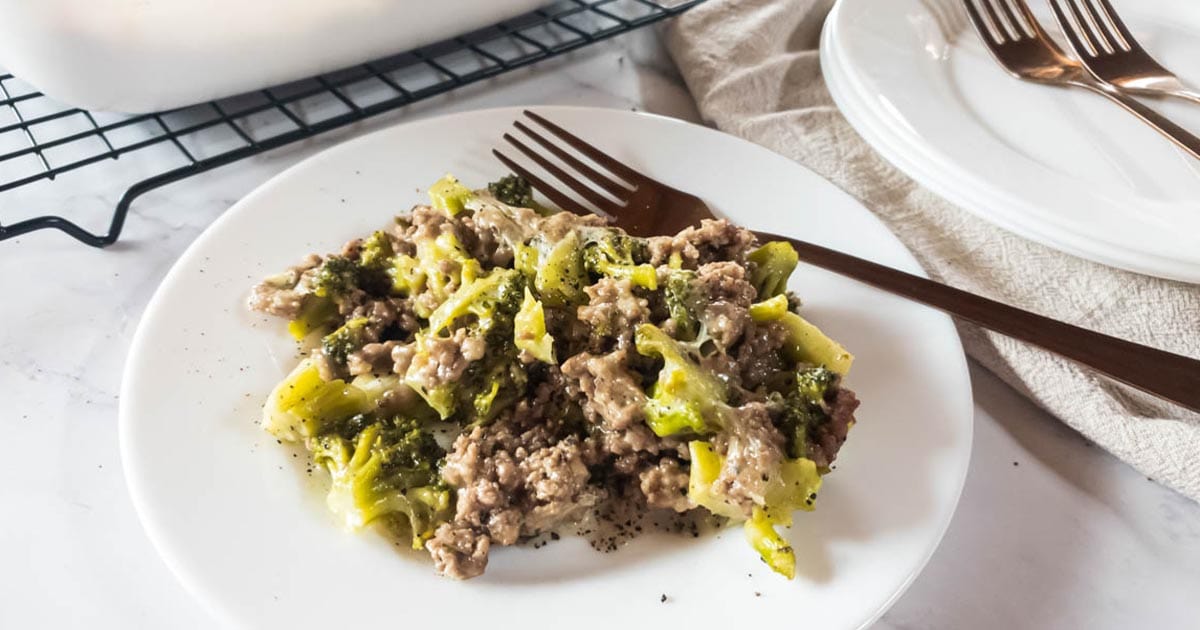
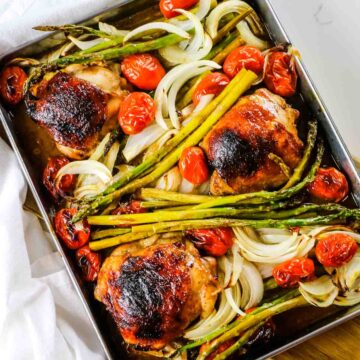
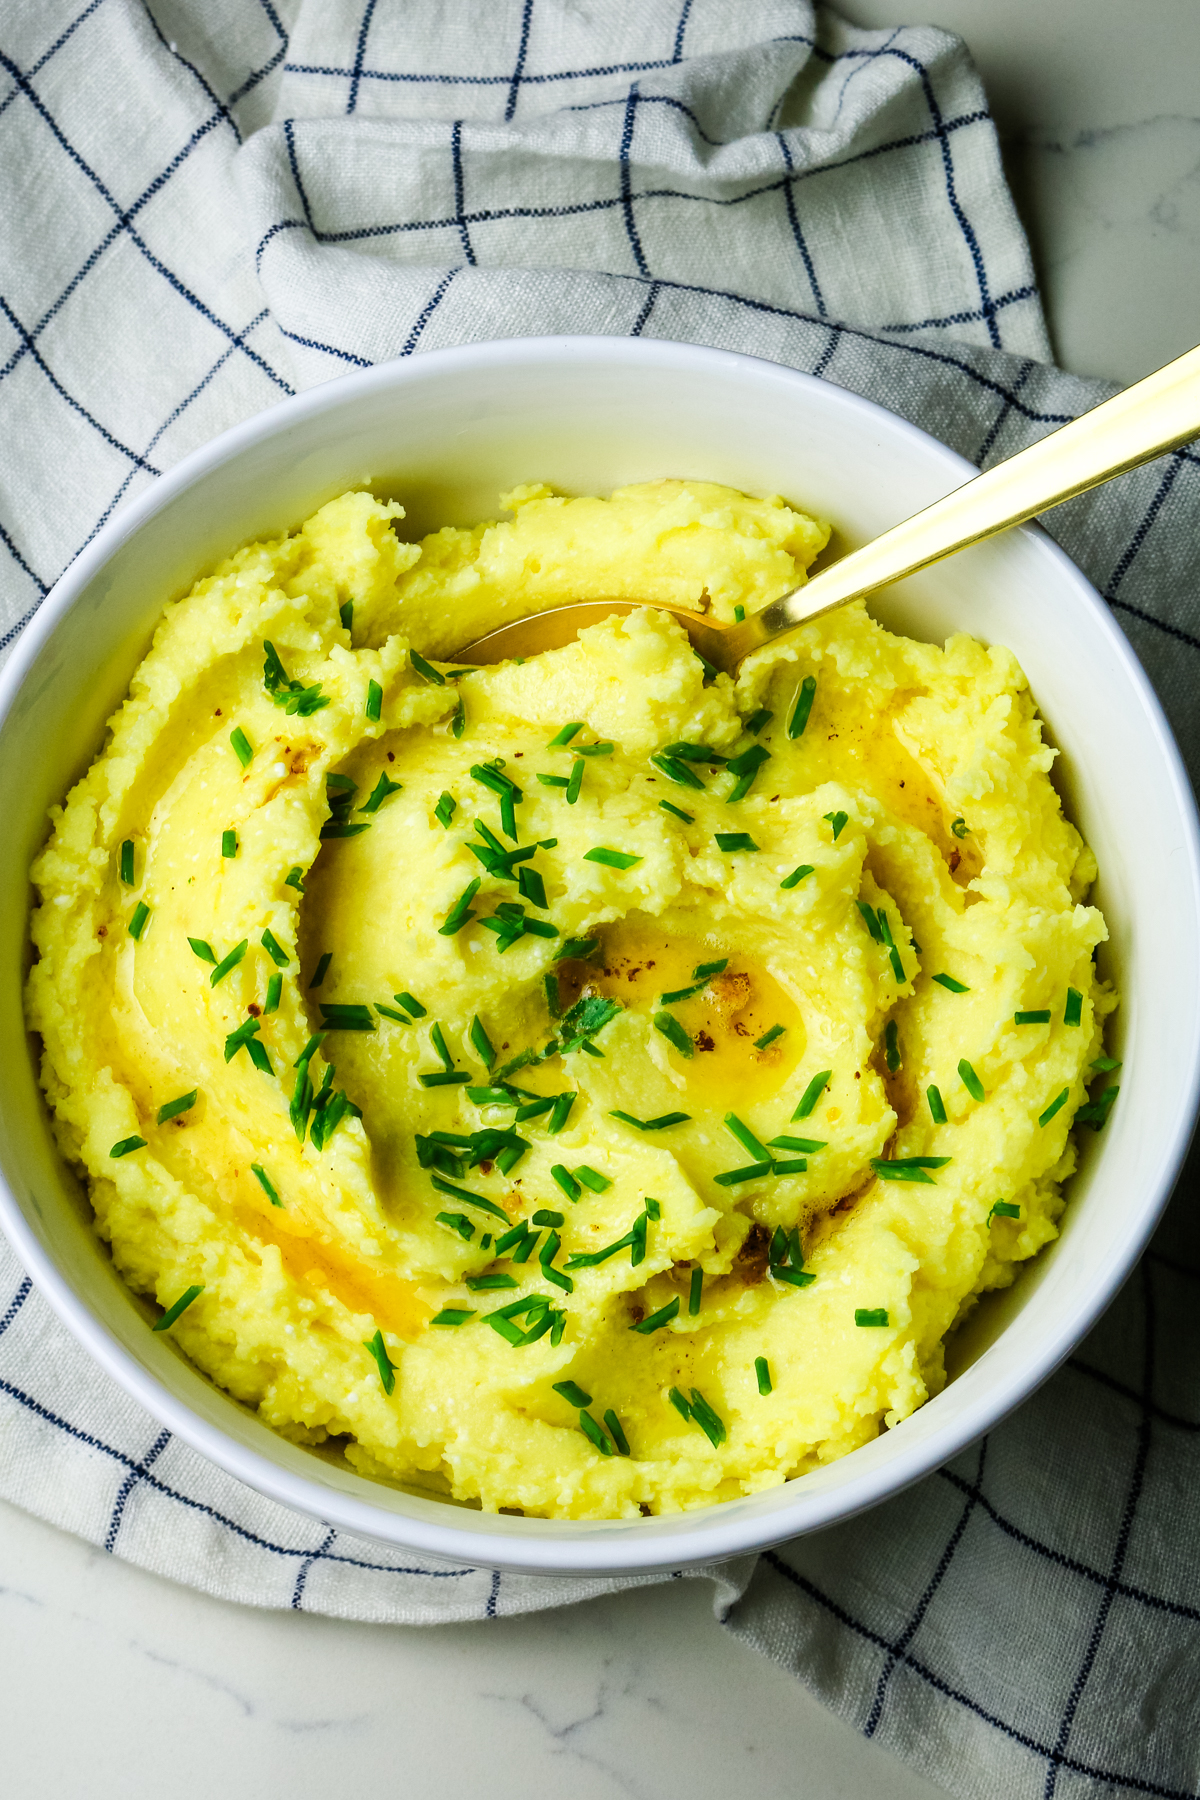
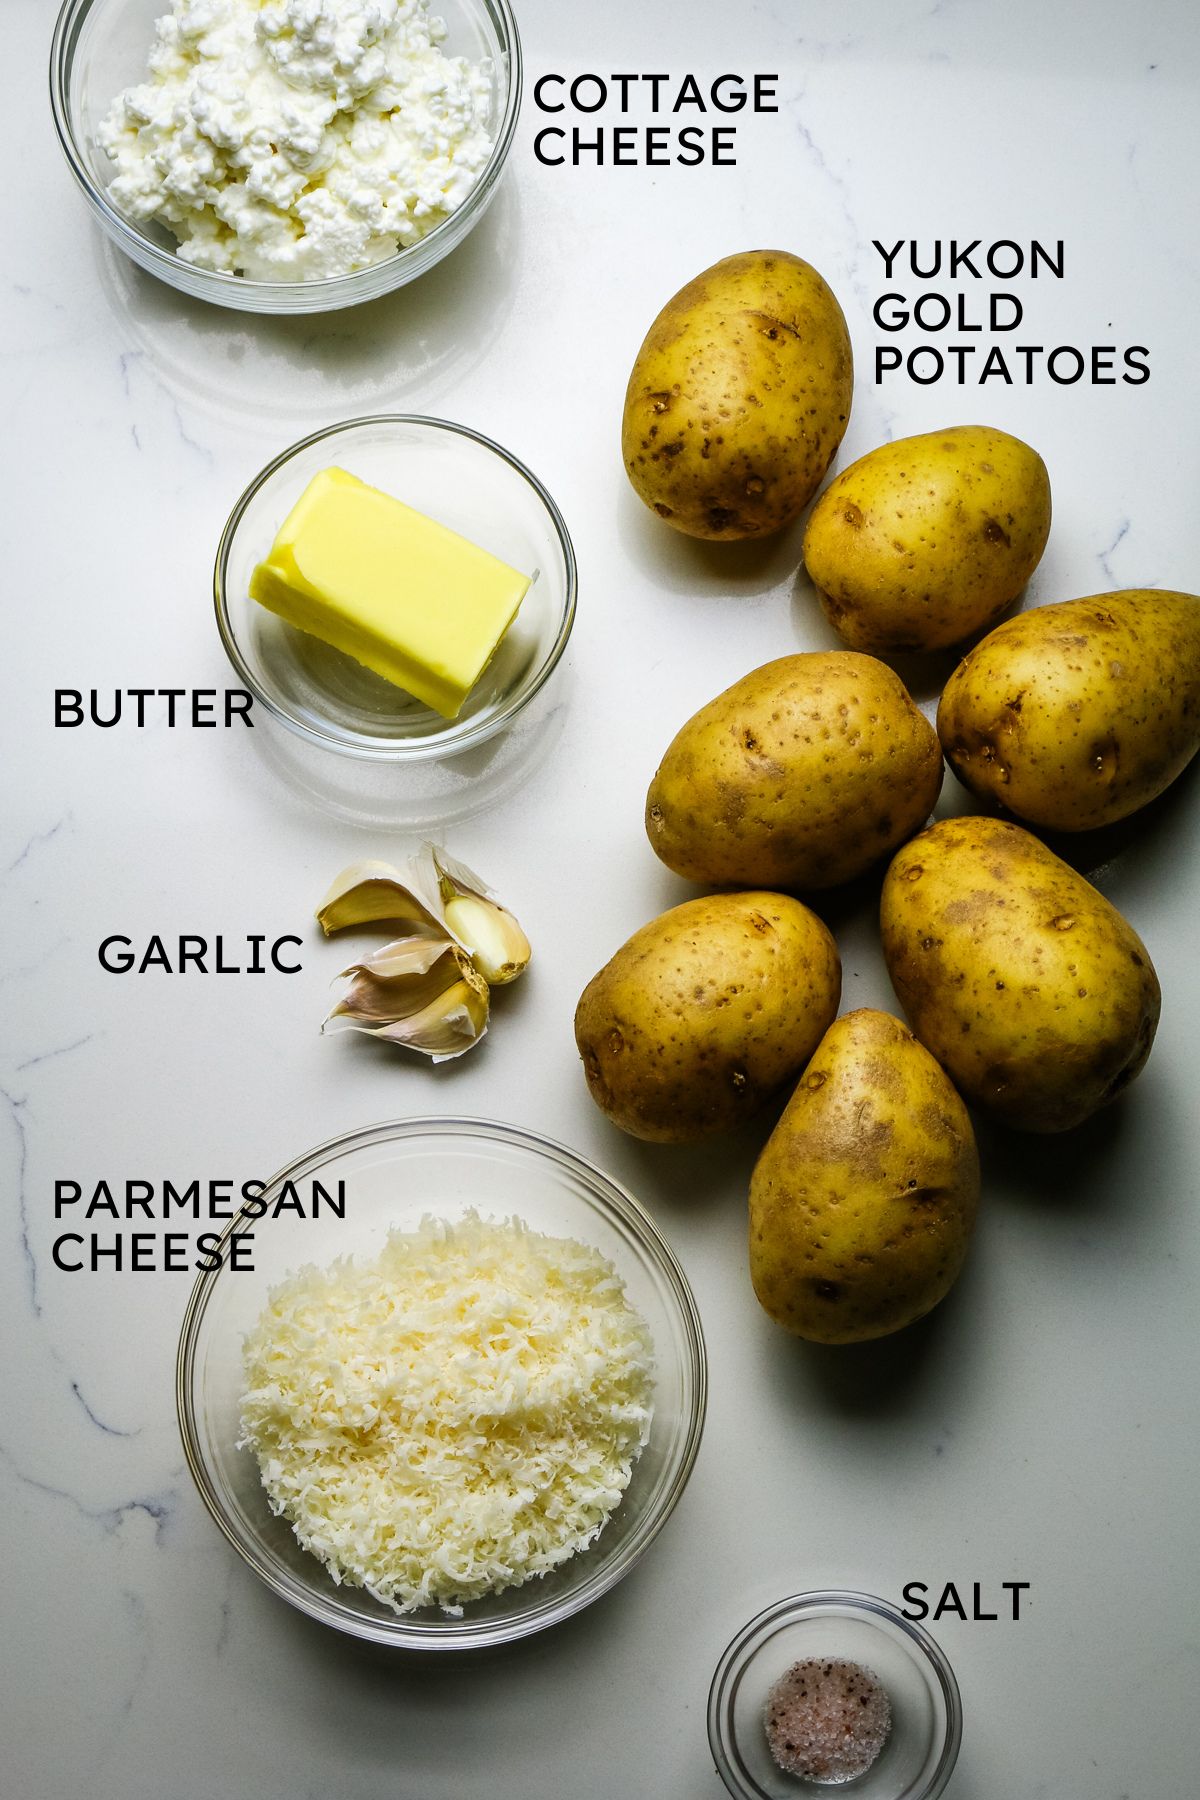
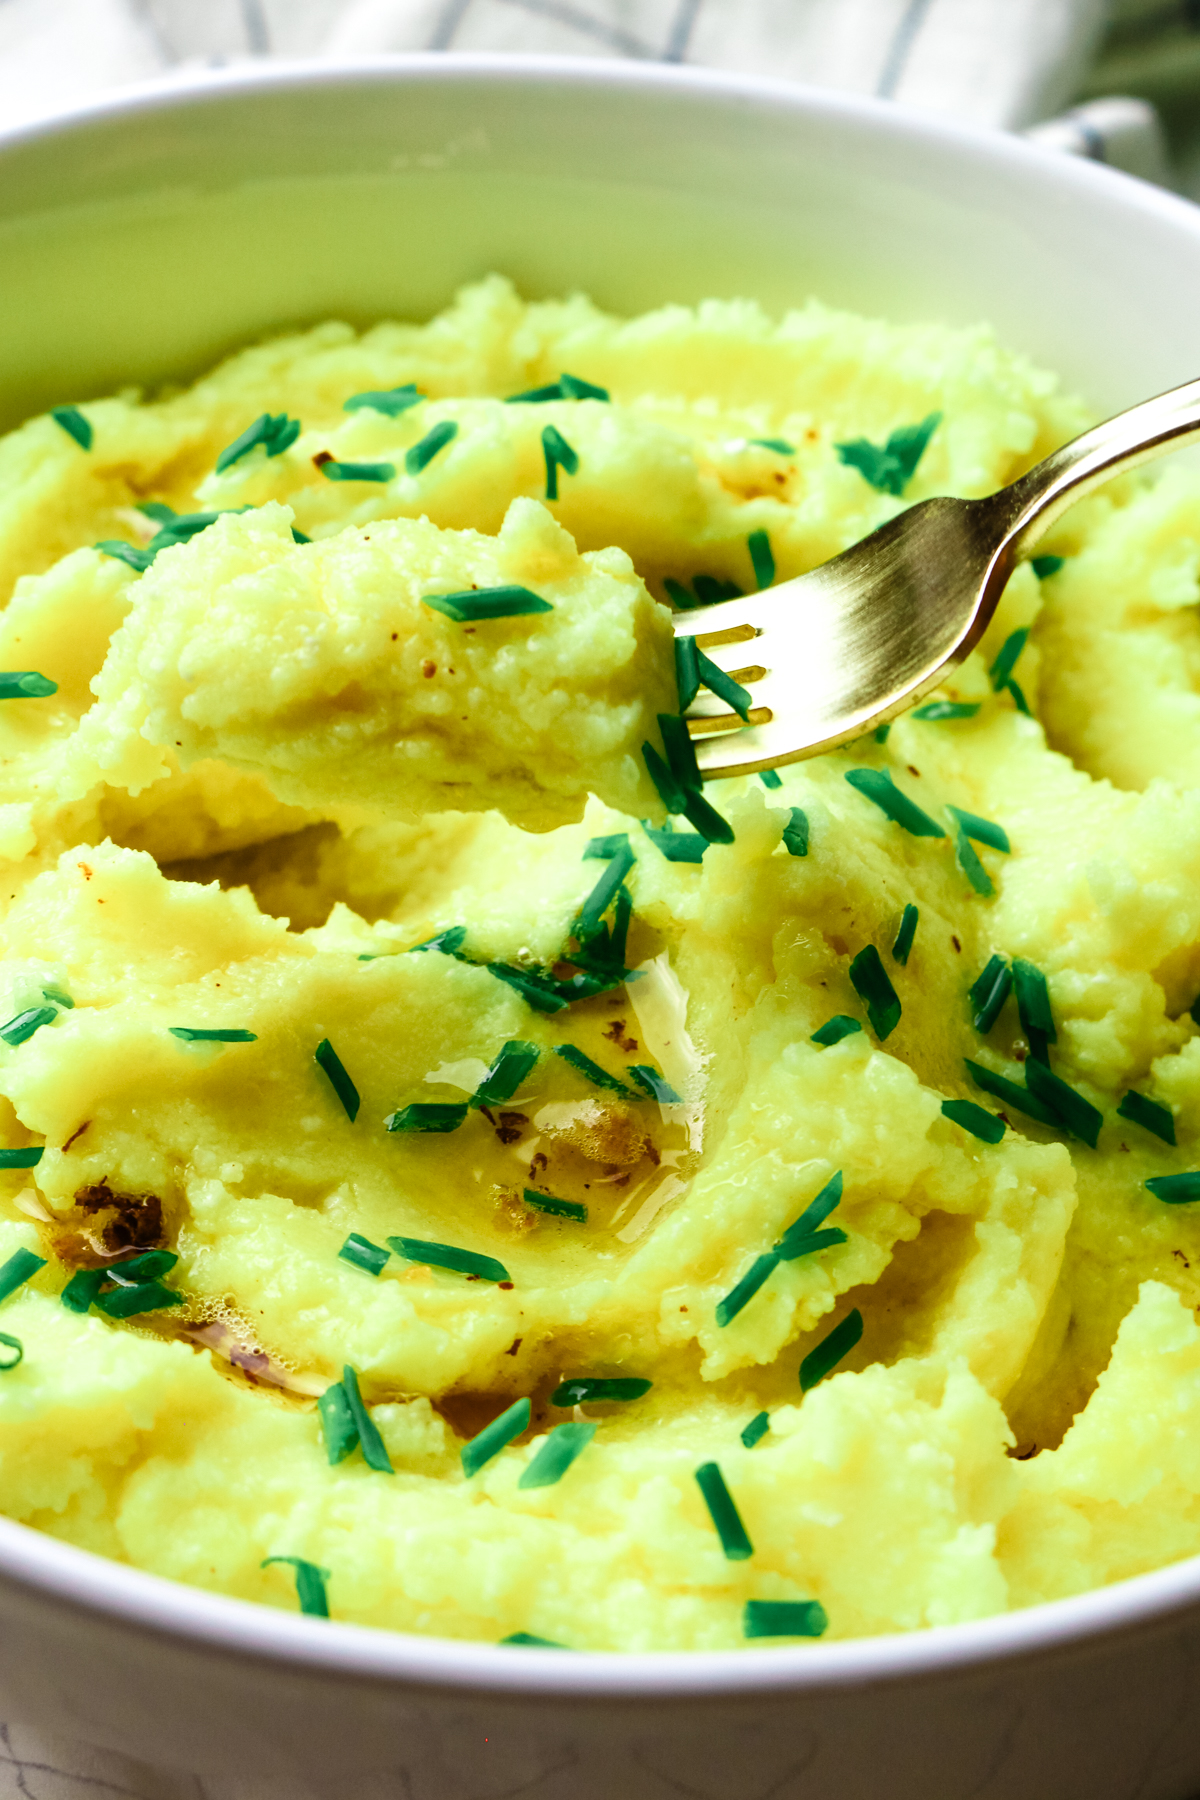
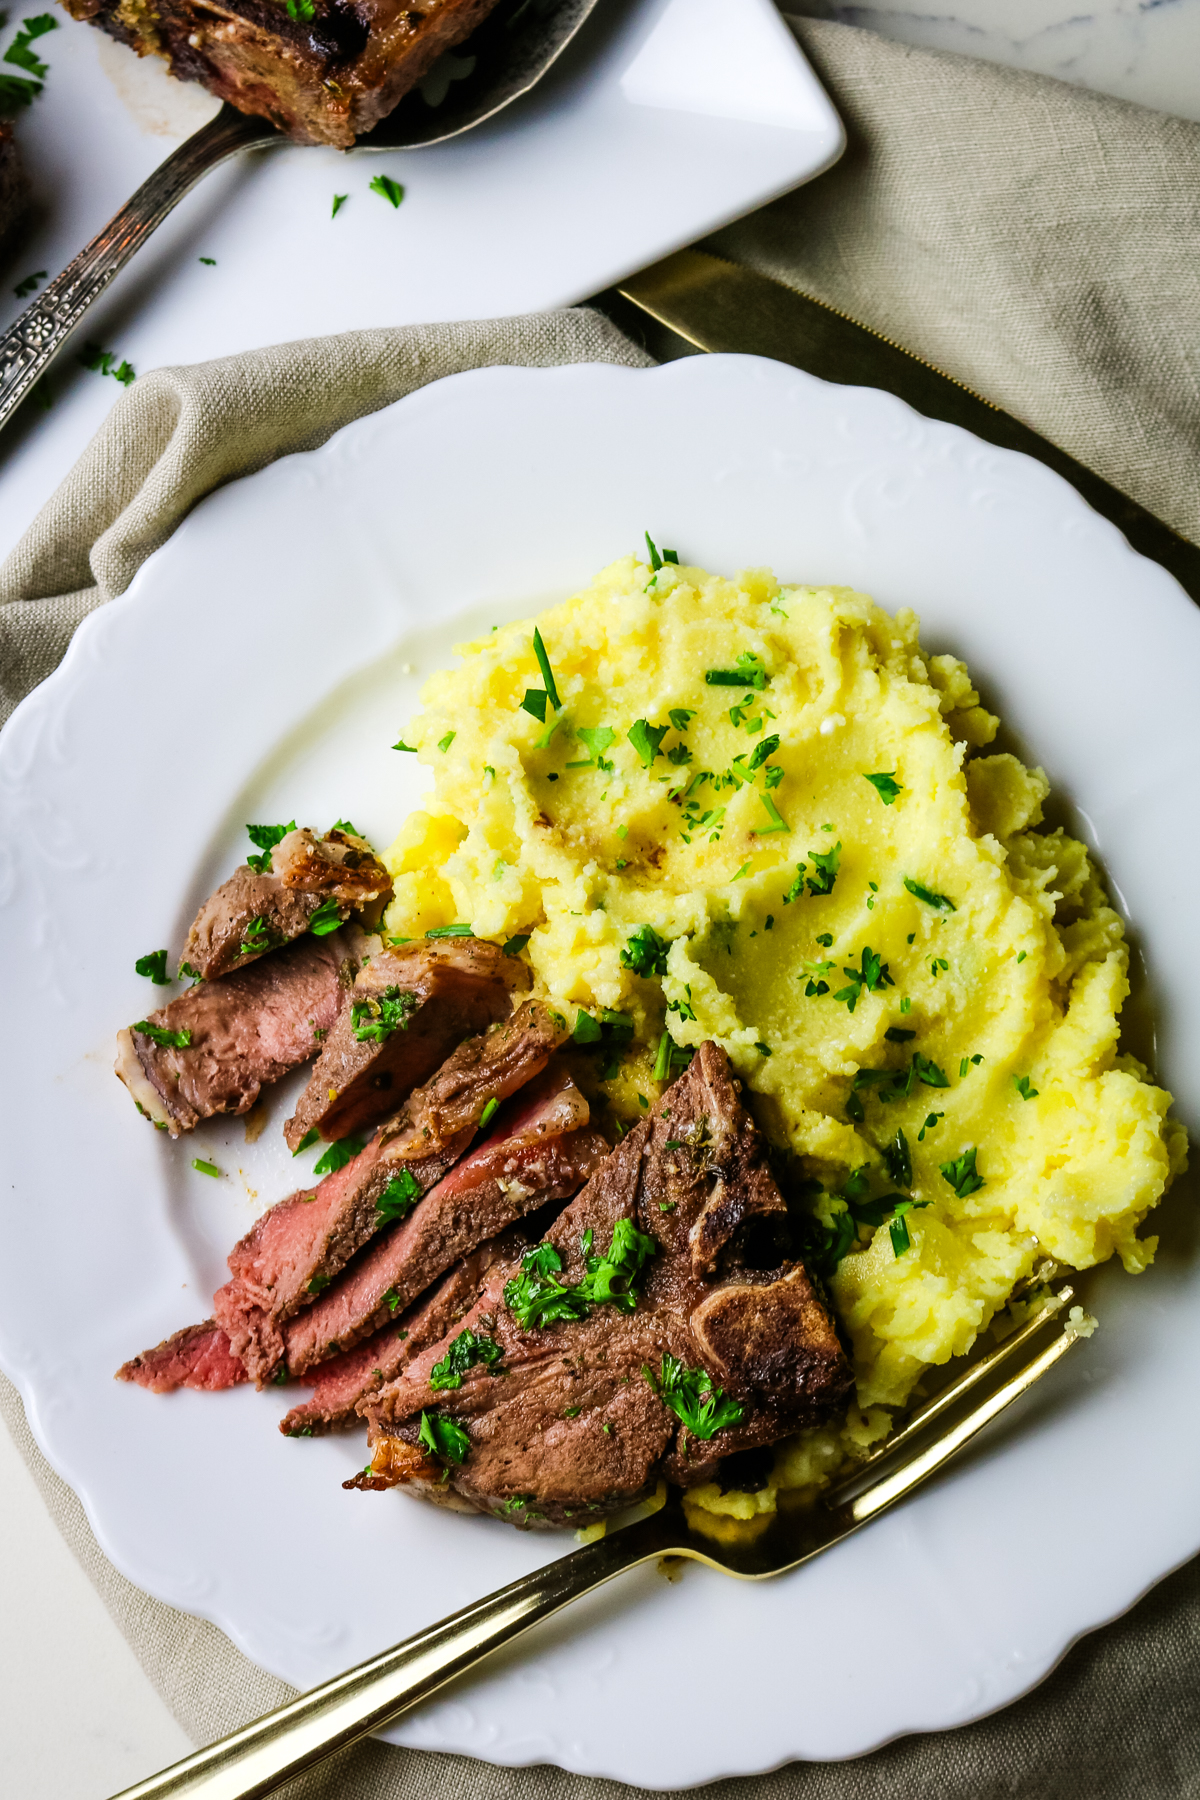
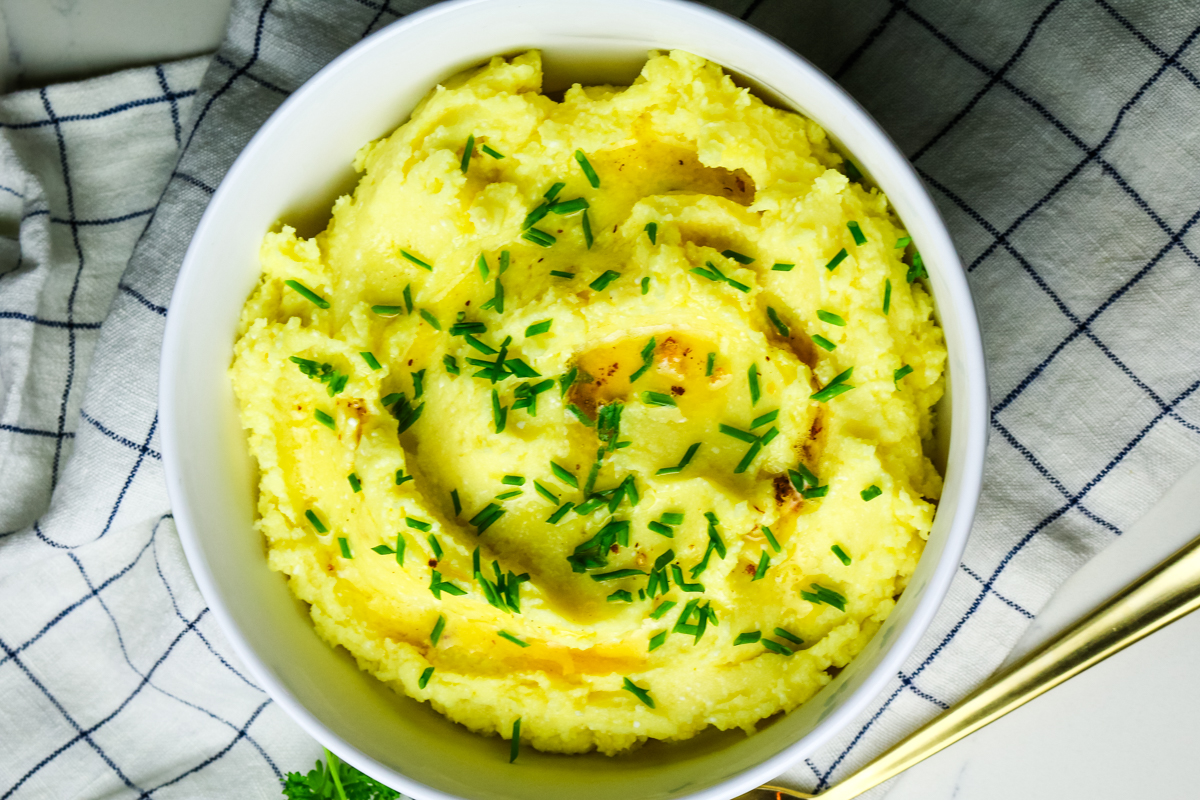
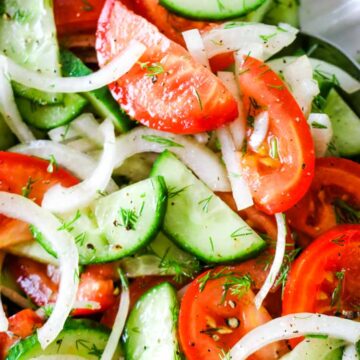
What to make with cabbage and sausage? Is it main entree? A side? I admit, it's one of those weird dishes that you're not sure how to serve. But I have you covered!

I love serving this fried cabbage and sausage skillet meal as a quick and complete meal. Just garnish with fresh parsley (or parsley substitute) or fresh chopped dill and enjoy! It has fiber. It has protein. And it has lots of flavor. However, you can also serve it as a side dish with a hearty protein and a light salad. Here are some suggestions:

Another side: Serve this hearty dish over a serving of cottage cheese mashed potatoes or Instant Pot buckwheat to absorb all the savory juices.

Main dish: Serve with salt and pepper chicken wings or no-flour pan fried pork chops. If you love pork and cabbage together as much as I do, you will also find this side delicious with air fryer pork tenderloin medalions.

Fresh salads: Pair this skillet meal with a light side like cucumber dill salad, or whip up this easy and fresh onion tomato cucumber salad recipe. Cabbage and sausage will go great with most light salads.
More fried cabbage and sausage pairing suggestions:
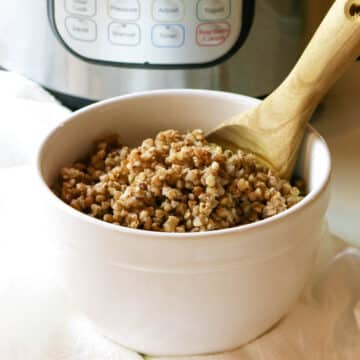
- Instant Pot Buckwheat27 Minutes
- Air Fryer Roasted Butternut Squash15 Minutes
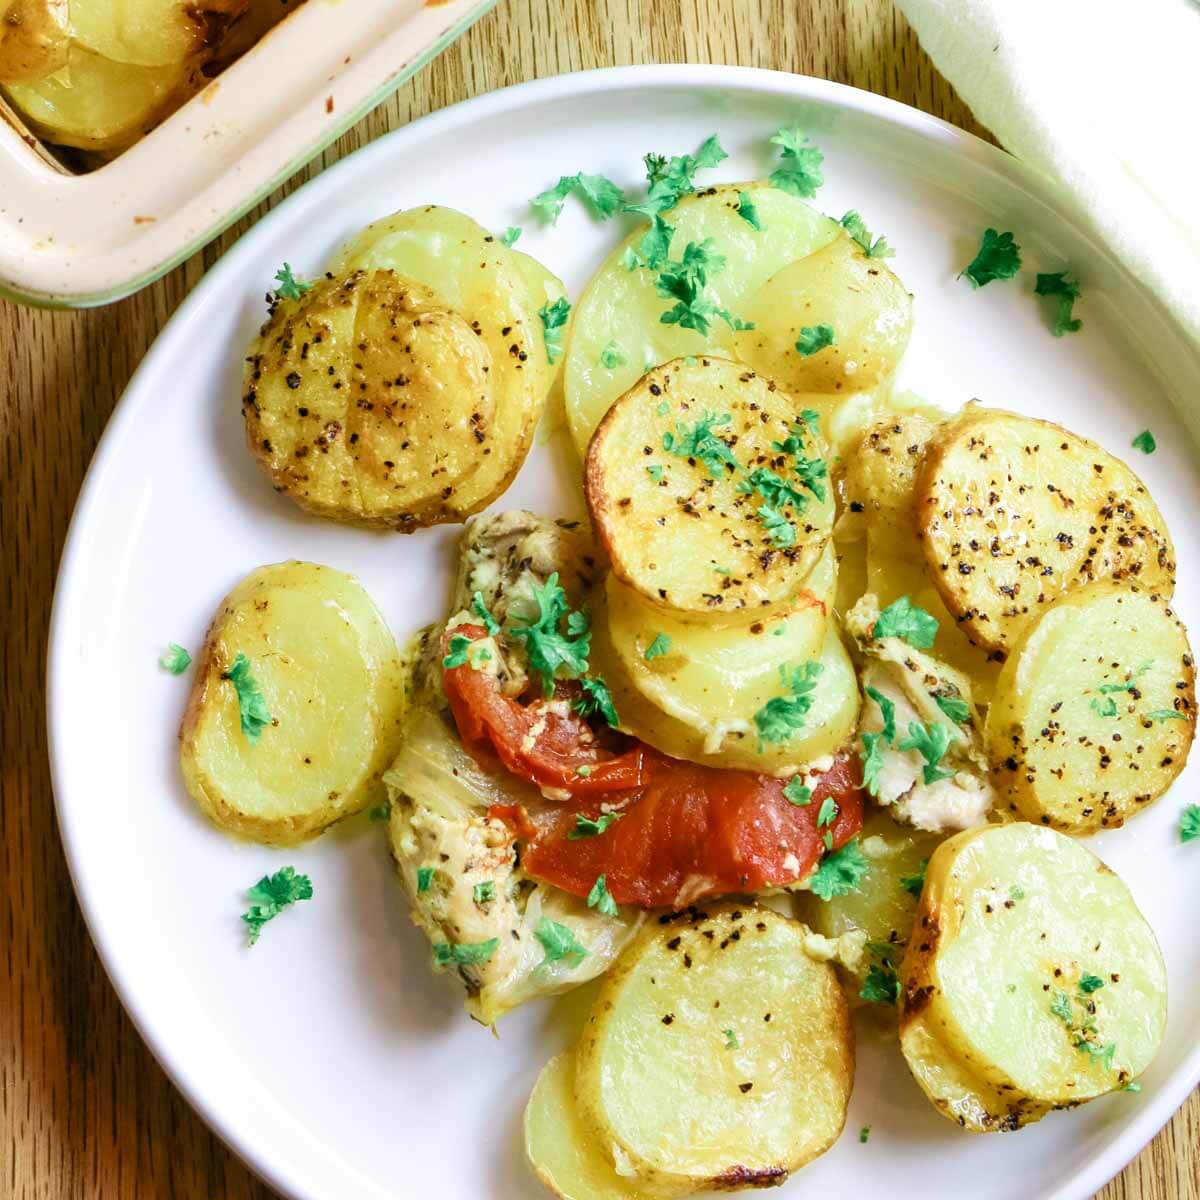
- Chicken Potato Casserole (Easy Chicken Potato Bake)1 Hours 20 Minutes
- Crispy Oven Roasted Garlic Potatoes50 Minutes


Storage and Reheating Instructions
How long does fried cabbage and sausage last in the refrigerator?
To store: Transfer leftover fried cabbage and sausage into an airtight container and store in the refrigerator for up to 3-4 days.
Storage containers: These glass snap containers are perfect for leftovers.
To freeze: To freeze, portion the cooled cabbage and sausage into freezer-safe containers and freeze for up to 2-3 months. Thaw overnight in the fridge. Keep in mind that the texture may change upon thawing.
To reheat: Transfer the desired portion to a small skillet and reheat over medium-heat. Add a splash of water to loosen the cabbage a little and add moisture.
Frequently Asked Questions
When at the grocery store, look for cabbage heads that are firm, compact, and heavy for their size. Avoid cabbages with severely wilted or discolored outer leaves, but also keep in mind that you will be peeling those off anyway. The best test is to gently press into the heads with your fingers and notice how firm they are.
There are several things you can do to prevent the cabbage from becoming soggy. One, use quick cooking methods like sauteeing, stir-frying, or roasting using high heat. You also want to make sure you cut the cabbage into thin strips so it cooks quickly and evenly. And lastly, after steaming the cabbage, remove the lid to allow any moisture to evaporate.
The short answer is NO! In fact, if you rinse the cabbage head, you will inadvertently add water (read: moisture) to the skillet, which will cause the dish to become soggy and waterlogged. The great thing about cabbage is that once you remove the outer leaves, the interior part of the cabbage head is clean, free from any pesticide residue, and good for use in recipes.
Looking for more one-pan recipes? Here are some ideas:


Did you make this Fried Cabbage and Sausage Skillet? Please leave a ⭐ recipe rating in the recipe card below and leave a review in the comments. Thank you!💚
Printable Recipe

Fried Cabbage and Sausage
Ingredients
- 2 tablespoons butter
- 12 ounces Polish sausage cut into rounds
- 1 yellow onion
- 2 pounds cabbage (1 small head)
- 2 teaspoons garlic powder
- 1 teaspoon sea salt
- ½ teaspoon black pepper
Instructions
- Brown: In a large deep skillet, melt butter over medium-high heat. Add the sausage rounds and arrange them in a single layer. Cook on high heat until golden brown on both sides, approximately 5 minutes per side.
- Saute: Meanwhile, peel the onion and cut into halves, then quarters. Slice crosswise. Reduce heat to medium and add the sliced onions to the pan. Saute until they are translucent with a golden-brown tint (approximately 6 minutes).
- Steam: Cut the cabbage into half, then quarters, then eighths. Remove the core and slice into strips crosswise. Add the chopped cabbage to the onions, season with garlic powder, salt, and pepper, and carefully stir to combine. Cover the pan with a lid to allow the cabbage to steam and cook until tender (approximately 10 minutes).
- Cook: Uncover the skillet and increase heat to medium-high heat until all liquid has evaporated, stirring occasionally. Serve immediately.
Notes
- Start with a hot pan - Make sure your skilet is hot before adding the butter and sausage. A hot pan will help achieve a nice sear on the sausage, adding flavor and texture.
- Brown properly - Cut the sausage at a bias to give it more surface area to brown. Cook the sausage slices undisturbed to achieve that golden brown color on both sides. This adds flavor and visual appeal.
- Go low and slow for onions - When adding the onions, cook them over medium heat until they are translucent and slightly caramelized.
- Crowd the pan - It's okay to crowd the pan when adding cabbage because it will significantly reduce once cooked down. After adding cabbage, cover the pan with a lid and steam for about 10 minutes.


![Stuffed Pepper Casserole [with Video]](https://mommyevolution.com/wp-content/uploads/2023/02/Turkey-Stuff-Bell-pepper-Casserole.jpg)