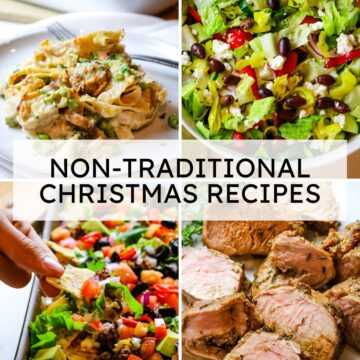
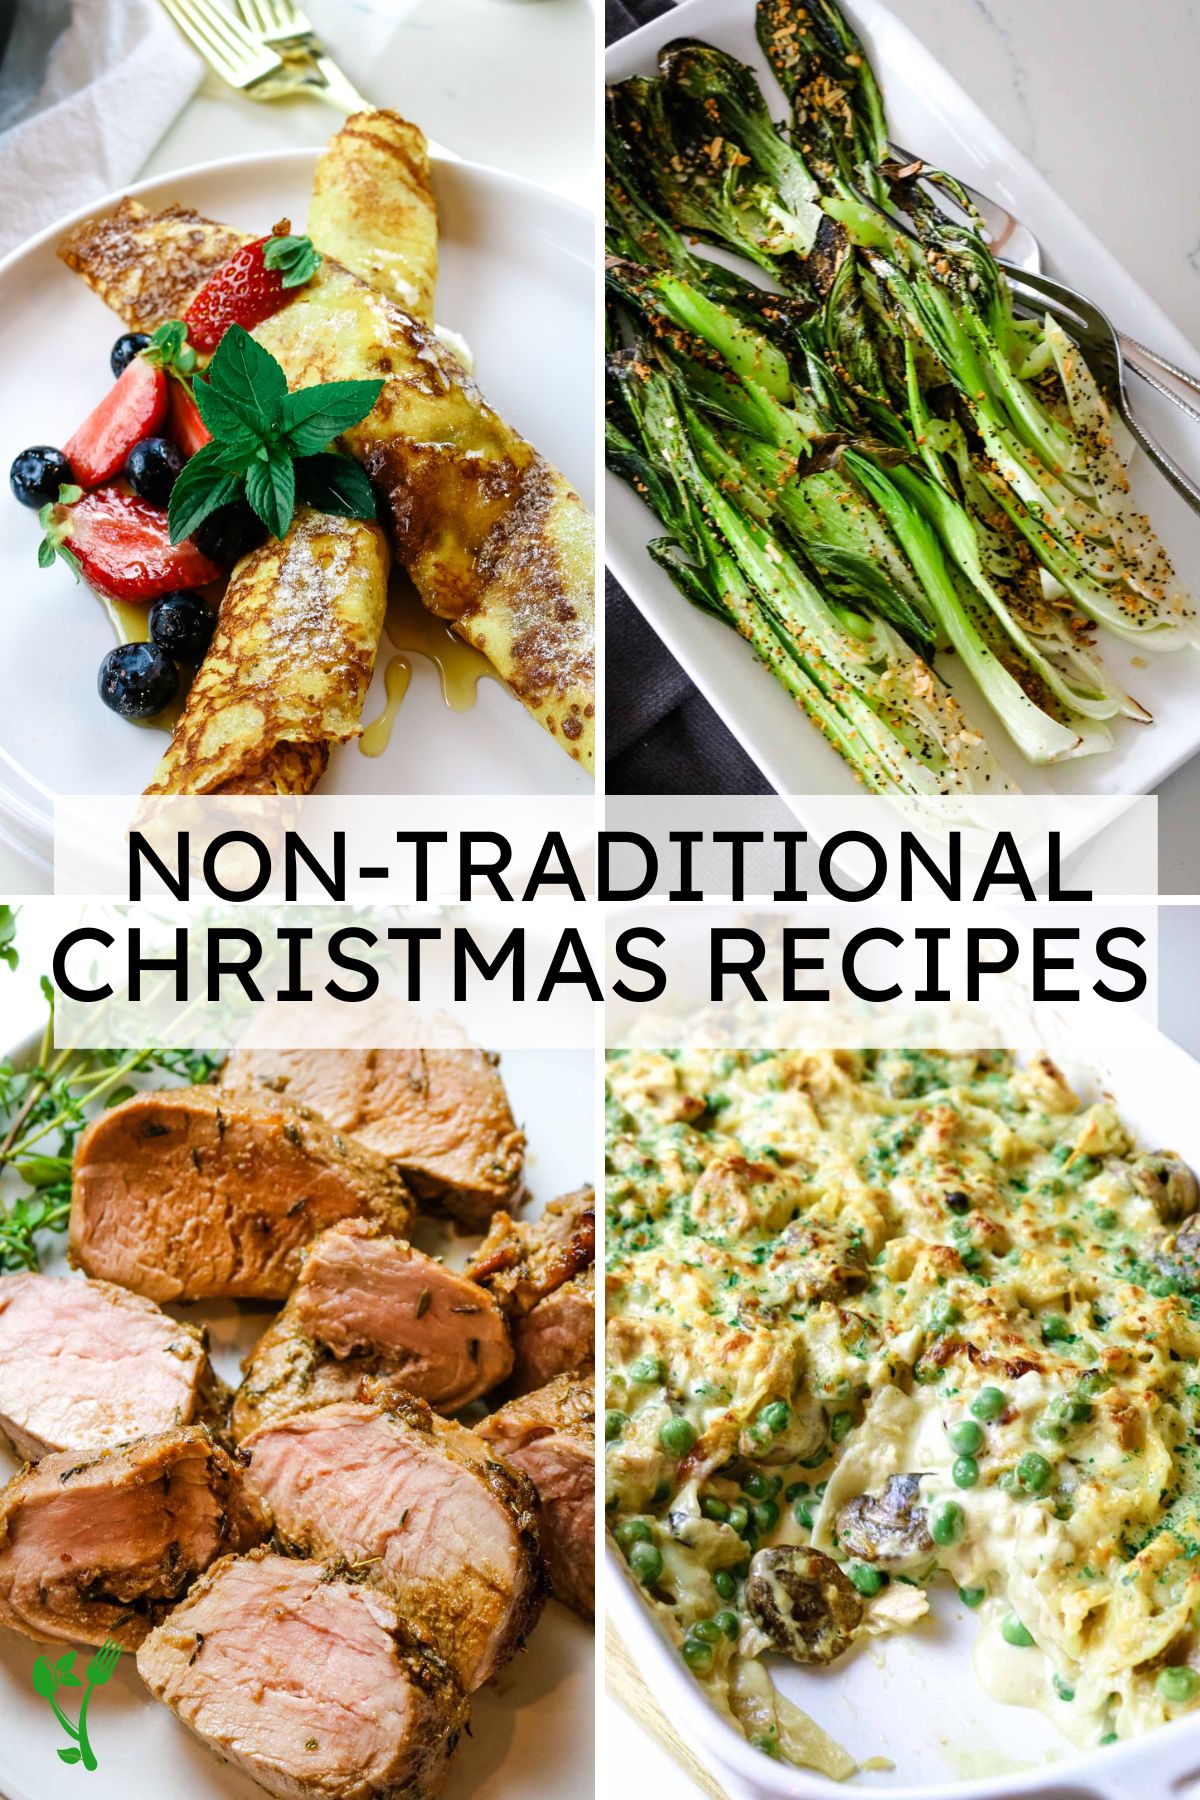
Looking for non-traditional Christmas dinner ideas to try this year? You'll love this collection of 45+ alternative Christmas recipes that will satisfy your guests and leave everyone craving seconds. Break the mold with these unconventional Christmas dinners and create a festive feast that's as unique as it is delicious. From appetizers to main courses and tasty sides, these unexpected holiday dishes bring holiday magic to every bite.
Reasons to Make More Non Traditional Christmas Recipes
- Dietary preferences. Many of these non traditional Christmas dinner recipes cater to those who are following paleo, low-carb, Whole30, gluten-free, and GAPS diets. Serving unconventional recipes makes it easier to do that.
- Try something new! Break away from the usual and savor the delight of the unexpected in new tastes, textures, and smells.
- Tap into your creativity. Serving a non traditional Christmas dinner provides a canvas for your culinary creativity. It's a chance to make the holiday feast uniquely yours, adding a personal touch to every dish.
💭Pro tip: While trying a new recipe is always exciting, I encourage you to have a few familiar comfort foods that are guaranteed to be a hit. Having a side of roasted potatoes or veggie-packed sloppy joes make a good fall-back.
Be sure to check out my collection of 67+ gluten-free holiday recipes to include some classic options on your holiday table.
Tips for Success
- Use fresh ingredients. Whether it's vibrant herbs, seasonal produce, or quality proteins, be sure the best quality your budget allows.
- Balance flavors and textures. Think of your Christmas meal as a symphony of tastes and textures. Having a blend of savory, sweet, spicy, and tangy elements in your dishes makes special occasions interesting and delicious.
- Consider dietary preferences. Be sure you take into account the dietary needs and preferences of your guests. While we are big on quality meats, we also strive to be sensitive towards to our guests who prescribe to vegetarian, vegan, or other specific food choices.
- Prepare make-ahead options. Simplify your Christmas day by preparing dishes in advance. Look for recipes that allow you to do some prep work ahead of time.
- Utilize your favorite kitchen appliances. Instant Pot, slow cooker, and the air fryer make good food easy, approachable, and convenient. They also make a great food warmer on the big day.
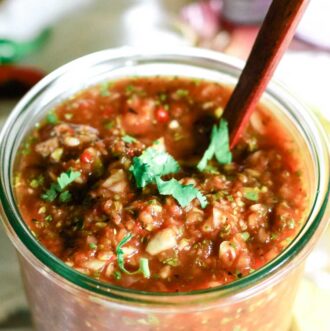
- Don't forget ancestral wisdom. Incorporating fermented foods like raw sauerkraut, kimchi, and fermented salsa will not only add rich flavors but also help keep your gut happy. Be sure you brush up on all the ways you can stick to traditional foods all season long in this post on ancestral diet plan.
Healthy Basics for Your Holiday Spread
- Elevate flavors with classics. Though these dishes are unconventional, you can amp up more flavor with garlic confit, soy-free Worcestershire sauce, and roasted jalapeno peppers.
- Garnish with herbs. A light dusting of chopped fresh dill or dried parsley substitution gives any dish a welcoming pop of color.
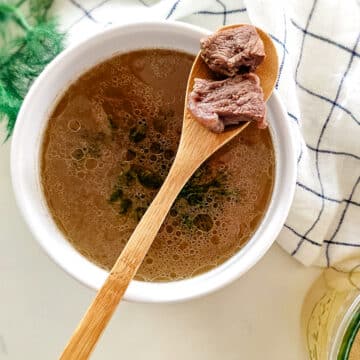
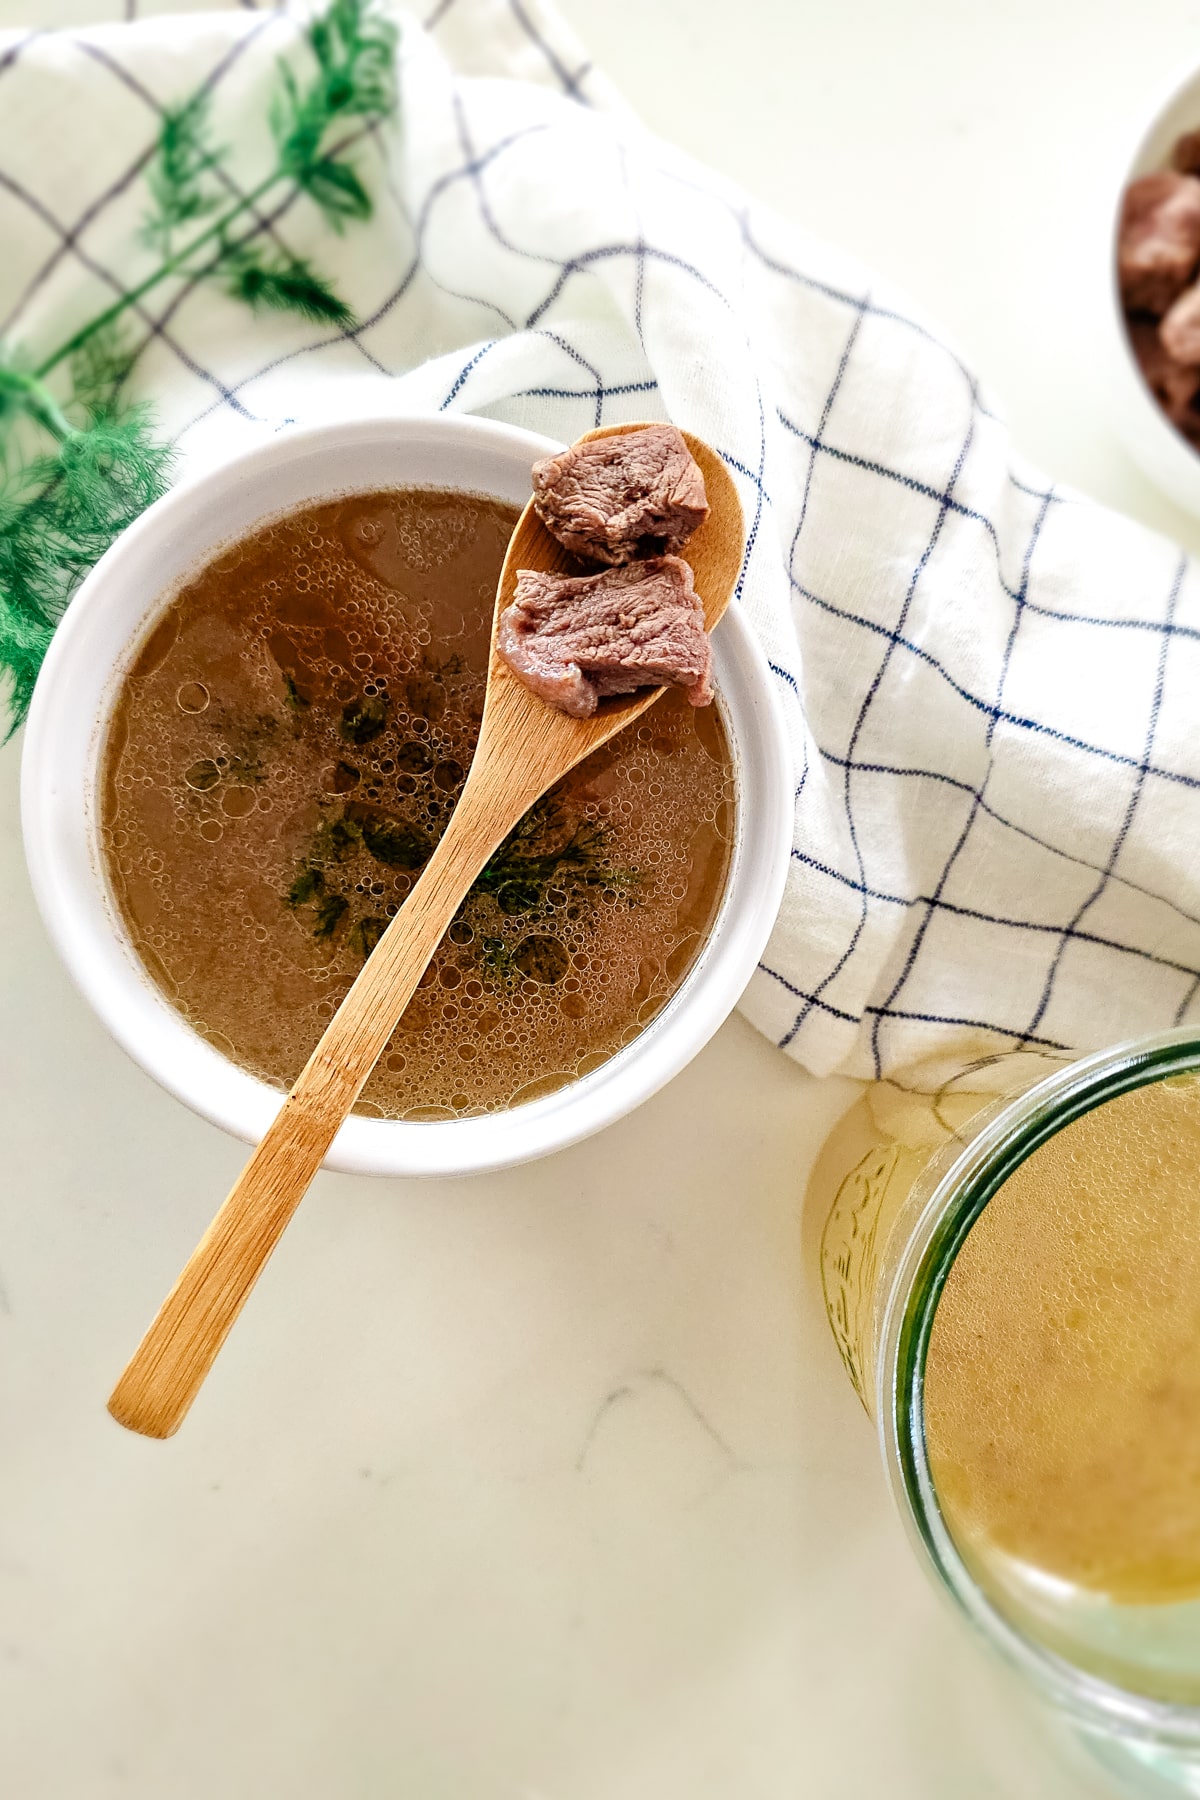
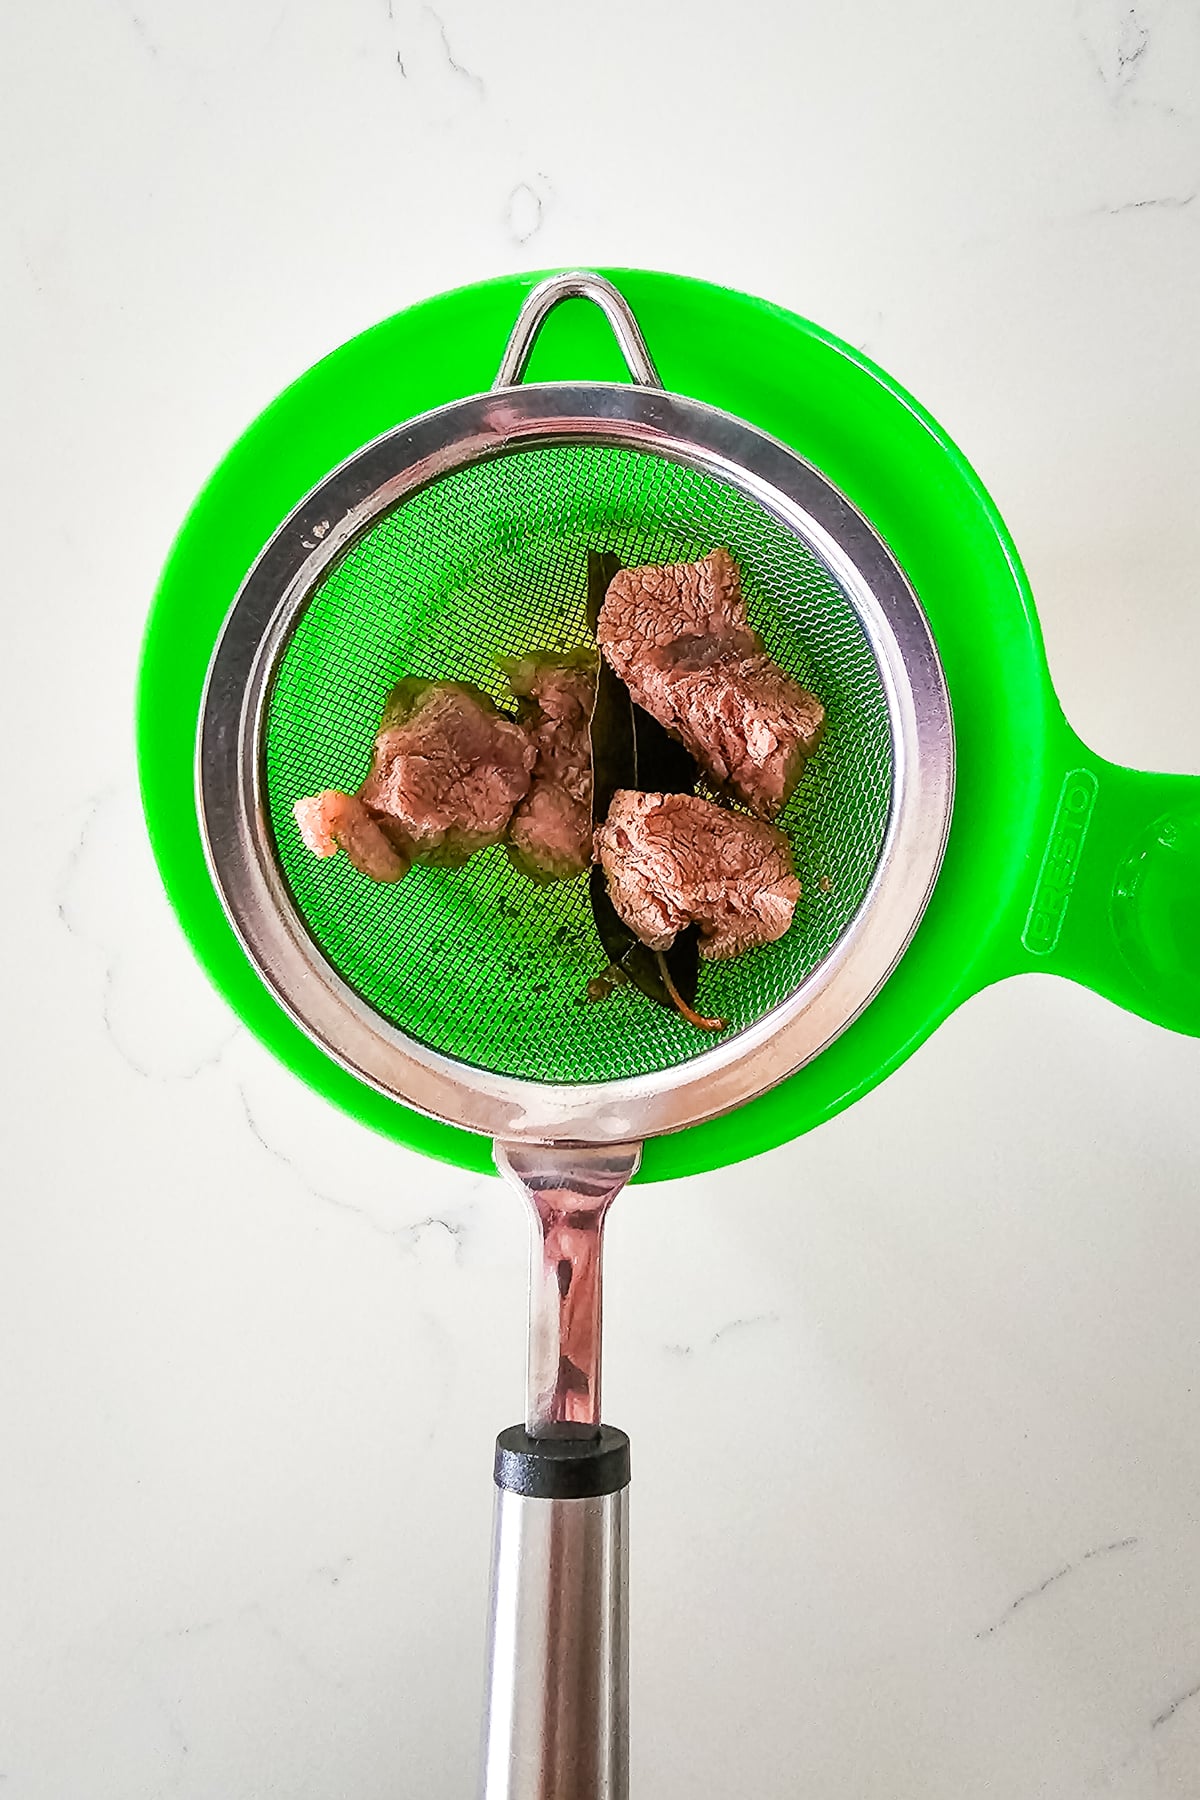
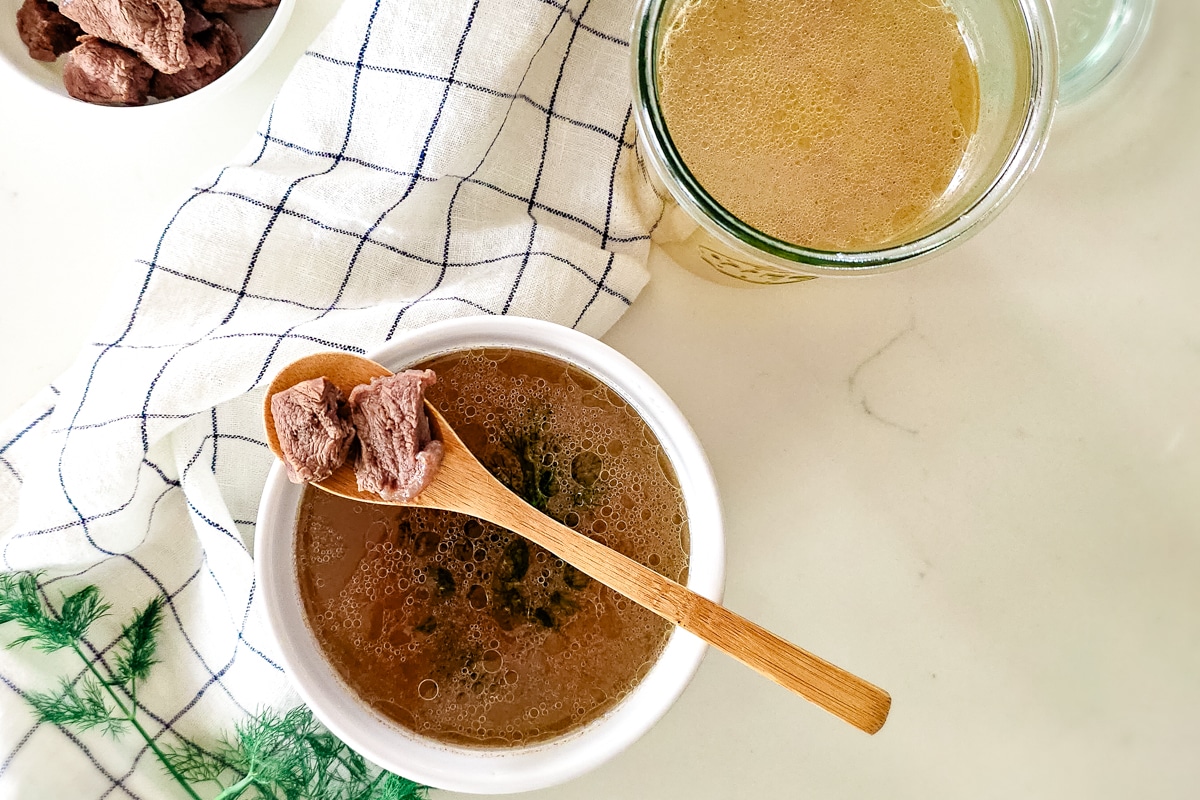
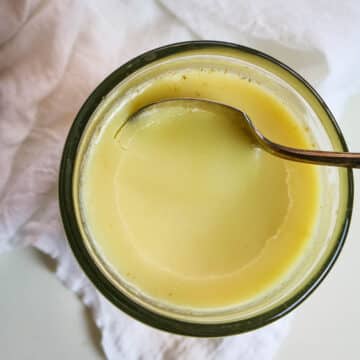
- Cook in broth. Whether you're cooking grains or whipping up a last-minute gravy, be sure you're stocked up on collagen-rich broths. Meat stock is lighter in flavor and similar to chicken bone broth in its texture while beef bone broth has rich and bold flavors and is more suited for heartier meals.
- Don't forget holiday drinks. Homemade cranberry juice made with tart cranberries is always a hit this time of the year as is real food egg nog. But hot chocolate topped with homemade marshmallows, pumpkin spice latte, and honey citrus mint tea are all tasty drinks.

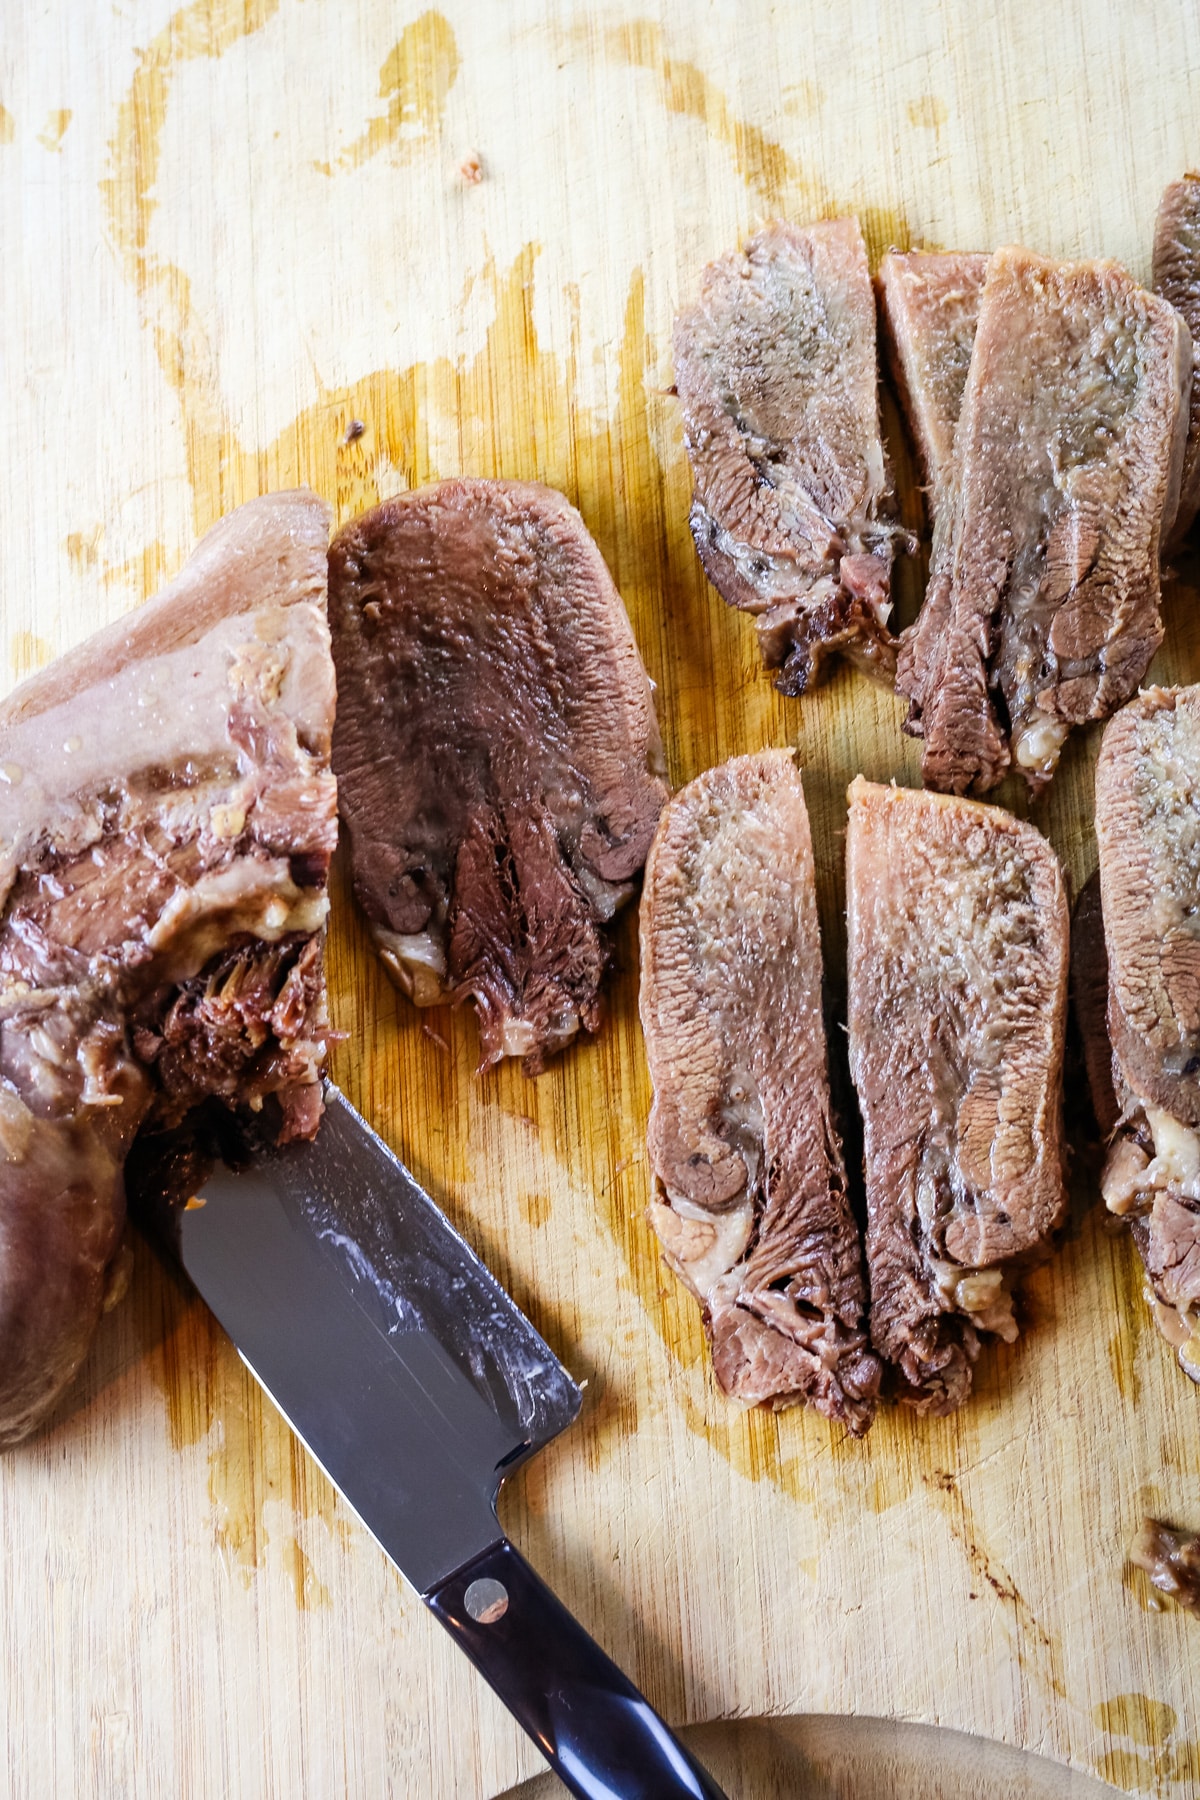
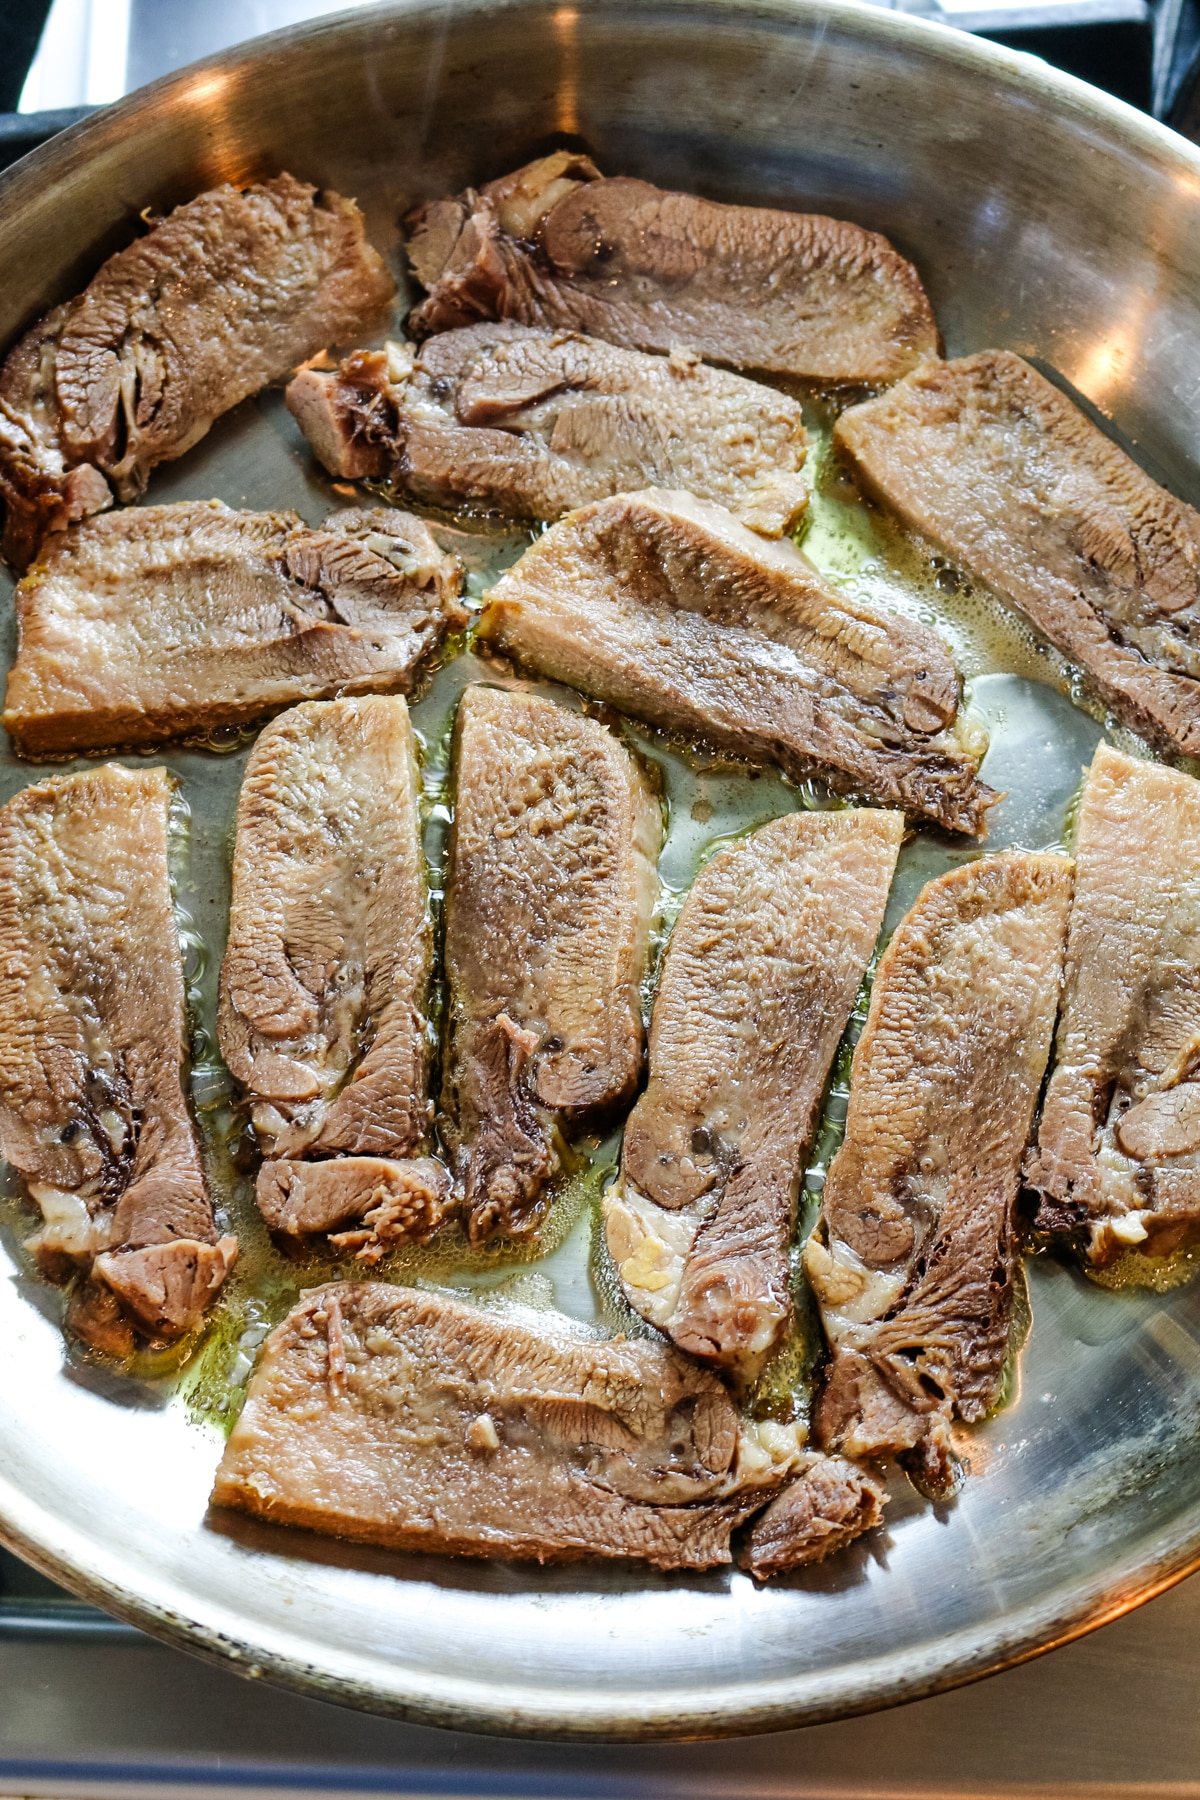
💭Make it Nutrient-Dense: Don't forget to include organ meats and plenty of fermented foods with your non-traditional Christmas dinner to keep the foods interesting and nourishing.
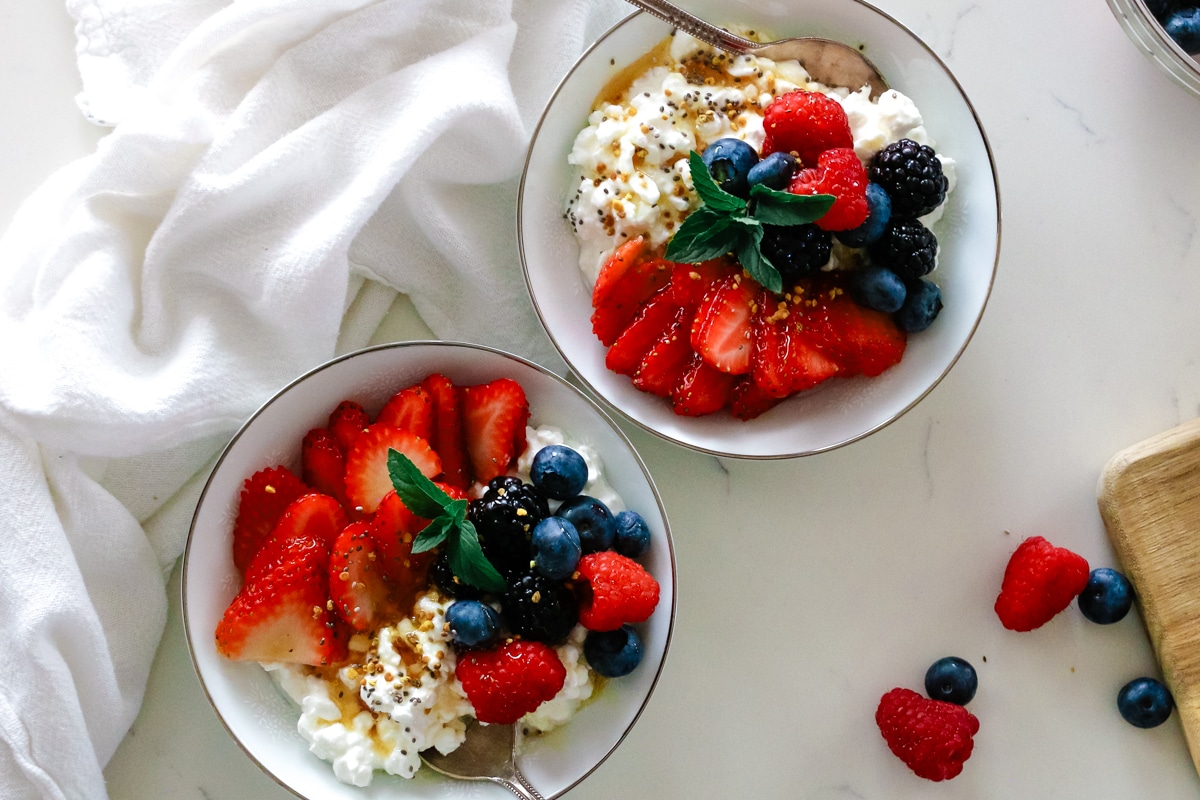
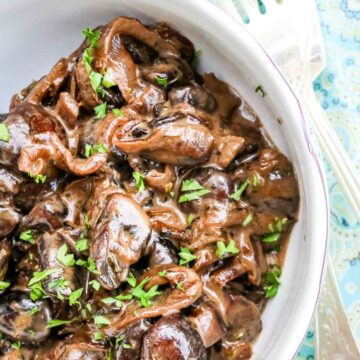
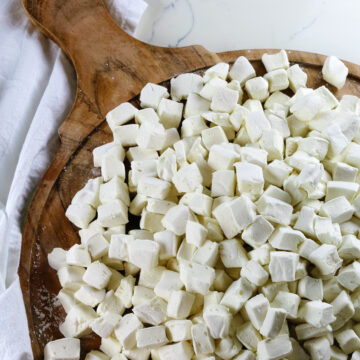
Best Non Traditional Christmas Appetizers
Start your unconventional Christmas menu with these delicious small bites. Step aside deviled eggs and make room for these innovative twists on classic appetizers. With bold flavors and unique combinations, these finger foods will set the tone for a memorable holiday feast.


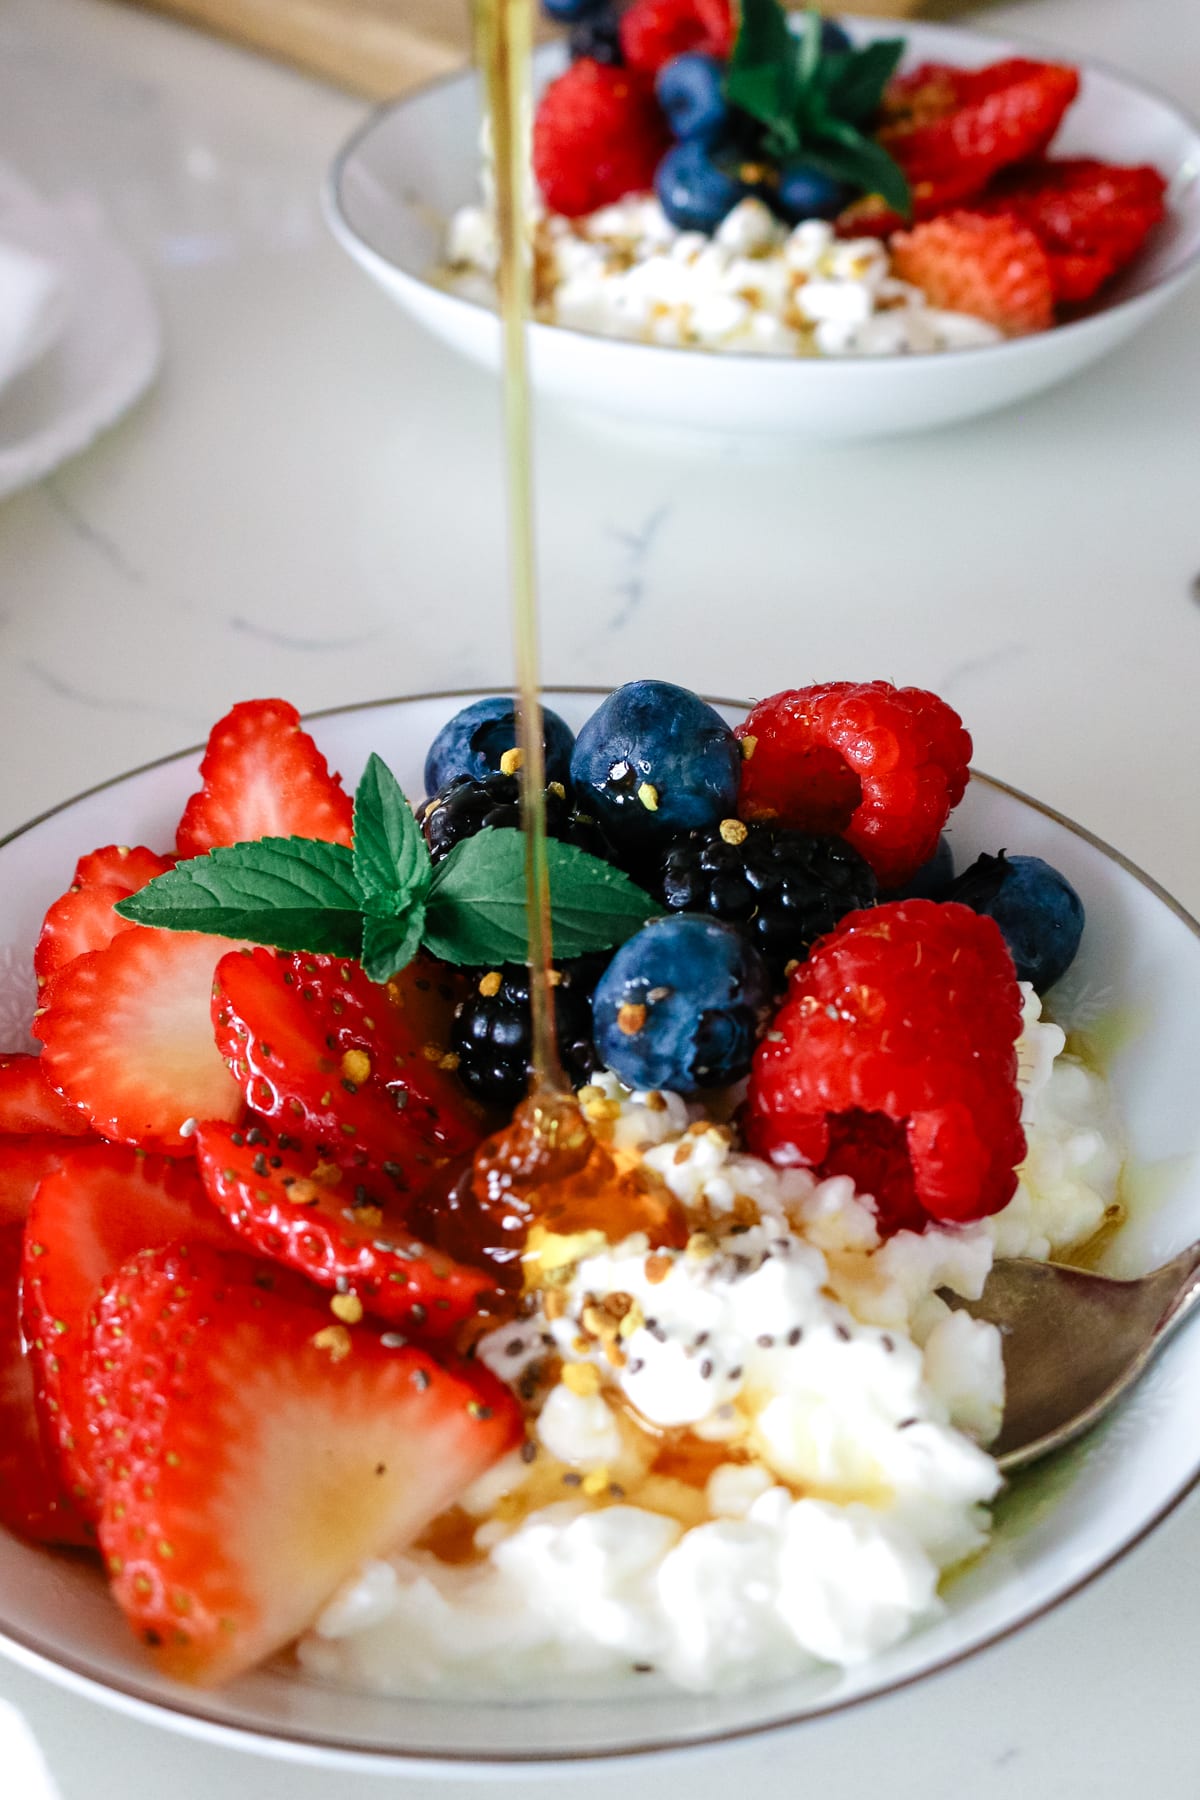
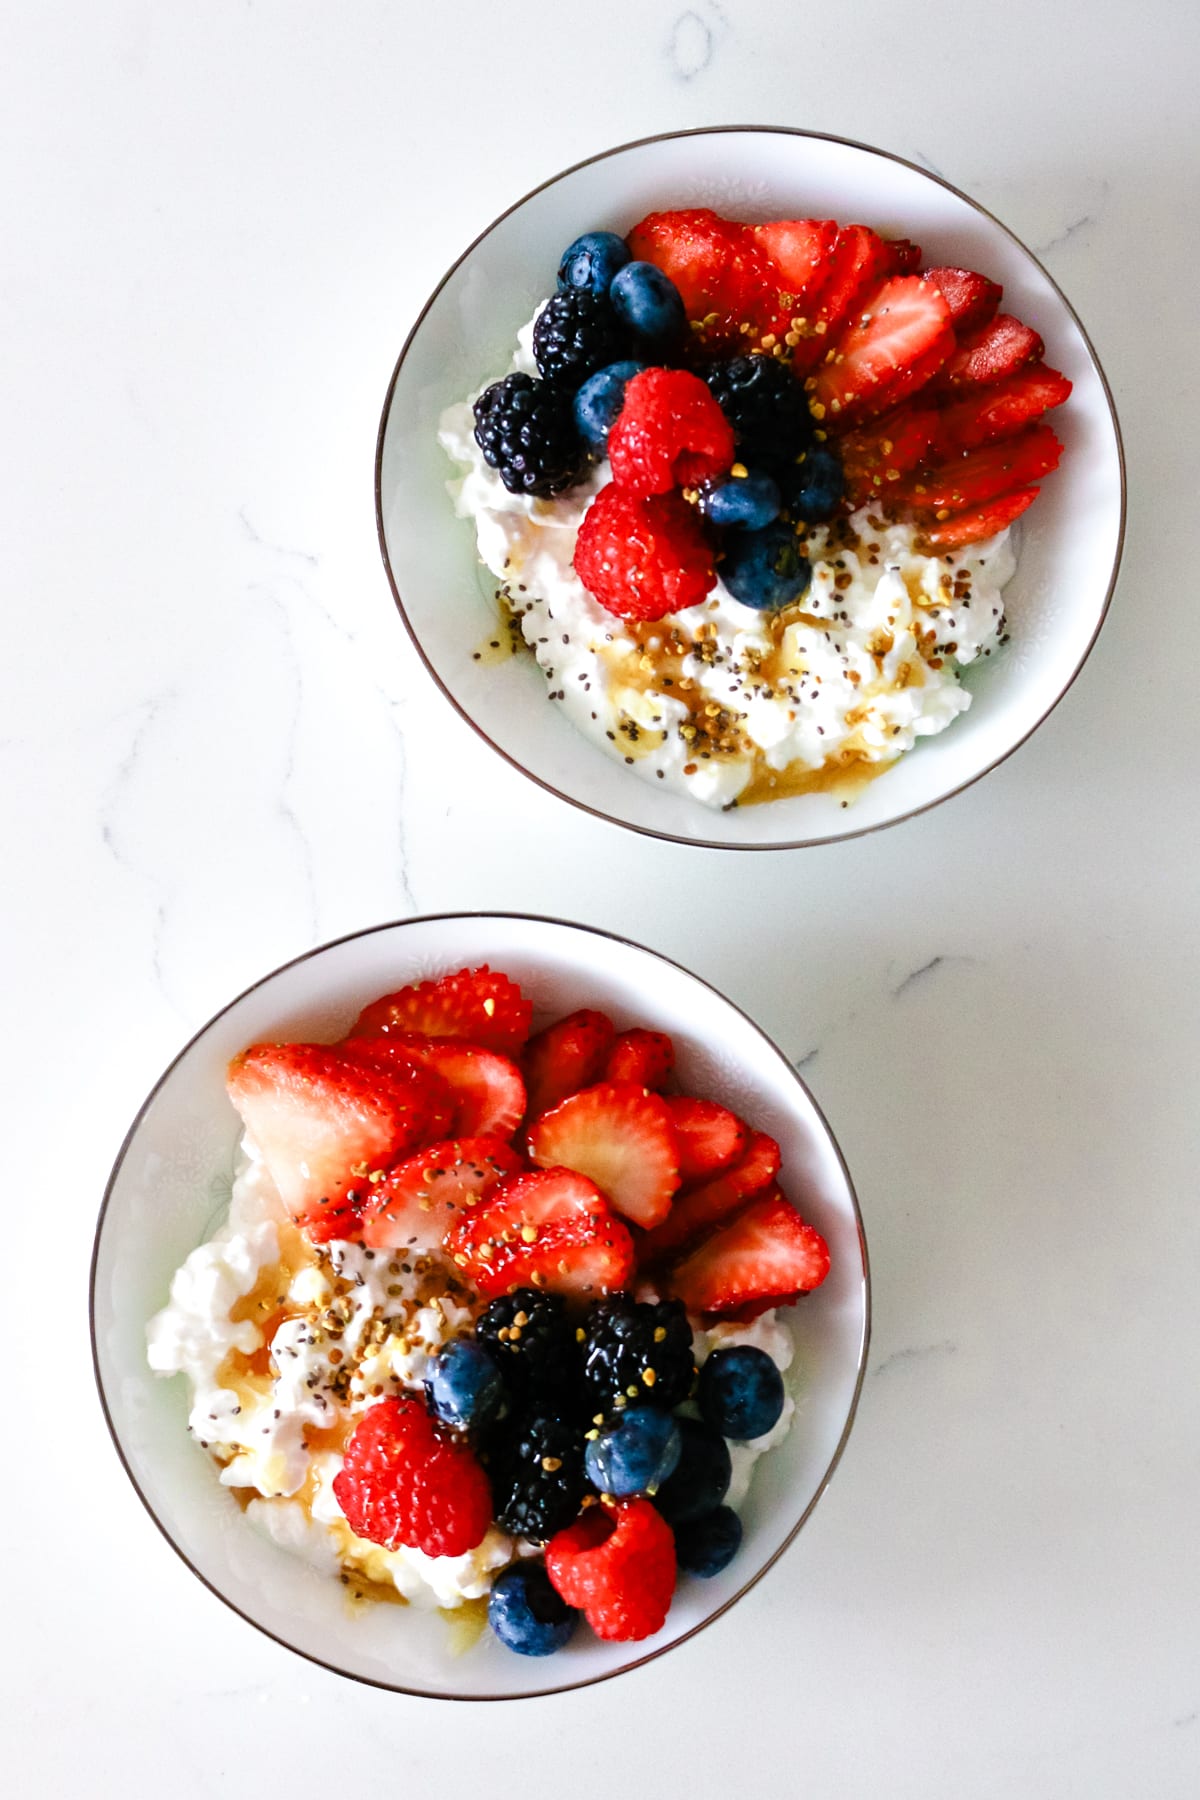
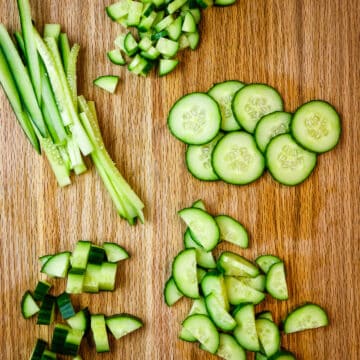
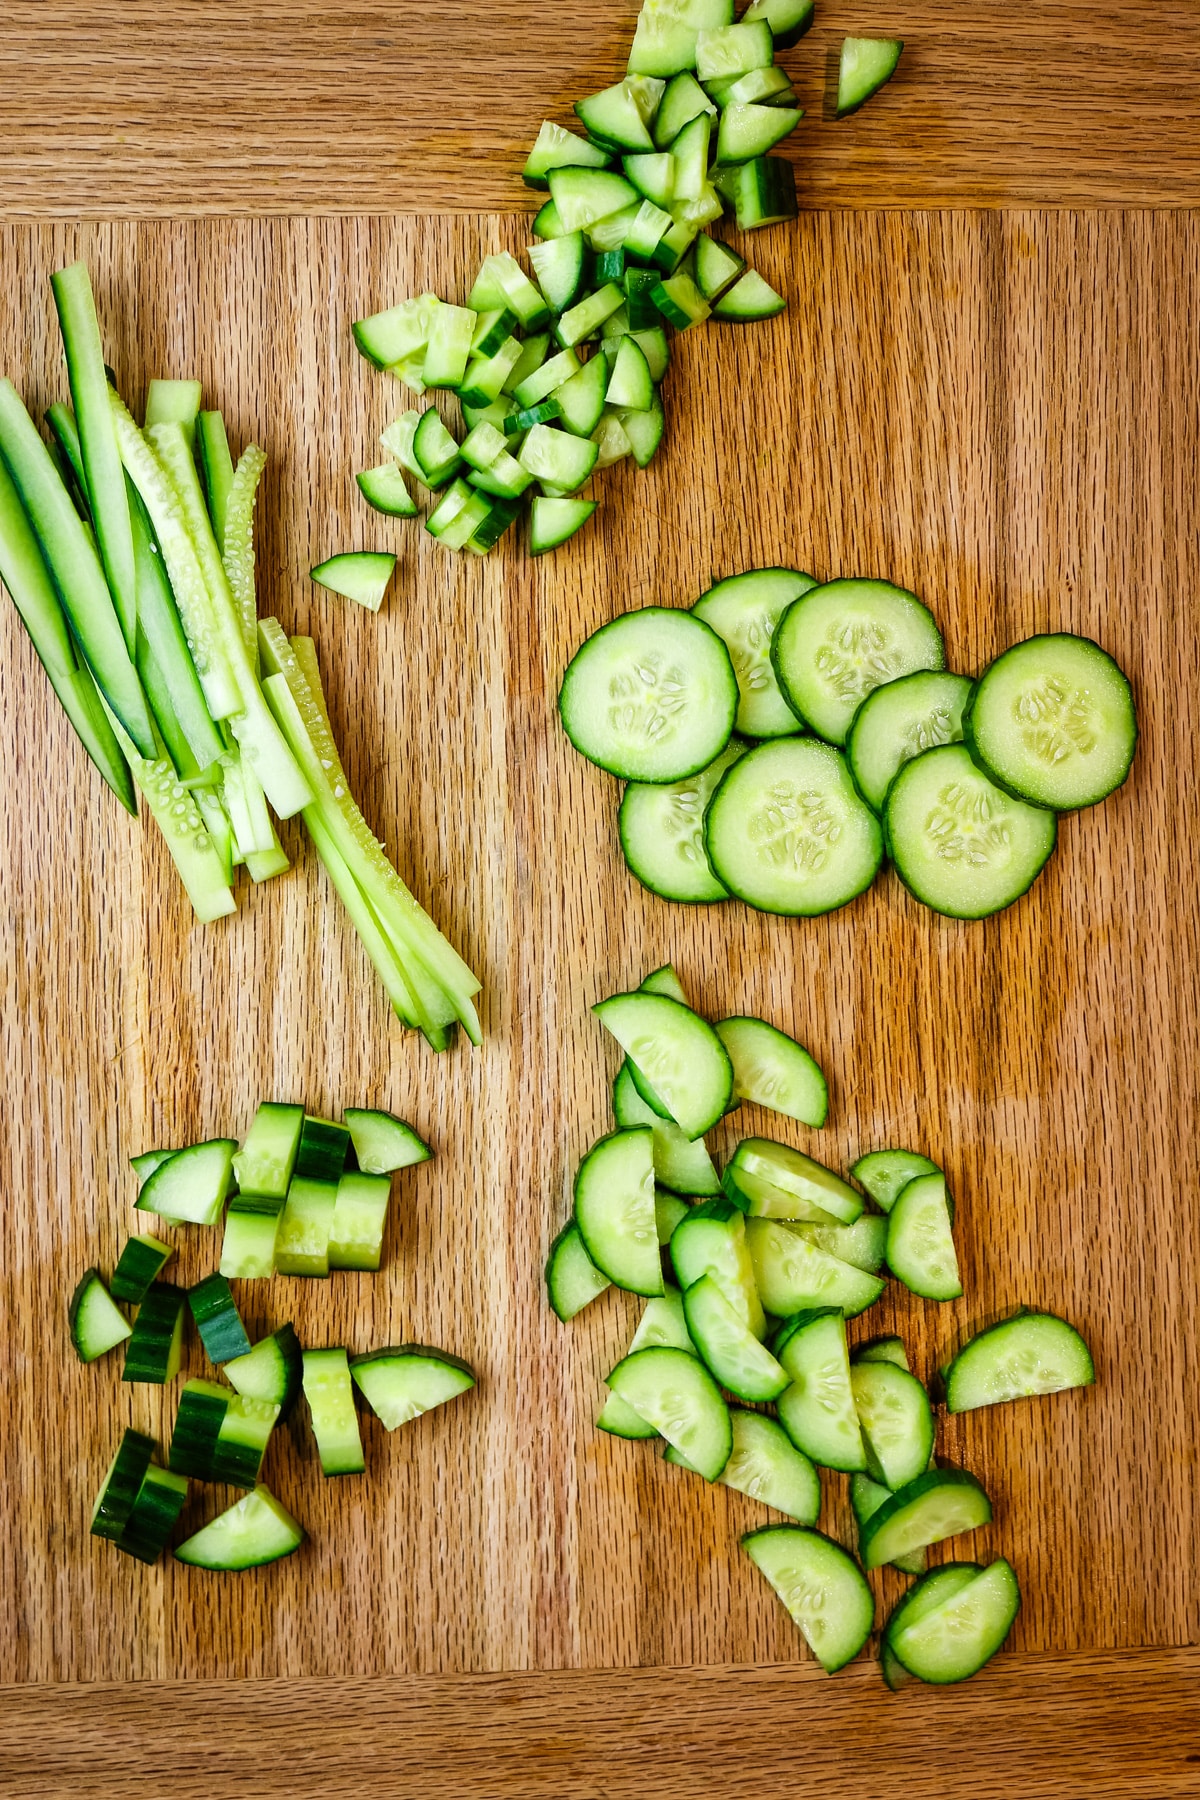
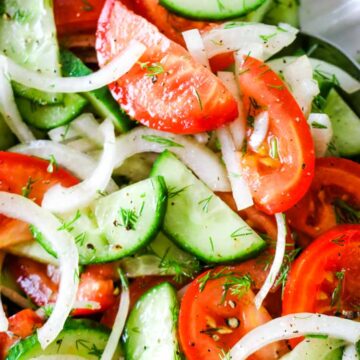
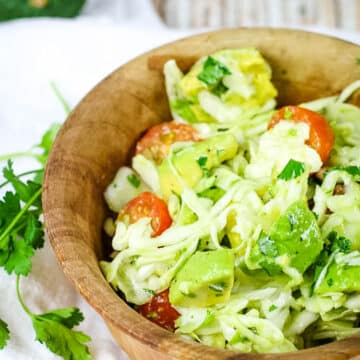
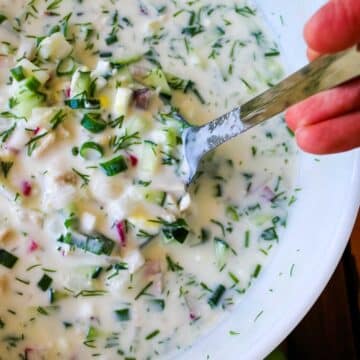
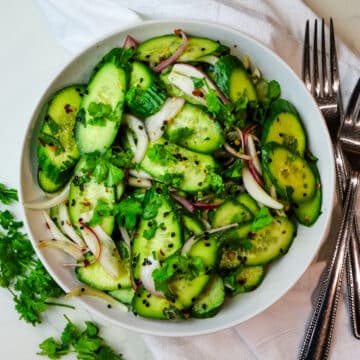
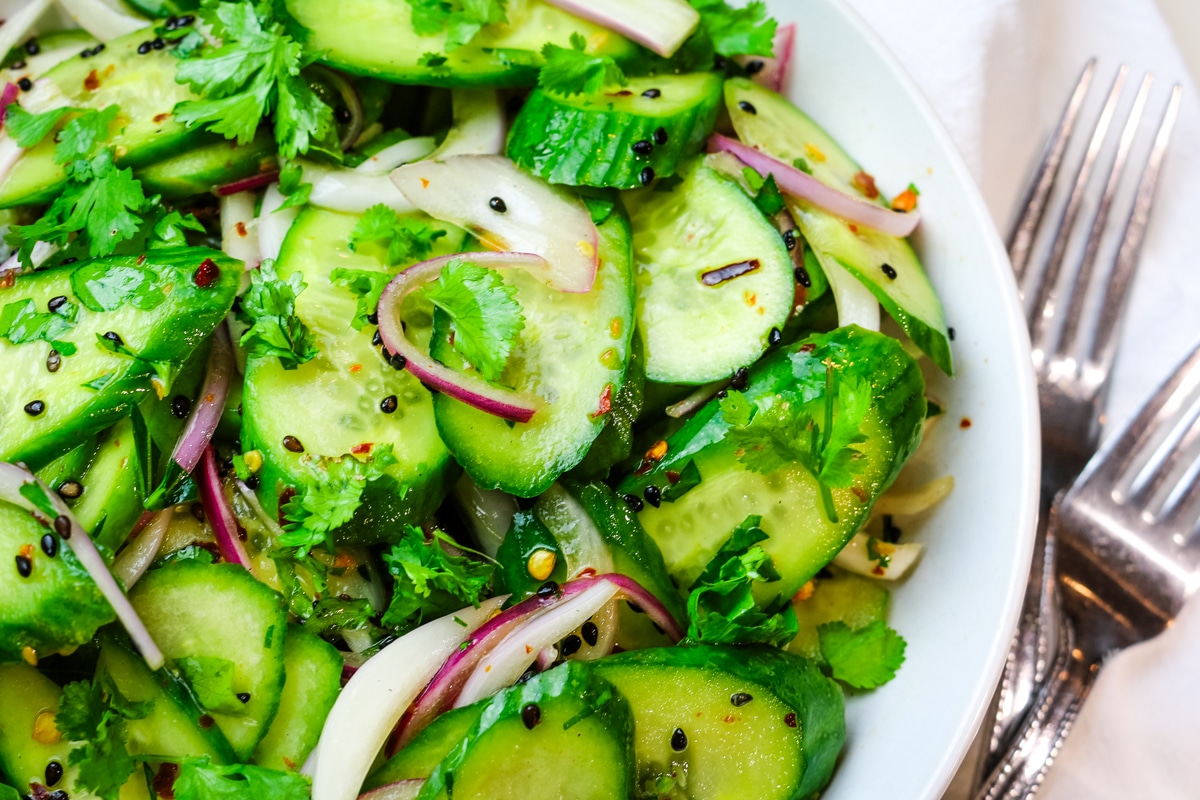
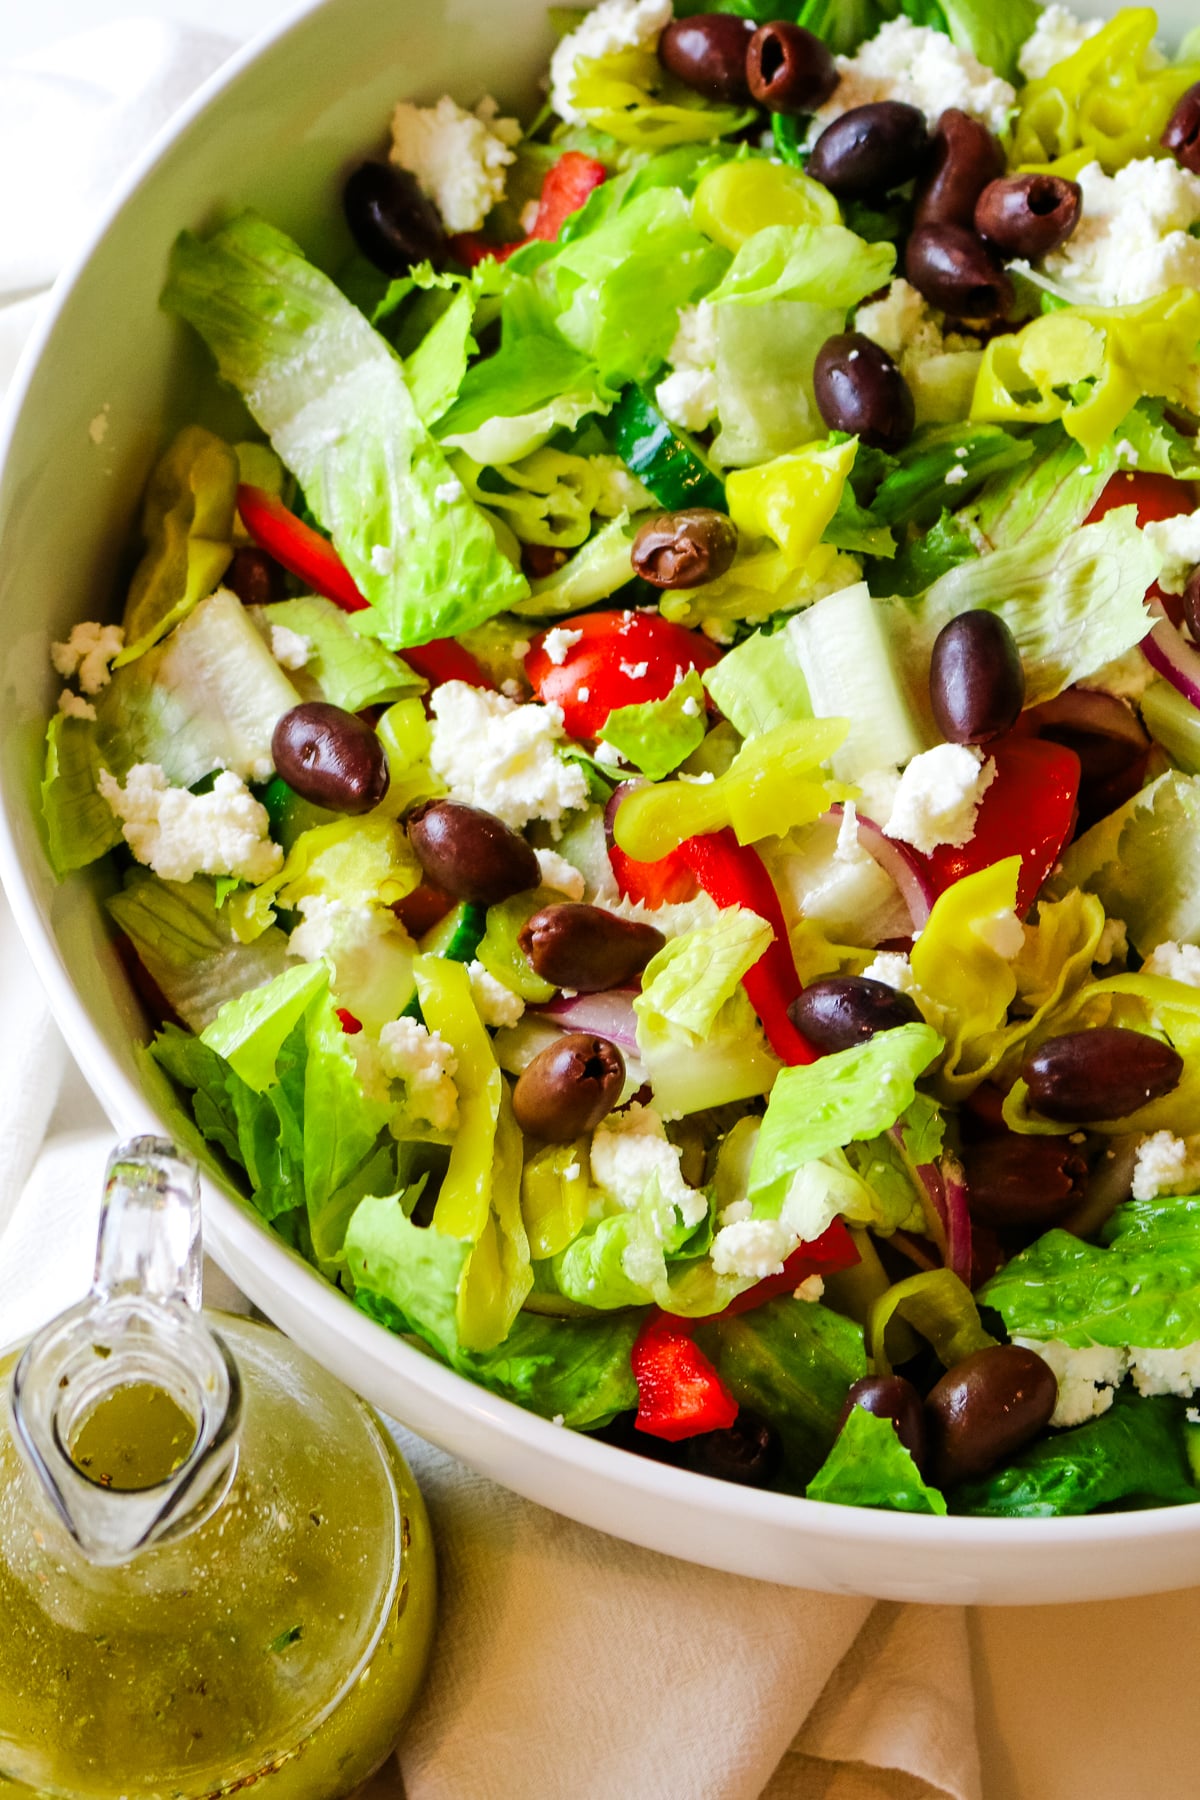
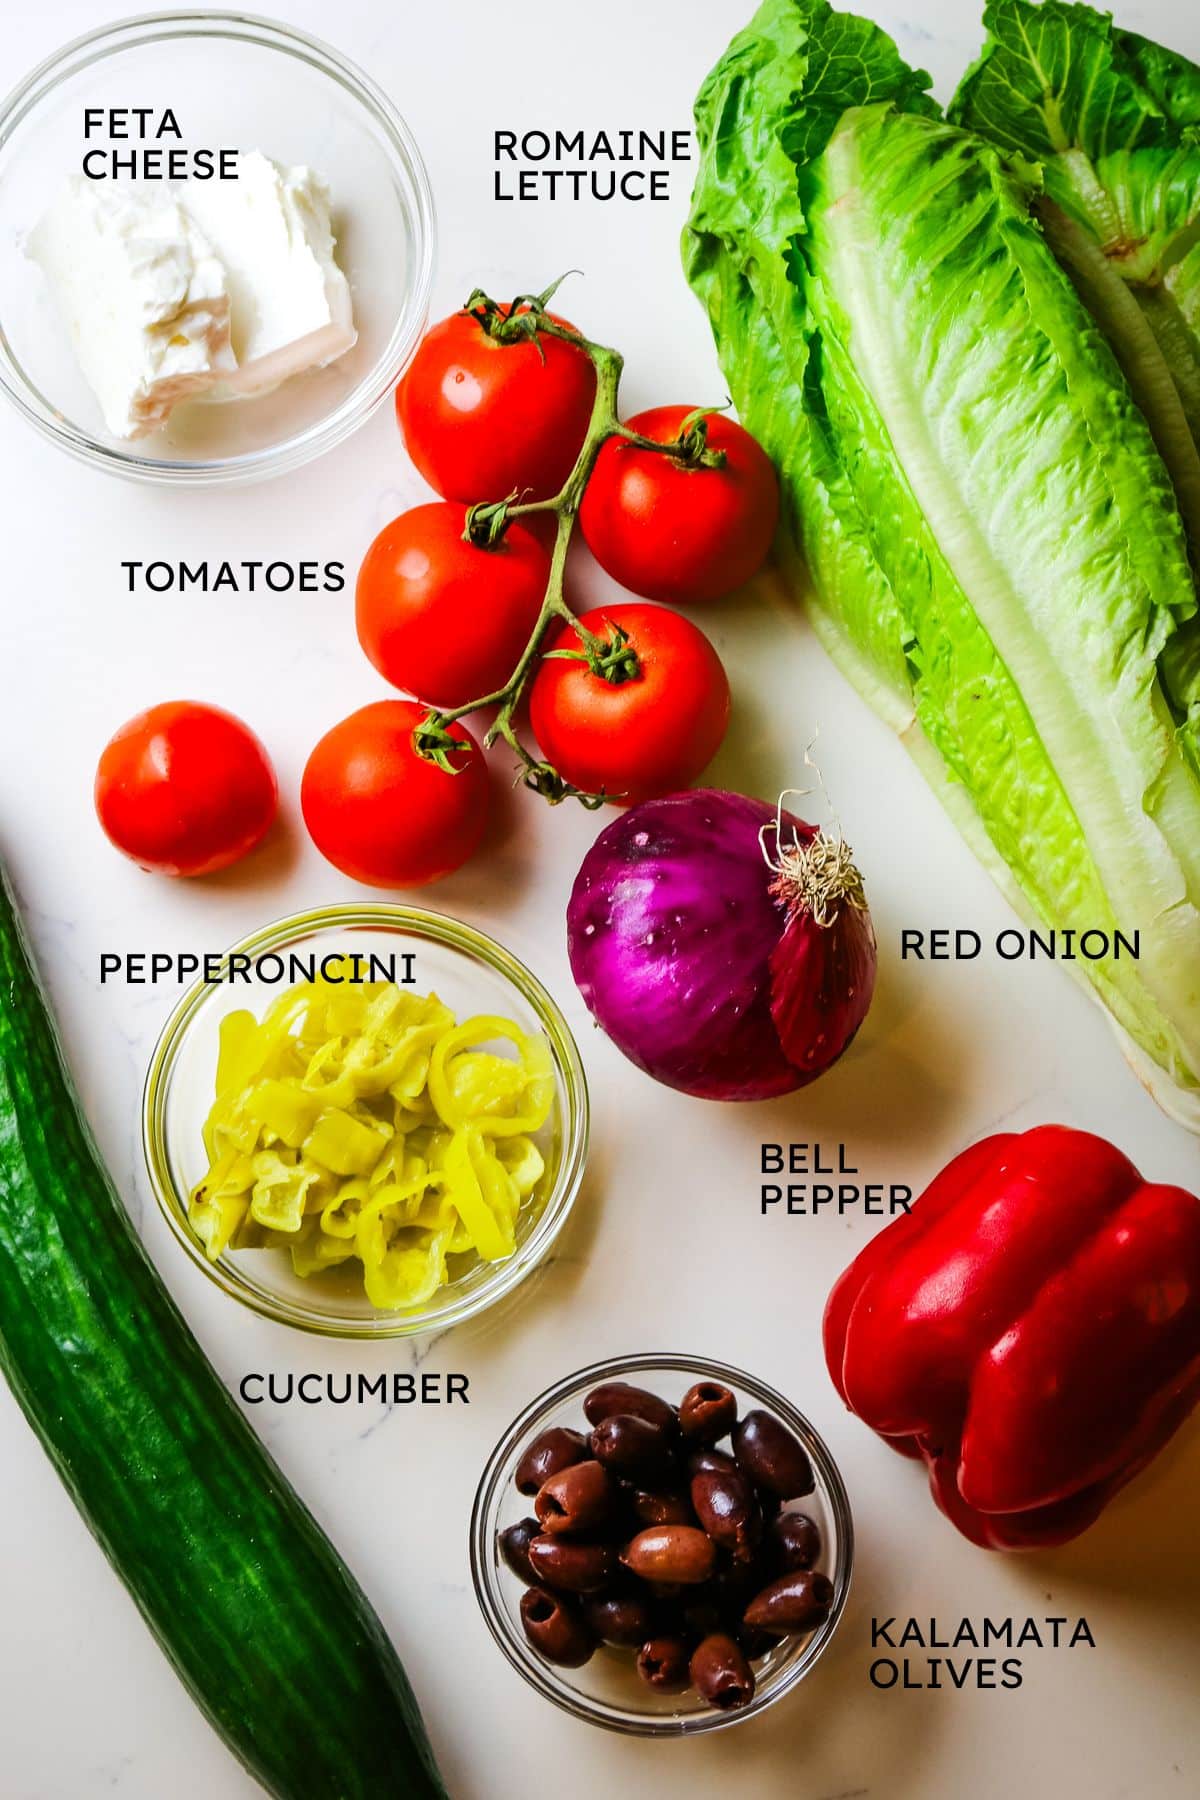
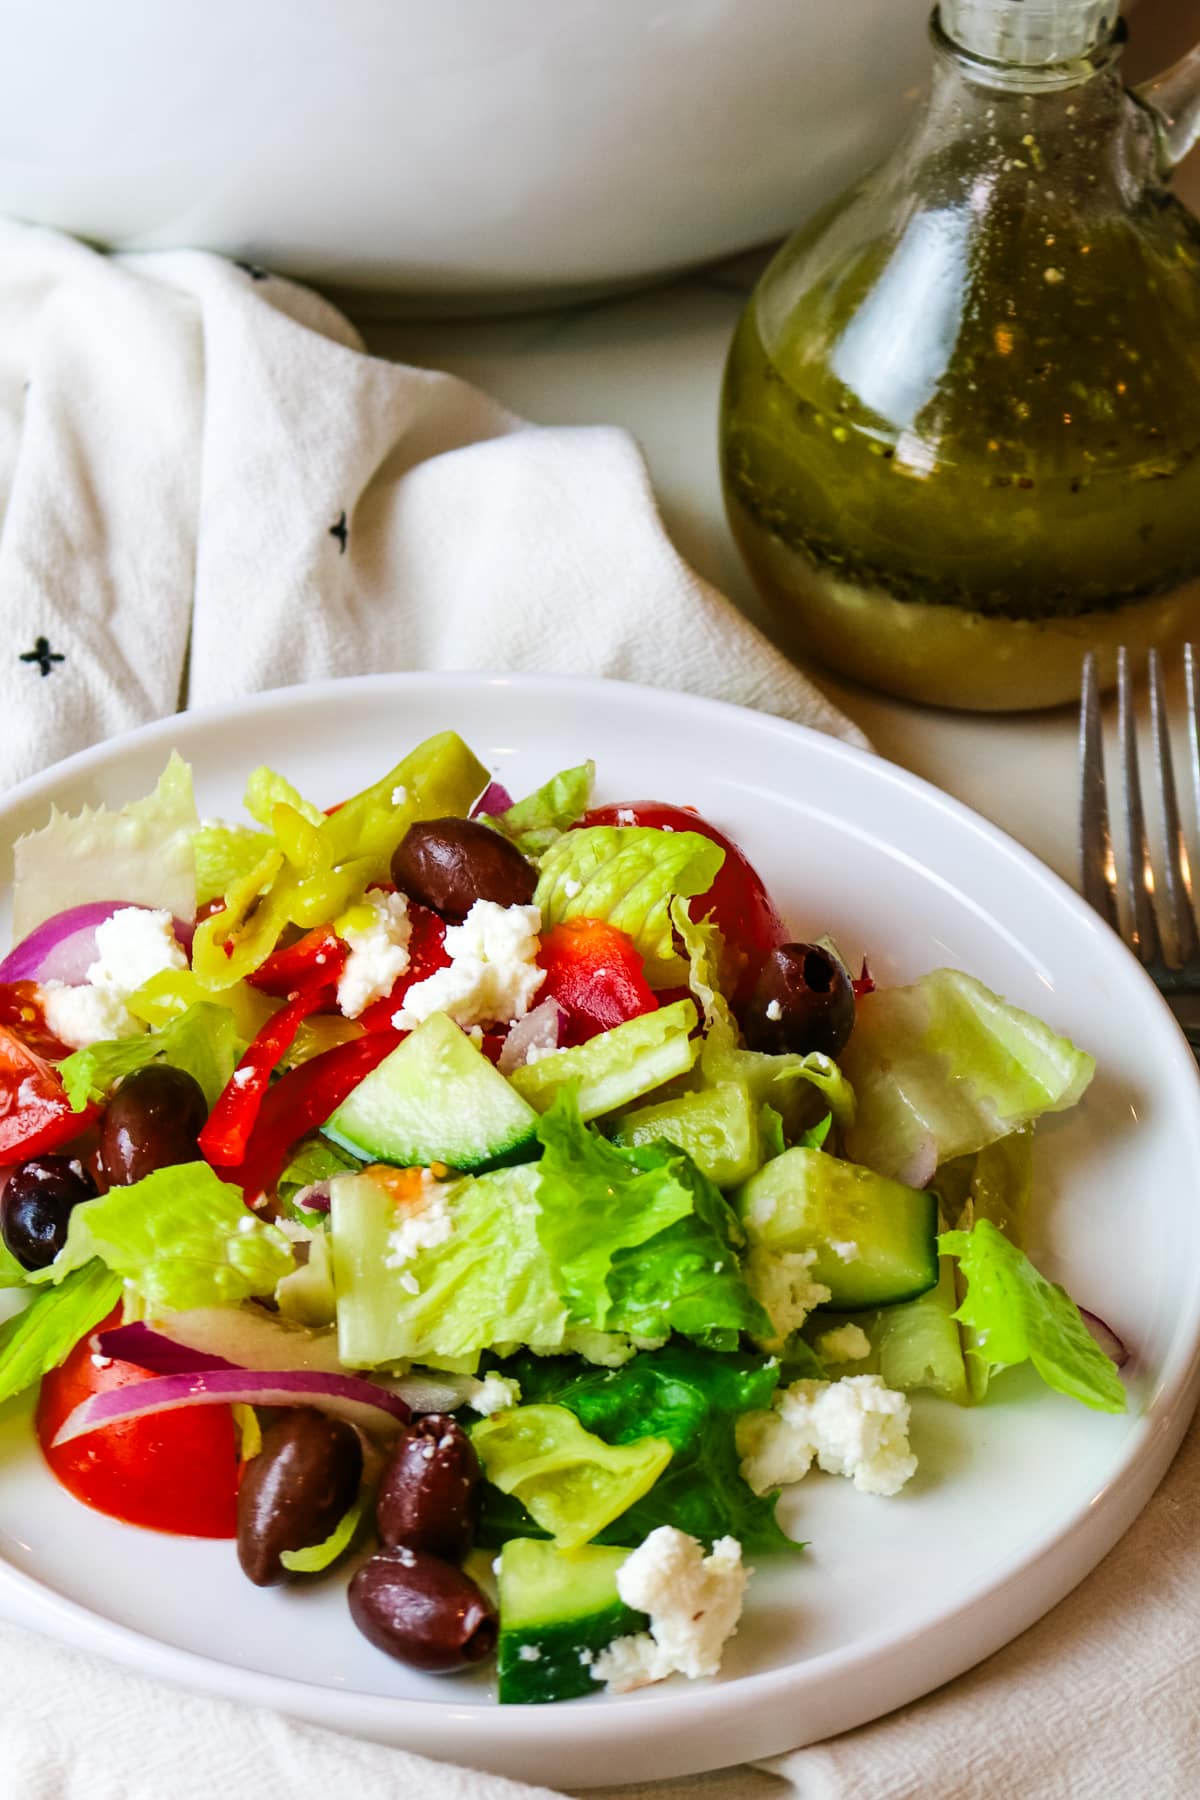
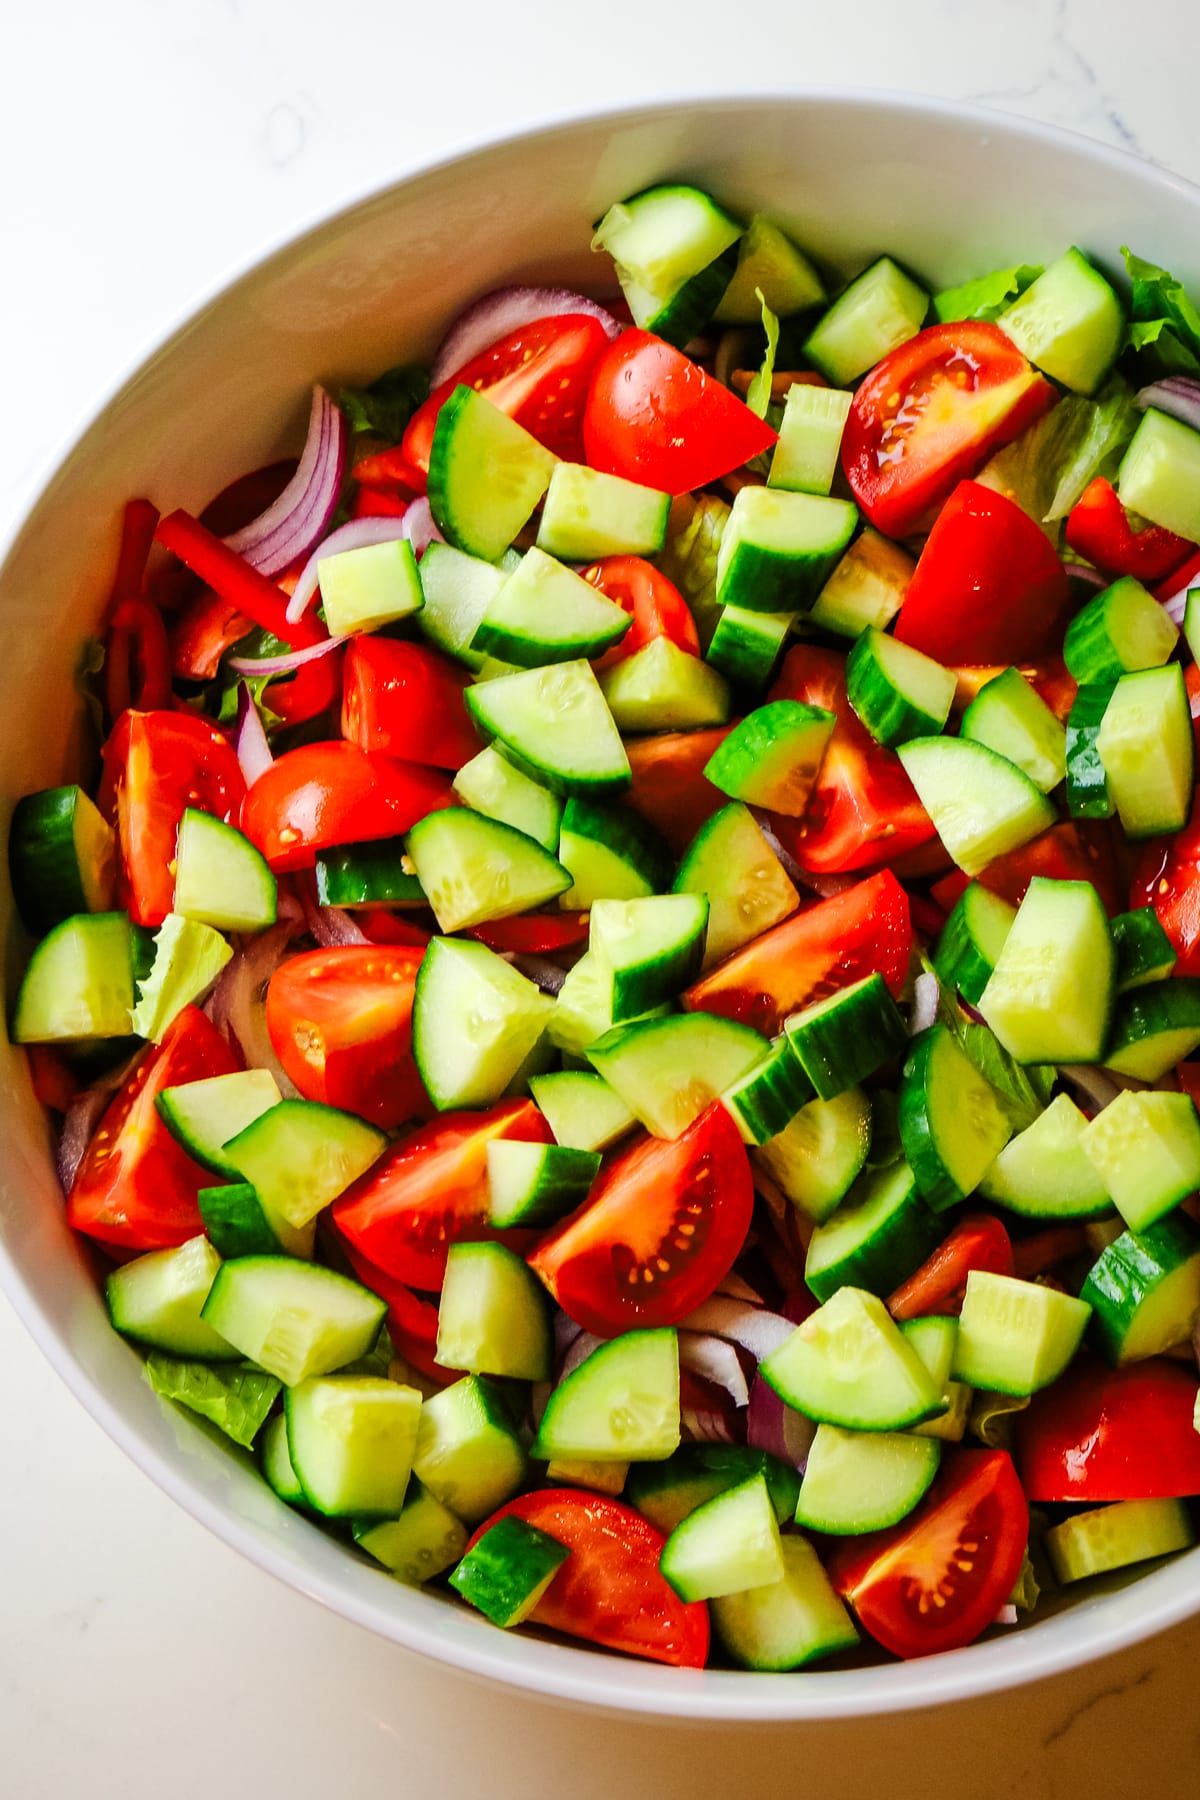
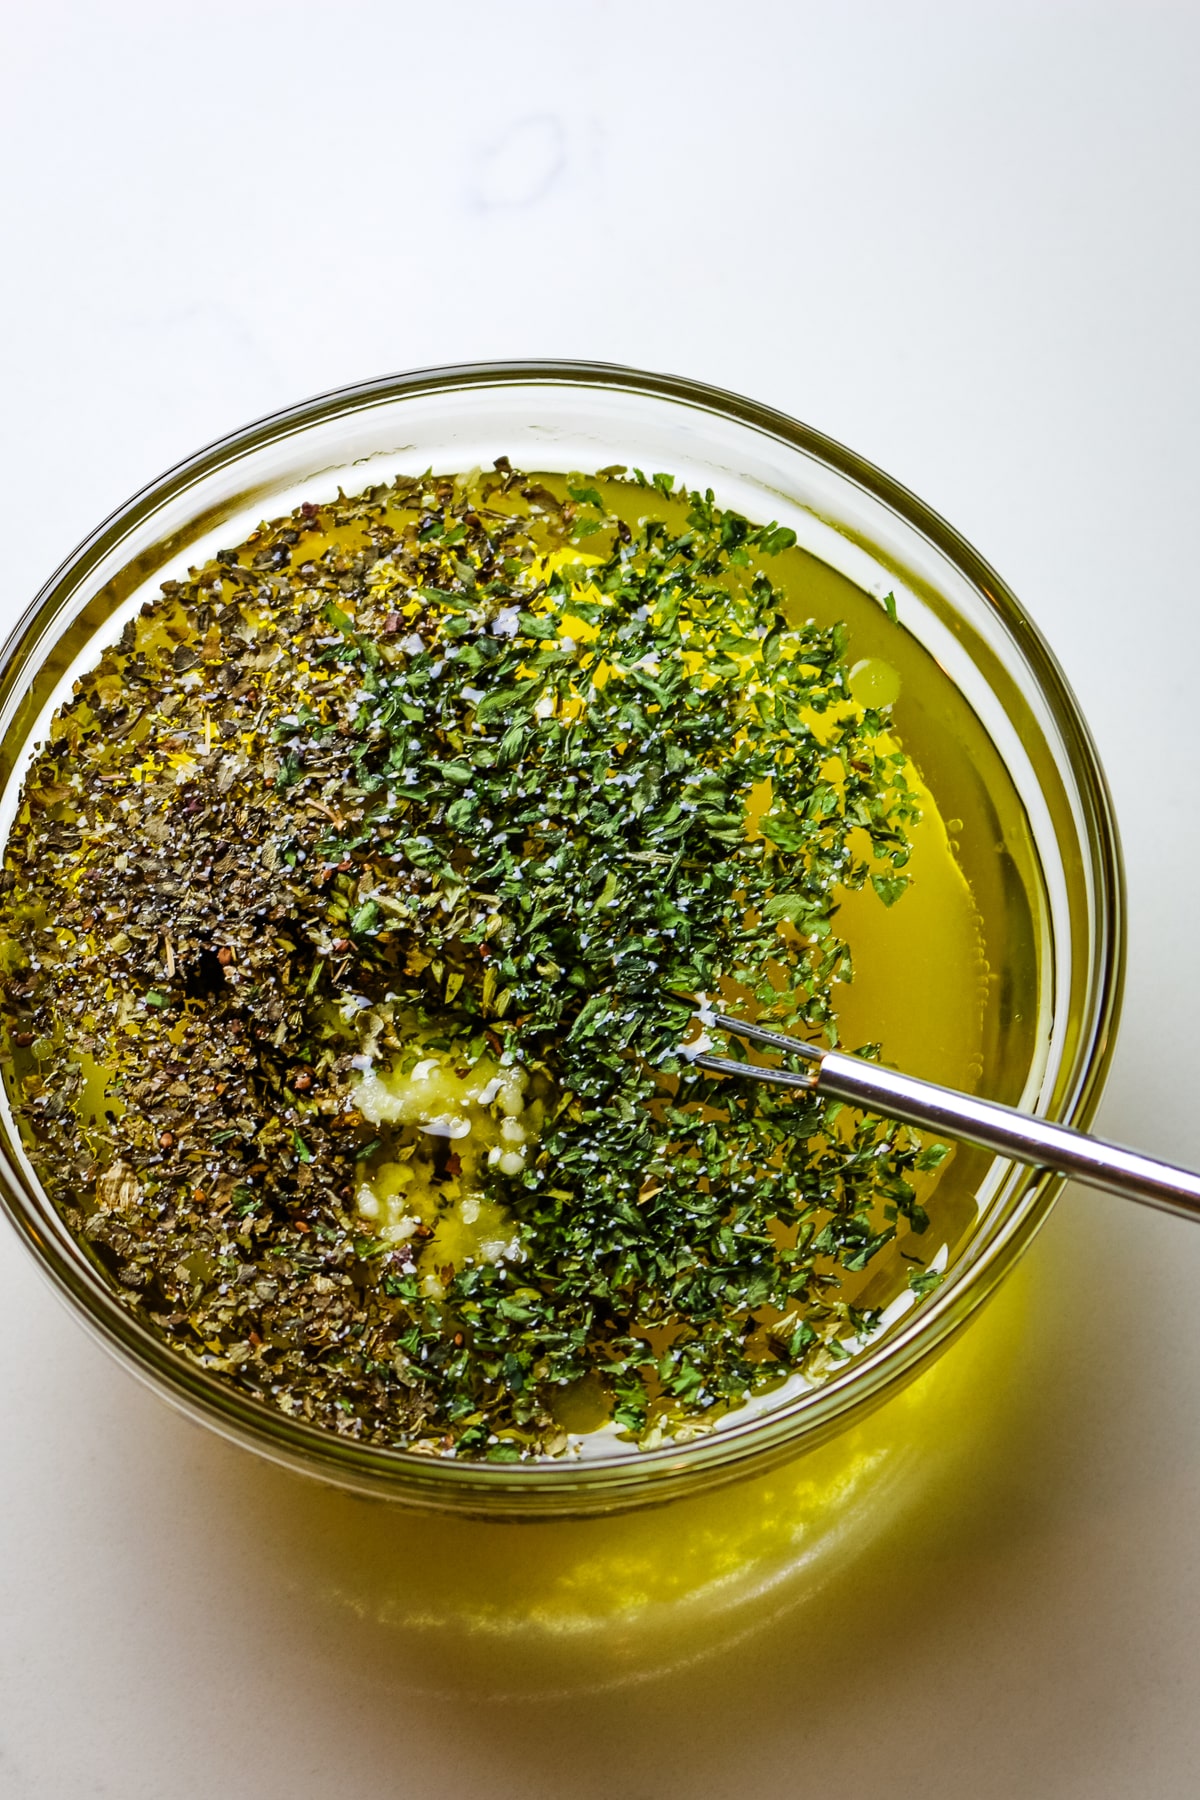
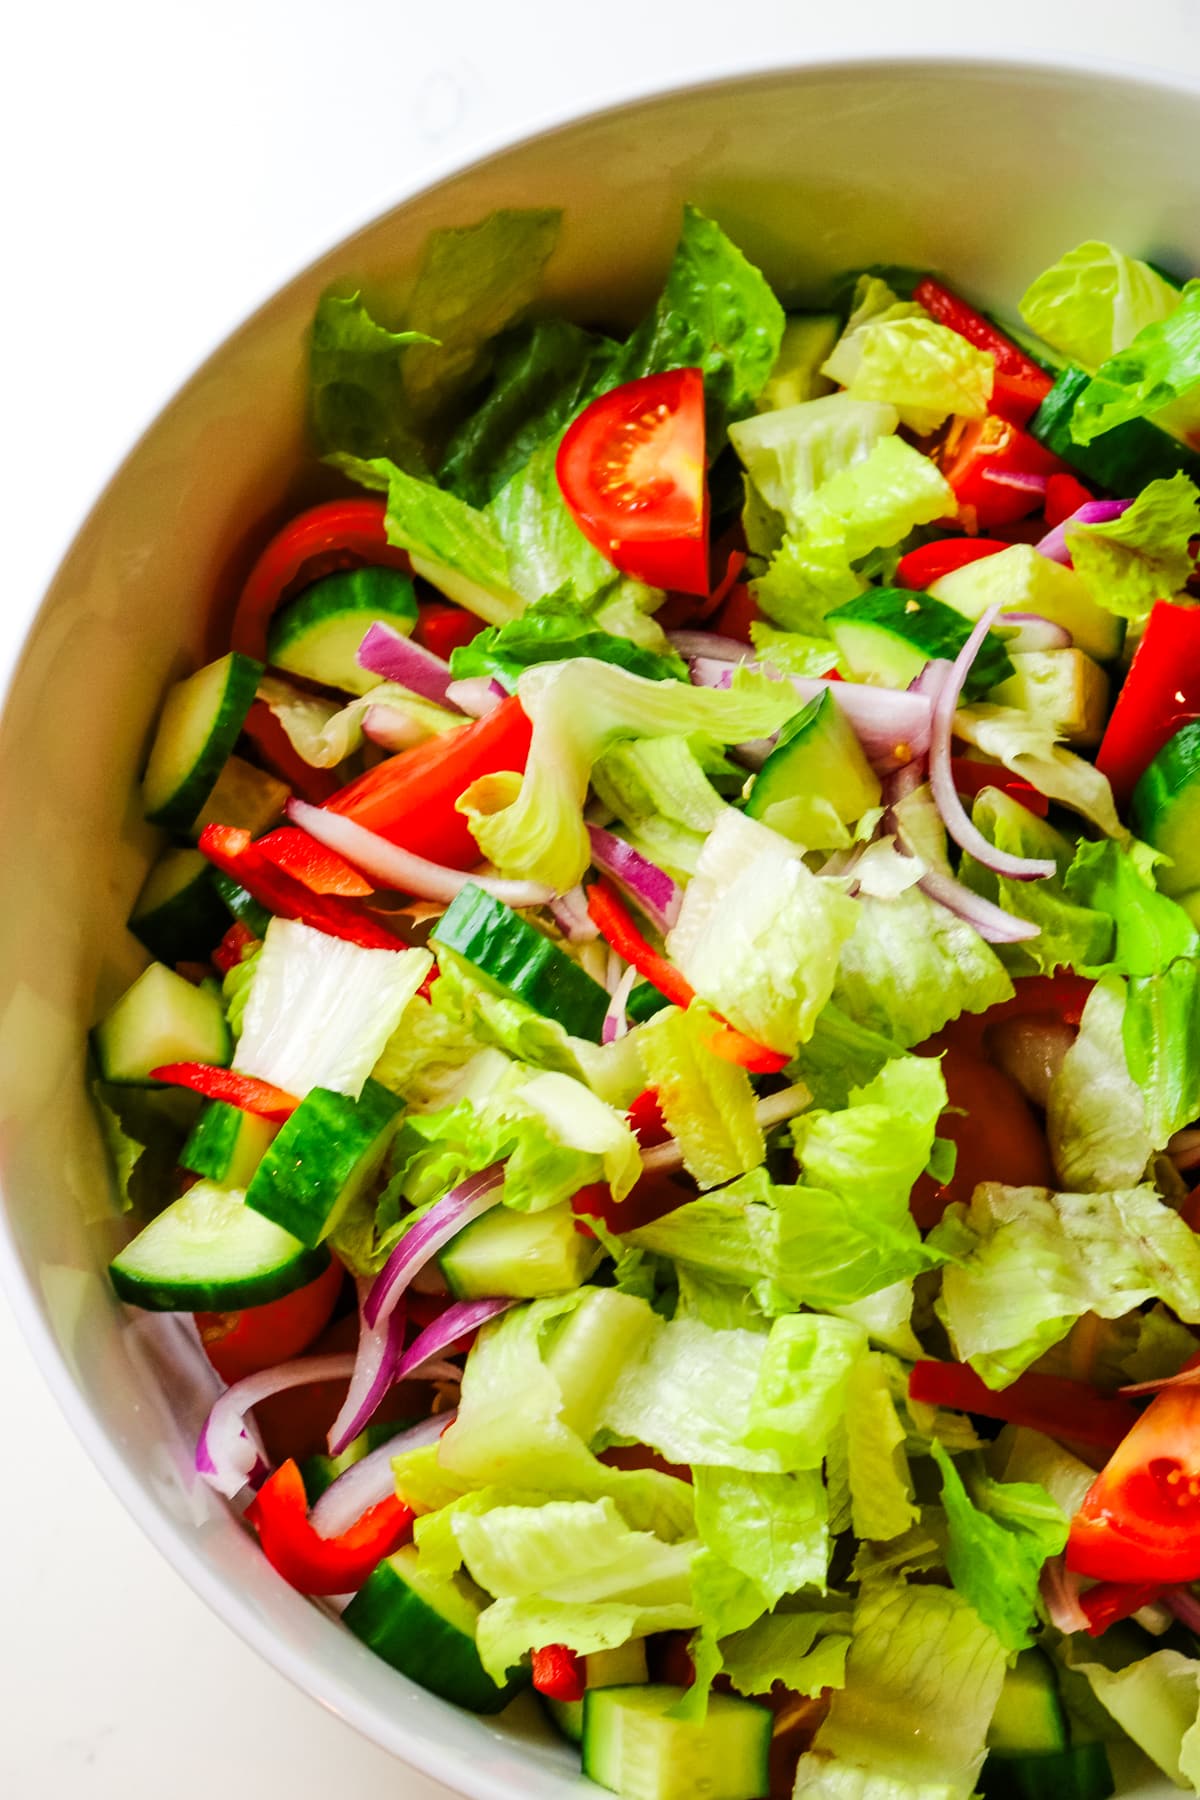
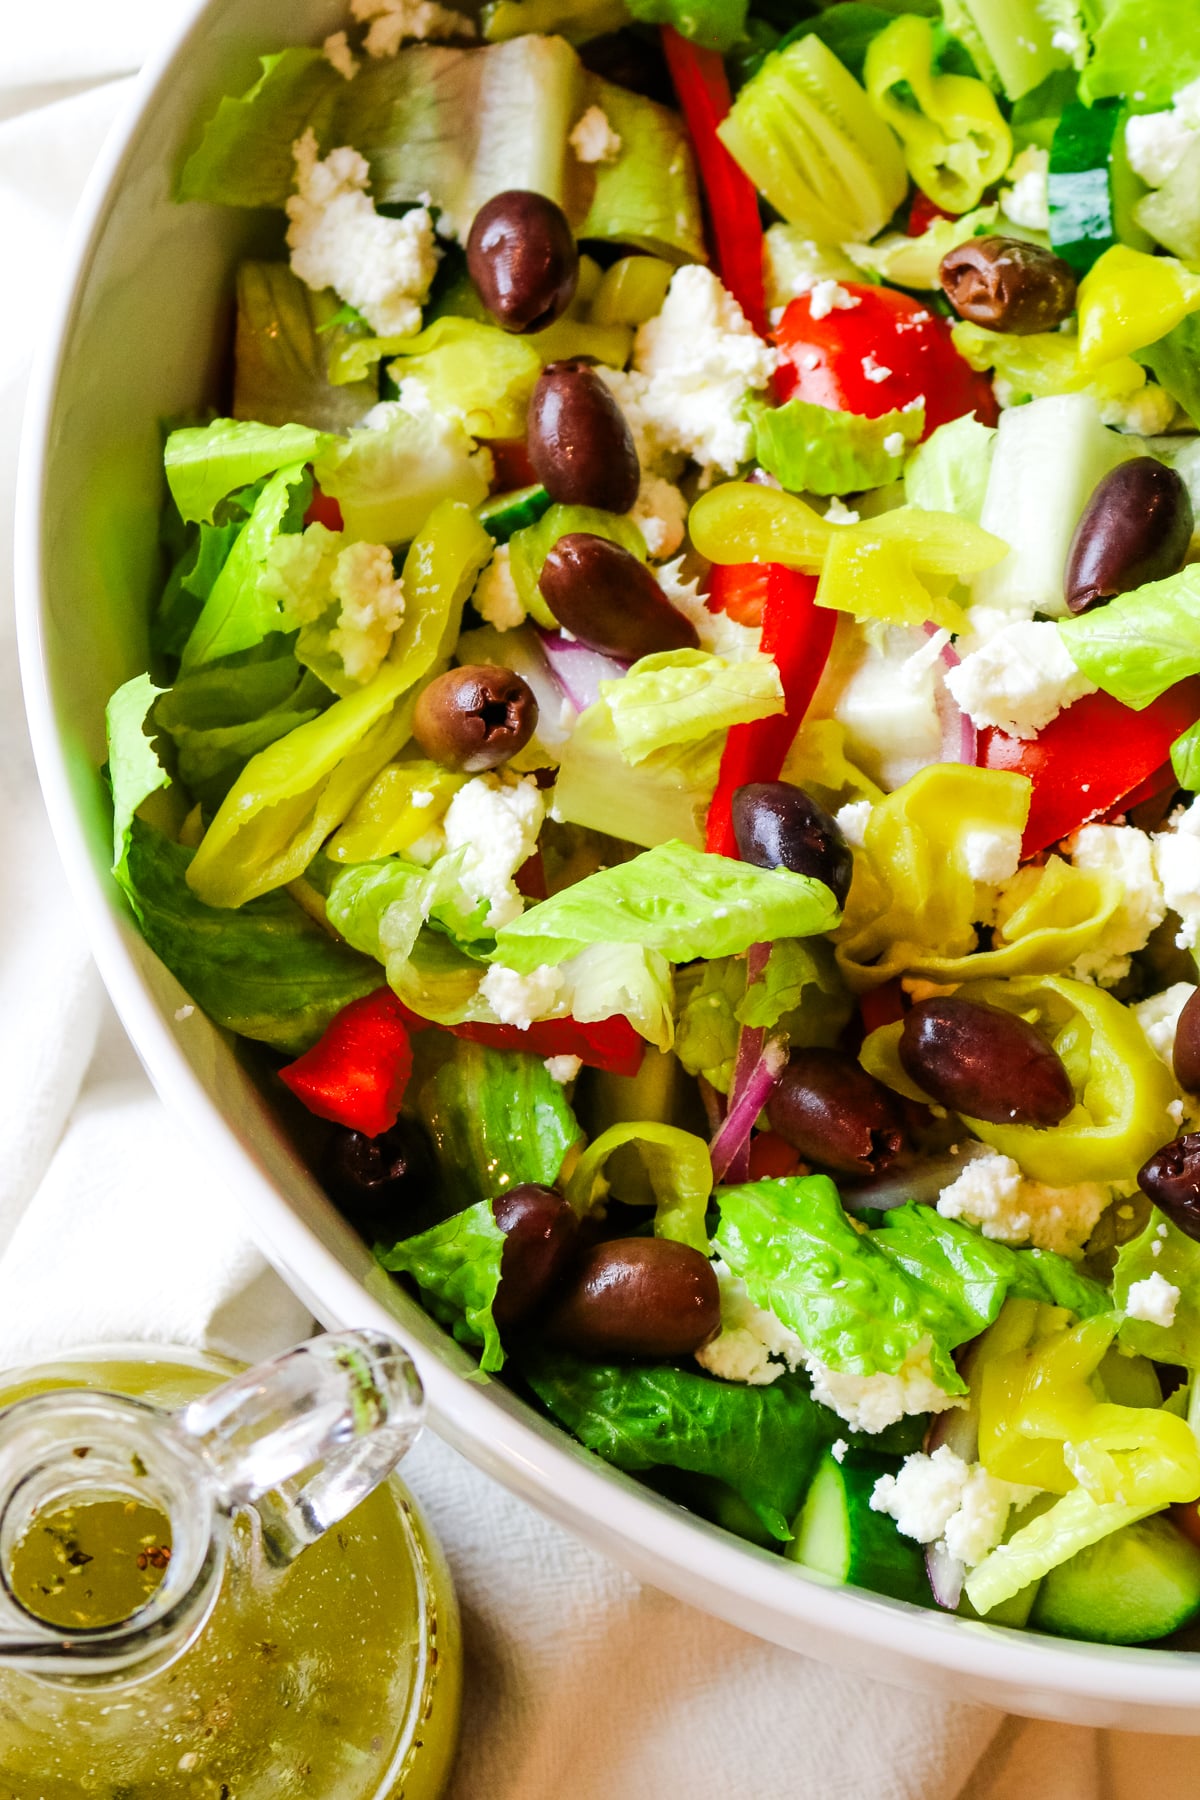
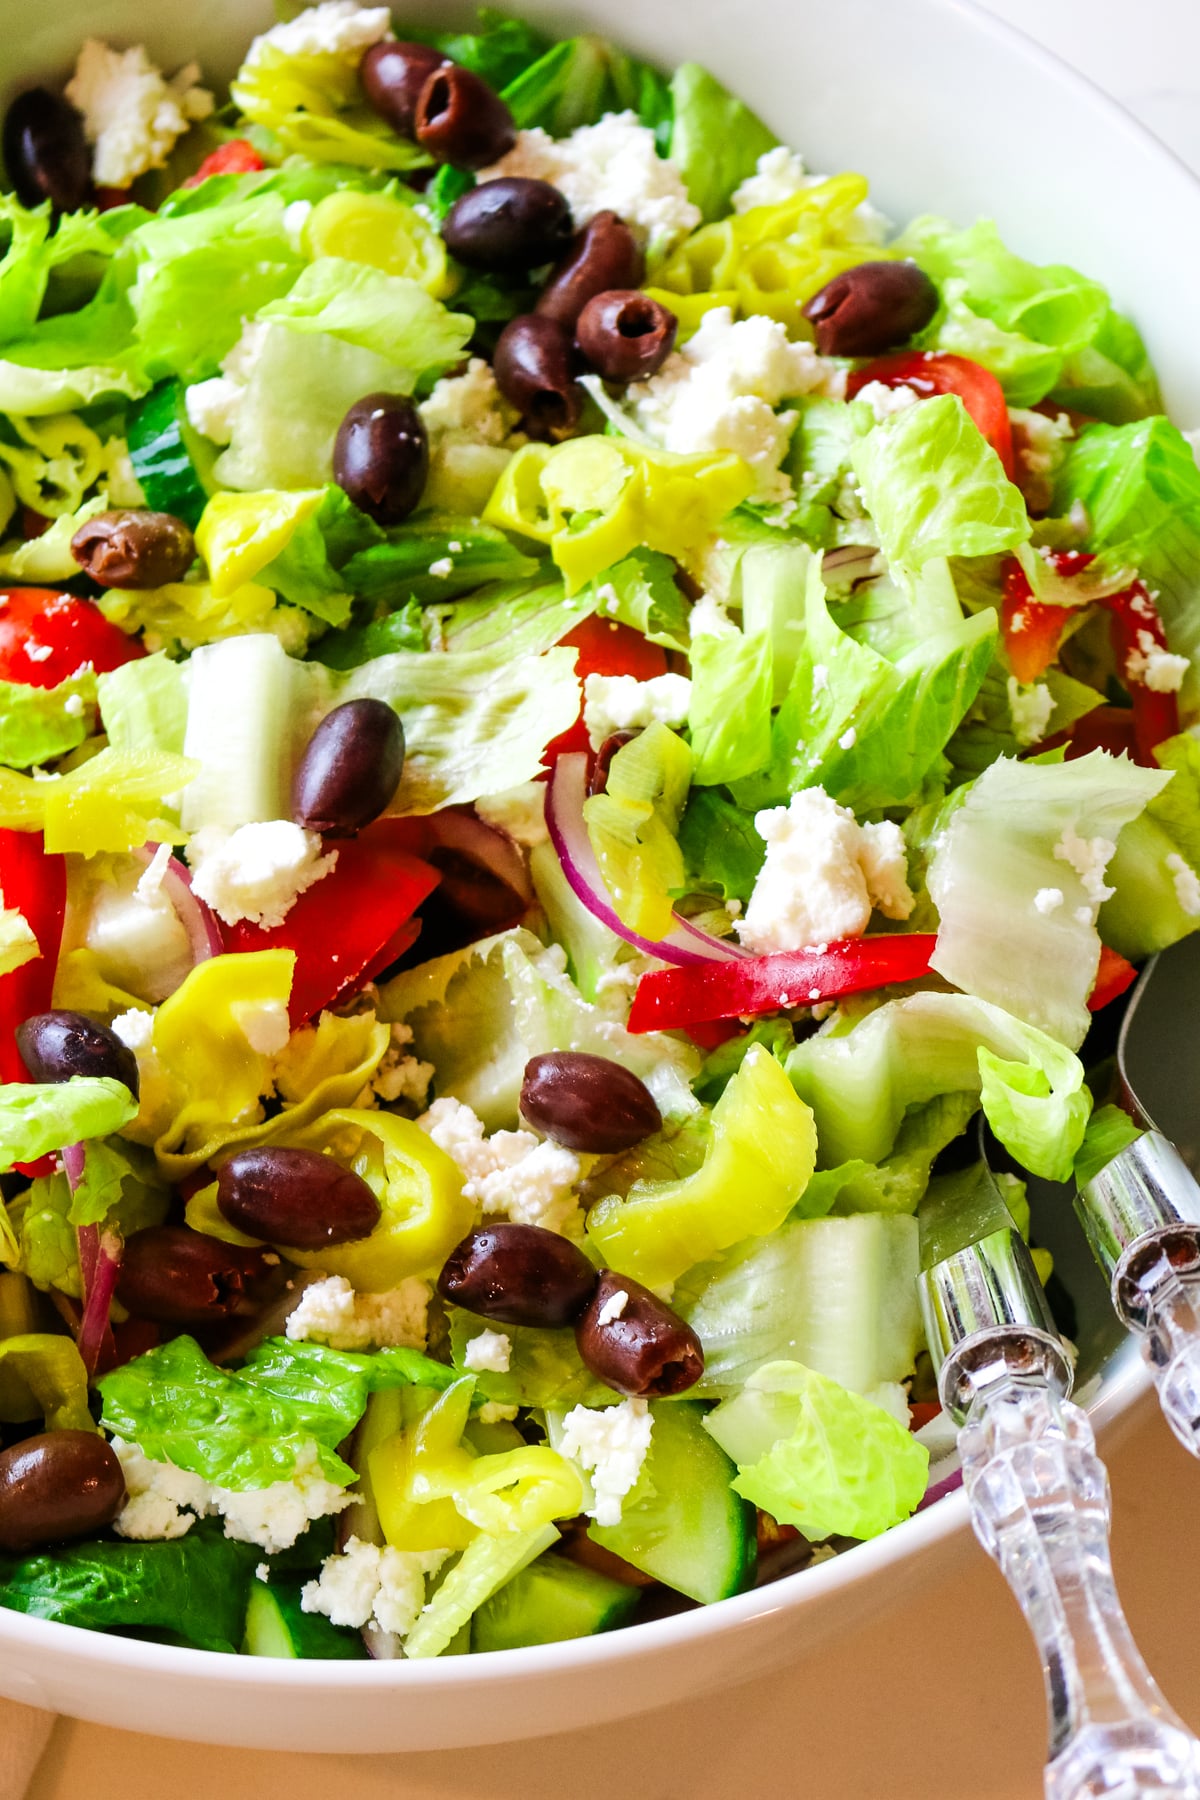
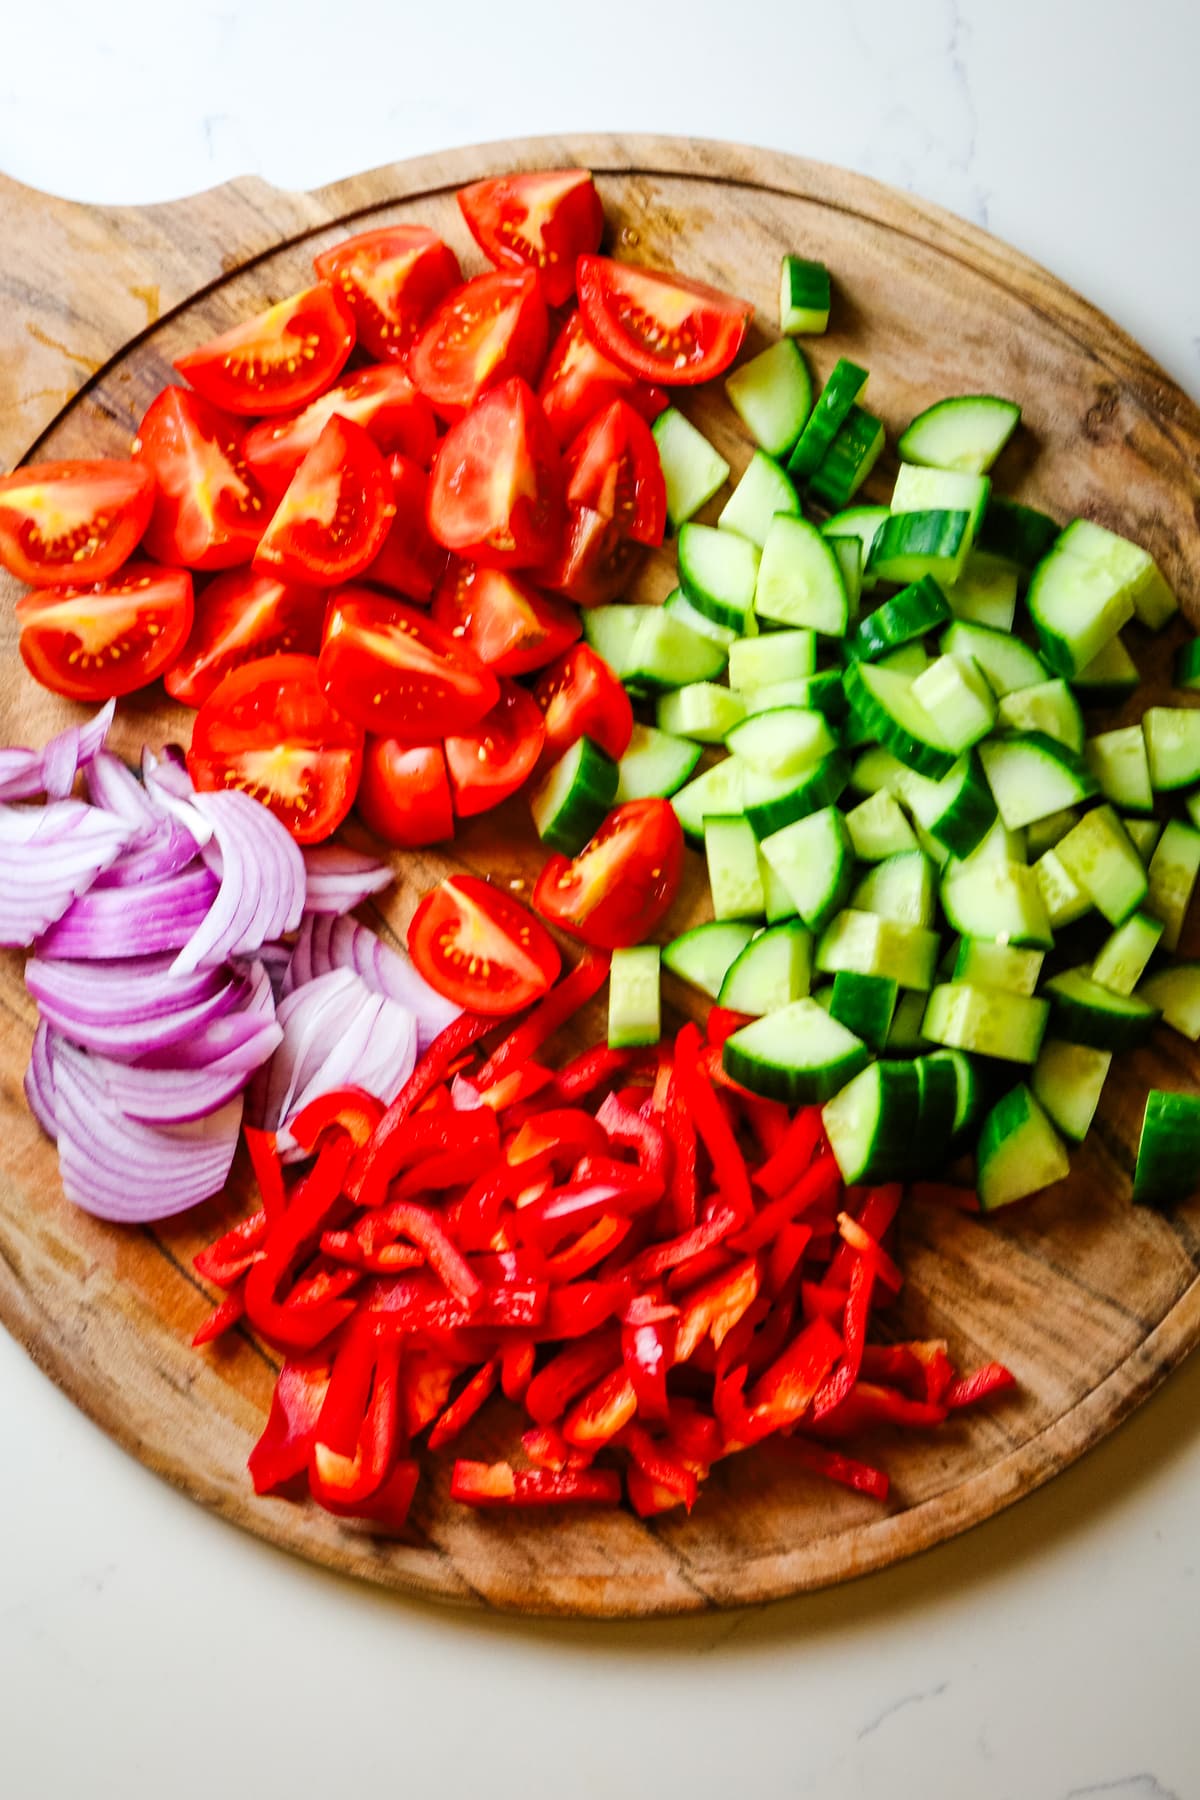
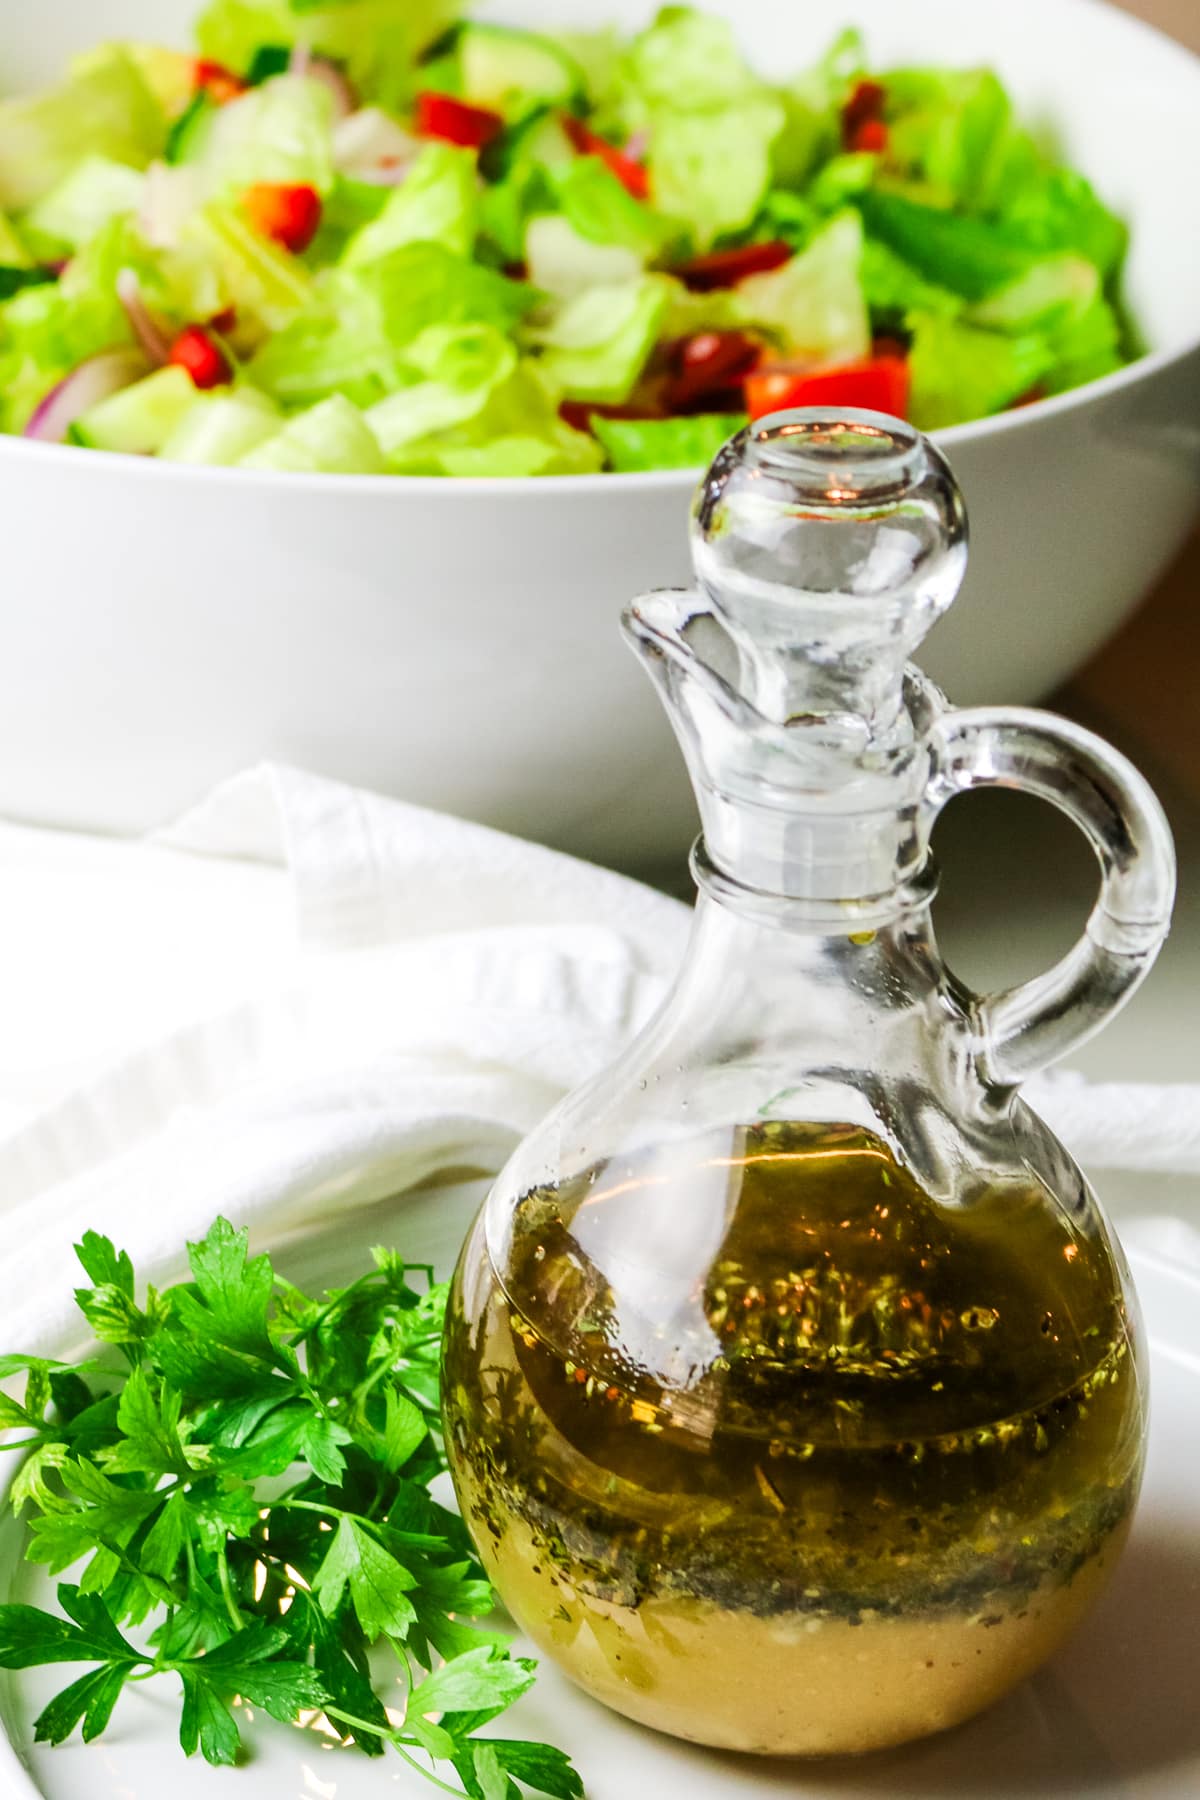
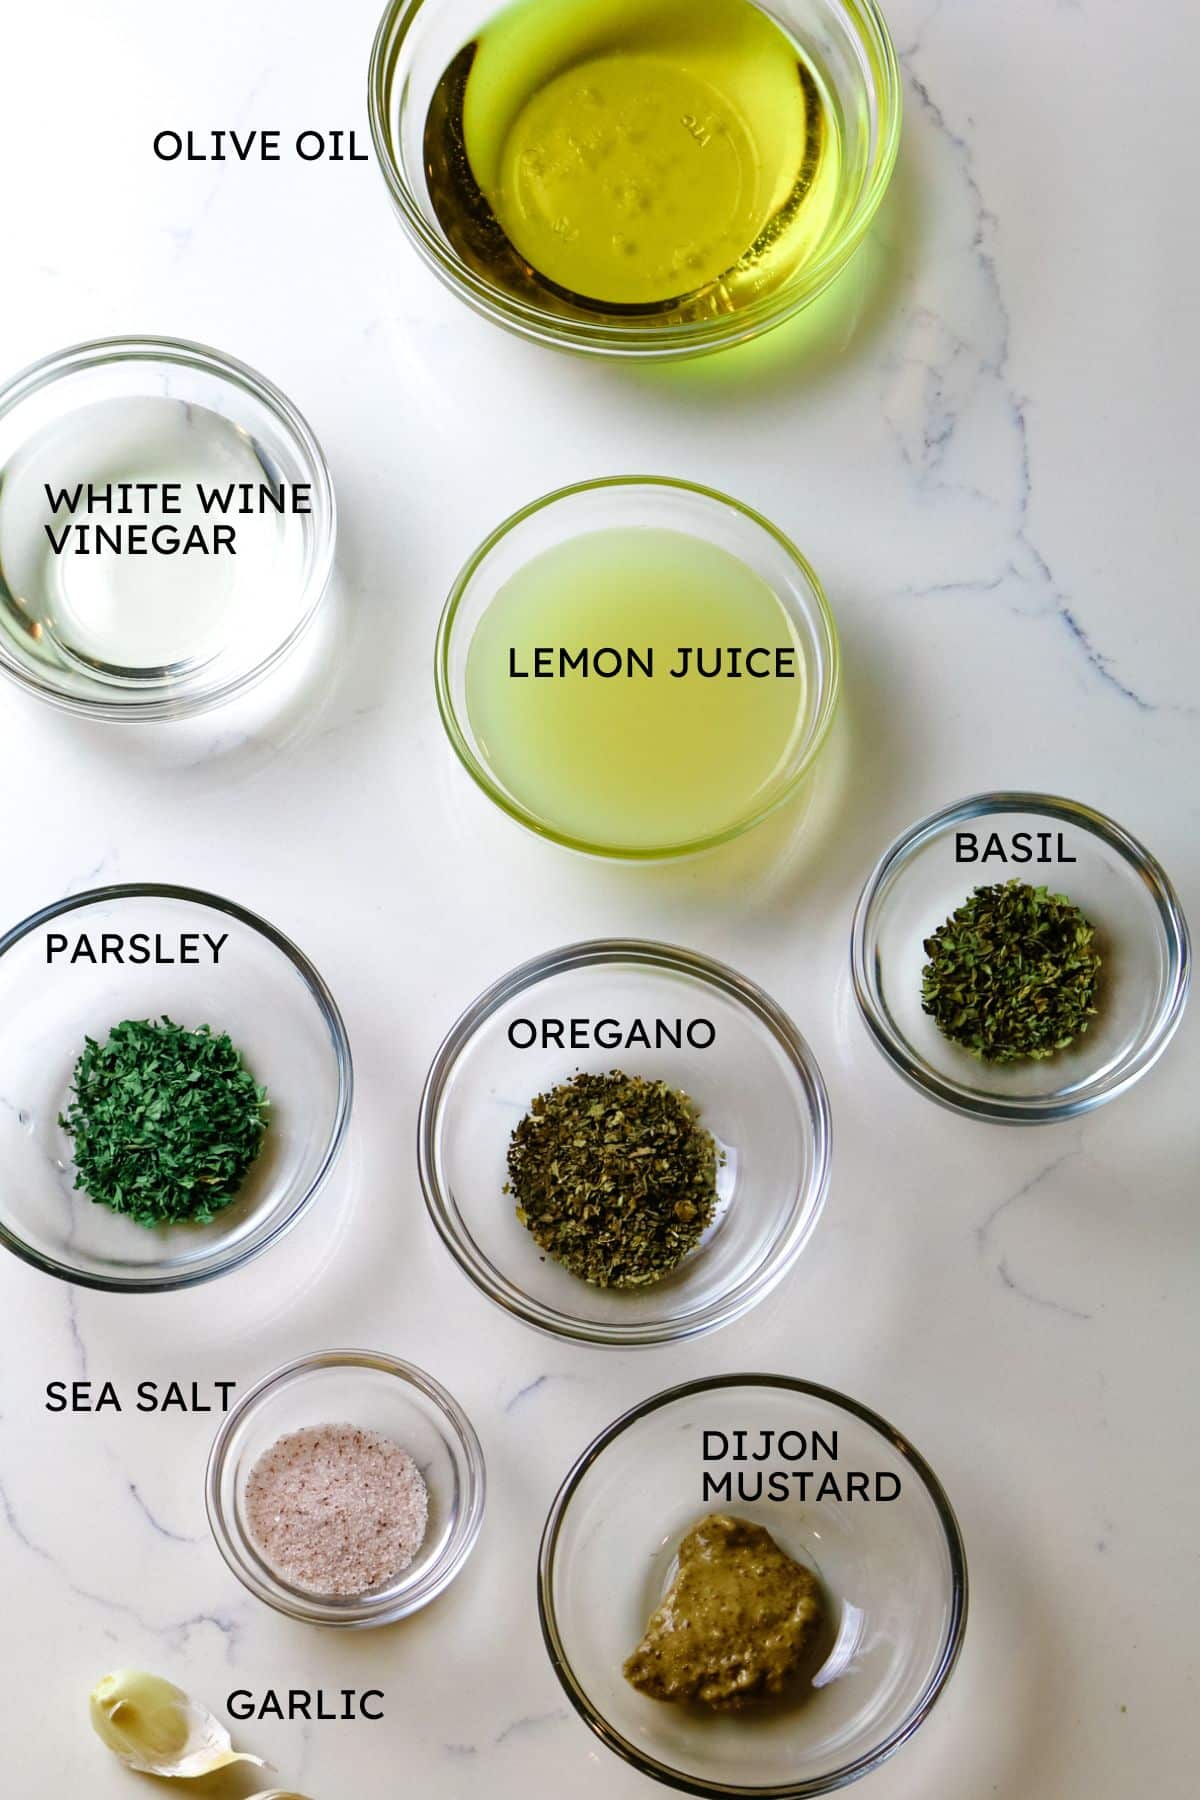
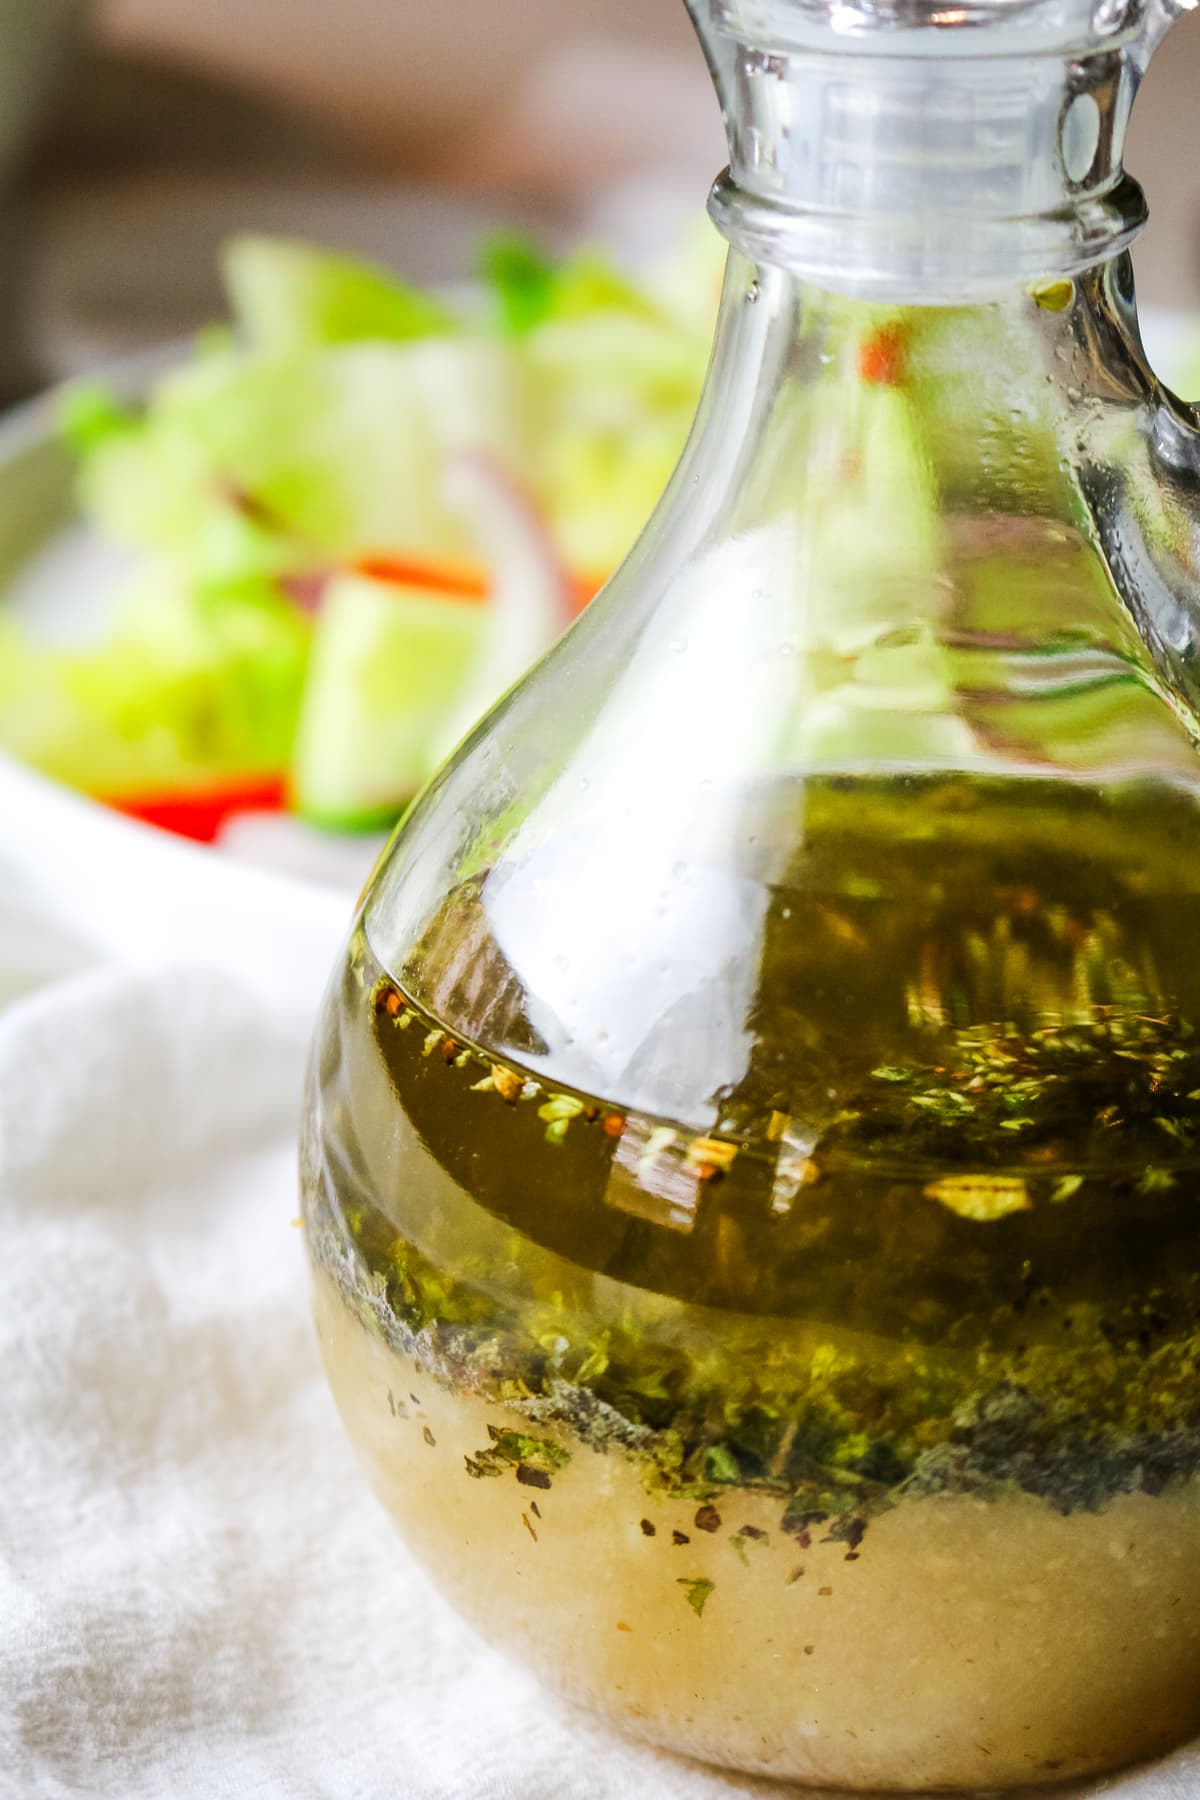
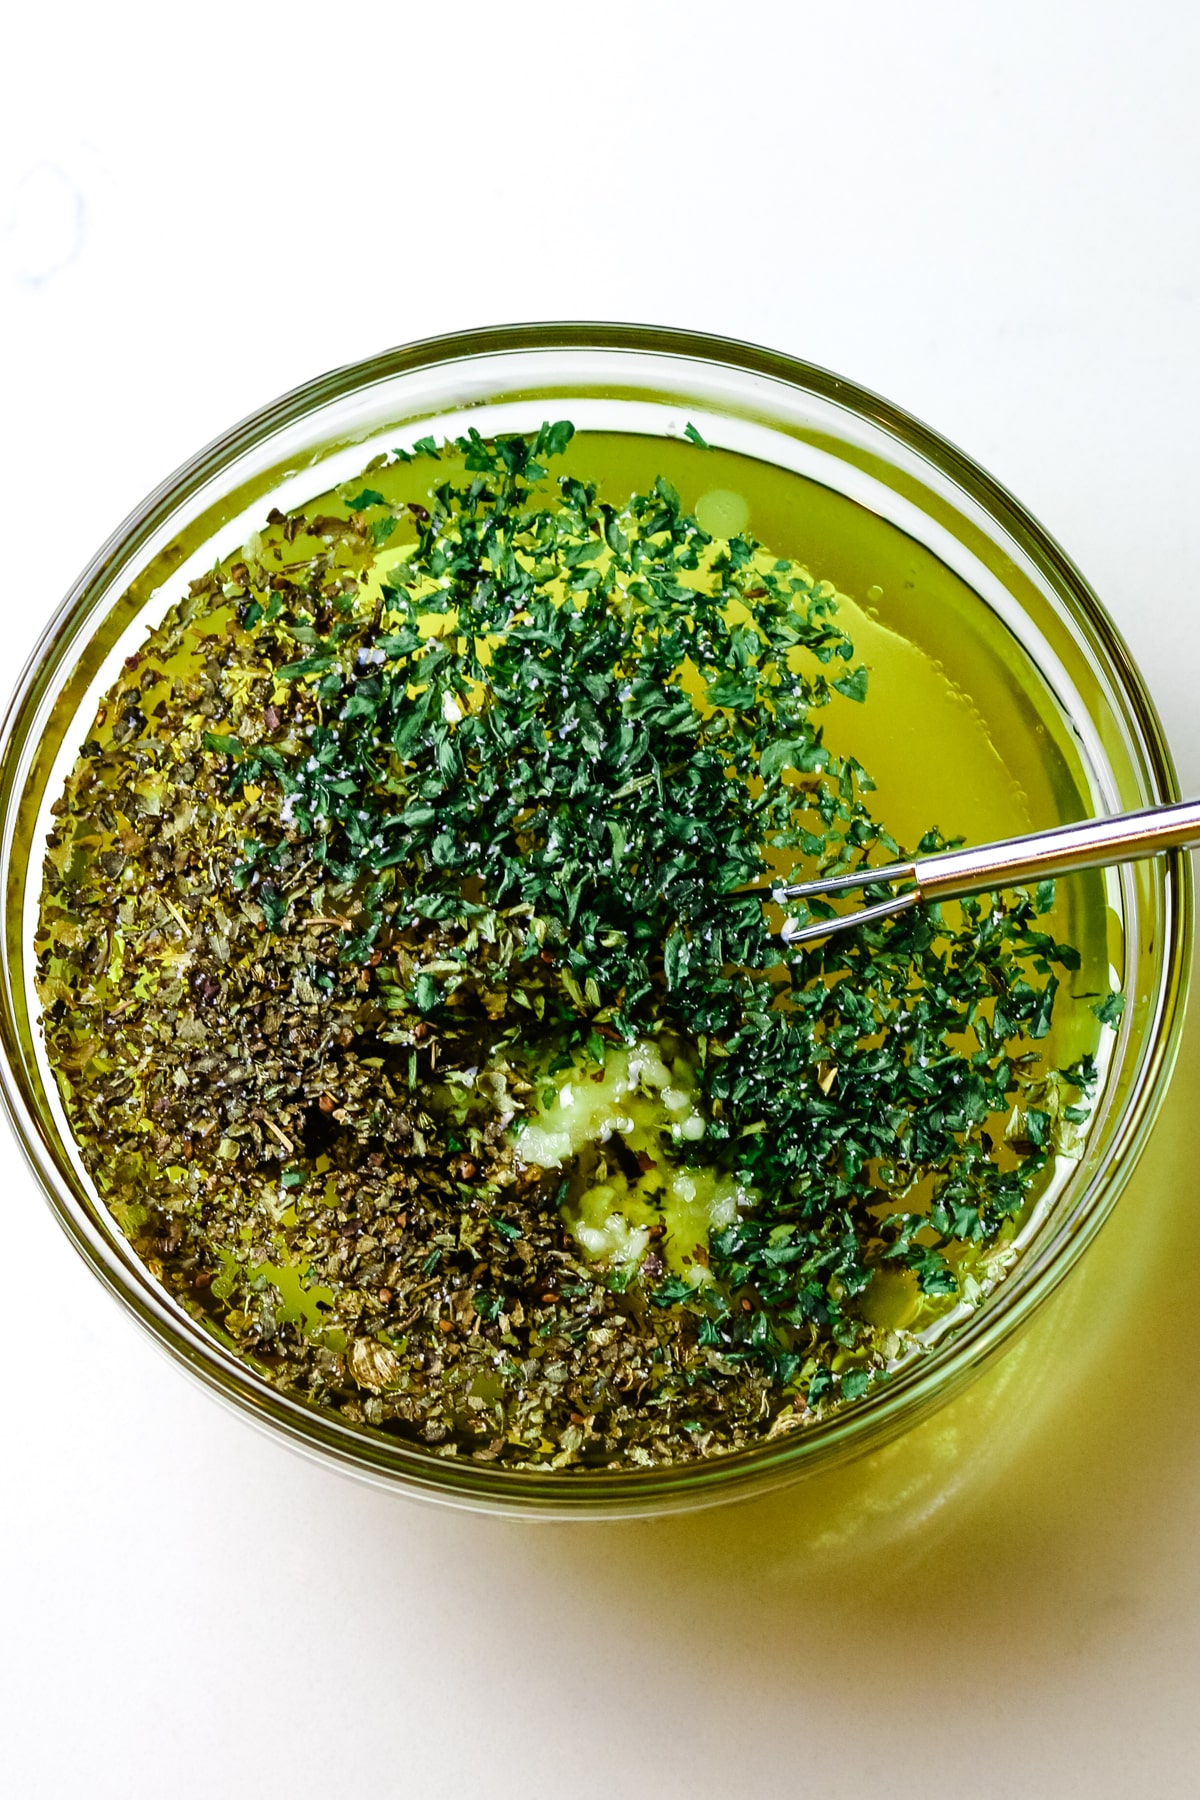
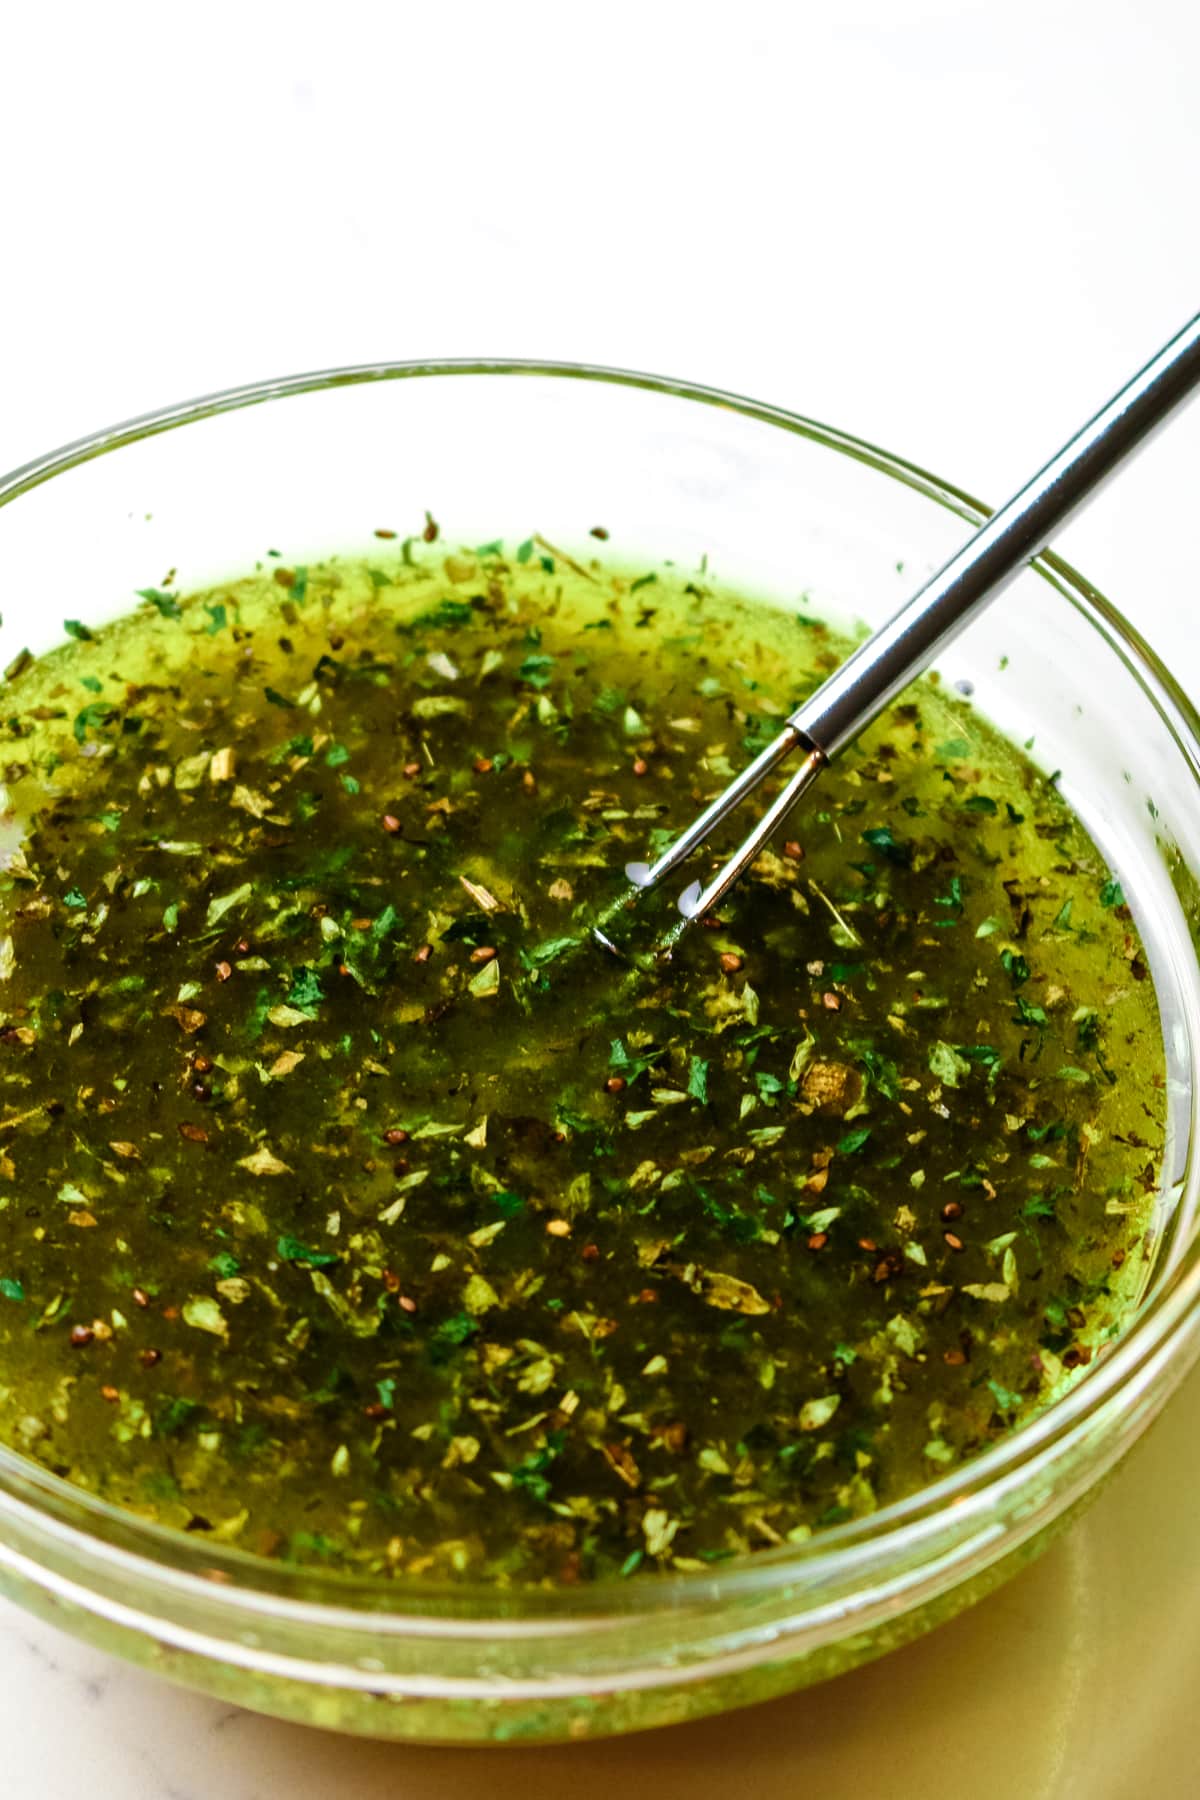
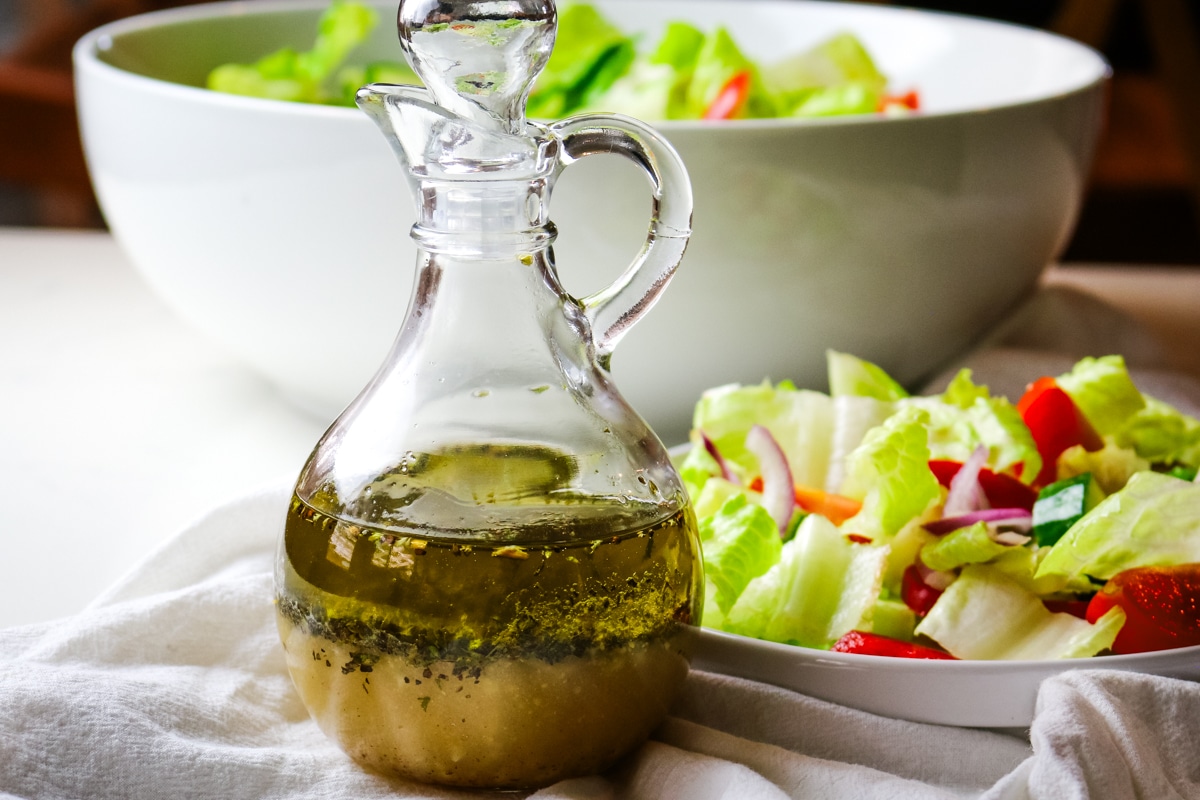
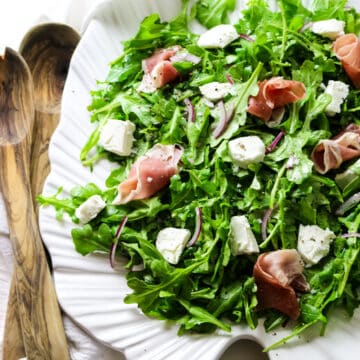
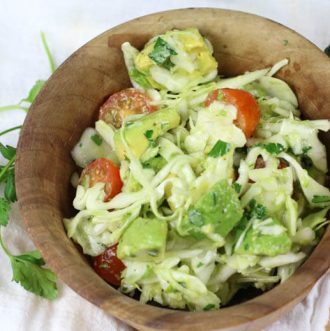
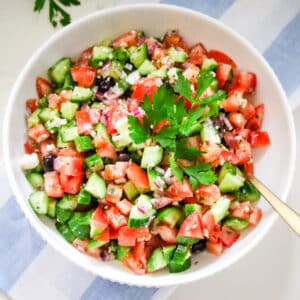
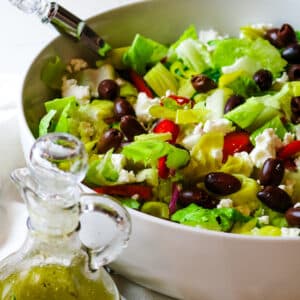
Salads for Your Non Traditional Christmas Dinner
These vibrant and inventive salads are a delicious departure from classic Caesar salad and the sophisticated goat cheese arugula salad. But they are delicious, and nutritious, and all come with a refreshing twist to elevate your holiday menu.


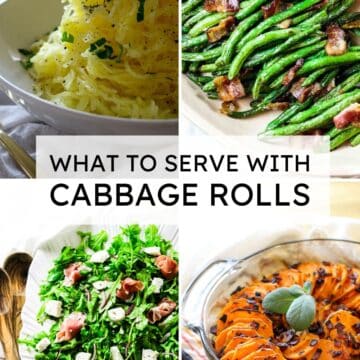
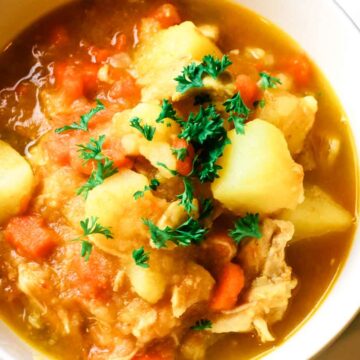
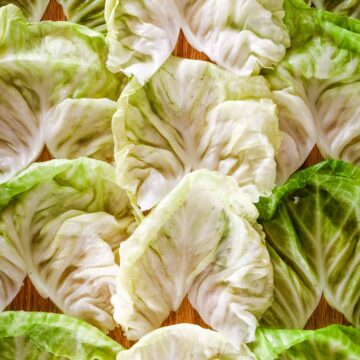
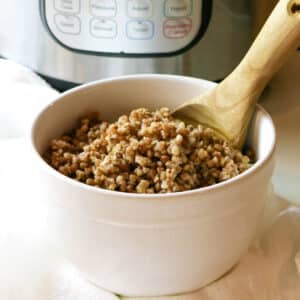
Non Traditional Christmas Side Dishes
A surefire way to give your Christmas dinner table a modern twist is by serving non-traditional sides the whole family will love. Sure, I love a good Brussels sprouts recipe but if you're looking for an easy alternative to your delicious Christmas dinner, try these options.


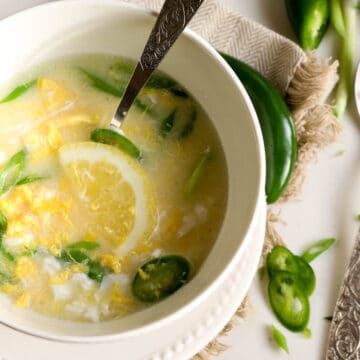
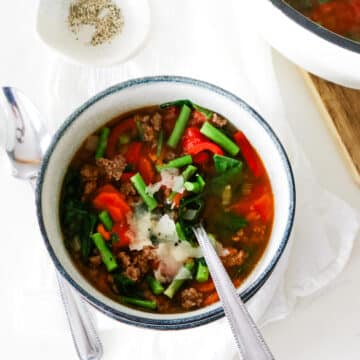
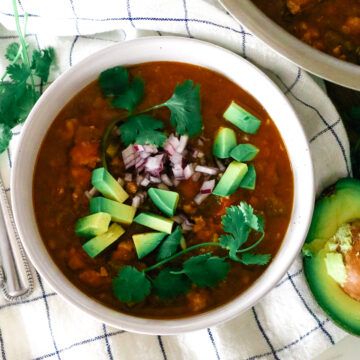
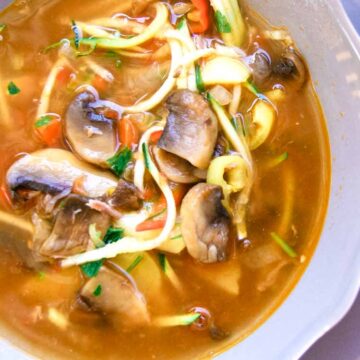
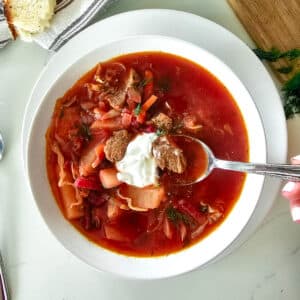
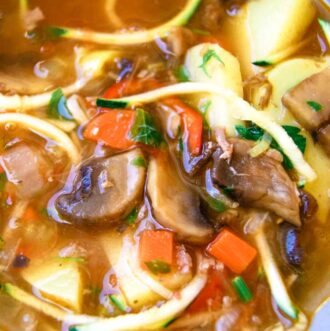
Non Traditional Christmas Soup Dinners
There is nothing more unconventional on the Christmas dinner table than soup. But I'll have you know, that starting your holiday meal with a bowl of hearty, nourishing, and unexpected soup can set the tone for new and delicious Christmas traditions. And while chicken wild rice soup is a classic during the holiday season, try something a little different with these delicious options.


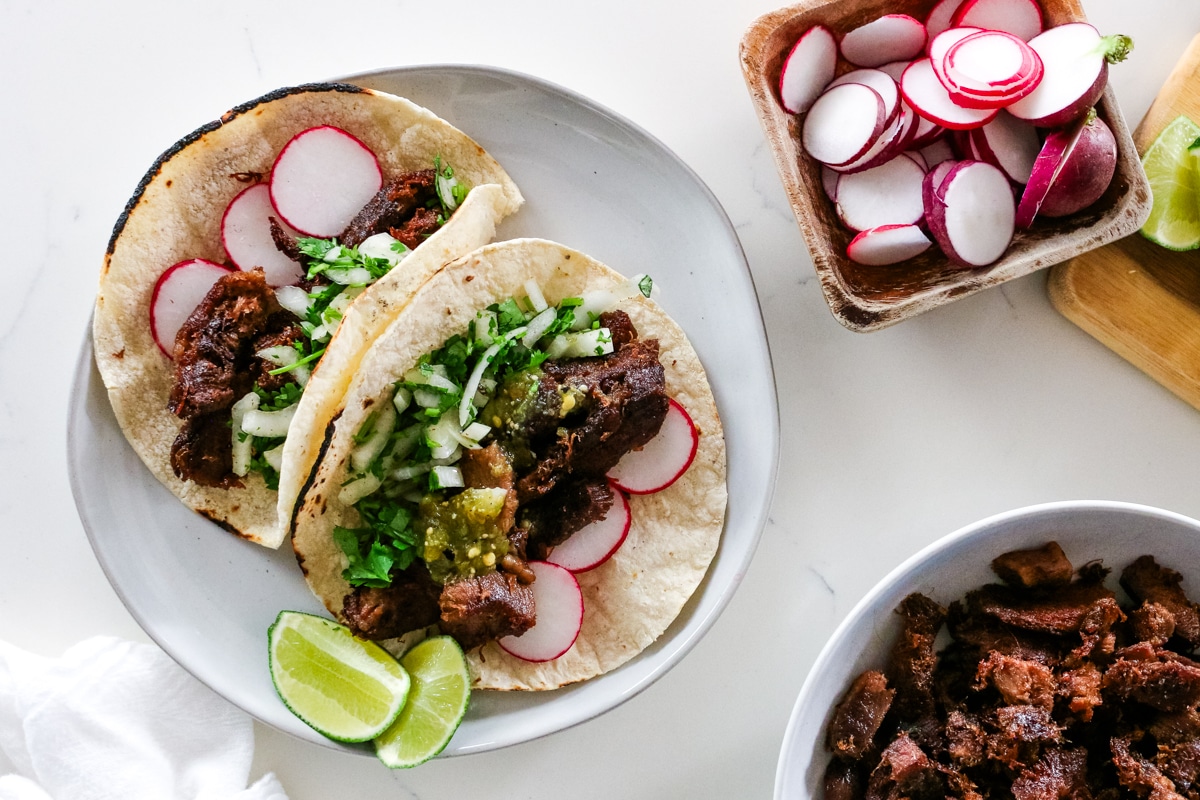
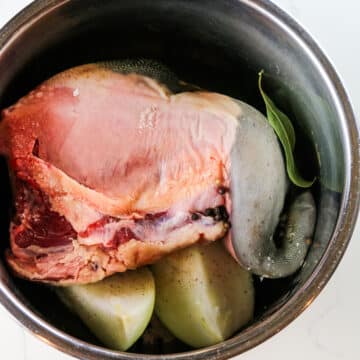
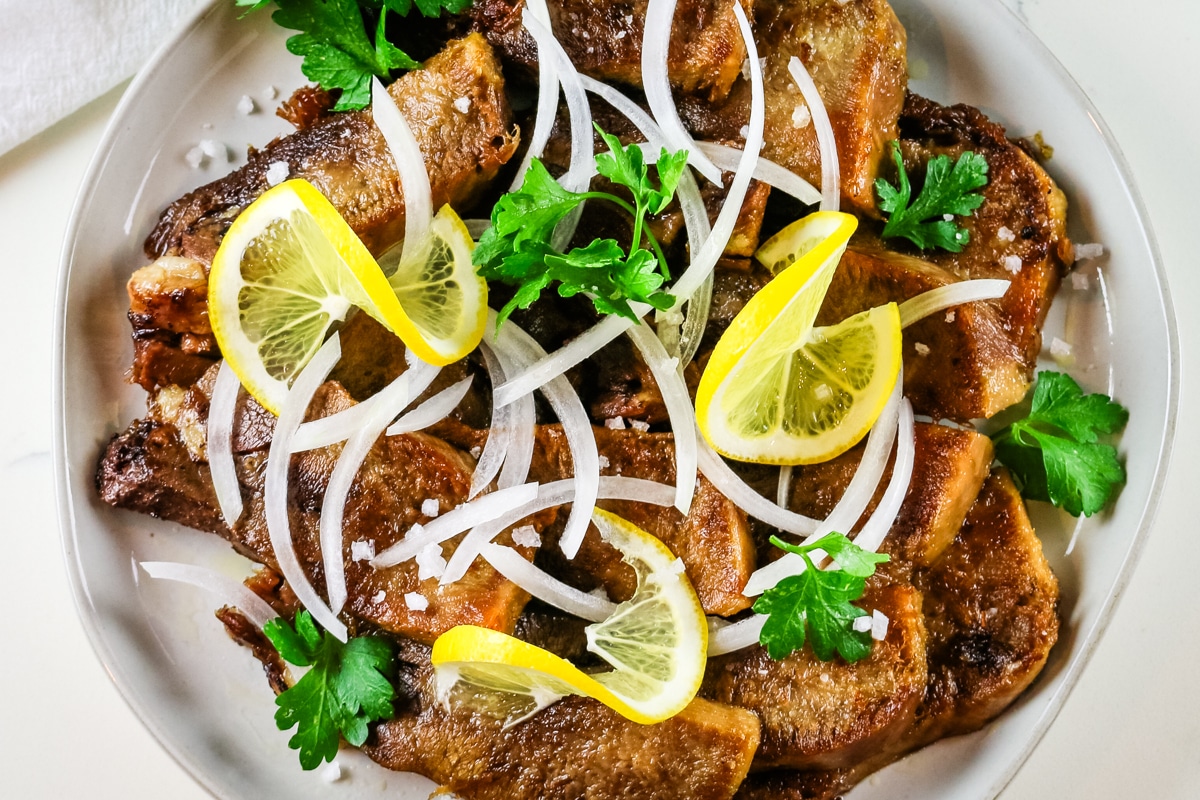
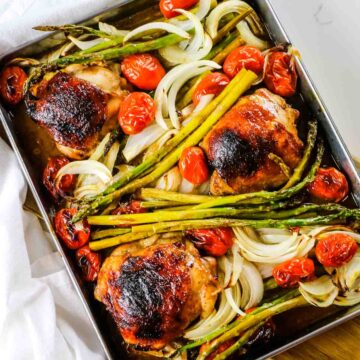
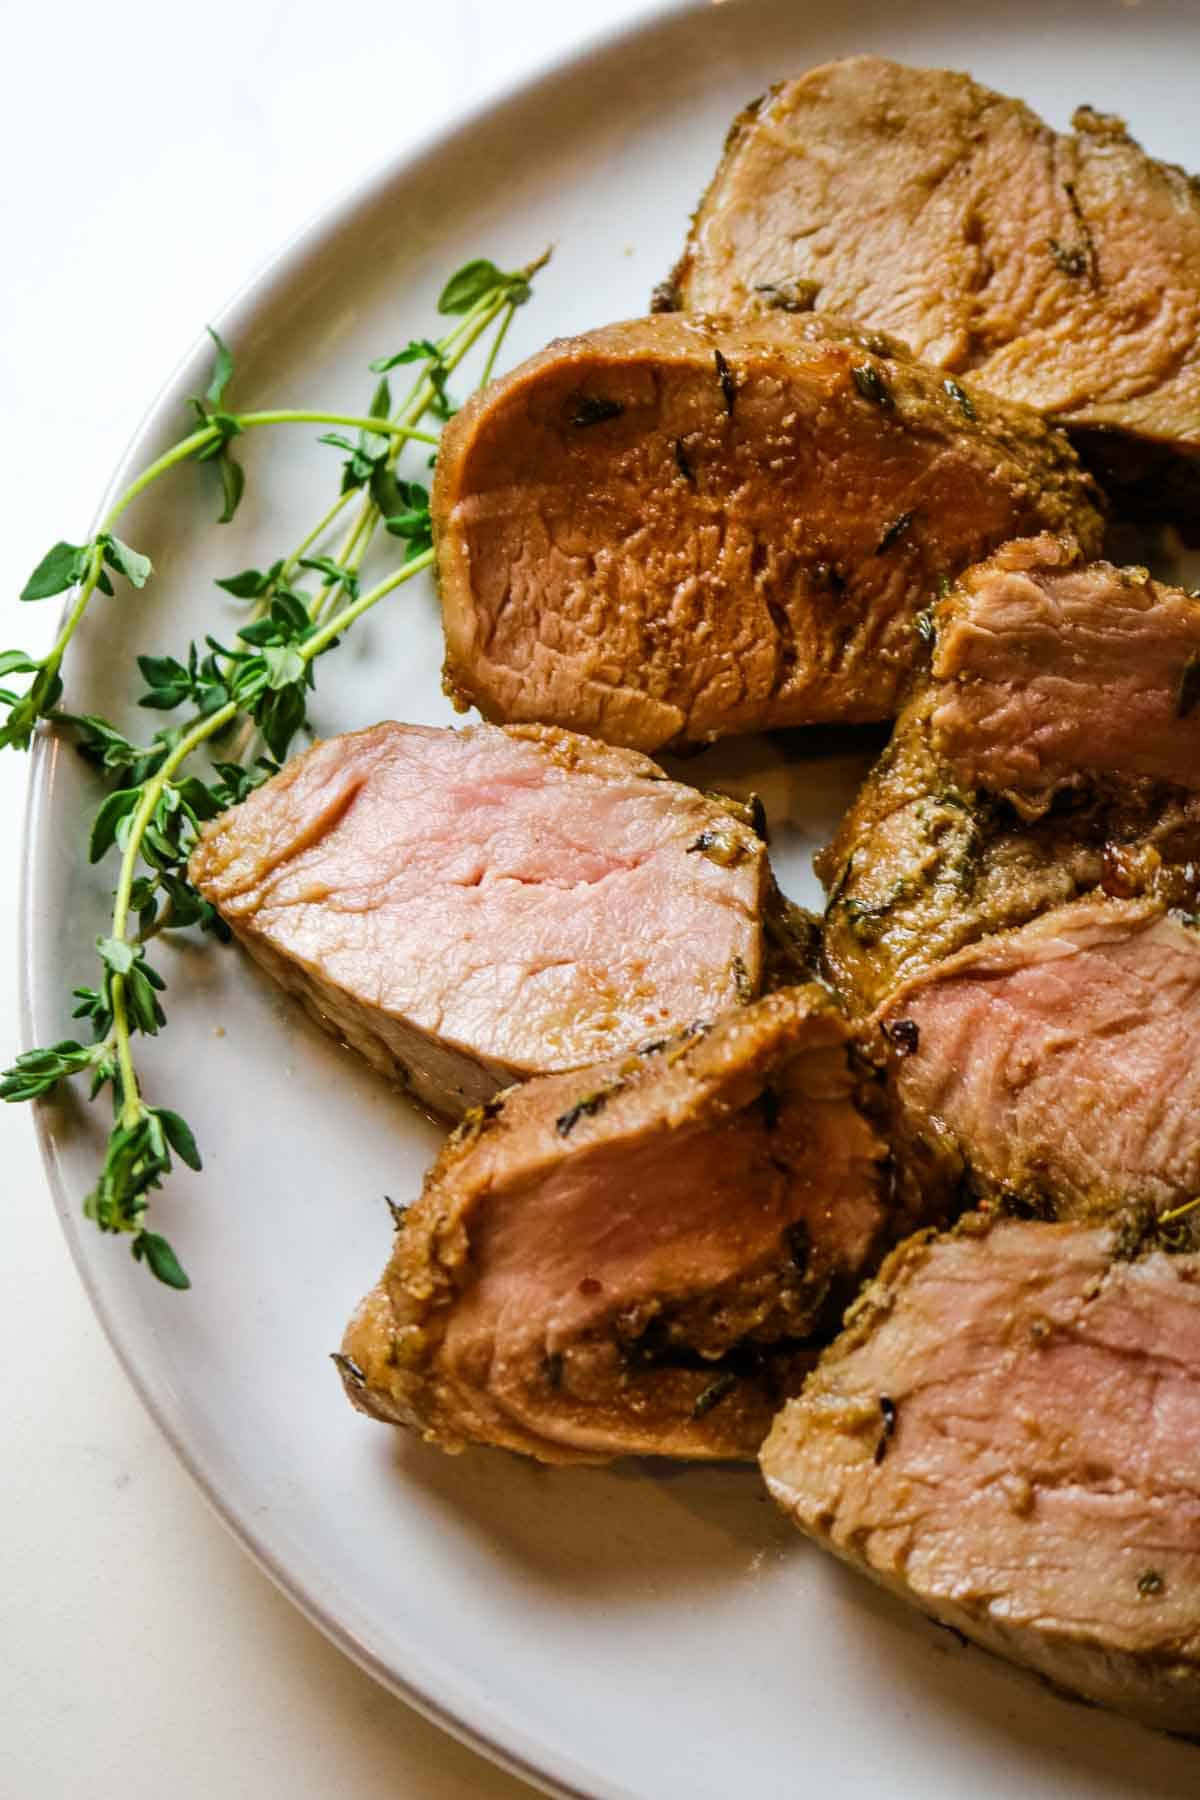
Non Traditional Christmas Eve Dinner Ideas
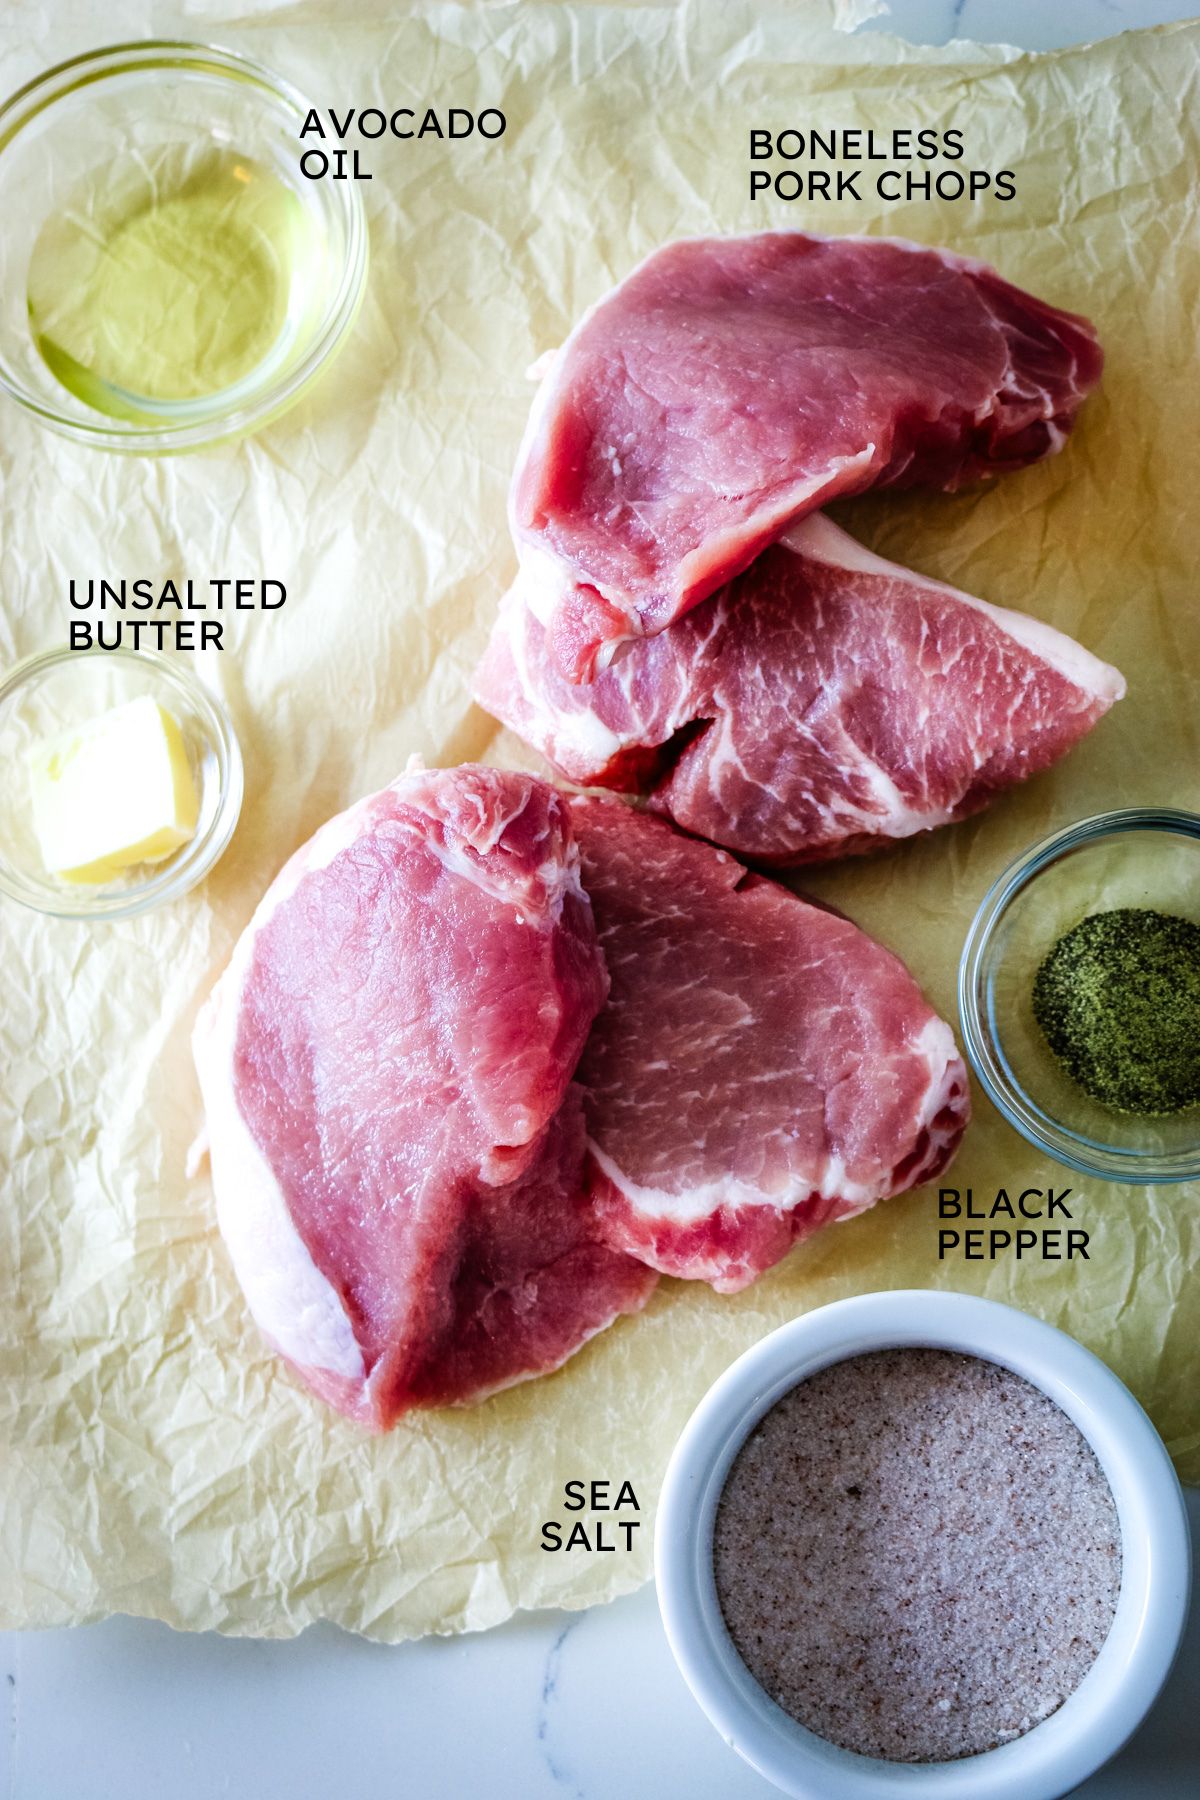
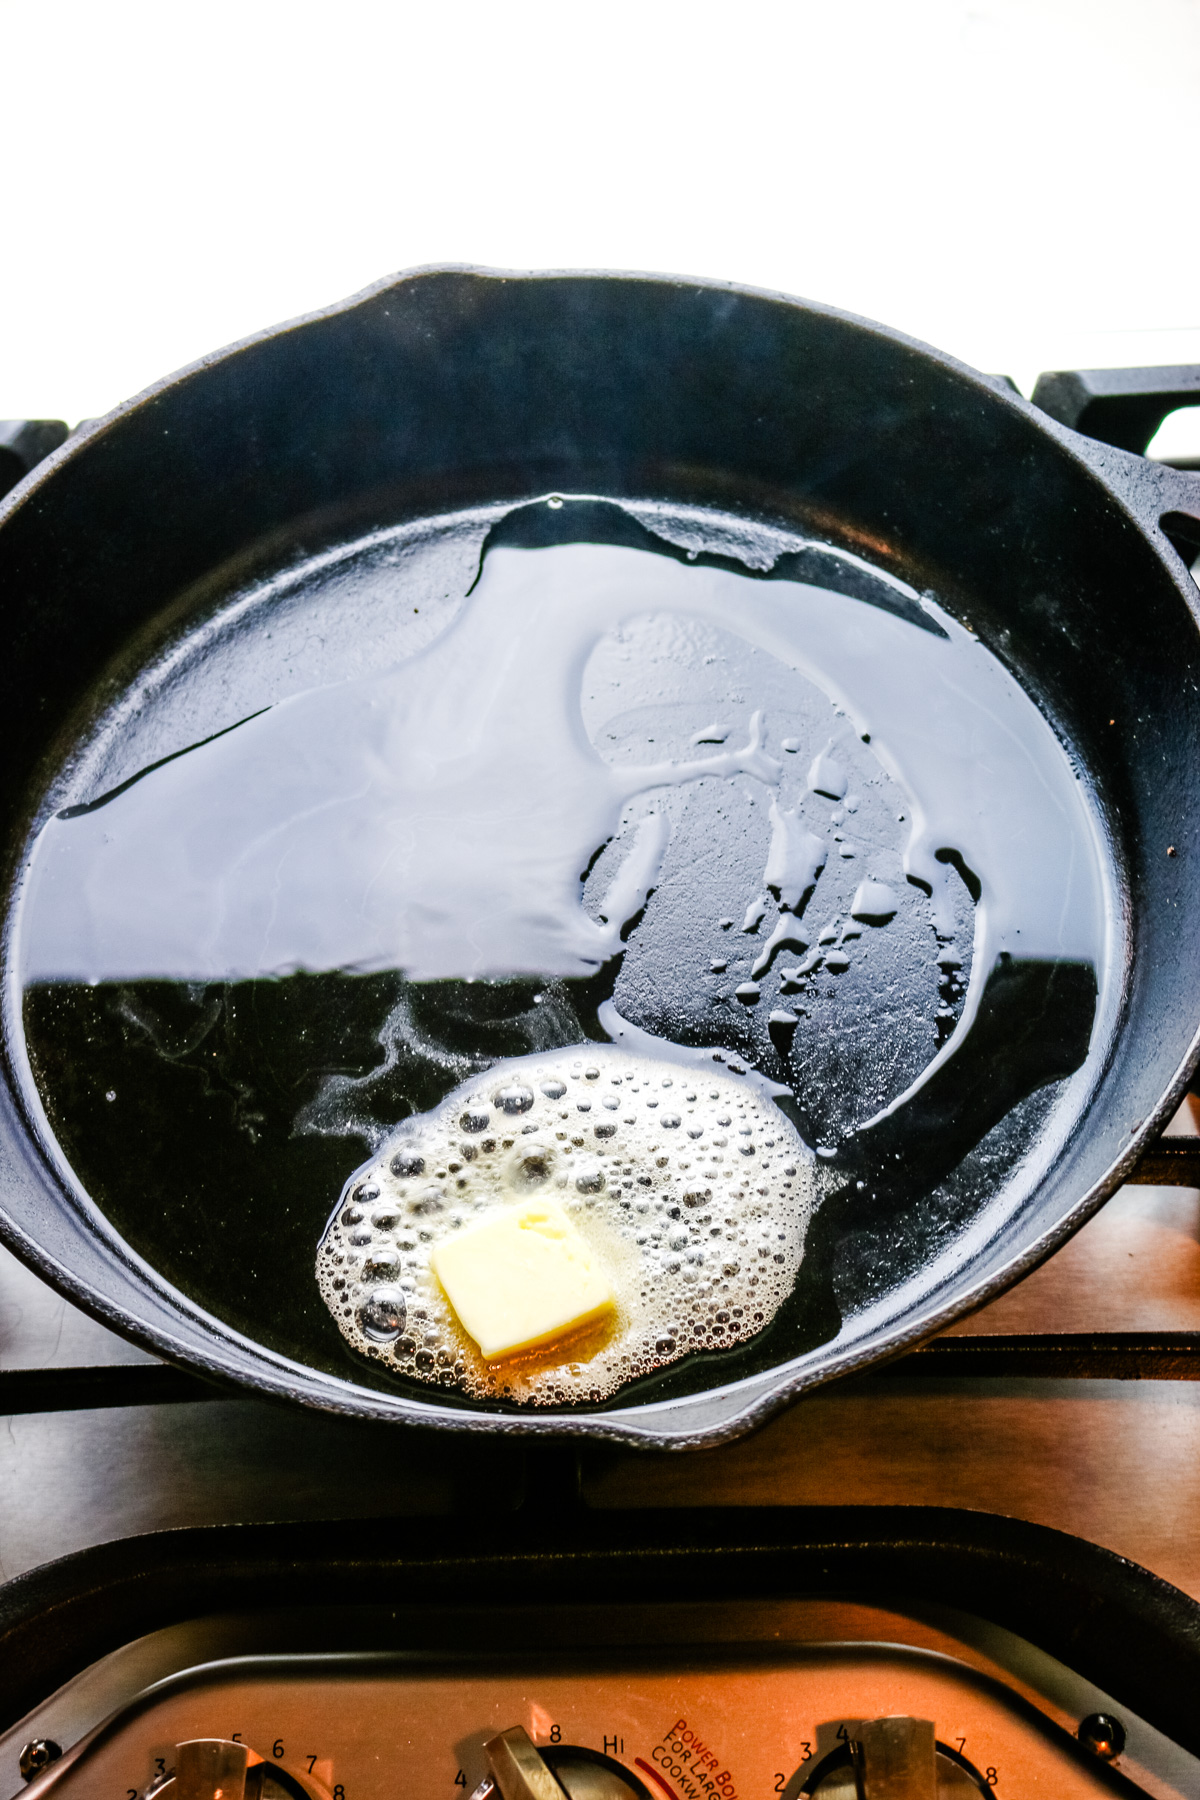
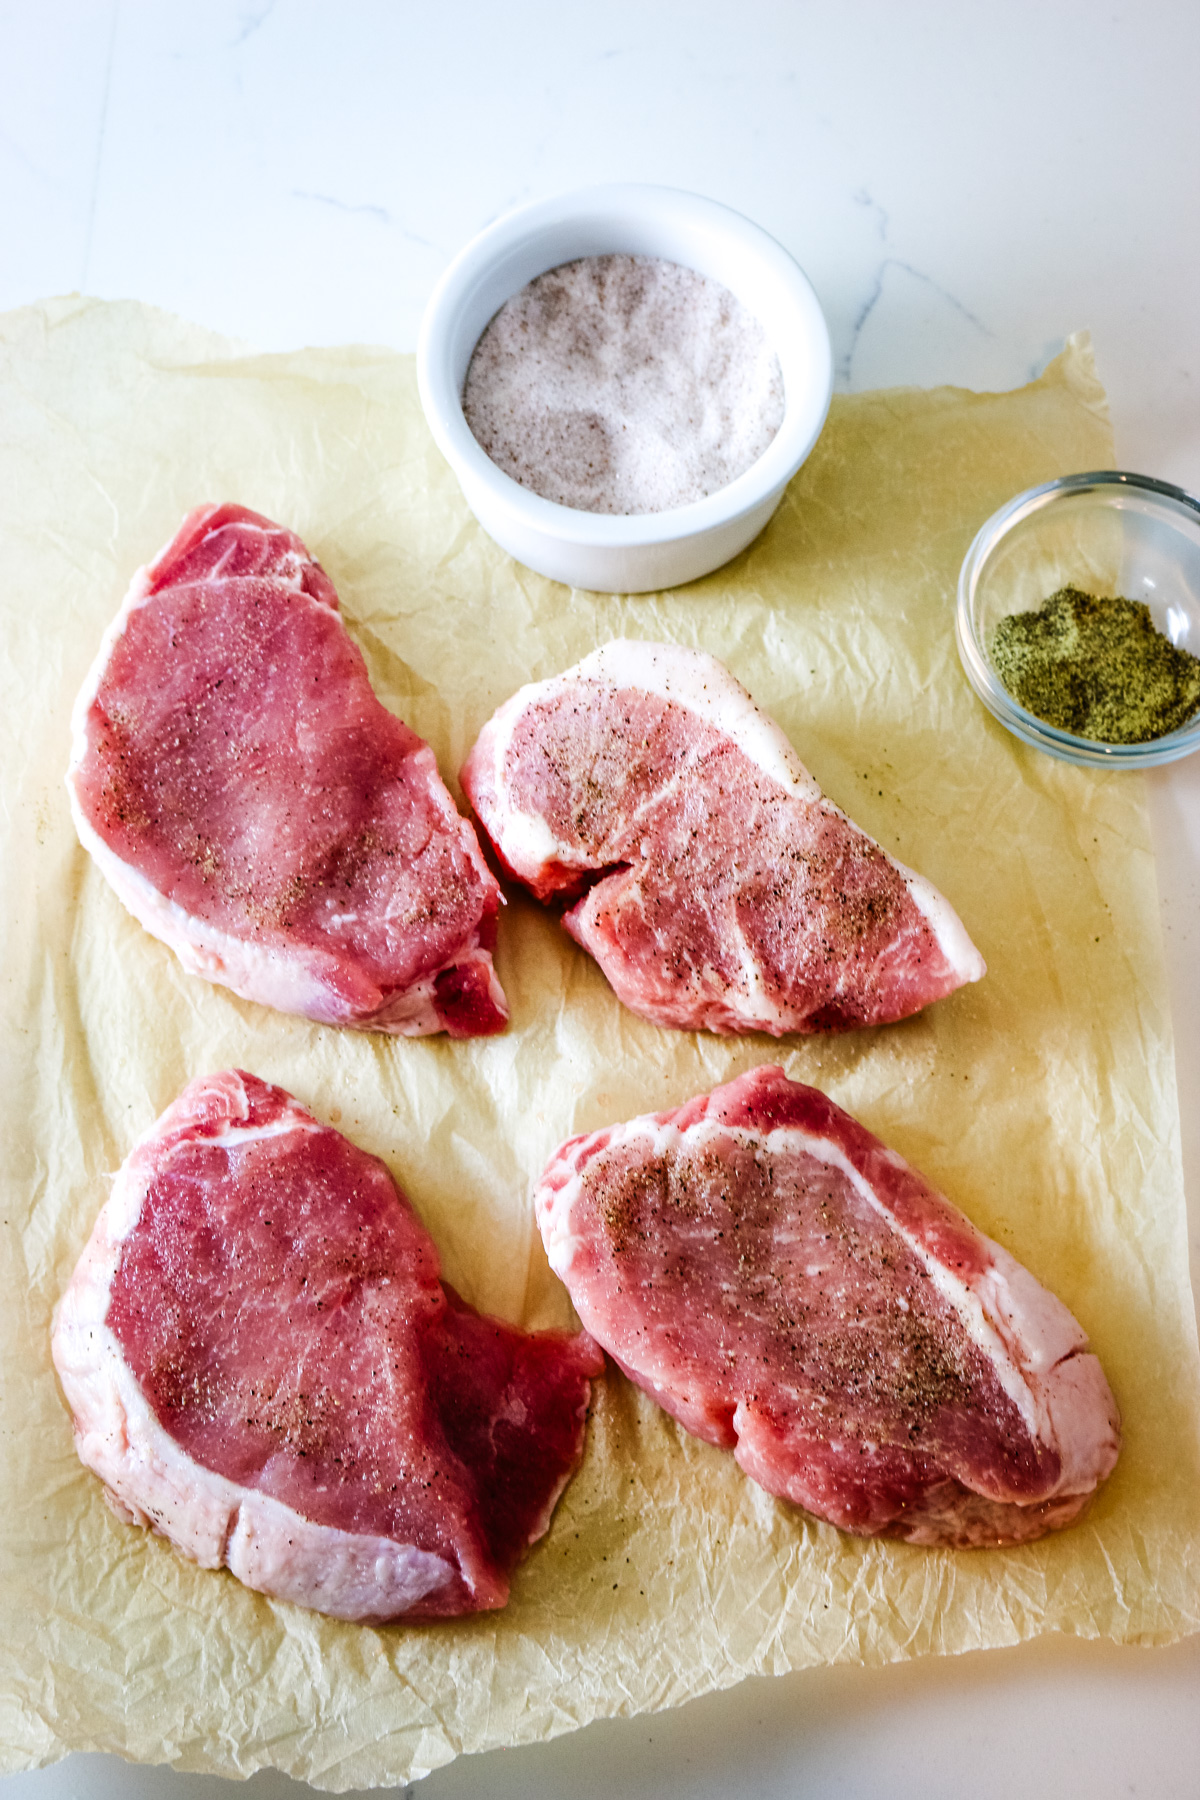
A delicious main course or two is the centerpiece of a good Christmas dinner and this delicious spread is no different. While a traditional turkey, prime rib, and roast duck, prime rib are a labor of love, these non-traditional recipes offer convenience and ease making your holiday dinner effortless and fuss-free.


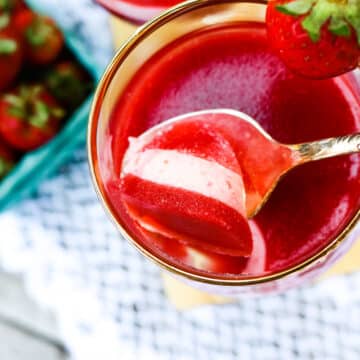
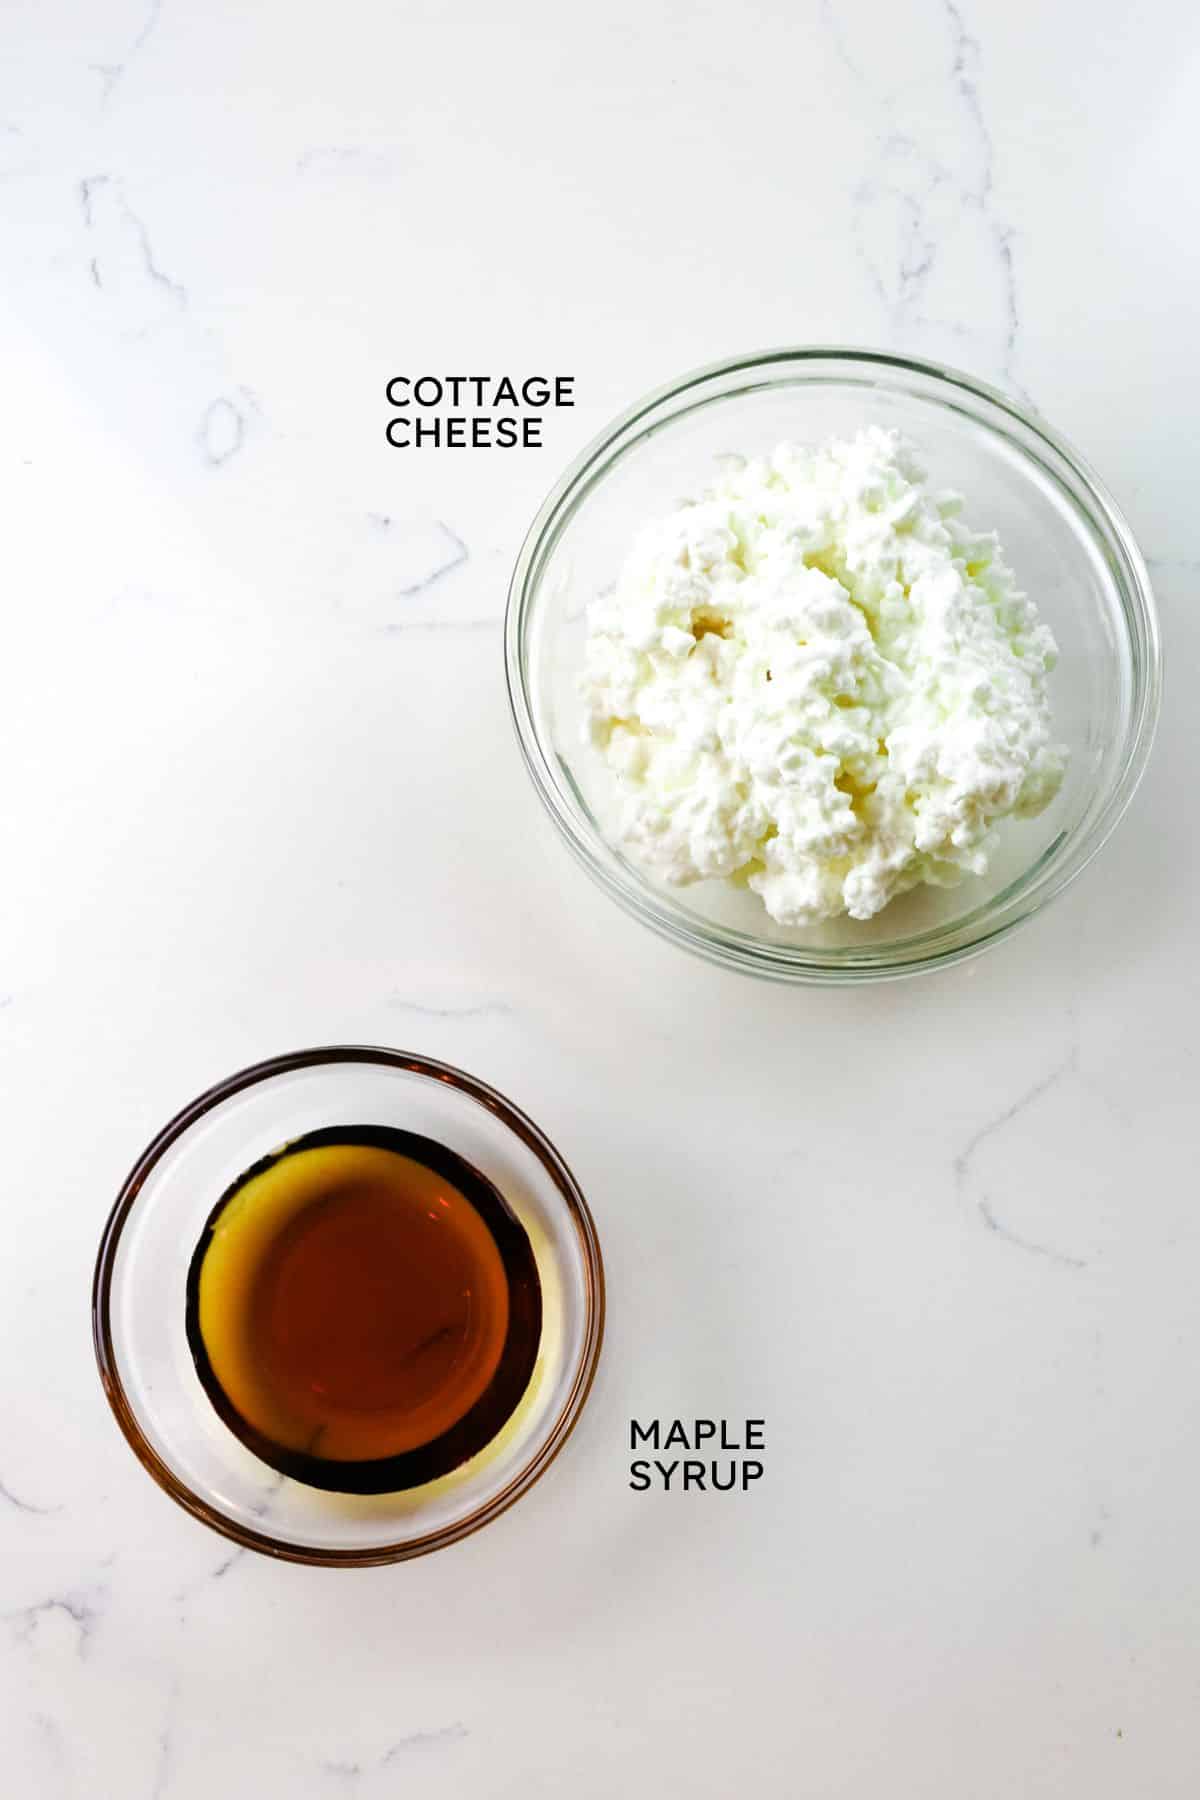
Delicious Non Traditional Christmas Desserts
No Christmas dinner menu is complete without a little bit of indulgence for the sweet tooth. Finish off your big dinner with a grand finale of Christmas dessert that is scrumptious, unconventional, and delightful. Take your dessert game to the next level with these unique treats that will make your holiday table extraordinary and memorable.


Helpful Tools & Links
Below are some affiliate links that may be helpful to you as you make this recipe. You can find some of these items cheaper at your local store but it helps to have a link so you know what you're looking for.
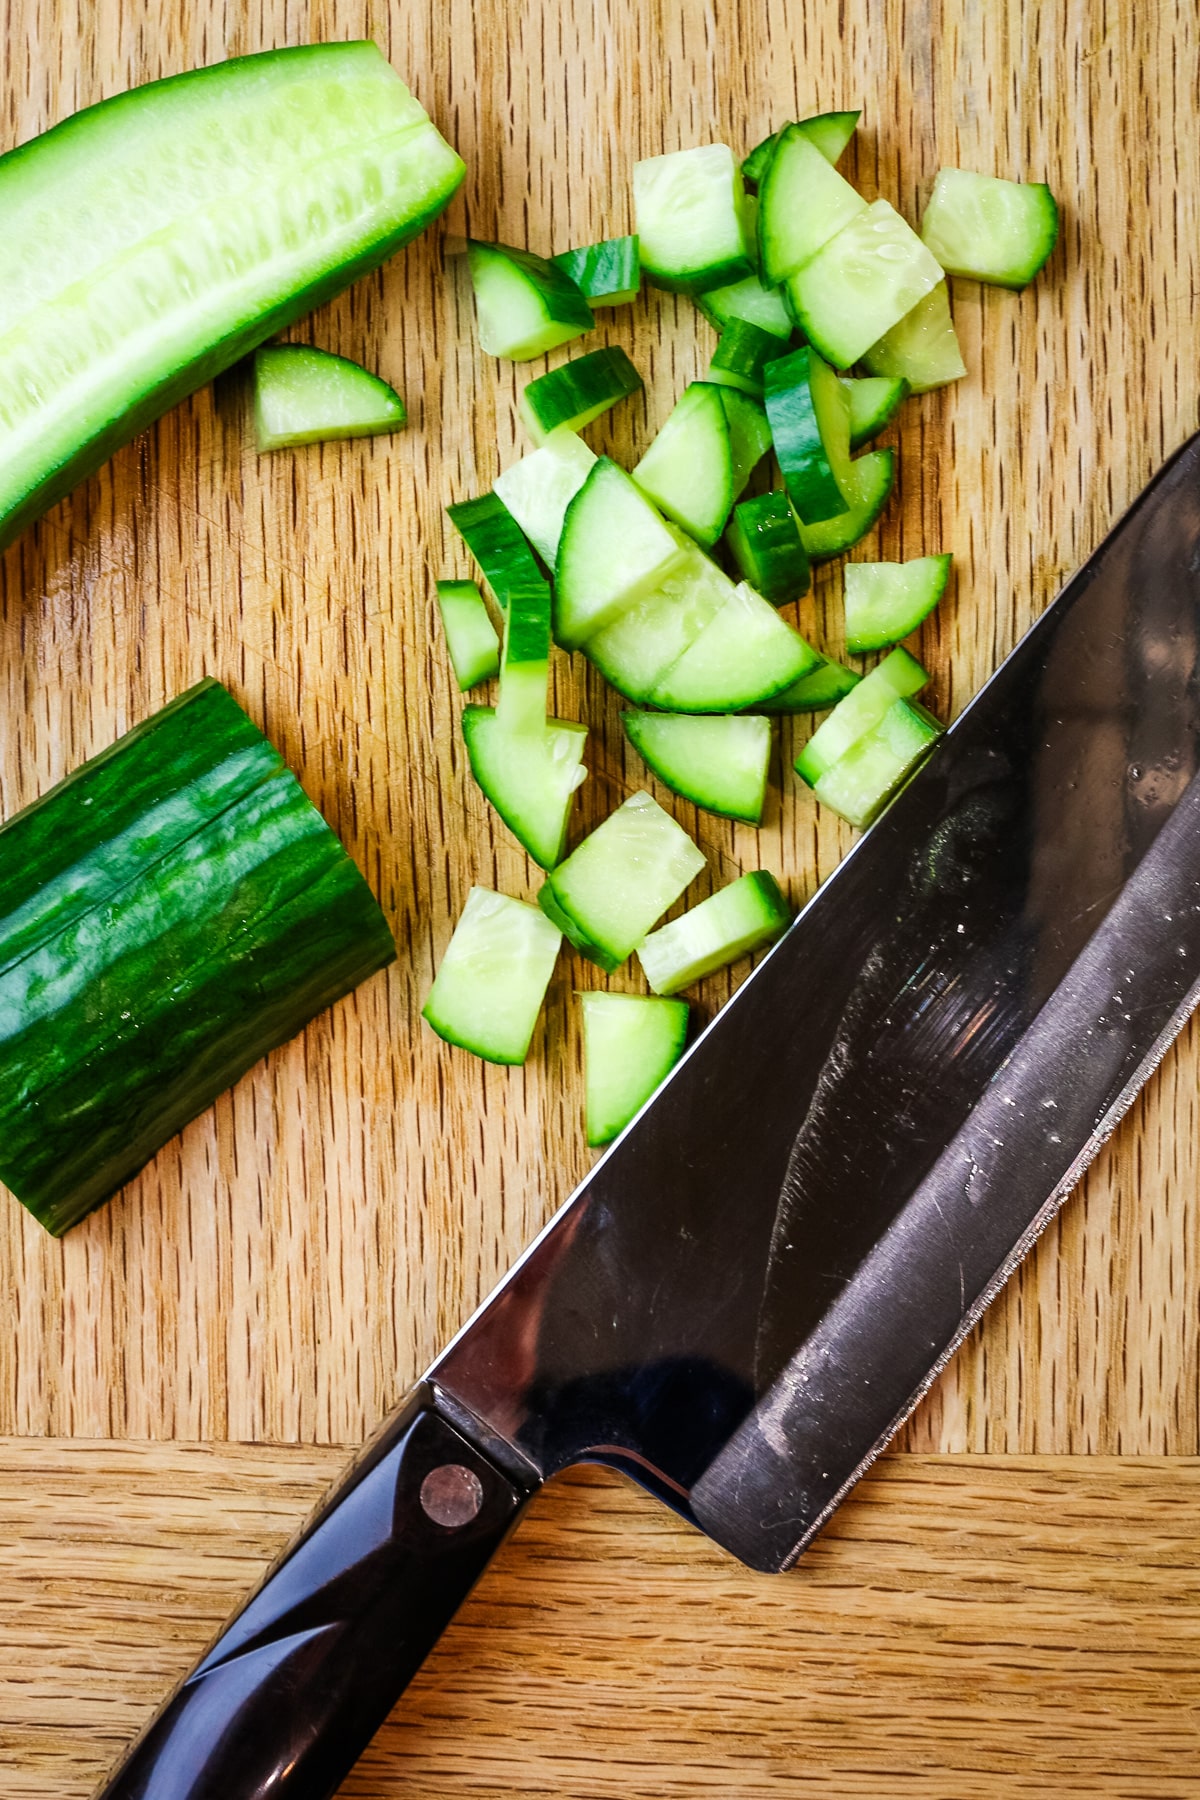
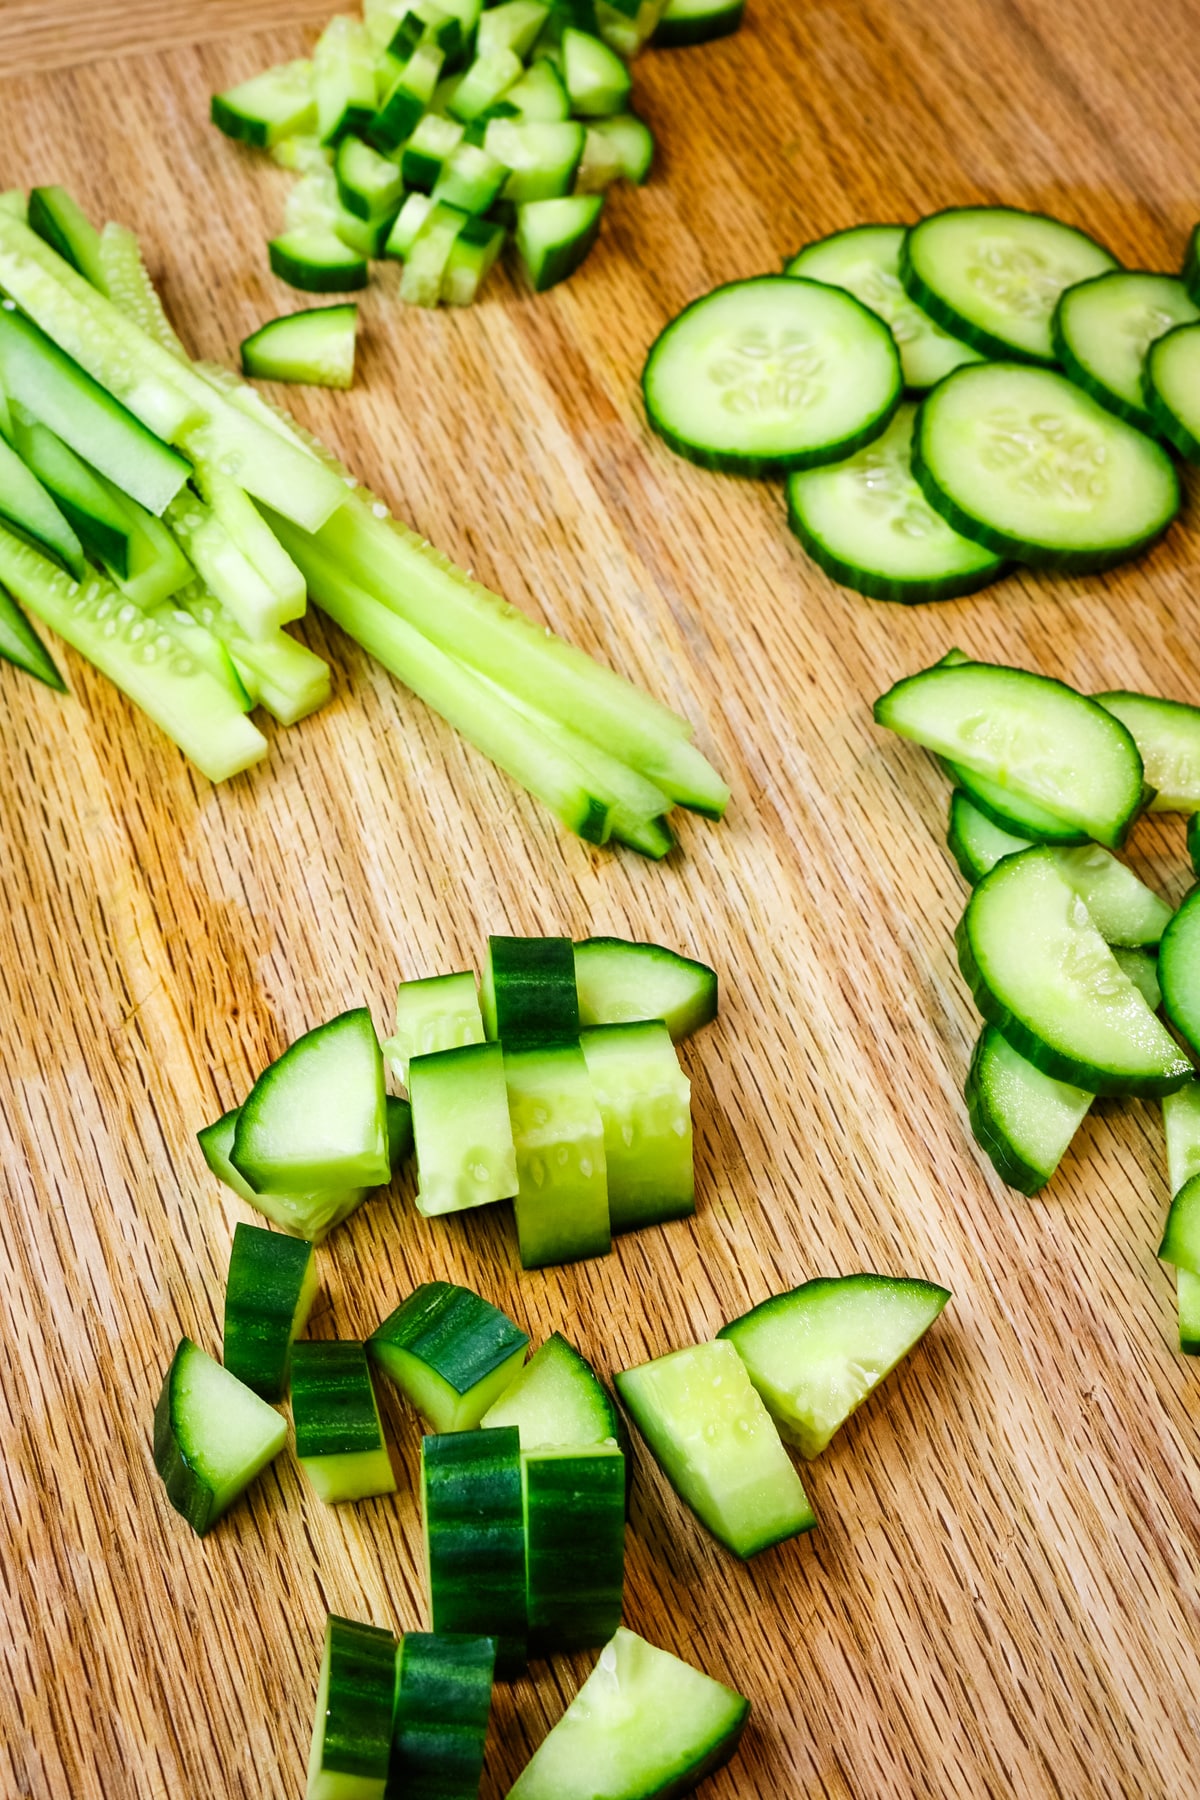
Kitchen tools: Be sure you have a good cutting board, large mixing bowl, and a sharp chef's knife.
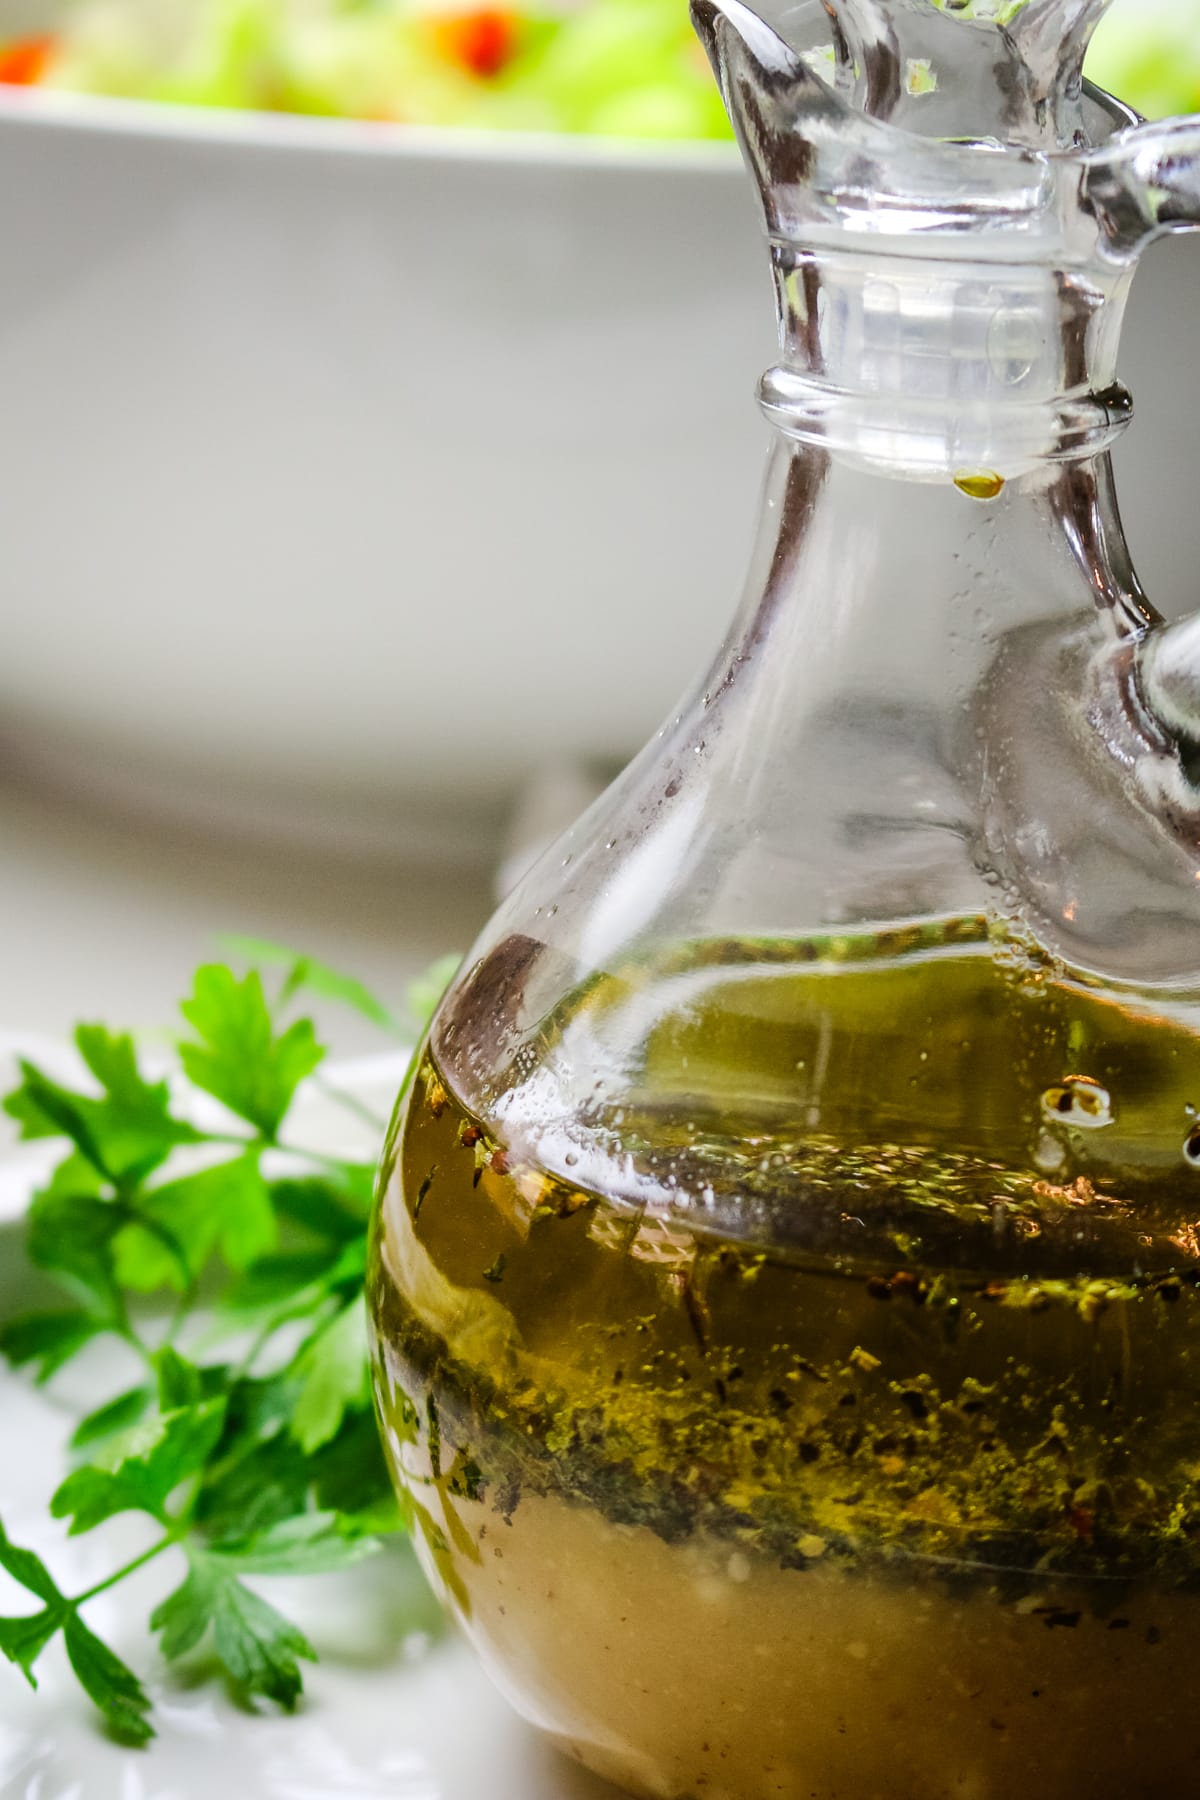
Serving vessels: You may find these helpful as you serve your non-traditional Christmas dinner - ceramic baking dish, serving platter set, large salad bowl, and a pretty glass pitcher for chilled drinks like lemonade and hibiscus punch.
Storage supplies: Have any leftovers? Store them in glass snap containers or Weck jars for drinks or salad dressings.

FAQs
Traditional Christmas dinner recipes vary from region to region and family to family. However, non traditional Christmas dinners often include dishes that diverge from the typical roasted turkey or honey-glazed ham. Some alternative Christmas dinners feature unique proteins like lamb or seafood and serve ethnic side dishes like bok choy and cabbage.
Each section provides a variety of appetizers, salads, side dishes, main course, and desserts. Mix and match to create a well-balanced and exciting Christmas dinner menu. I recommend you throw in a few familiar dishes that the entire family will love.
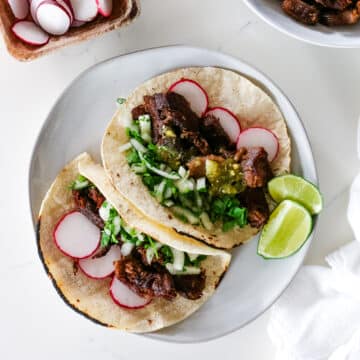
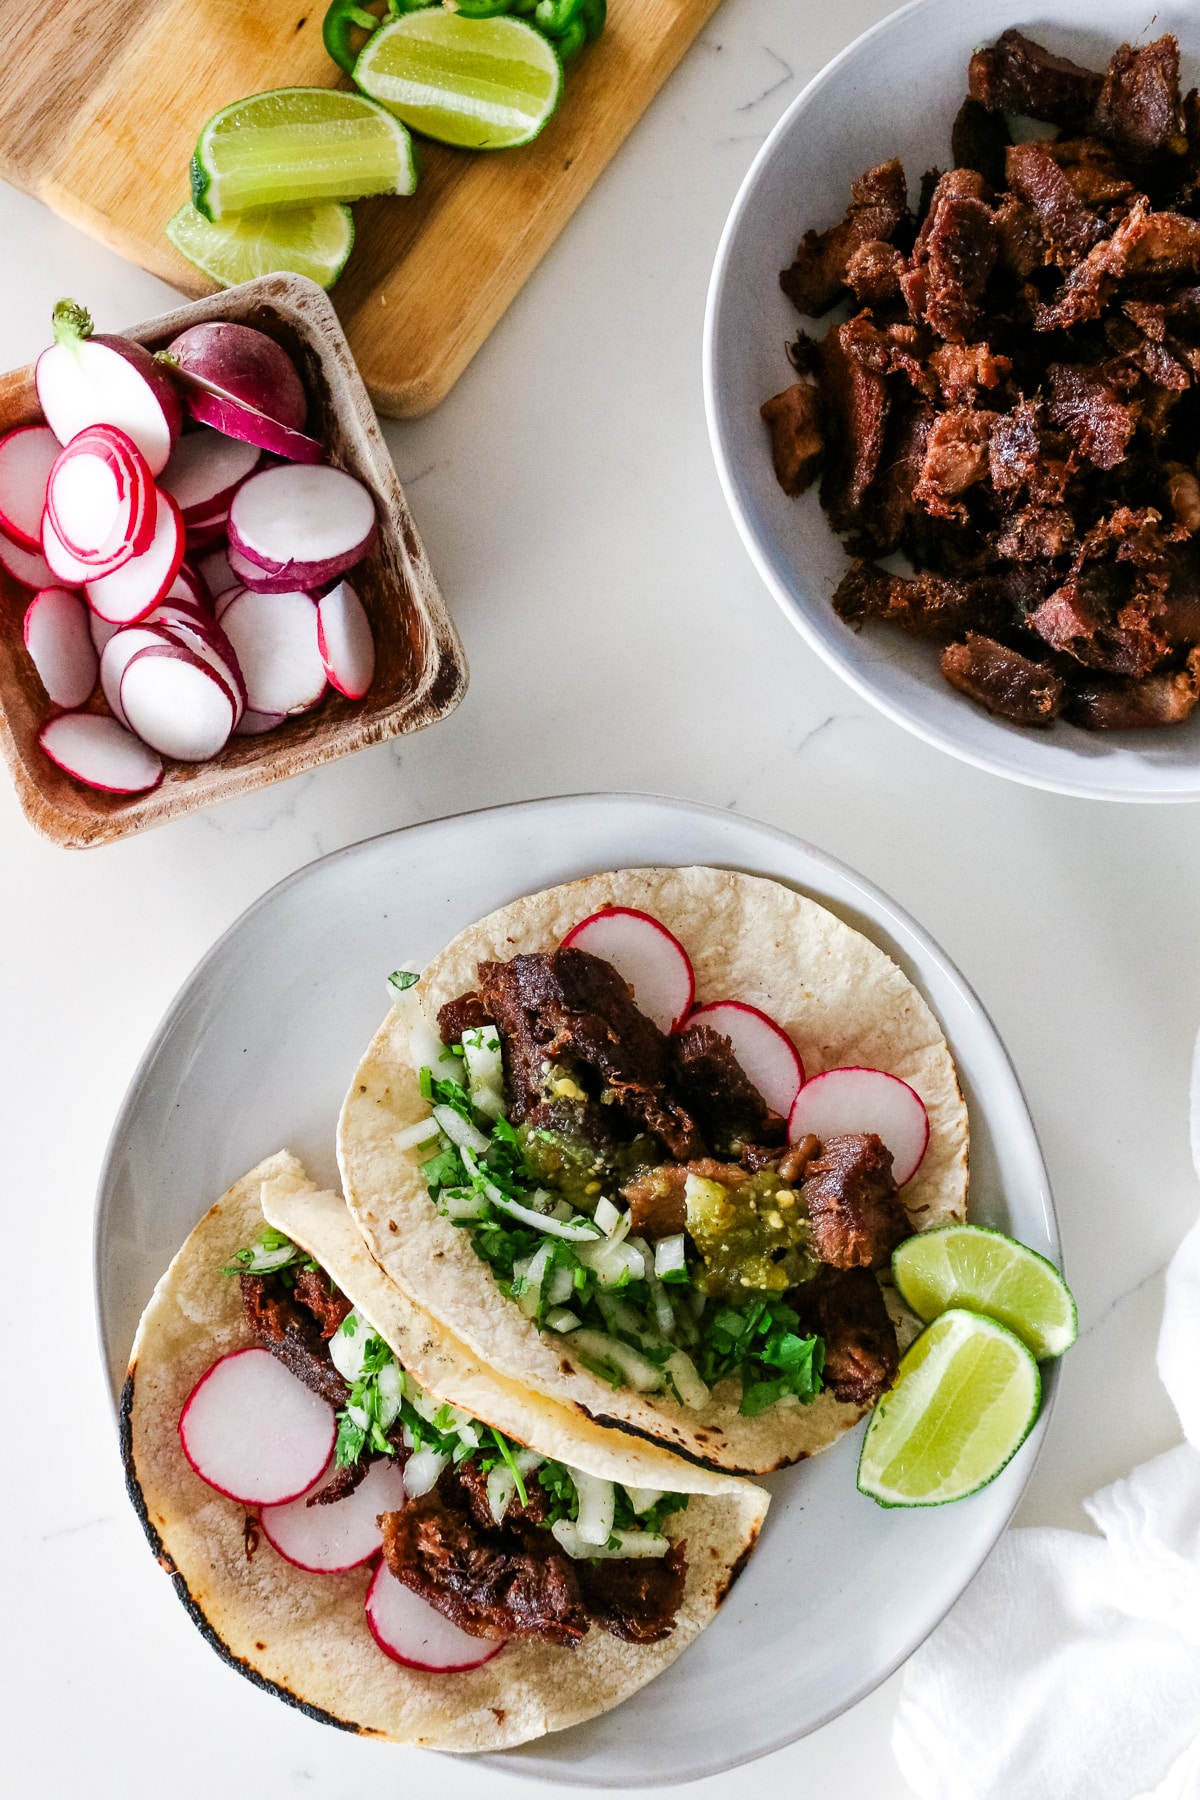
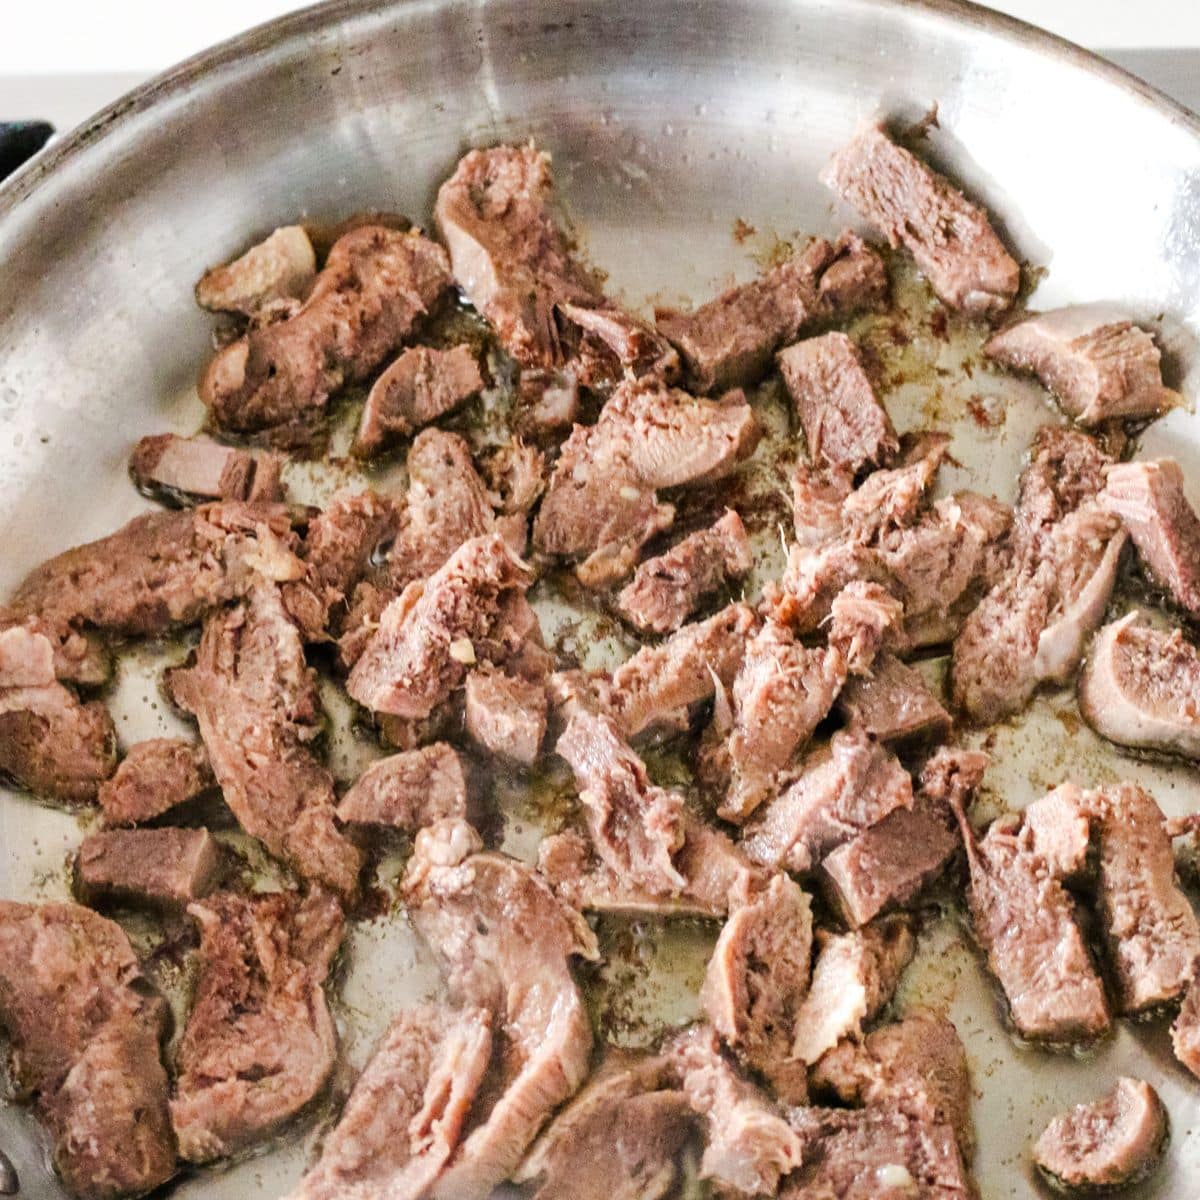
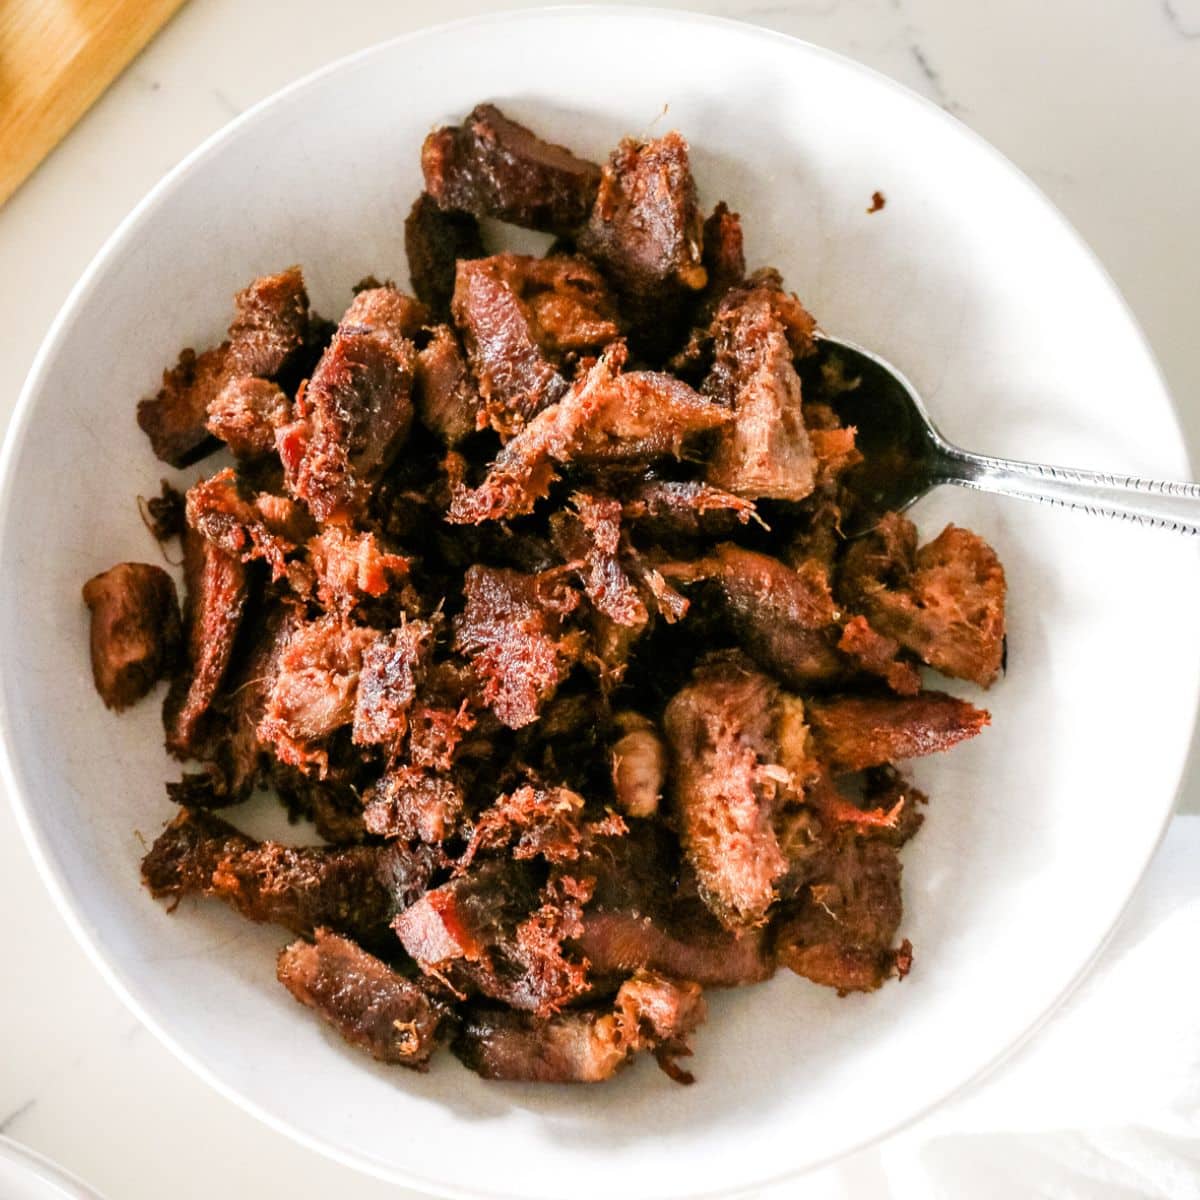
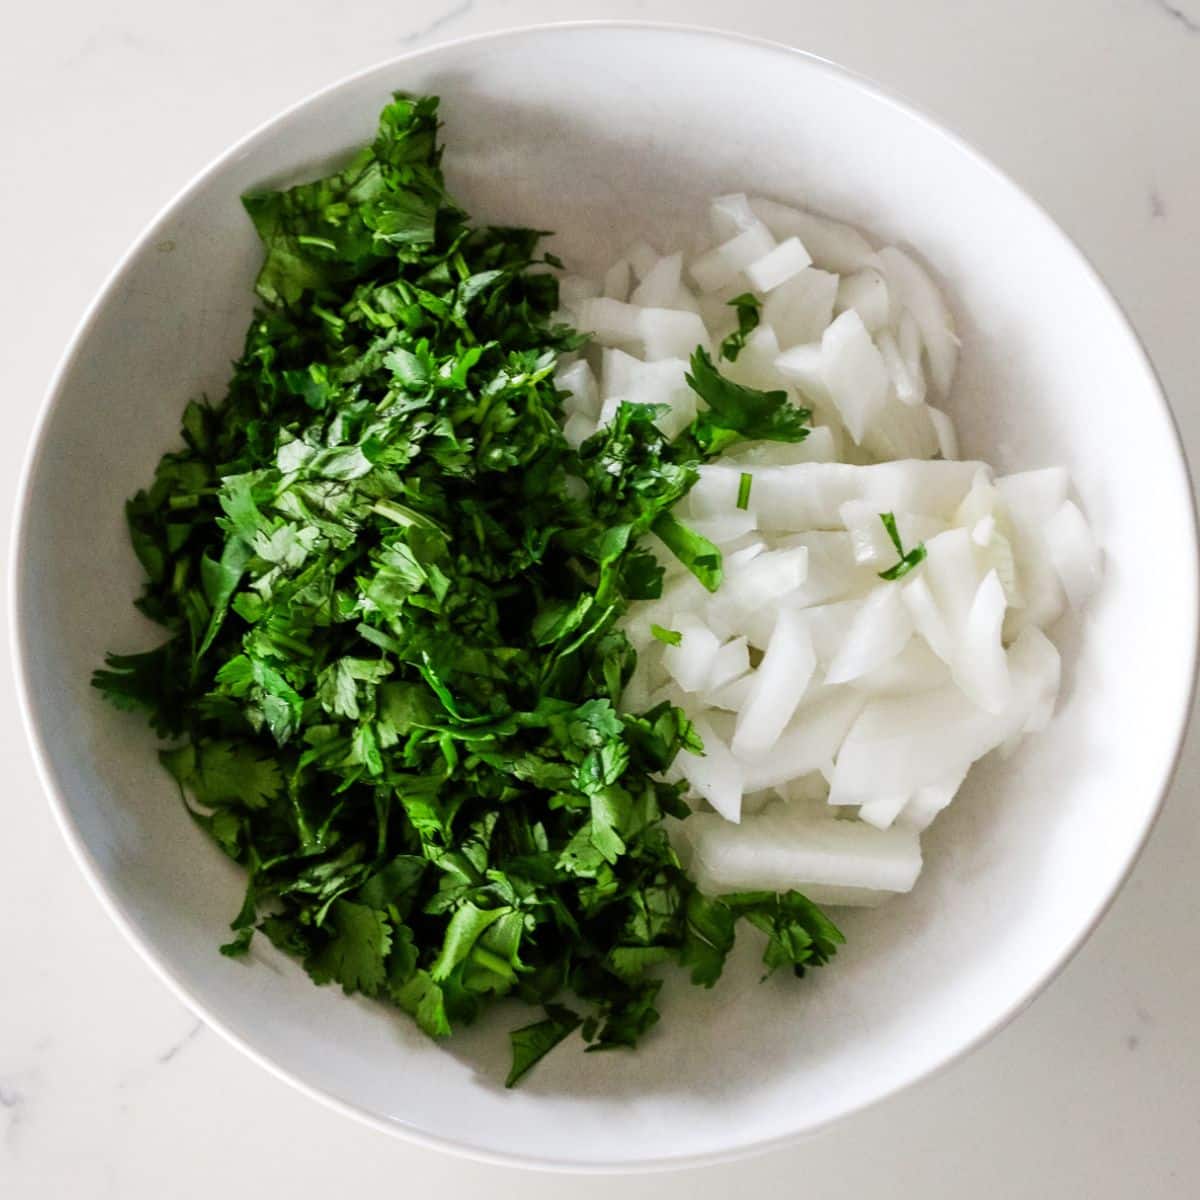
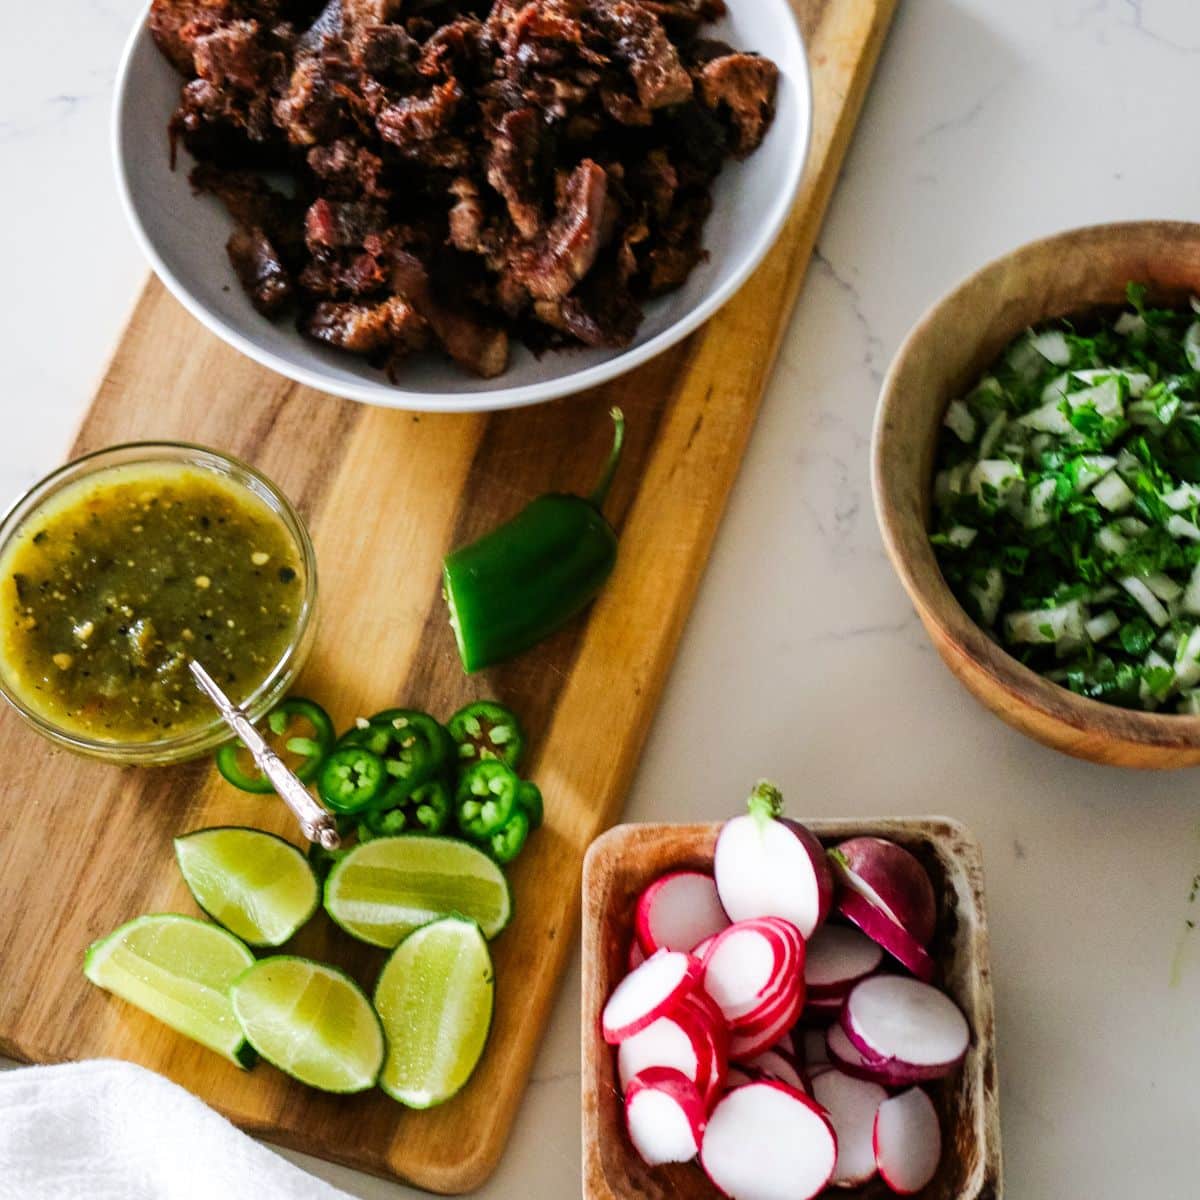
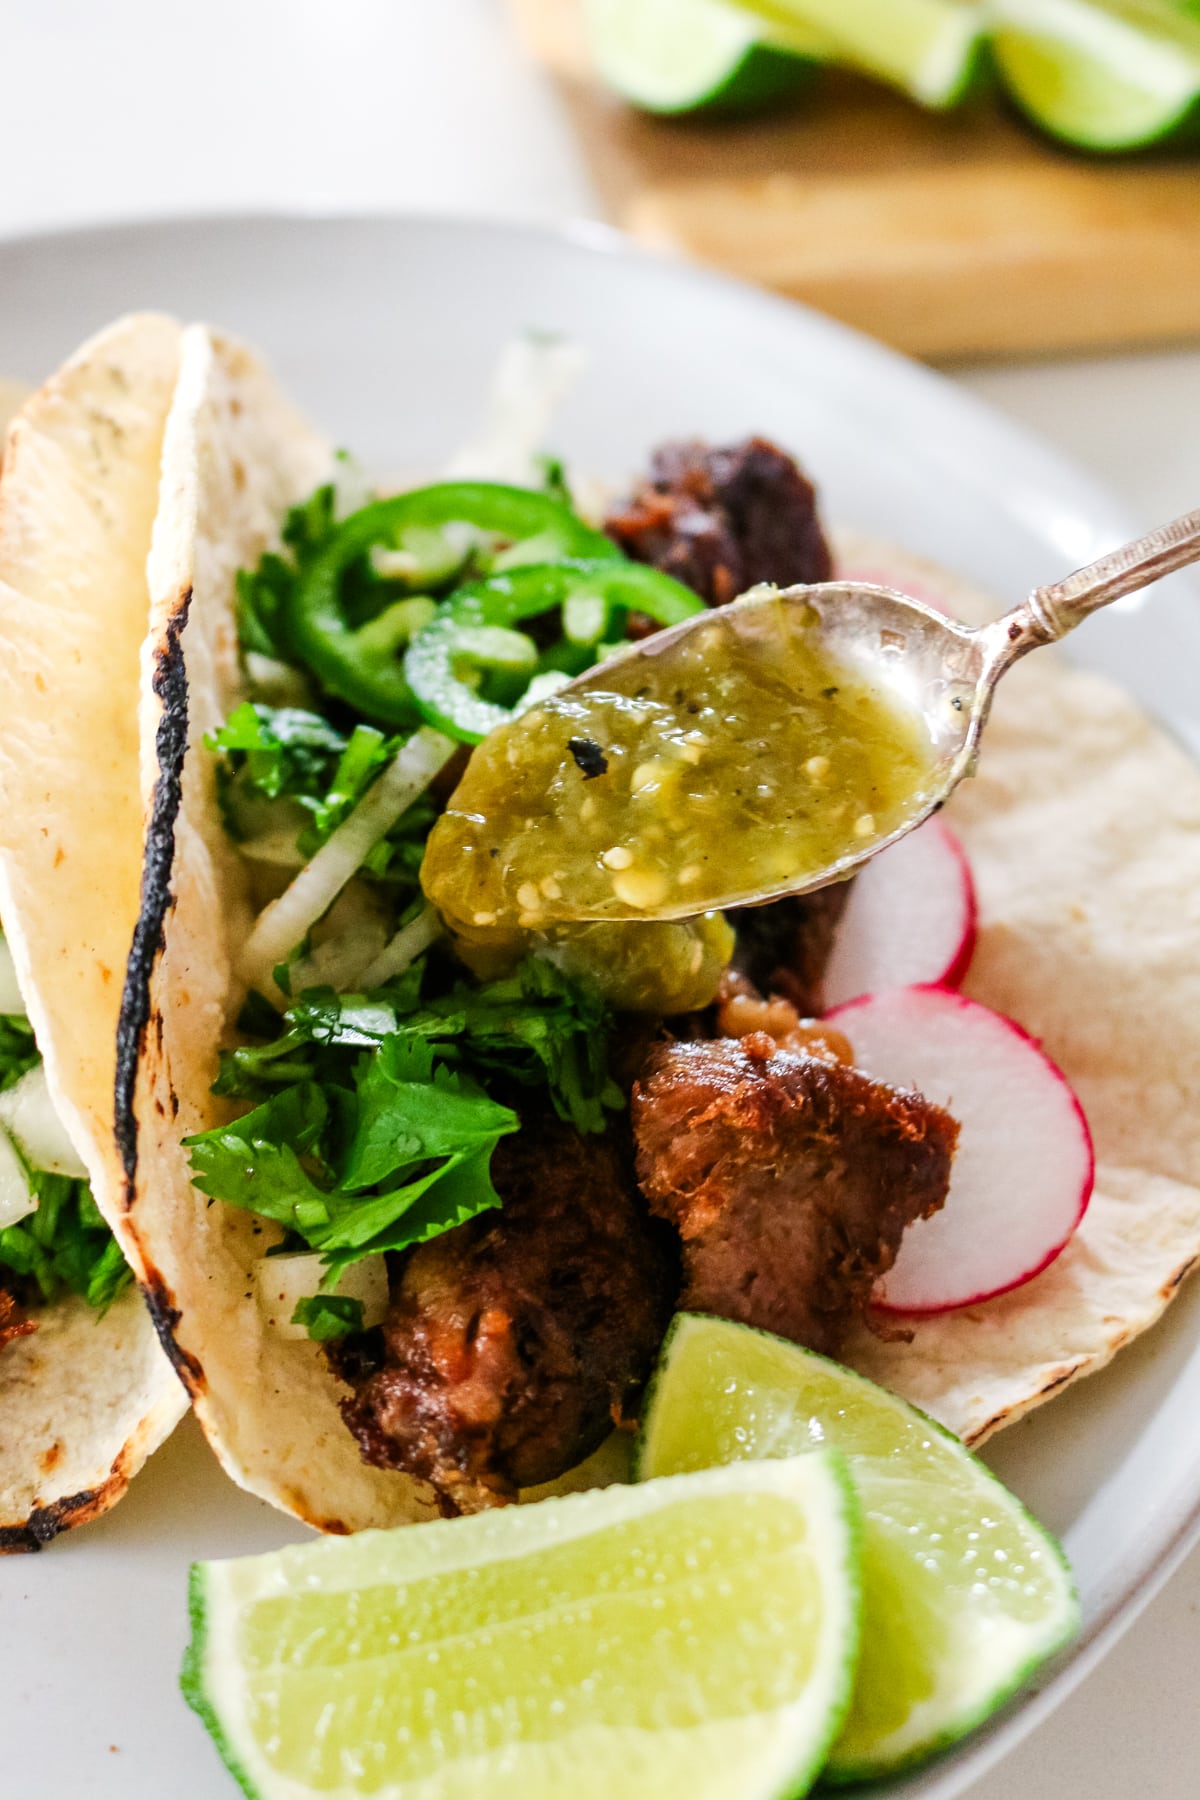
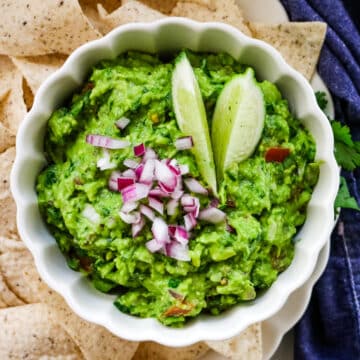
For very easy hassle-free recipes to serve on your on non traditional Christmas Eve dinner, consider options like sheet pan salmon dinner for a lighter alternative or a taco bar complete with carnitas, ground beef taco meat, and various toppings including fresh or fermented salsa, guacamole, and more!
Looking for more related roundups? Here are some ideas: