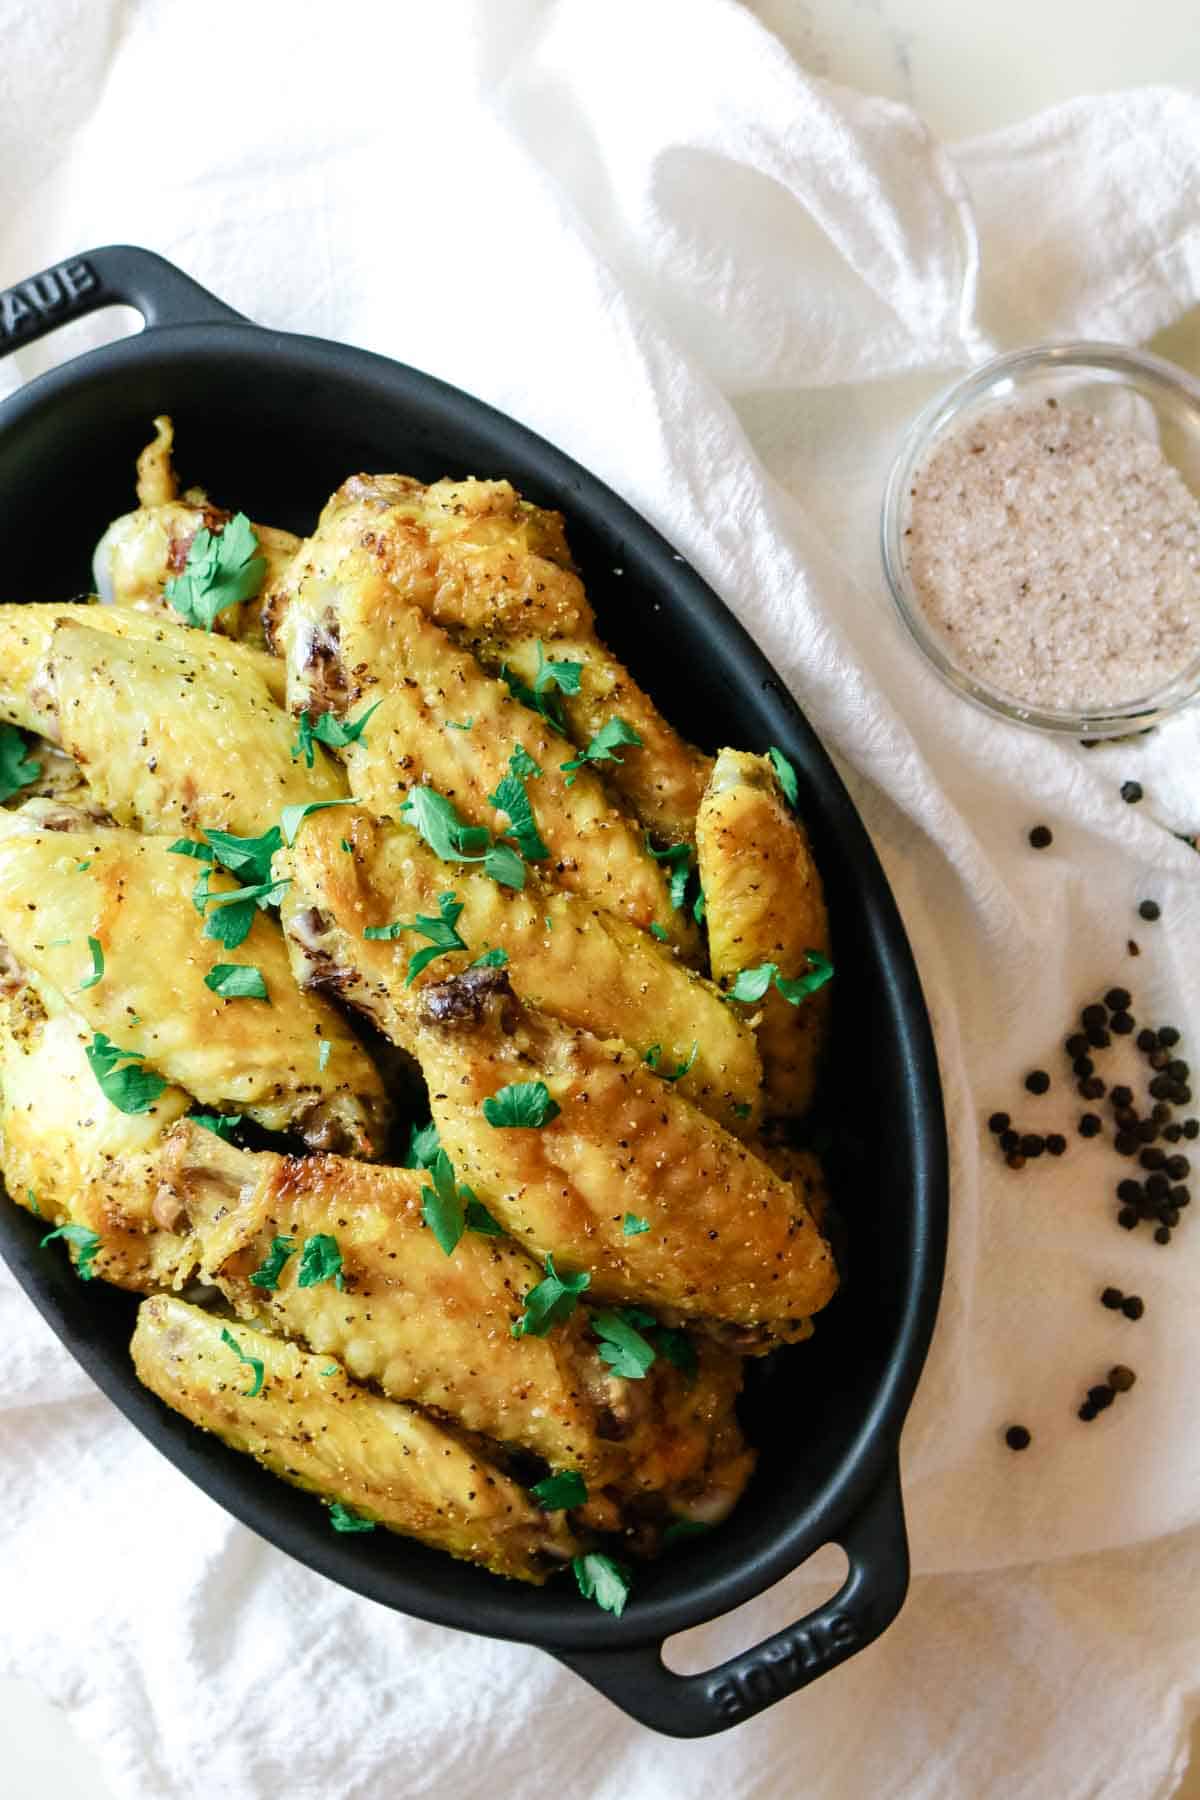
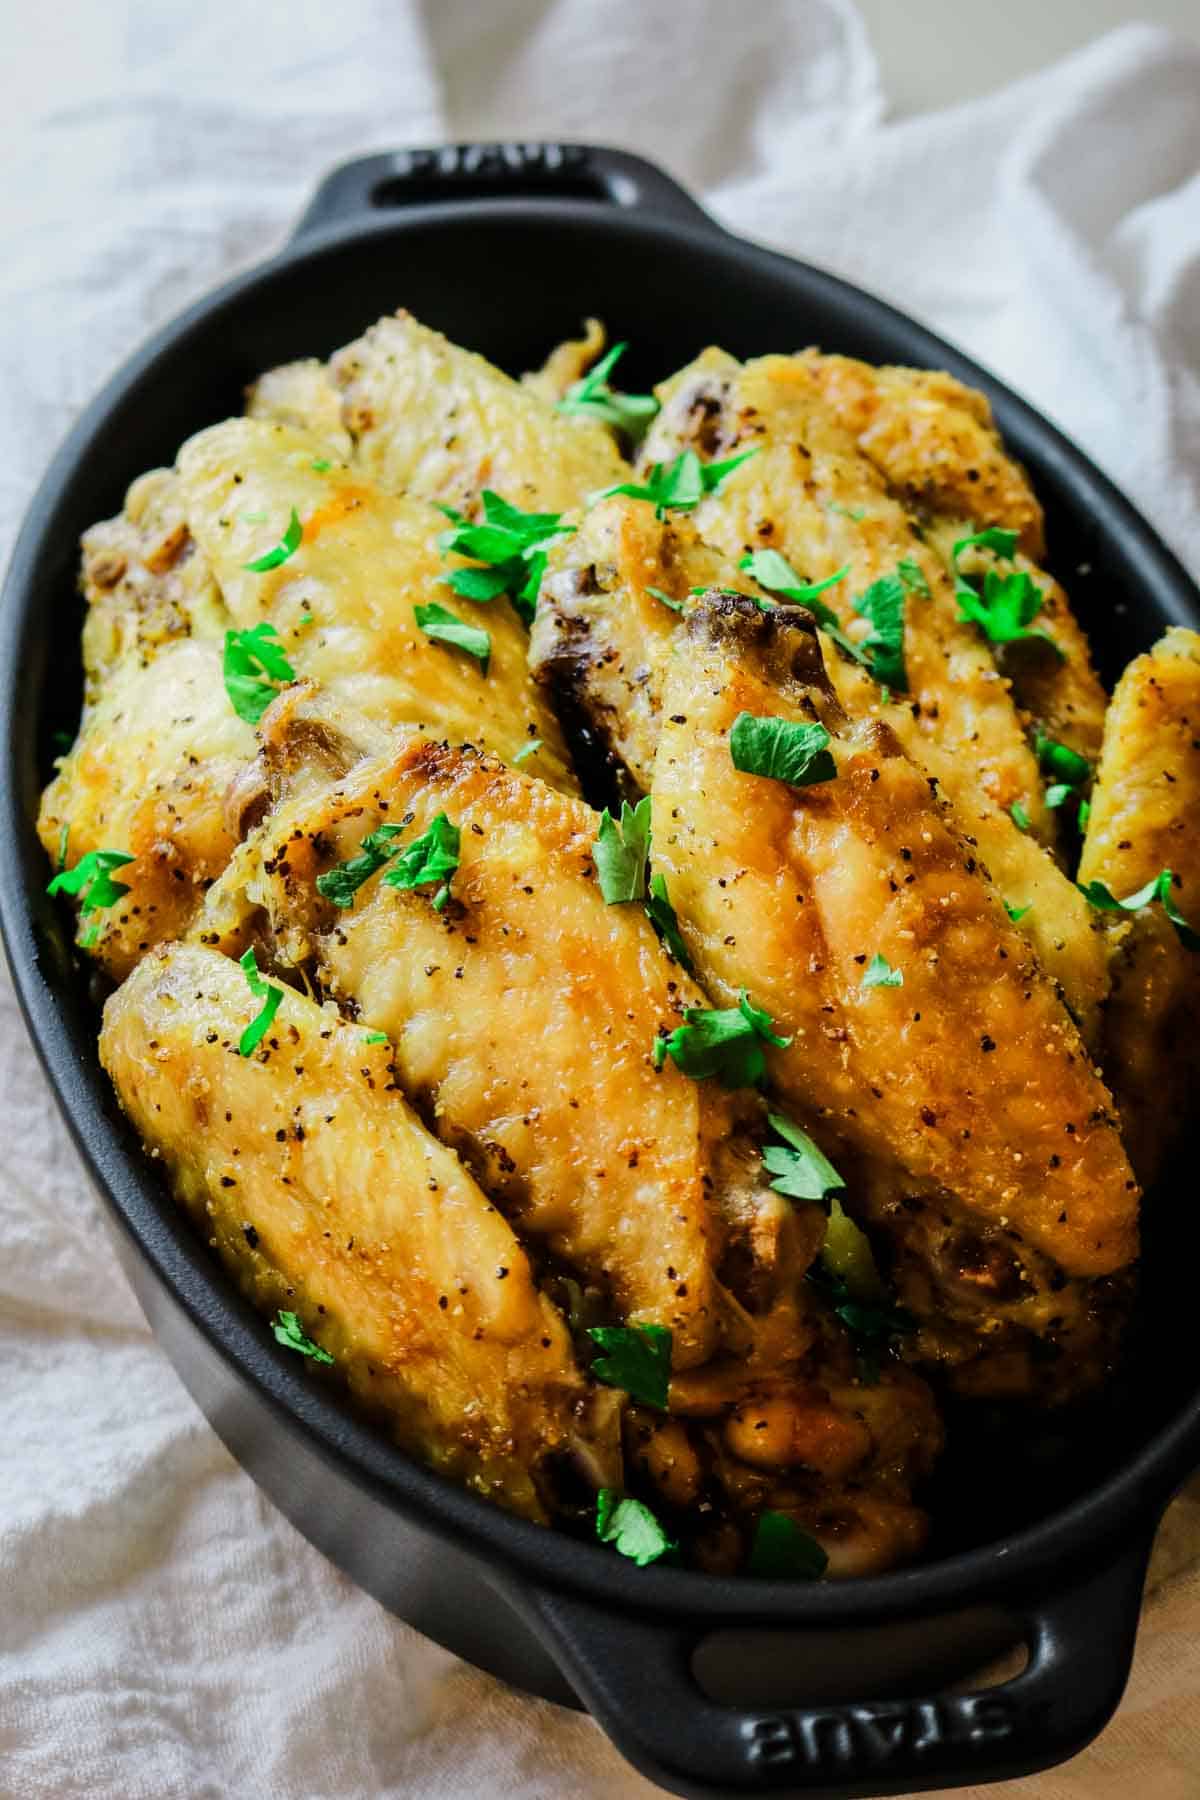
These Crispy Baked Salt and Pepper Chicken Wings recipe requires only 4 simple ingredients and comes together in 30 minutes in your oven or air fryer. These wings are seasoned with salt and pepper and baked until crispy, delicious, and golden brown. Pair them with your favorite side or salad for a quick and nourishing meal!
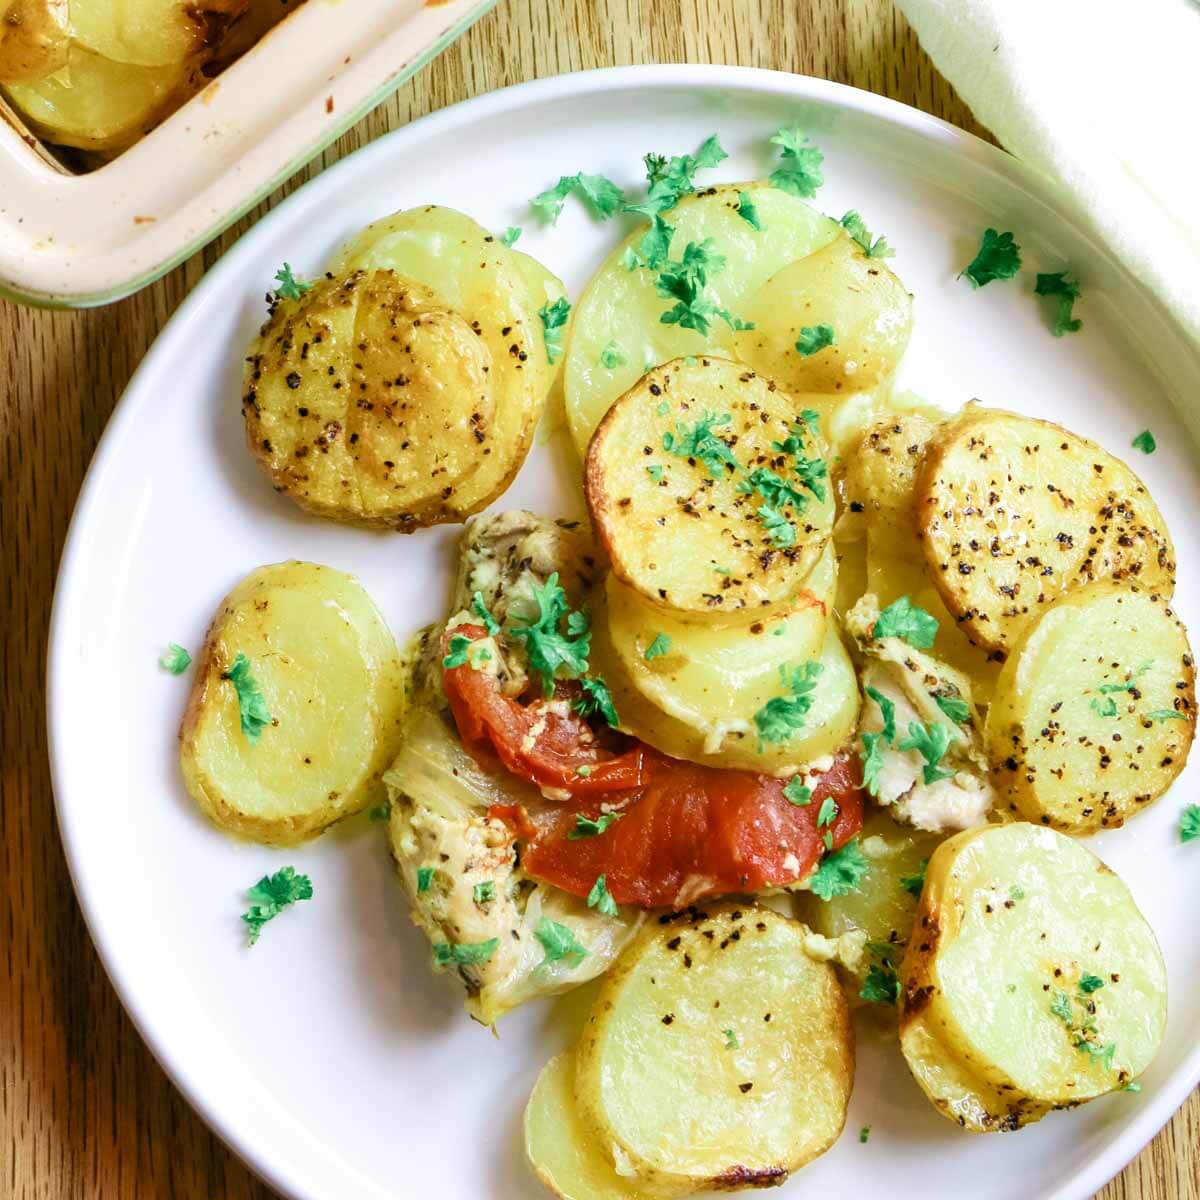
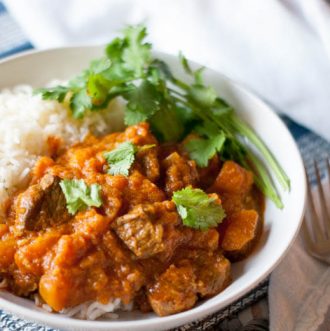
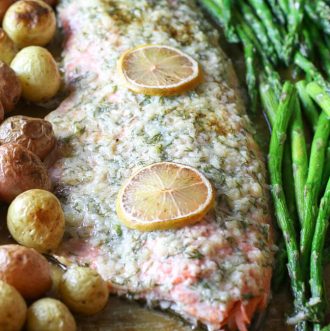
You will appreciate this salt-and-pepper chicken wing recipe. Pair it with a fresh salad and roasted potatoes, and you have a complete and balanced meal that the whole family will love!
The simple salt and pepper combination brings out the chicken's natural flavor while adding a subtle spice that makes these amazing wings delicious and addictive.
The key ingredient to getting that crispy skin on the chicken wings may be something other than food. Keep reading for tips to achieve that coveted crunchy texture on the wings.
[feast_advanced_jump_to]Why you'll love this chicken wings recipe
Crispy texture - Baking chicken wings in the oven or air fryer creates a crispy exterior that can be satisfying. The salt and pepper seasoning enhances the flavor of the wings, making them even more delicious.
Easy to make - Baking chicken wings in the oven or air fryer is a simple and easy cooking method that requires minimal effort. Once you've seasoned the wings, you only need to pop them in the oven (or air fryer!) and wait for them to cook. It's an excellent option for busy weeknights or entertaining guests.
Versatile - Serve this with a large salad for a complete meal, or make a big dinner with potatoes, roasted veggies, and a side salad. You can also serve these wings as an appetizer, paired with dipping sauces like ranch, blue cheese, buffalo sauce, or sriracha mayo. However you choose to serve these wings, they are a versatile option you can easily customize.
Simple yet flavorful - Consider these basic chicken wings without all the fluff, seasonings, and breading. It's a simple yet flavorful way to prepare them without needing a lot of additional ingredients. Plus, it's an excellent option for picky eaters.
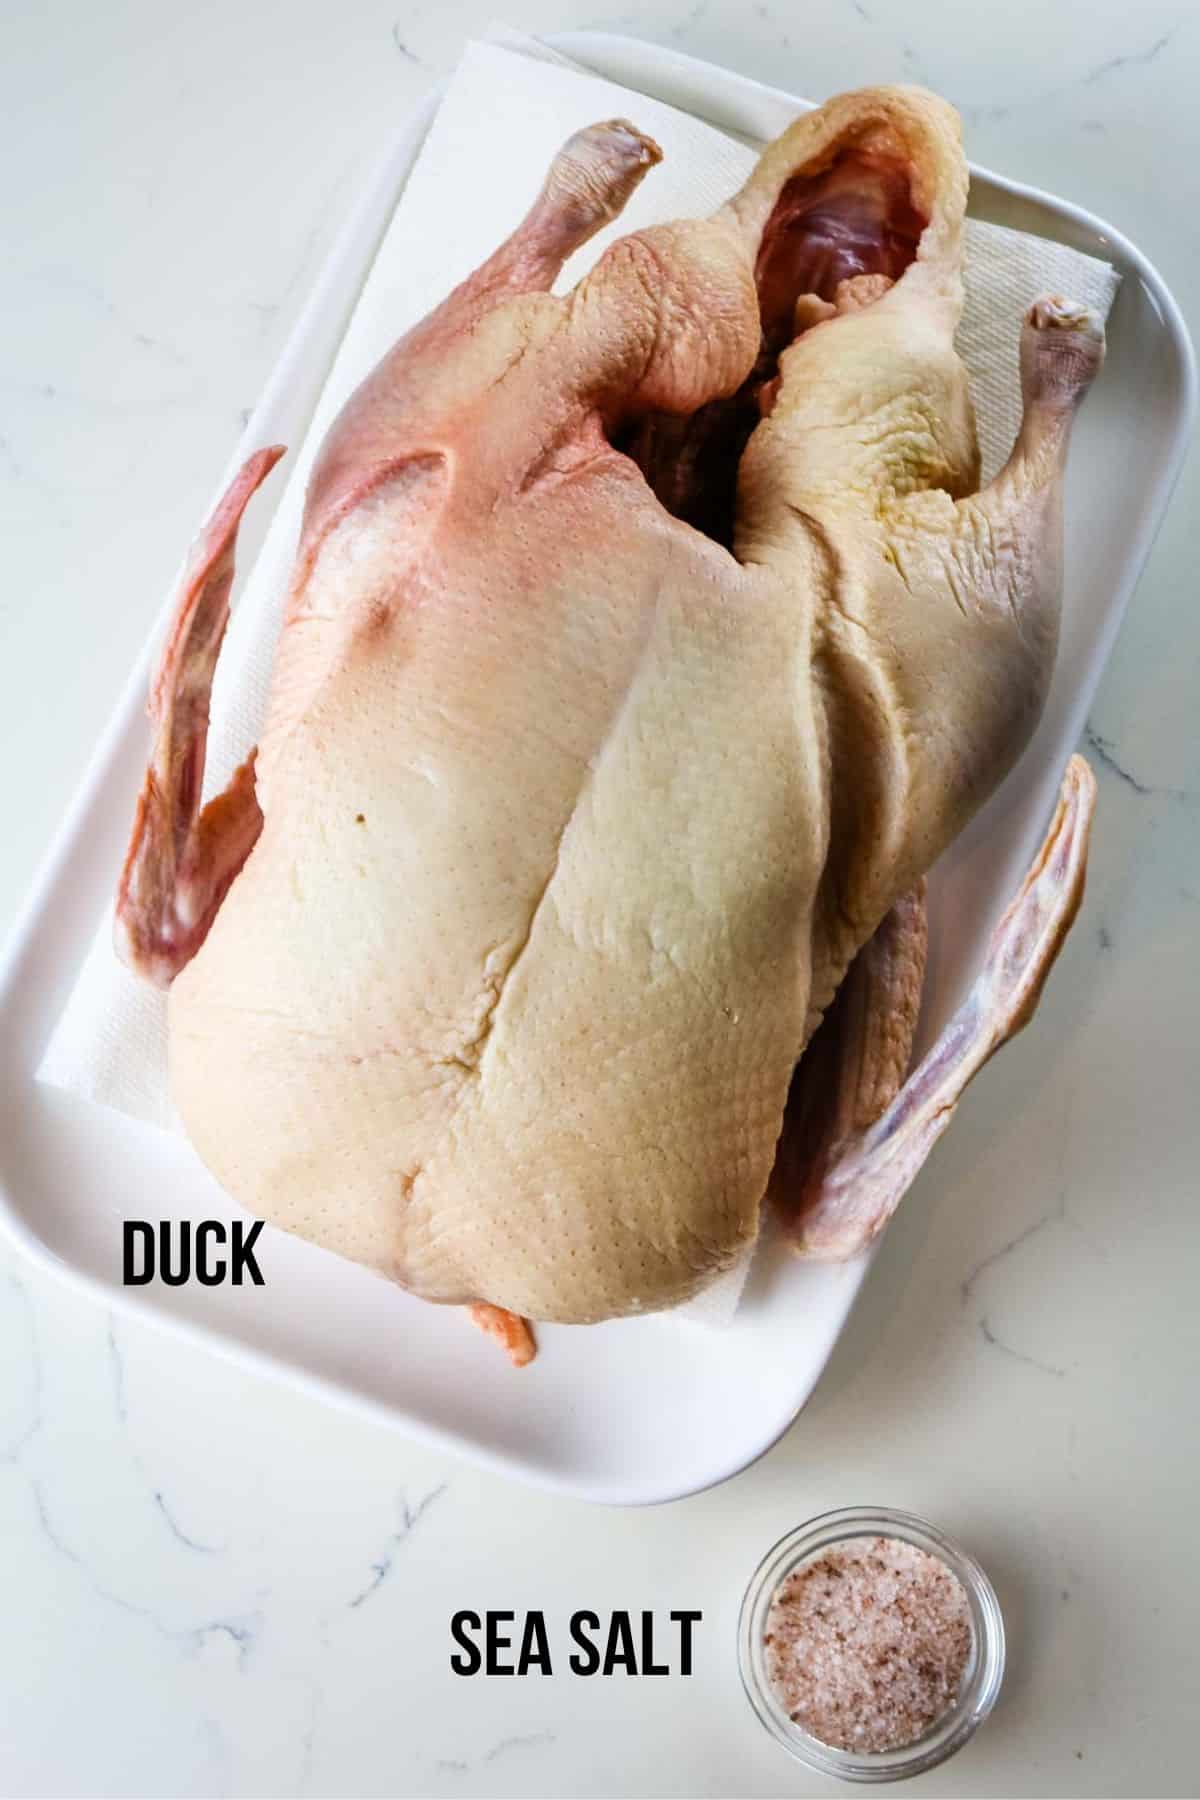
Ingredients
Learn how to make salt and pepper chicken in no time! This easy recipe for chicken wings calls for only four basic ingredients, including salt and pepper!

- Chicken wings: You can use wingettes (also called flats) and drummettes, which look like miniature drumsticks. Depending on the brand of chicken wings, some wingettes come with a wing tip. You can either remove that with a sharp knife and save it for chicken broth or keep them intact for this recipe.
- Olive oil: Use your favorite extra virgin olive oil or avocado oil. The oil will help crisp the chicken wings and prevent them from sticking to the pan or crisper tray.
- Sea Salt: This everyday pantry staple will season the chicken wings and enhance the overall flavor. It also helps to draw out any excess moisture, resulting in crispier skin.
- Black pepper: Freshly ground black pepper adds subtle heat and depth of flavor to the wings. It pairs well with the salt and helps balance the overall seasoning of the wings.
See the recipe card for exact quantities.
💭Pro tip: You can season the chicken wings directly on the baking sheet or combine salt and pepper in a small bowl first then season.
Variations
- Use a different cut of chicken. Try chicken drumsticks, thighs, or boneless chicken breast cut into bite-size pieces for boneless chicken wings.
- Add refreshing herbs. Fresh parsley, thyme, rosemary, or cilantro are all delicious flavors complimenting the salt and pepper base.
- Kid friendly - tone down the pepper for sensitive taste palettes and to keep it simple.
Make it Nutrient Dense
Staying true to the heart of what Prepare and Nourish is all about, there are ways to ensure you get the maximum nutrition in this recipe. Even though it's an incredibly simple recipe, you can take purposeful steps to turn this into a nutrient-dense meal.
Use quality ingredients. If budget allows, buy wings from pastured chickens. Wild Pastures has great-tasting, good-quality chicken wings but my favorite source is your local farmer's markets and ranchers. Get to know your farmers!
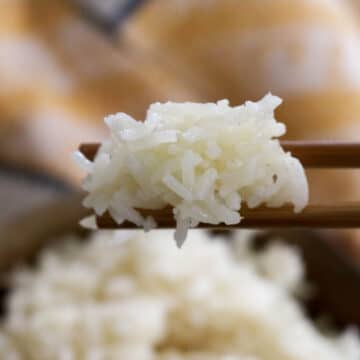
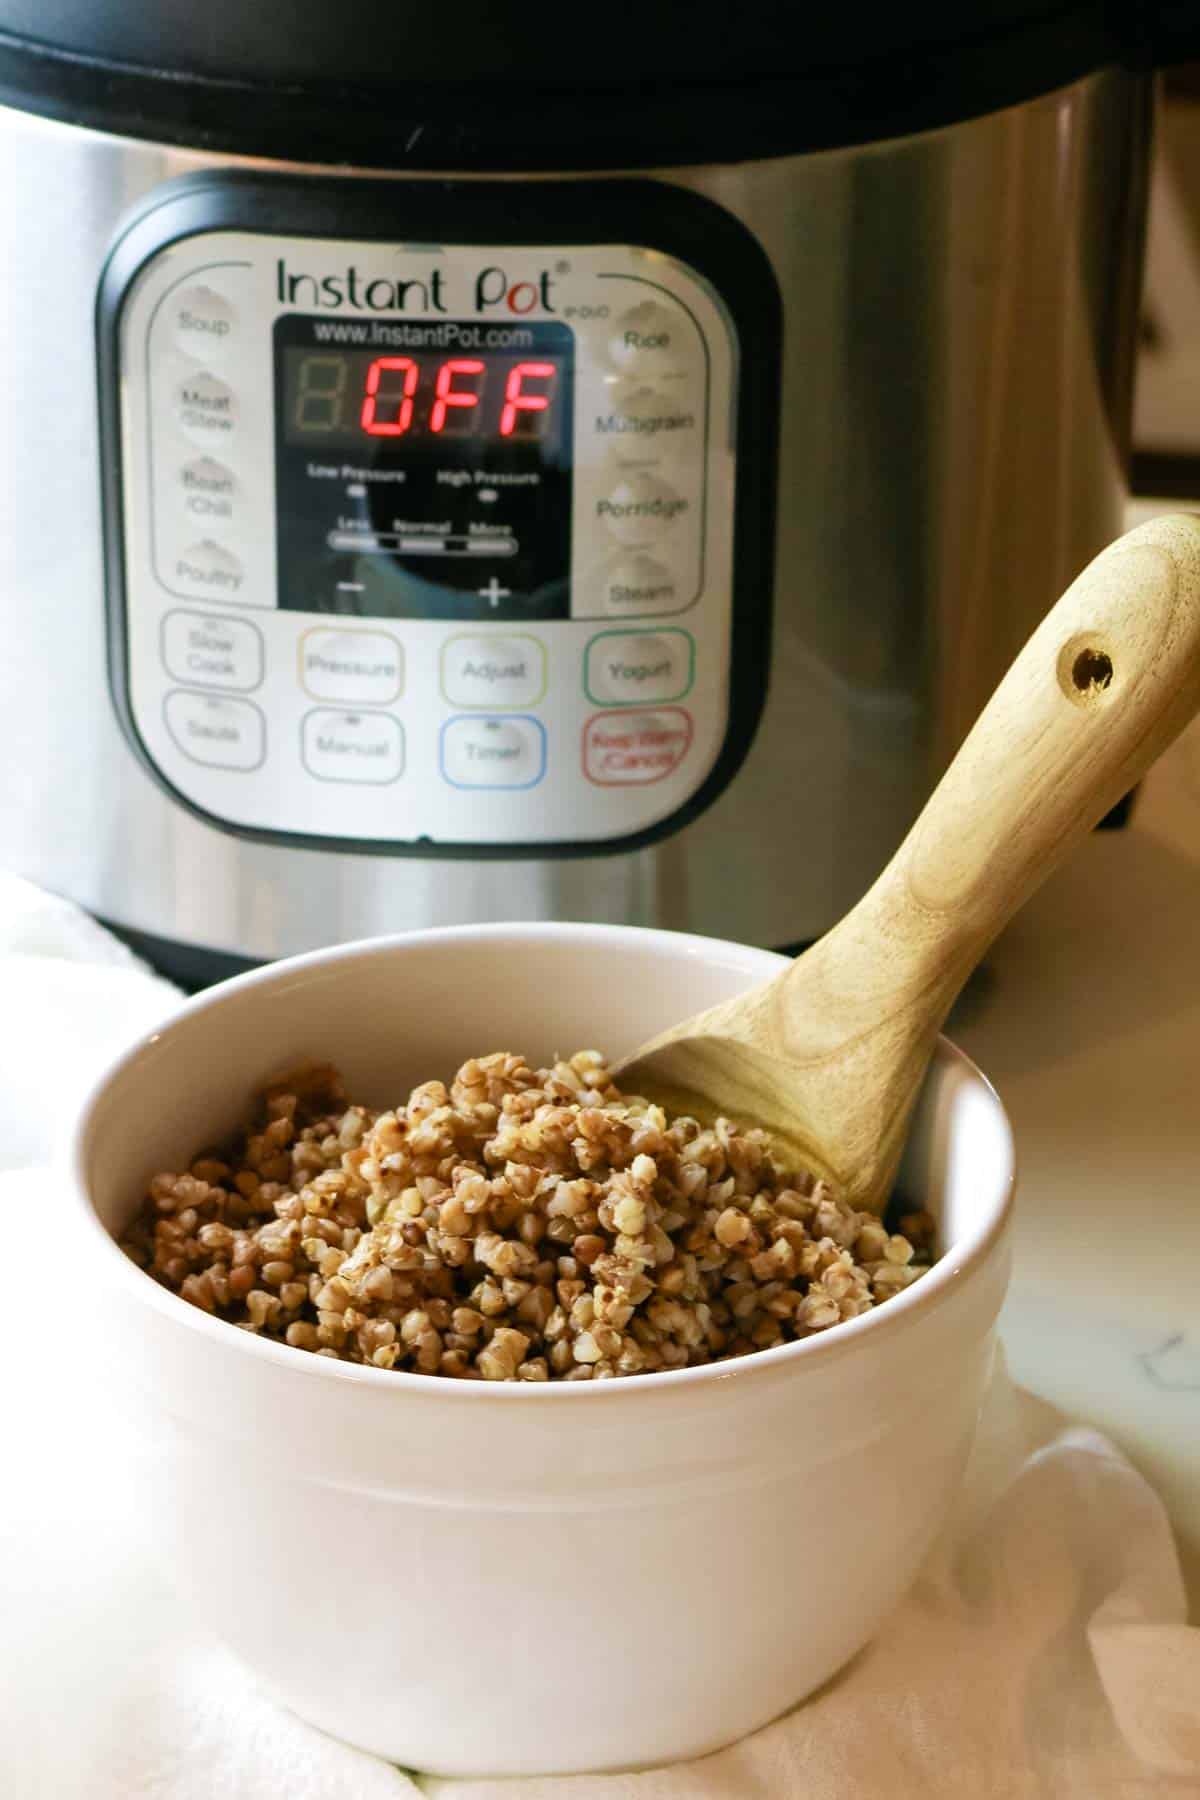
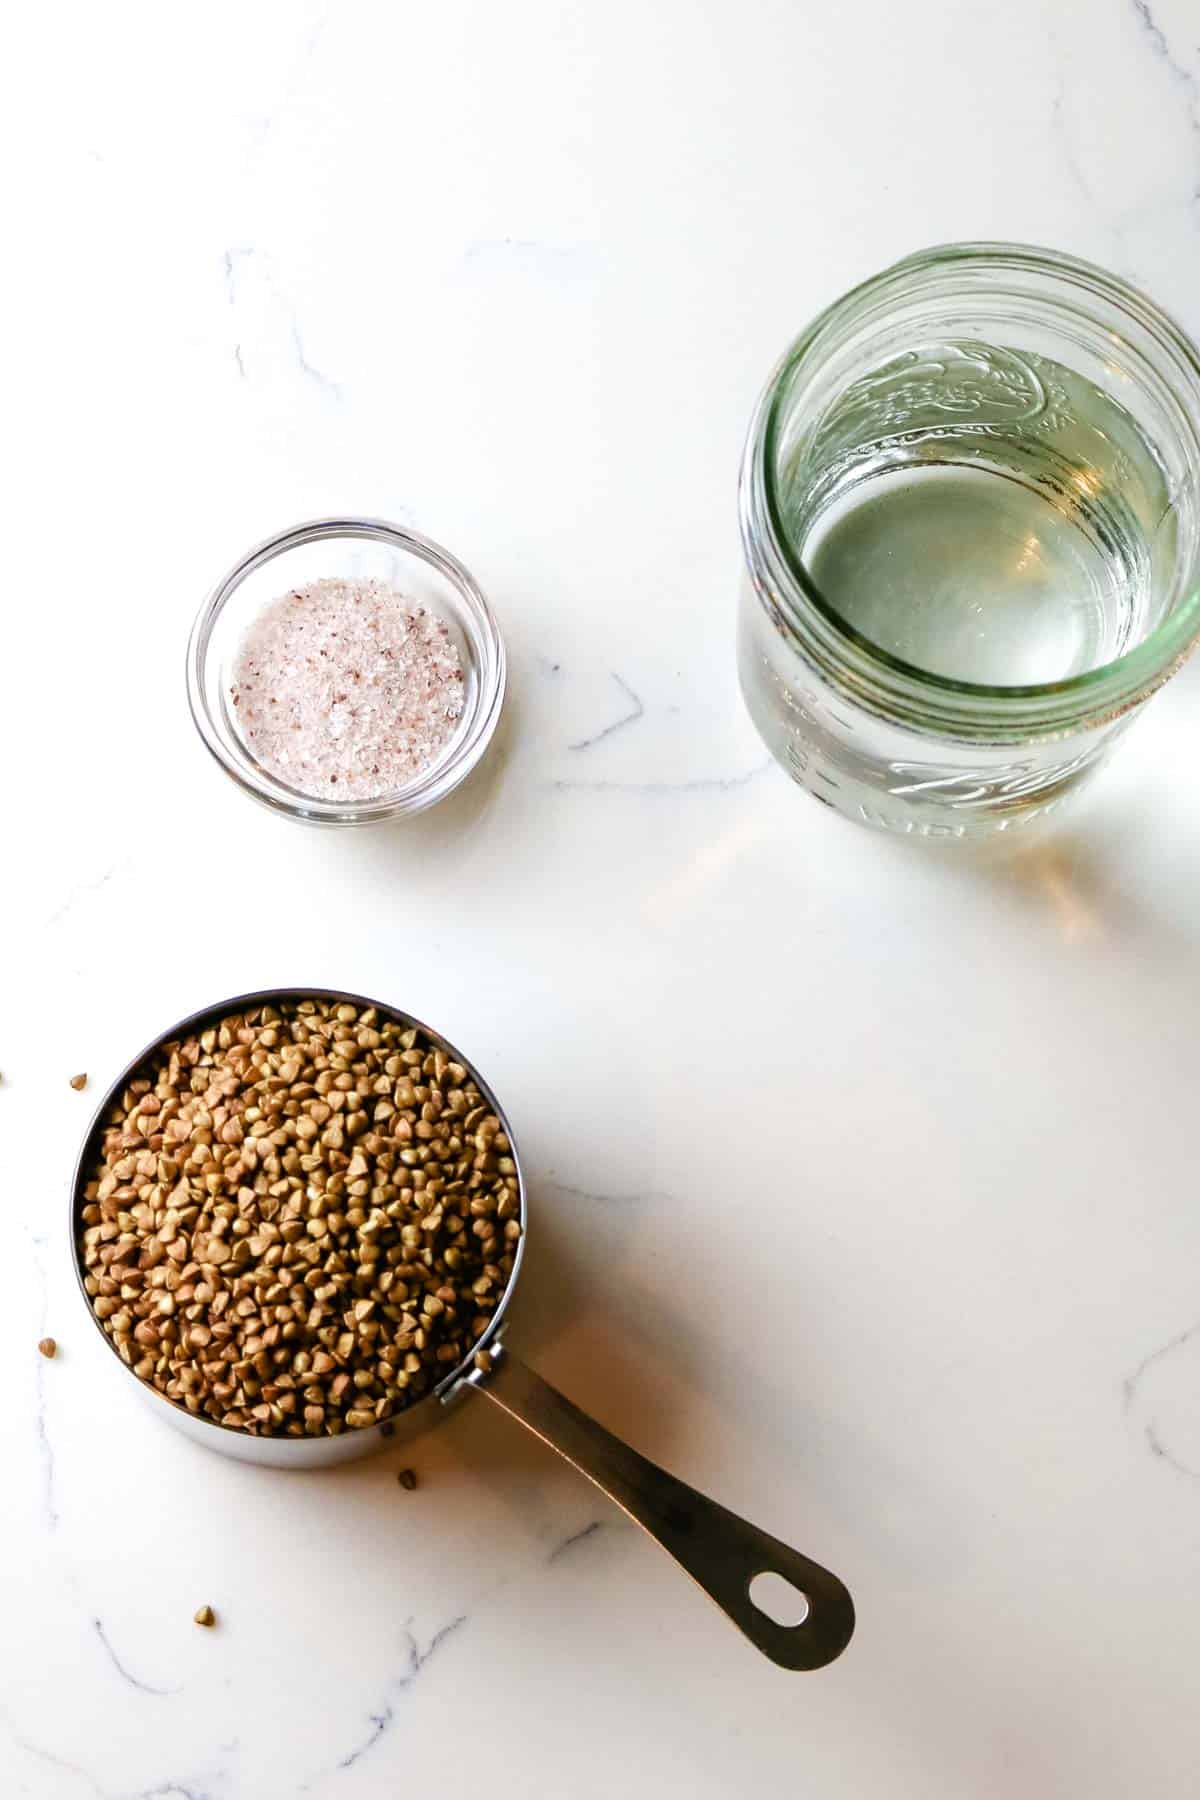
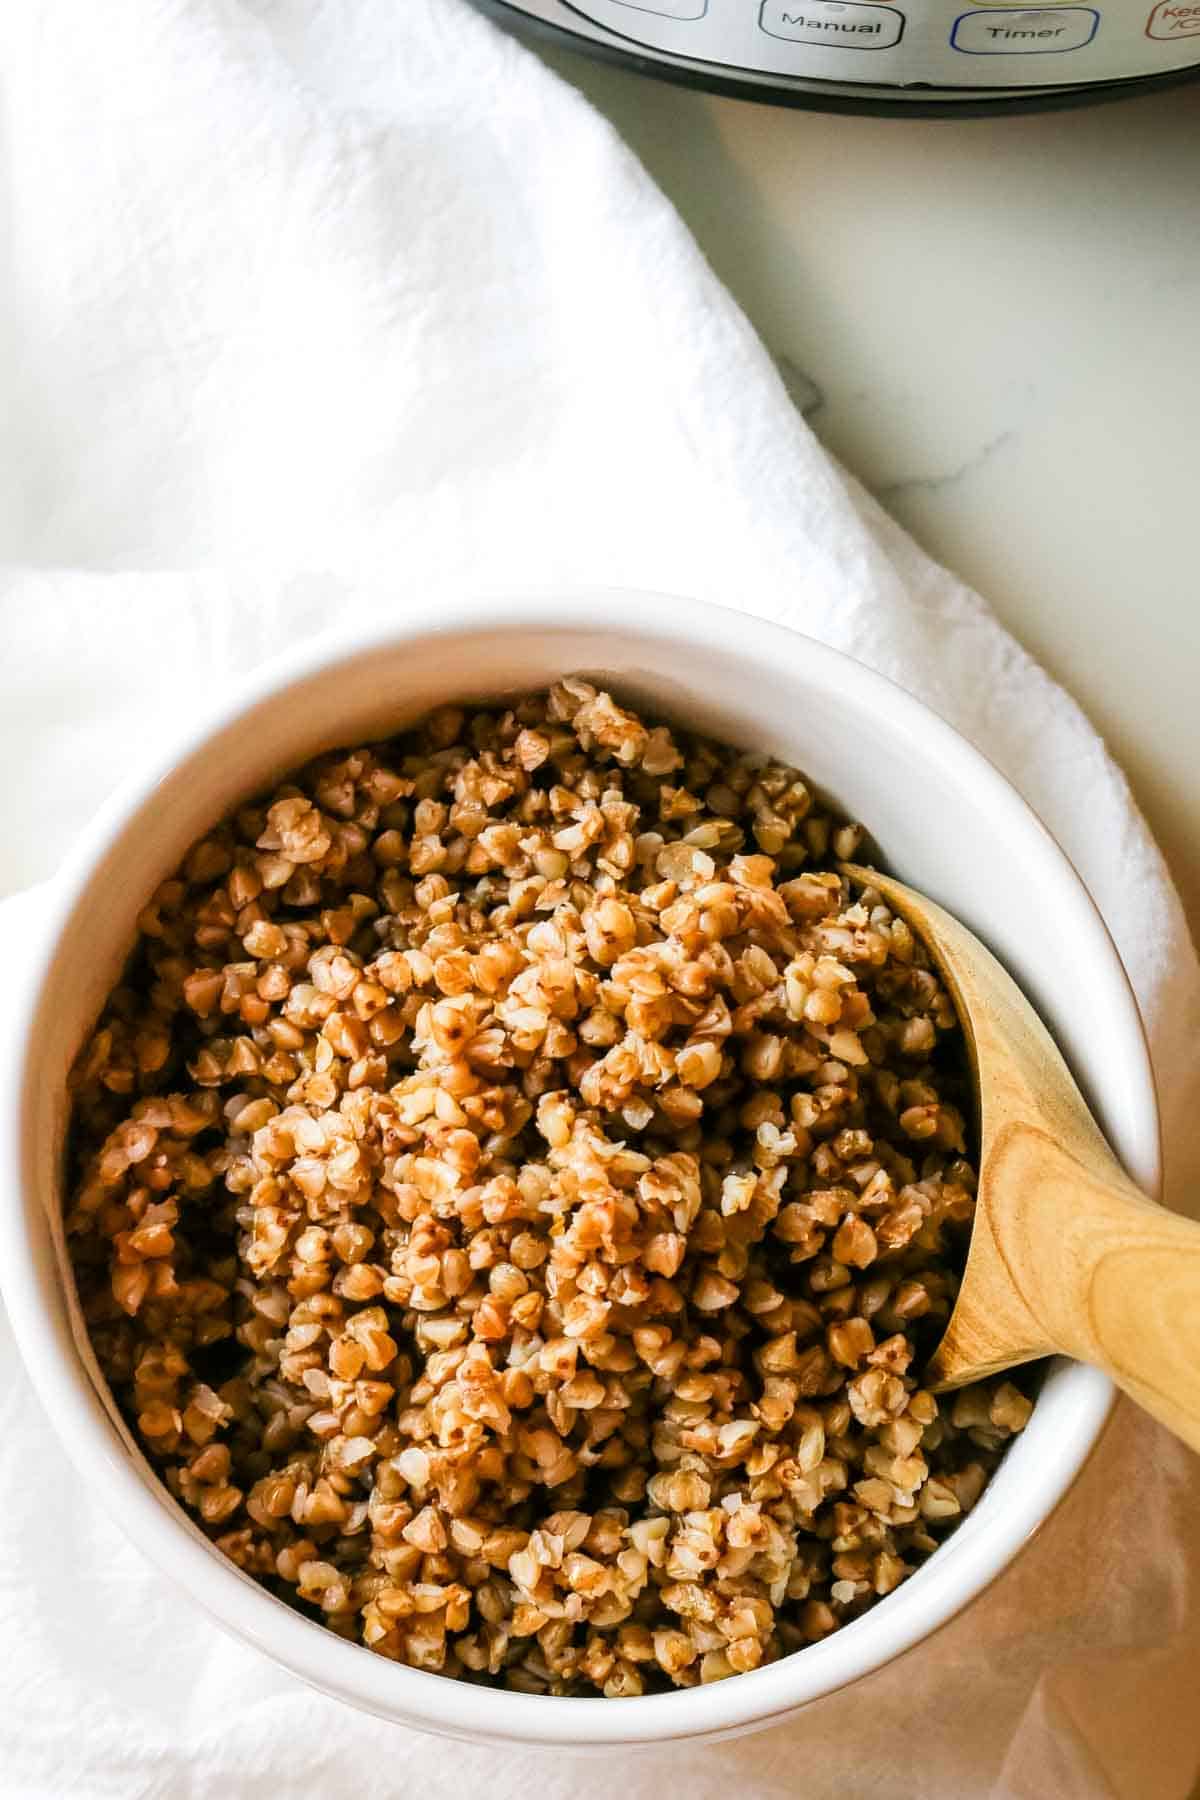
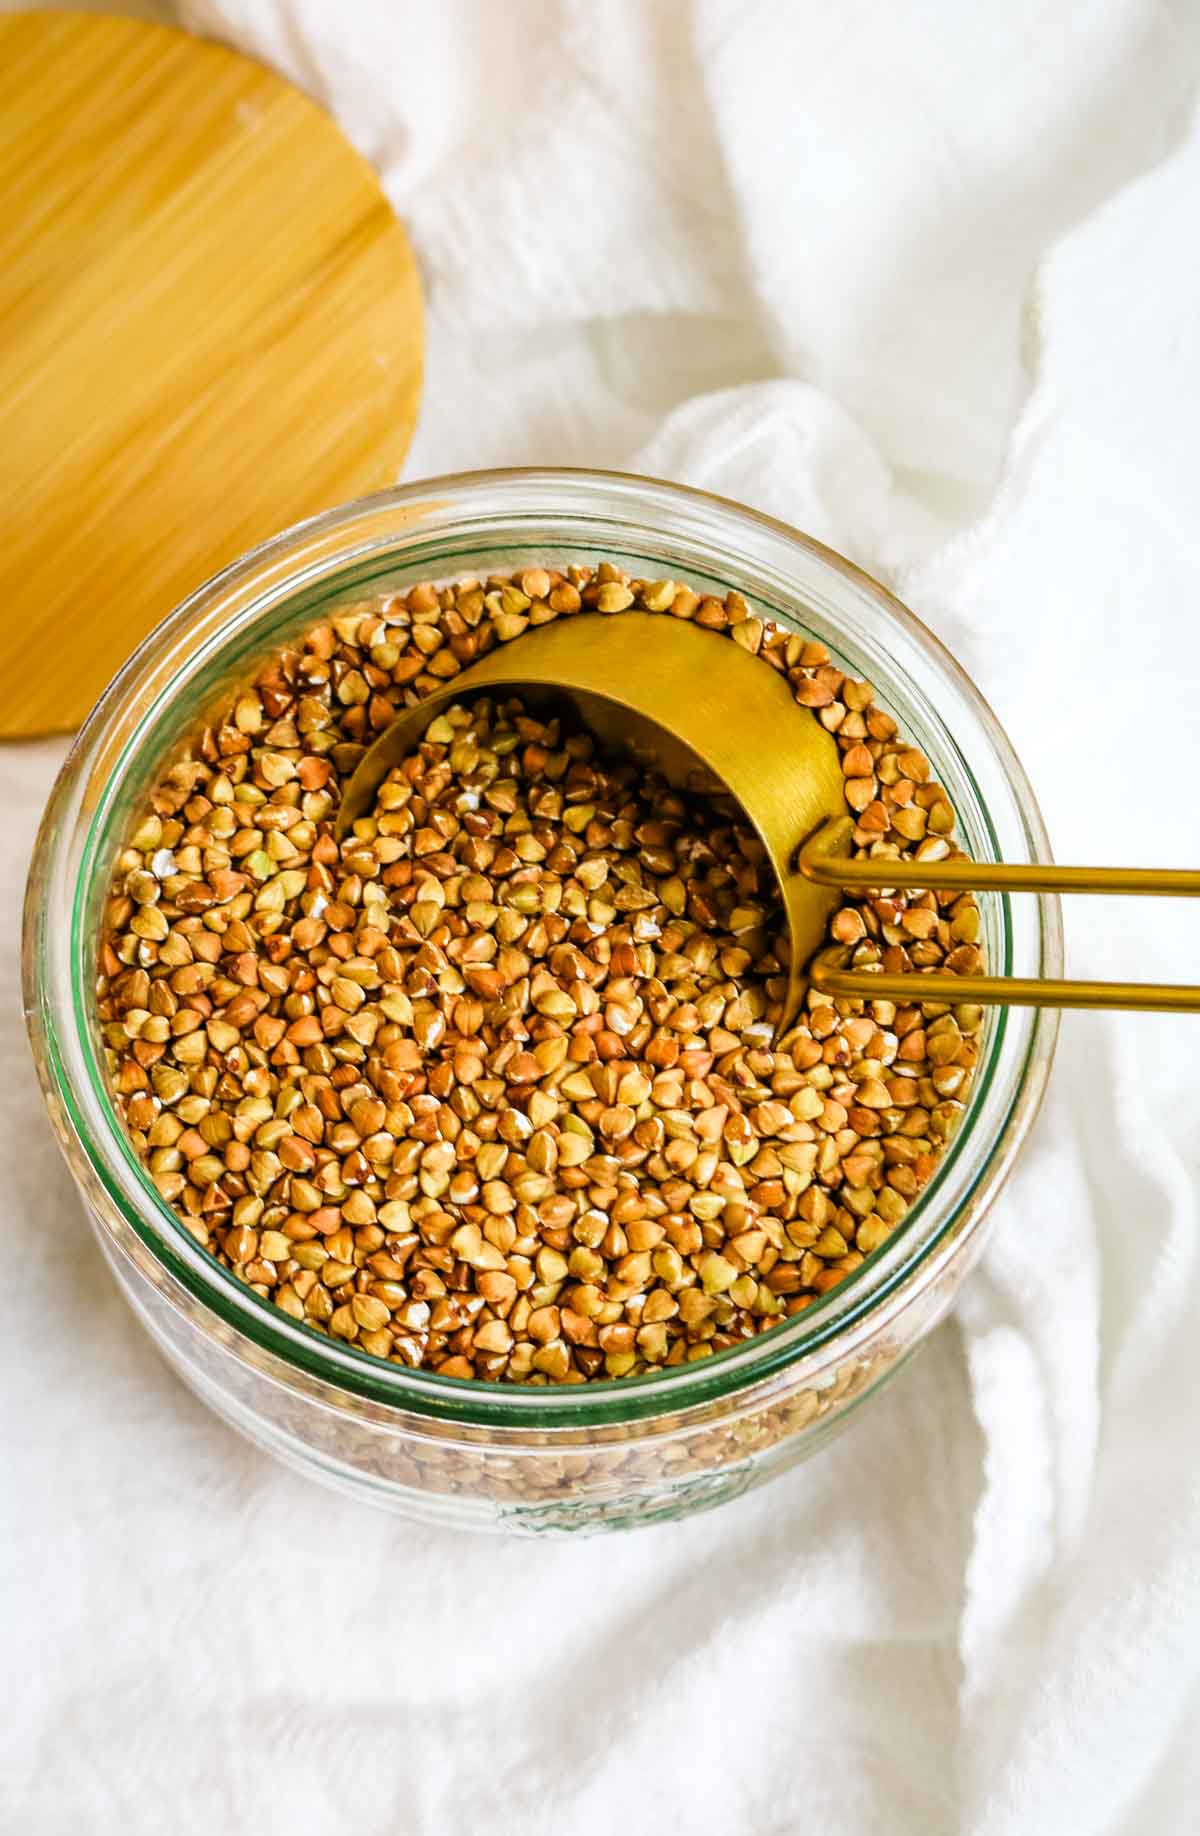
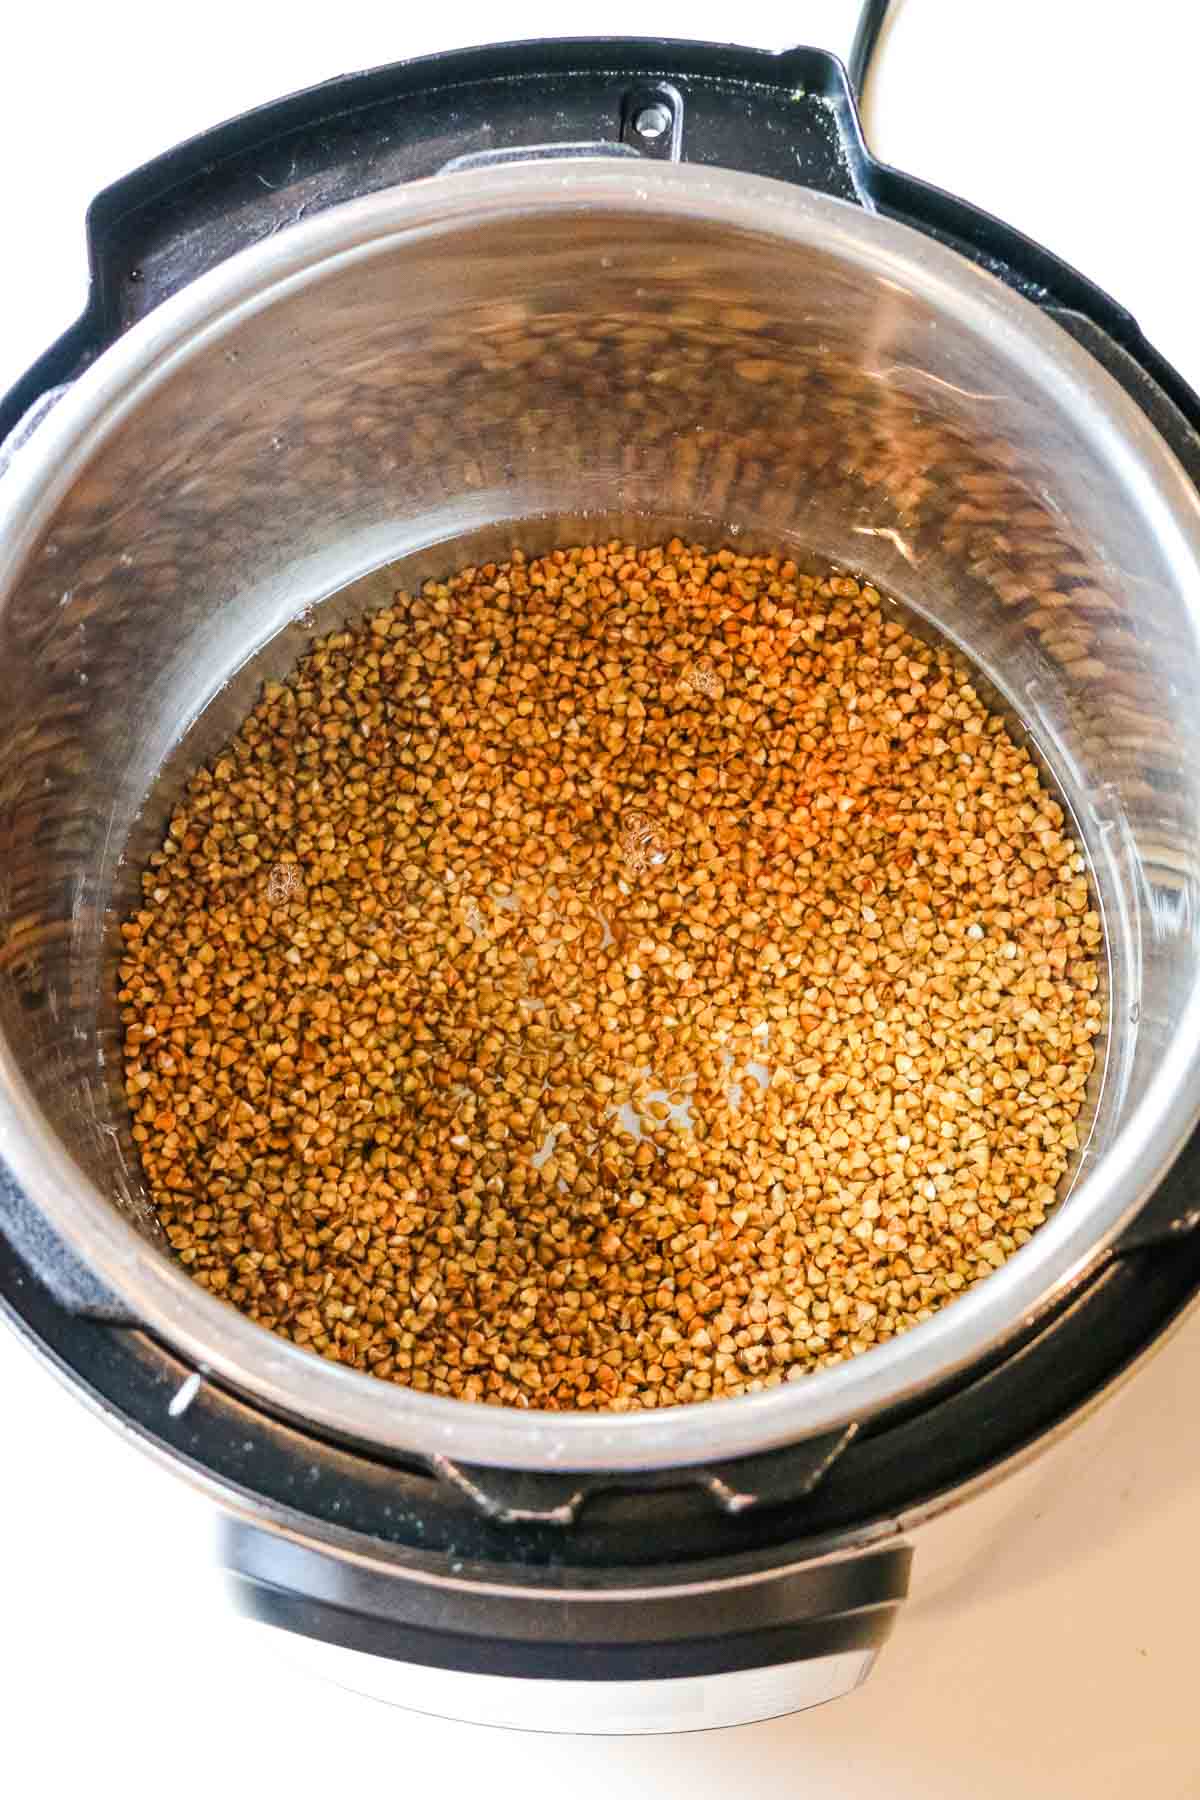
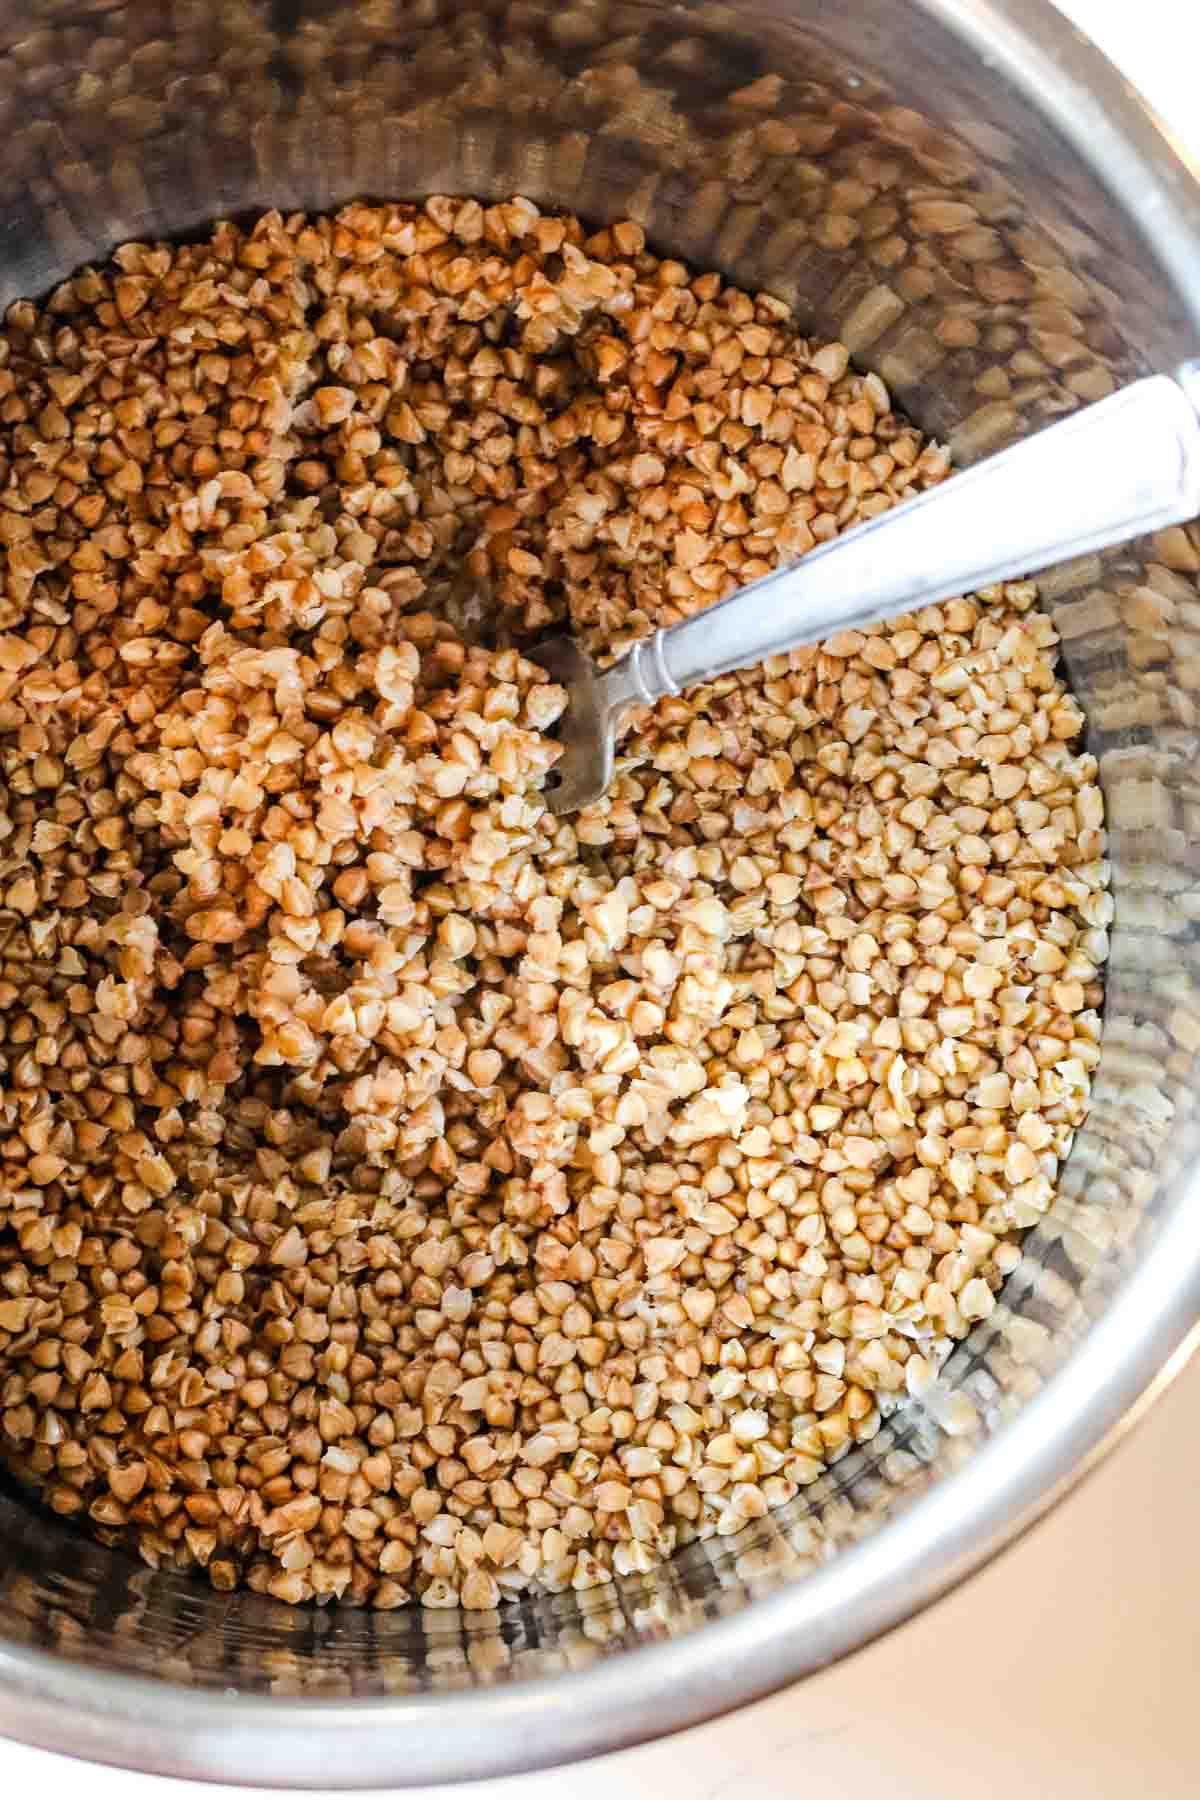
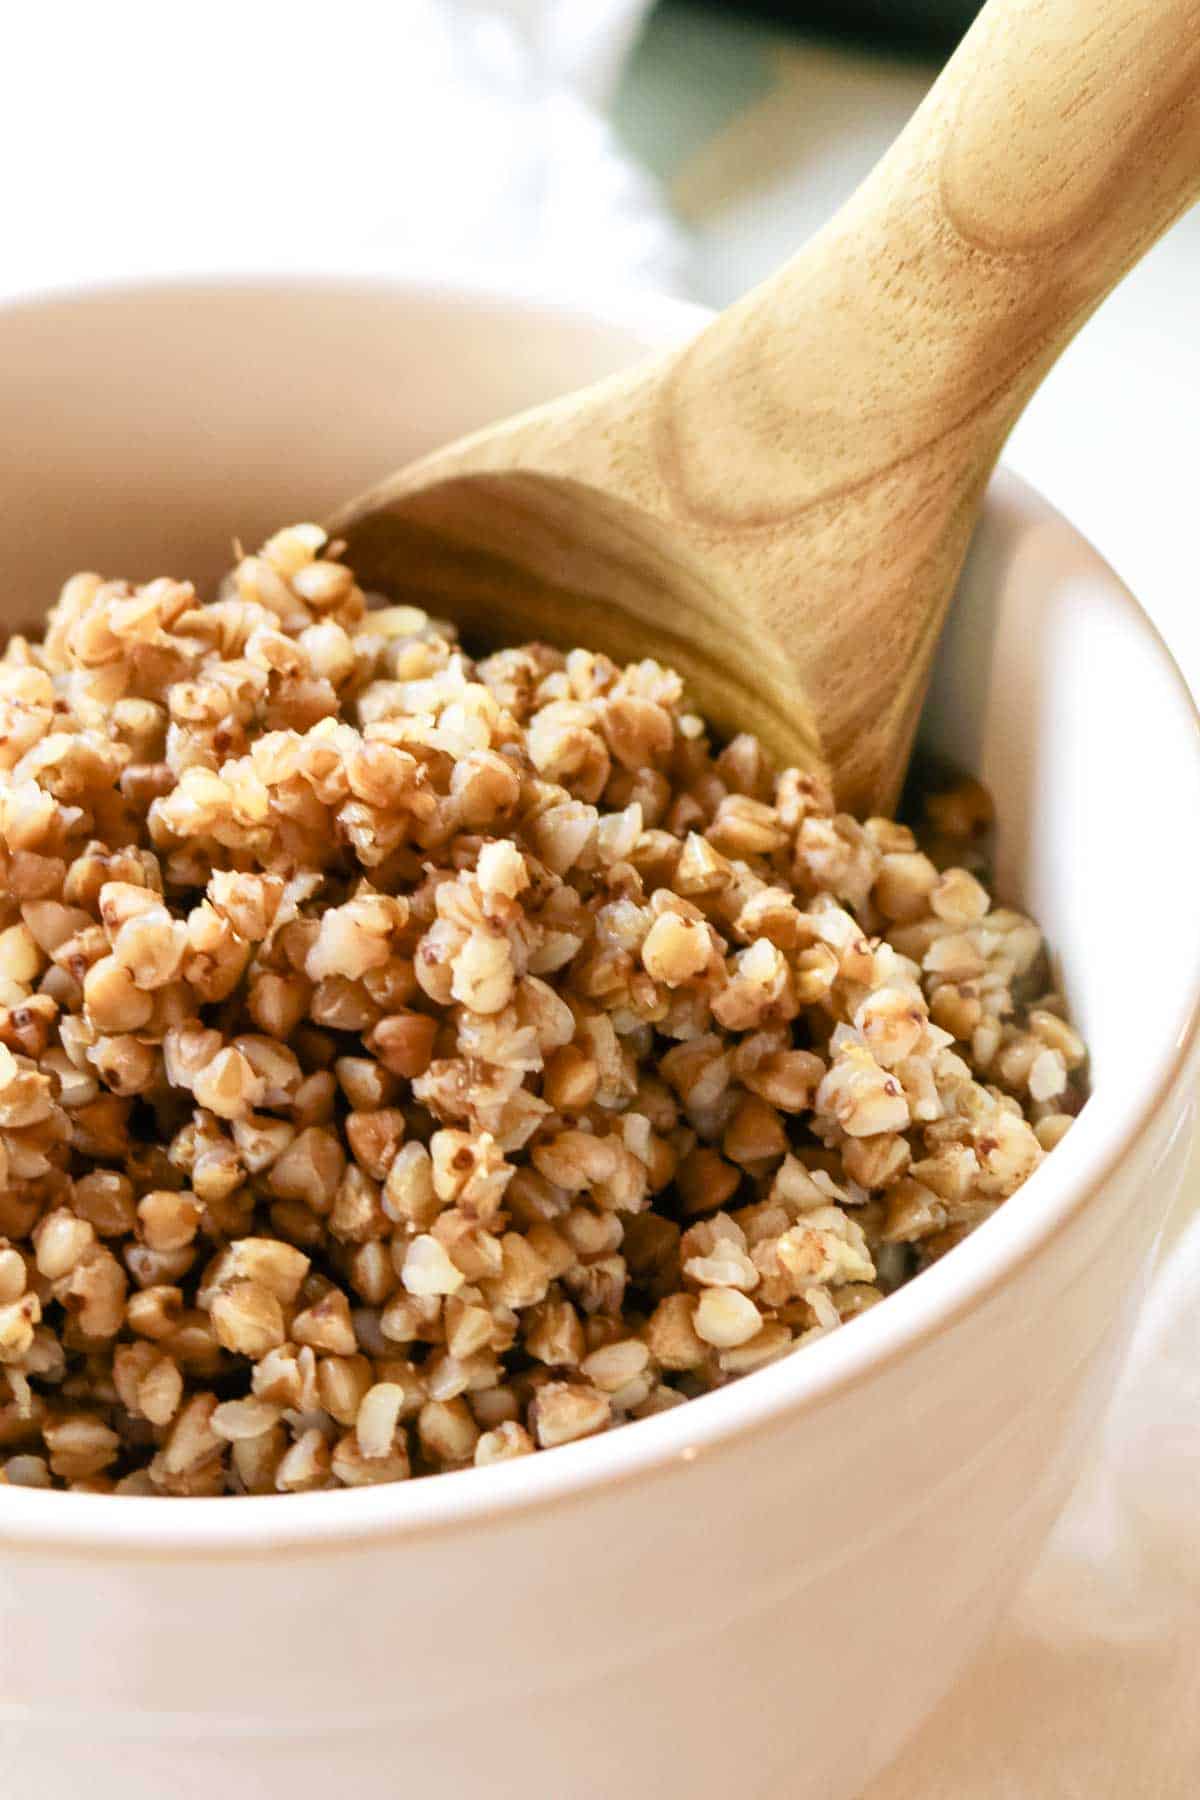
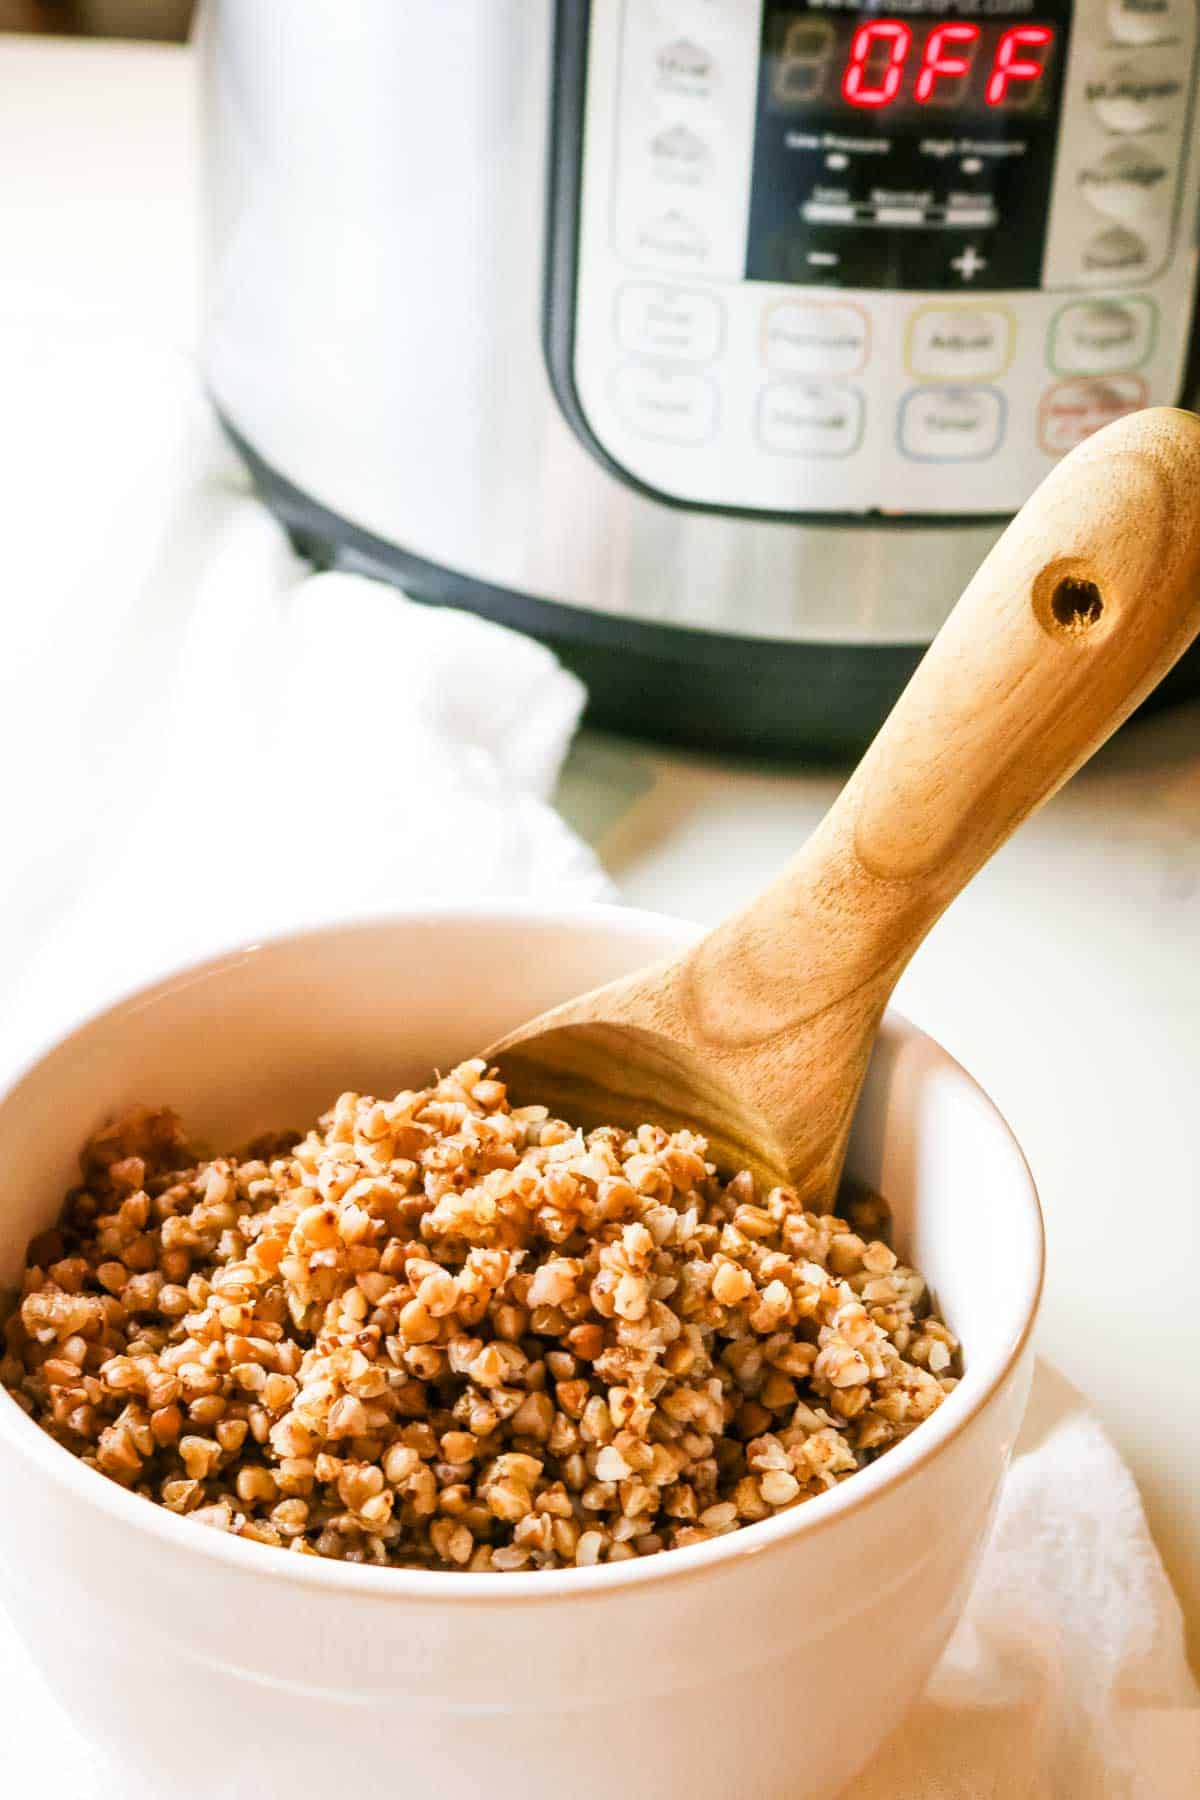
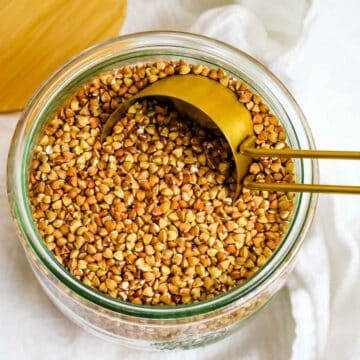
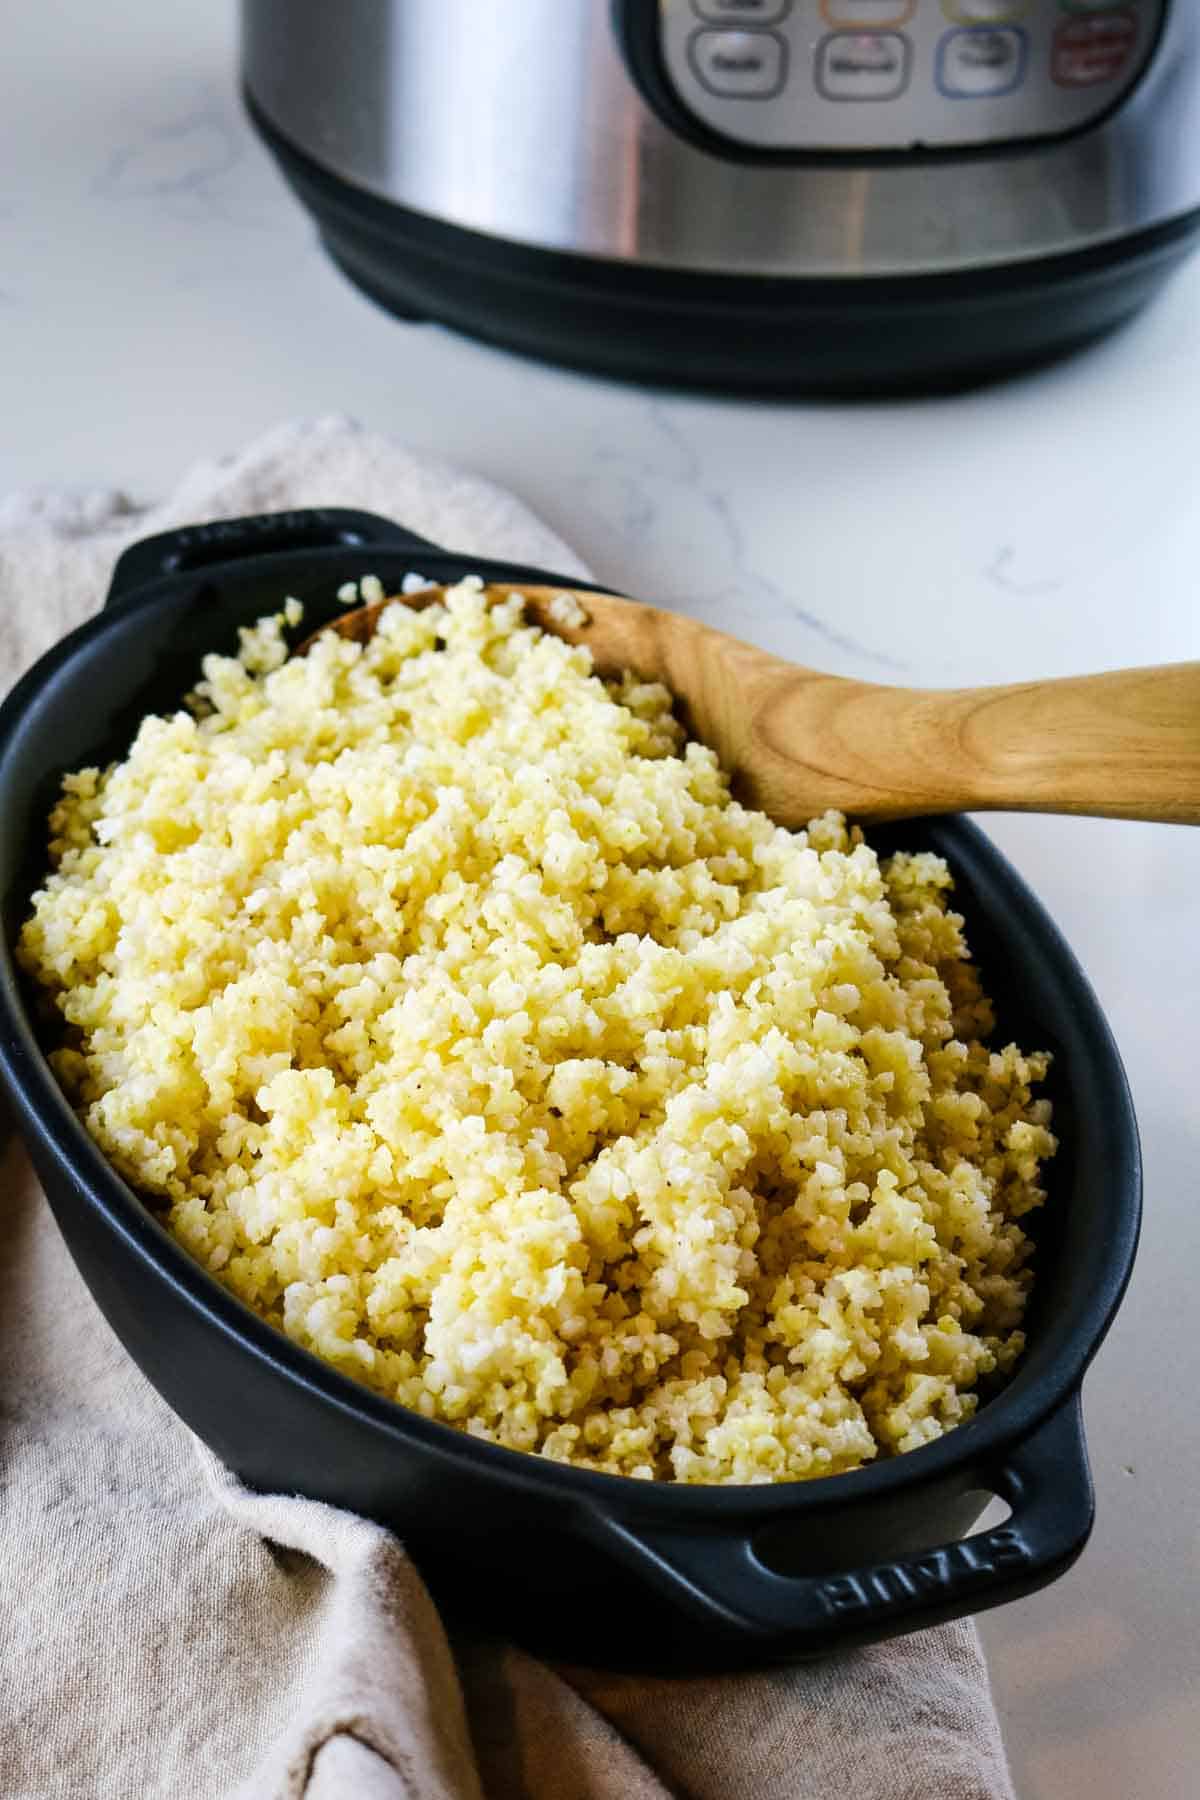
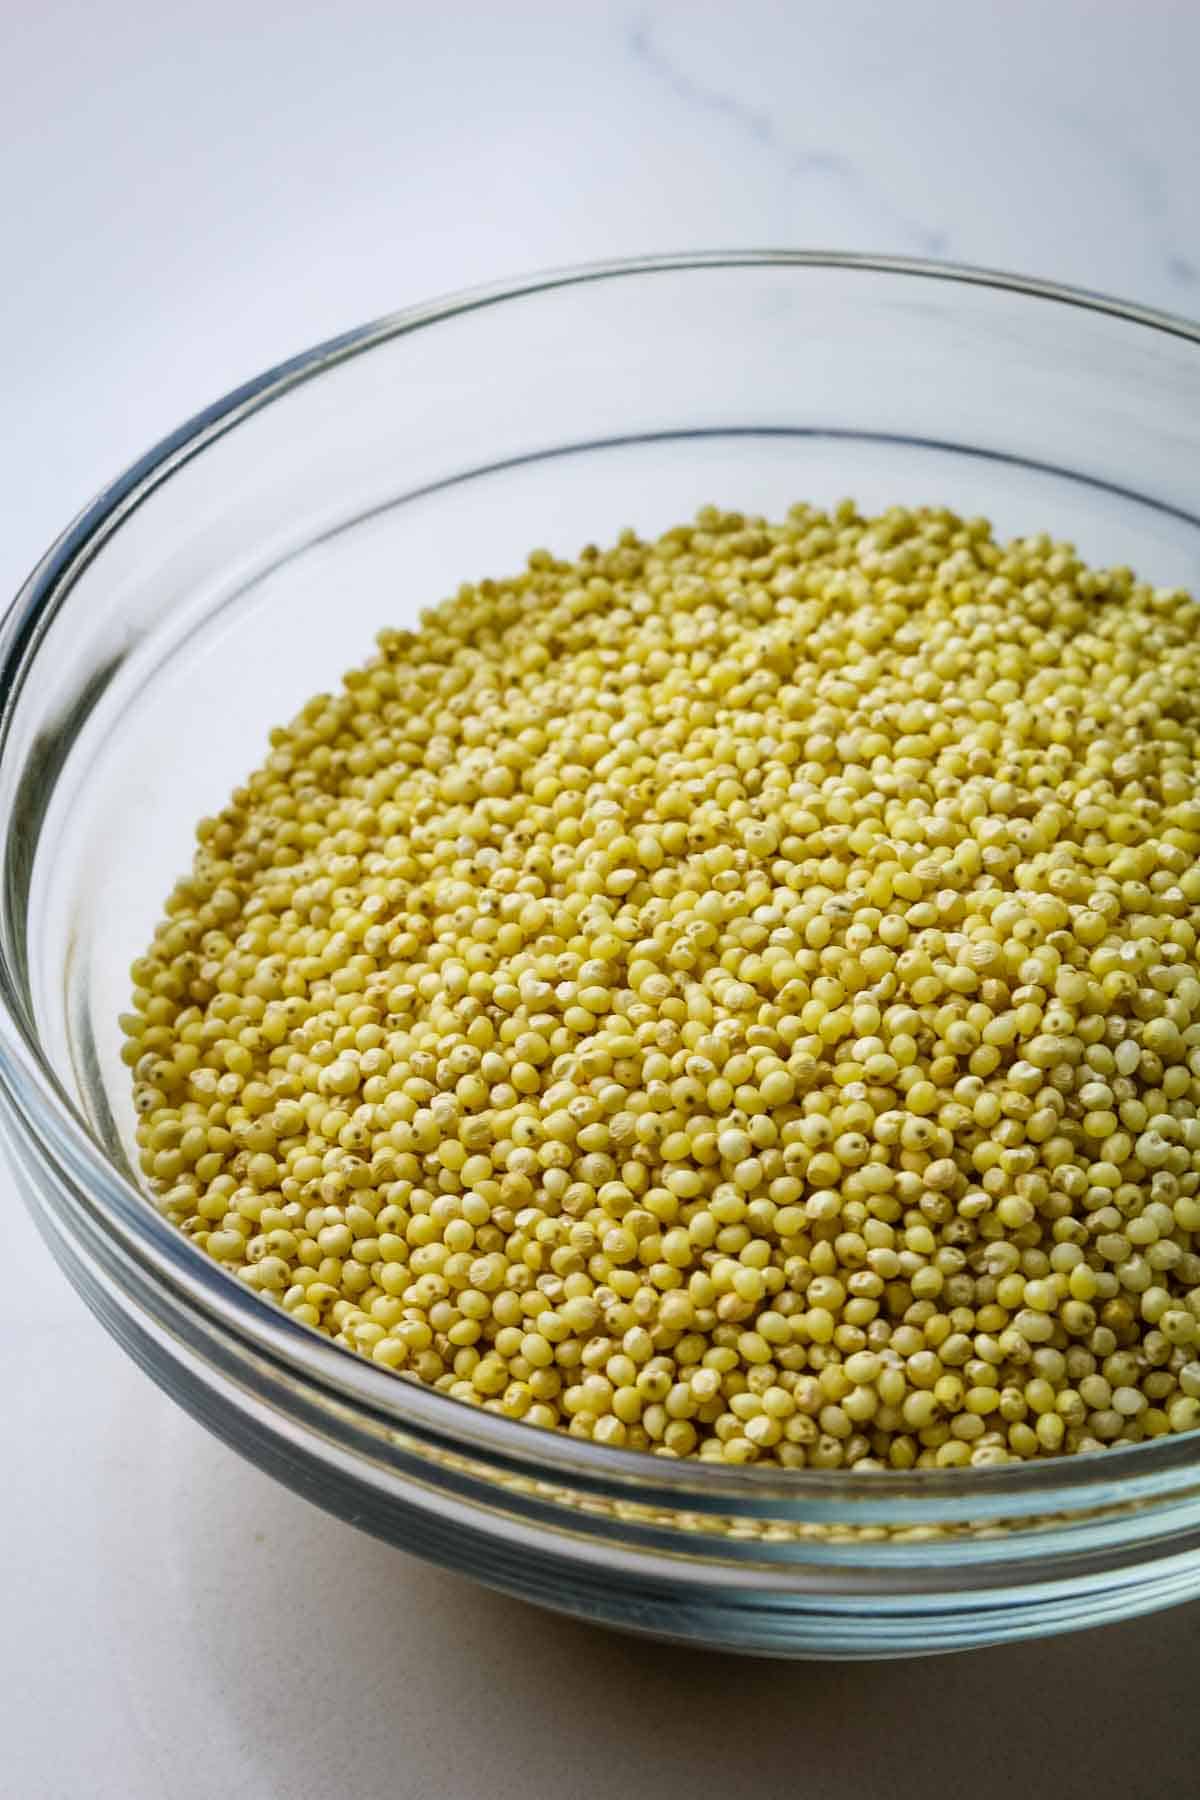
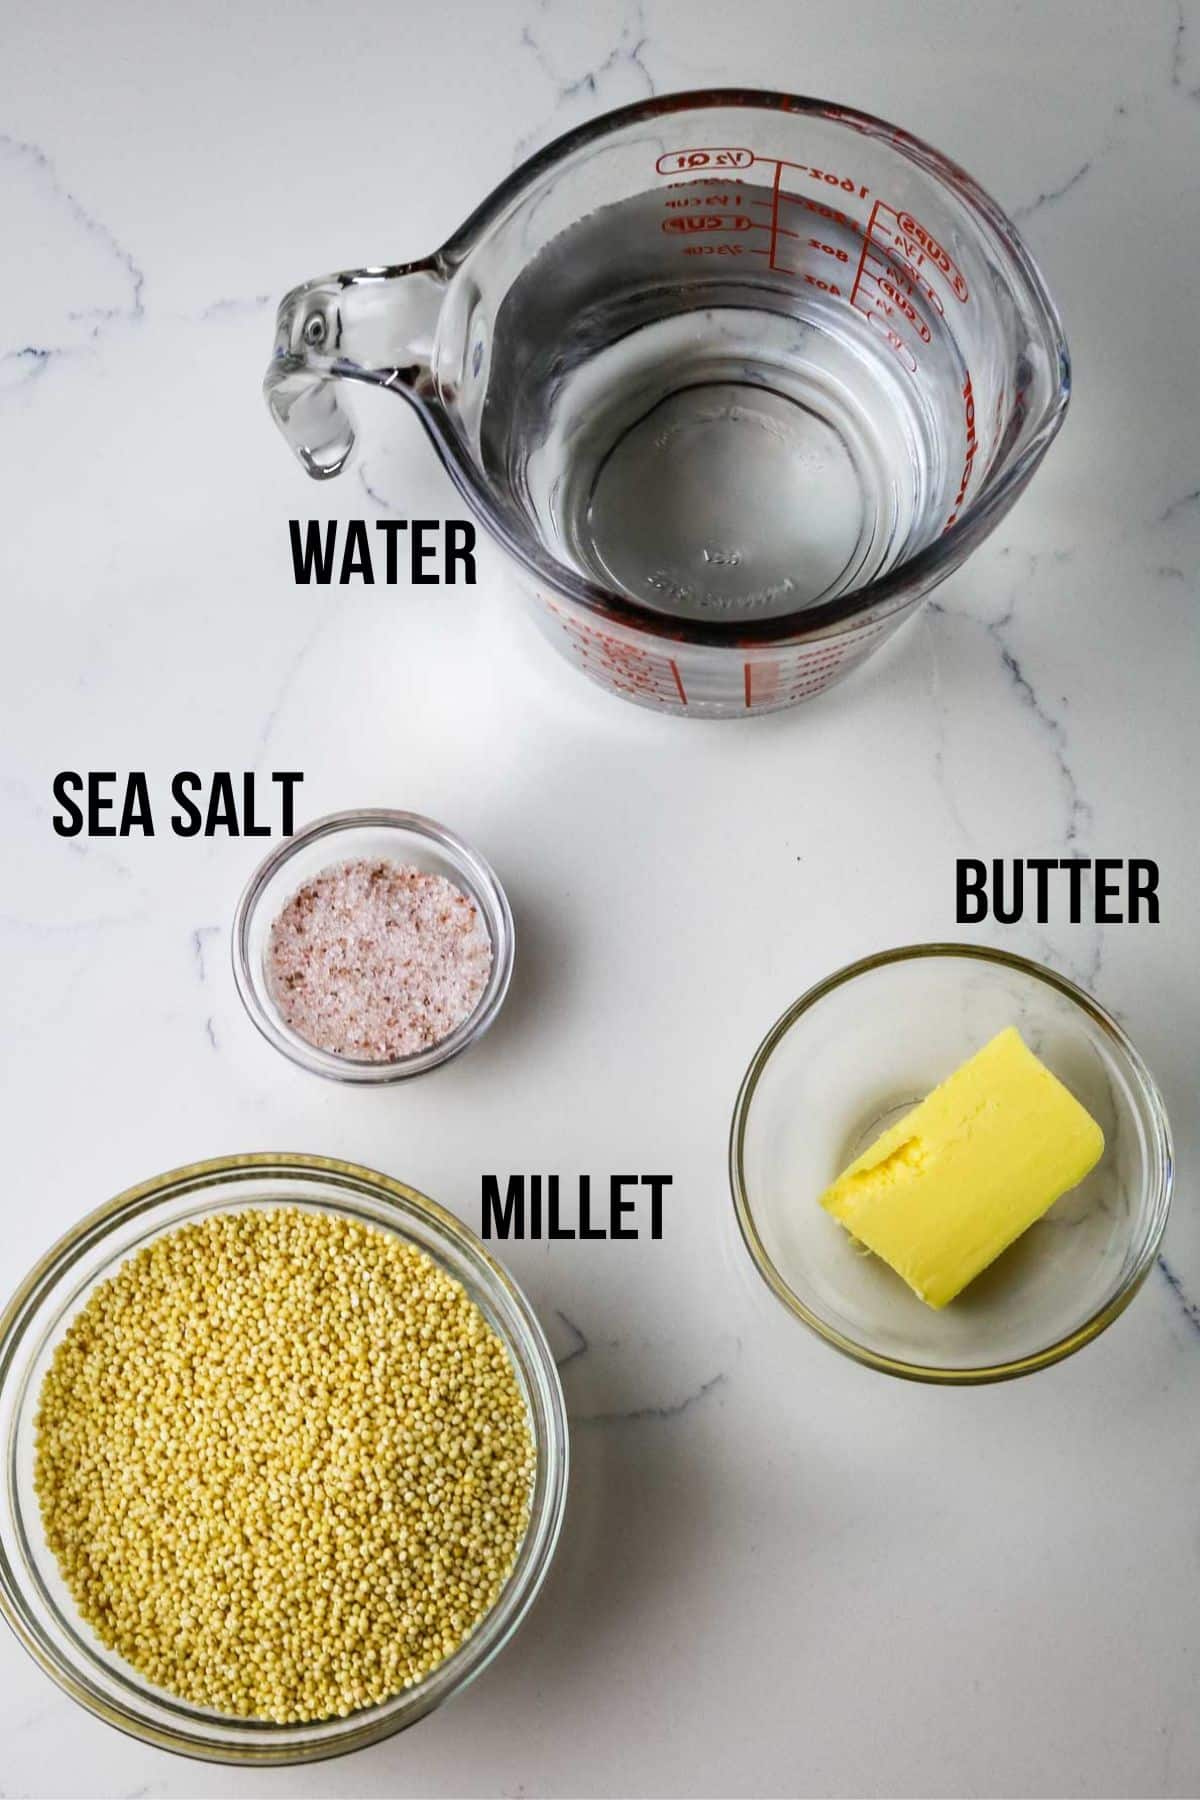
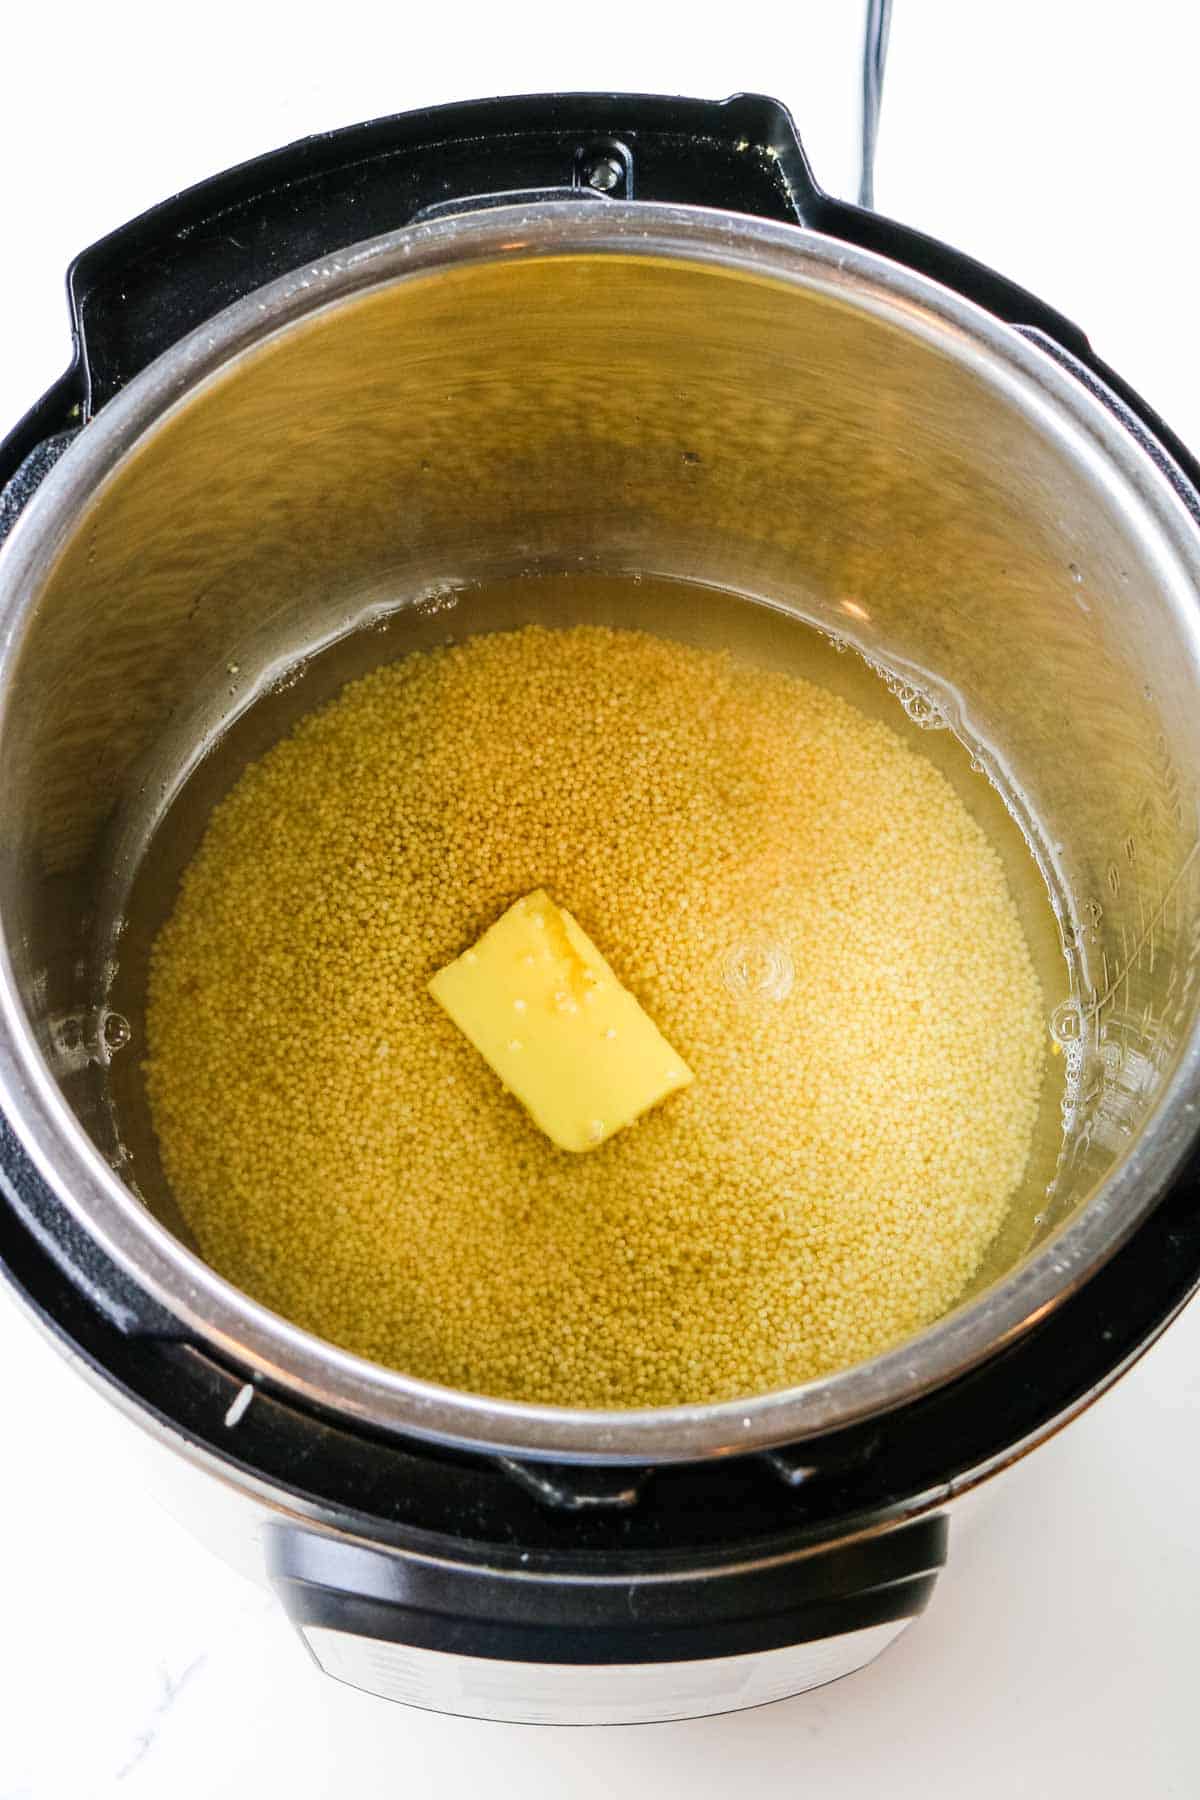
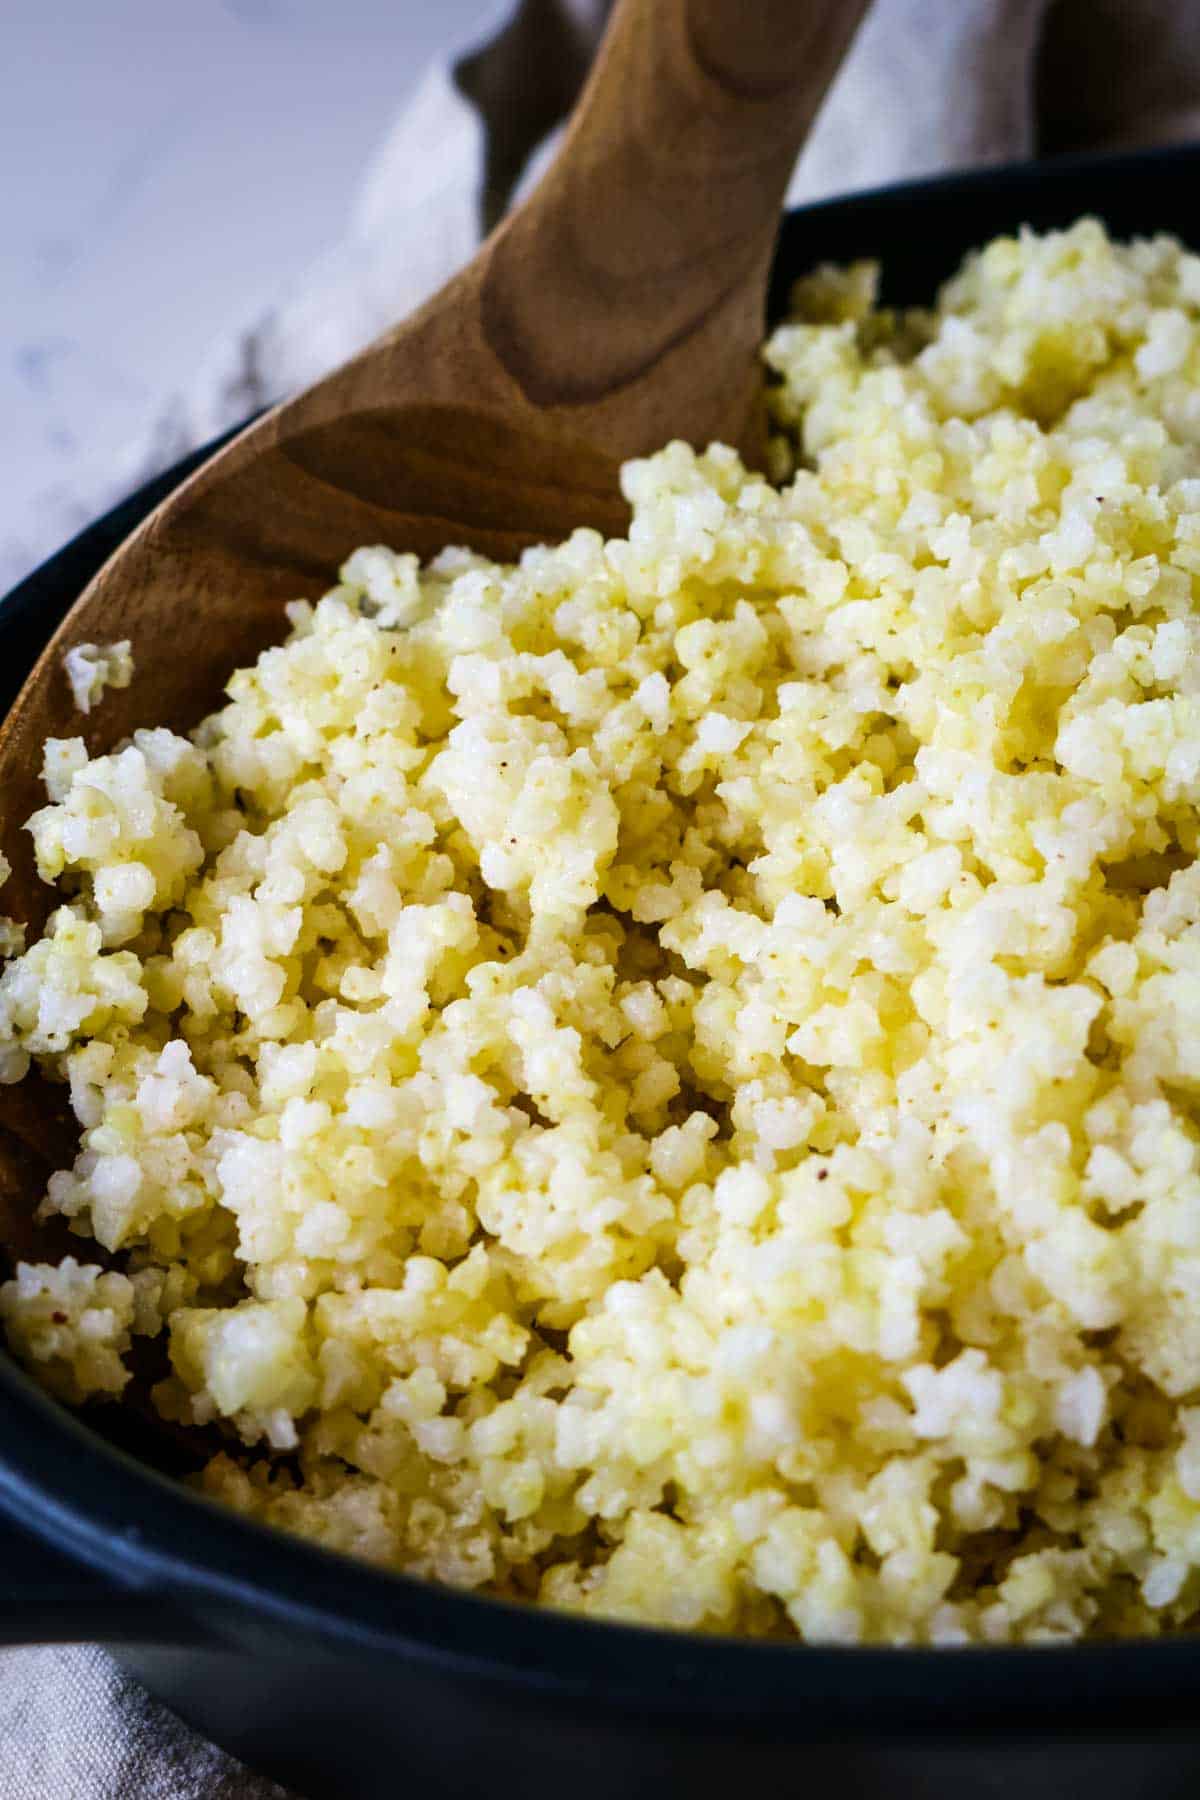
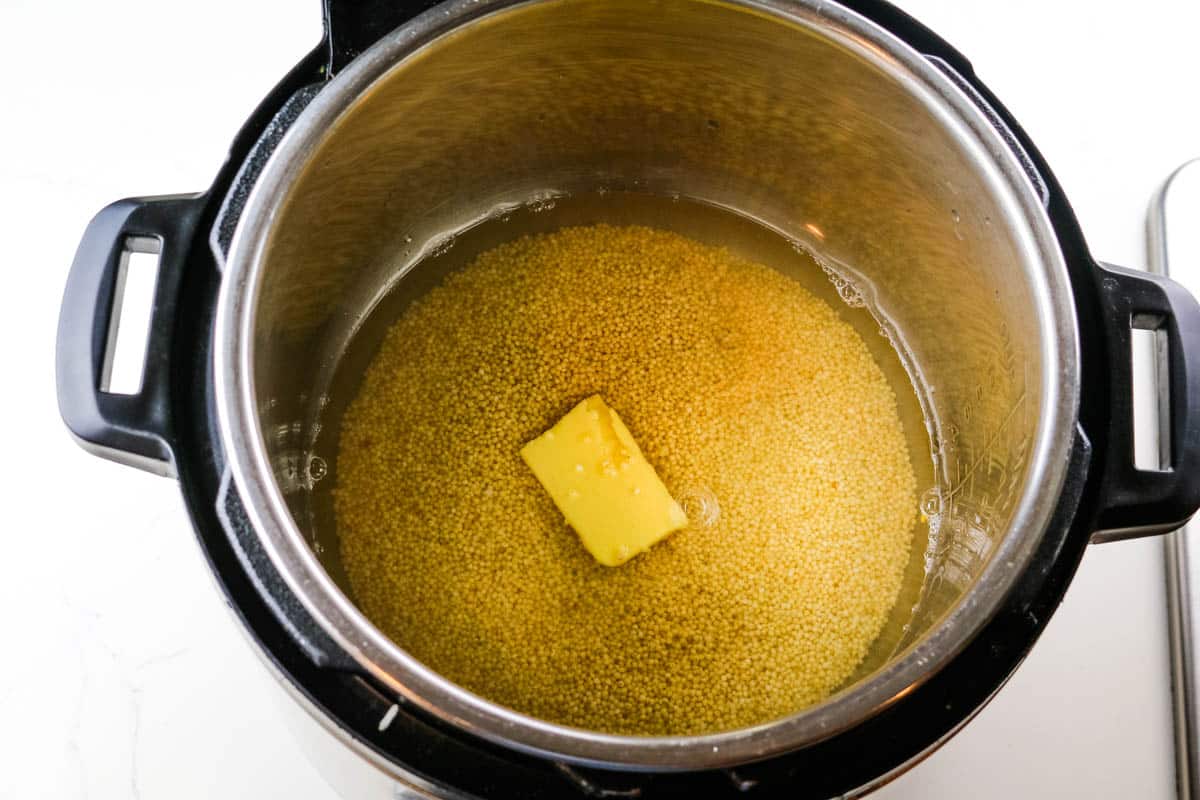
Cook sides in broth. If you serve chicken wings with whole grains like buckwheat, millet, or rice, cook them in bone broth to boost nutrition.
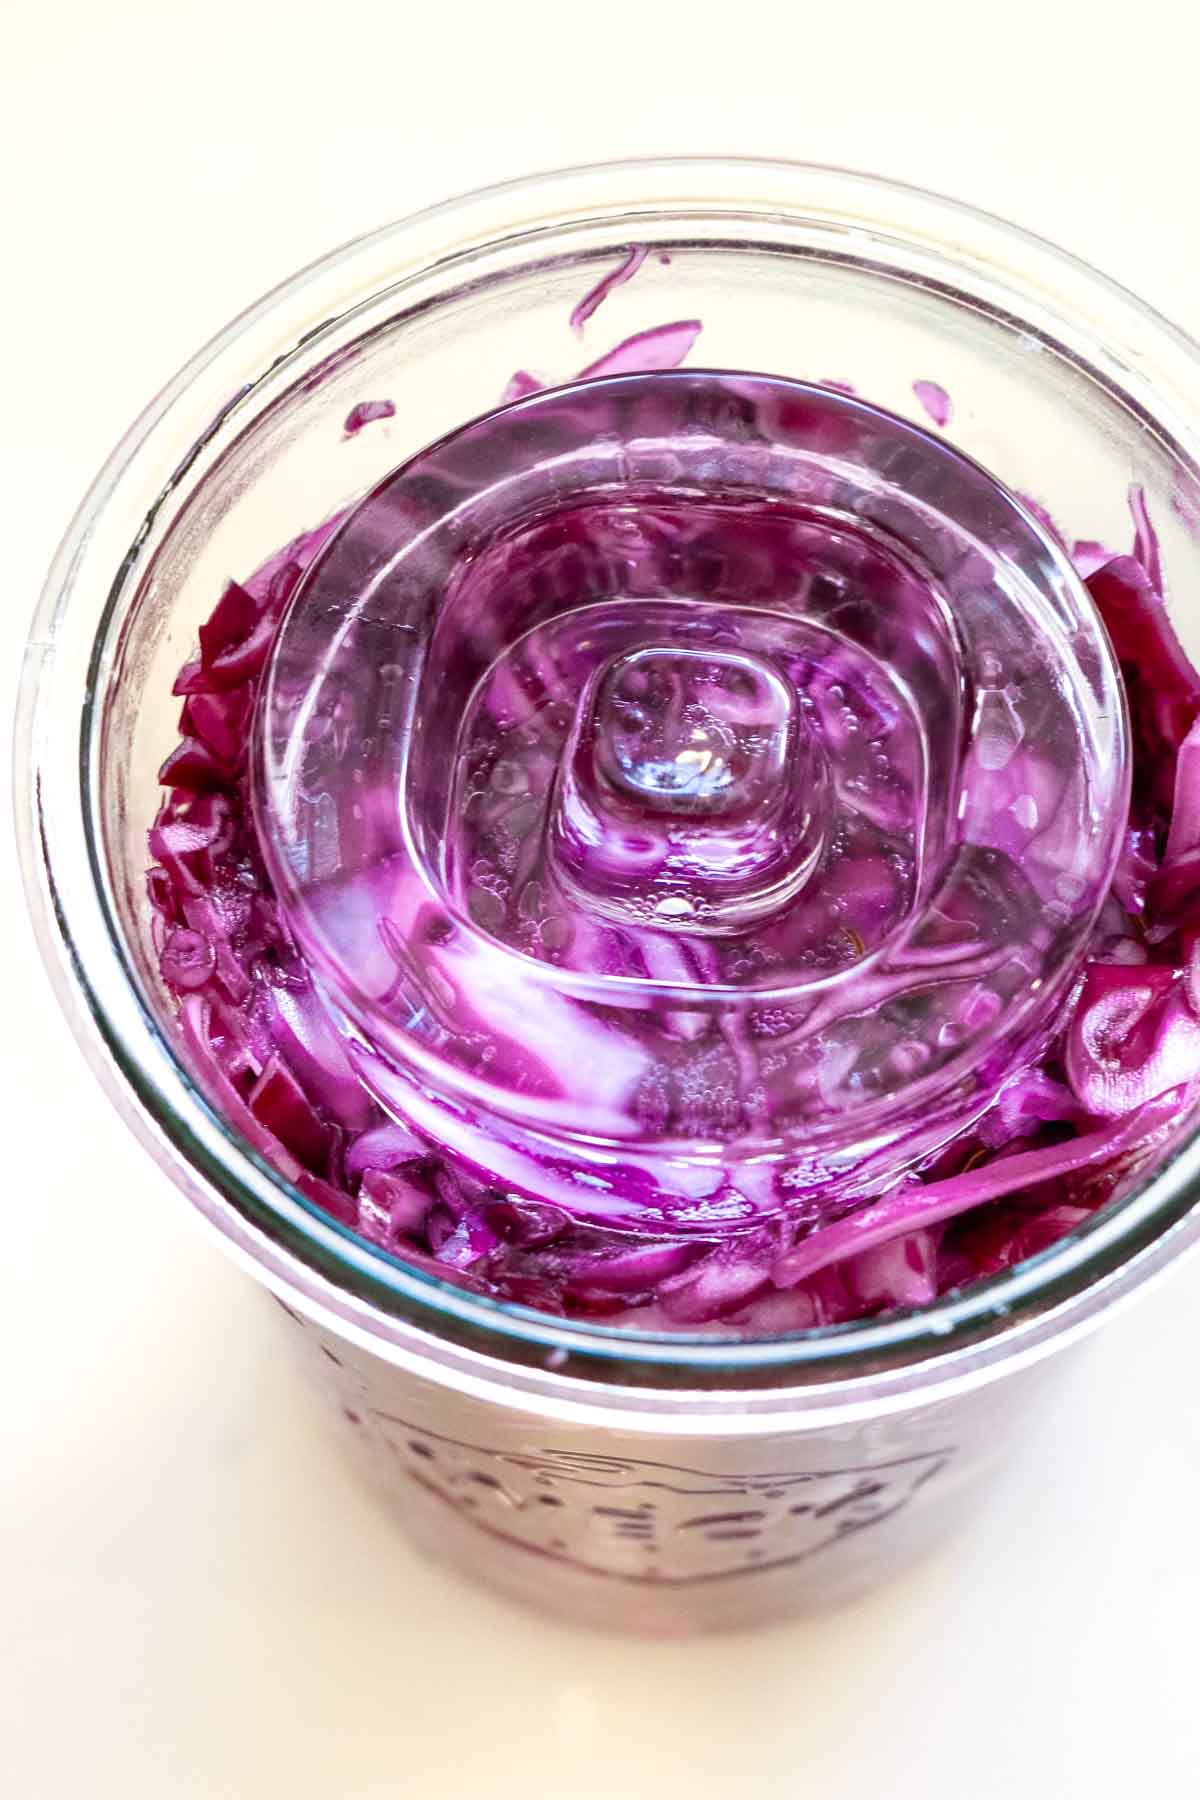
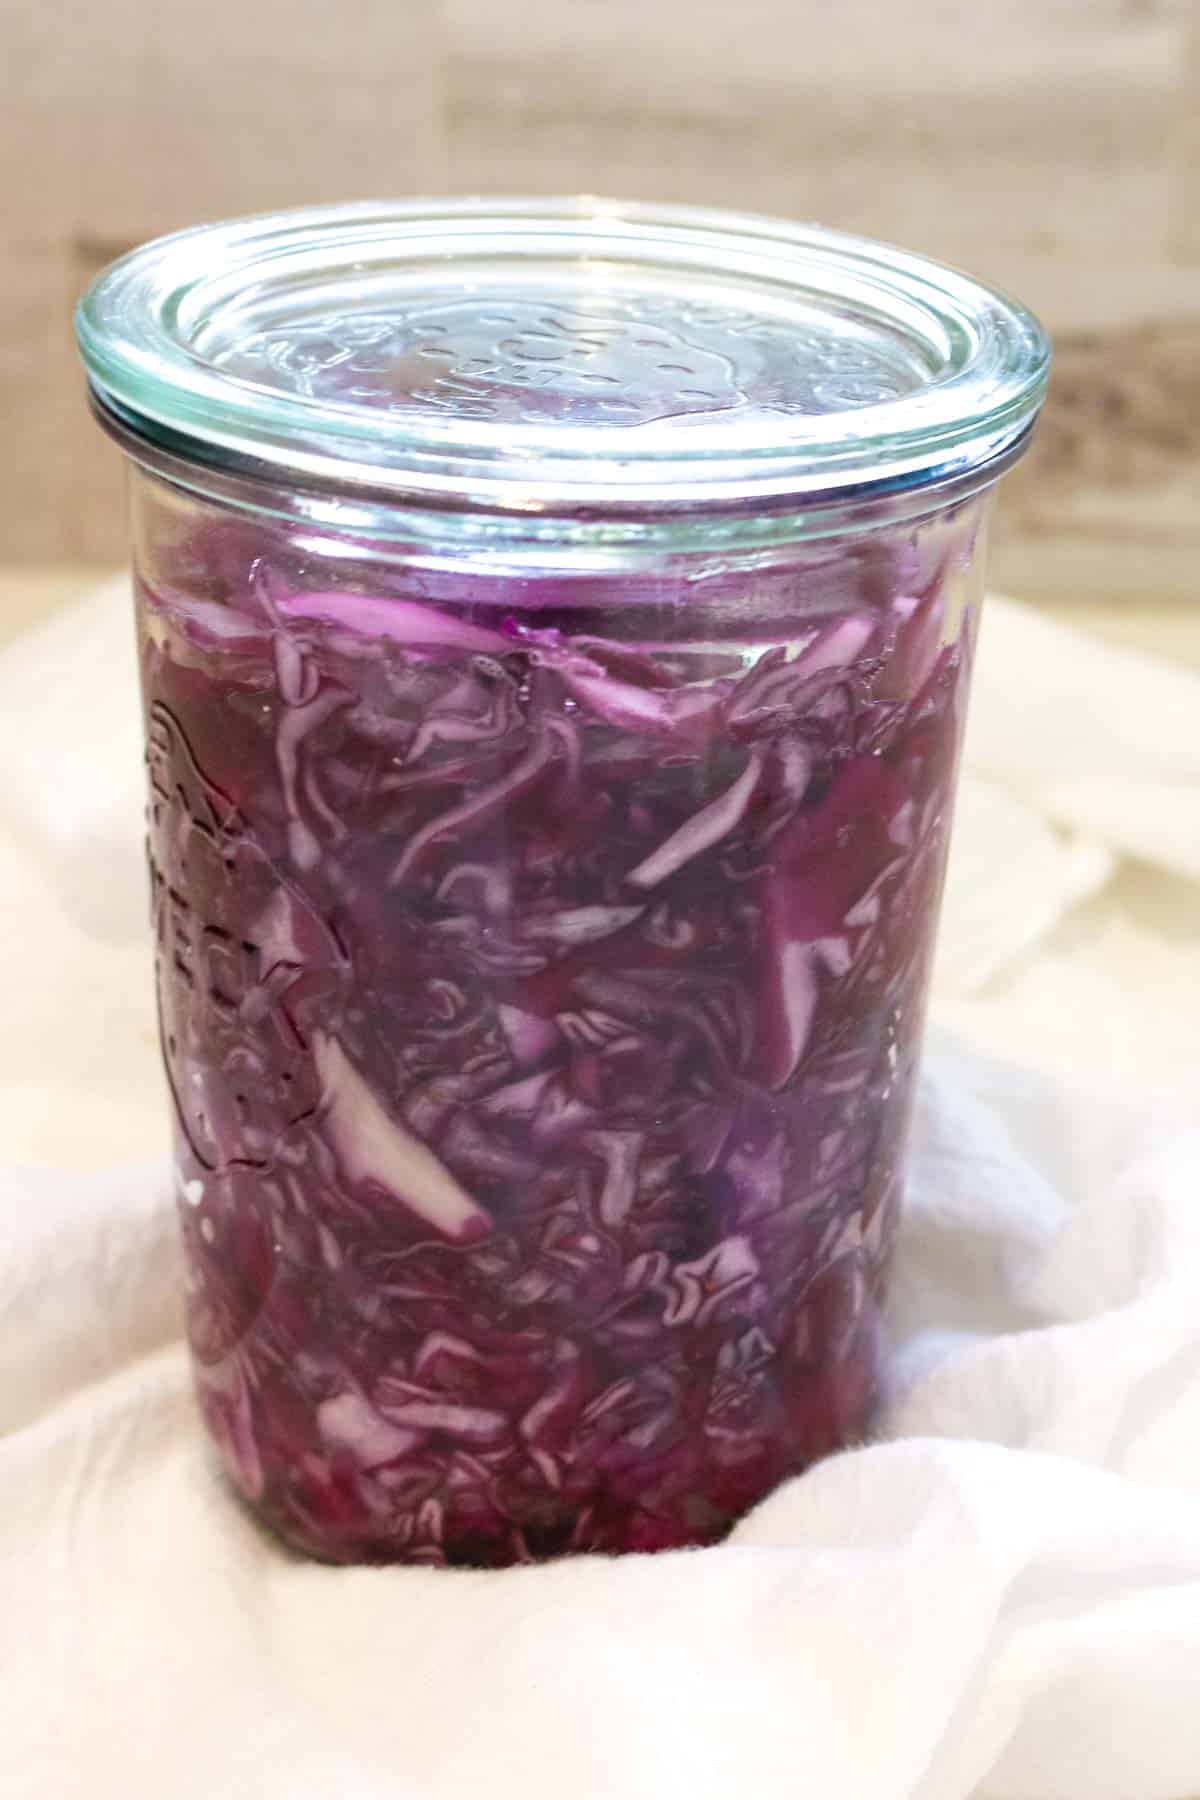
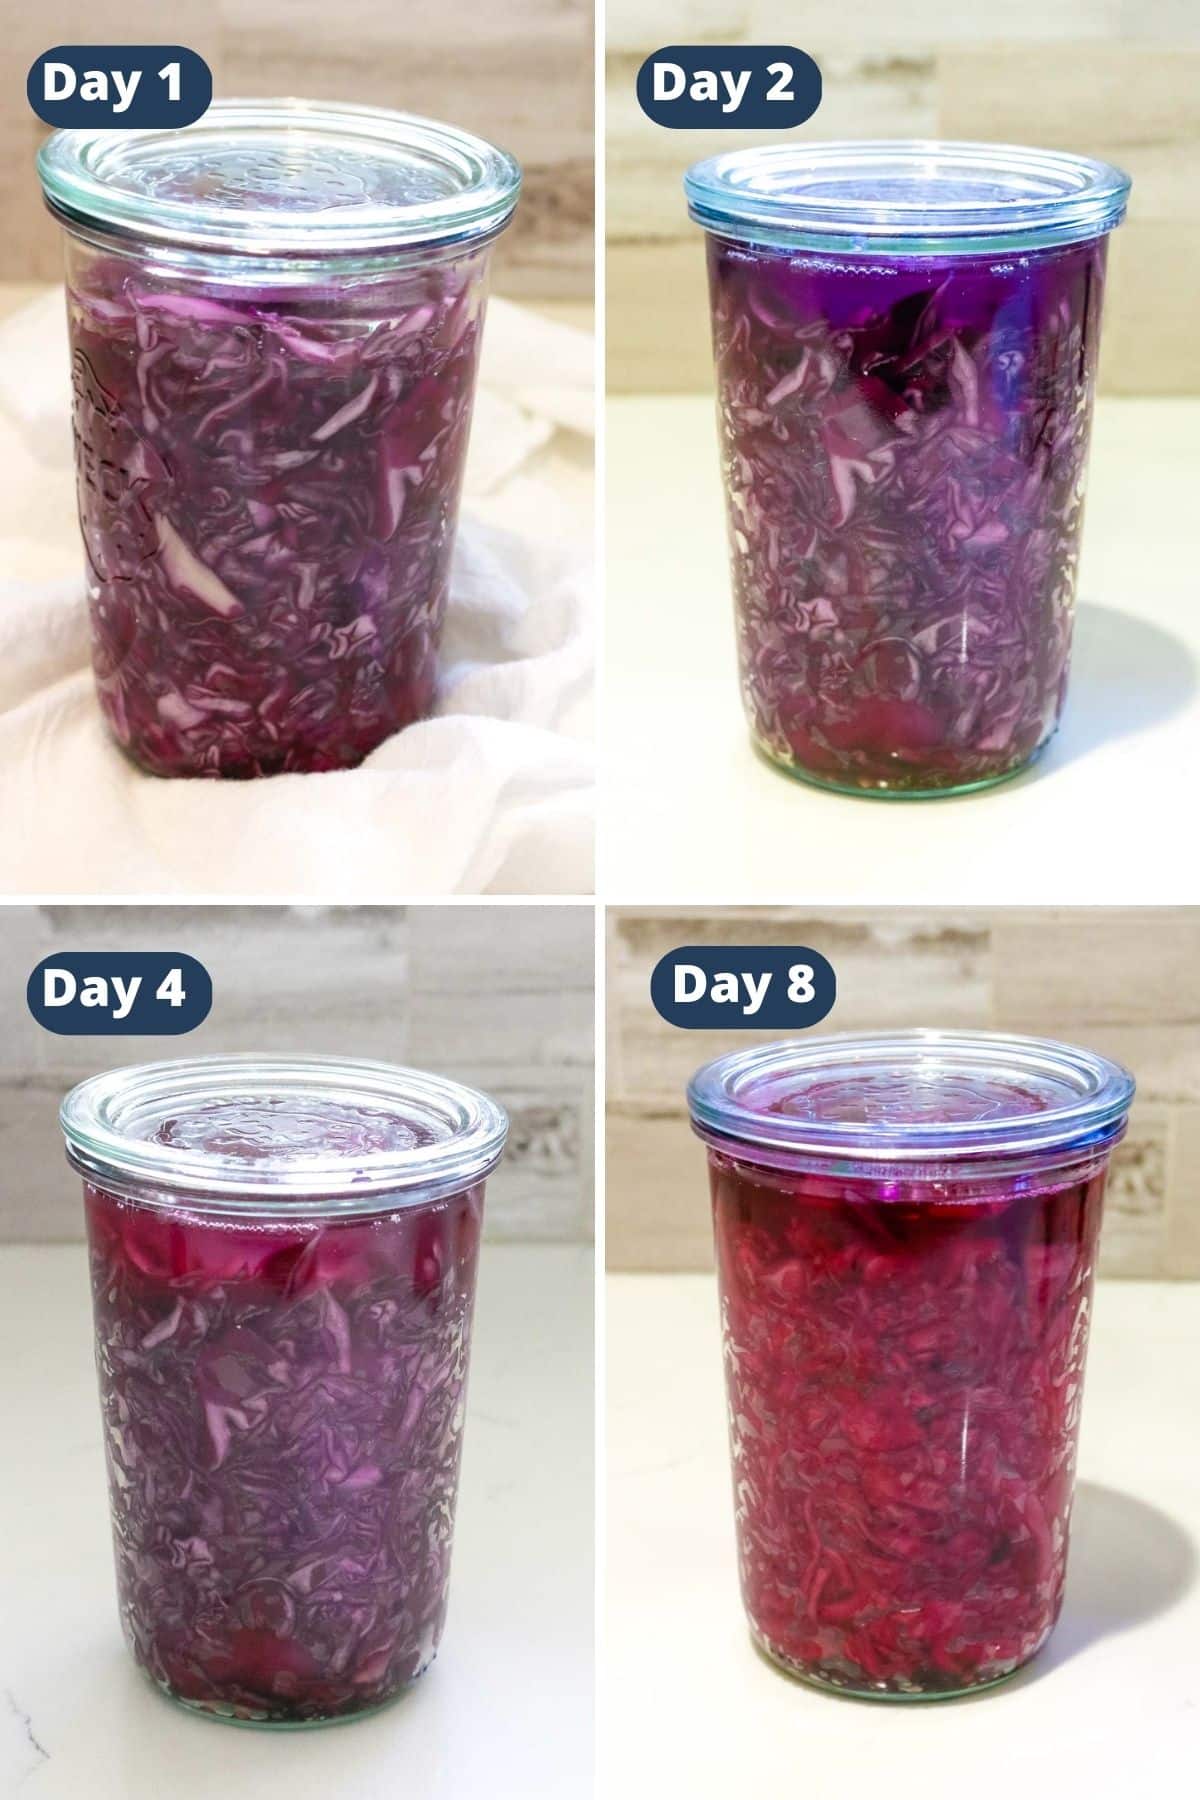
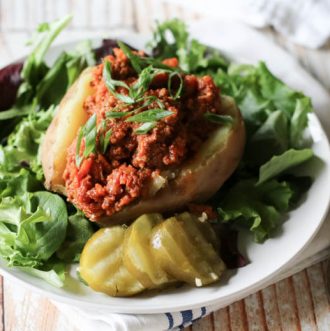
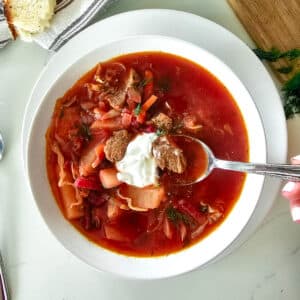
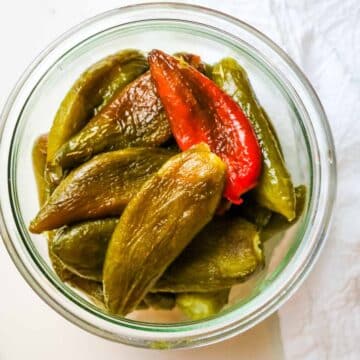
Serve with ferment. A spoonful of fermented condiments like raw sauerkraut or kimchi is always an excellent idea to help support gut health. My favorite accompaniment with these salt and pepper chicken wings is dill pickles and cherry tomatoes.
Helpful Tips
Work with dry wings. That's the best way to achieve crispy baked chicken. Pat chicken wings dry very well with paper towels to remove excess moisture.
Bake in a preheated oven. Wait for it to fully preheat before transferring the chicken wings. Similarly, it helps to have the chicken at room temperature so it bakes evenly.
Mind the cooking time. Whether or not you are using an air fryer, toaster oven, or regular oven, you must keep an eye on your chicken wings. Cook times vary depending on the appliance you are using.
Minimize clean-up. Line your baking sheet with parchment paper to cut your time in the kitchen. Please note that this may reduce the crispiness of the chicken wings as it hinders air flow, but it makes cleaning up a breeze. The choice is yours!
Allow resting. Like any other meat, ensure your chicken wings rest for a few minutes before serving. This allows the juices to redistribute back into the meat, making the chicken wings juicy and flavorful.
Step-by-Step Instructions
The complete printable recipe is below in the recipe card for your convenience.
The recipe for salt and pepper chicken is very straightforward. After seasoning, pop the wings into an air fryer or bake them in the oven. I have a convection, toaster-oven air fryer with crisper trays, perfect for this recipe.
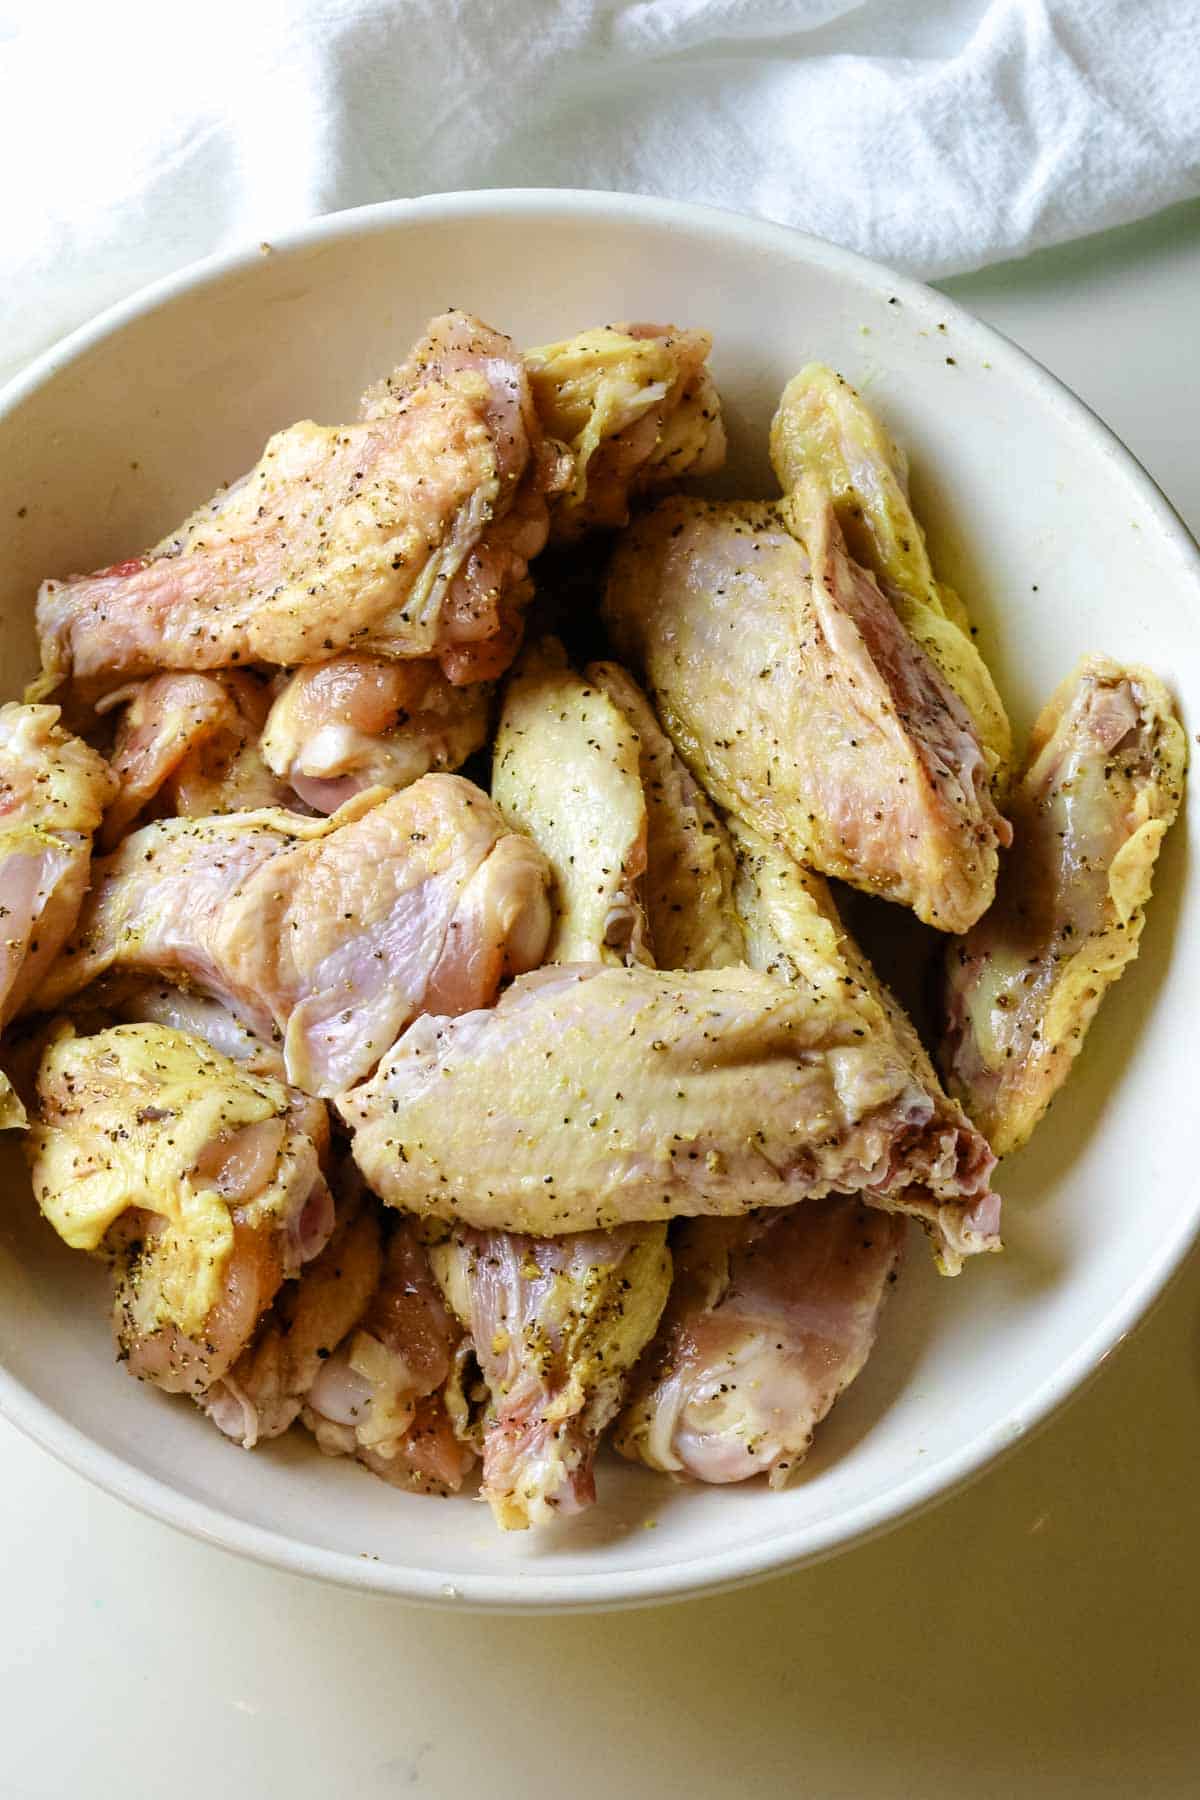
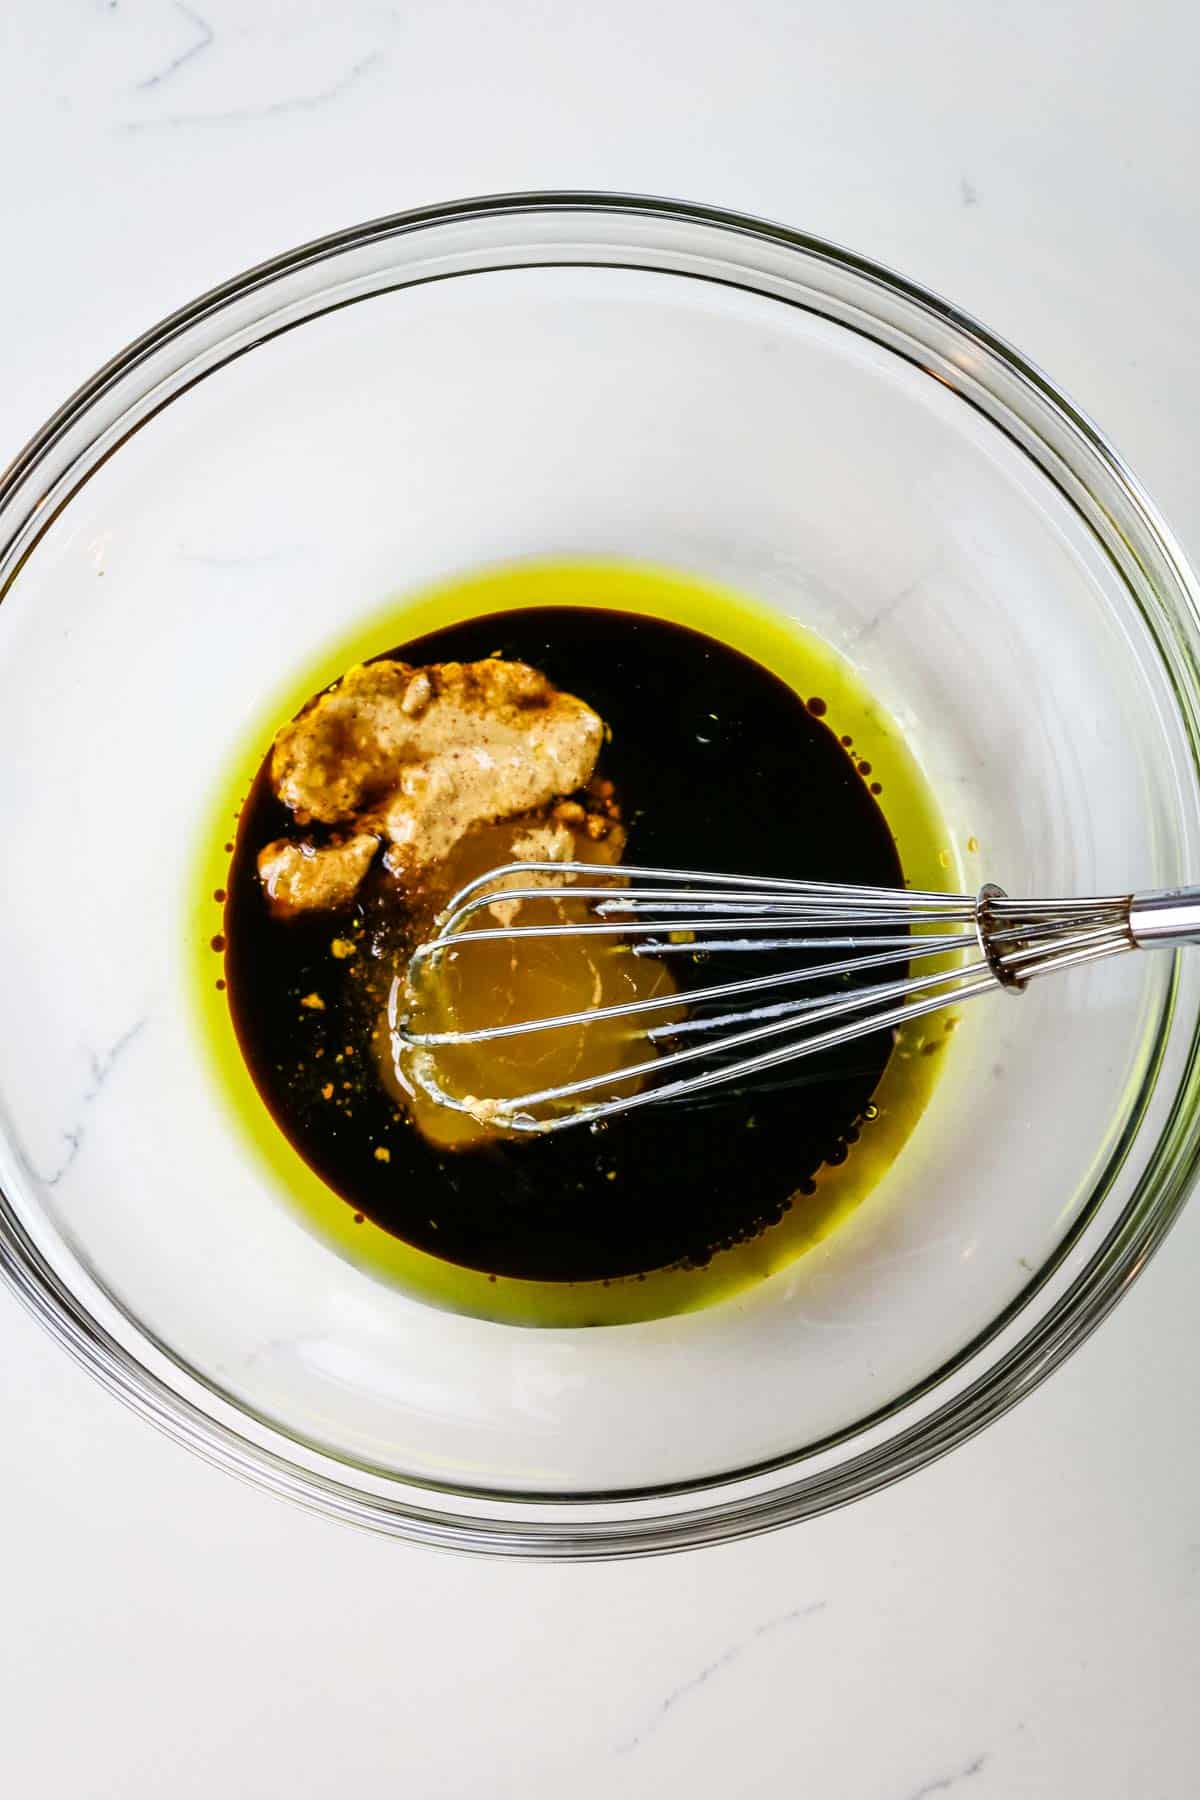
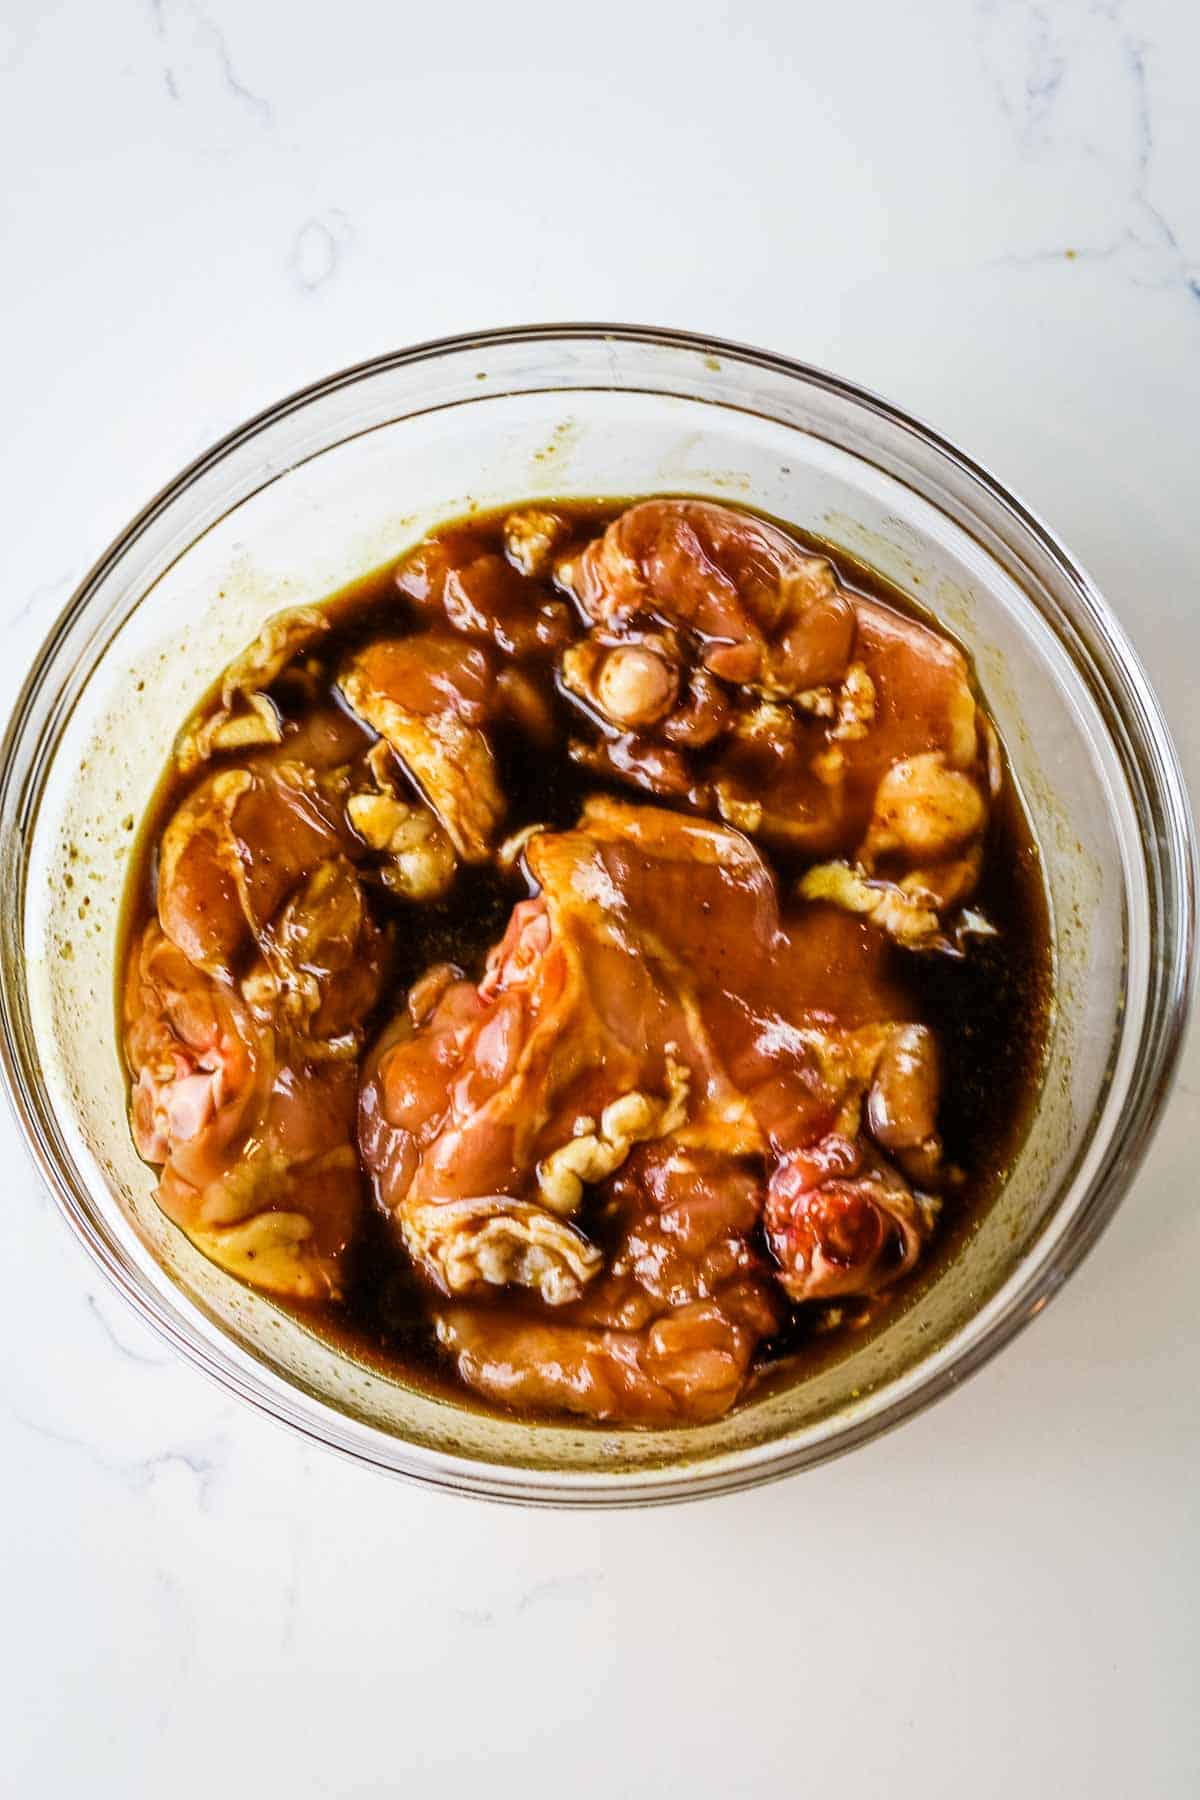
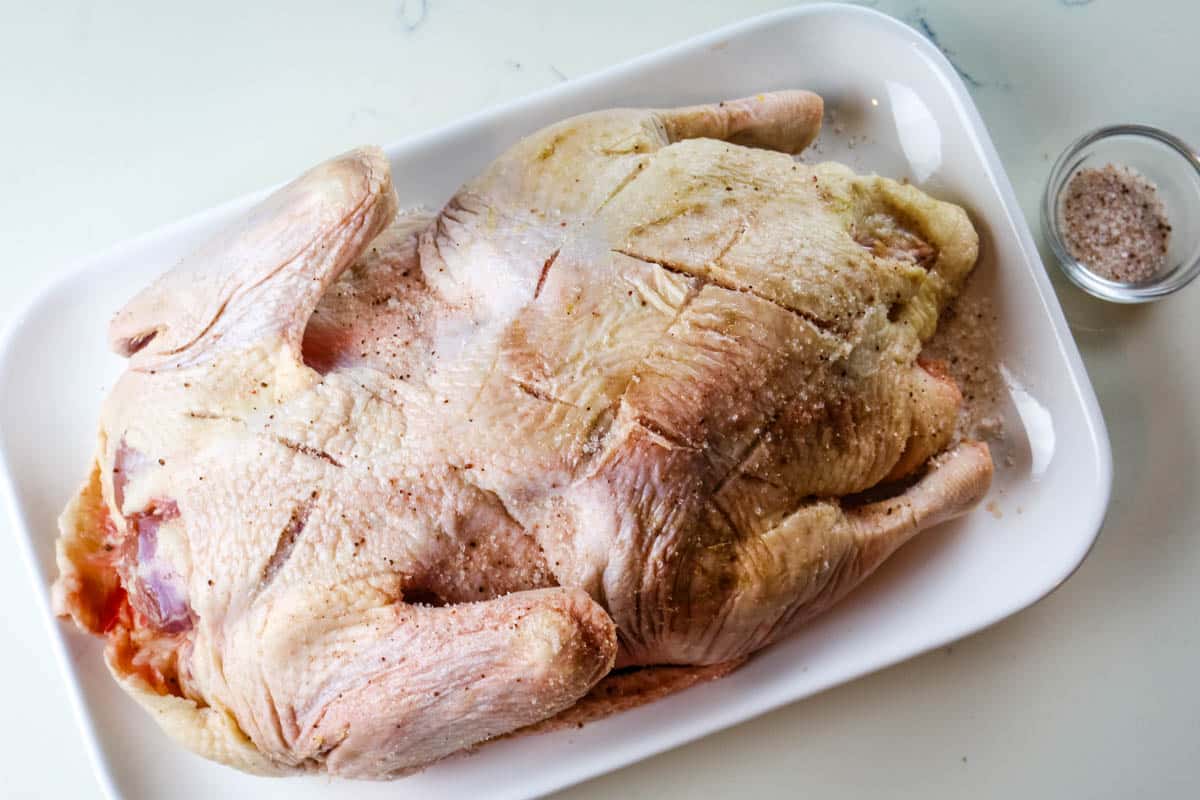
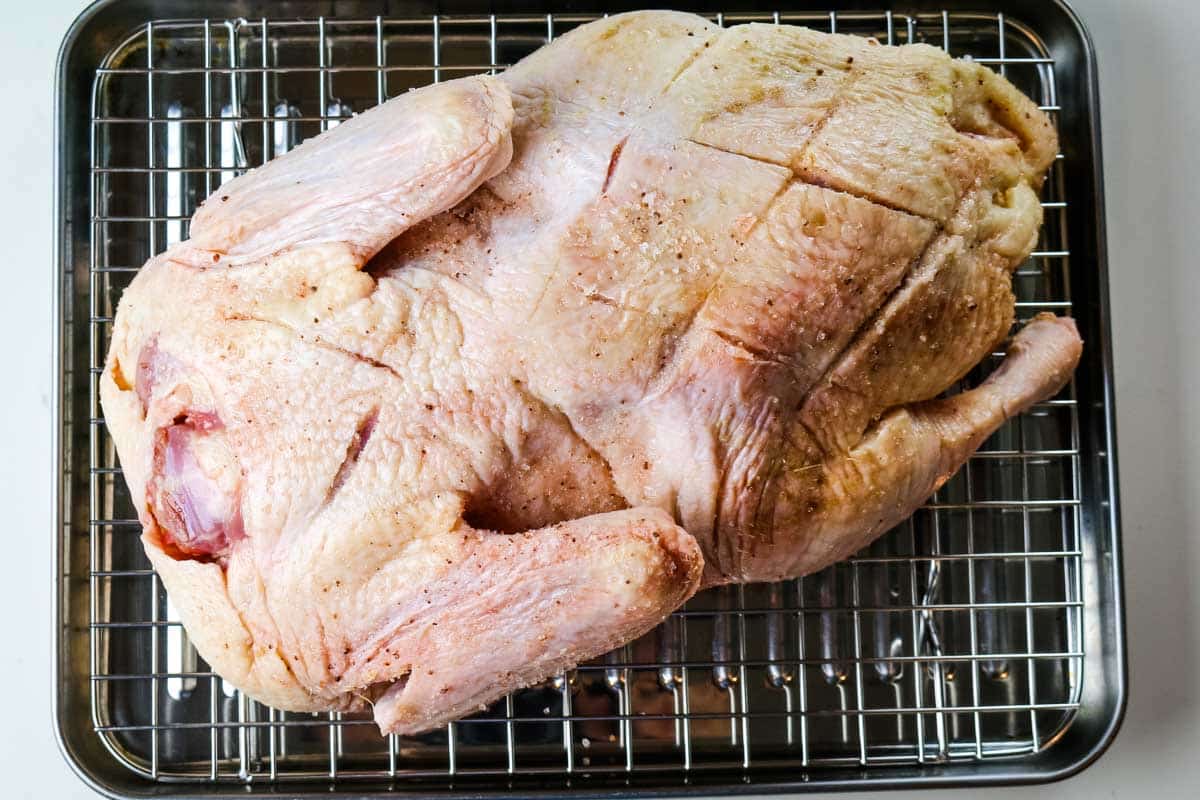
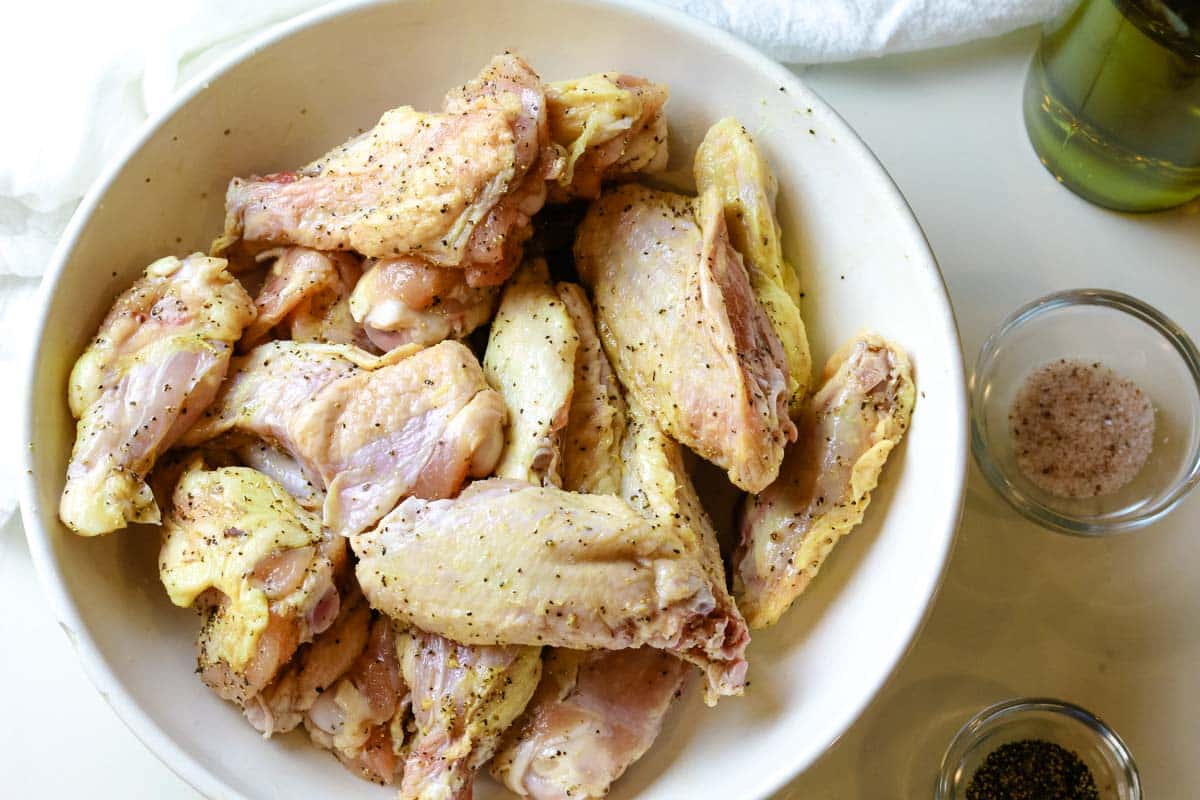
Step 1. Season wings
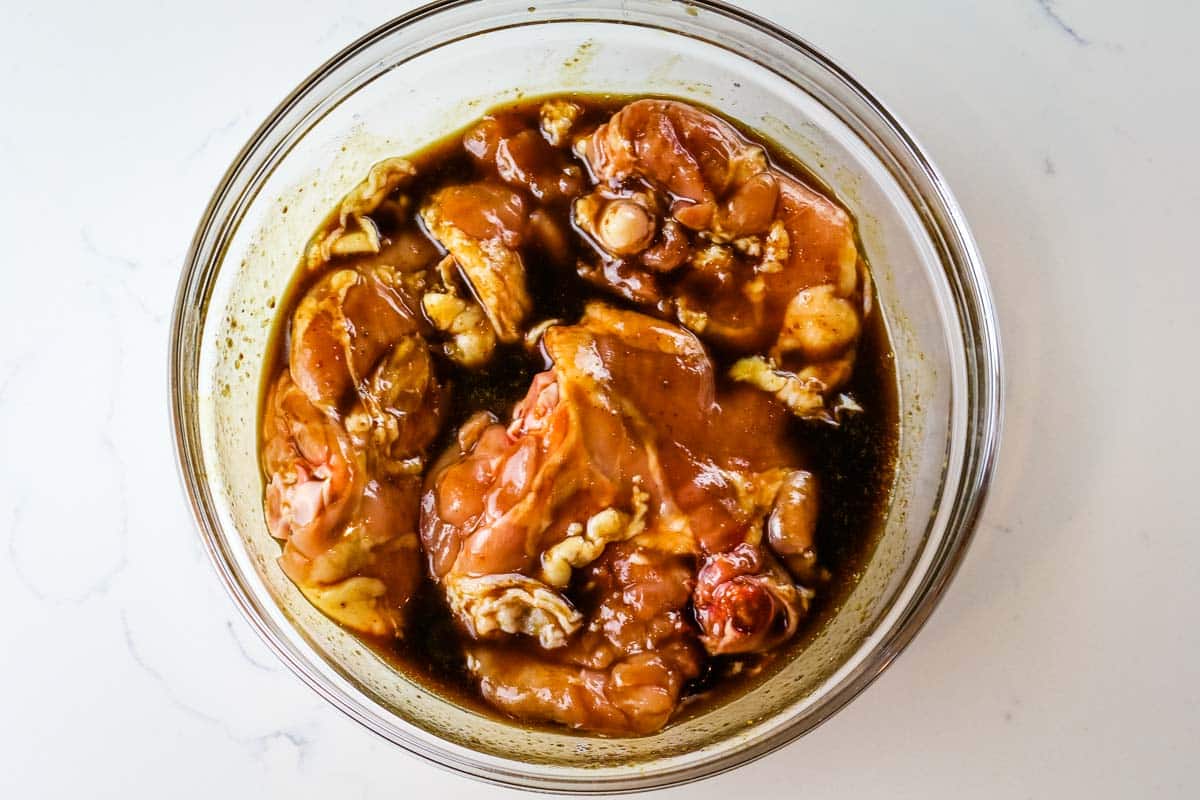
In a large bowl, season chicken wings with oil, salt, and pepper.
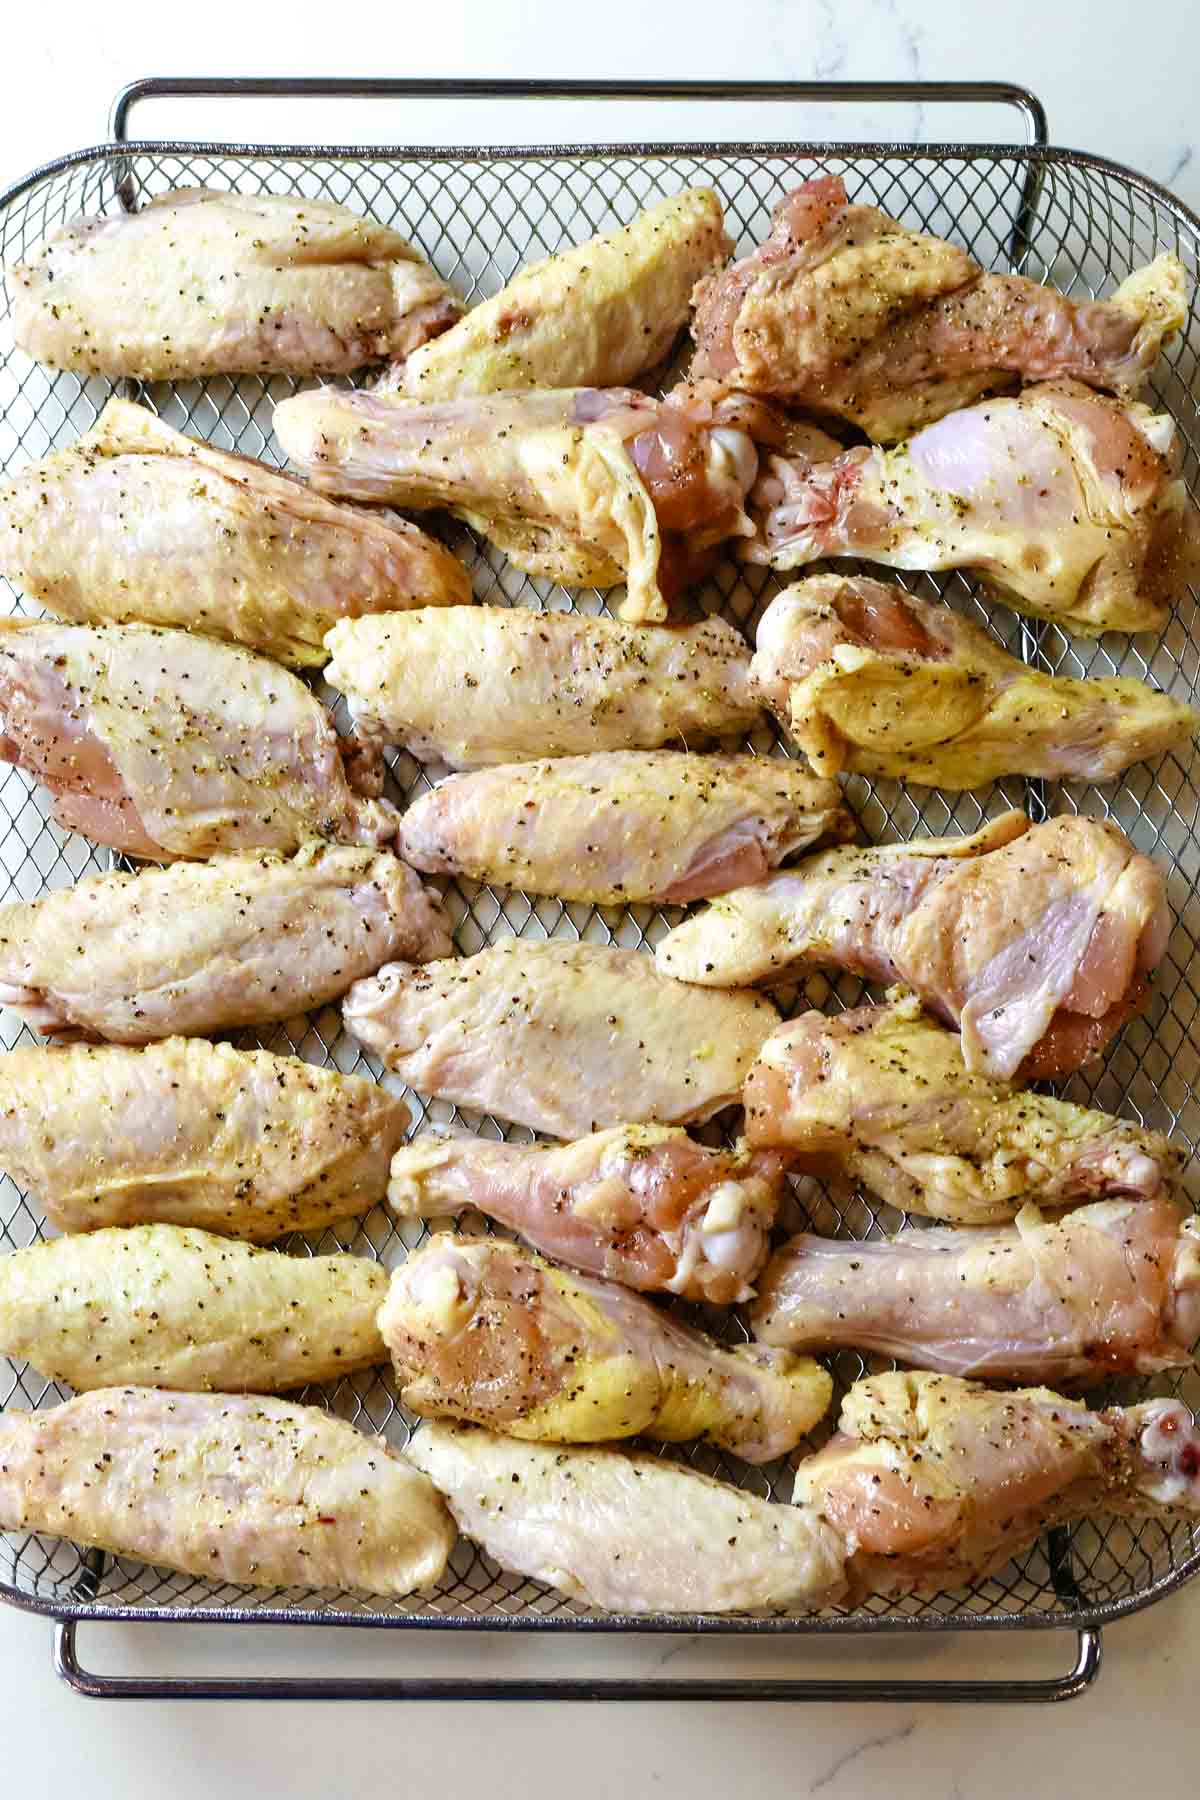
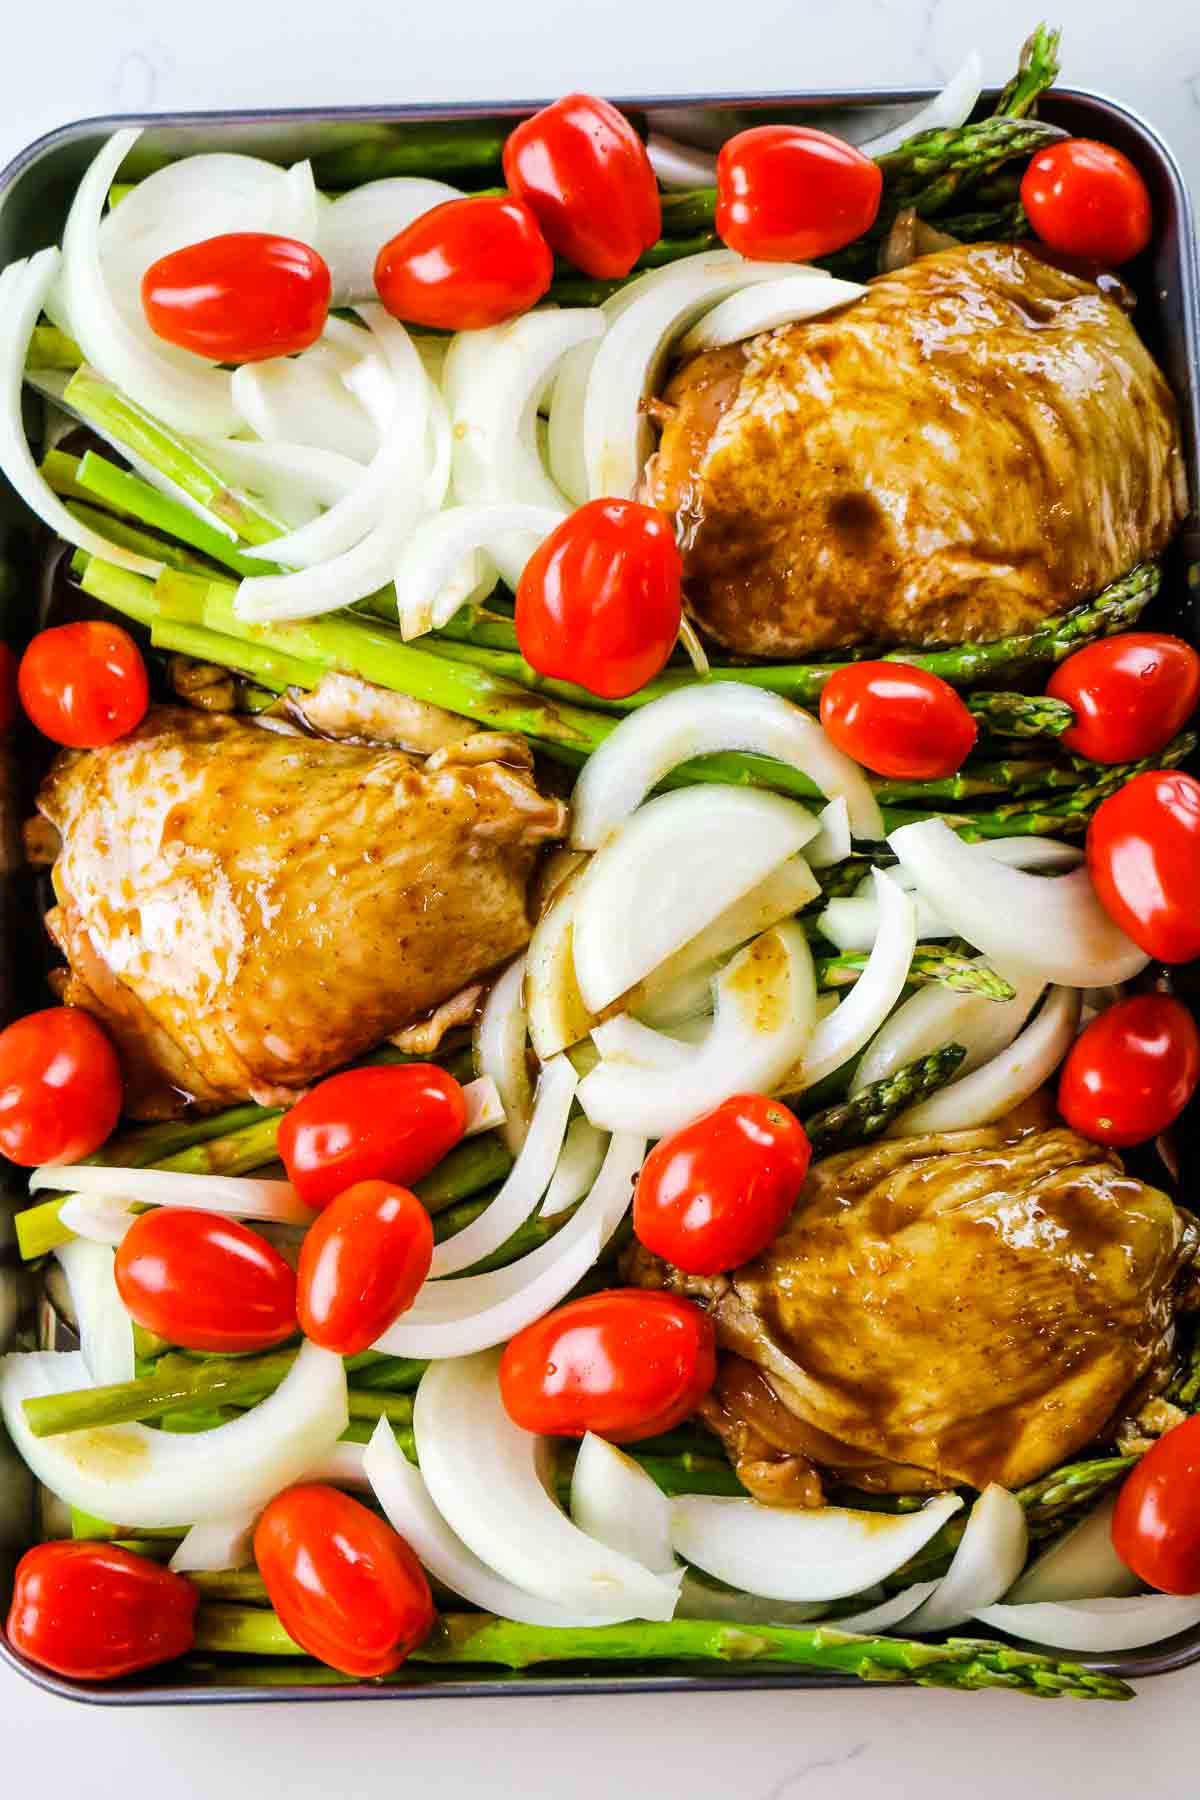
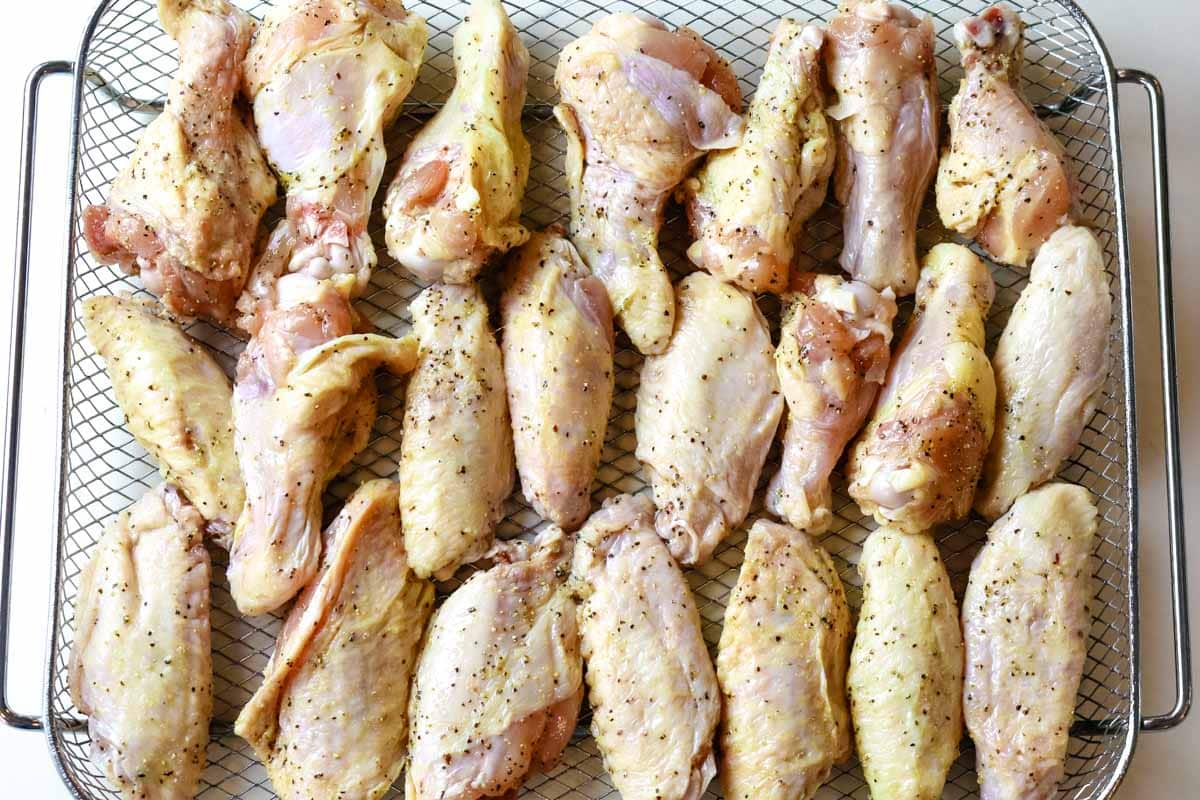
Step 2. Bake wings
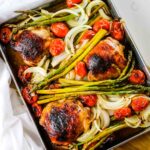
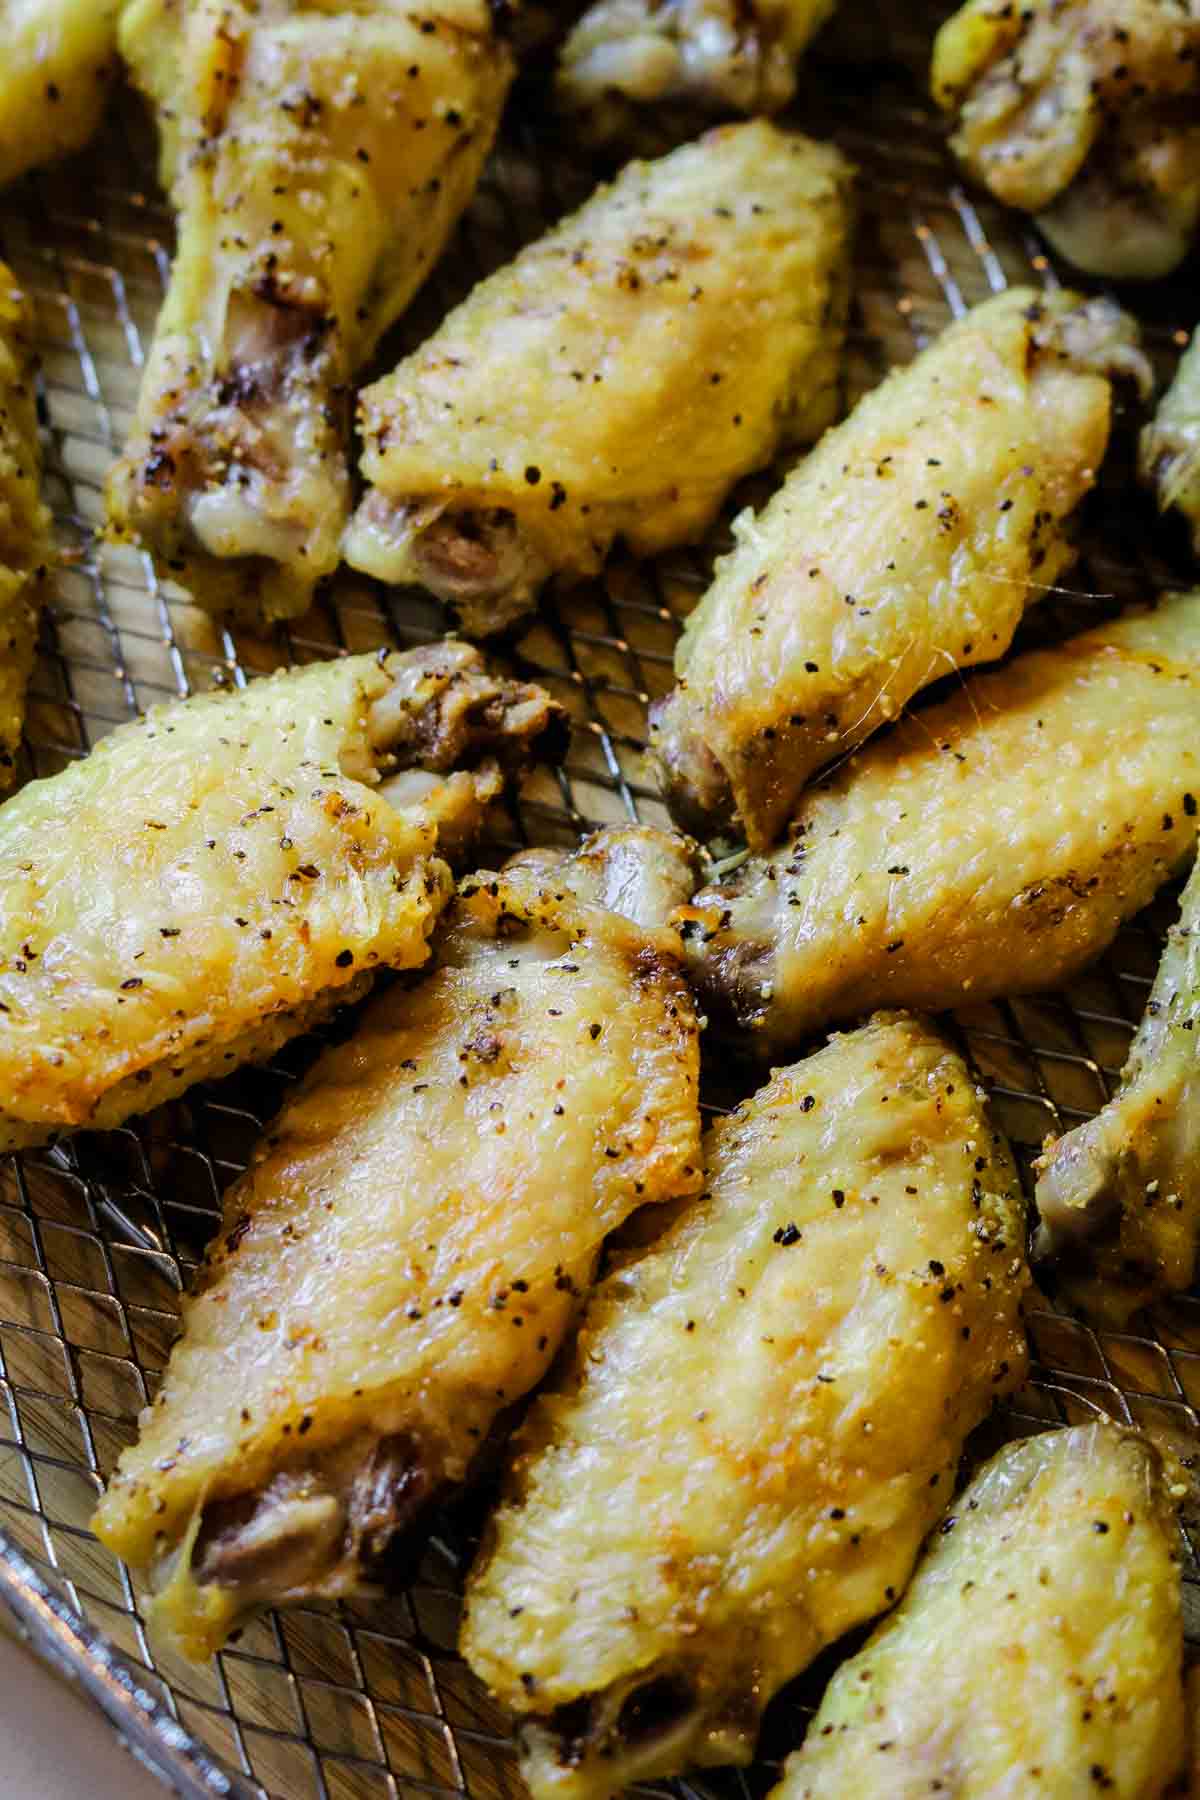
Spread the wings evenly in a single layer on a baking tray and bake until cooked through.
💭Pro tip: Good news - no need to wash the chicken. The USDA recommends against it as it spreads more bacteria!
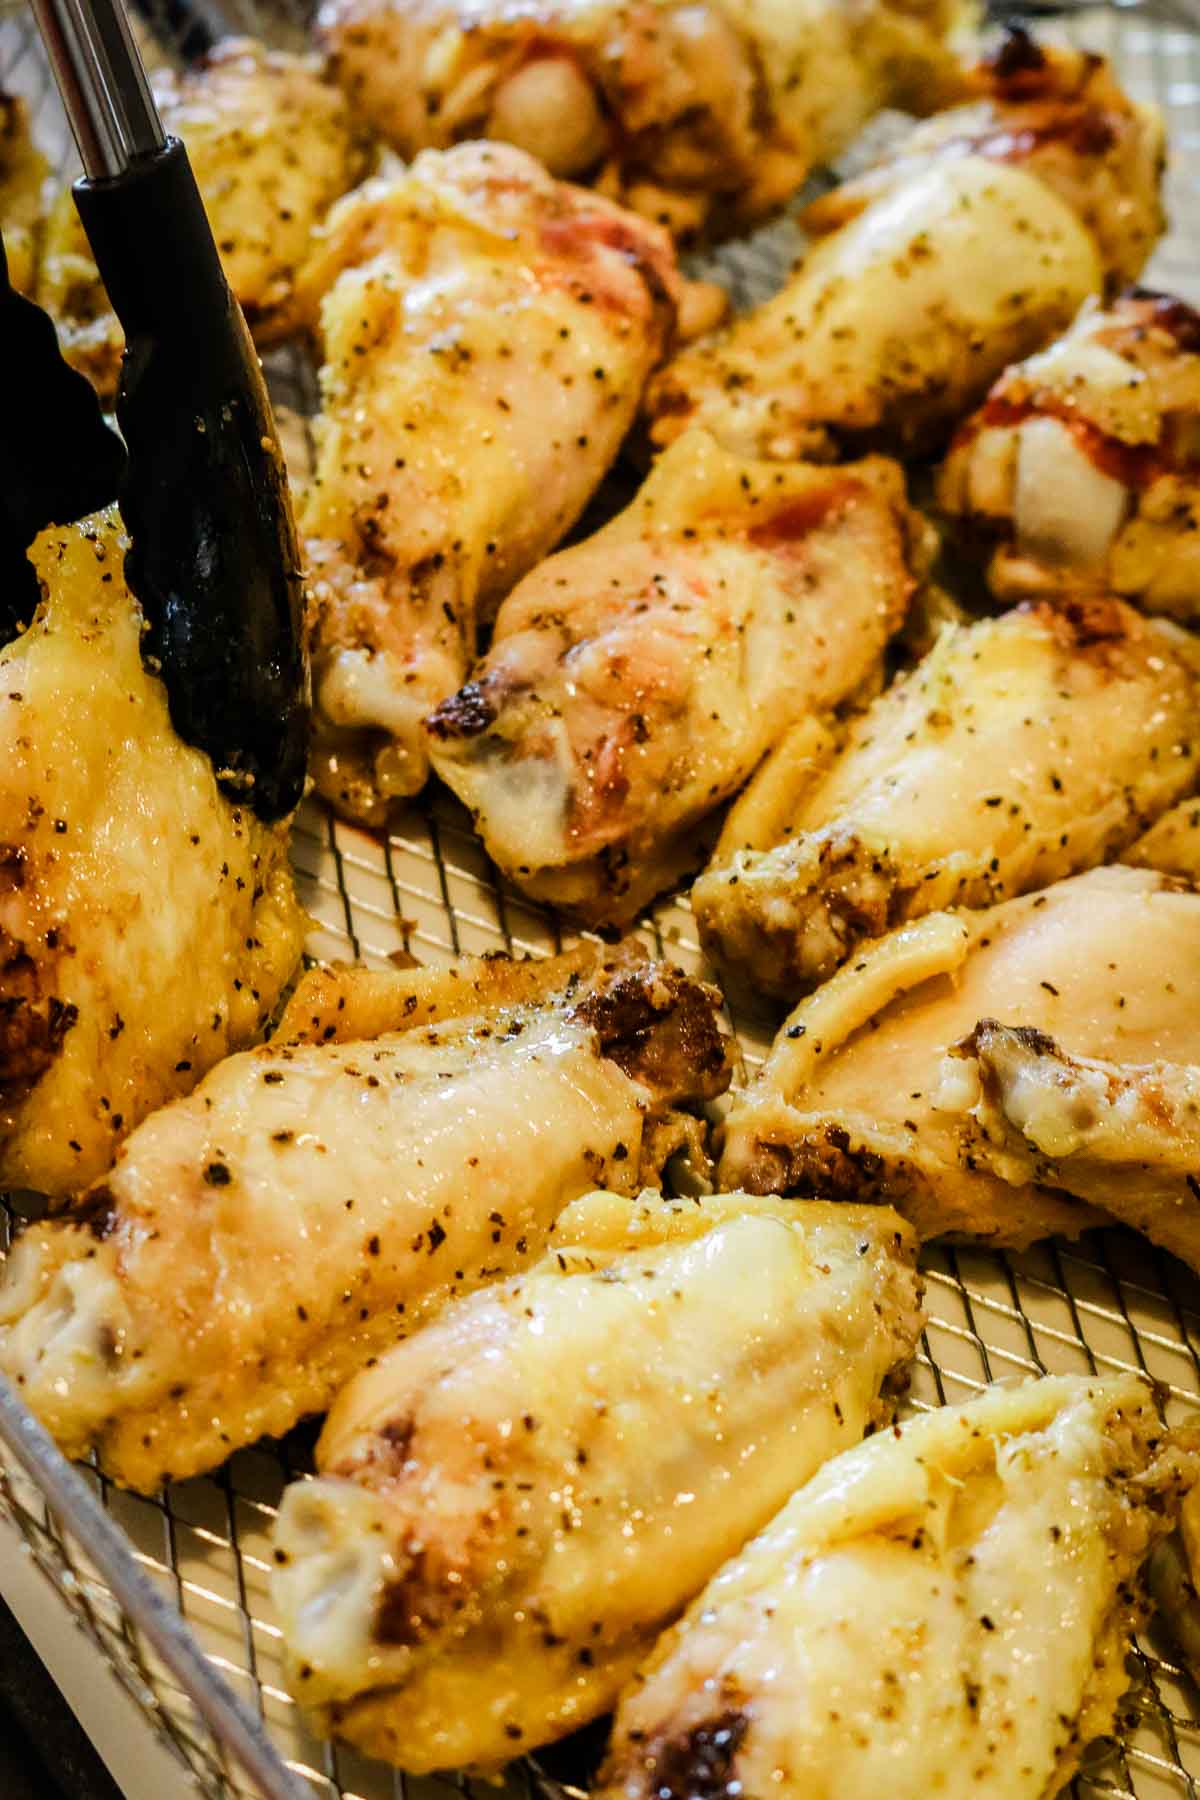
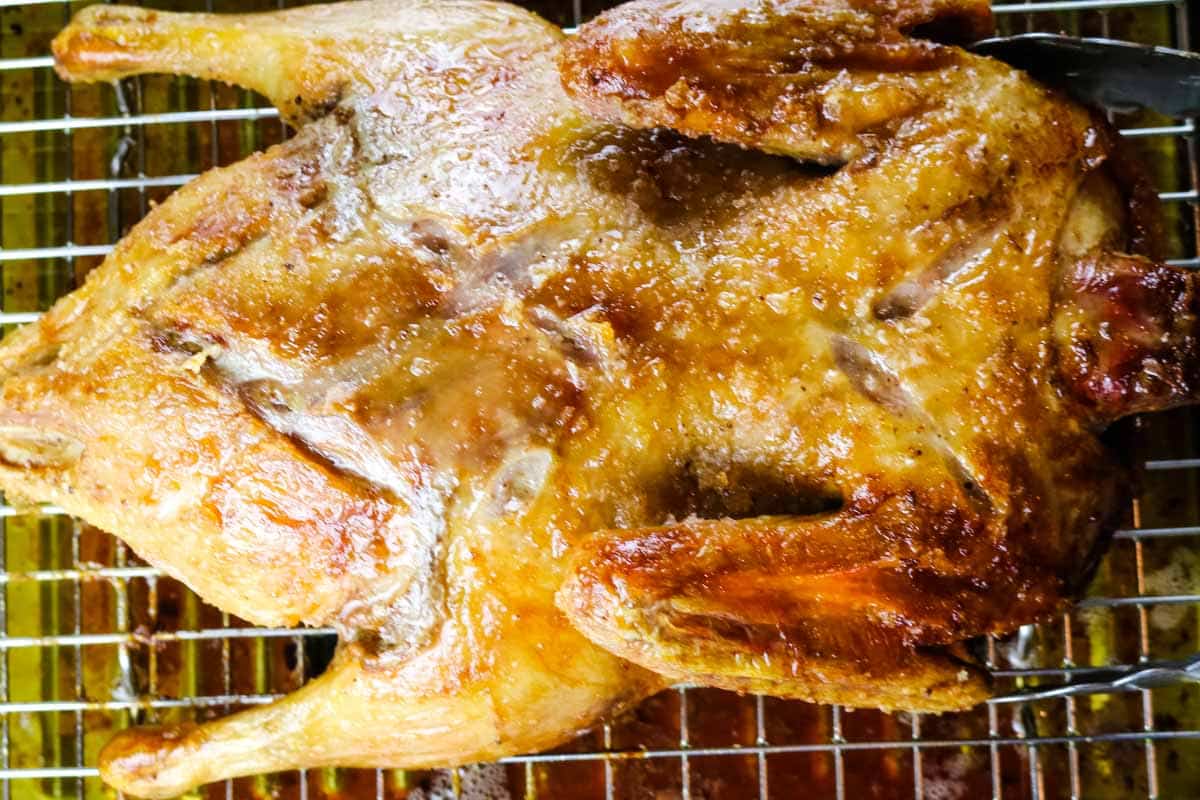
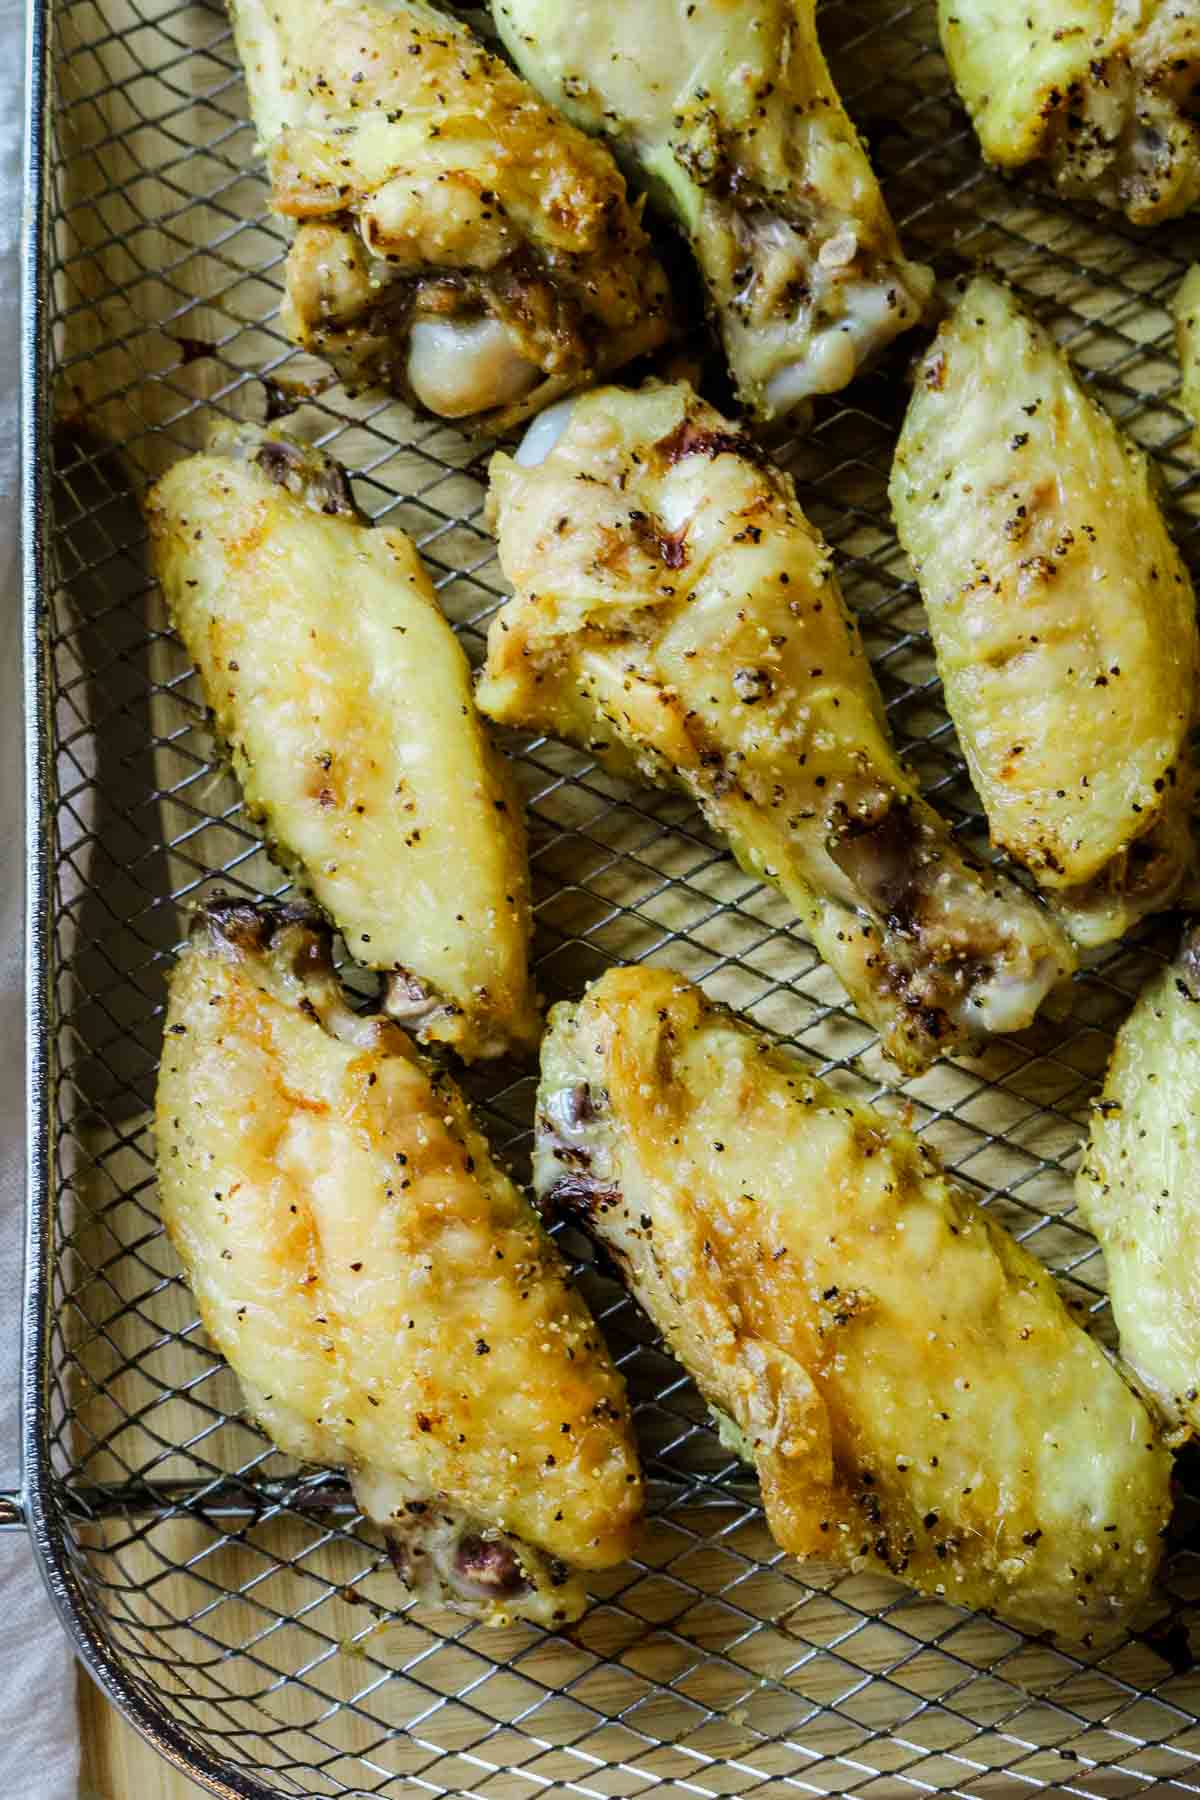
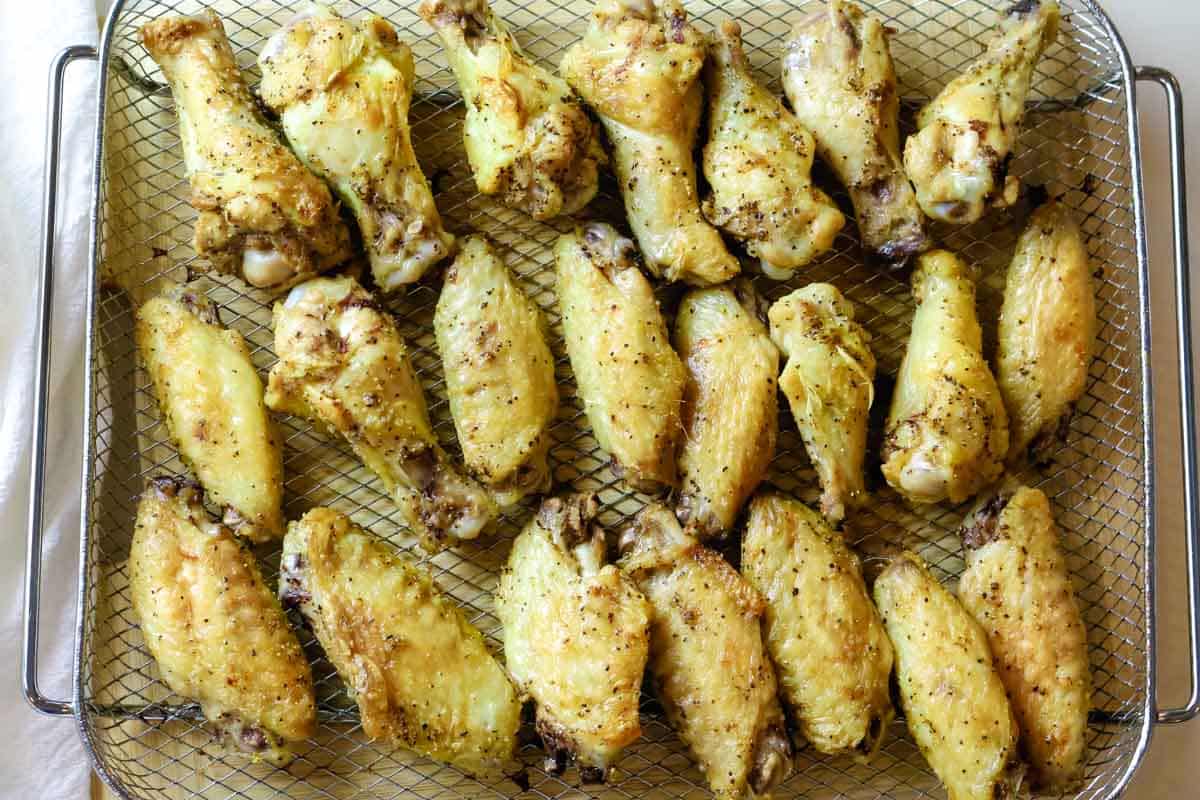
Step 3. Broil wings
Flip the chicken wings and broil for a few minutes until golden brown and crispy.
Step 4. Set to cool
Remove the chicken wings from the oven and set aside to cool slightly before serving.
💭Pro tip: If you are using a basket air fryer, you may need to cut back on the cook time and pull them our earlier, as the basket fryers need less time to cook.
Helpful Tools & Links
Below are some affiliate links that may be helpful to you as you make this recipe. You can find some of these items cheaper at your local store, but having a link helps you know what you're looking for.
- Tools: chef knife, cutting board, large mixing bowl, extra-large air fryer, stainless steel baking sheet
- Ingredients: real salt, black pepper, olive oil, avocado oil spray
- Storage Supplies: glass snap containers
Serving Suggestions
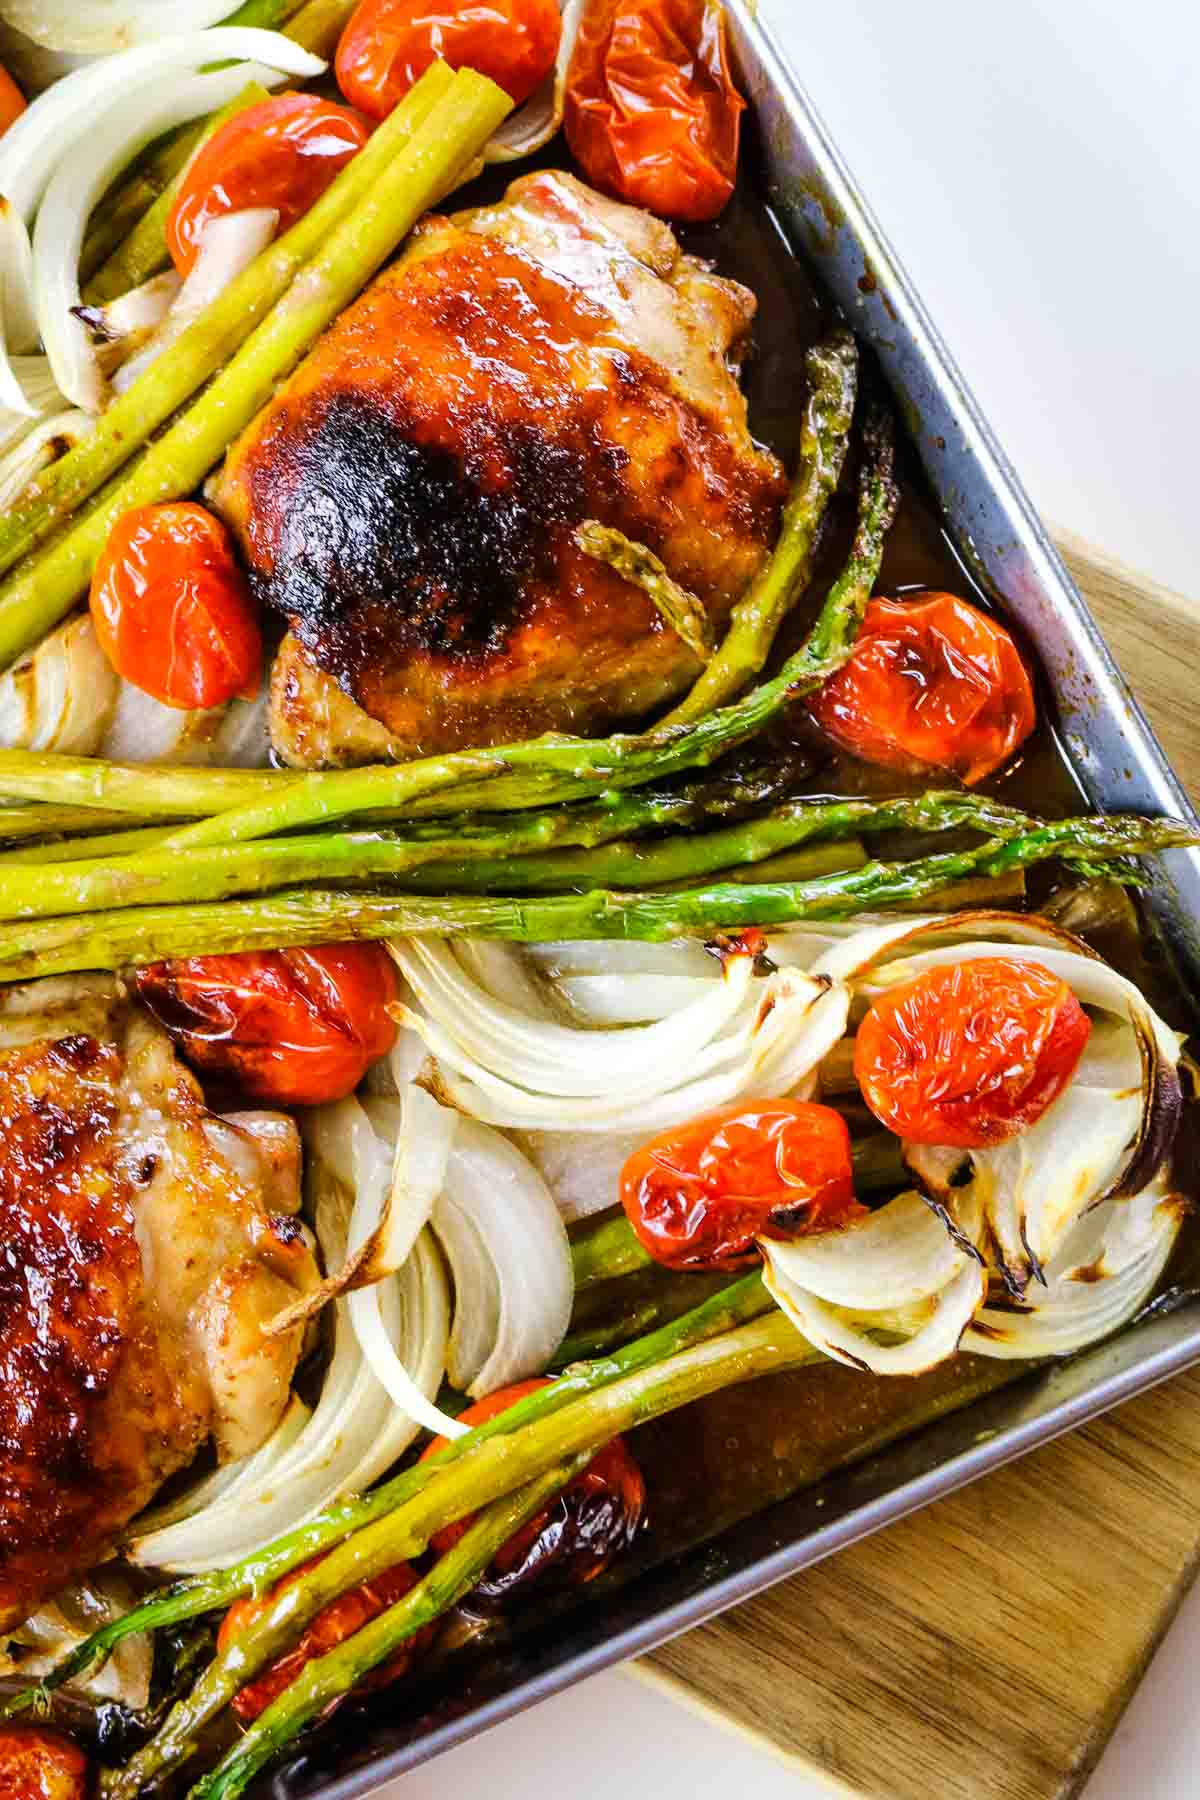
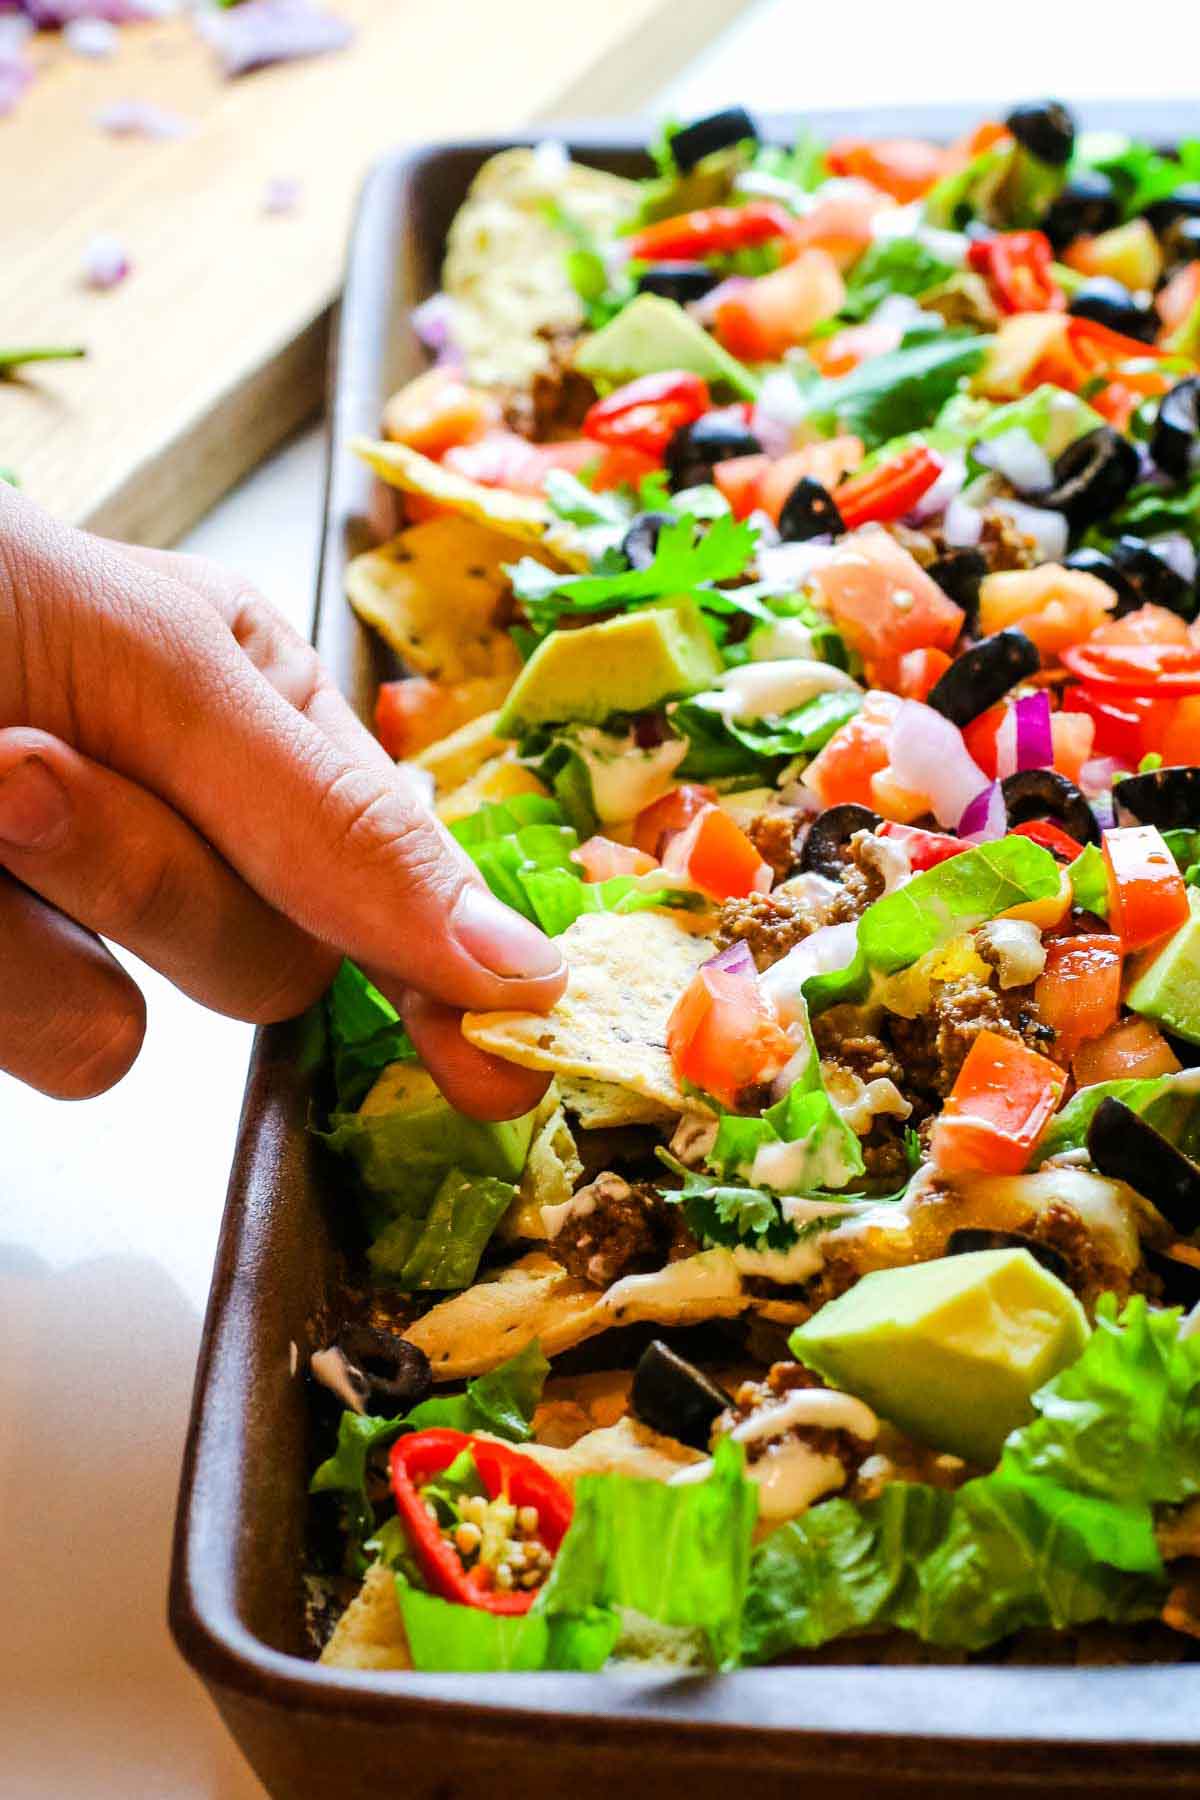
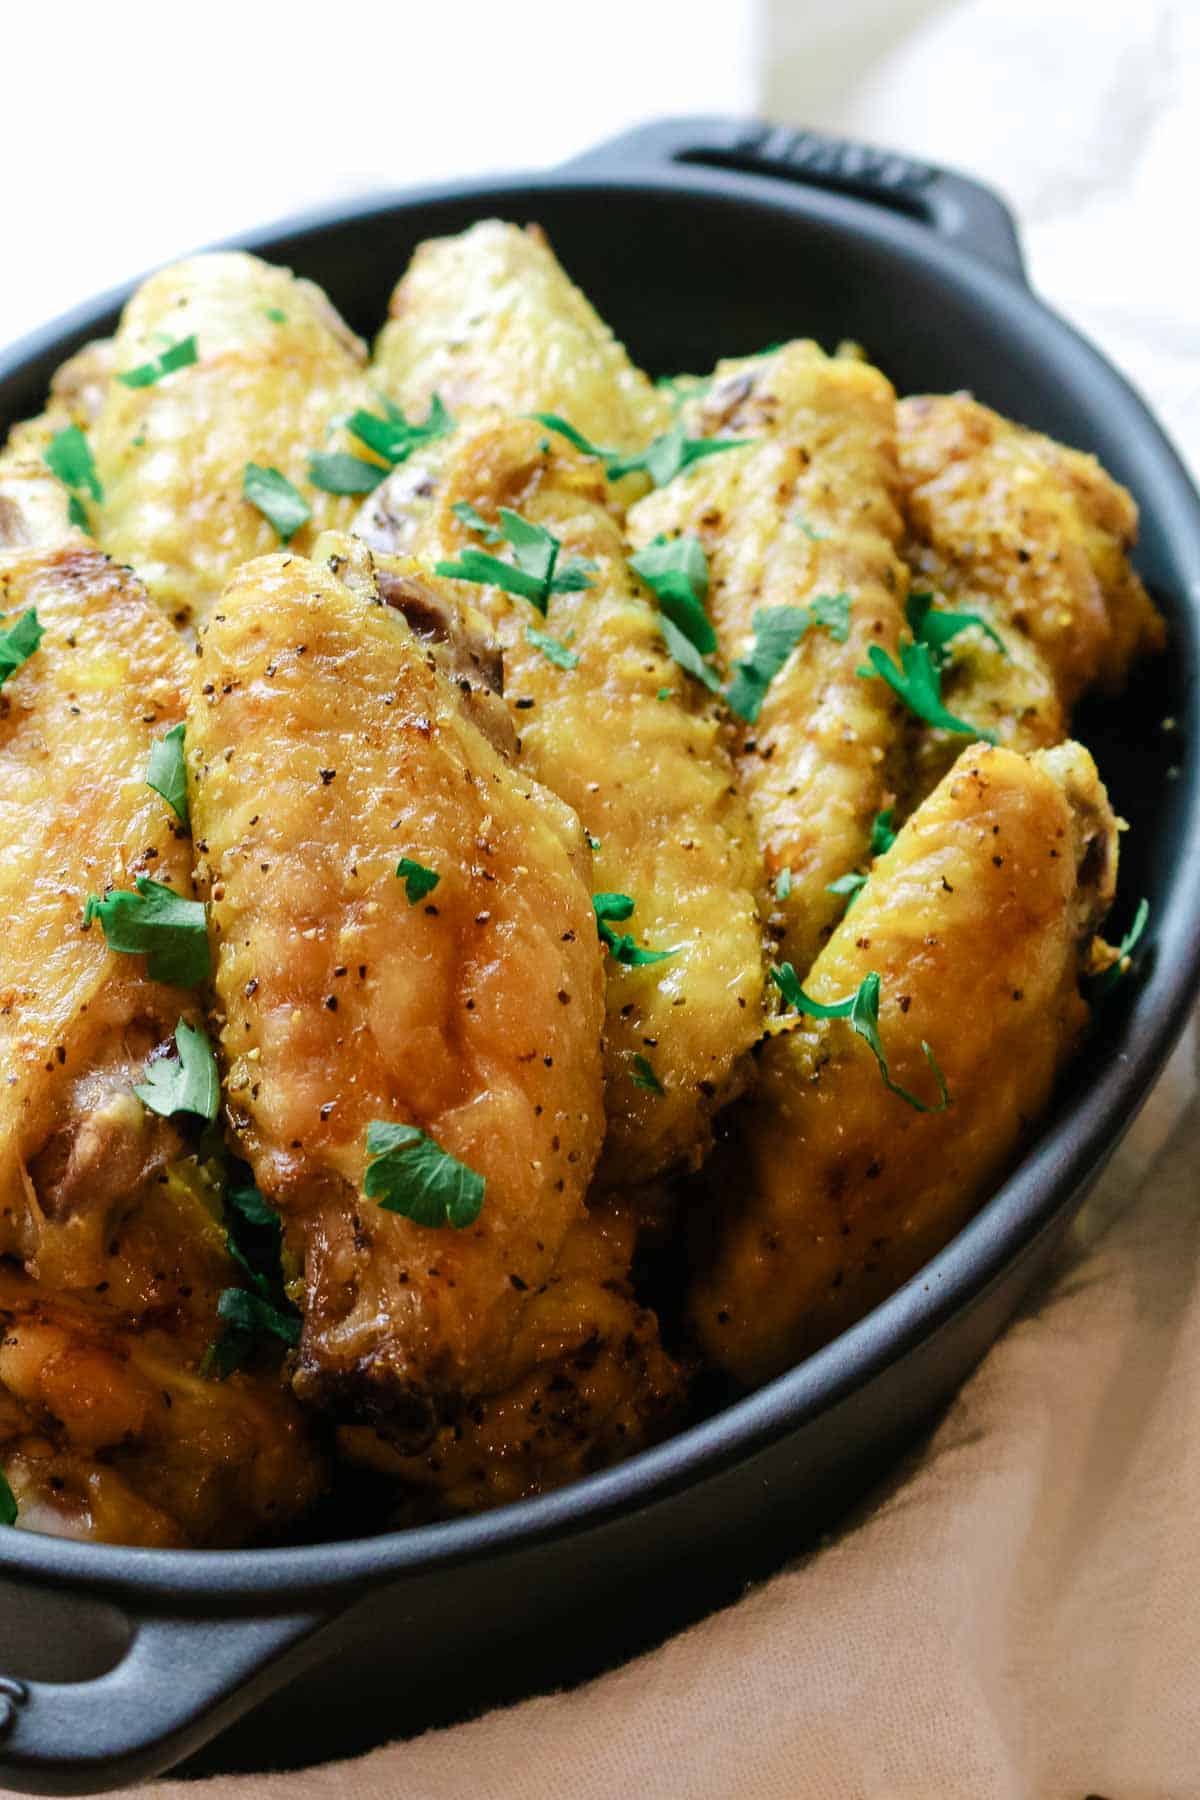
Garnish crispy salt and pepper chicken wings with fresh herbs like parsley and green onions and serve as part of your finger foods spread on game day. These crispy wings are a hit every time!
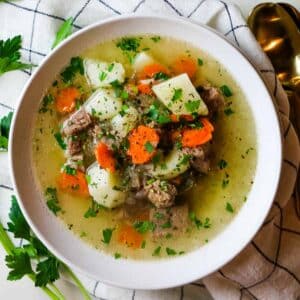
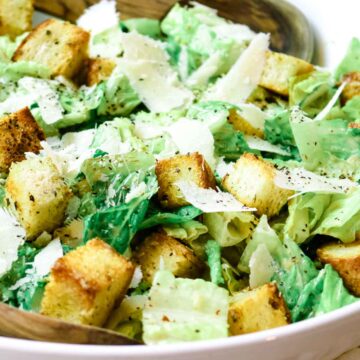
Alternatively, you may want to serve these salt and pepper wings as a main entree with a large salad like Caesar salad. Or, if you're going for a big dinner, serve it with baked potatoes, red cabbage steaks, and a light garden salad with house dressing.
Salt and Pepper Chicken Wings pairing suggestions
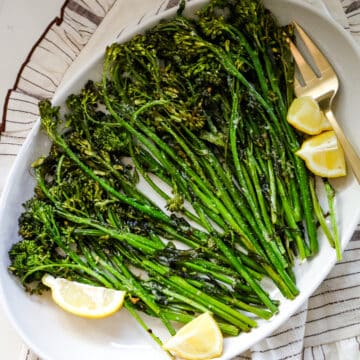
- Oven-Roasted Broccolini Recipe17 Minutes
- Air Fryer Roasted Butternut Squash15 Minutes
- Cajun Oven-Baked Sweet Potato Fries30 Minutes
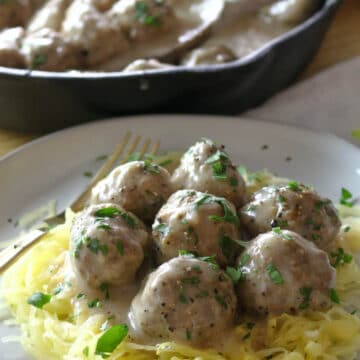
- How to Cut and Cook Spaghetti Squash for Long Strands1 Hours 10 Minutes


Storage and Reheating Instructions
To store: Transfer wings to an airtight container and store in the refrigerator for up to 5 days. You can also freeze them for up to one month. Thaw in the refrigerator overnight and then reheat per the instructions below.
Storage containers: These glass snap containers are perfect for leftovers
To reheat: For the best flavor, reheat whole chicken wings on a baking rack in an unpreheated oven or toaster oven for a few minutes. The preheating will warm the chicken wings while keeping the chicken skin crispy.
FAQs
To get crispy chicken wings, pat the wings dry with paper towels before seasoning. Additionally, space the wings out in a single layer evenly on the baking sheet or the air fryer basket without overcrowding. For best results, use a cooling rack or crisper tray to allow even air circulation and promote crispiness.
Generally, you can air fry chicken wings for 20-25 minutes at 400°F (200°C). However, the cooking time will vary depending on the size of the wings and the air fryer model you are using. It's best to check the wings for doneness by cutting into them or using an instant-read meat thermometer to ensure they have reached an internal temperature of 165°F (74°C).
I like the traditional freshly ground black pepper for its mildly spicy and slightly earthly flavor, but you can use white pepper to tone it down a bit. Conversely, use red chili pepper to bring up the heat.
Looking for more simple recipes? Here are some ideas:


Did you make this? Please leave a ⭐ recipe rating in the recipe card below and leave a review in the comments. Thank you!💚
Printable Recipe

Crispy Baked Salt and Pepper Chicken Wings Recipe
Ingredients
- 2 pounds chicken wings wingettes and drummettes
- 2 tablespoons extra virgin olive oil
- 2 teaspoons sea salt
- 1 teaspoon black pepper
Instructions
- Season chicken wings: Preheat oven, toaster oven, or air fryer to 400℉ (190℃). Pat the chicken wings dry with paper towels. Toss to coat with oil, salt, and pepper. Spread them evenly in a single layer on a baking sheet or cooling rack set over a sheet.

- Bake wings: Bake the chicken wings in the preheated oven or air fryer for 25 minutes or until cooked through and juices run clear.
- Broil wings: Flip them and broil for 5 more minutes or until the skin is golden brown and crispy.
- Cool slightly: Remove the wings from the oven and let them cool for a few minutes before serving.

Notes
- Ensure the chicken wings are dry before seasoning. This will help crisp up the chicken.
- Watch the cooking time, as it may differ slightly depending on the appliance used to bake the wings. Air fryer requires less cook time than a conventional oven. For best results, cook until the internal temperature reaches 165℉ (74℃).
- For the best flavor, cook the wings on a crisper tray or baking rack set on a baking sheet to allow proper air circulation. On the other hand, lining the sheet with parchment paper will hinder the airflow but significantly reduce clean-up.