Learn how to reheat tuna noodle casserole for the best results without using a microwave. Follow these easy steps to enjoy delicious and evenly heated classic recipe every time.

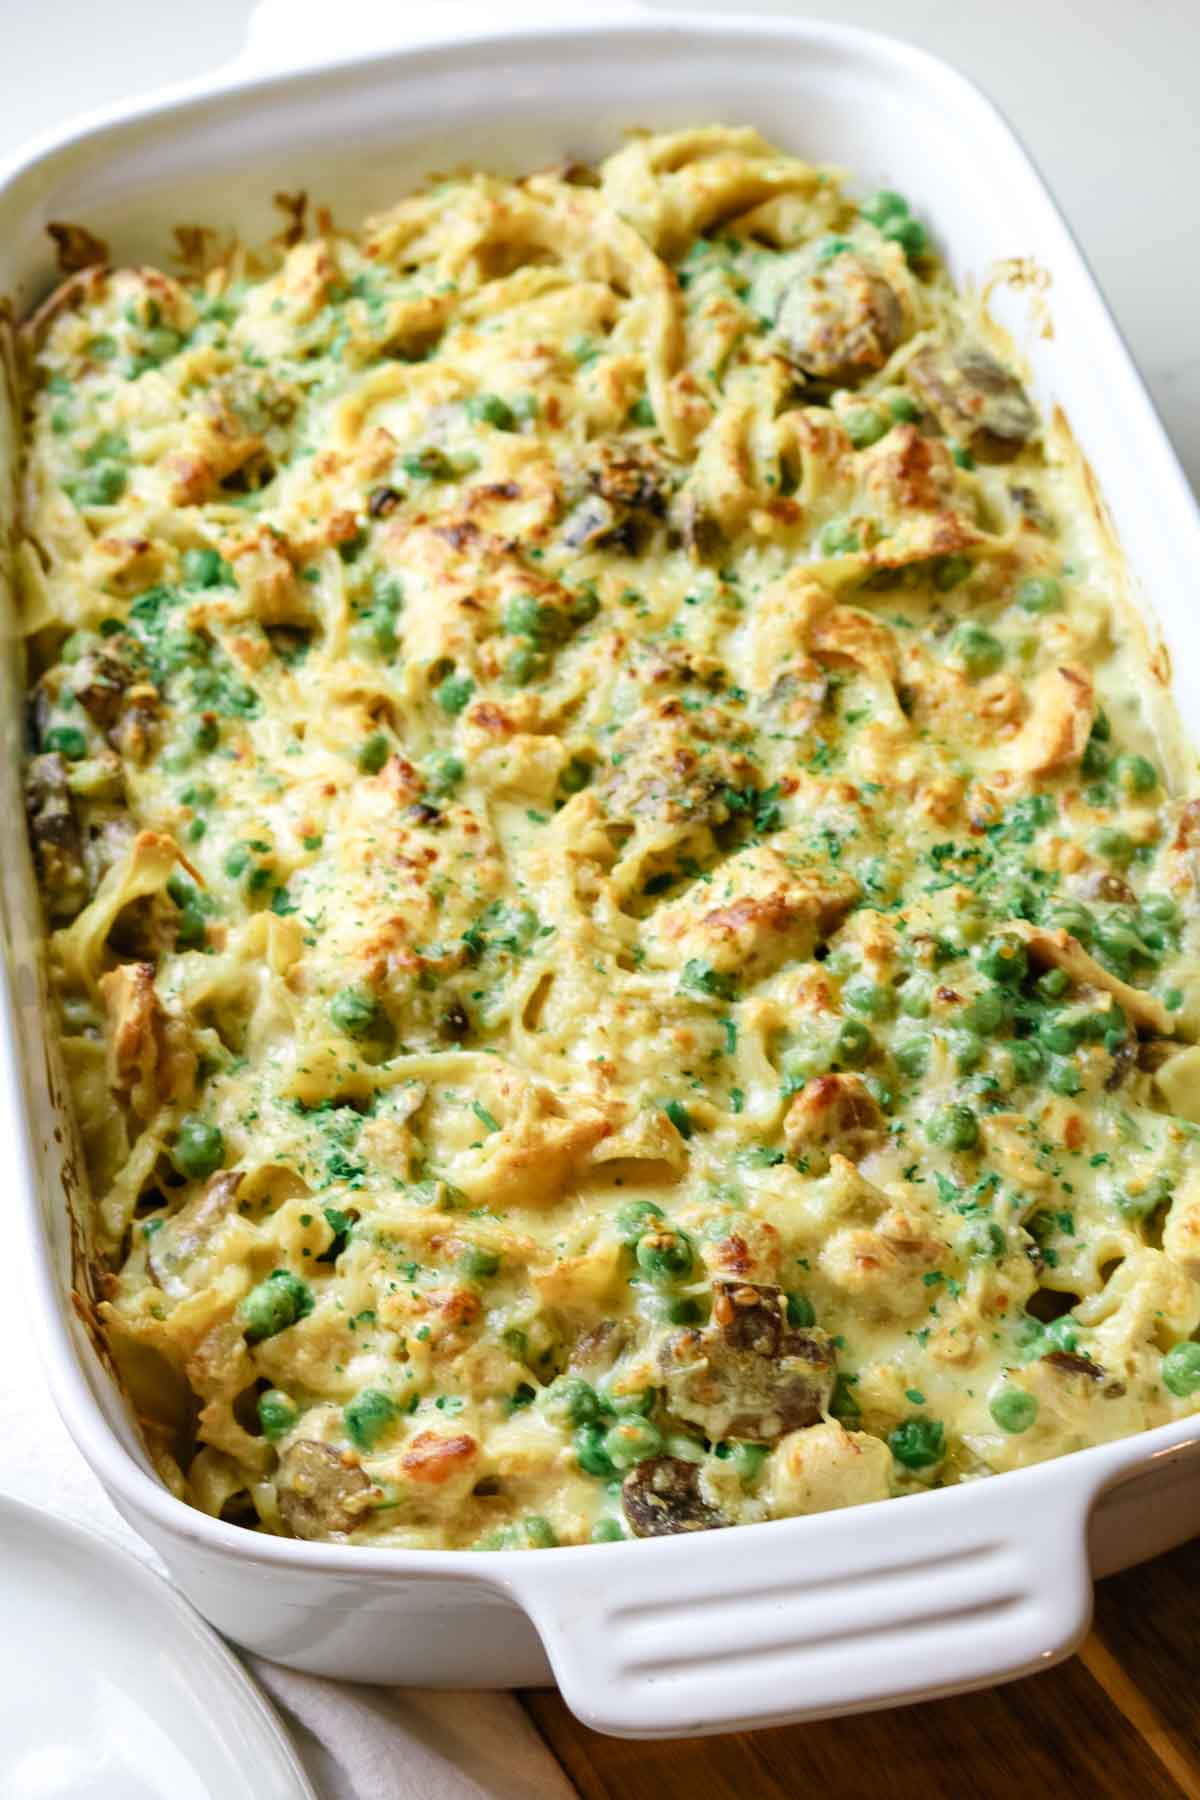
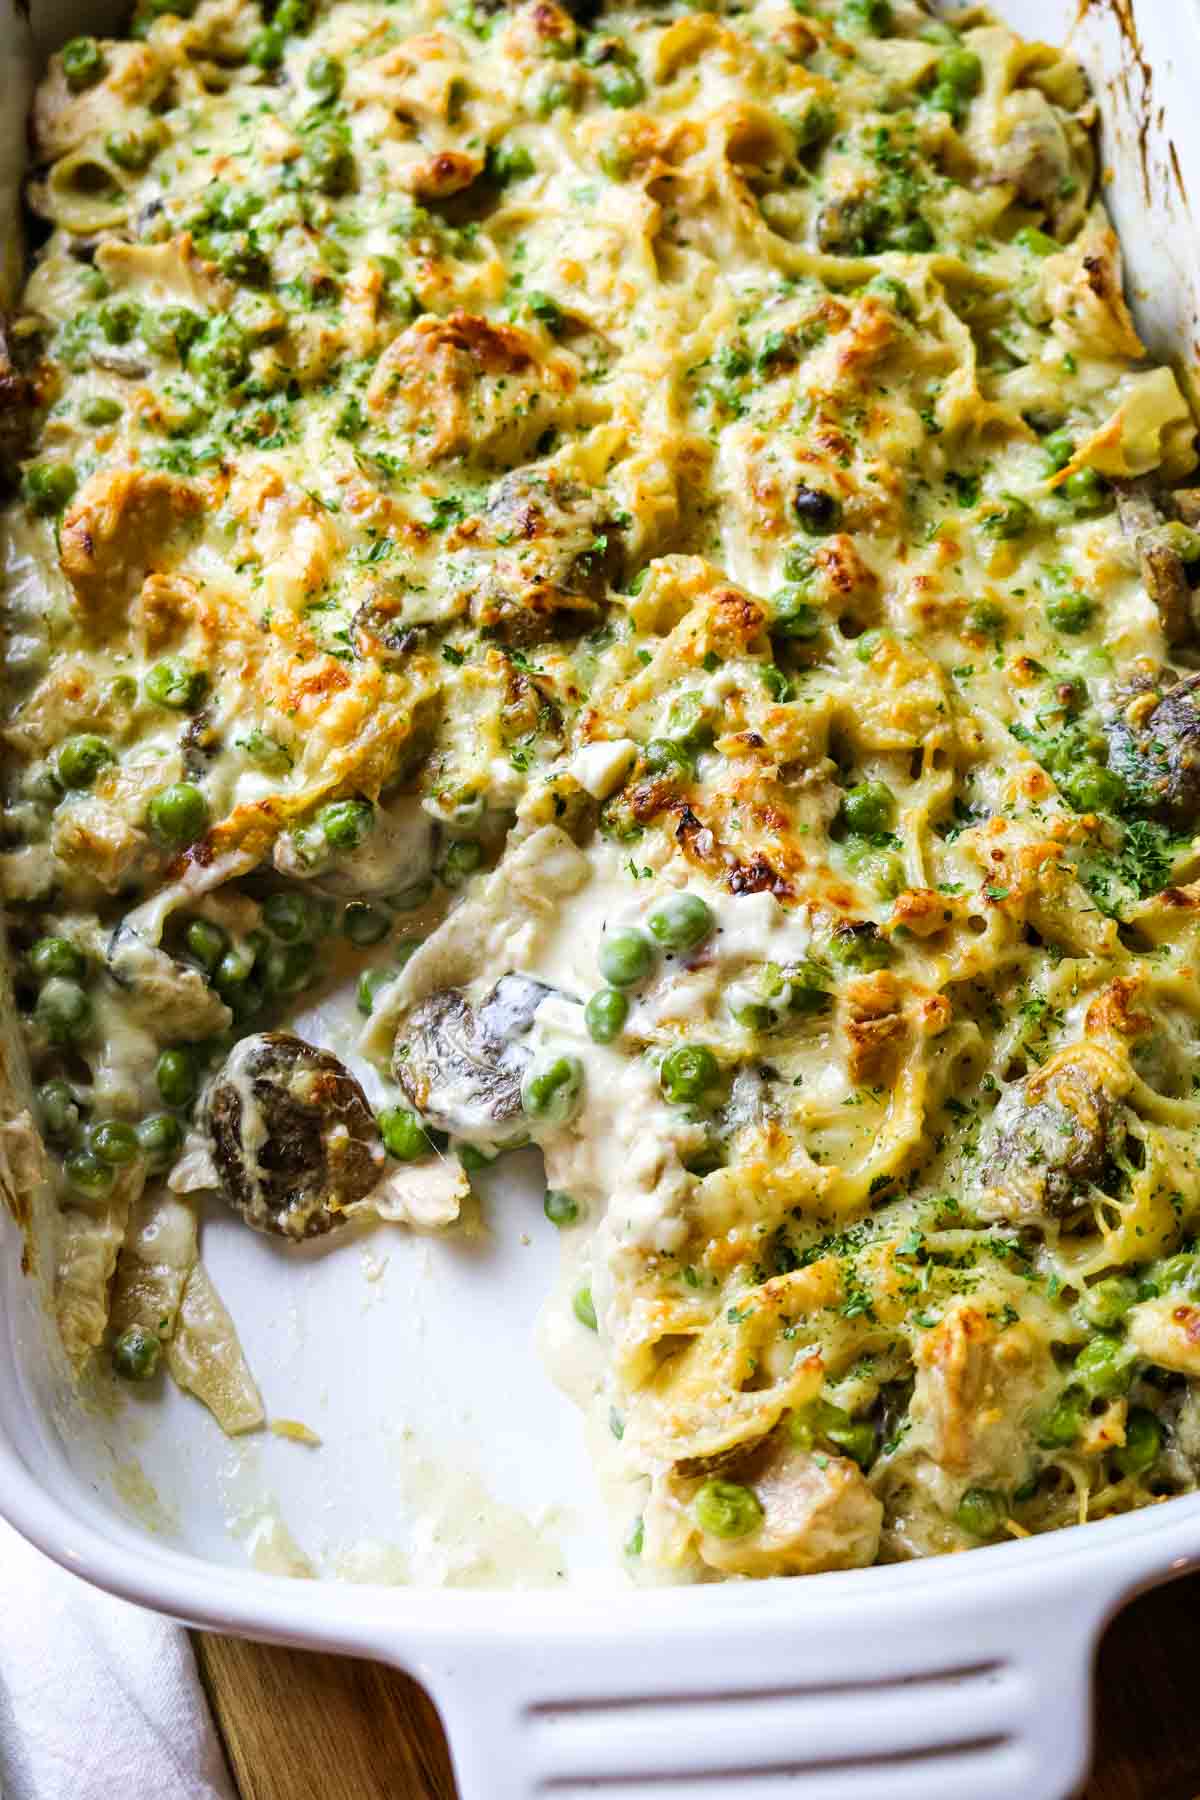
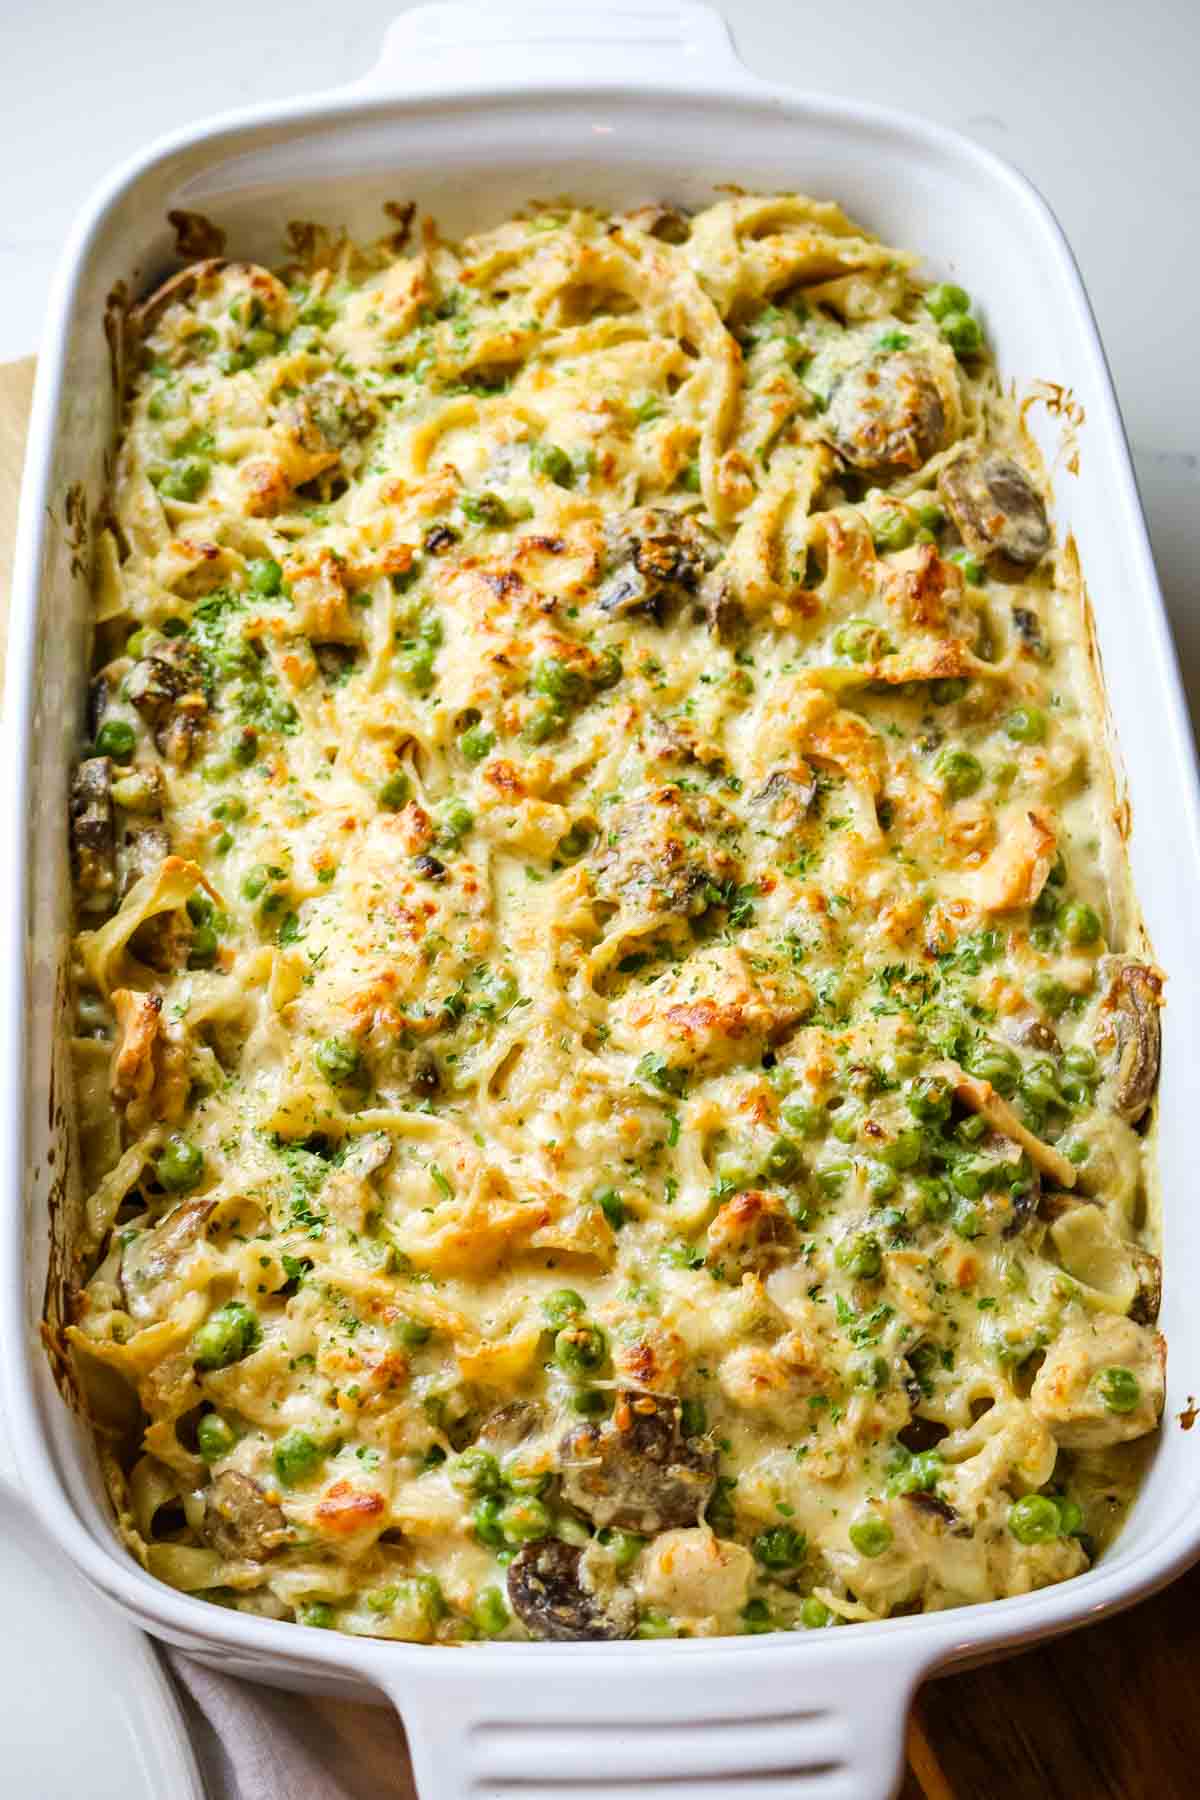
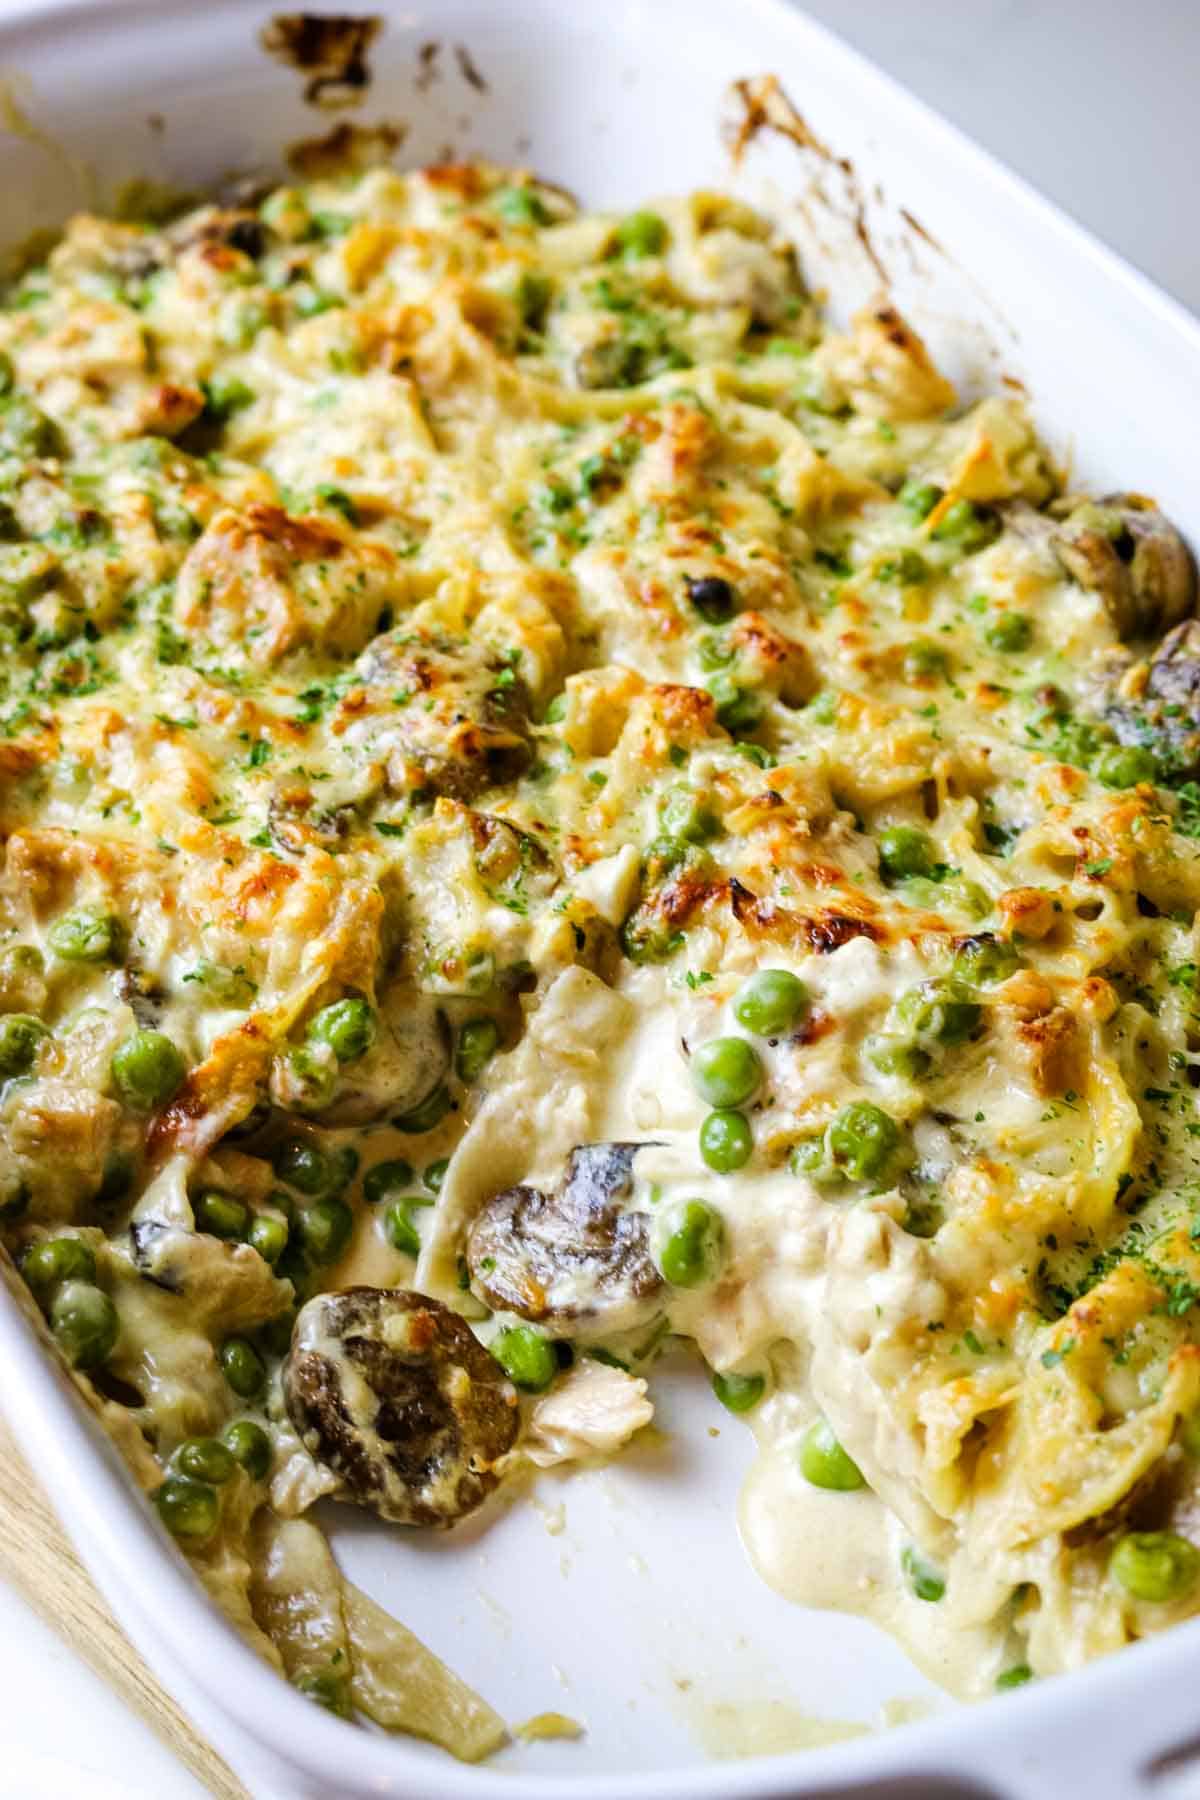
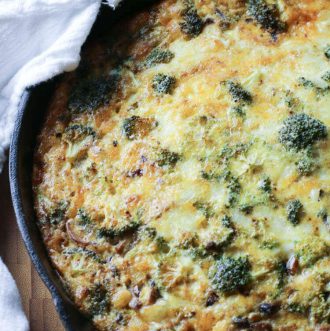
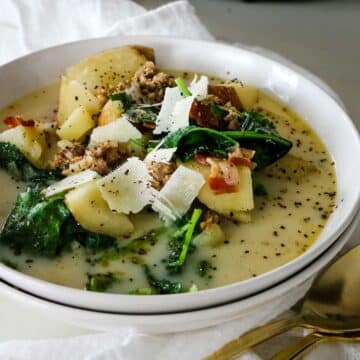
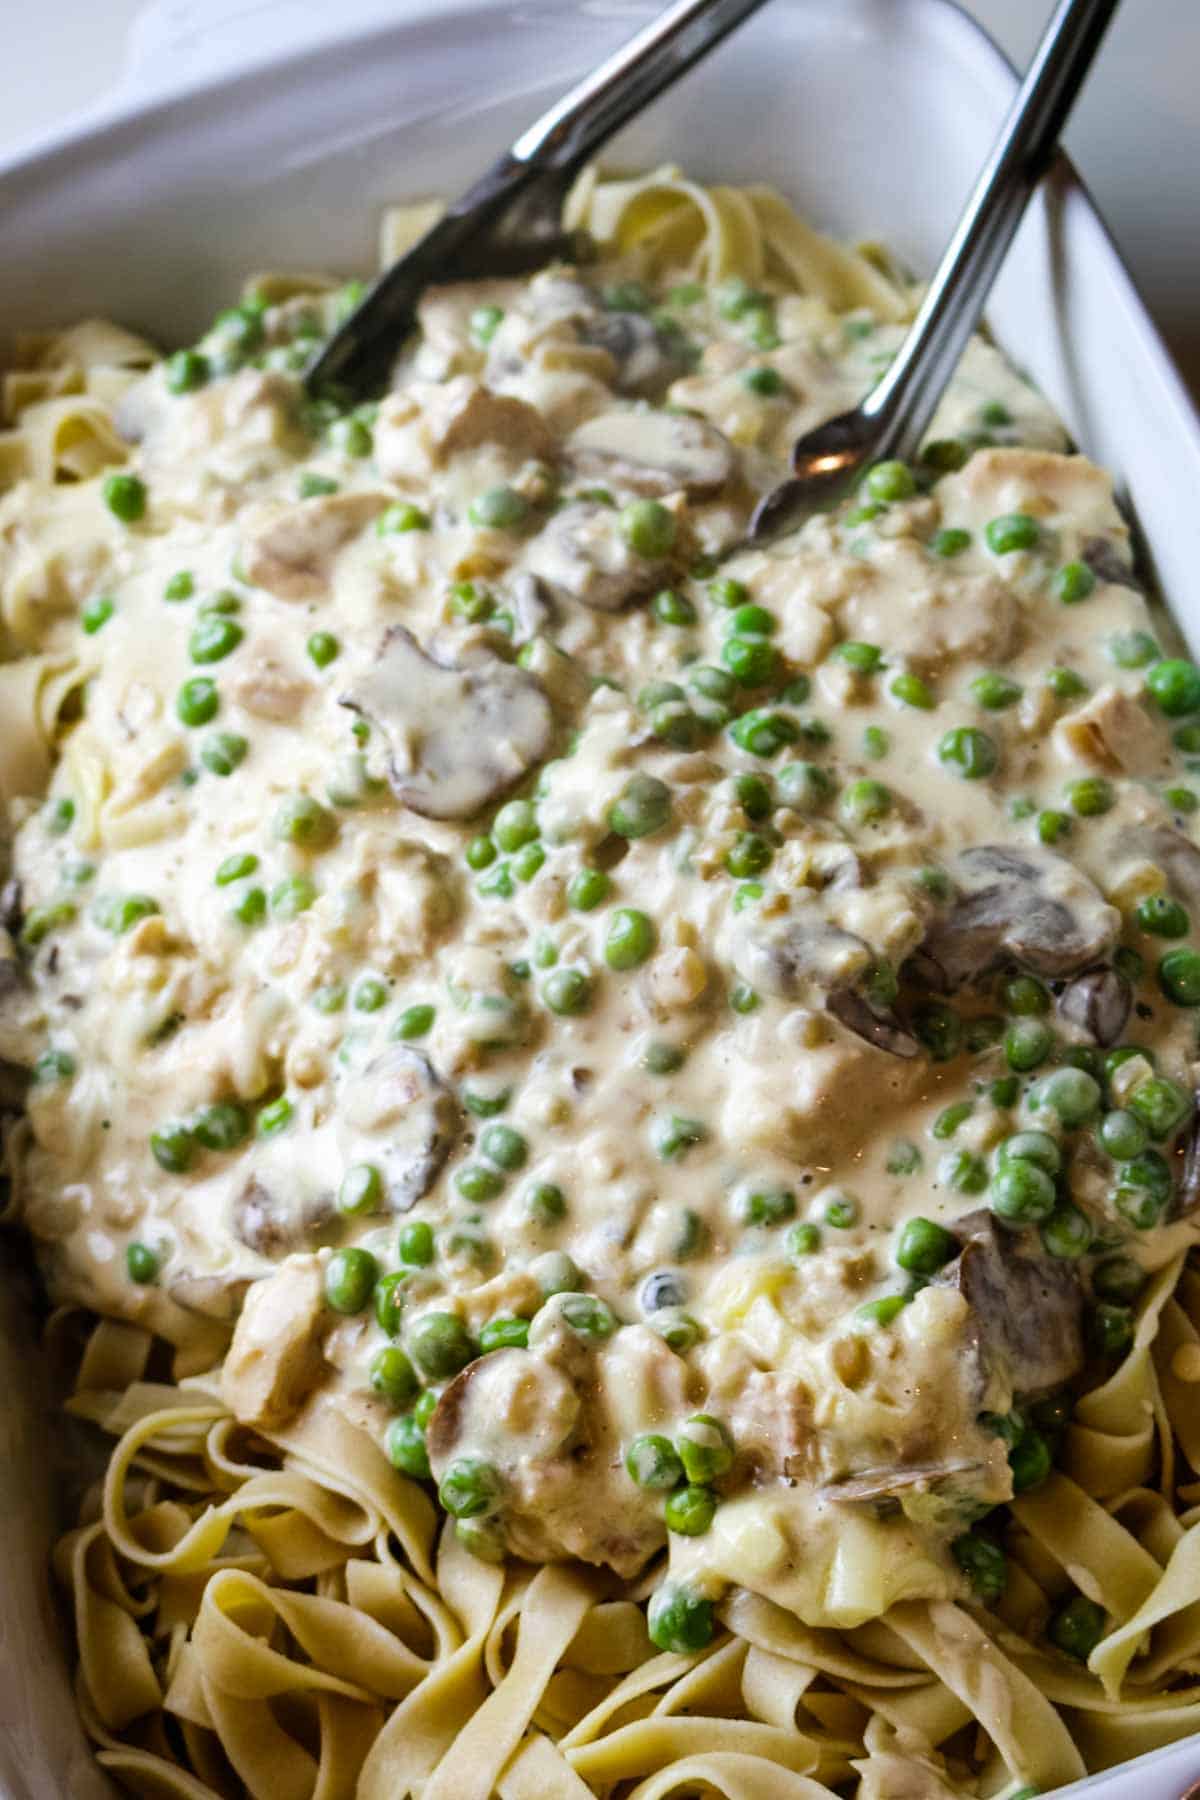
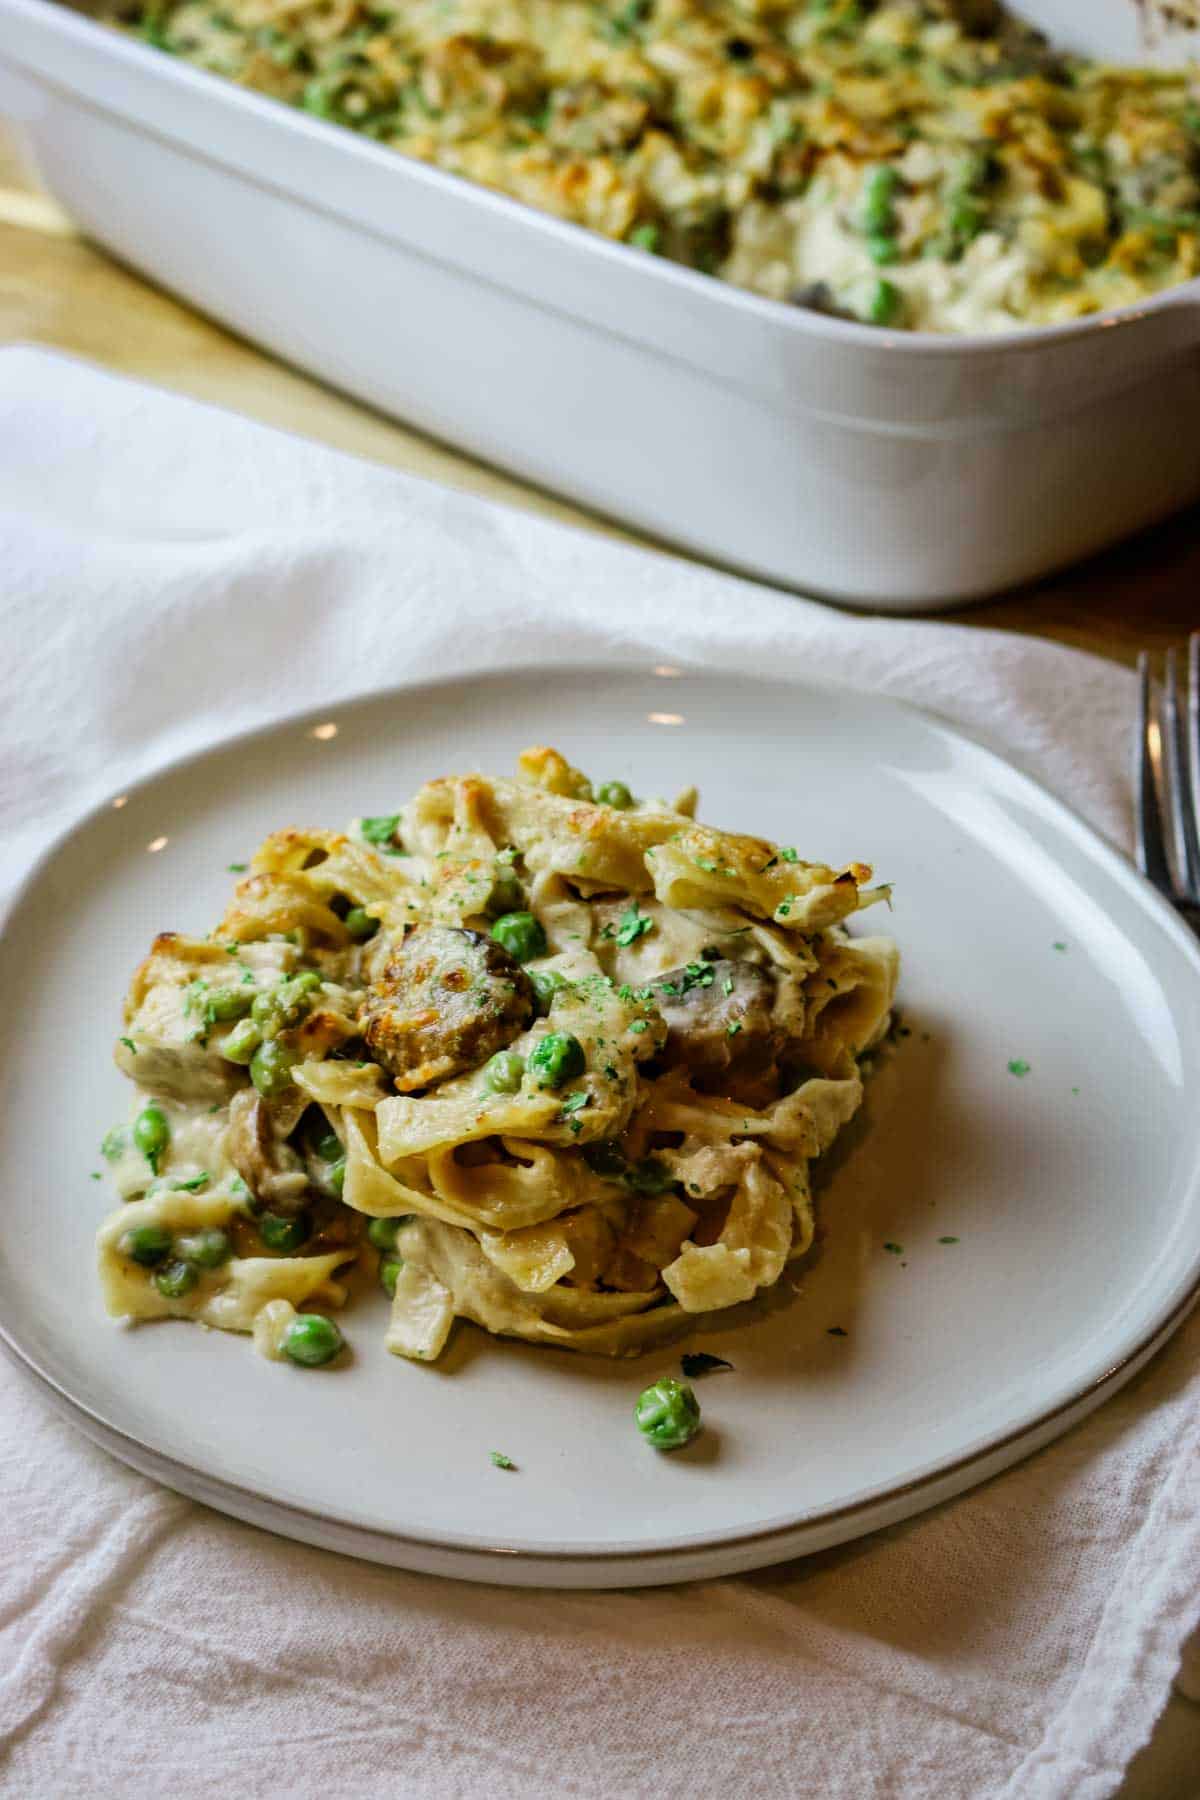
Tuna casserole is a traditional comfort food that makes a delicious and filling meal on busy weeknights. If you are looking for an easy recipe, you will love this healthy tuna casserole version. It's made with wholesome ingredients and doesn't have condensed soup.
[feast_advanced_jump_to]Why you will love this post
When you take the time to prepare nourishing food such as this easy tuna casserole recipe, storing it and reheating it properly is equally important. Find out how long tuna pasta bake lasts in the fridge so your leftovers have the best flavor.
This is all the more important because reheating casseroles can be tricky, as the wrong method can lead to uneven heating, dried-out food, or lacking nutrients.
Fortunately, there are a few easy and effective ways to reheat tuna casserole without a microwave to ensure it stays moist and delicious.
In this post, you will find the best methods for reheating tuna casserole and easy tips and tricks to help you get perfectly heated leftovers every time.
Why I don't recommend microwave
While the microwave might seem like the quickest and easiest way to reheat your delicious tuna casserole, there are better options. That's because microwaving can sometimes cause a dry casserole and make it unevenly heated.
But more importantly, microwaving food, though generally considered safe, comes with some health concerns. The high temperatures used in the microwave can destroy certain nutrients and enzymes in the food, which may affect nutritional value. (source)
Plus, microwave ovens use radiation to warm food; therefore, they can emit potentially harmful radiation if concentrated in one area for extended periods. (source)
Of course, the choice is yours, but if you want to enjoy your tuna casserole at its best, it's better to use other reheating methods like the stovetop, oven, Instant pot, or air fryer.
These methods allow for more even heating and help retain the casserole's moisture and texture. Plus, these unconventional heating methods ensure you get the maximum nutrition from this classic comfort food.
💭Pro tip: For more information on traditionally prepared foods, read this introductory post on what nourishing foods mean and what it doesn't.
How to reheat tuna casserole instead
There are four main ways to reheat tuna casserole for best results: on the stovetop, traditional oven, Instant Pot, and air fryer.
For all methods, start by taking the leftover tuna casserole out of the fridge and allow it first to come to room temperature for about 30 minutes. This will help the dish to heat more evenly and prevent it from sticking to the pan.
From there, follow these specific steps for each of those methods:
Stovetop
This is an easy and quick way to reheat individual servings of tuna noodle casserole.
- Place a large, deep skillet or saucepan on the stove over medium heat.
- Add a splash of milk, broth, or water to the pan and let it steam a little.
- Once the liquid is hot, add a small portion of tuna casserole to the pan. Cover and reduce heat to low.
- Stir the casserole occasionally as it heats up. Add more liquid as needed to keep the casserole moist and prevent it from sticking to the bottom.
- Heat the casserole for 5-10 minutes or until it is hot throughout.
Traditional oven
The oven is an excellent reheating method that is ideal for larger amounts. This especially works if your leftover tuna casserole is already in an oven-safe glass container or baking dish.
- Transfer the tuna casserole to an oven-safe baking dish.
- Cover with a lid or parchment paper and aluminum foil to prevent the casserole from drying out.
- Warm the casserole dish in an unpreheated oven set to 350°F (175°C) for 20-30 minutes or until it is warm all the way through.
- Once warmed through, remove the parchment paper and foil and broil on low for a few minutes to brown the tops.
💭Pro tip: I have reheated food in the oven numerous times and have found that it is not necessary to reheat food in a preheated hot oven. The preheating will gently warm up the food anyways.
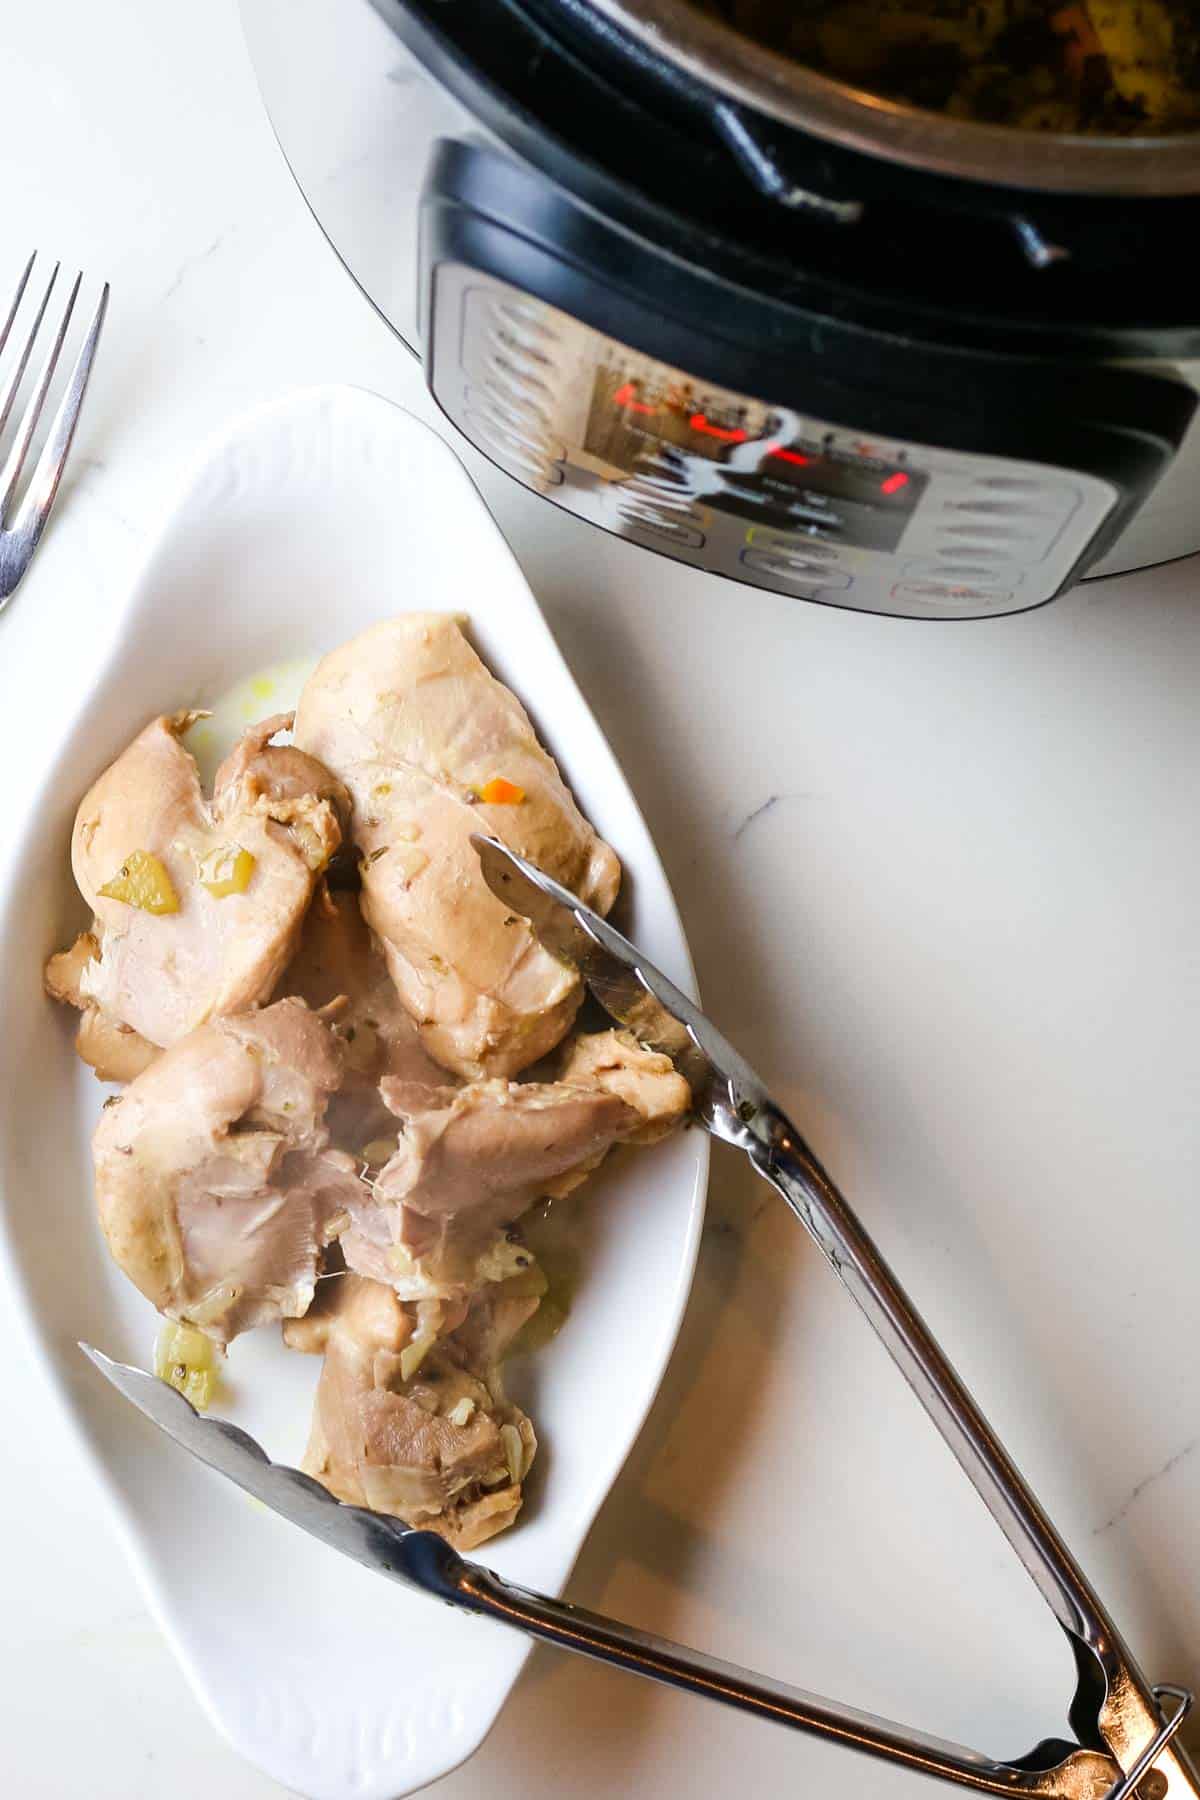
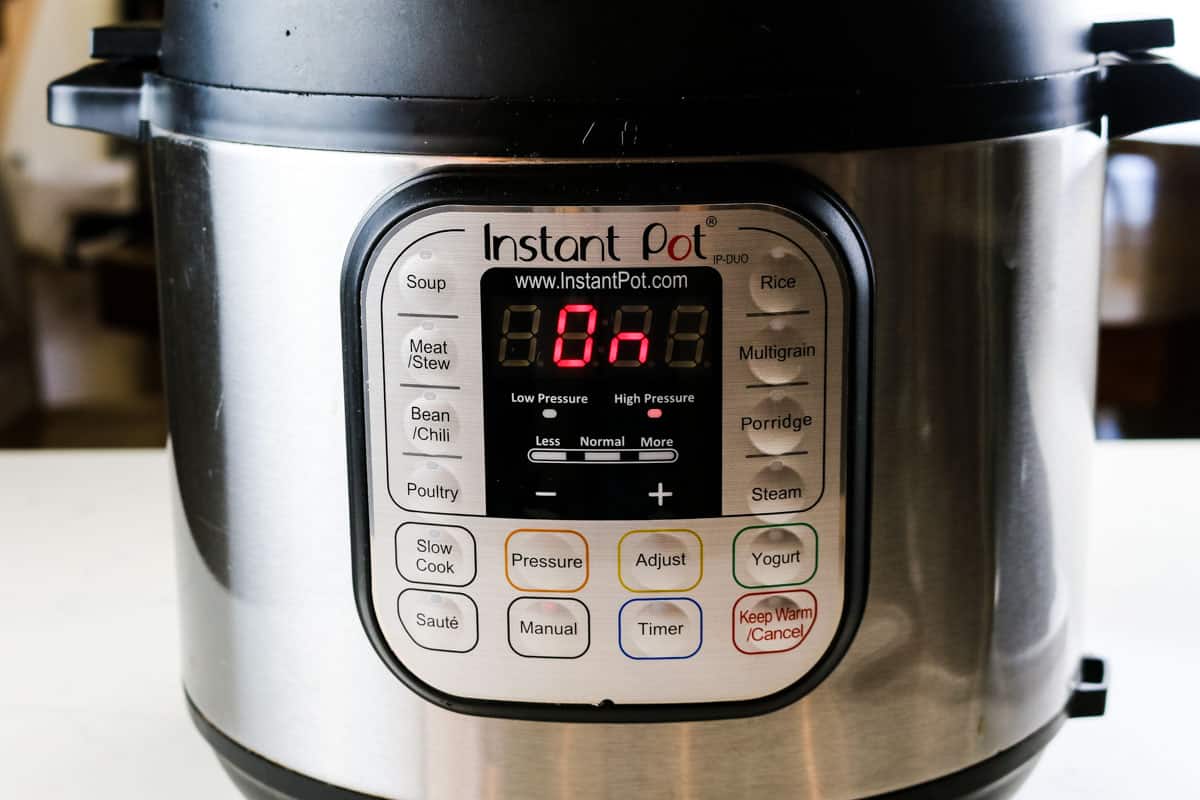
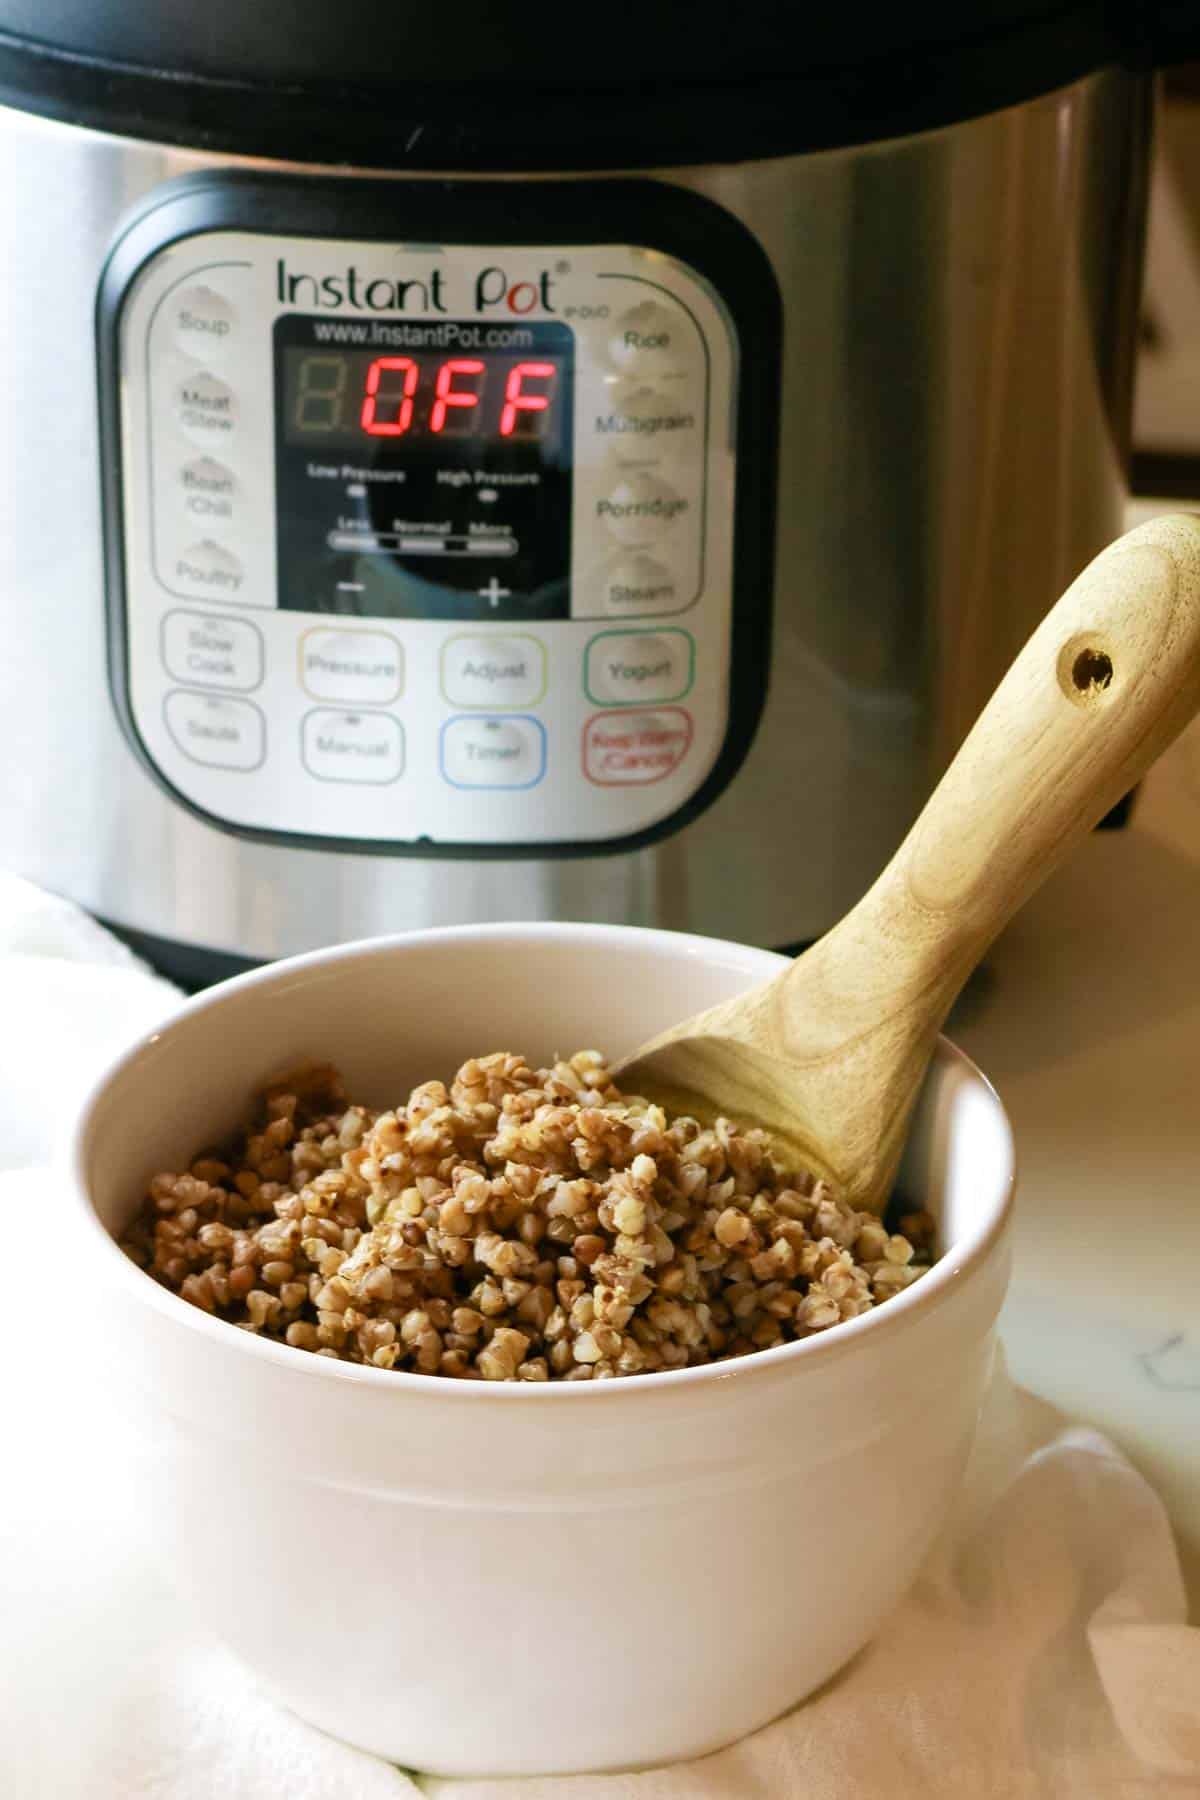
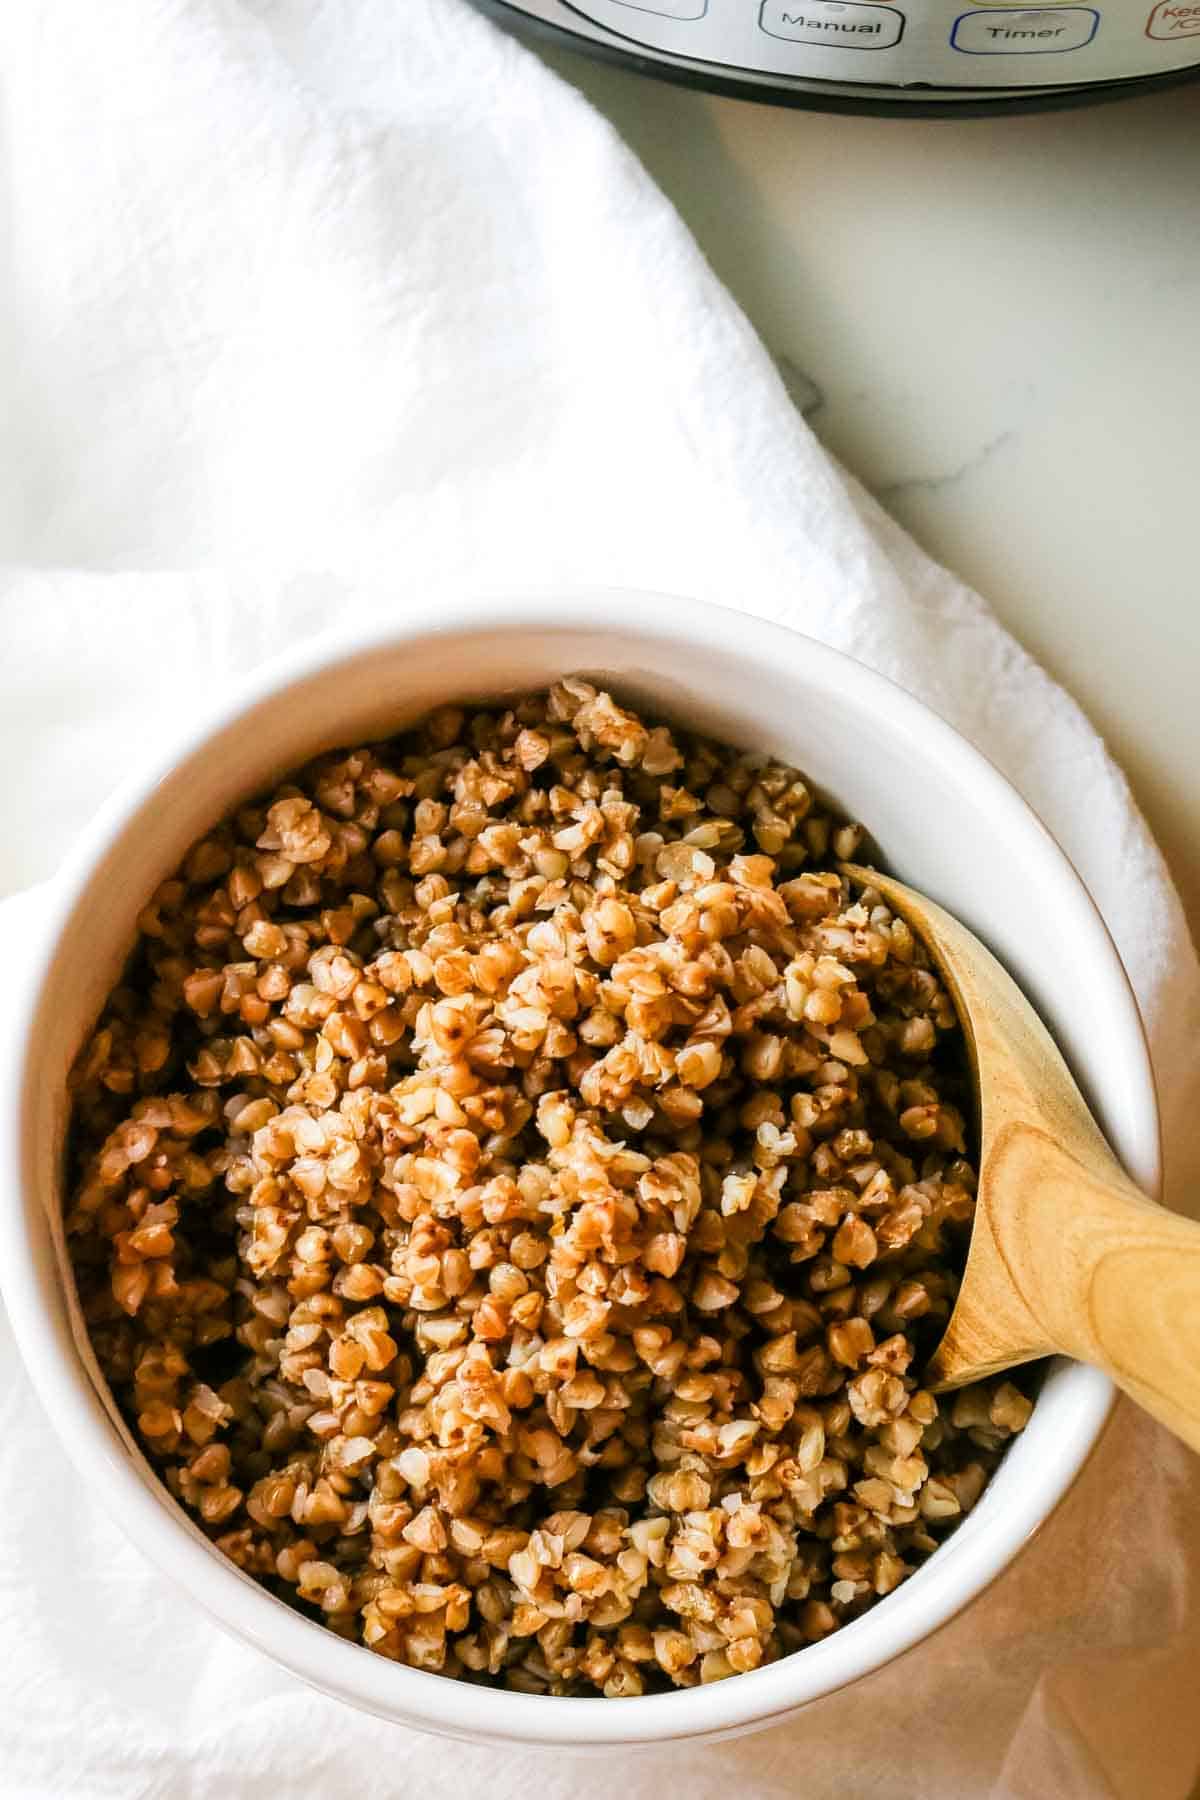
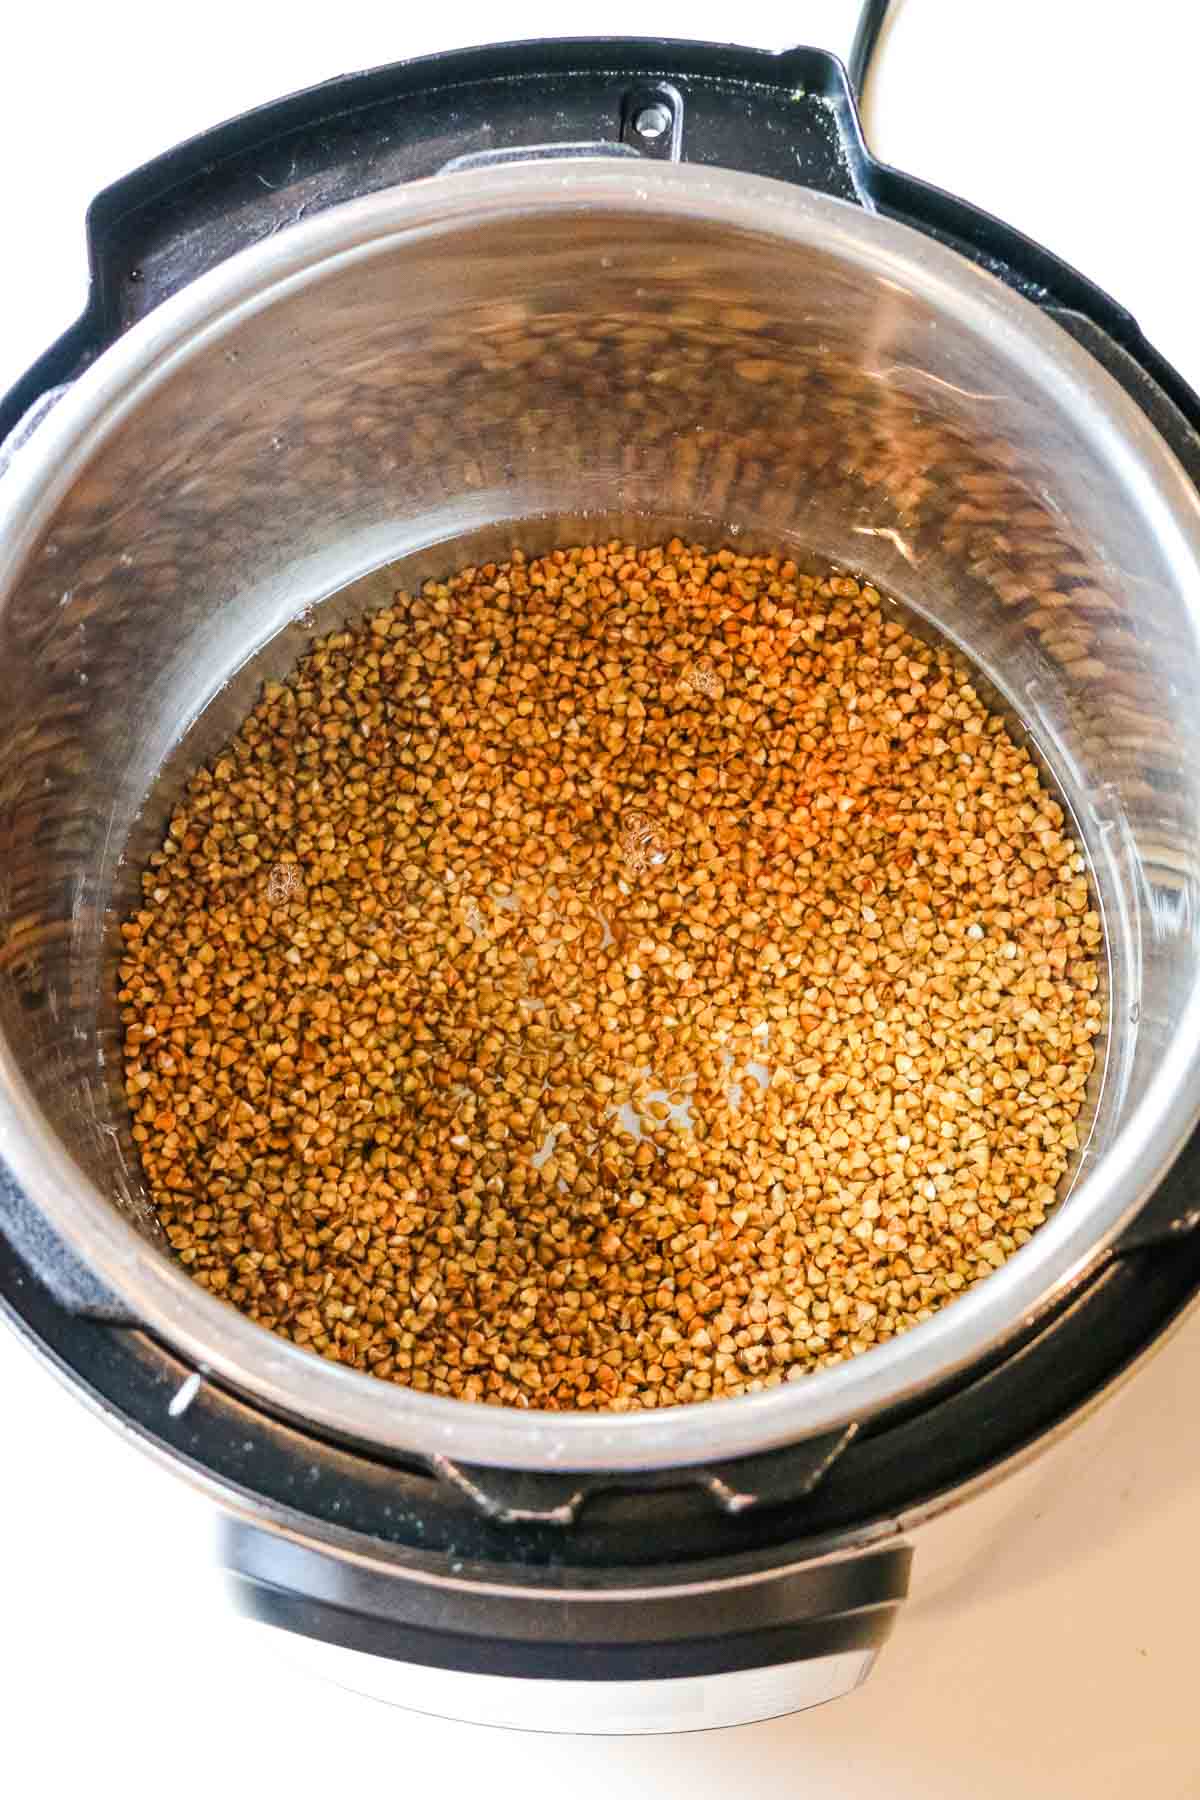
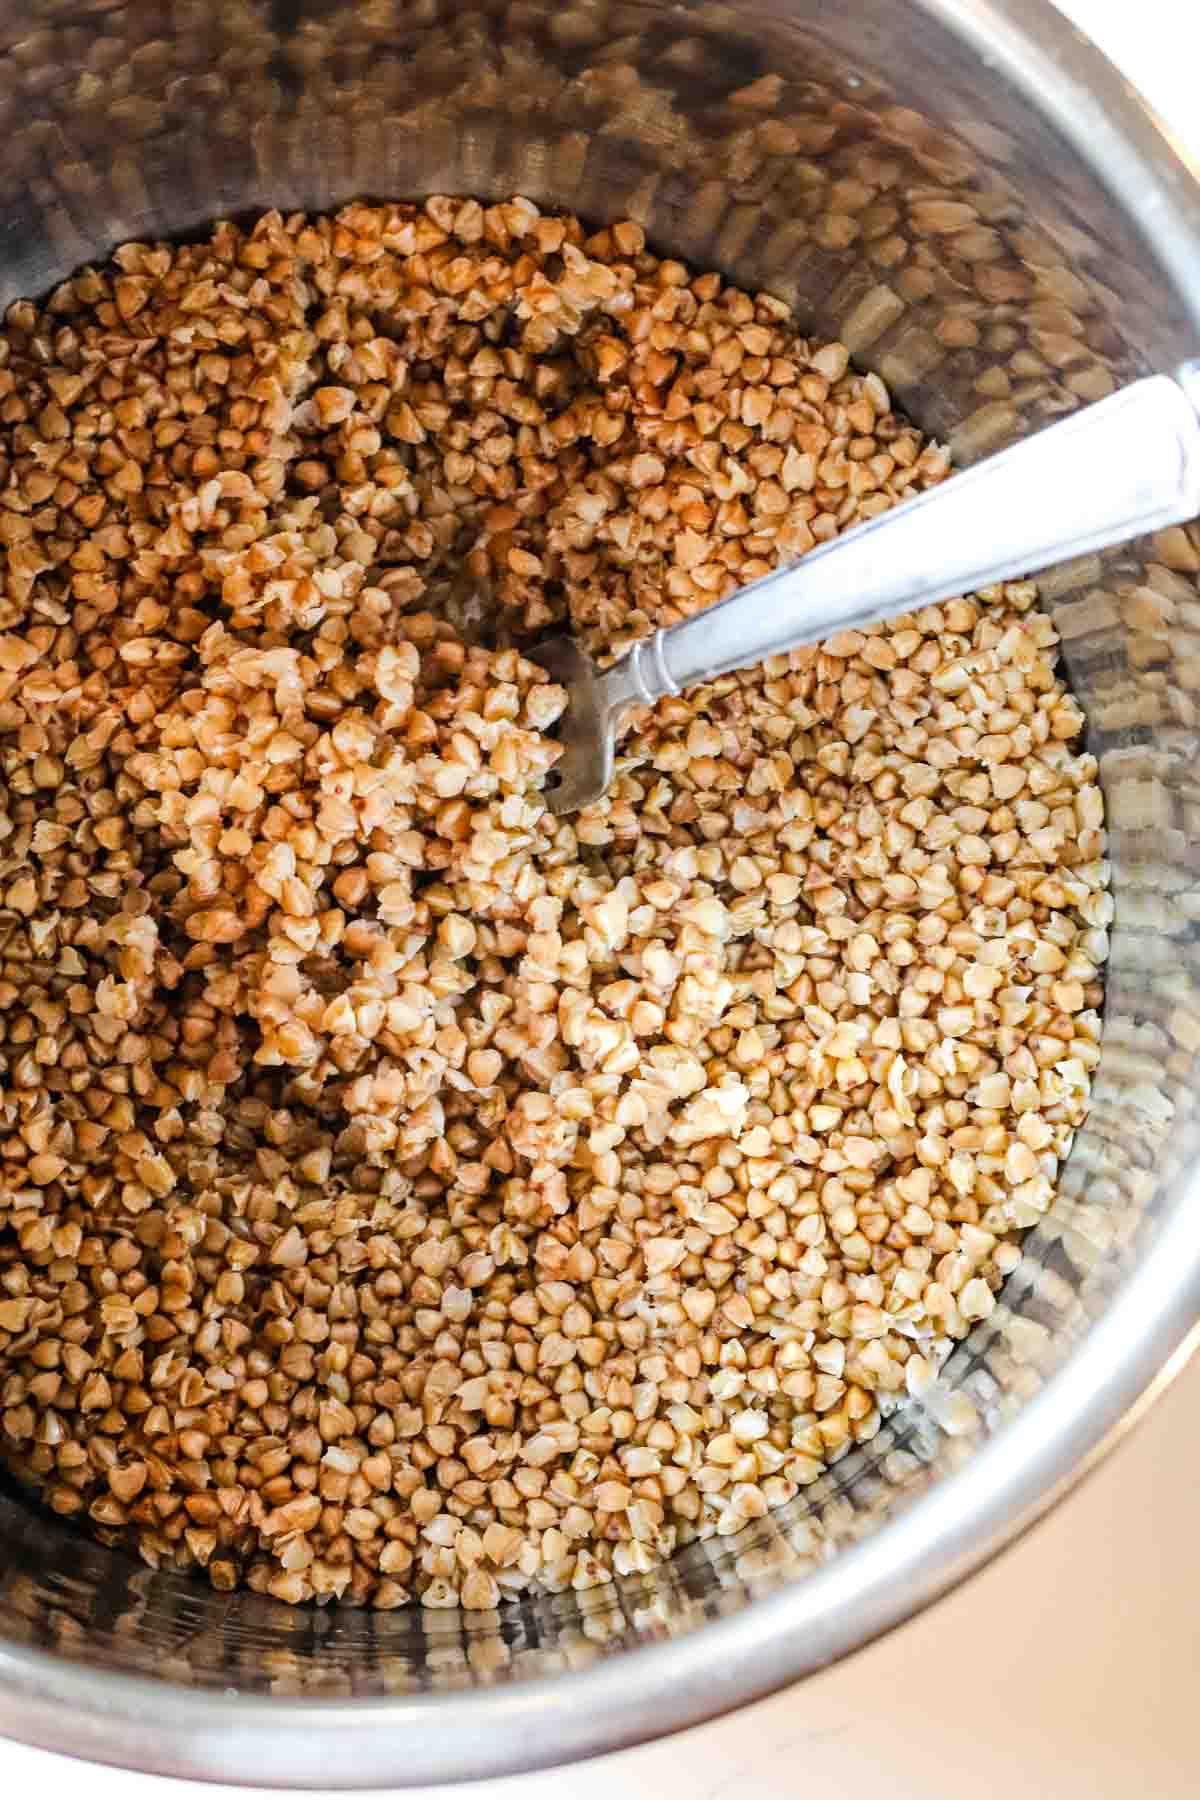
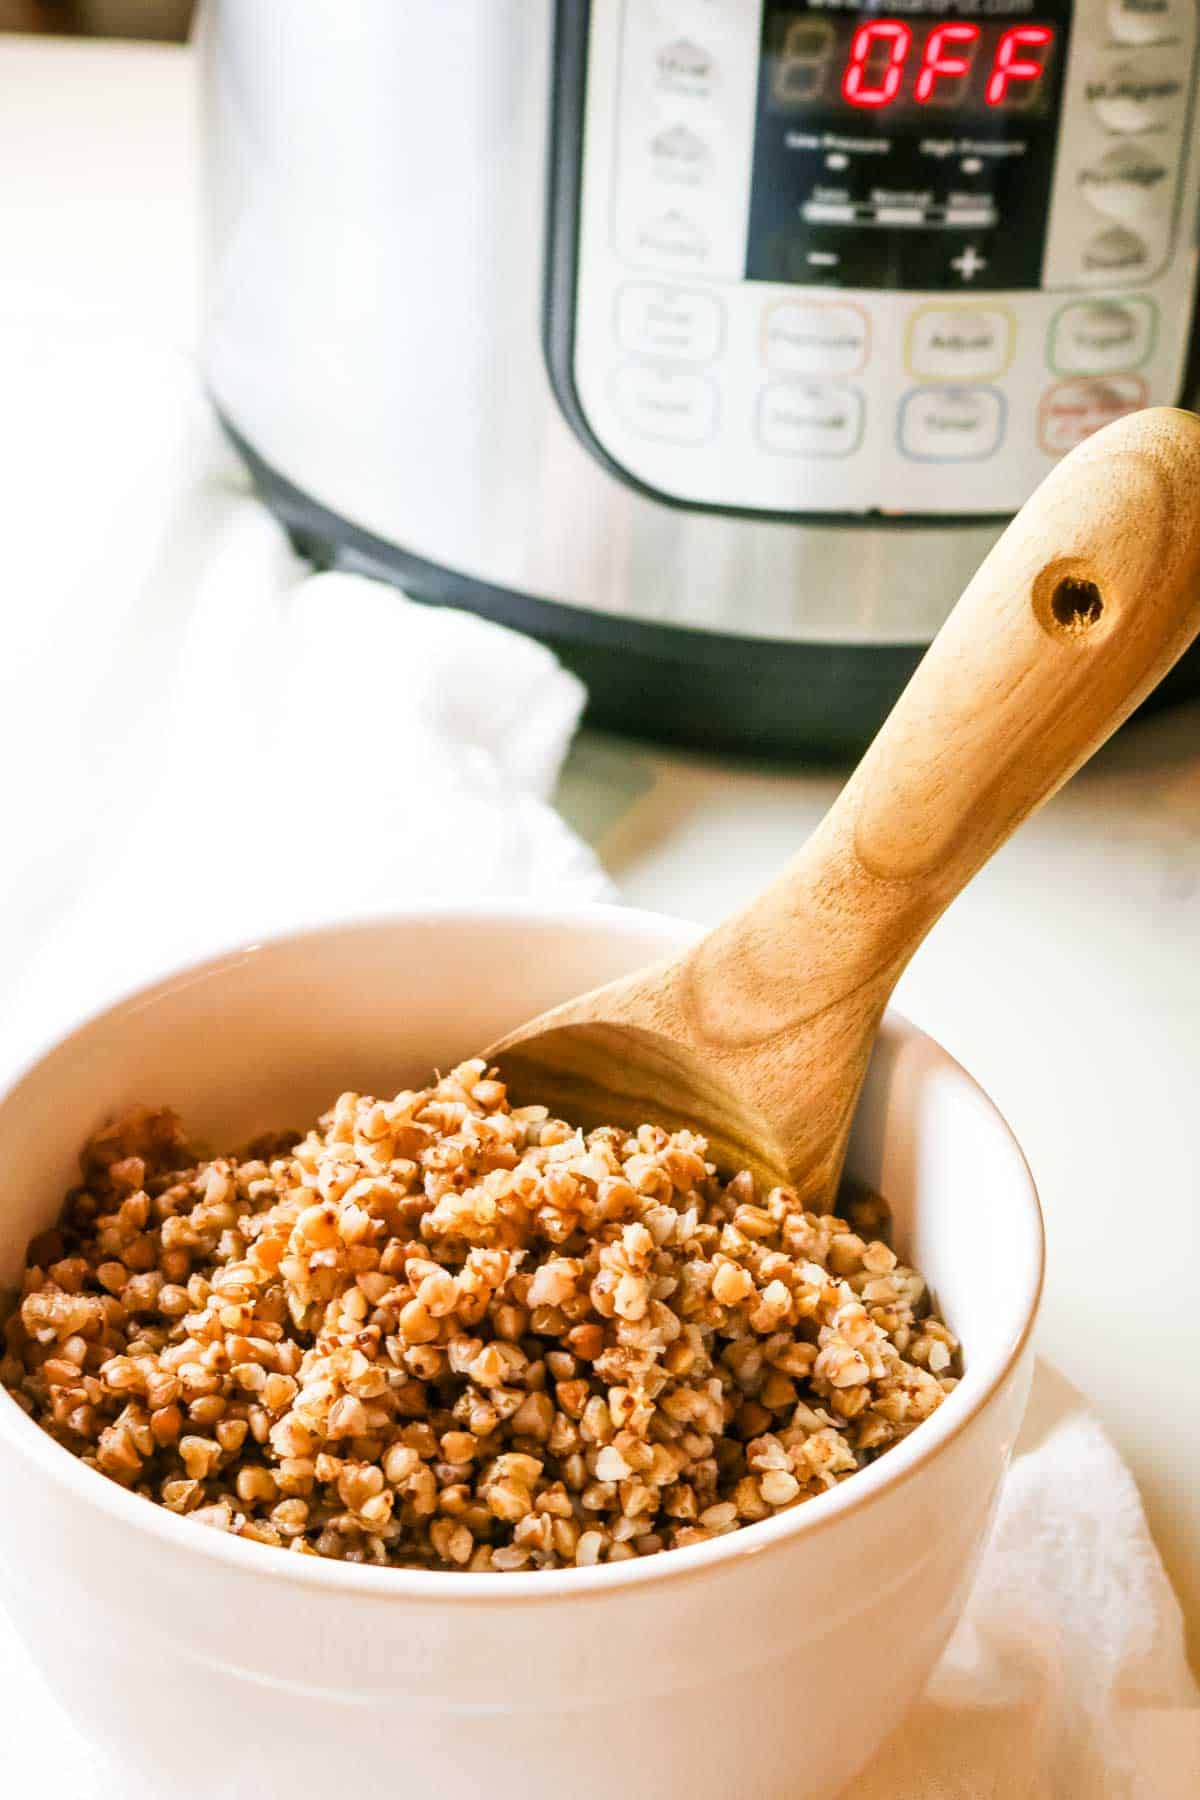
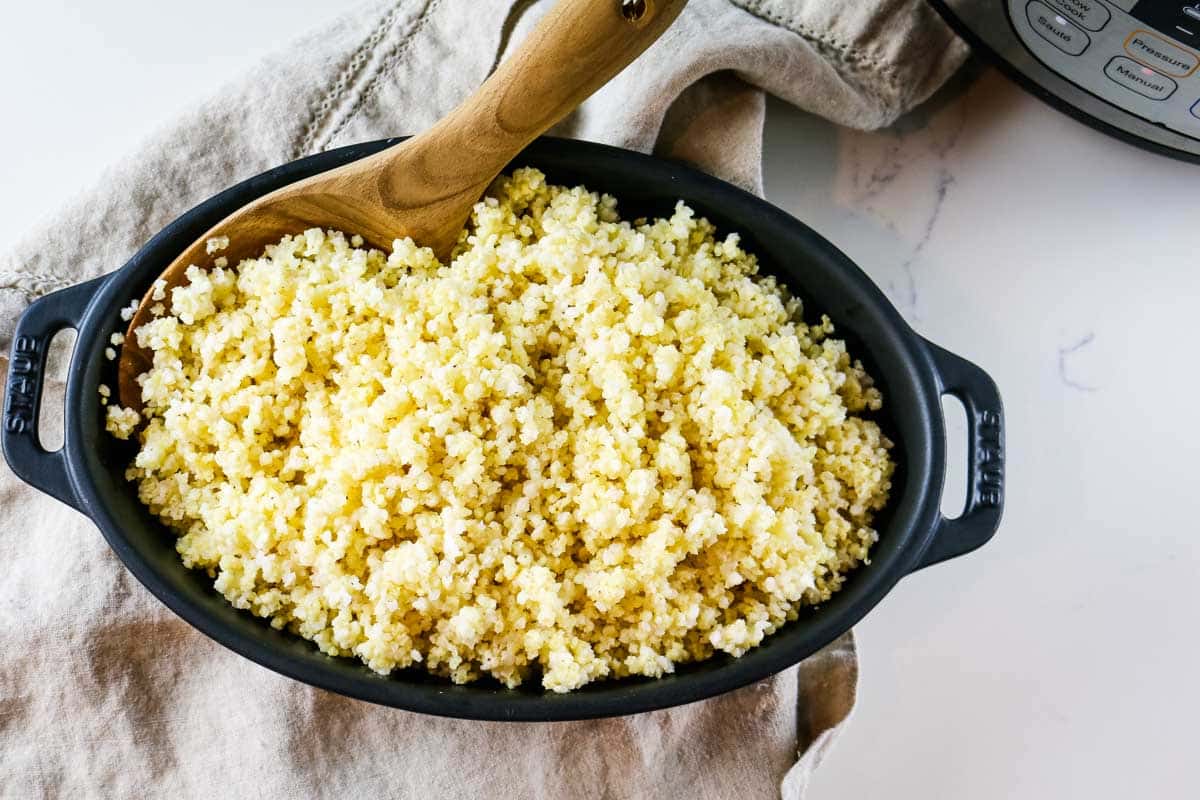
Instant Pot (or pressure cooker)
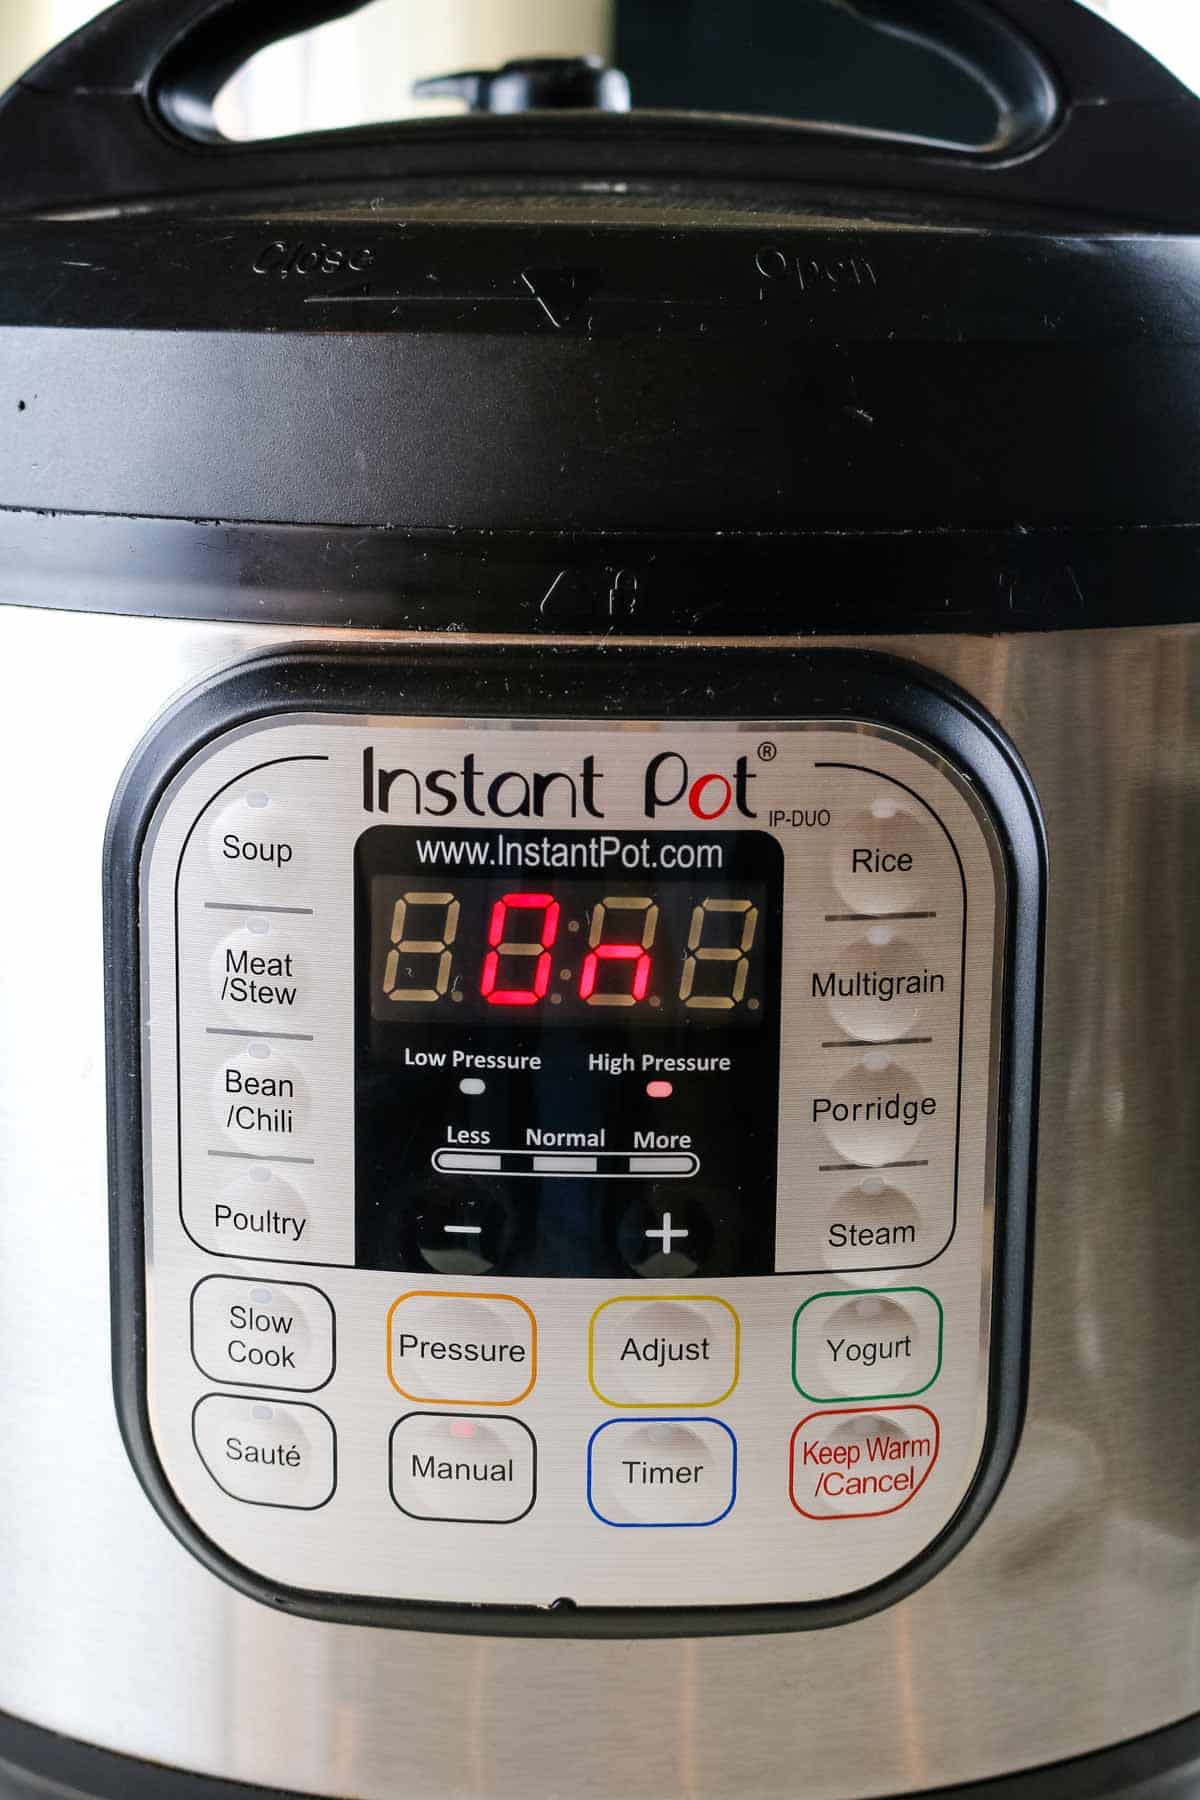
Reheating your casserole in the Instant Pot is a great way to ensure a perfectly warmed-through tuna pasta bake without moisture loss. This method is also excellent when you don't have time to stand watch. You can just set it and forget it.
- Place the trivet into the inner pot of your Instant Pot and pour 1 cup of water.
- If you still need to, ensure the tuna casserole is in a glass dish and place this dish on top of the trivet.
- Close the lid of the Instant Pot and make sure the steam release valve is set to the "sealing" position.
- Press the "manual" button and reduce the time to 0 minutes. Yes, zero minutes!
- When the cooking cycle is complete, allow the pressure to release naturally for 10 minutes, then carefully release any remaining pressure by turning the steam release valve to the "venting" position.
- Open the lid and carefully remove the tuna casserole dish from the Instant Pot using oven mitts or tongs.
Air Fryer
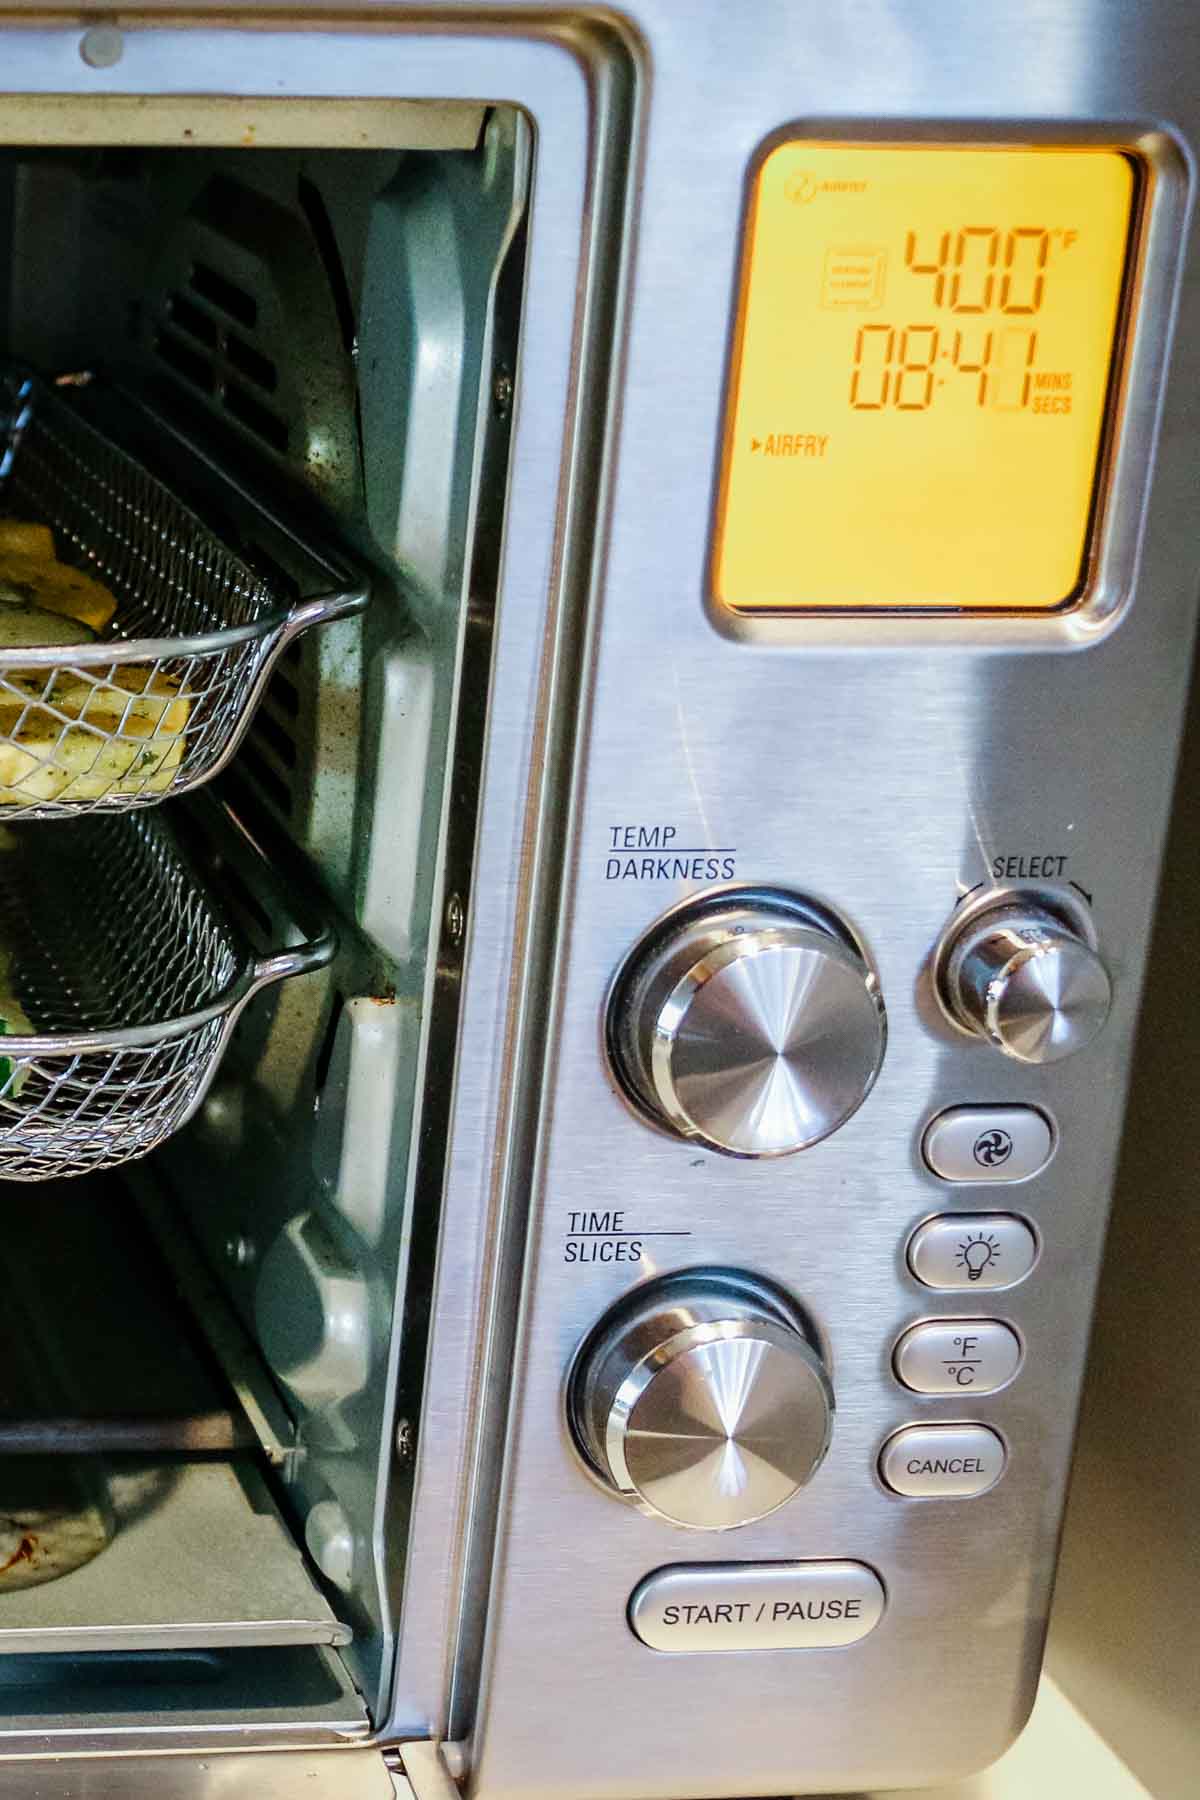
Lastly, you can effortlessly reheat any casserole leftovers in an air fryer. The cook time may vary depending on the size of your air fryer and whether or not you have a toaster-oven convection air fryer like I do or a basket-type air fryer.
The method is very similar to that of a traditional oven.
- Ensure the tuna casserole is in an oven-safe dish that will fit your air fryer. If the casserole is thick, you may need to break it up so that it heats more evenly.
- Cover the dish with a lid or parchment paper and foil.
- Place the dish in an unpreheated air fryer set to 350°F (175°C) and cook for 15-20 minutes or until warmed through.
- Once warmed through, remove the dish from the air fryer and let it rest for a few minutes before serving.
💭Make it Nutrient-Dense: If using aluminum foil to create a cover or lid, create a barrier between your food and tin foil using parchment paper.
Helpful Tools & Links
Below are some affiliate links that may be helpful to you as you make this recipe. You can find some of these items cheaper at your local store, but having a link helps you know what you're looking for.
- Stovetop reheating: stainless steel skillet with lid, small saucepan
- Pressure cooker reheating: Instant Pot with trivet, fitted glass containers (avoid using the plastic covers during reheating).
- Oven and Airfryer reheating: convection-type air fryer, covered baking dish, oven-safe glass container (remove the plastic lids before reheating), parchment paper
Serving Suggestions
Now that you have a good old fashioned tuna noodle casserole recipe under your belt, you've learned how long it lasts in the fridge, and now you have these easy tricks to reheat it properly - all that's left is to serve it to make it shine.
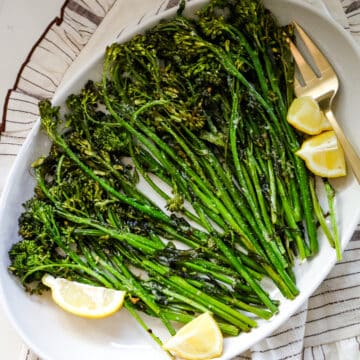
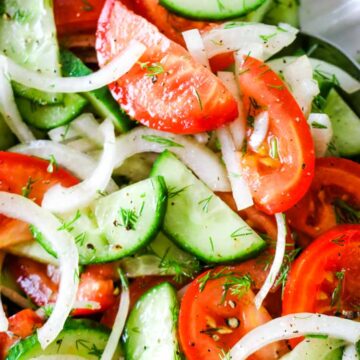
You can either make something a little more involved (since reheating is easy) like this harvest kale salad or keep it simple and pair it with roast broccoli or tomato cuke salad.
Leftover casserole pairing suggestions
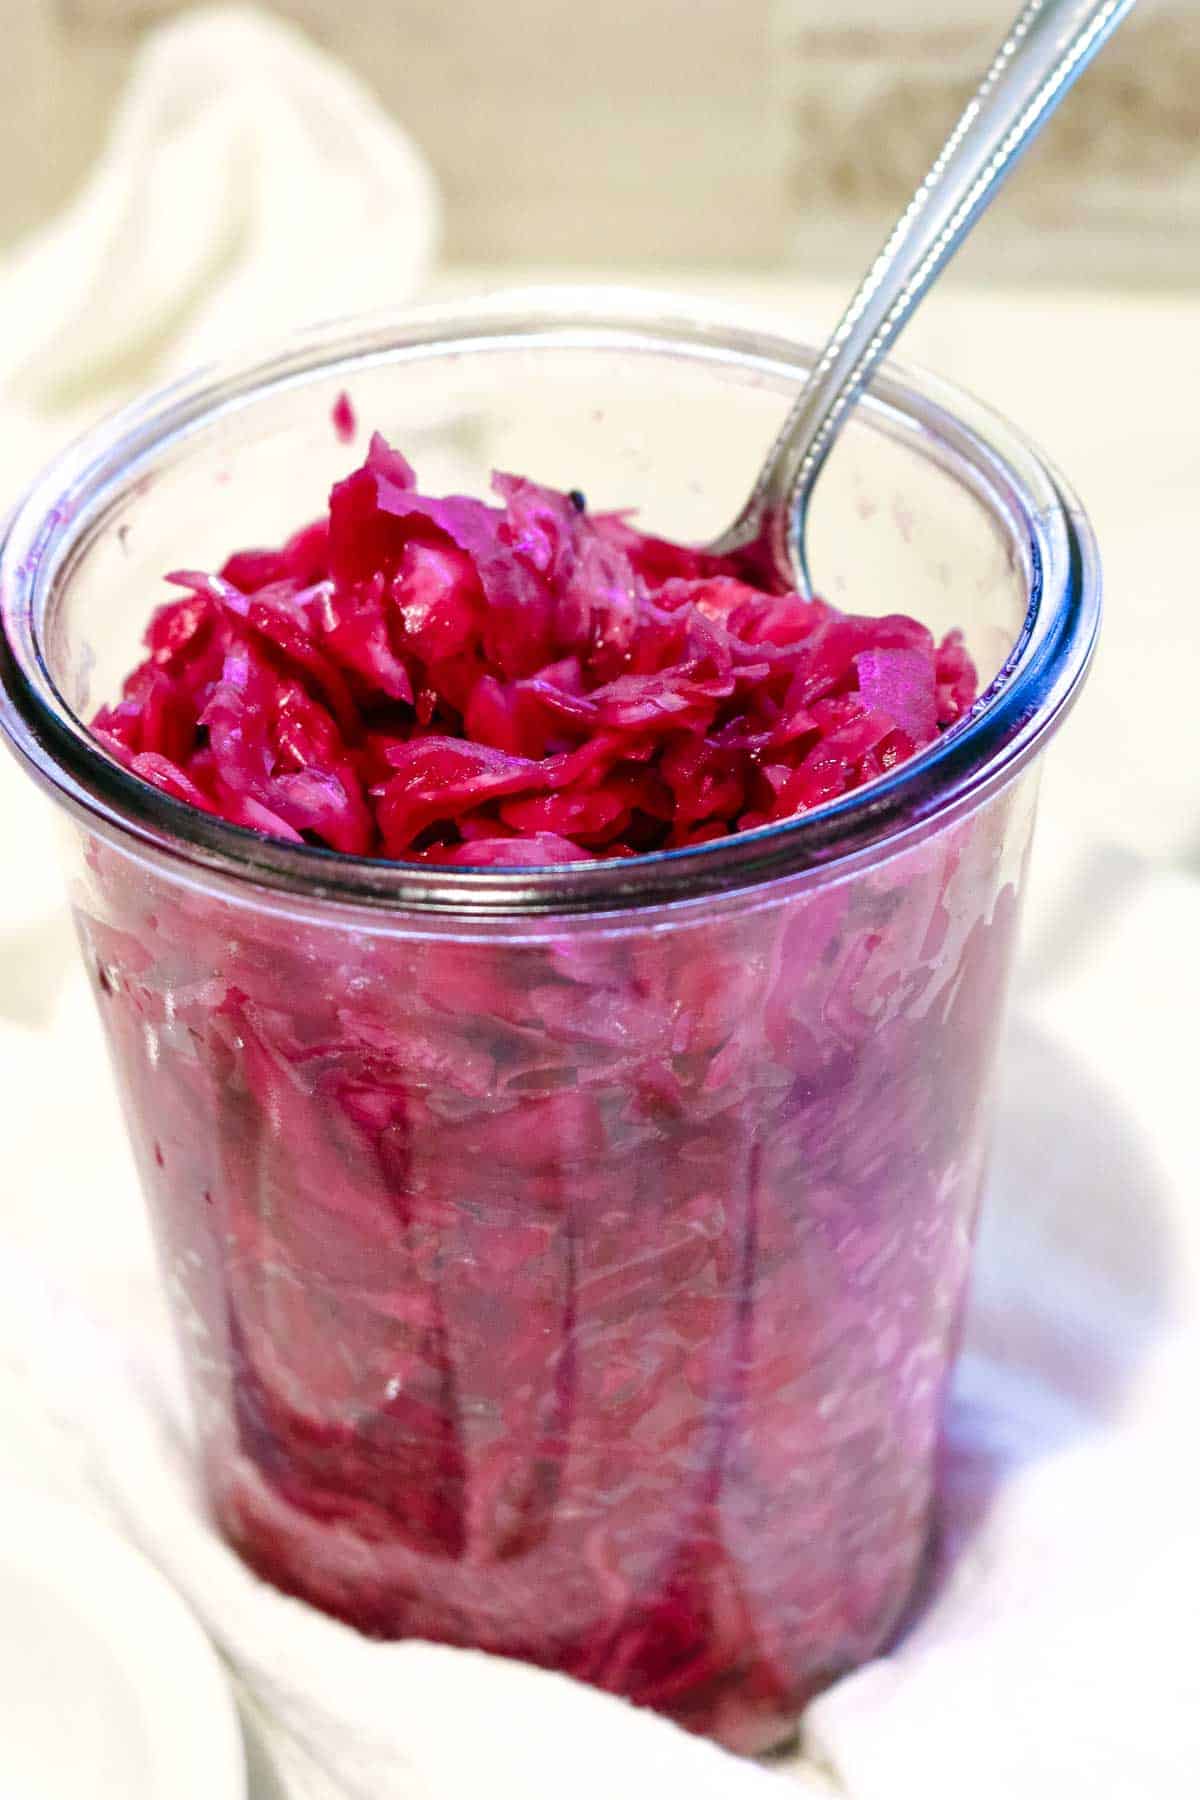
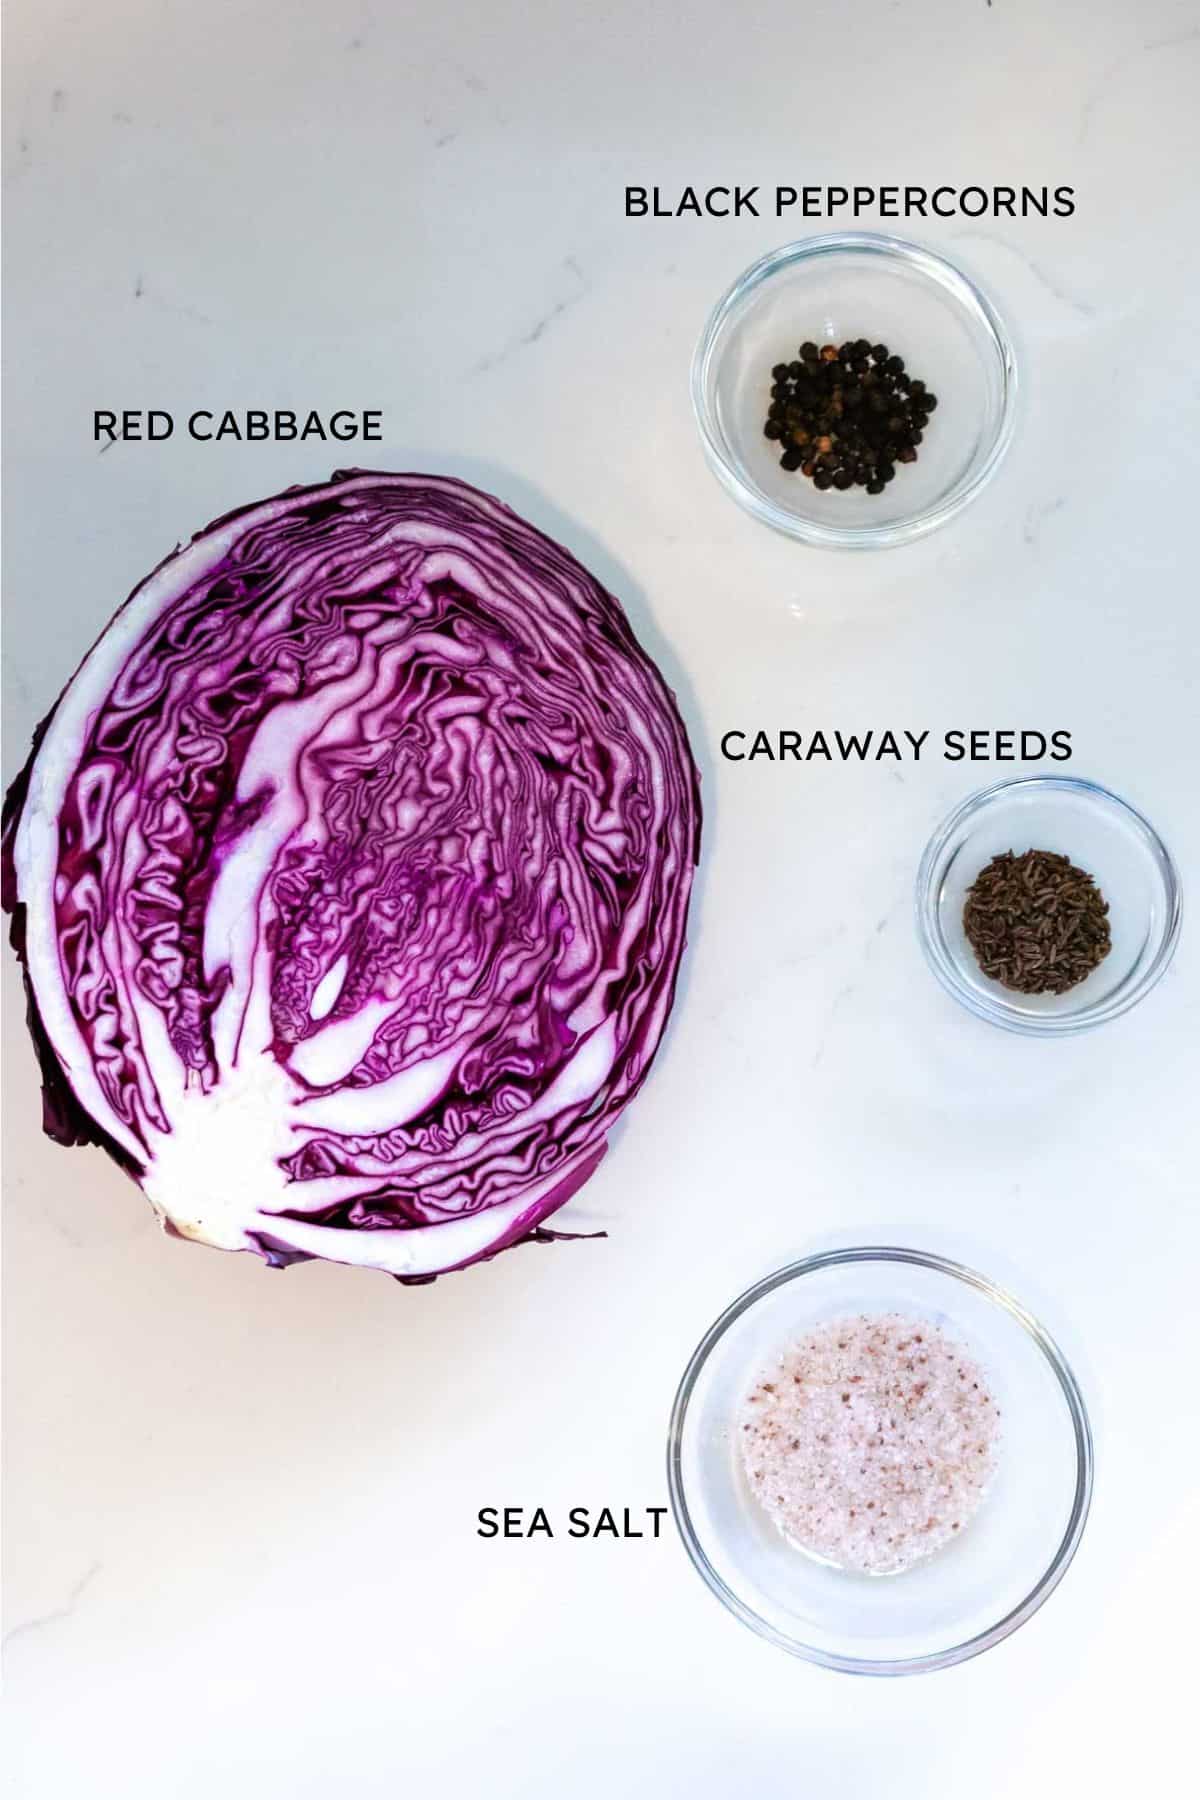
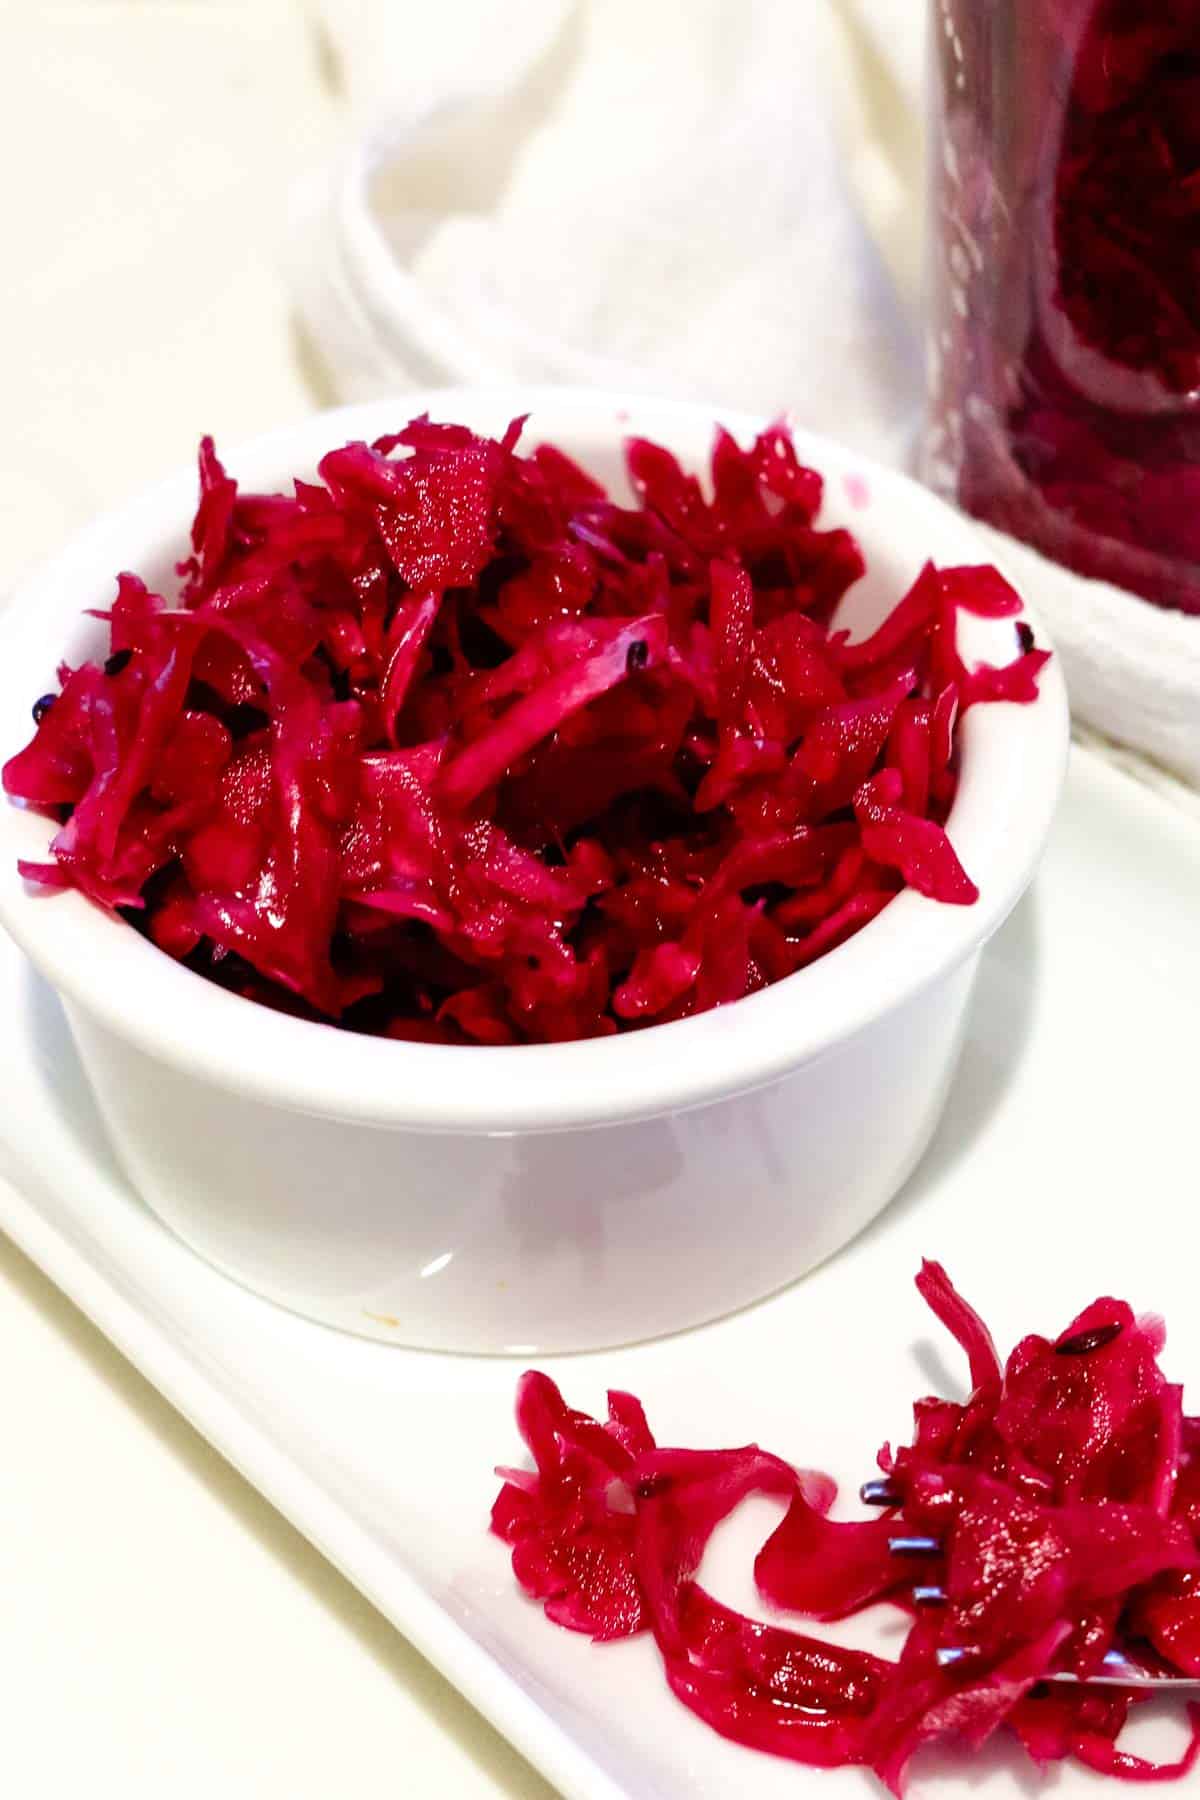
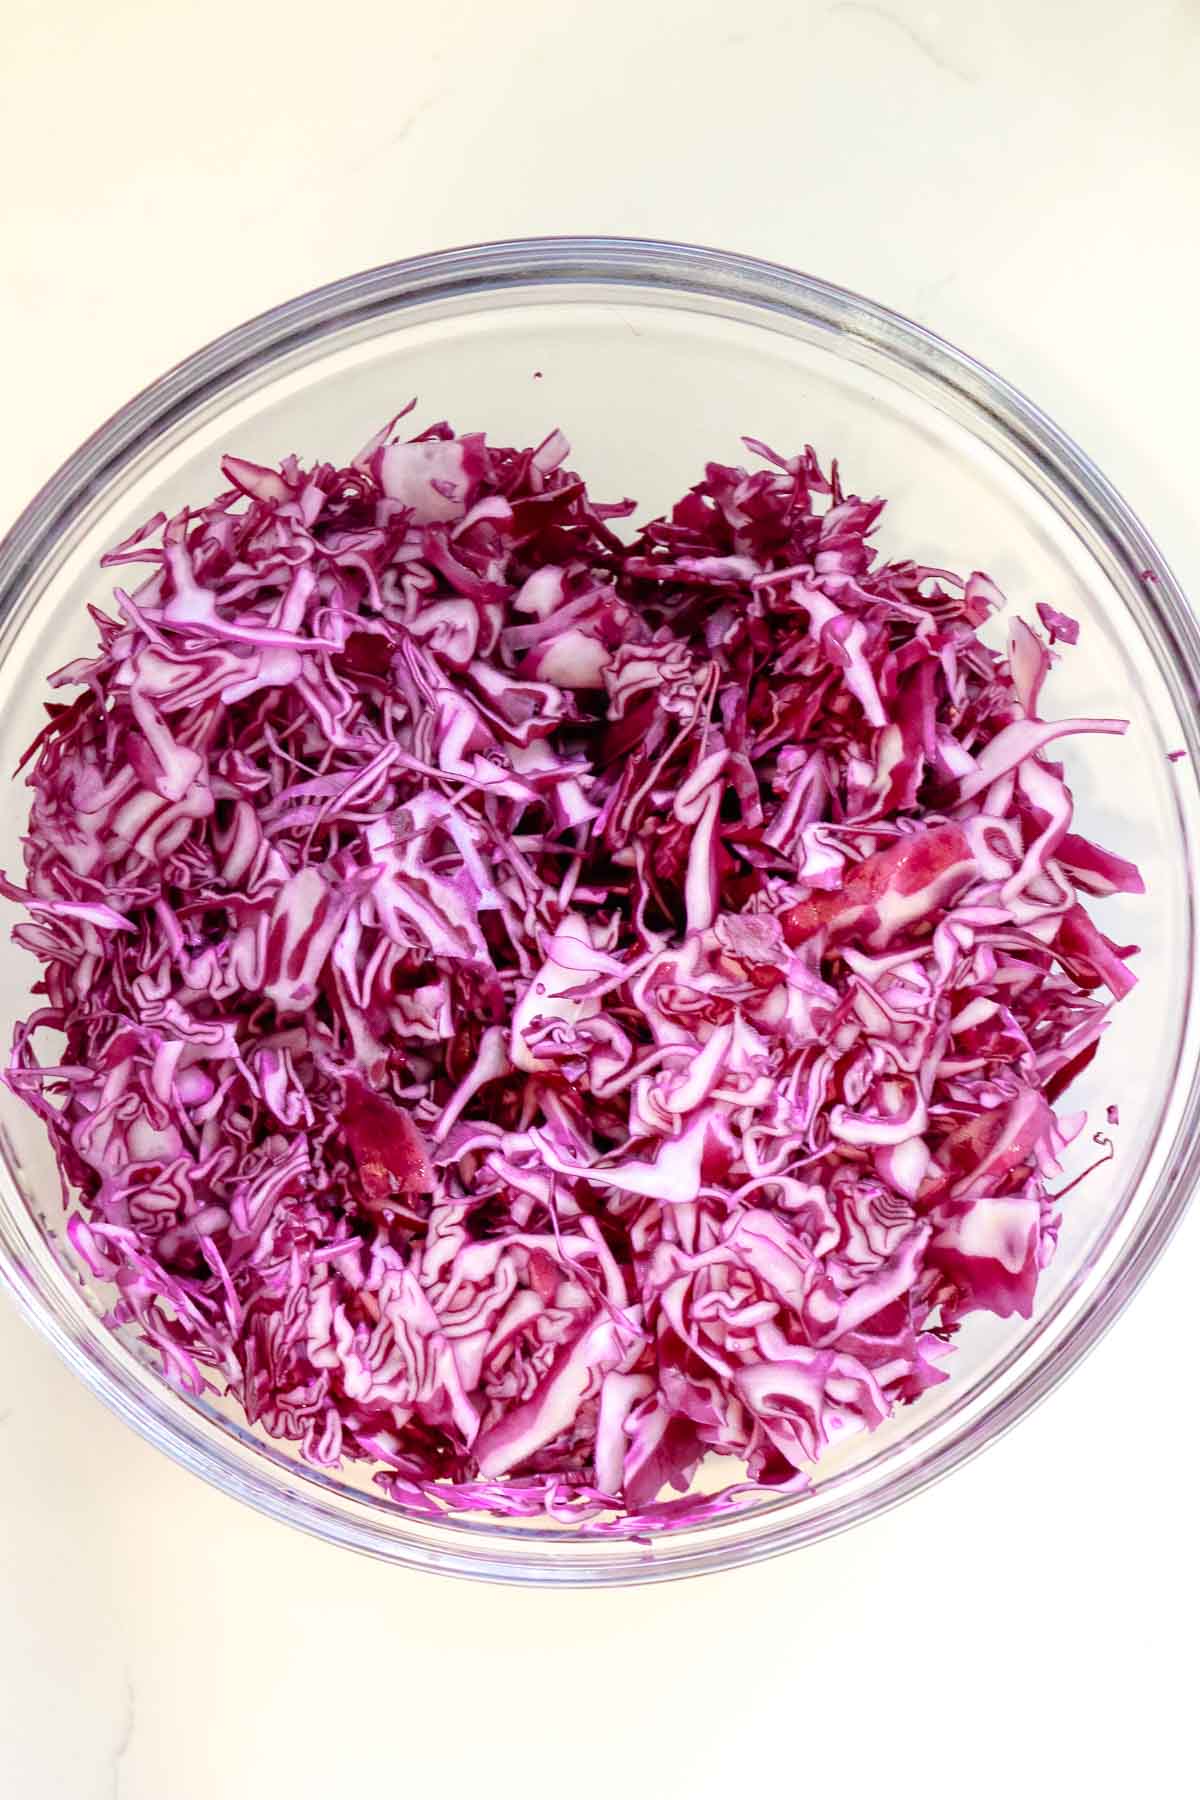
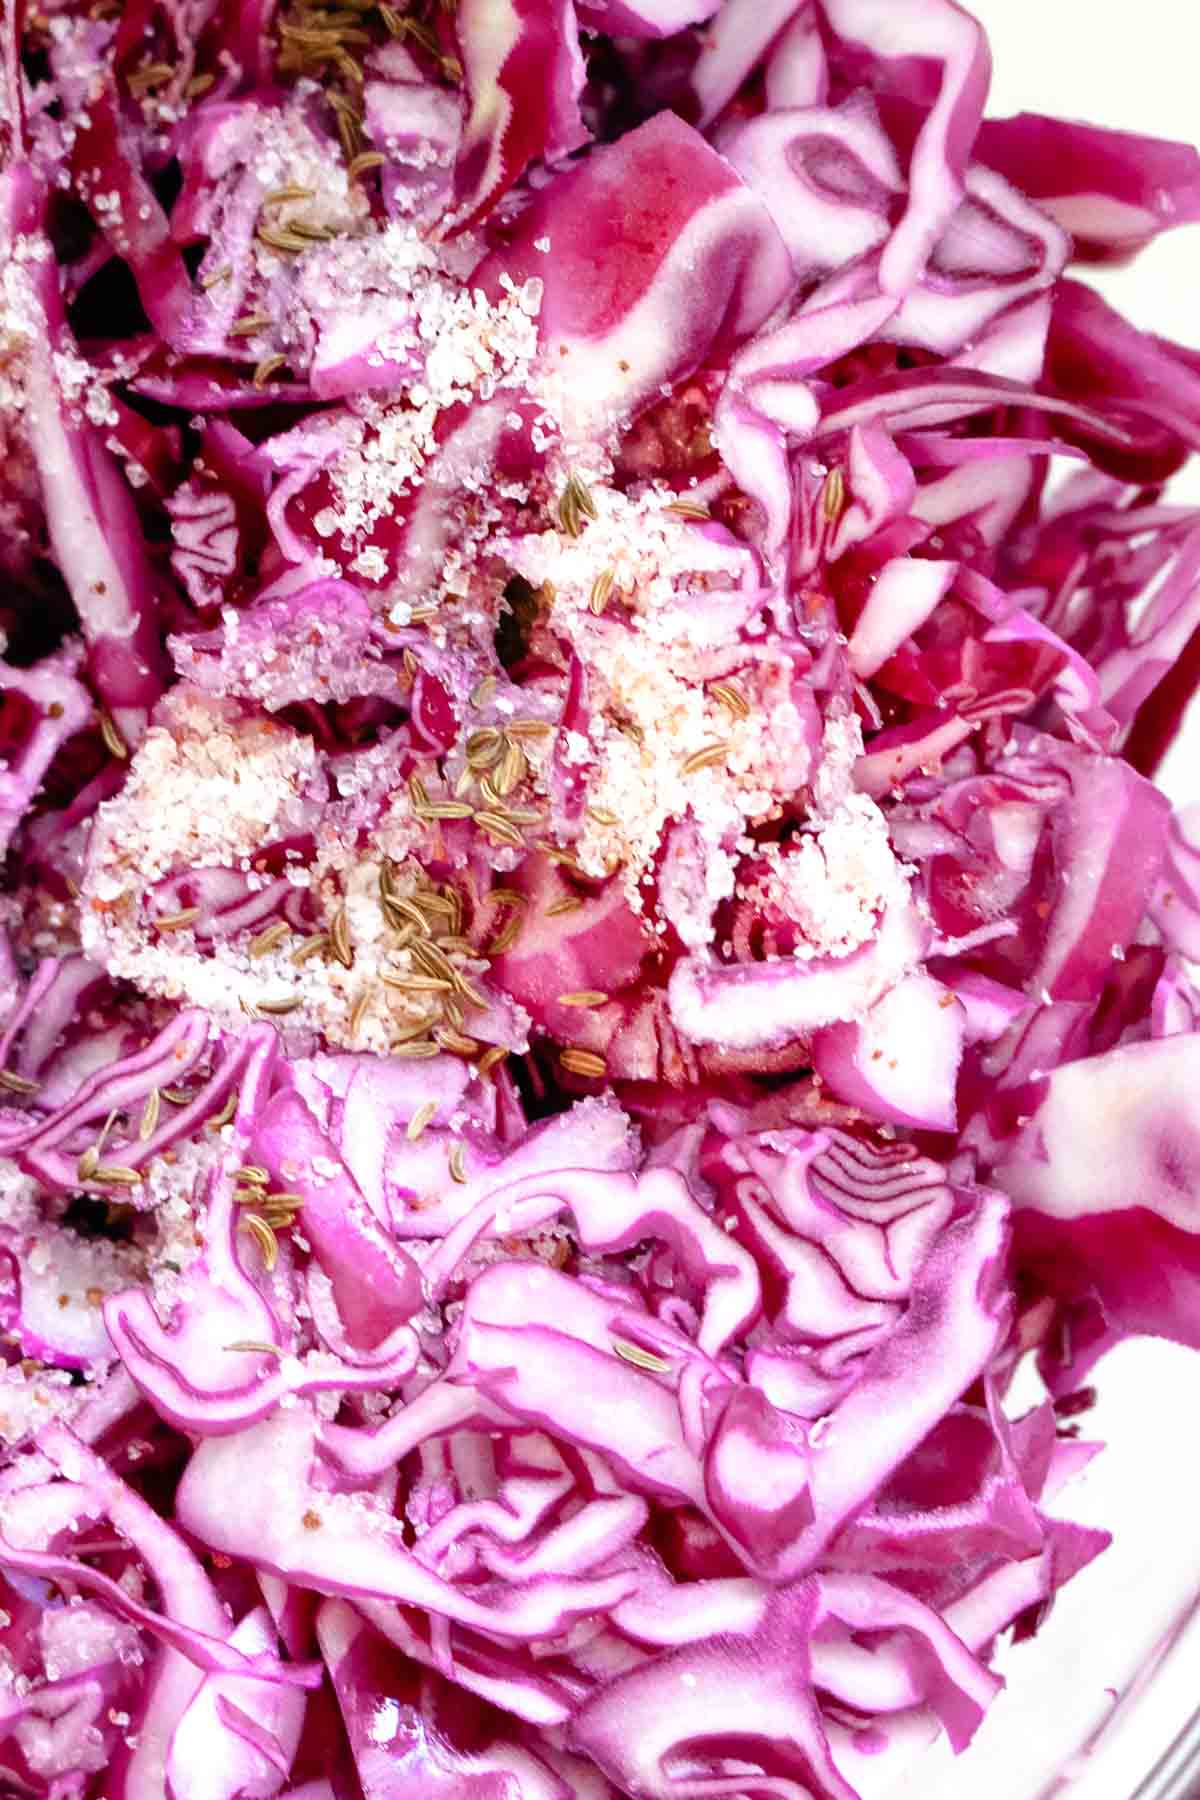
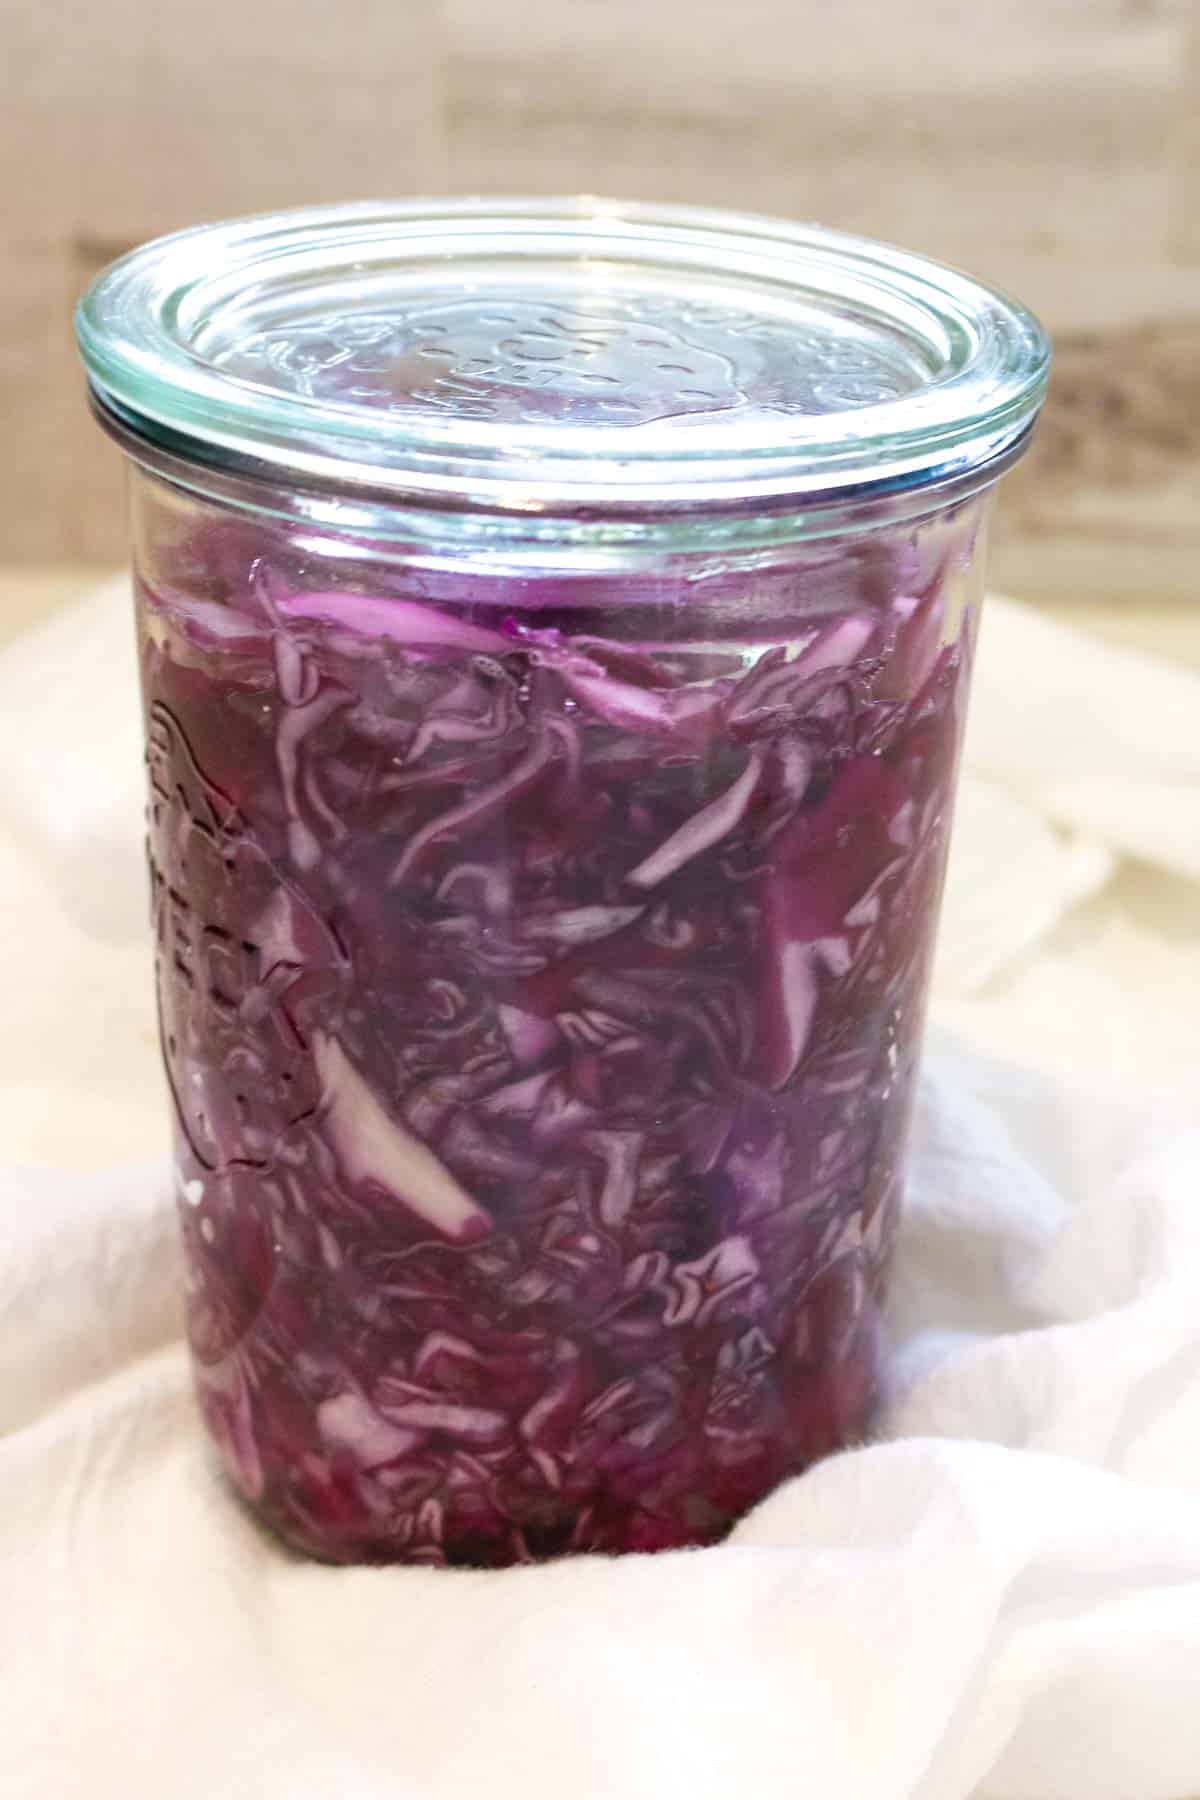
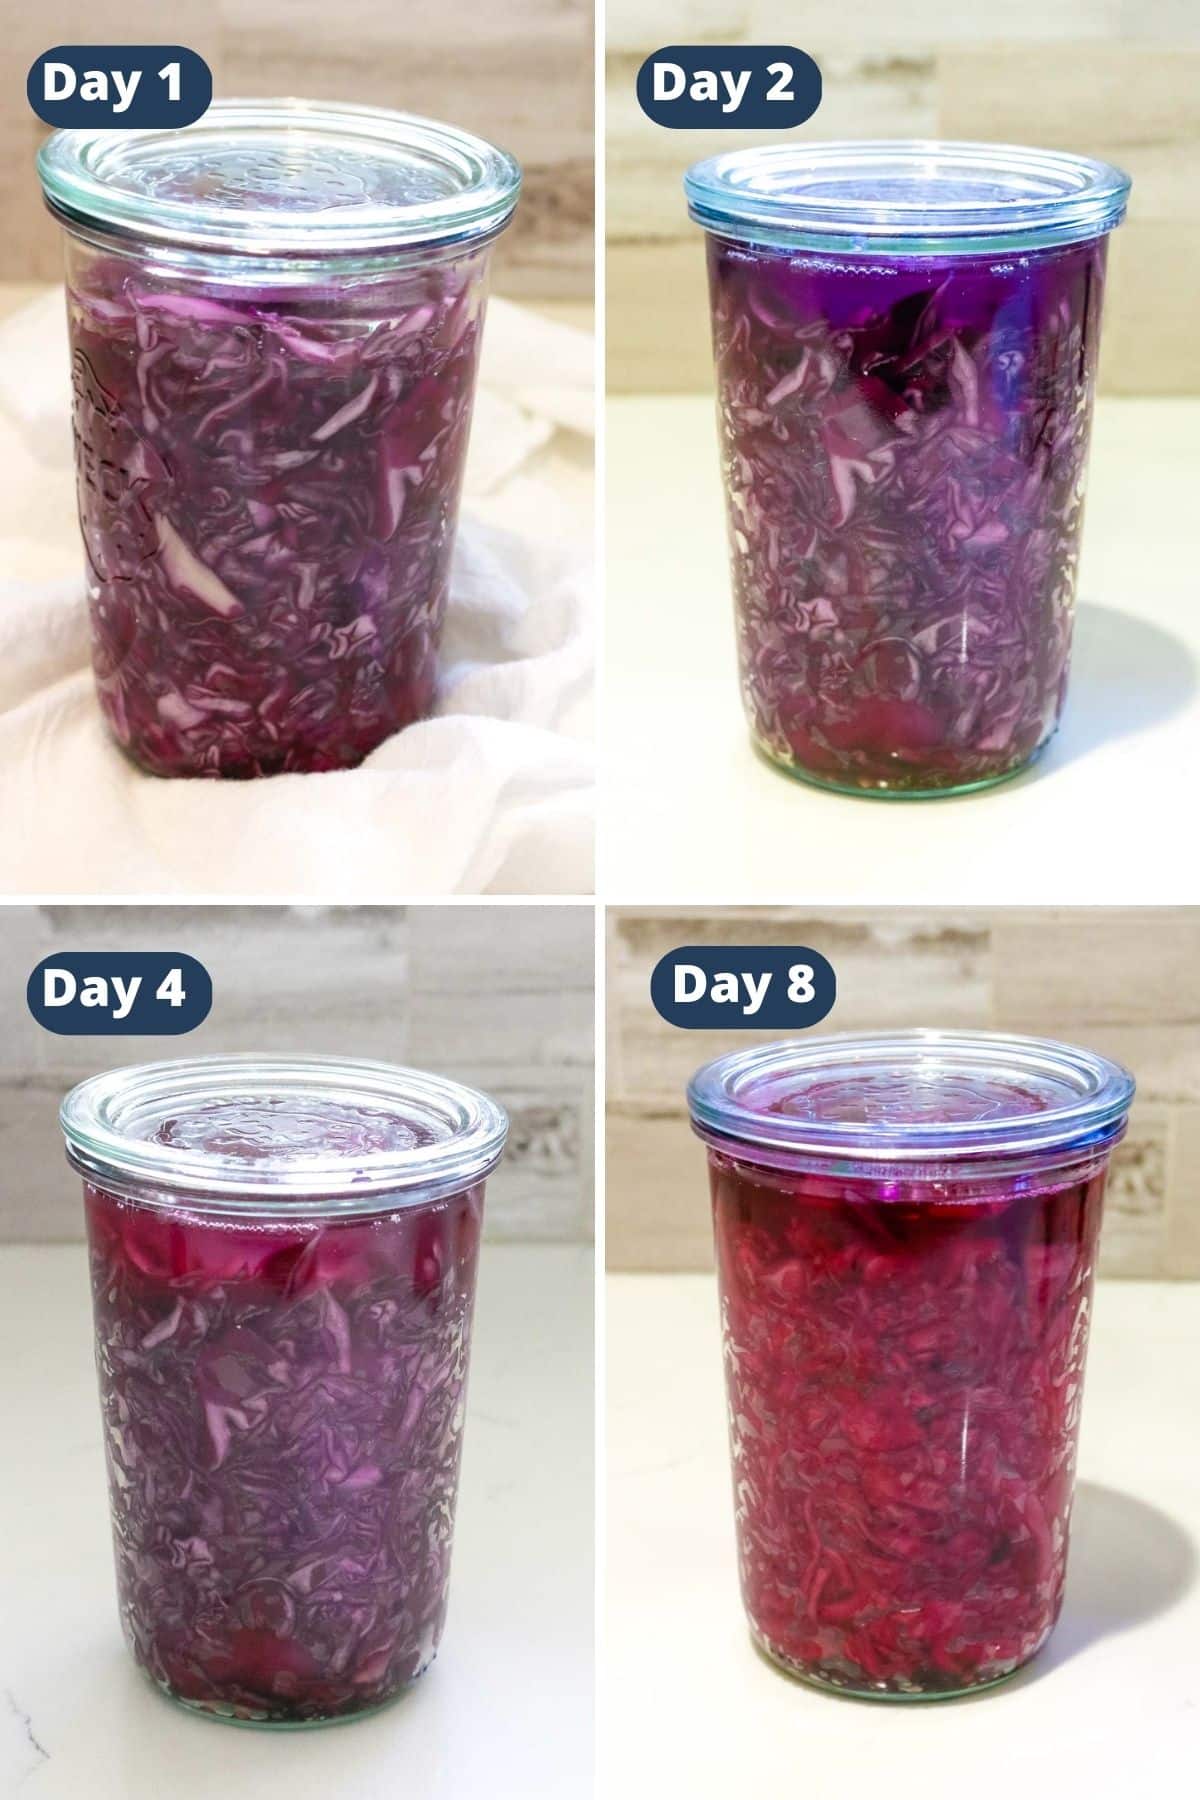
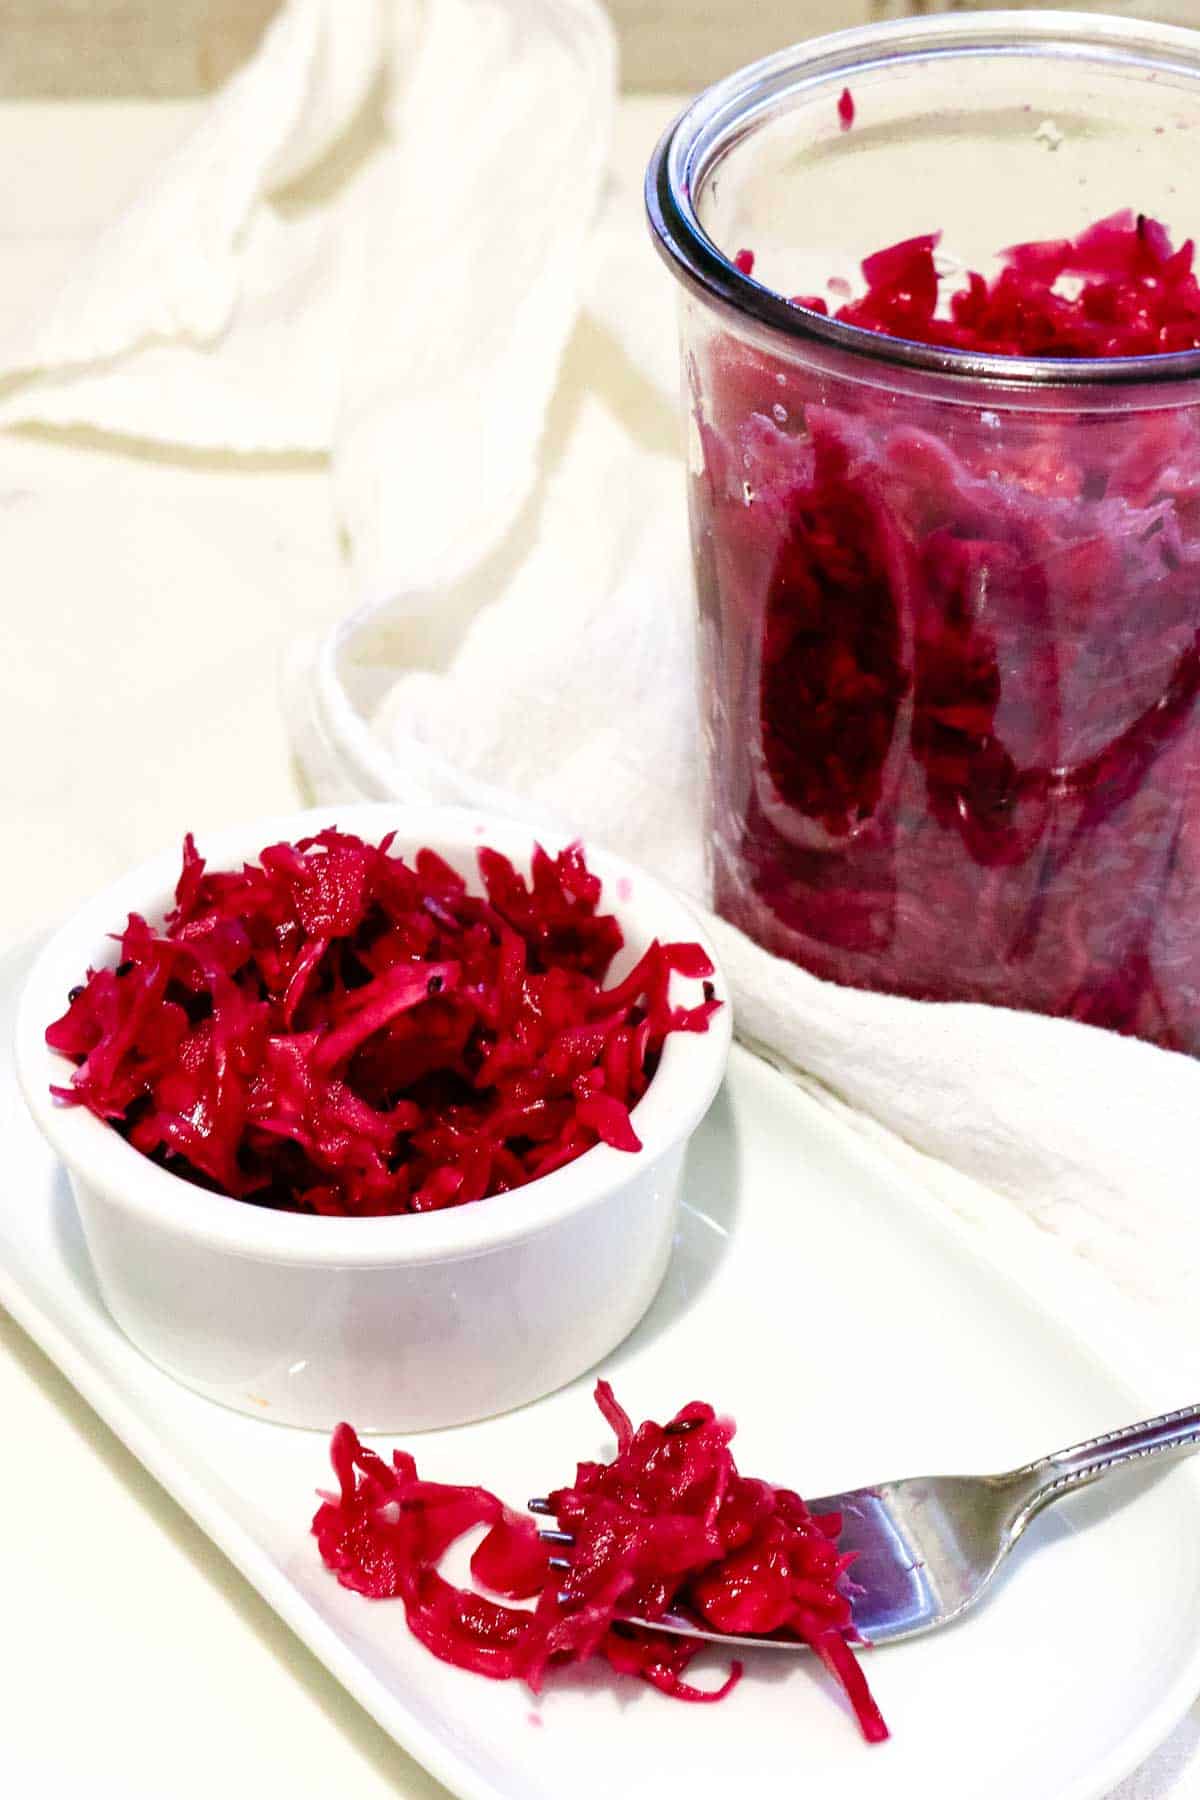
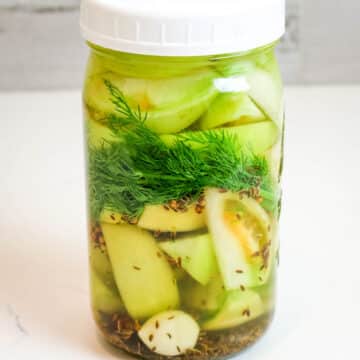
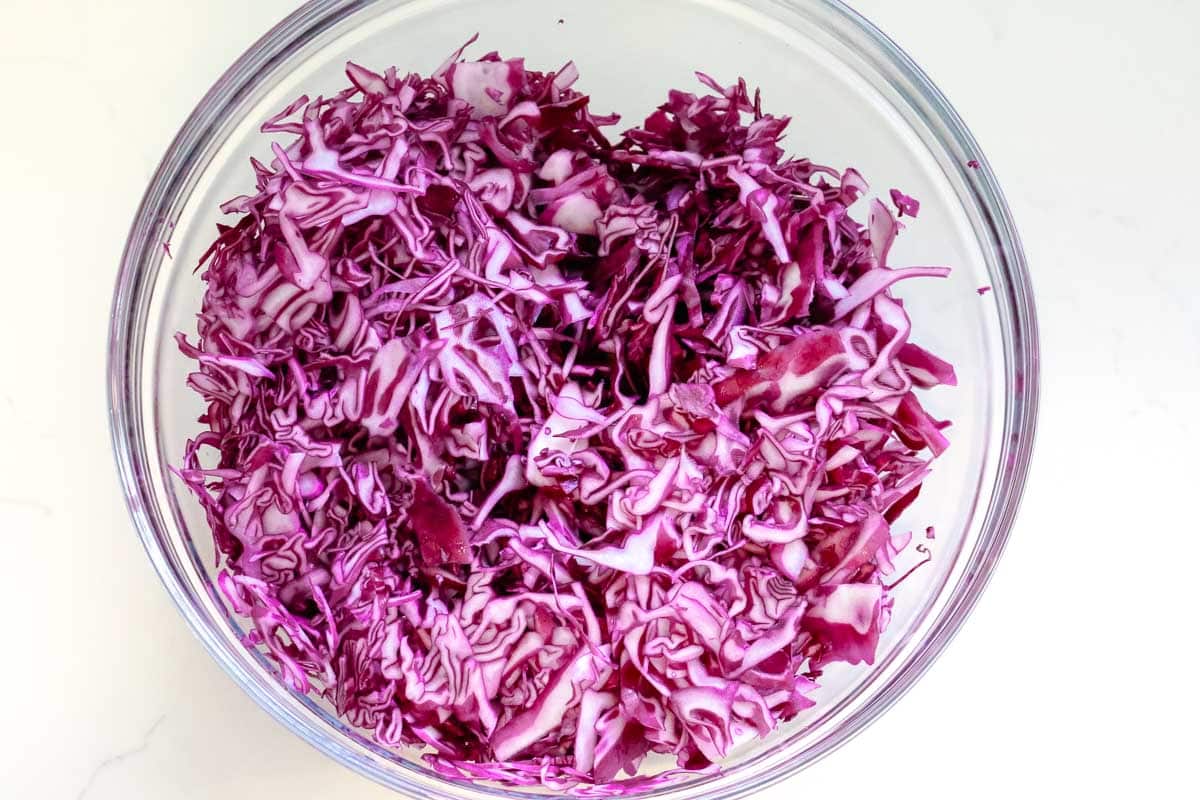
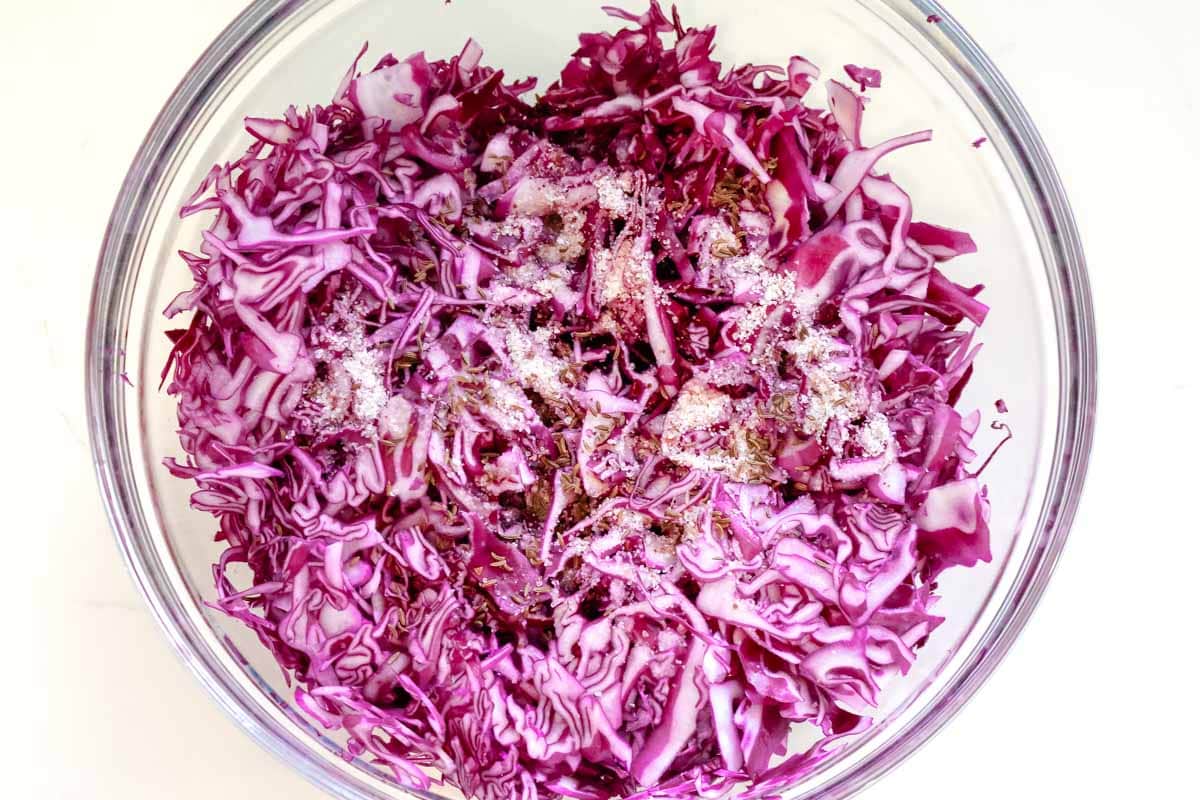
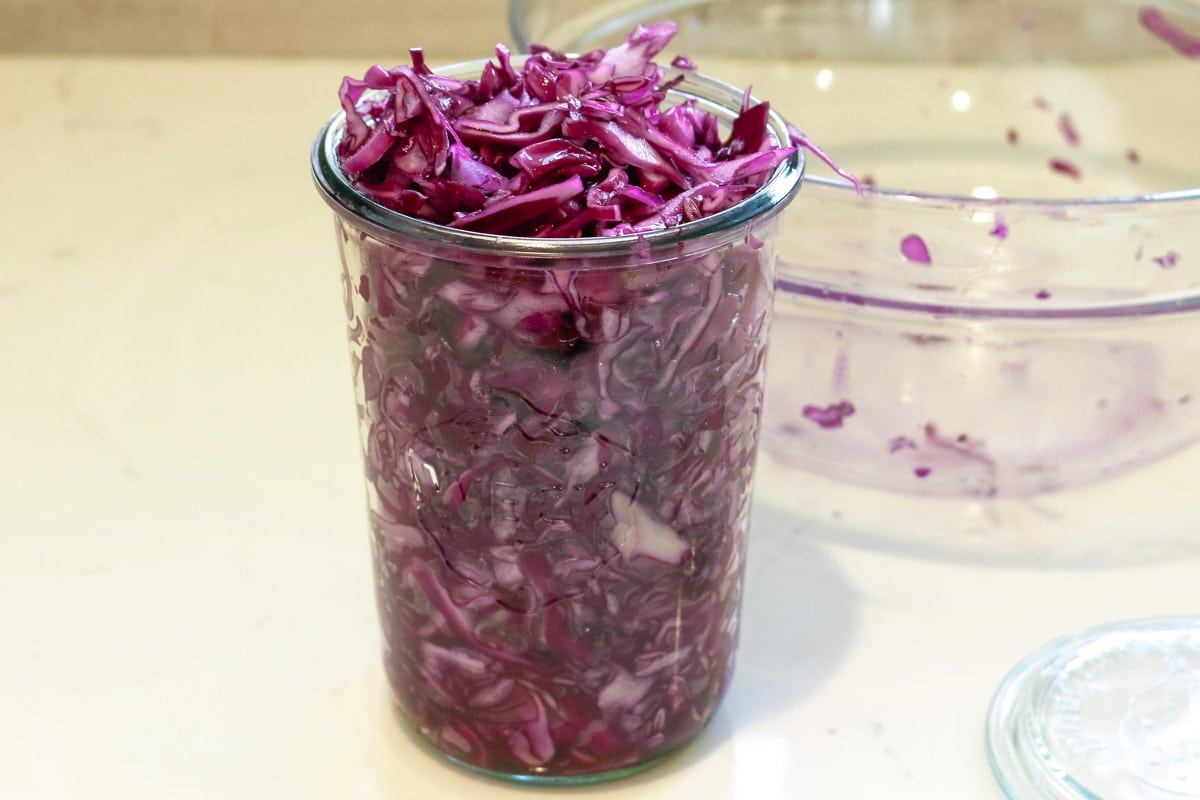
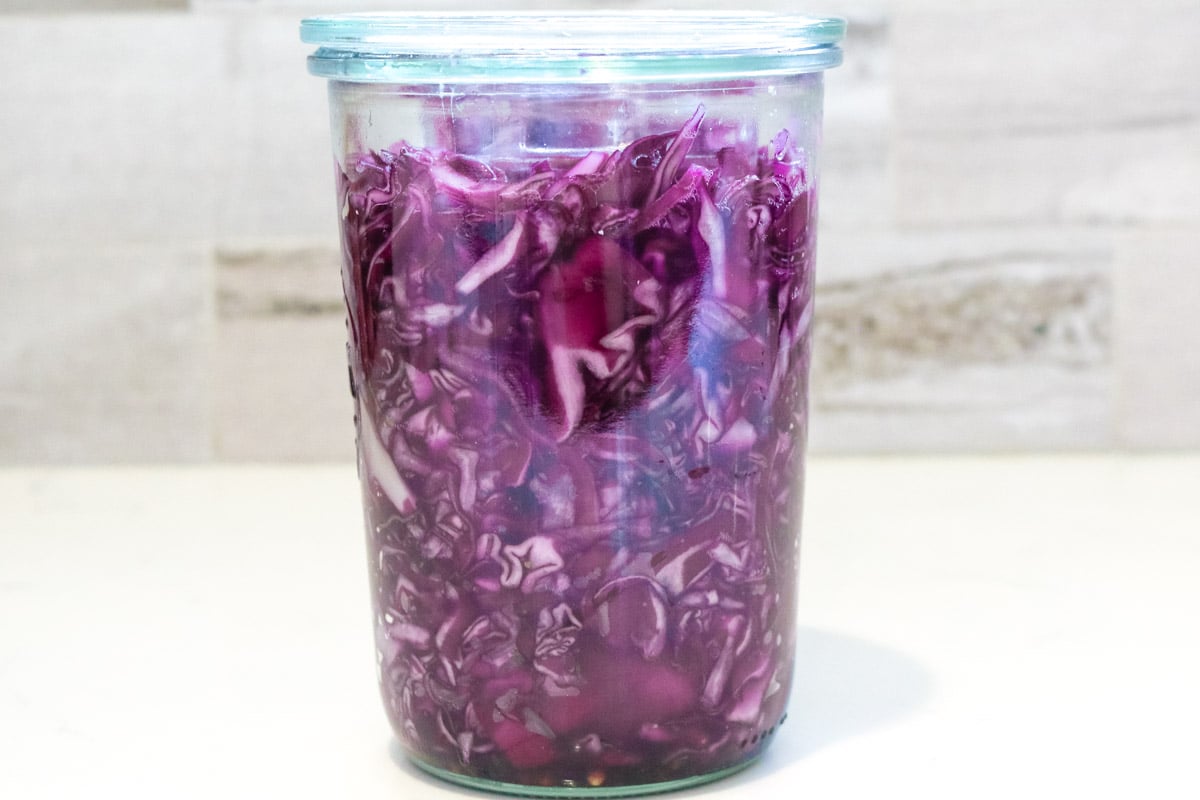
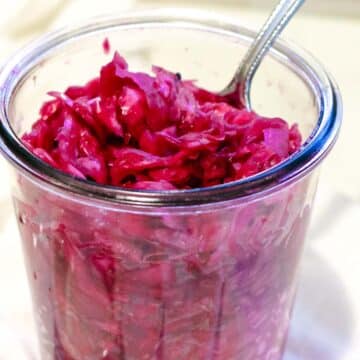
- Red Cabbage Sauerkraut Recipe (Fermented Red Cabbage)168 Hours 10 Minutes
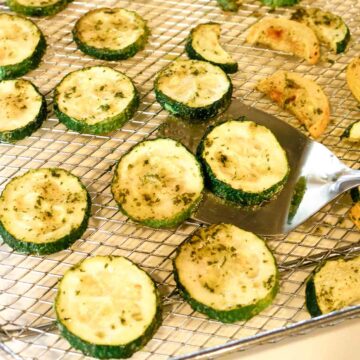
- Air Fryer Squash and Zucchini20 Minutes
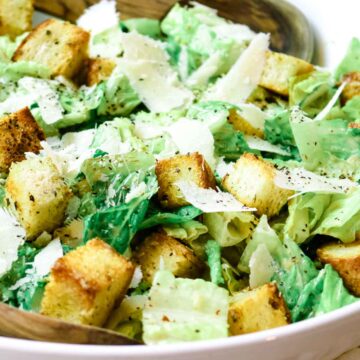
- Classic Caesar Salad30 Minutes
- Buttery Green Beans with Garlic and Lemon20 Minutes

FAQs
To prevent the casserole from drying out, add a splash of milk, chicken broth, or water and cover the dish before reheating it in the oven or air fryer. Reheating the casserole in the Instant Pot or stovetop ensures a very creamy casserole.
The good news is that tuna casserole freezes well, making meal prep quick and easy. The safest and best way to thaw frozen casserole is in the fridge overnight. Allow the tuna bake to come to room temperature before reheating.
The cooking time for reheating tuna casserole can vary depending on the method used and the size and thickness of the tuna pasta bake. As a general rule, it takes about 20-30 minutes to reheat tuna casserole in the oven and 5-10 minutes on stovetop.
Yes, you can add extra ingredients to the casserole when reheating it. Add cheddar cheese, French fried onions, or homemade bread crumbs for a delicious tuna noodle casserole.
Looking for more related recipes? Here are some ideas: