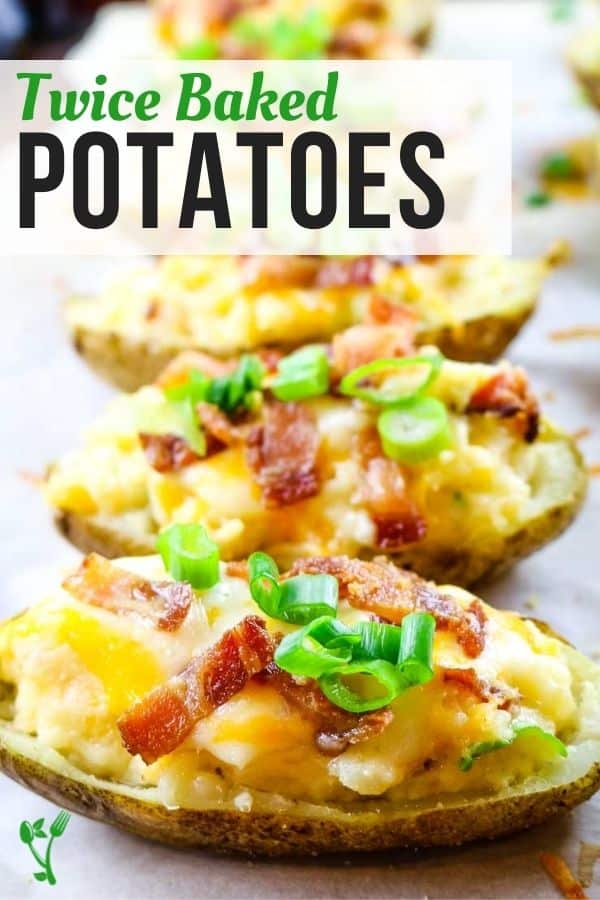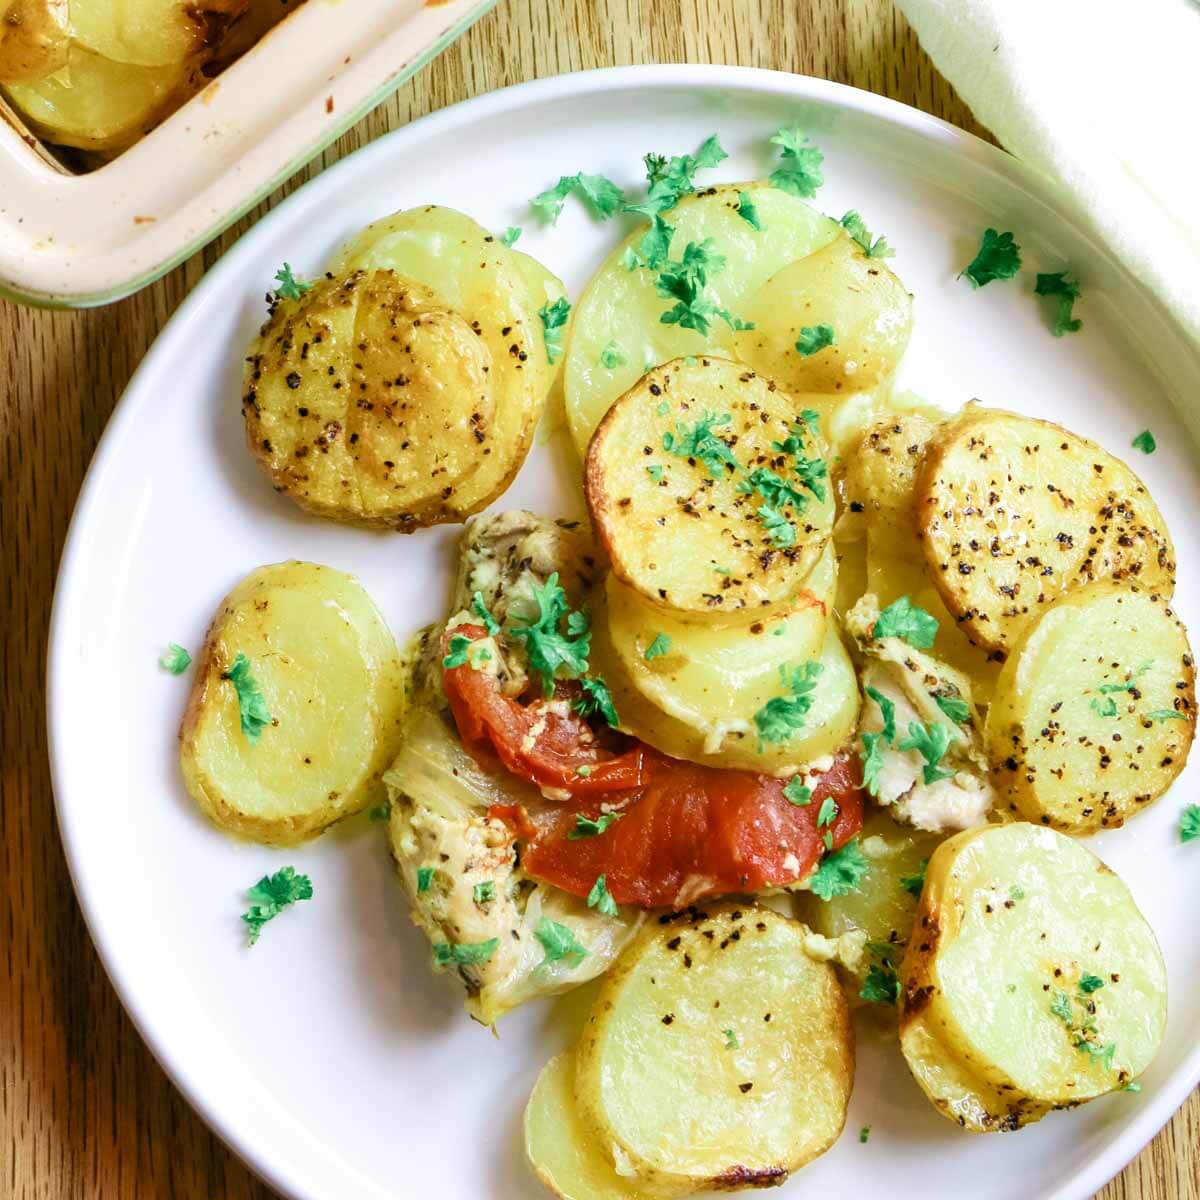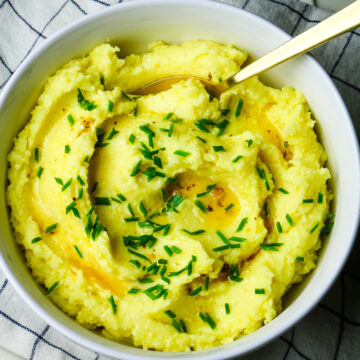
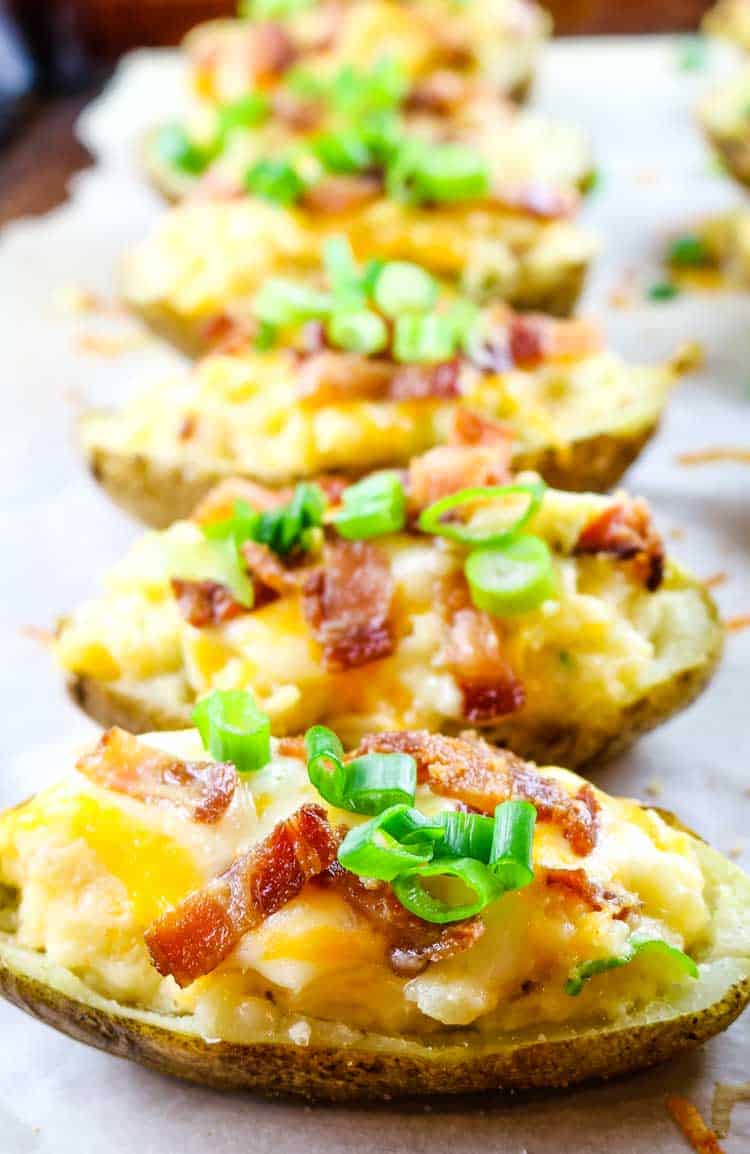
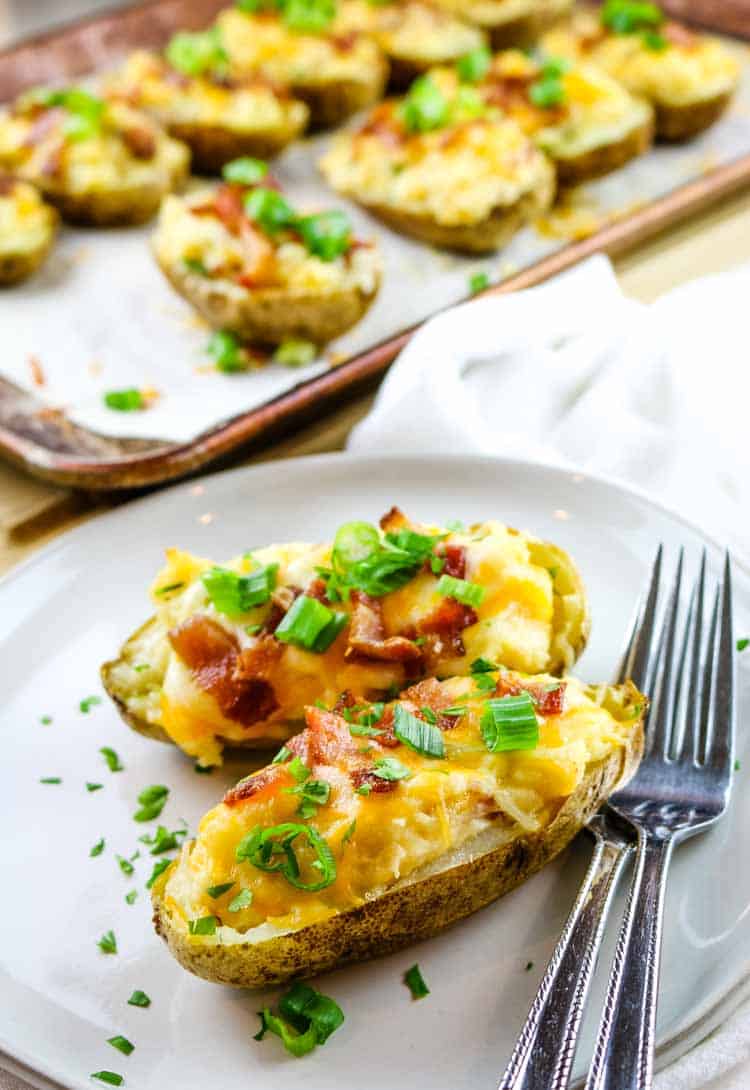
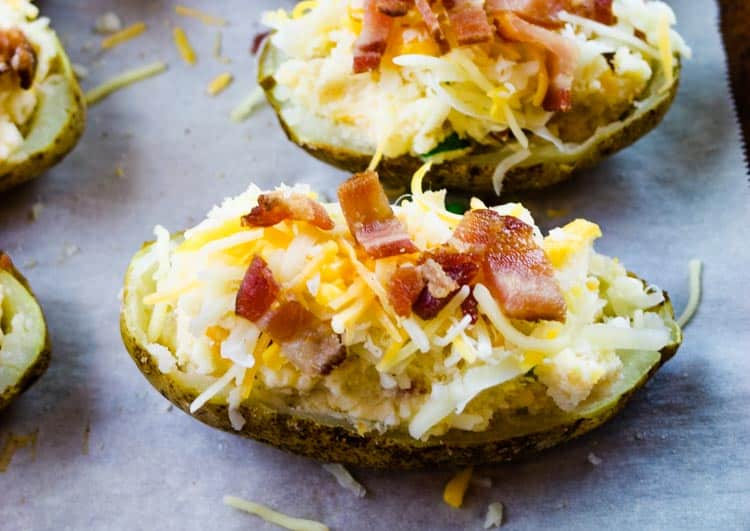
Bacon and Cheese Baked Potato is the ultimate comfort food. These taters are stuffed with cheesy and buttery potato filling with pops of crunchy bacon and green onions.

If you've never had Bacon and Cheese Baked Potato, you are in for a treat! This fun recipe is typically enjoyed as as side dish. So you may want to pair it with healthy protein like grilled chicken and a large salad to keep things balanced. These Bacon and Cheese Baked Potato are what carb dreams are made of.
Bacon and Cheese Baked Potato
Bacon and Cheese Baked Potato is a loaded version of Twice Baked Potatoes.
And the name is says it all. Part of the process is baking potatoes...twice. But the second time around, we're throwing in lots of delicious additions like cheddar cheese, bacon, and sour cream.
The result is a delicious, creamy, and hearty comfort food that can be paired with additional protein (like these Instant Pot Ribs) and a salad.
What are the best potatoes to use in Bacon and Cheese Baked Potatoes?
Russets are the best choice for Twice Baked Potatoes as well as these Bacon and Cheese Baked Potatoes. Their large size is a perfect serving size. One whole potato (two halves) is a generous serving for a main dish, and one half works great as a side.
Moreover, the skin of russet potatoes is a lot more sturdy than any other variety of potatoes, which makes it easier to hollow them out and fill with all the delicious stuffings.
Russet potatoes are also great because the higher starch content results in fluffier mashed potatoes.
When choosing potatoes, look for ones that are oblong in length but with a round circumference crosswise. Potatoes that are more flat will yield shallow potato skins so you want to choose ones that are more uniform.
Can you overcook a baked potato?
Potatoes are a pretty hardy root but even still, there is such a thing as an overbaked potato. Wrinkled potato skins and a very dry and flavorless flesh is the result of overbaked potatoes so be sure to set a timer when baking potatoes.
Depending on the size of your spuds, you want to bake them at 400 degrees Fahrenheit for 50-60 minutes. You can test the doneness of the potatoes when they give off a sweet aroma and are soft to touch.
Wrapping potatoes in foil is not recommended as it traps moisture causing the skin to be wet and the inside gummy and soggy.
What are the ingredients in the Best Twice Baked Potatoes?
These loaded Bacon and Cheese Baked Potatoes have all your favorite comfort-food ingredients. Let's take a look:
- Russet Potatoes - You can't make Twice Baked Potatoes with the potatoes. Luckily, these starchy root vegetables are readily available in most American grocery stores and are relatively inexpensive compared to other varieties. Because we are cooking and eating the skin, we highly suggest opting for organic potatoes to reduce pesticide exposure.
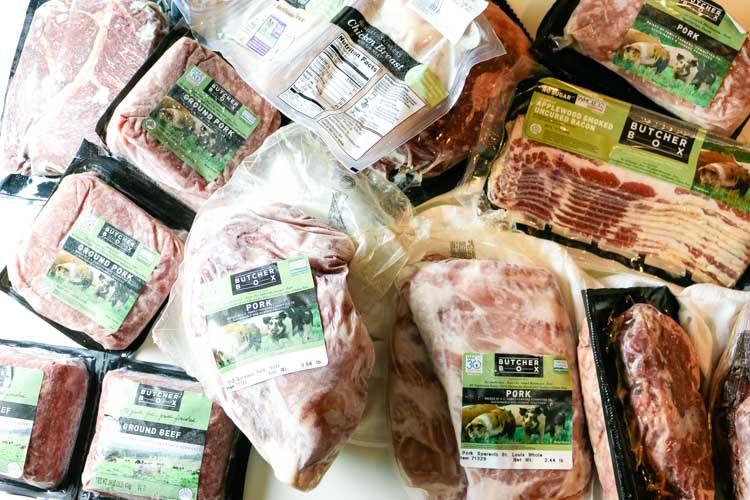
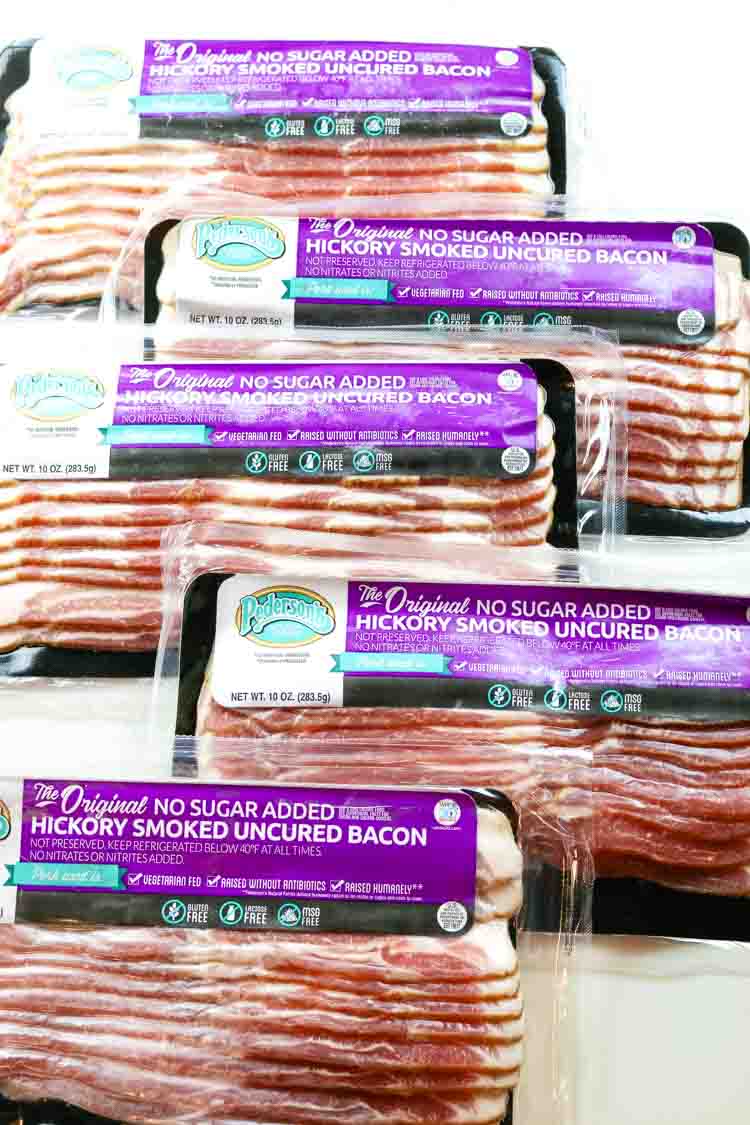
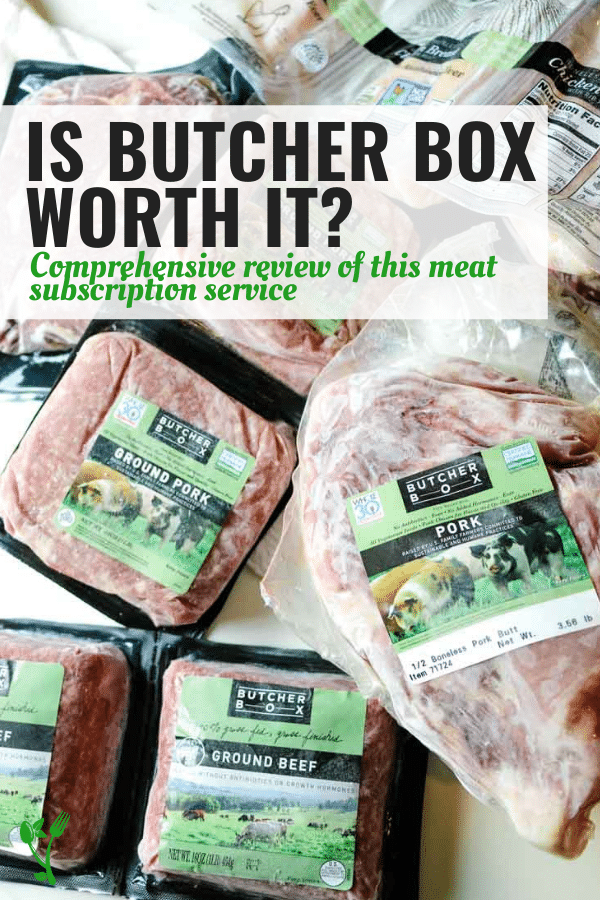
- Bacon - Potatoes and bacon are a match made in food heaven. For ease and convenience, you can make Bacon Bits using these simple instructions here, or you can bake a few strips in the oven for a mess-free option. We love our Butcher Box bacon and have been using them for years because the quality is unmatched. Check out my ButcherBox review and see if it's worth it for your family.
- Dairy (butter, sour cream, milk) - To make that mashed potato filling creamy and luscious.
- Seasonings (garlic powder, paprika) - Adds an extra punch of flavor to an already delicious side dish.
- Cheese - Most any kind of cheese that melts well will work in this dish but an all-time favorite is cheddar. Feel free to experiment with other cheeses like gruyere, Swiss, Monterey Jack, Colby, etc... Most cheese will be stirred into the creamy mashed potato filling but be sure to reserve some as topping.
- Green Onions - A classic way to finish off Twice Baked Potatoes with this common garnish.
Common Questions:
Why are my mashed potatoes gummy?
To avoid gummy potatoes, be sure to mash potatoes while they are still warm. Additionally, avoid overmixing the potatoes as that can also contribute to gummy mashed potatoes.
Can these Bacon and Cheese Baked Potatoes be made dairy free?
Yes, you may use your favorite dairy-free swap for sour cream and nut milk for milk/half and half. You can omit the cheese entirely. Keep in mind that the flavor will be different without the dairy ingredients and these will no longer be Bacon and Cheese Baked Potatoes.
Can you freeze Twice Baked Potatoes?
Yes! Twice Baked Potatoes, though incredibly comforting and delicious, do take a fair amount of time to make. So it makes sense to make them in larger quantities and freeze for later. This recipe works great to double and freeze half for an easy meal next time. Follow the instructions below for making these Bacon and Cheese Baked Potato ahead.
Make Ahead Bacon and Cheese Baked Potato:
Bacon and Cheese Baked Potatoes are great to make ahead of time and refrigerate them for later that evening. They can also be frozen and reheated for another time. Follow these make ahead tips for best flavor:
- Make these baked potatoes per recipe but don't bake them the second time. Allow the potatoes to chill completely. You may transfer to the refrigerator for later use or freeze according to instructions below.
- Freezing Instructions in Casserole Dish: You may freeze these loaded potatoes in a freezer-safe casserole dish, then cover well with foil or lid and transfer to freezer.
- Freezing Instructions for Single Servings: To individually freeze twice baked potatoes: wrap potato halves in foil and transfer to freezer.
- Reheating twice baked potatoes: To bake directly from the freezer, bake the casserole dish covered at 425 degrees Fahrenheit for 35-40 minutes or until mostly warmed through. Uncover, top with additional cheese if desired, and bake for 15 minutes until completely warmed through and cheese is melted. Use the same process for reheating individual servings. To reheat thawed potatoes, don't cover the dish with foil and reduce the bake time to 20-25 minutes or until completely warmed through and cheese is melted.
- Another tip to make these an easy side dish is to make bacon bits in bulk. Follow instructions in this post how to make bacon crumbles.
Recipe for Baked Potato with Cheese and Bacon
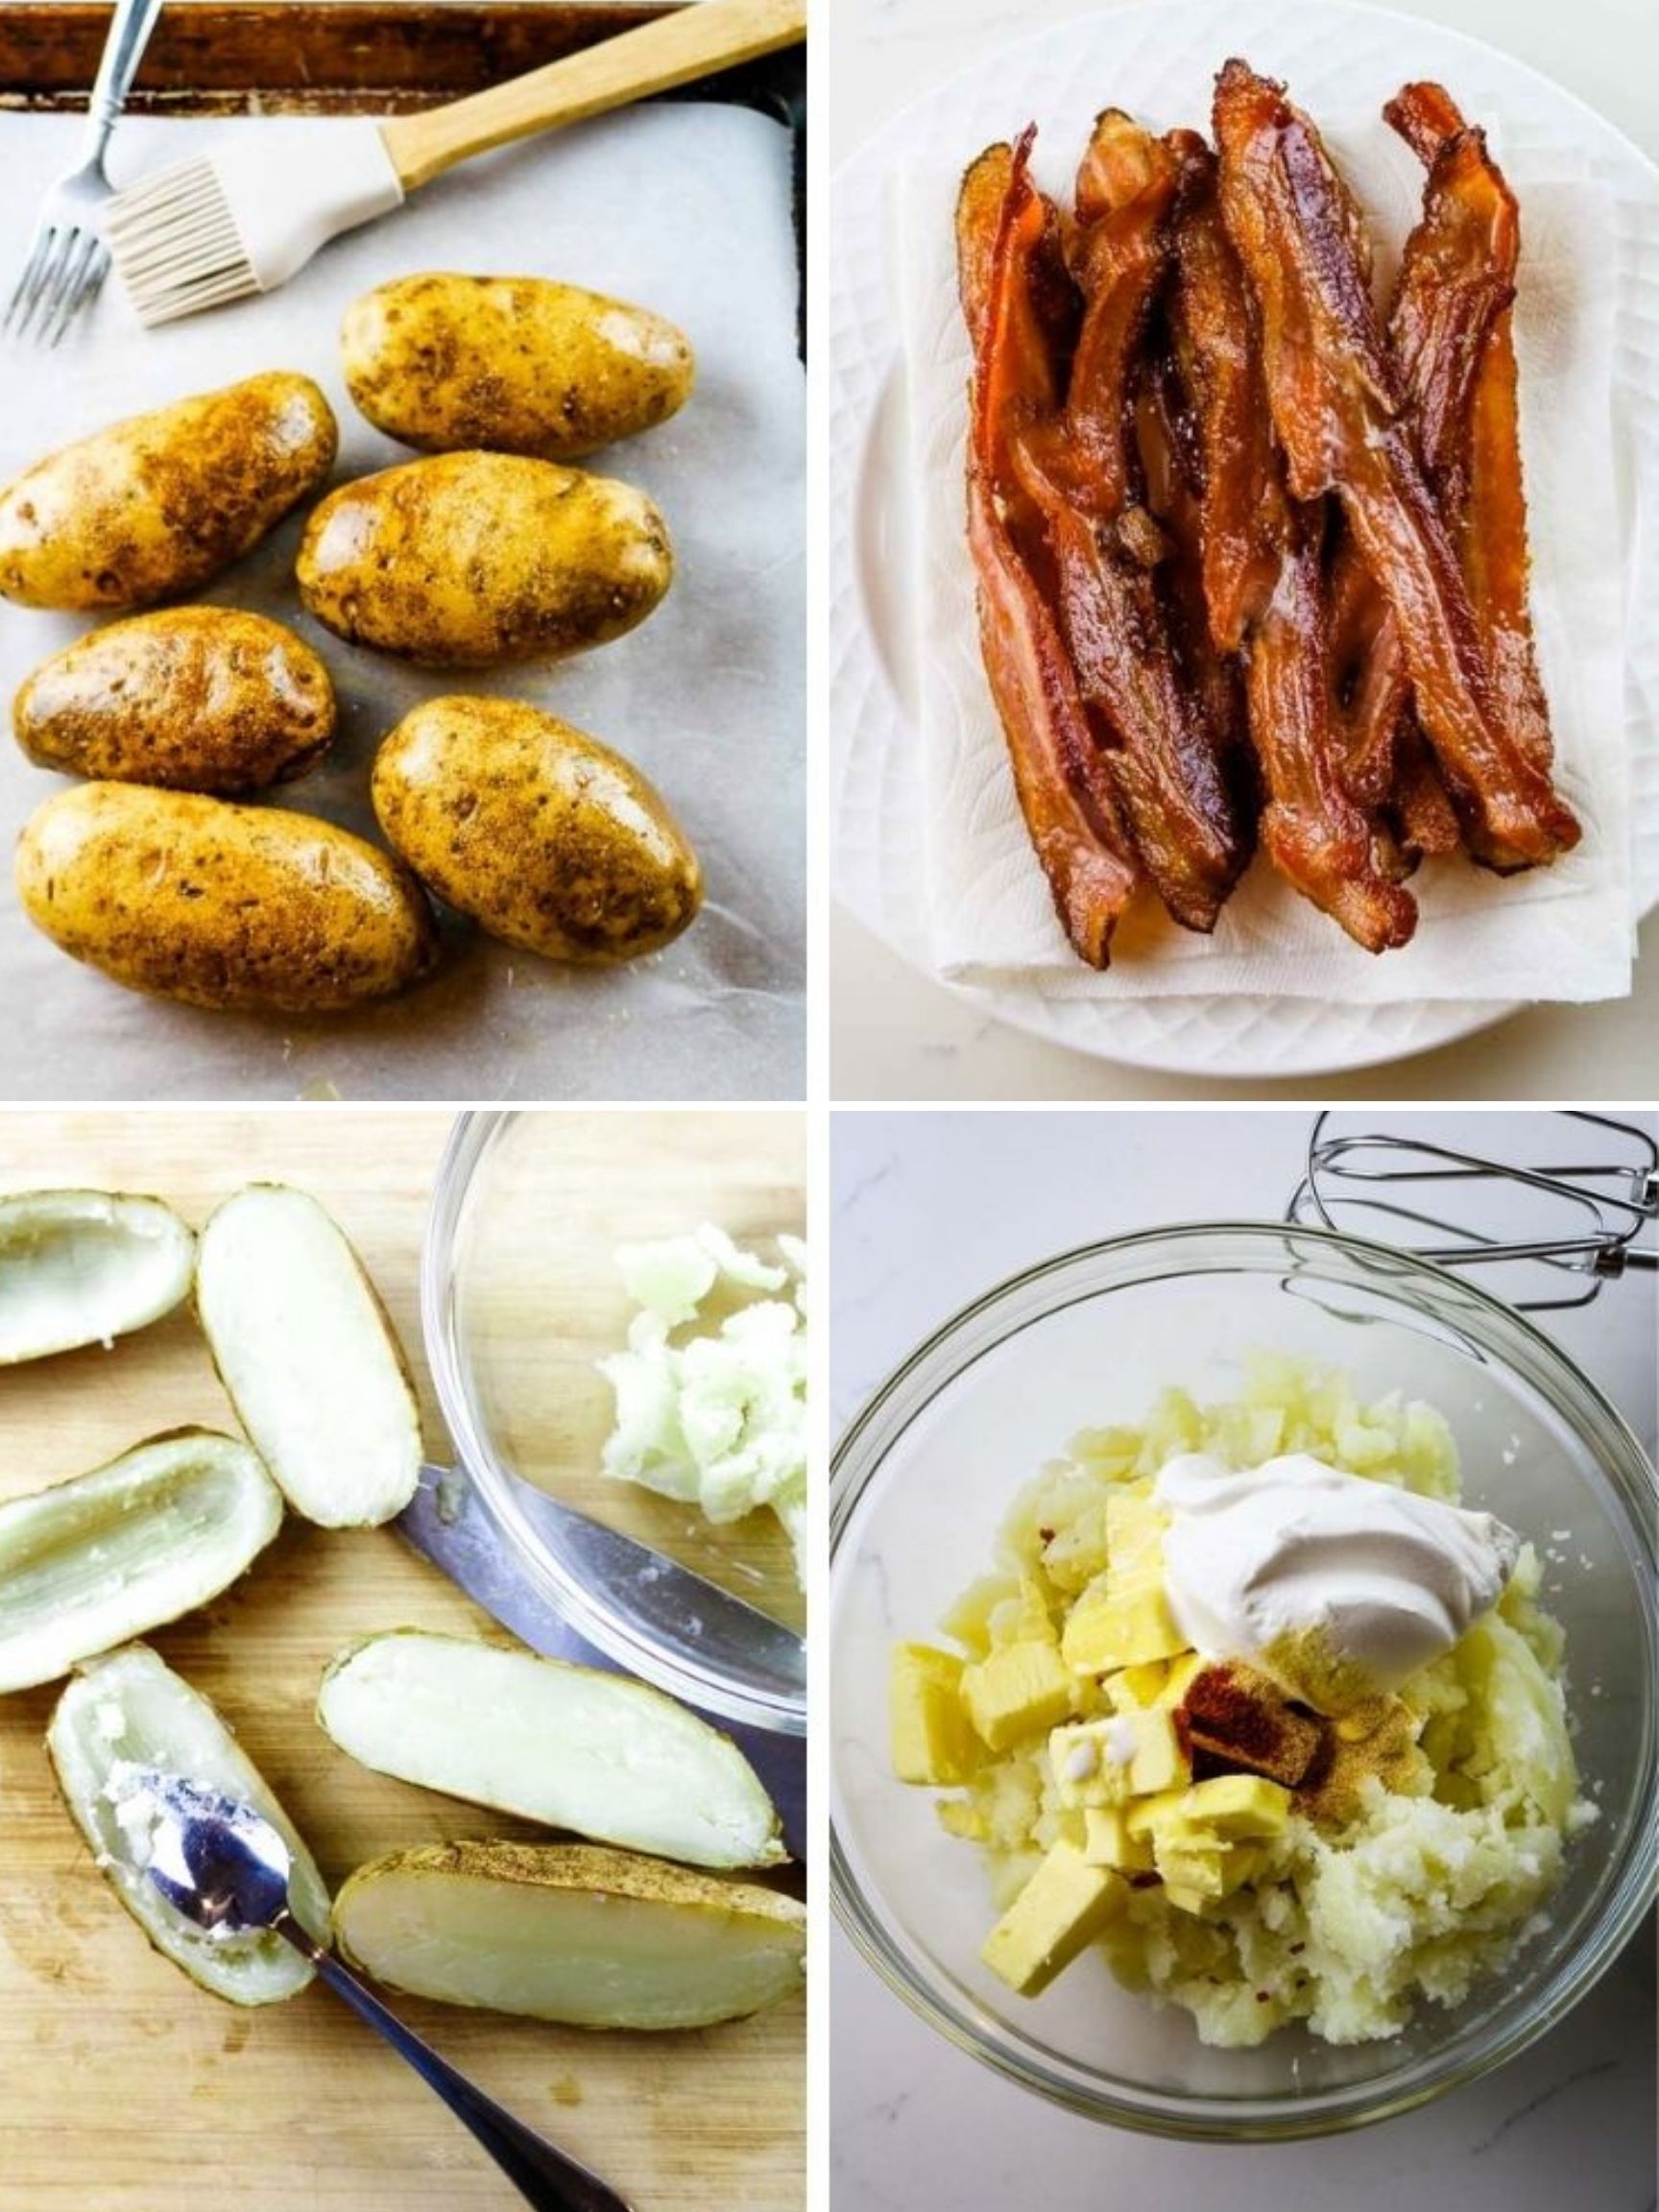
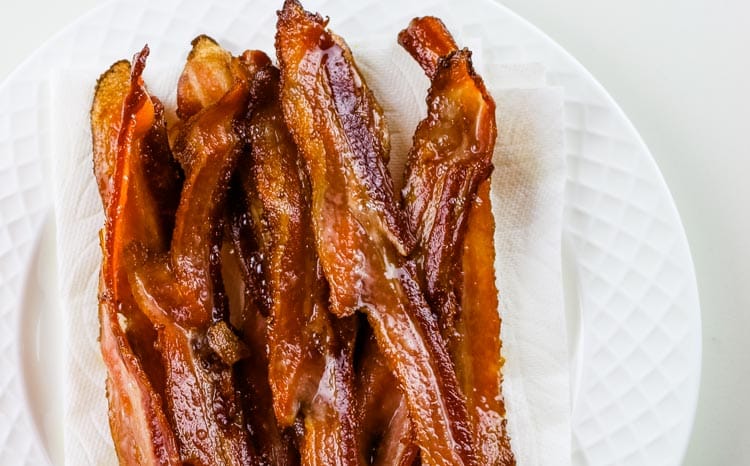
- Bake potatoes and bacon: prick washed and dried potatoes a few times with a fork. Coat lightly with oil and bake until fork tender. Using same oven temperature, cook bacon in the oven on the bottom rack for 16-18 minutes.
- Drain cooked bacon on paper towels, set aside to cool, then chop or crumble. Remove potatoes from oven and lower the temperature.
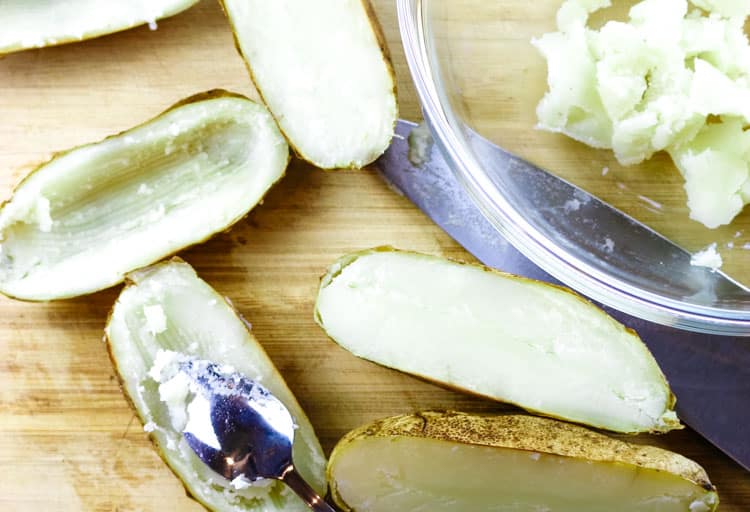
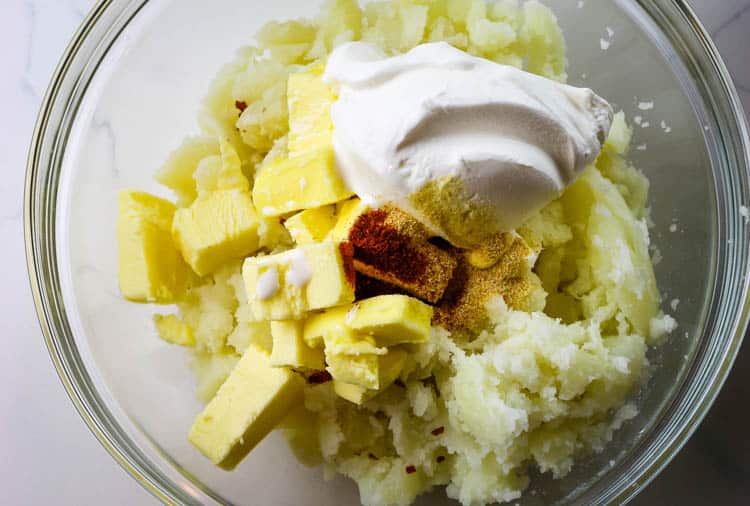
- Slice potatoes in half lengthwise and scoop out the flesh. In a bowl, combine together mashed potatoes, butter, sour cream, milk and seasonings.
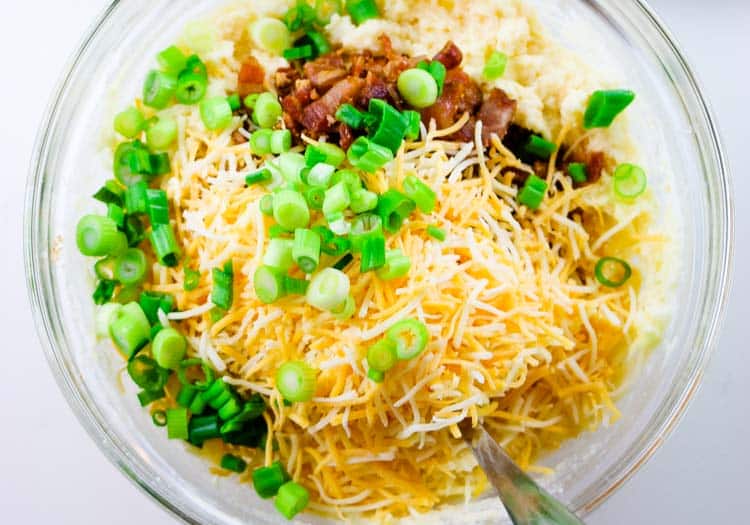
- Add to the mashed potatoes half of each: cheese, green onions, chopped bacon and combine.

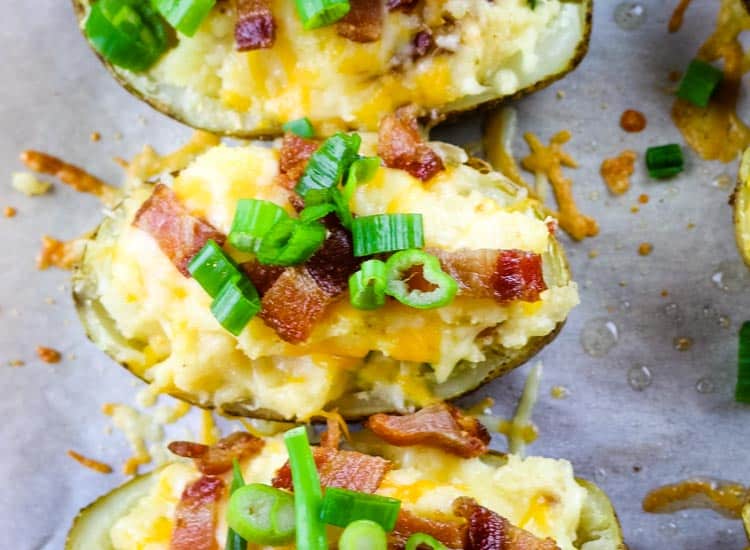
- Spoon the mashed potato mixture back into the potato skins. Top with remaining cheese and bacon.
- Return potatoes back to the oven and bake until heated through and cheese melted. Garnish with remaining green onions.


Potatoes with Bacon and Cheese
Printable Recipe

Bacon and Cheese Baked Potatoes
Ingredients
- 6 russet potatoes (approx. 6 ounce ea.) scrubbed and fully dried
- 1 tablespoon avocado oil
- 8 strips bacon divided
- 4 tablespoons butter
- ½ cup sour cream
- ¼ cup milk or half & half
- 1 teaspoon garlic powder
- ¼ teaspoon paprika
- ½ teaspoon sea salt
- 2 cups grated cheese (cheddar, Monterrey, Mexican, etc..) divided
- ½ cup green onions divided
Instructions
- Preheat oven to 400 degrees Fahrenheit. Prick each potato a few times with a fork. Brush with avocado oil. Bake potatoes for 45 minutes or until fork tender on middle or top rack of the oven.

- Meanwhile, cook bacon either in a frying pan on medium-low heat for 10 minutes or in the same oven as potatoes on the bottom rack for 20-23 minutes. Drain on paper towels, cool, then chop.

- Remove potatoes from oven and reduce oven temperature to 350 degrees Fahrenheit. When cool enough to handle, slice each potato in half lengthwise. Scoop out the flesh of the potato into a medium bowl, leaving about ¼" of the potato skin.

- Combine scooped out potatoes, butter, sour cream, milk, and seasonings with a potato masher or handheld mixer (do not overmix).

- Add half of the green onions, cheese, and bacon crumbles and combine well. Add additional milk if necessary to reach creamy consistency.

- Spoon mashed potato filling back into the potato skins, making slight mounds in the middle. Top with remaining cheese and bacon. Bake for 15 minutes or until cheese is melted.

- Garnish with additional green onions, parsley, or dollop of sour cream.


Notes
Nutrition
If you liked this Bacon and Cheese Baked Potato, please consider rating the recipe and leaving a comment below. ⇓