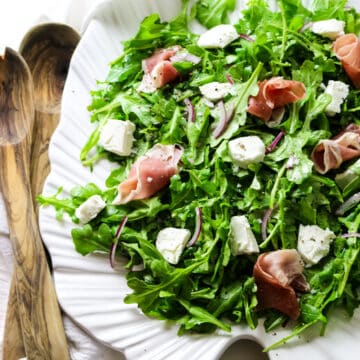
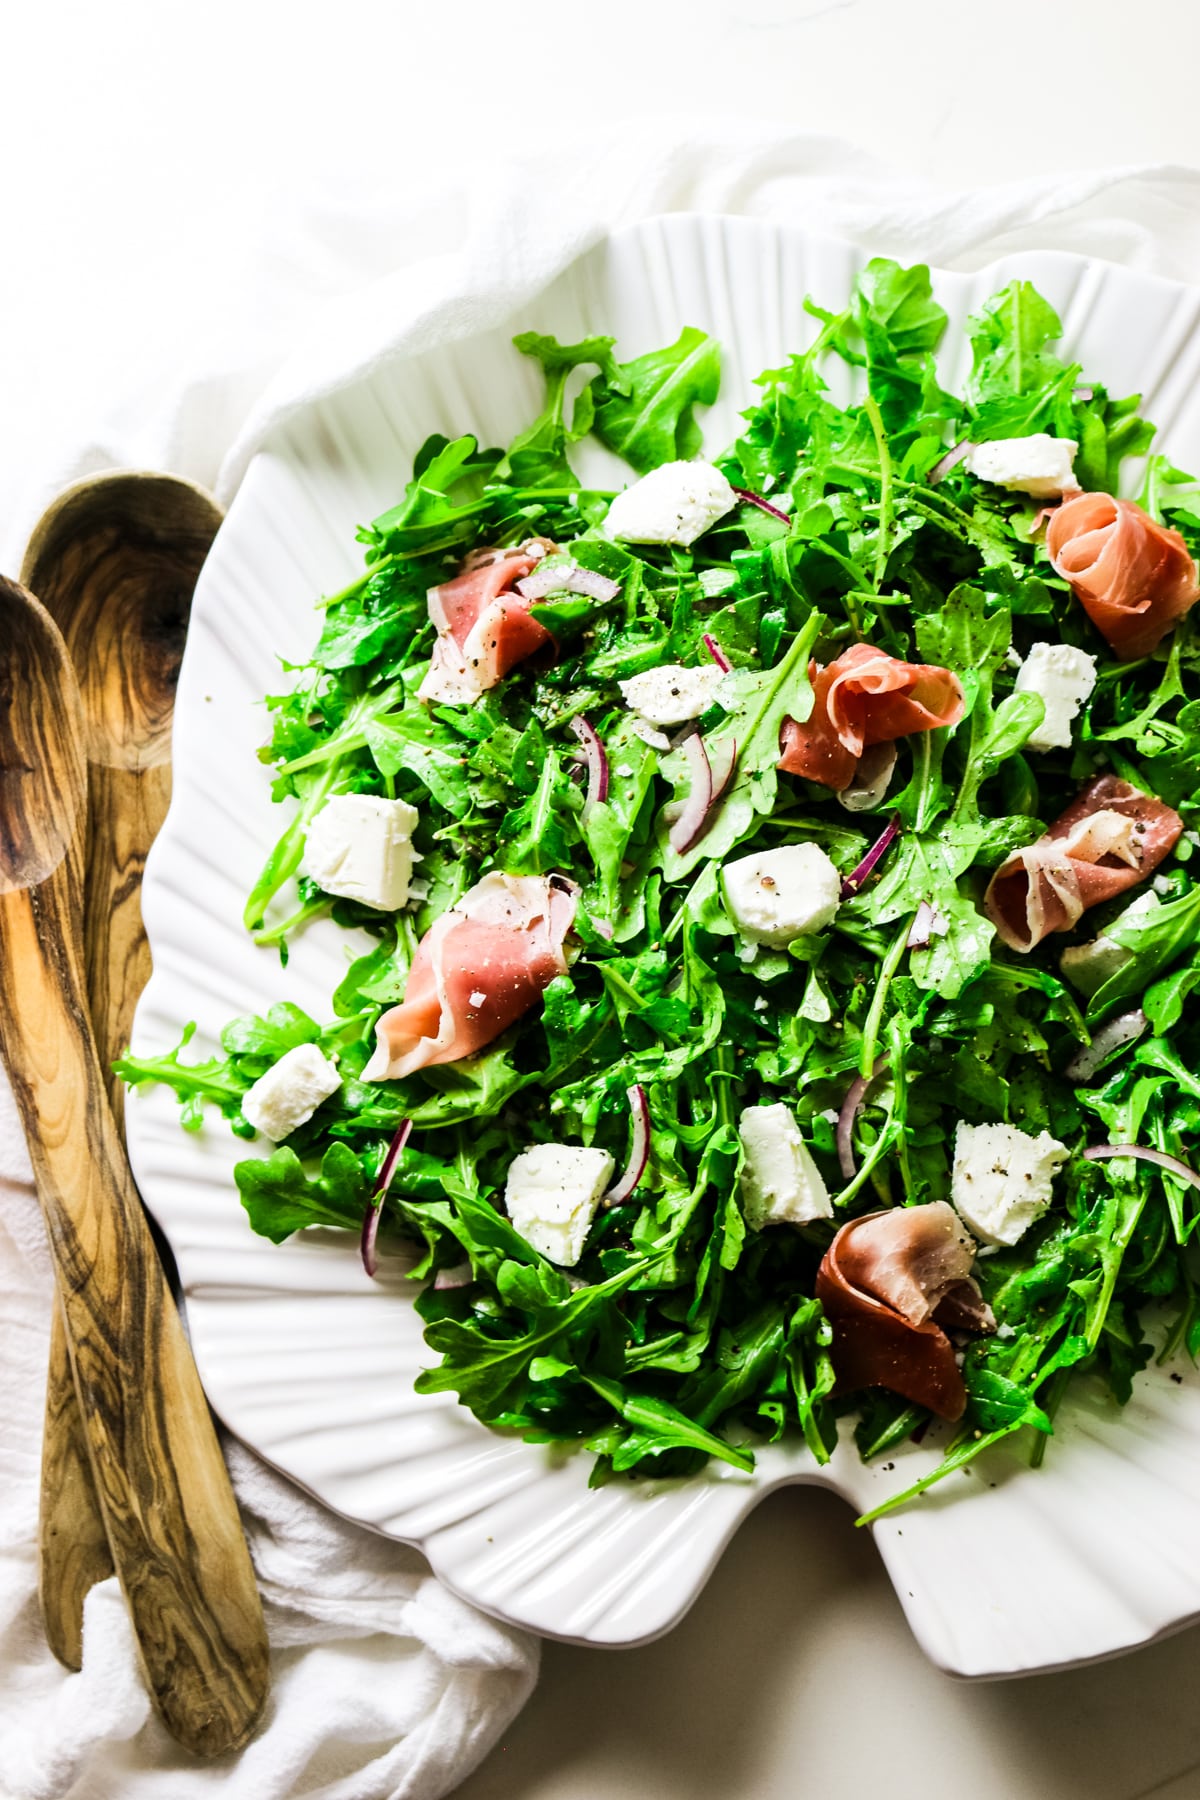
This Arugula Salad with Goat Cheese and Prosciutto is an infusion of flavors and textures that can complement any dish. Peppery arugula leaves and crunchy red onions tossed in a simple 3-ingredient salad dressing and topped with creamy goat cheese and savory prosciutto for a fresh and rich salad.
I can't even begin to share how much I love this arugula goat cheese salad but I think it's best that you just make it.
Trust me - the crisp arugula leaves, the sharp red onions, creamy richness of goat cheese, and the prosciutto make a delicious symphony of flavors. Finished with a light and delicious dressing that perfectly balances the freshness, creaminess, and savory goodness. It is perfection in a bowl.
This rocket salad is on repeat in numerous versions in our home and now you can recreate this simple masterpiece in just a few minutes.
[feast_advanced_jump_to]Why you'll love this recipe
Easy to make - With just a handful of ingredients and a few minutes of your time, this easy salad showcases the beauty of simplicity.
Vibrant flavors - This salad bursts with a perfect balance of flavors from the peppery arugula, tangy goat cheese, and savory prosciutto in every bite.
Not just another salad - Switch things up and add this to your repertoire of salads. Whether you're hosting a dinner party or a casual weeknight family meal, this recipe offers an excellent variation to your salad lineup.
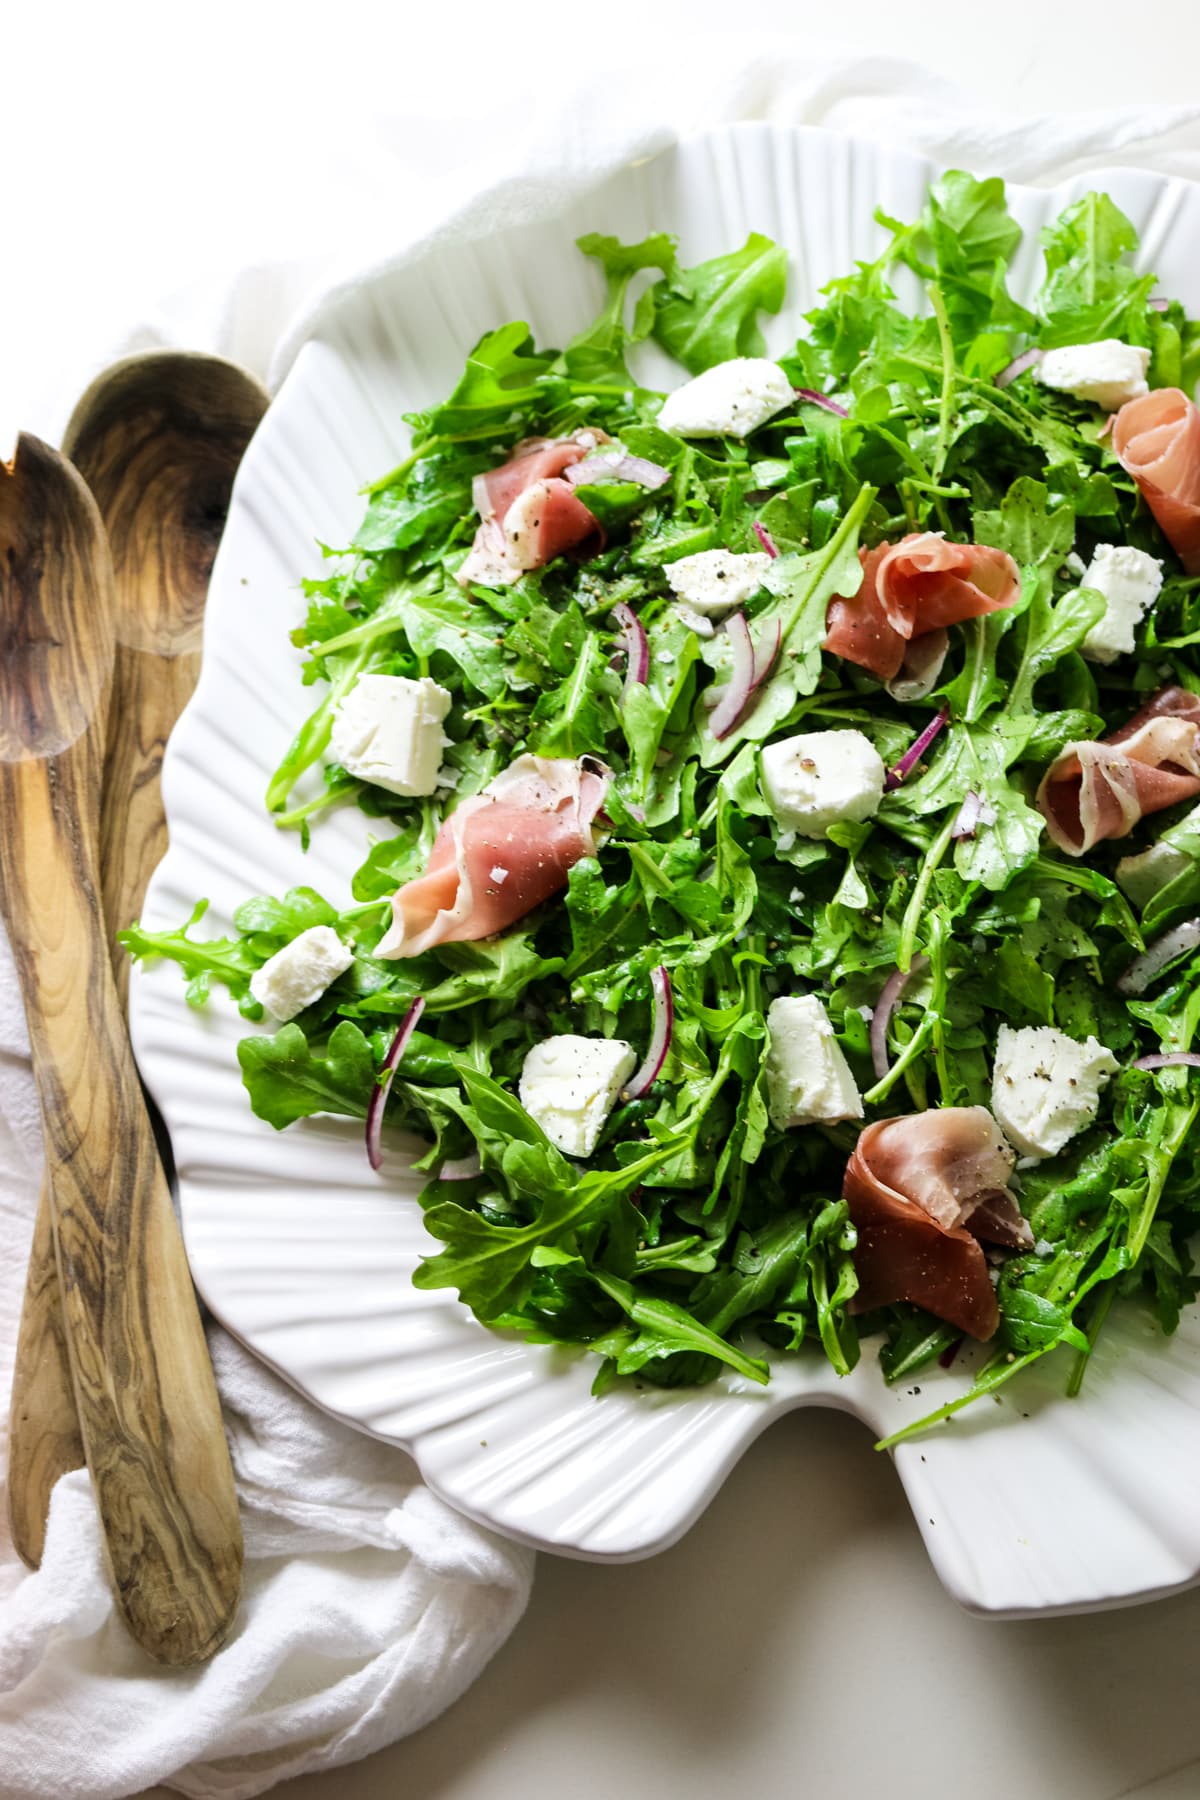
Impressive presentation - The bright green arugula, delicate slices of red onion, and colorful combination of goat cheese and prosciutto makes this salad an eye-catching dish that will impress anyone.
💭Fun Fact: Arugula and rocket are interchangeable names for the same leafy green vegetable. Arugula is the term used in North America, while rocket is more common in British English and Europe.
Ingredients
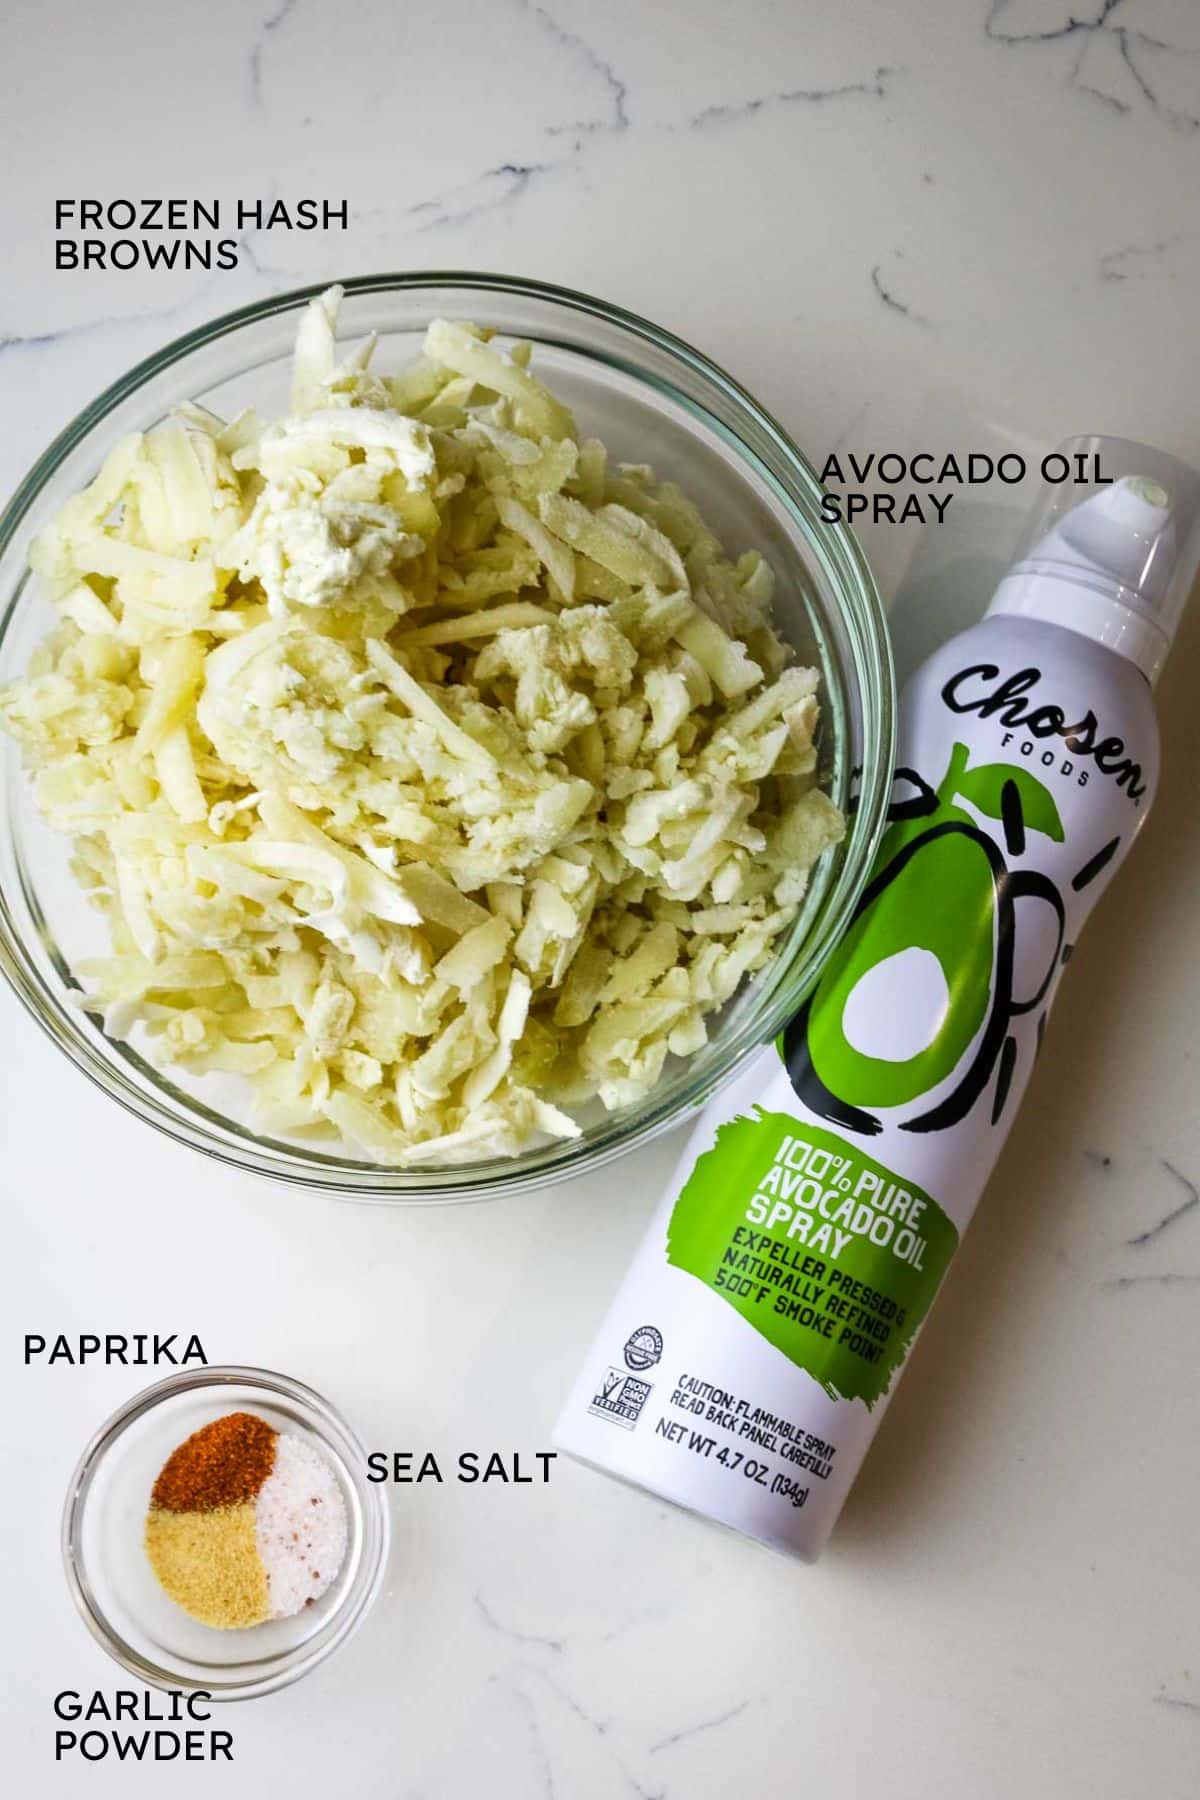
Check out how easy it is to make this arugula salad with goat cheese with only 4 main ingredients, plus the salad dressing. The best part is you only need 15 minutes from start to finish.
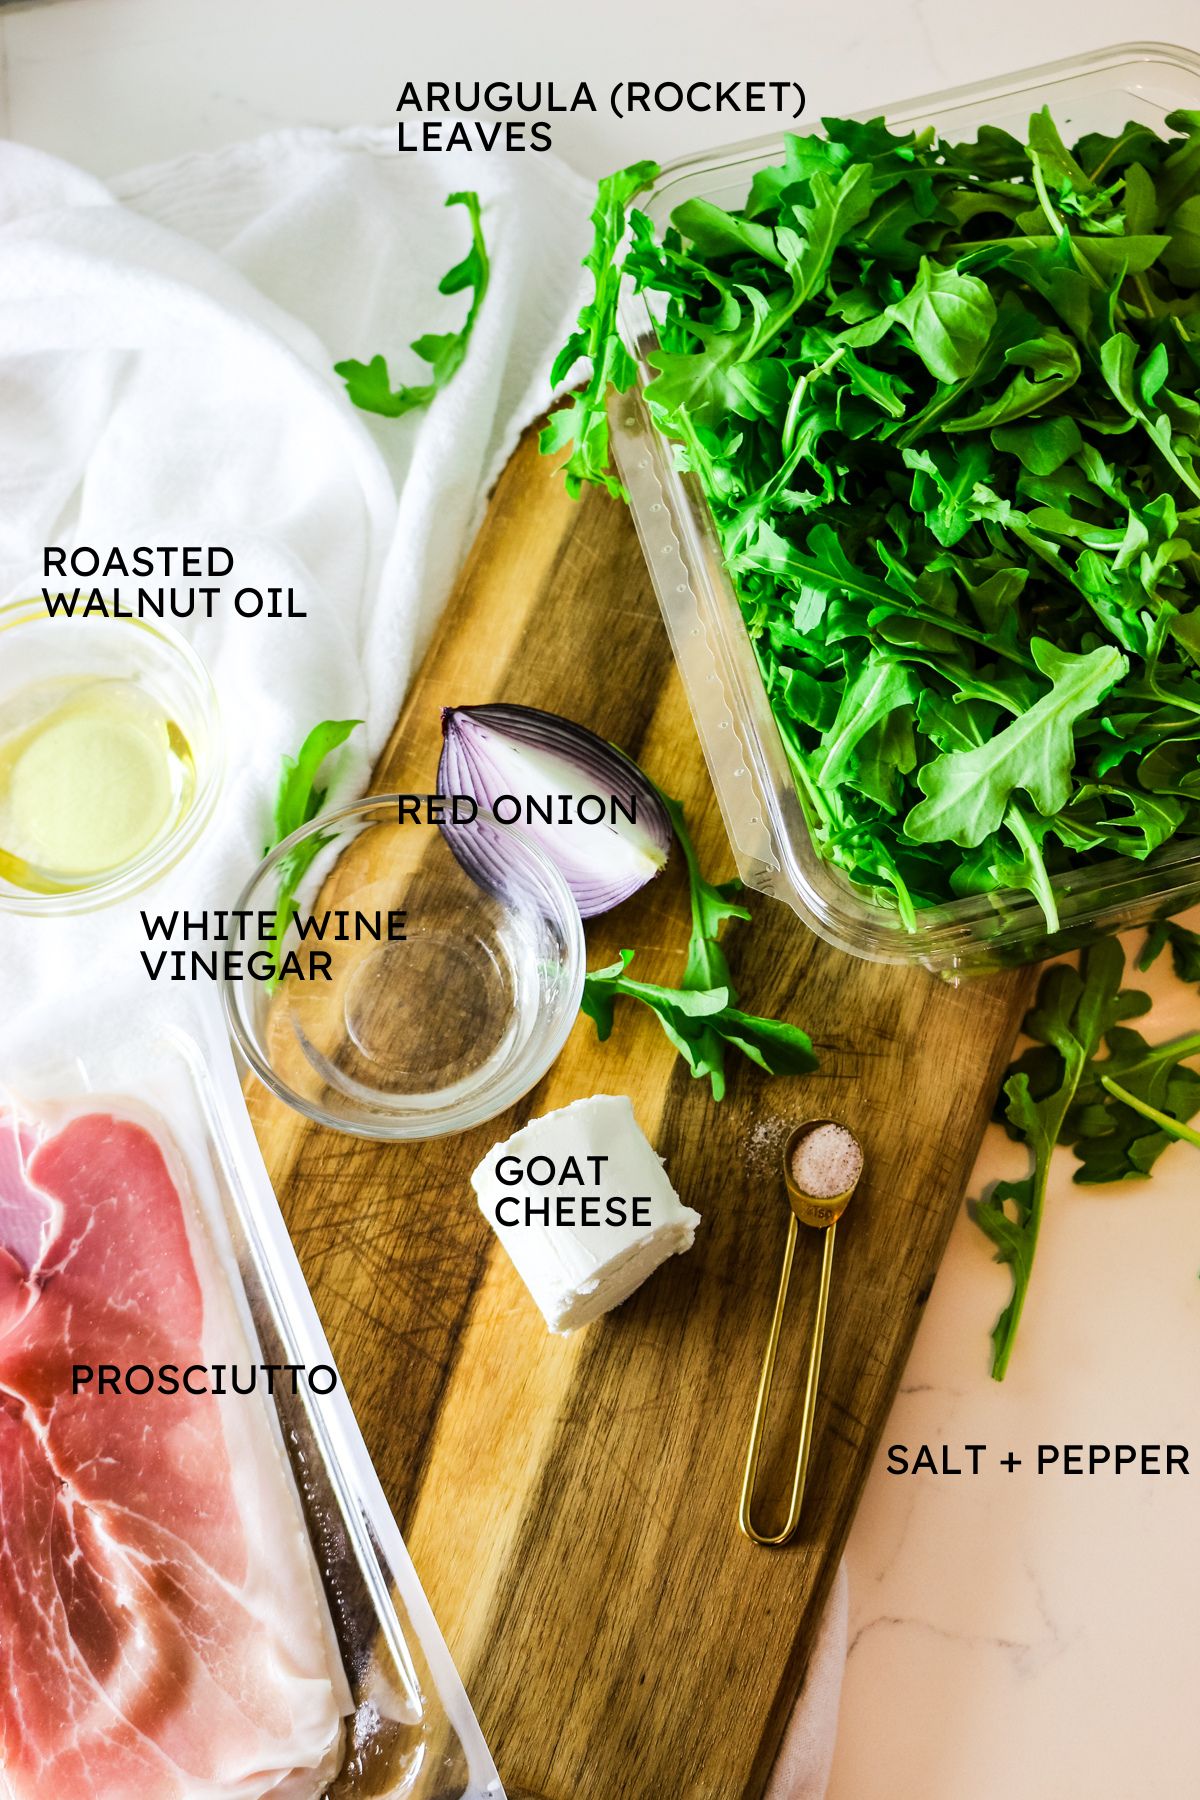
- Arugula: Baby arugula (also known as rocket in some parts of the world) is a tender and flavorful salad green with a peppery taste. It is the main ingredient in this salad.
- Red onion: Adds a mild onion flavor and a touch of sharpness. When sliced thinly, red onion offers a nice crunch and a welcoming pop of color.
- Goat cheese: Also known as chevre, soft goat cheese brings in a creamy element to the salad, contrasting the other ingredients well in texture and taste.
- Prosciutto: A cured Italian ham, prosciutto adds a savory and salty flavor to the salad.
- Dressing: A simple dressing of roasted walnut oil, white wine vinegar, sea salt, and freshly ground black pepper tie this salad together seamlessly.
See the recipe card for exact quantities.
Substitutions and Variations
- Greens - Swap arugula with mixed greens if you prefer a milder flavor. I would avoid using baby spinach due to the high oxalate count. (source)
- Red onion - Instead of red onion, use thinly sliced shallots or even scallions.
- Oil - I love using La Tourangelle roasted walnut oil for it's bold flavor but if that is not available, use hazelnut oil for a similar nutty taste or extra virgin olive oil in a pinch.
- Vinegar - Use apple cider vinegar, red wine vinegar, or even fresh lemon juice instead of white wine vinegar.
- Salad toppings - You can add your favorite salad additions like cherry tomatoes, fresh berries like strawberries for a burst of sweetness or toasted nuts like pecans and pine nuts for extra crunch and texture. Add some zingy citrusy flavor by drizzling freshly squeezed lemon juice. Or you can keep it simpler but delicious with just a small handful of ingredients like in this lemon arugula salad.

Make it Nutrient Dense
Staying true to the heart of what Prepare and Nourish is all about, there are ways to ensure you get the maximum nutrition in this rocket salad recipe. Even though it's an incredibly simple recipe, you can take purposeful steps to turn this into a nutrient-dense meal.
Use quality ingredients. Opt for organic arugula, grass-fed goat cheese, and artisanal prosciutto to ensure higher nutrient content. The good thing about goat dairy is that goats are natural grazers but some farmers still supplement with grains - so check the ingredient label.
Make it a meal. One of the best ways to enjoy this simple salad is to replace prosciutto with a healthy protein like grilled chicken, steak, or wild salmon. In a pinch, you can also add canned tuna or sardines to make it a complete meal without firing up the grill.
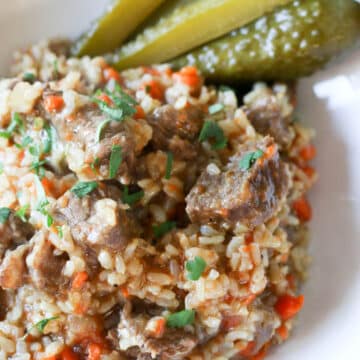
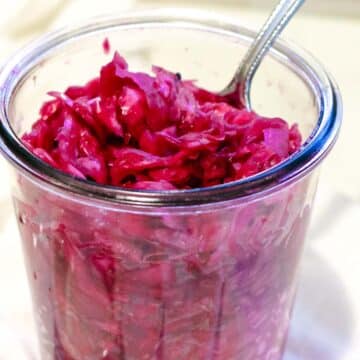
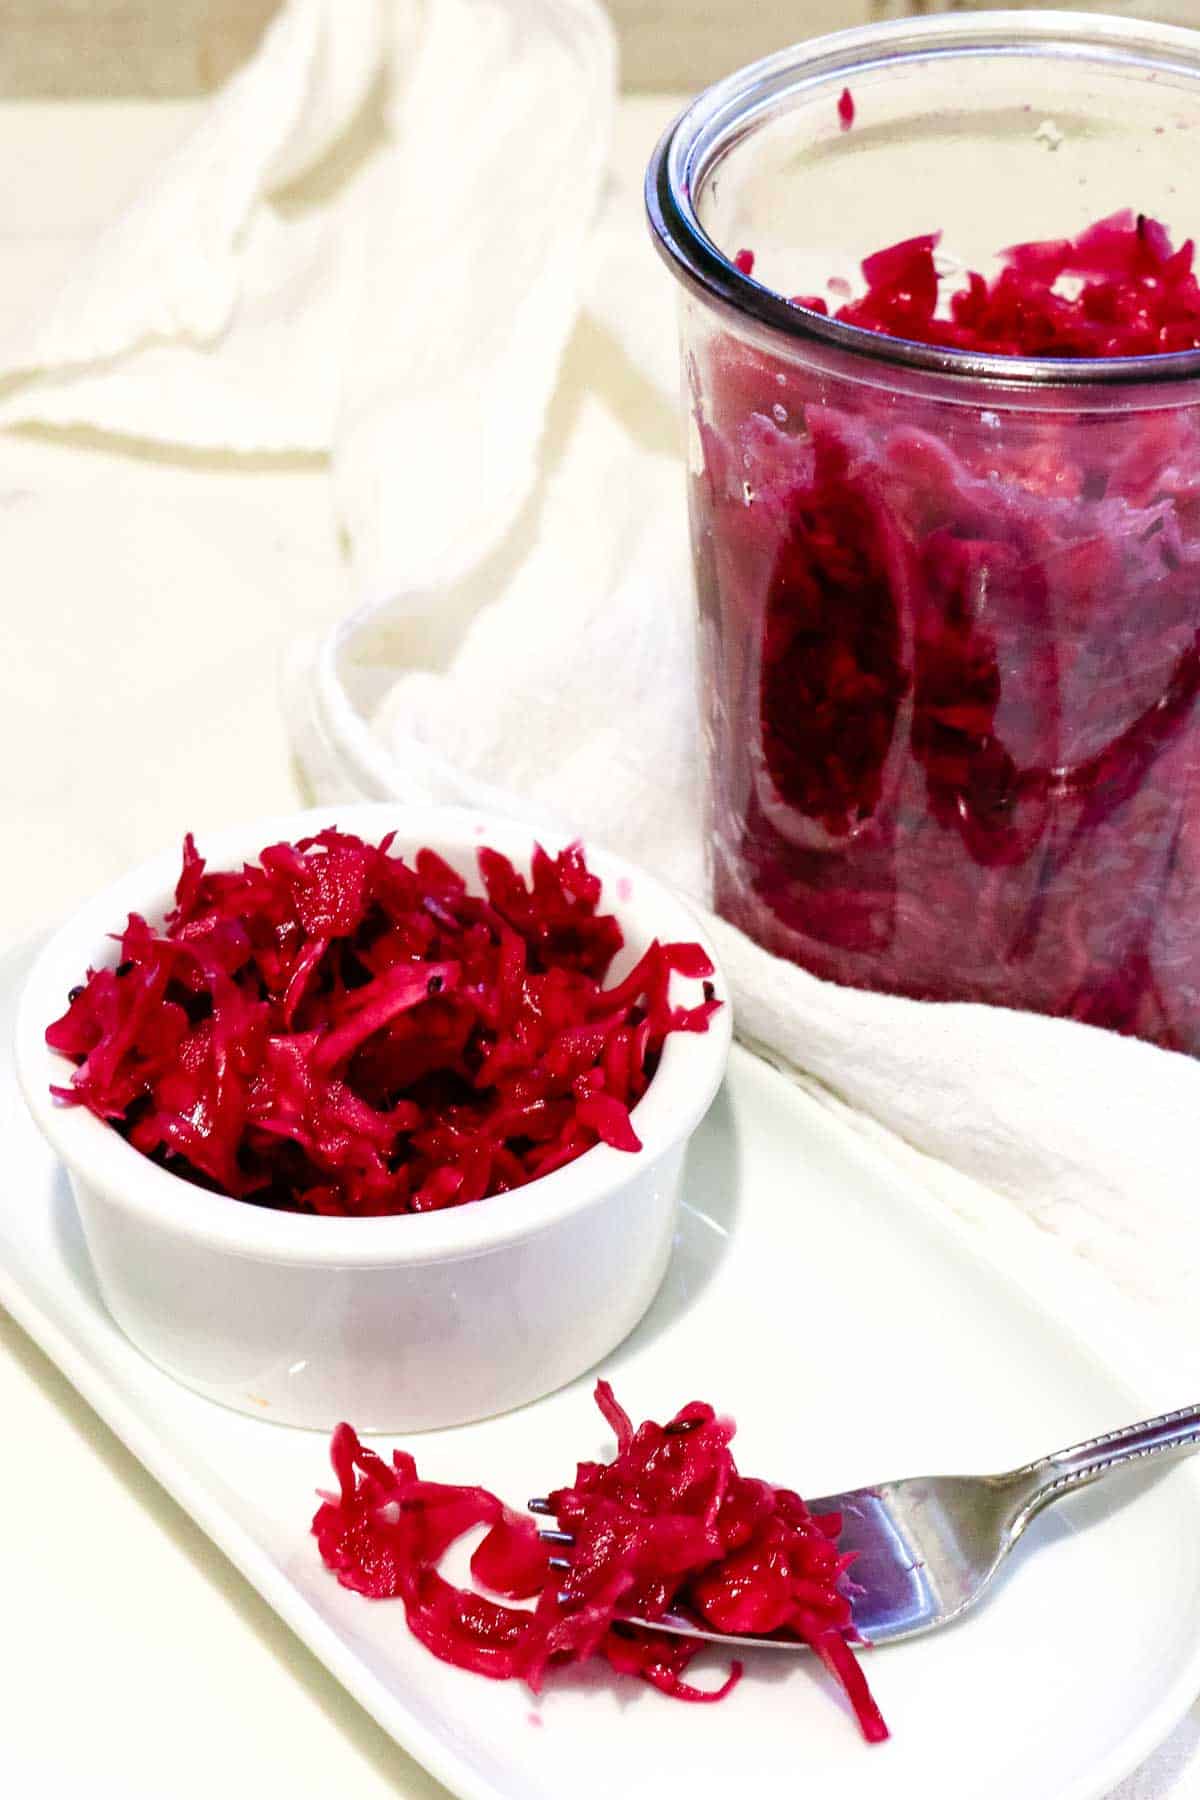
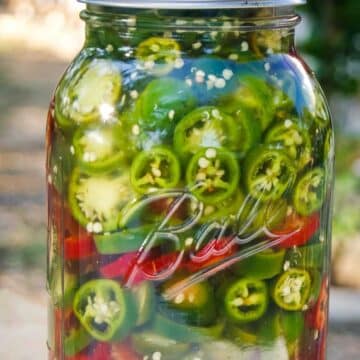
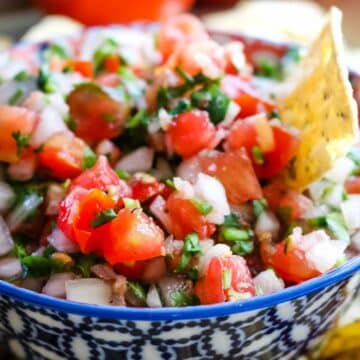
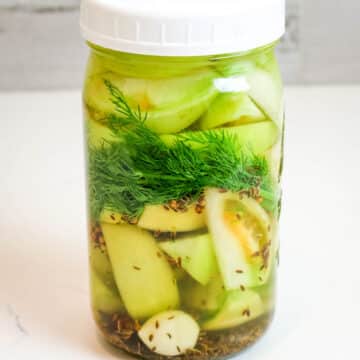
Serve with a ferment. An easy way to bump up the nutrition of any meal is to include live probiotics with your food. Consider adding fermented green tomatoes, cherry tomatoes, or dill pickles for a tangy twist.
Helpful Tips
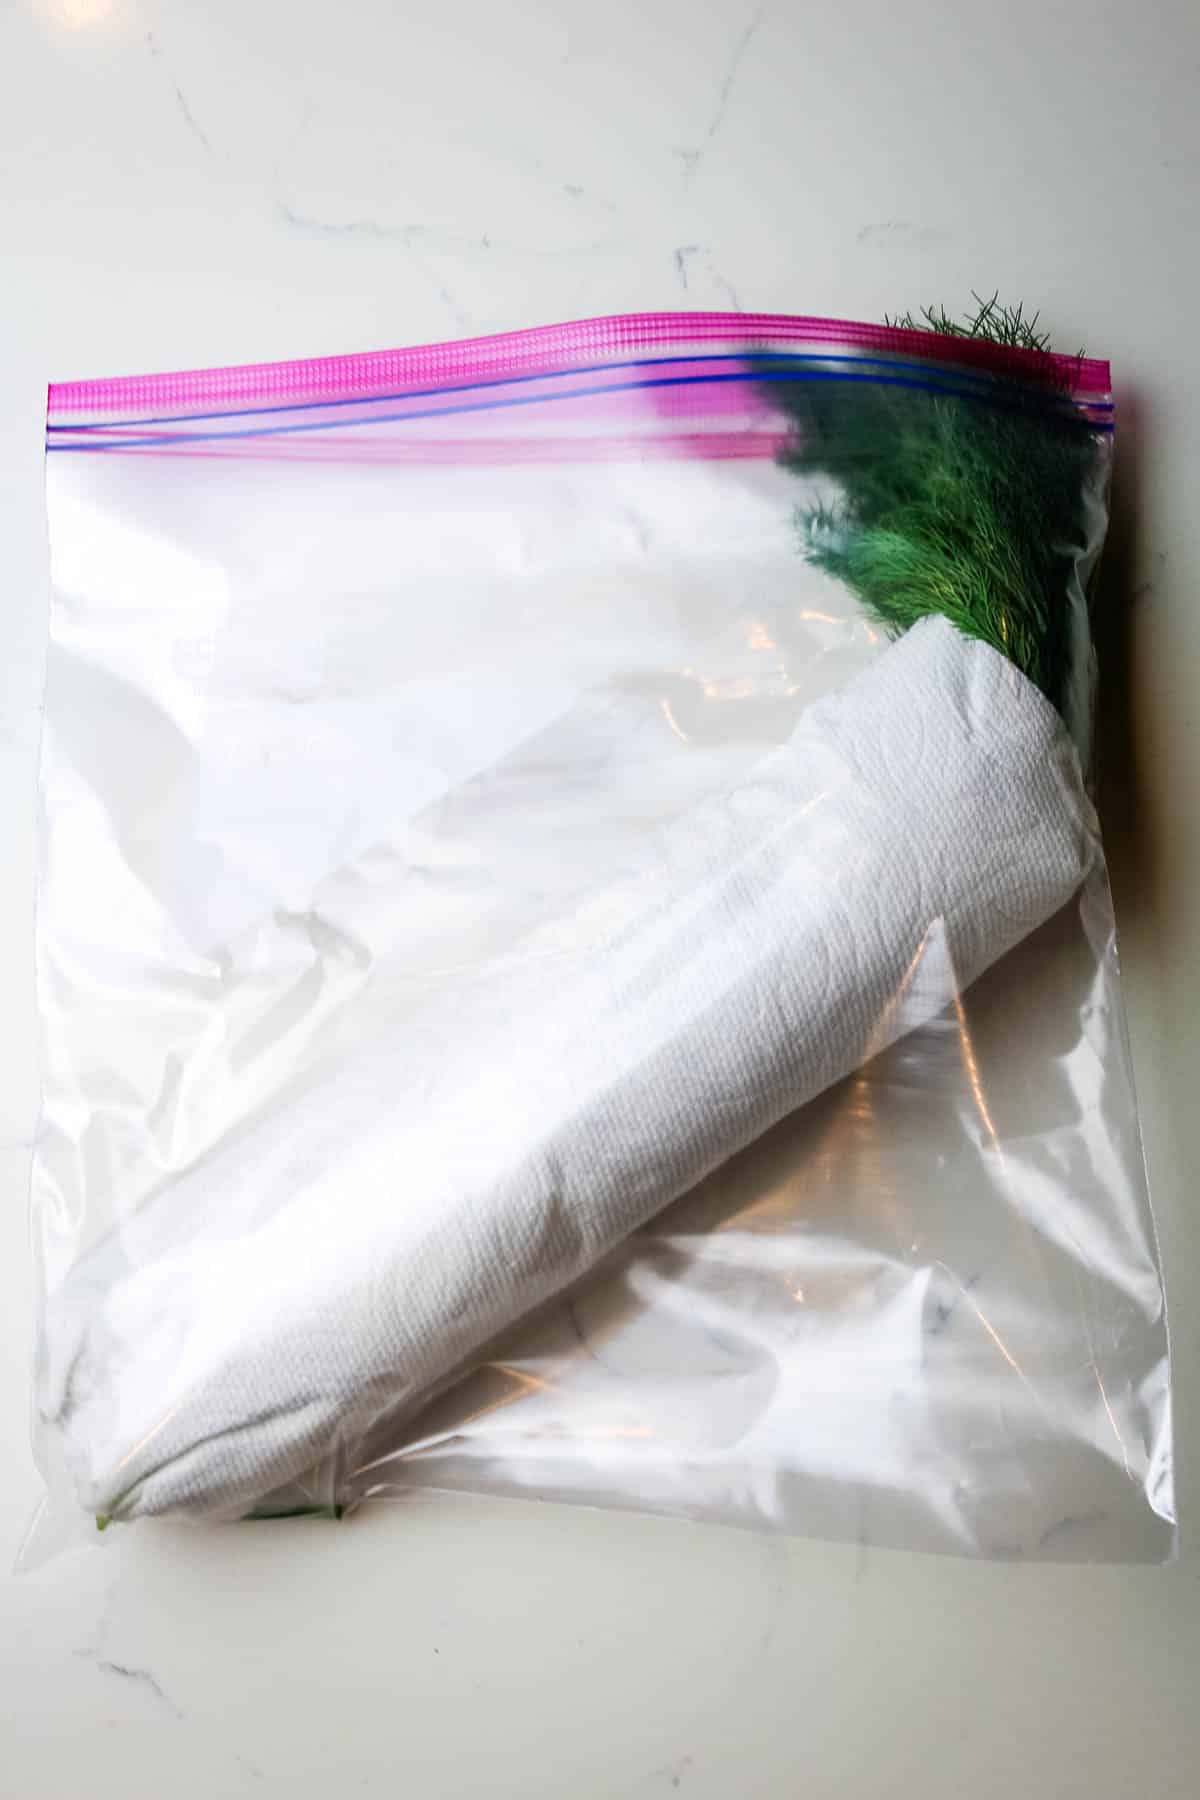
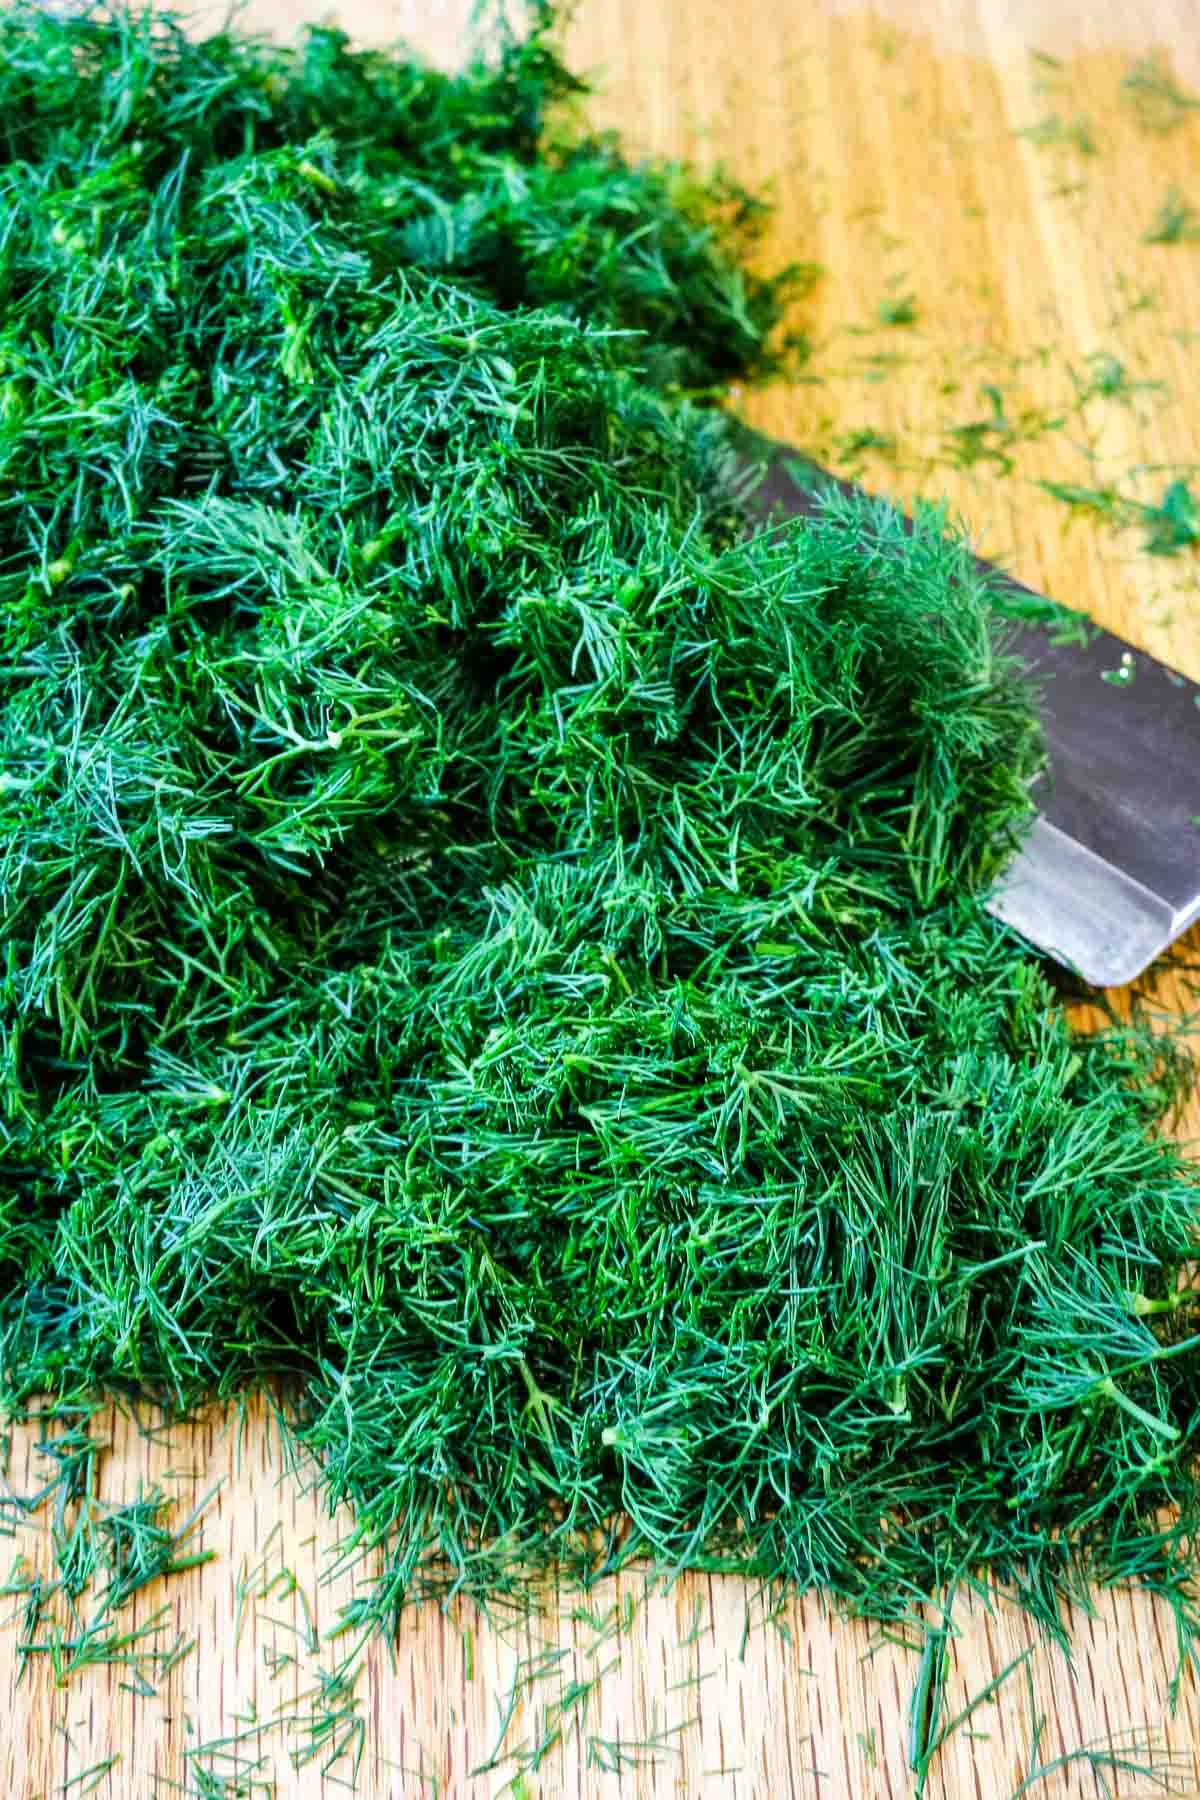
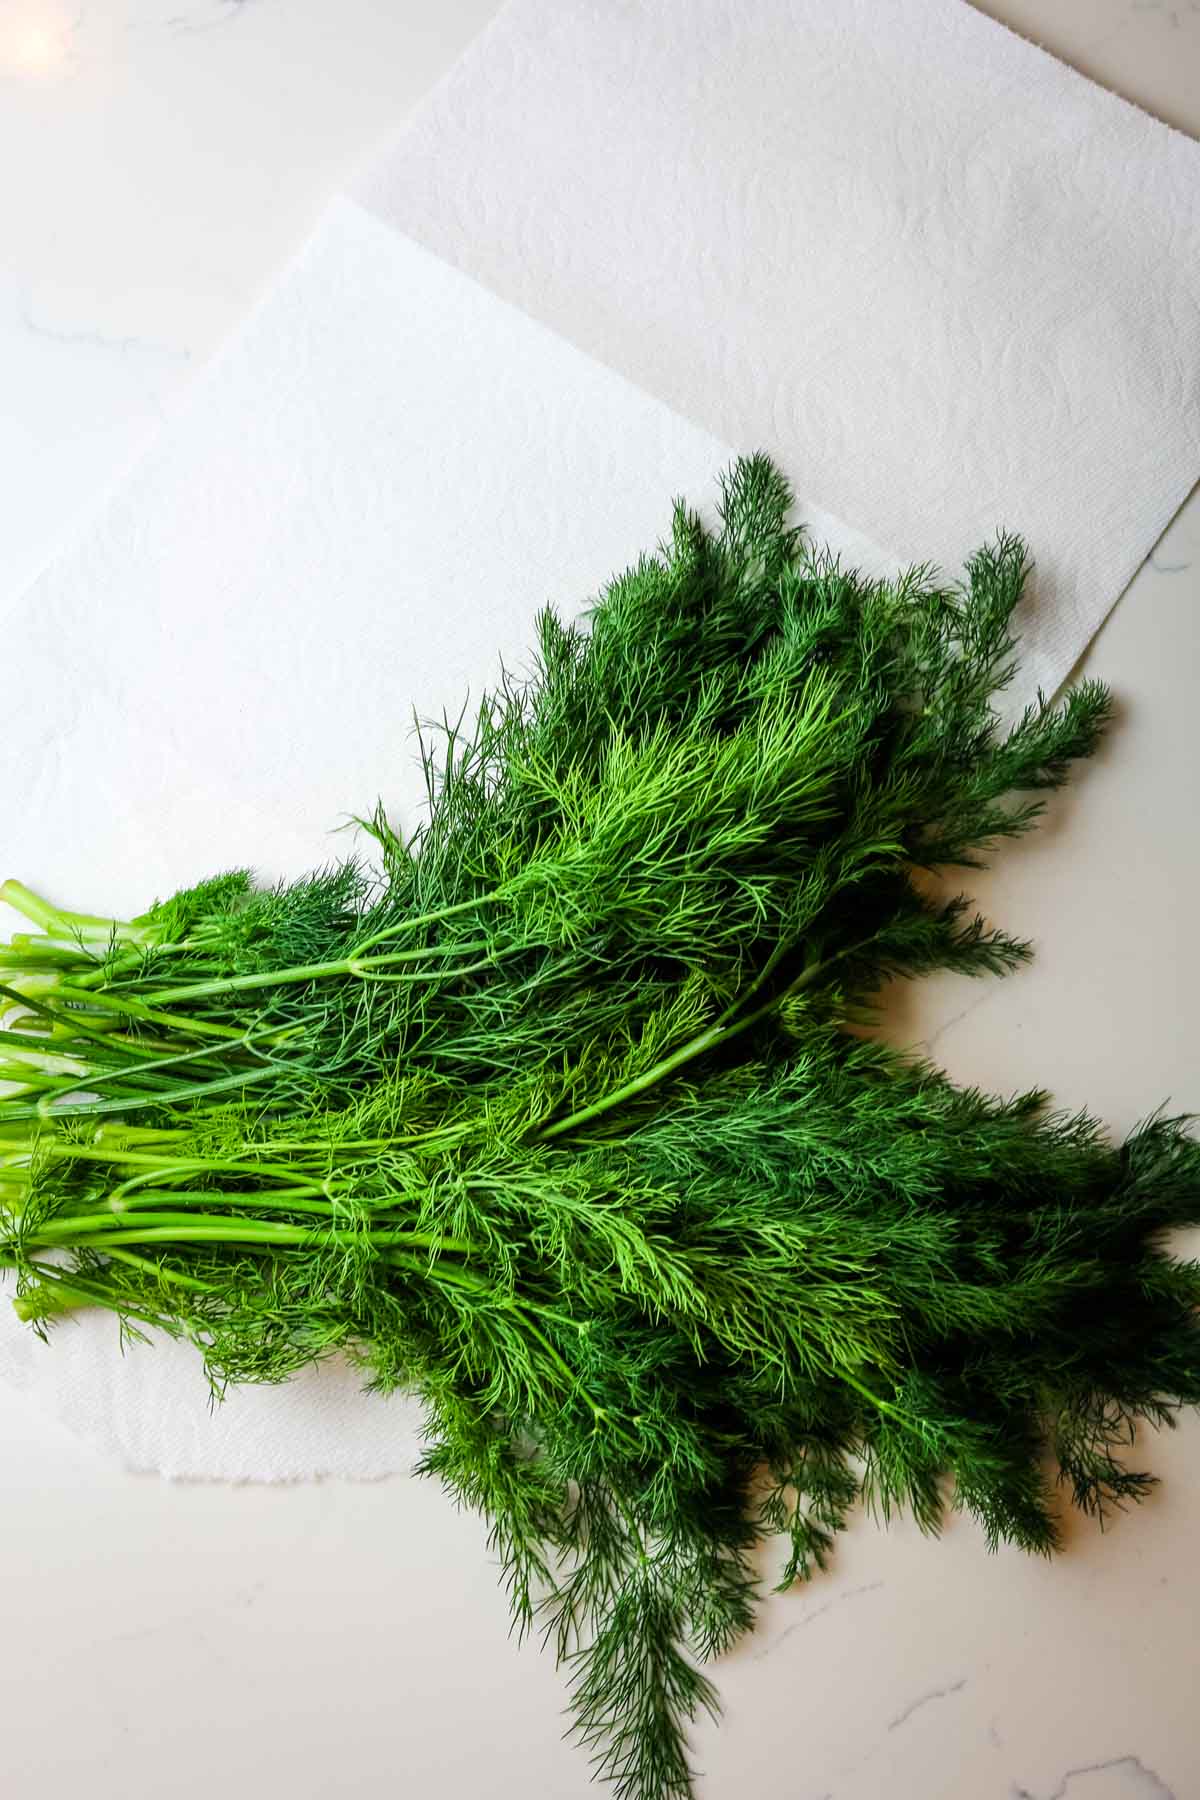
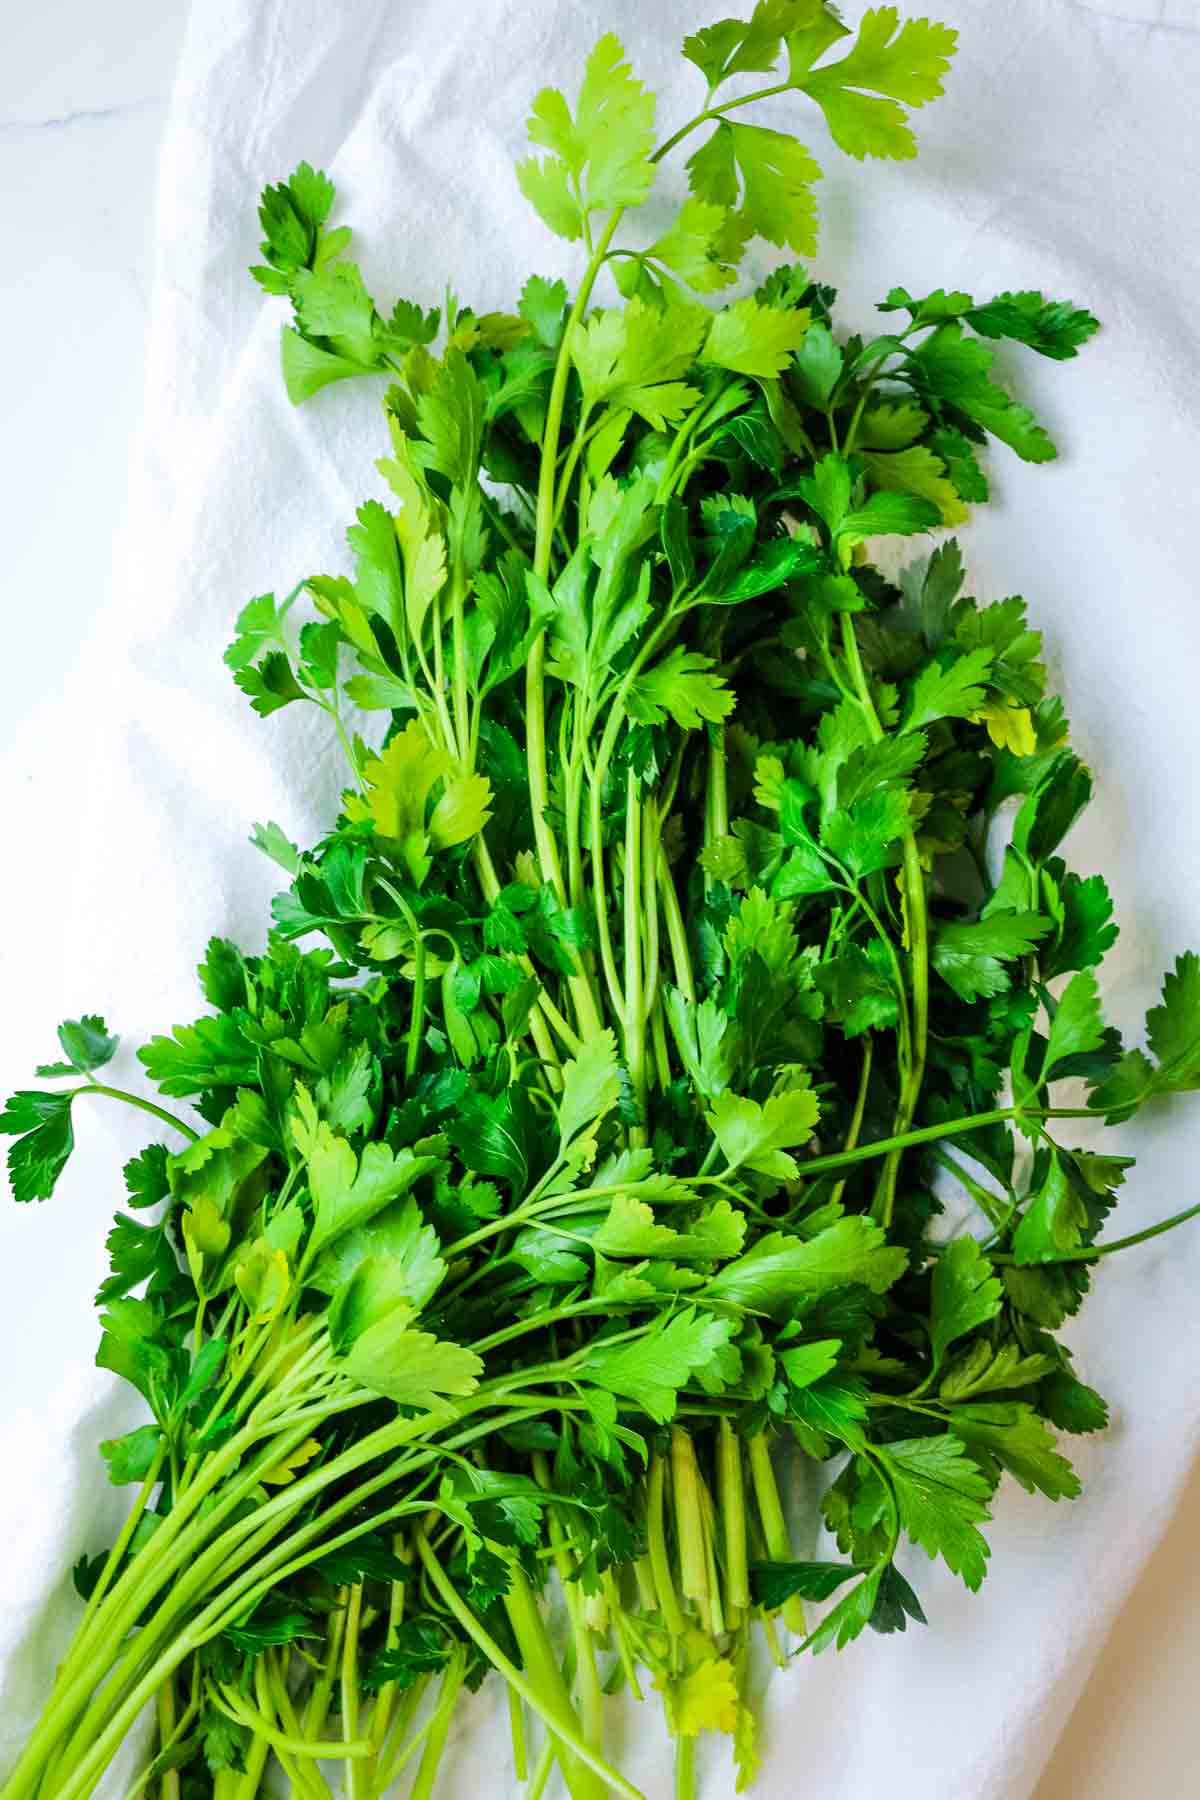
Arugula freshness - A good arugula salad starts with fresh arugula leaves. Look for leaves that are crisp, green, and free from wilting and yellowing.
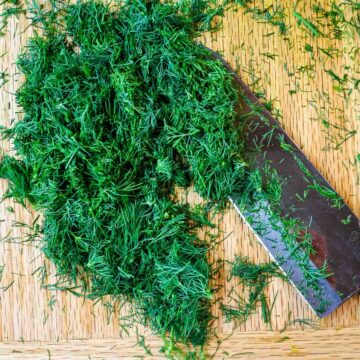
Red onion slicing - To achieve thin and even slices of red onion, use a sharp knife. You can also use a mandoline or food processor with a slicing attachment for more precise and uniform slices.
Toss gently - Gently toss the arugula and red onions with the dressing to avoid bruising the delicate arugula leaves.
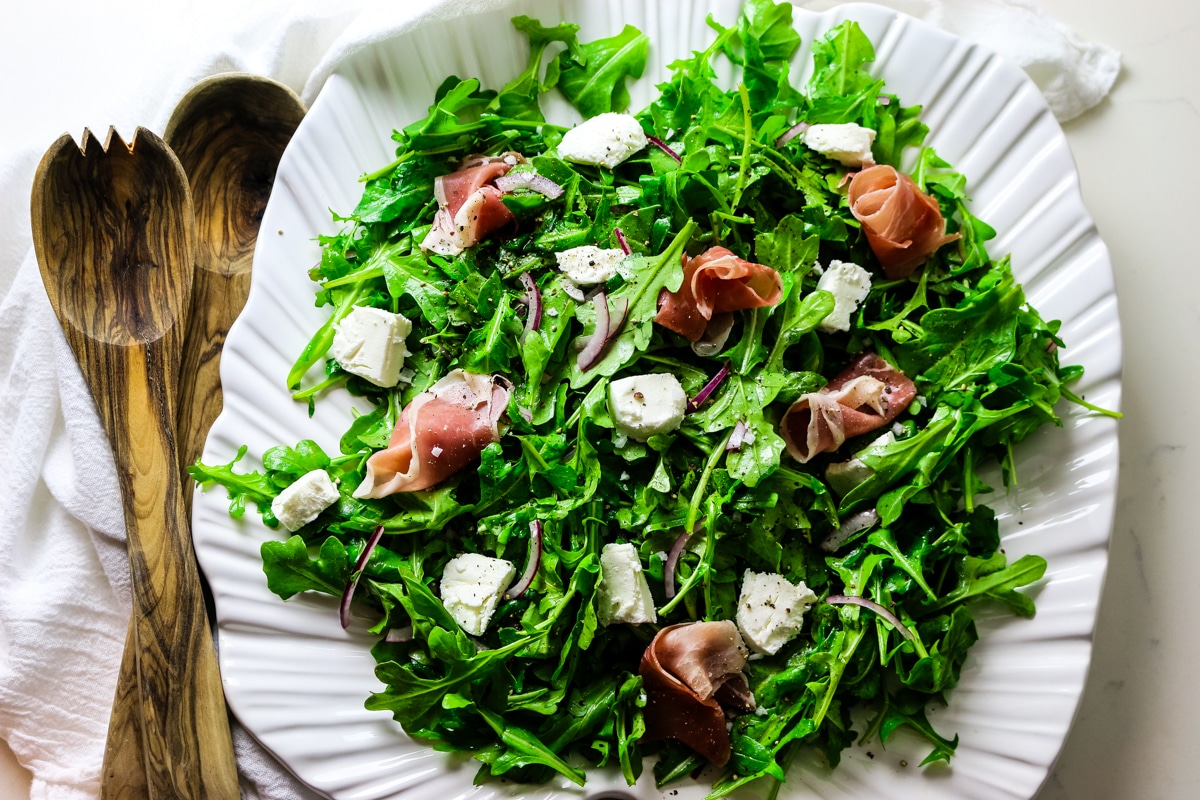
💭Pro-tip: Arrange the salad on a large platter, starting with a bed of tossed arugula, then top with goat cheese chunks and prosciutto. Season with coarse salt and freshly cracked black pepper.
Step-by-Step Instructions
The complete printable recipe is below in the recipe card for your convenience.
The recipe for arugula salad with prosciutto and goat cheese is very simple. Simply toss the greens and top with the remaining ingredients. Easy peasy.

Step 1. Toss
In a large mixing bowl, gently toss arugula and sliced red onions with walnut oil, vinegar, and salt together.
Step 2. Top
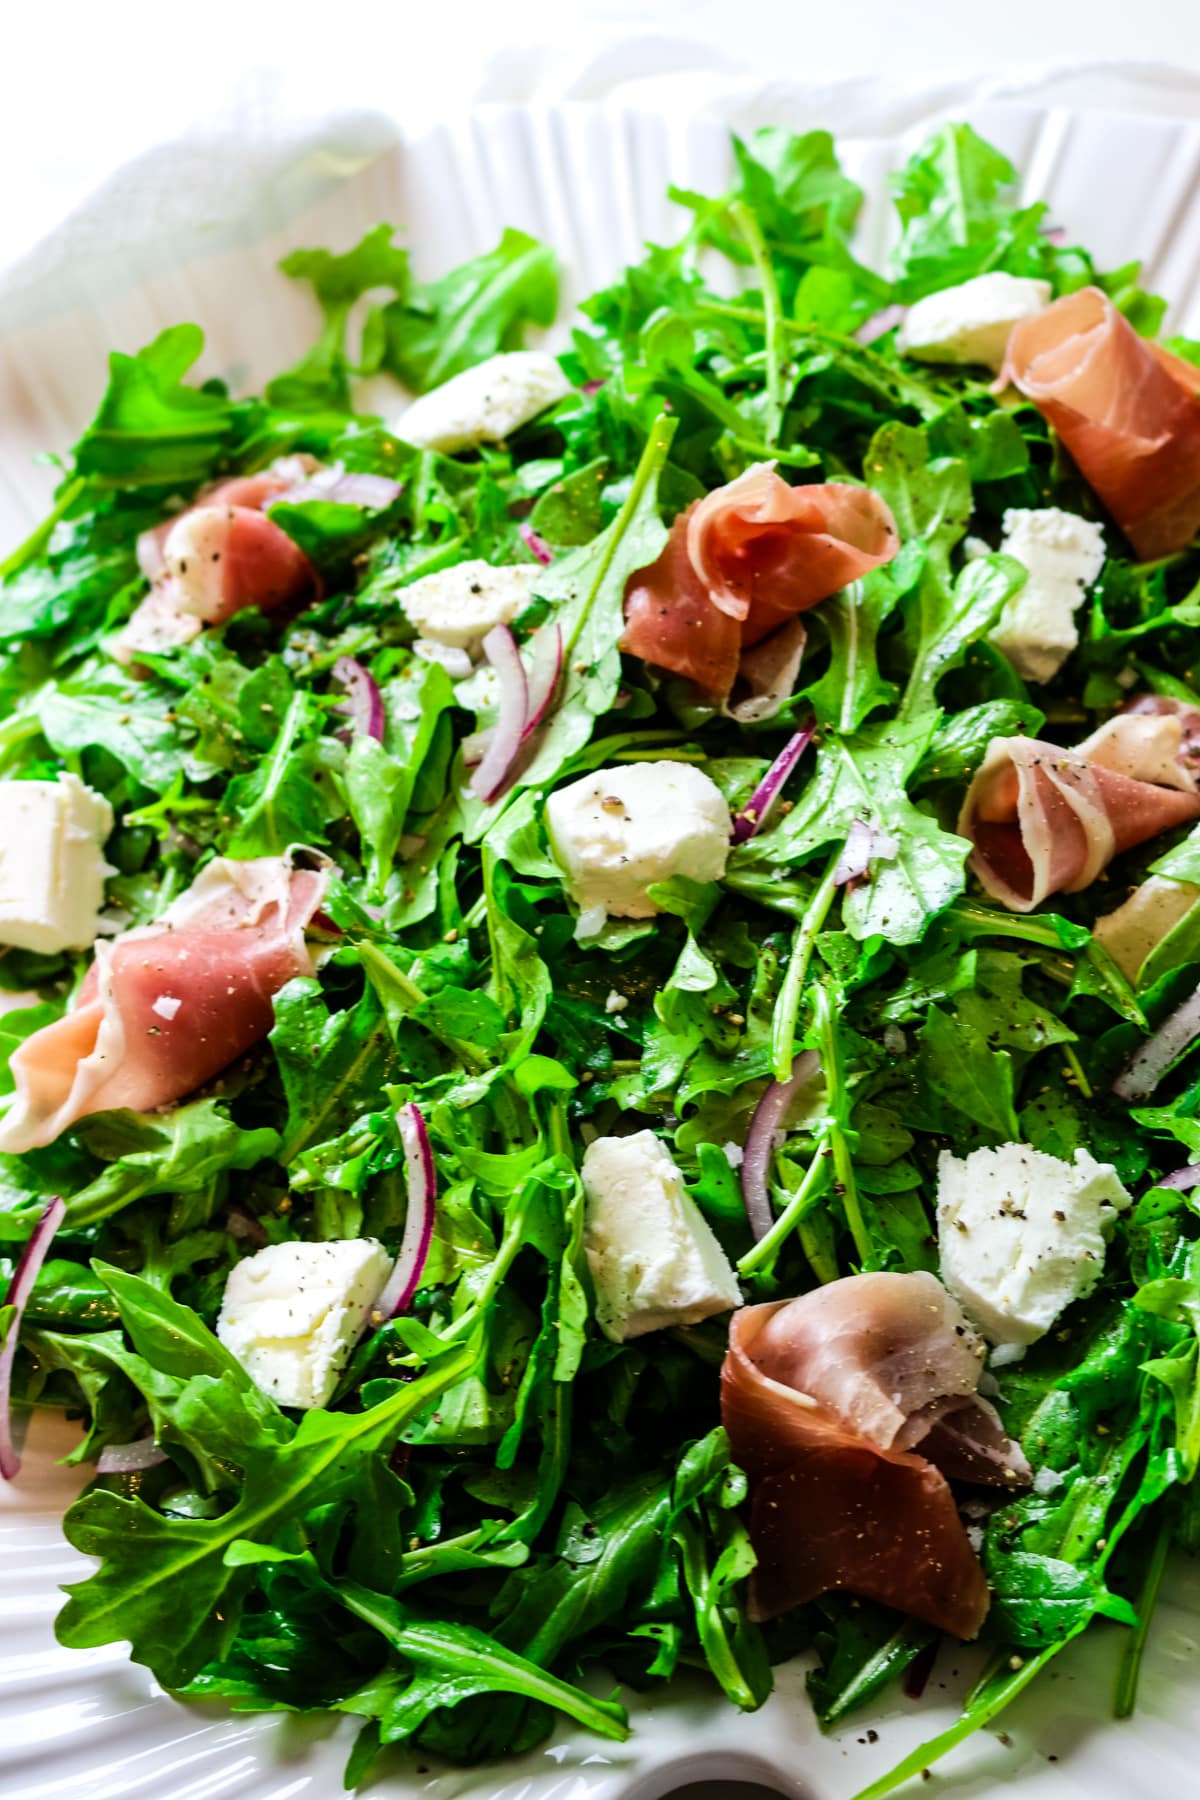
Arrange the greens on a large platter. Top with chunks of goat cheese and prosciutto pieces.
💭Pro tip: To arrange prosciutto pieces, you can delicately drape them over the salad or tear them into smaller bite-sized pieces and scatter then evenly across the arugula salad. You can also roll them lightly into smaller chunks.
Helpful Tools & Links
Below are some affiliate links that may be helpful to you as you make this arugula salad recipe. You can find some of these items cheaper at your local store, but having a link helps you know what you're looking for.
- Tools: chef knife, cutting board, large mixing bowl, mandoline slicer, shallow salad platter
- Ingredients: real salt, black pepper, olive oil, roasted walnut oil, hazelnut oil, white wine vinegar, finishing salt flakes
- Storage Supplies: glass snap containers
Serving Suggestions
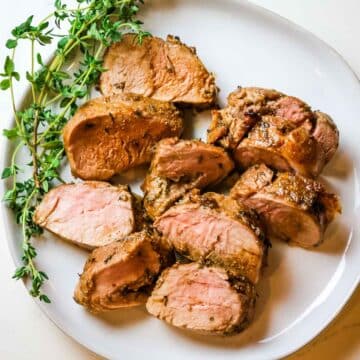
Whether you call it arugula or rocket salad, one thing is for sure, there's no wrong way to serve it. We love it paired with simple dishes like grilled steak or lamb. But it's also excellent with fish en papillote.
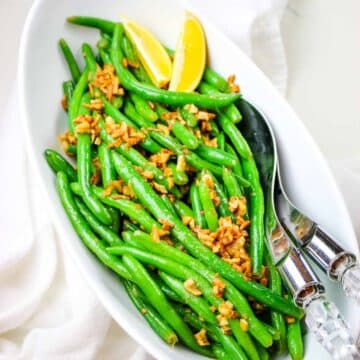
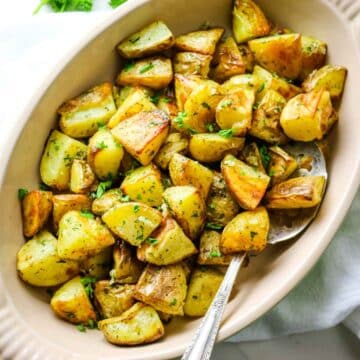
Or try adding your favorite roasted veggie like butternut squash or air fryer zucchini next to it.
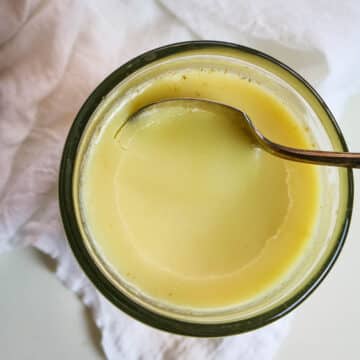
When paired with a variety of meats and vegetables on a plate, the creamy goat cheese salad dressing becomes a delightful addition that transforms even the simplest vegetables into mouthwatering delight.
Arugula Goat Cheese Salad pairing suggestions


Storage Instructions
To store: This goat cheese salad with arugula is best when freshly tossed, therefore any leftover arugula salad should be eaten with a few hours. Store it in an airtight container in the fridge for up to 4 hours.
Storage containers: These glass snap containers are perfect for leftovers. Avoid using plastic containers to prevent harmful chemicals leaching into your food.
FAQs
Absolutely! While the recipe suggests goat cheese, you can substitute it with other soft cheeses like feta cheese or blue cheese for a different flavor profile. If you don't care for soft cheeses, try shaved Parmesan cheese.
You can use bacon or ham but if you want to avoid pork completely, consider prosciutto alternatives such as turkey deli meat, roast beef, or thinly cut chicken breast.
It's best to assemble and toss this simple arugula salad just before serving to maintain freshness of the ingredients. However, you can prepare the individual components in advance and store in separate containers. Keep sliced onions and salad dressing in airtight containers, then combine when ready to serve.
Looking for more salad recipes? Here are some ideas:

Did you make this? Please leave a ⭐ recipe rating in the recipe card below and leave a review in the comments. Thank you!💚
Printable Recipe

Arugula Goat Cheese Salad with Prosciutto
Ingredients
- 5 ounces baby arugula
- ¼ red onion thinly sliced
- ¼ teaspoon sea salt
- 3 tablespoons roasted walnut oil
- 1 ½ tablespoons white wine vinegar
- 2 ounces soft goat cheese (chevre)
- 2 ounces sliced prosciutto about 3 slices, torn into pieces
- coarse sea salt and freshly ground pepper
Instructions
- In a large salad bowl, toss arugula and sliced red onions with salt, walnut oil and white wine vinegar together.
- Arrange the greens on a large platter. Top with chunks of goat cheese and prosciutto pieces. Gently toss to combine with arugula.
- Season with coarse salt and freshly ground pepper.
Notes
- Use fresh arugula. Look for leaves that are crisp, green, and free from wilting or yellowing.
- Toss gently. Go easy when tossing the arugula with dressing to avoid bruising the delicate arugula leaves.
- Serving presentation - This salad is best served on a large platter not in salad bowl.